Purr Therapy & Lemony Mushroom Salt

kitten :: my blue & white kitchen

A 13-week-old black kitten has kept me busy for the last week. Lots of purring and sleeping on my lap, shoulders, and chest. {Actually it's sleeping on my lap as I'm typing these words.} Minced meat & kitten milk. Running around the apartment, and hissing at my coffee mug & a power plug {quite a smart lady, I would say}. 912 grams of pure love. 

Thanks to Elsa, life is full of wonders, laughter, and cuteness. Purr therapy, as I call it.

flavored salt :: my blue & white kitchen

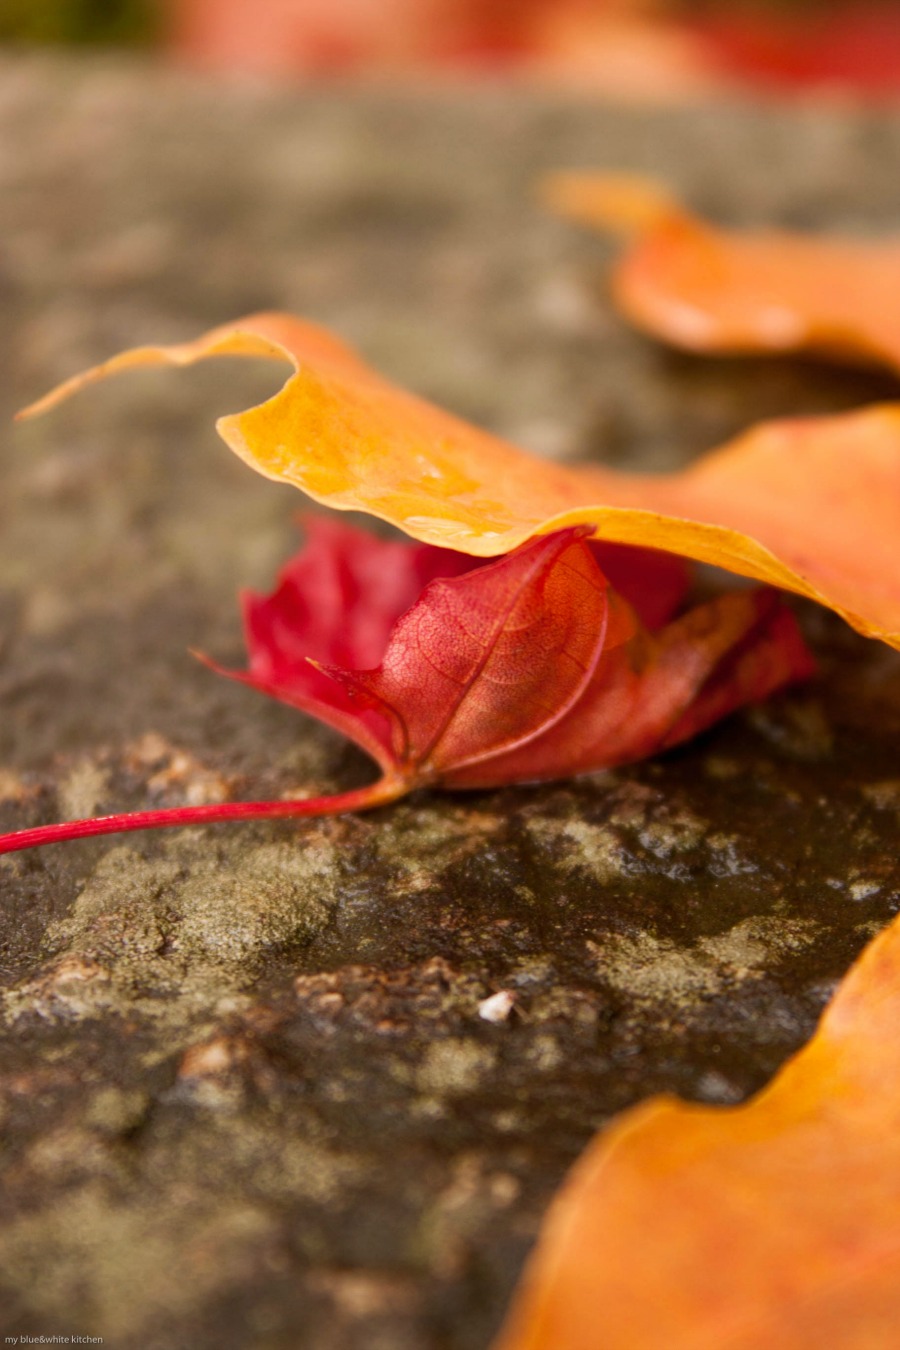
I woke up to a misty fall morning. For the first time this year, I realized that October has finally come. It stayed gloomy for the whole day, rain falling every now and then. A chunky wool scarf was wrapped around my neck, as I walked into the crisp fall morning. The colors are amazing these days - shades of yellow and red. In a week or two, the trees will be bare, their branches casting long shadows on the leave filled ground.

lemony mushroom salt :: my blue & white kitchen

I like flavored salts a lot. They are ridiculously easy to make at home AND they are wonderful as edible gifts! The great thing is, you can make a large batch even a few weeks ahead. Find a few pretty canning jars and fill them with the homemade goodness. Don't forget to tie a ribbon around the jar and add a gift tag. The flavor combinations are endless - just use your imagination!

This fall inspired recipe can easily be doubled or tripled. I used dried funnel chanterelles which I still had from last year but any other mushroom variety like porcini or chanterelles would work too.

I think the best way to preserve mushrooms is by drying them. The easiest way to dry them is by slicing the cleaned mushrooms thinly {the thinner the slices, the faster they will dry}, spreading them in a single layer on a parchment lined baking sheet, and drying them in a 50°C (125°F) oven. Prop the oven door open with a wooden spoon to vent steam. When completely dried {they will be hard and crispy}, remove from the oven and let cool completely. Transfer to jars and cover with lids.

When stored in a dark, cool place, they will keep for years. Before using dried mushrooms, you need to soak them in water for 15 to 30 minutes. You can use the soaking liquid as well but, depending on the mushroom variety, it often has quite a bitter taste. Dried mushrooms can be tossed into soups, sauces, pastas, risottos... This way you can enjoy mushrooms all year round!

lemony mushroom salt :: my blue & white kitchen

Lemony Mushroom Salt

recipe inspired by a mushroom salt recipe of ELLE mat och vin 7/2013, p. 60
yields about 1 dl (0.4 cups) of finishing salt

 
zest of 1 small organic lemon
1 tbsp chopped thyme
3 tbsp fleur de sel (or a flake salt like Maldon)
2 handfuls (about 10 g) of dried mushrooms (I used funnel chanterelles), finely ground 

 
Preheat the oven to 100°C (225°F).

Using a mortar and pestle, grind the lemon zest and thyme to make a green paste. Add salt and mix well. Spread the salt mixture over a parchment lined baking sheet. 
 
Bake for 30 to 45 minutes, or until the salt is completely dried out. Remove from the oven and let cool completely.

Add the dried mushrooms and mix to combine. The salt should be stored in an airtight container. The intensity of flavor will diminish over time, but it can be stored for up to a year.  


Canada in my Heart - Homemade Apple Butter

fall_leaves_small.jpg

Ever since my trip to the Maritimes, fall brings back sweet memories of Canada. Its kind and hospitable people, the breathtaking nature, and the food we enjoyed - scallops on Prince Edward Island, blueberry beer in Saint John, clam chowder on Cape Breton Island, and lobsters in Halifax. We were lucky enough to visit during fall when the trees were on fire. All those colors! What a beautiful region it is. I left a piece of my heart right there at the shores. One day, I'll come back to look how it's doing.

It was in Nova Scotia, in the small town of Baddeck, that I tasted apple butter for the first time in my life. Here in Scandinavia we aren't aware of its existence. Such a shame! I still remember the lovely young shop owner (?) couple. He was totally into hockey and beyond excited when he heard we were from Finland - "the Koivu brothers!". She couldn't stand maple syrup which I though was totally weird. Living in the promised land of maple syrup and not liking it? What a crazy world we're living in.

colors_of_fall_small.jpg

This is for you, New Brunswick, P.E.I., and Nova Scotia. 

peel_small.jpg

Homemade Apple Butter

yields about 1 liter of apple butter
 
2,5 kg (5.5 lbs) slightly tangy apples, peeled, cored, & coarsely chopped
250 ml (1 cup) hard cider
1 dl 1 tbsp (½ cup) packed light muscovado {or light brown} sugar 
4 cinnamon sticks
1 tsp ground ginger
¼ tsp ground allspice
¼ tsp ground nutmeg
⅛ tsp ground cloves


Put all the ingredients into a large ovenproof pot. Mix well and cover with a lid. Bring the liquid at the bottom of the pot to a boil and let simmer for 30 minutes, or until the apples are soft and falling apart. Remember to stir occasionally. 

Meanwhile preheat the oven to 150°C (300°F). Place an oven rack in the bottom third of the oven.

Remove the pot from the heat and discard the cinnamon sticks. Pour the applesauce into a blender or use an immersion blender and blend until lump free. {At this stage you have a delicious applesauce. Feel free to stop here and enjoy!} If you used a blender, pour the applesauce and the discarded cinnamon sticks back into the pot.

Place the pot in the preheated oven. Cook, uncovered, for 1 hour. Remember to stir occasionally to prevent any scorching. Discard the cinnamon sticks. Continue cooking the applesauce, stirring every half an hour, for 3-4 more hours, or until it has the desired consistency. As it cooks, the applesauce will slowly thicken and turn into a gorgeous deep red-brown color.

Remove from the oven and store in jars. The apple butter will keep in the refrigerator for a couple of weeks or longer if you decide to can it. {For canning instructions, look at my Queen Jam post.}
 

Note: The recipe can easily be halved. The cooking time in the oven will reduce to 2-3 hours. 


apple_butter.jpg

The first snow was sighted yesterday. Wait, what!?! I'm sure the poor cloud just lost its way. I'm definitely not expecting more snow until November.

Chocolate, Almond & Fleur De Sel Pots de Crème

chocolate-pots-de-creme_small.jpg

When I crave chocolate, a chocolate bar from the nearby grocery store won't do. When I crave chocolate, I need something homemade {and heavenly good}. Like a rich chocolate cake, chewy chocolate chip cookies, or, like last time, sophisticated pots de crème.

chocolate-almond-pots-de-creme_small.jpg

Aran Goyoaga's cookbook Small Plates & Sweet Treats, which was published in October 2012, is one of my most favorite cookbooks. It's full of delicious recipes arranged by season, lovely memories & stories, and gorgeous photography & food styling.

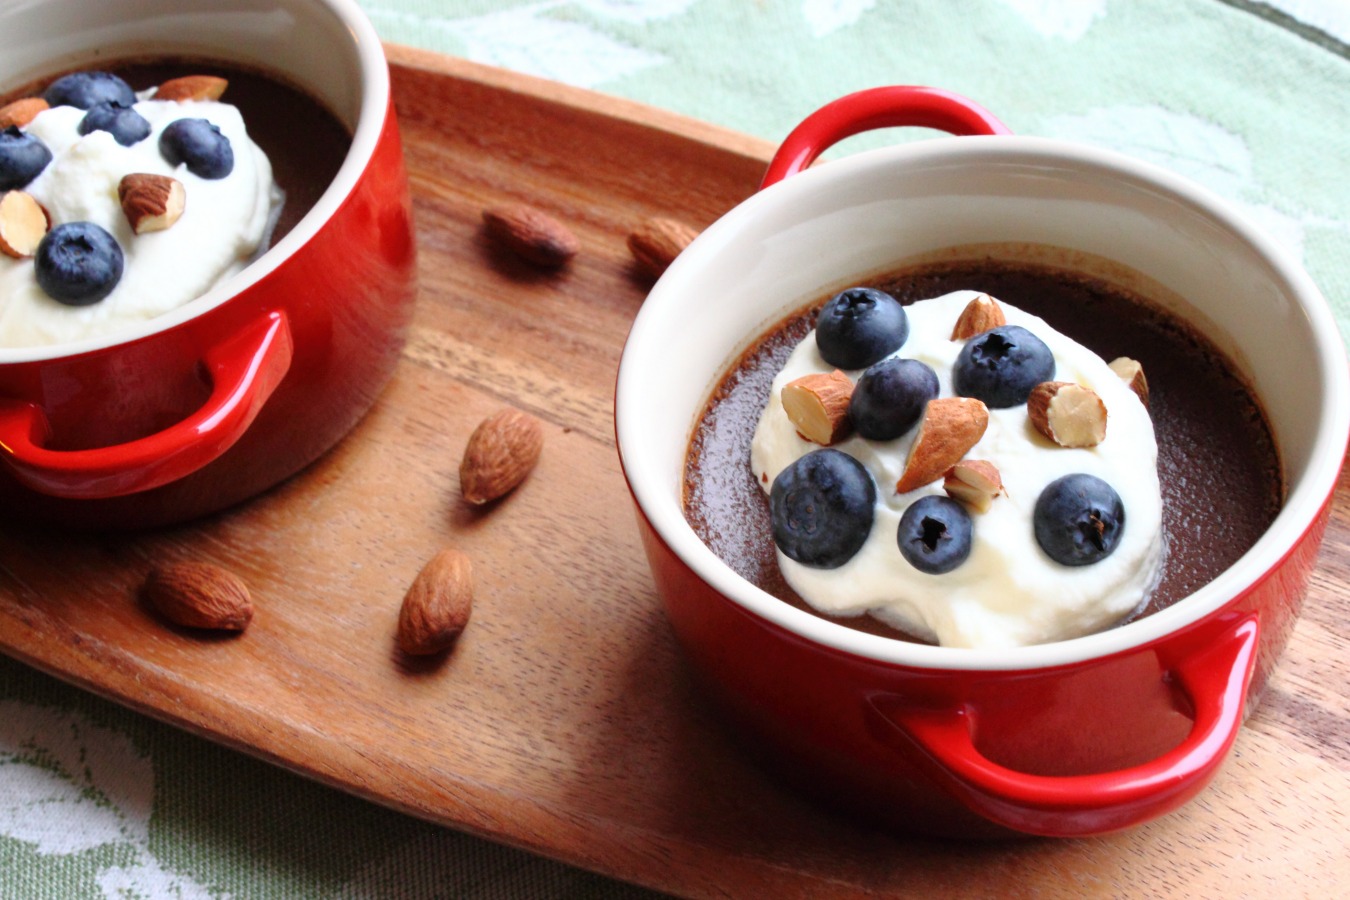
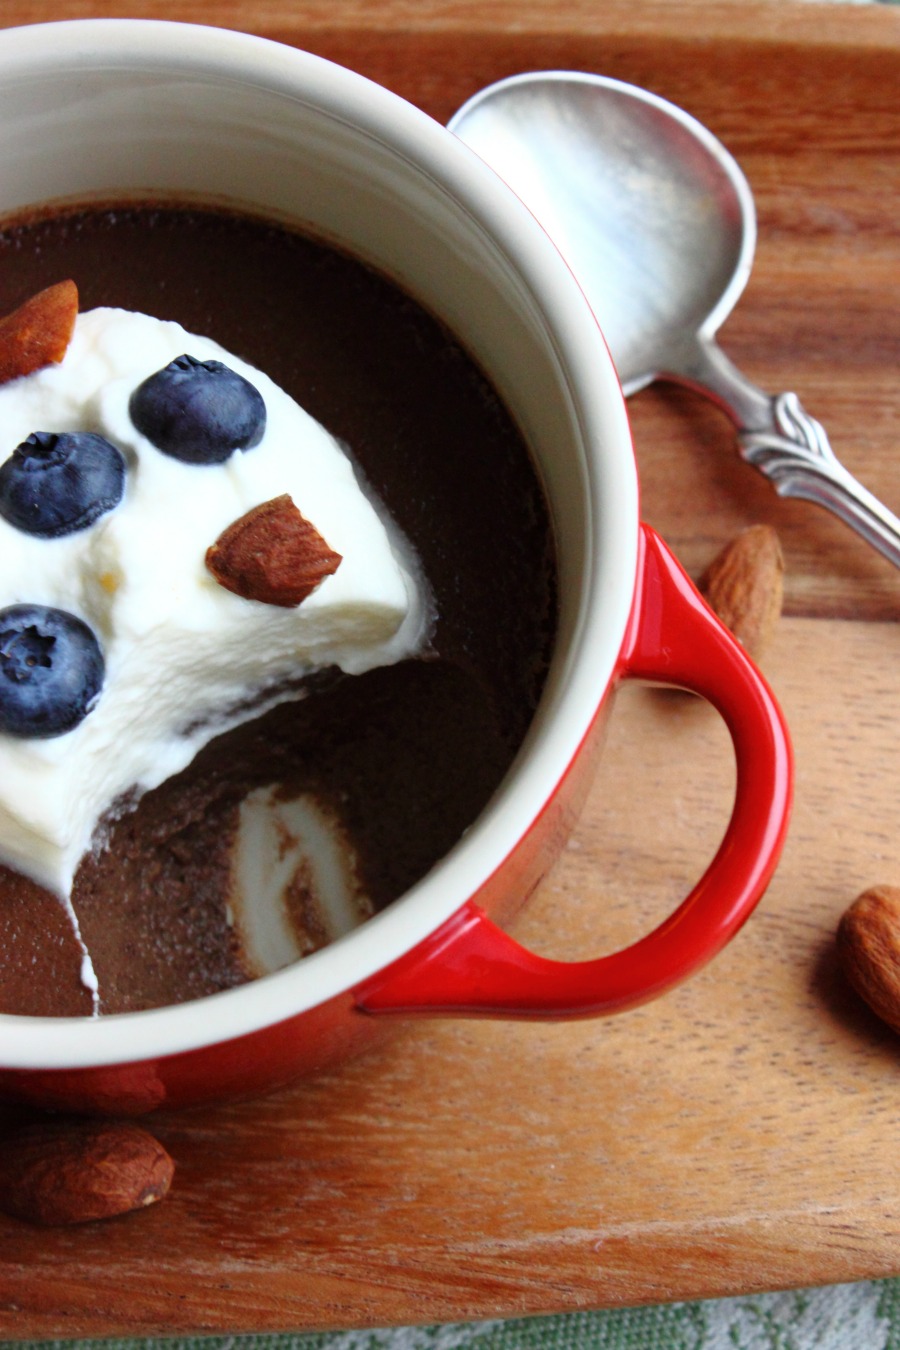
These pots de crème caught my attention immediately. The original recipe calls for hazelnuts and hazelnut butter but I used almonds and almond butter because that was what I had on hand. I also sprinkled some blueberries on top and liked the flavor combination a lot. Next time I may serve them with some vanilla-flavored sautéed apple cubes.

This is a wonderful, rich chocolate dessert for any occasion. I'm sure you too will fall in love with it.

chocolate-pots-de-creme_2_small.jpg

Chocolate, Almond & Fleur de Sel Pots de Crème

recipe adapted from Small Plates & Sweet Treats by Aran Goyoaga, p. 62
recipe can also be found on her blog

30 g (¼ cup) almonds
500 ml (2 cups) unsweetened coconut milk
1 vanilla bean, split lengthwise & seeds scraped out
1 egg (L)
2 egg yolks (L)
50 g (¼ cup) coconut palm sugar
2 tbsp almond butter
60 g (2 oz) milk chocolate, finely chopped
60 g (2 oz) bittersweet dark chocolate (70 % cocoa), finely chopped
½ tsp fleur de sel

whipped cream, to serve
optional: blueberries or other berries or fruit, to serve


Preheat the oven to 180°C (350°F). Roast the almonds on a baking sheet for 5 to 7 minutes, or until fragrant. Let them cool and chop coarsely. Reduce the oven temperature to 150°C (300°F).

In a medium-sized pot, combine the coconut milk, vanilla bean, and seeds. Over moderate heat, bring to a low simmer.

In the meantime, in a medium-sized bowl, whisk together the eggs, egg yolks, sugar, and almond butter until (at least almost) lump-free.

When the coconut milk has come to a simmer, remove the pan from the heat. Remove the vanilla bean pod. Add both chocolates to the warm coconut milk and stir until the chocolates have melted.

Pour a little bit of the hot coconut milk mixture over the eggs while whisking. Slowly add the rest of the milk mixture and whisk until homogenous. Strain the mixture through a fine-mesh sieve into a clean pot or bowl. Add the fleur the sel and stir.

Pour the custard into 6 (4-ounce) oven-safe ramekins. Place the ramekins in a deep baking pan and place it on the oven rack. To create a water bath, carefully pour hot water into the baking pan to come half-way up the sides of the ramekins.

Bake the custards for 30 to 40 minutes. The custards are ready when the cream is set. Remove from the oven and let cool to room temperature, allowing them to set completely.

The custards can be enjoyed at room temperature or chilled. Personally, I prefer mine chilled. To serve, top with whipped cream, roasted almonds, and blueberries.


pots-de-creme_small_bw.jpg

Oh and I have approximately 30 kilos of apples on my balcony… Recipe suggestions, anyone?  

Like Gold Nuggets - Chanterelle Potato Gratin

In this week’s newspapers they were guessing the date of the first snowfall. Seriously? Calm down, everyone. It's fall. FALL! Let’s not freak out, okay? So no talking about snow, snowstorms, ice, or ice cold winds from the North Pole. Thank you. I appreciate it.

IMG_7820_small.jpg

They sit on my kitchen countertop like gold nuggets. Fragile and beautiful. Only hours before they were hiding in the woods, living with their best friends, the birch trees. It's called symbiosis.

For me the chanterelle is the queen of mushrooms. They don't even need a crown - they are the crown.

IMG_7826_small.jpg

I decided to make a chanterelle potato gratin. A fall favorite. I think it’s at its best as a side for a Sunday roast beef. But feel free to enjoy it at any day of the week. You won't be disappointed.

As cheese I used another royal - Västerbotten cheese. It's one of Sweden’s oldest and best-known brands. A very flavorful and versatile hard cheese.

Feel free to use any other wild mushroom or flavorful cheese variety.

IMG_7843_small.jpg
IMG_7870_small.jpg
IMG_7855_small.jpg

Chanterelle Potato Gratin

Adapted from Leilas guldkant på vardagen by Leila Lindholm, p. 55
Serves 4-6

1 kg (2 pounds 3.5 oz) potatoes, peeled and thinly sliced {use a mandolin if you have one}
¼ (about 140 g; 5 oz) celeriac, peeled and thinly sliced
1 onion, thinly sliced
2 garlic gloves, thinly sliced
4 dl (1.7 cups) light cream
1 tbsp chopped thyme
½ tbsp fine sea salt
freshly ground black pepper

200 g (7 oz) chanterelles, cleaned and halved/quartered {depending on the size}
butter
60 g (2 oz; 1 dl) grated cheese {I used Västerbotten cheese but a Swiss-type cheese like Emmentaler would be great too}
fine sea salt and freshly ground black pepper


Preheat the oven to 200°C (400°F). Butter a 28-by-24-cm (11-by-9-inch) baking dish and set aside.

In a medium-sized pot, combine the cream, thyme, salt, and pepper and bring to a boil. Add the sliced potatoes, celeriac, onion, and garlic. Simmer for 15 minutes.

In a frying pan, sauté the chanterelles in butter. Season with salt and pepper.

Add the mushrooms and cheese to the potato mixture. Pour into the buttered baking dish.

Bake on the middle rack for 25-30 minutes, or until the top is golden brown.


IMG_7964_small-ed.jpg

A Rainy Day and Plum Crumble

My Blue&White Kitchen

Lie on the bridge and watch the water flowing past.
Or run, or wade through the swamp in your red boots.
Or roll yourself up and listen to the rain falling on the roof.
It's very easy to enjoy yourself.

– Tove Jansson, Moominvalley in November

IMG_7630_small.jpg
IMG_7651_small.jpg

It was a rainy day. Rain on the roof, against the windows. Sometimes quite harsh, sounding like a drum roll. Then gentle again, like a whisper, quiet and peaceful. Rain. I love its smell, its sound, and the comfort it brings. Walking through a warm summer rain and getting completely soaked. Don't like to get wet? Maybe the Rain Room is what your dreams are made of. Cocooned and protected.

My Blue&White Kitchen

Fall cannot exist without crumbles - apple crumble, plum crumble, berry crumble, pear crumble... You name it! And because it was raining and it's fall and I had some plums sitting on my countertop, I decided to make a plum crumble. I don't know where the idea with coconut came from but it turned out to be just as good as I imagined. With a hint of cinnamon to give it a homey feeling. Served with a scoop of vanilla ice cream. Enjoyed in good company. A dream!

IMG_7701_small.jpg
IMG_7730_small.jpg
IMG_7741_small.jpg

Coconut Plum Crumble

Filling
500 g (1 lb) plums, quartered
1 tbsp demerara sugar

Crumble
60 g (2 oz; 2 dl) desiccated coconut
50 g (1 3/4 oz; 1 dl + 1 tbsp) rolled oats
40 g (1 1/2 oz; 1 dl + 2/3 tbsp) all-purpose flour
45 g (1 1/2 oz; 1/2 dl) demerara sugar
1 tsp cinnamon
pinch of salt
60 g (2 oz) unsalted butter, cold & diced

Vanilla ice cream, vanilla sauce, or whipped cream, to serve.


Preheat the oven to 190°C (375°F).

To make the crumble: In a medium-sized bowl combine the coconut, oats, flour, sugar, cinnamon, and salt. Using a pastry blender, a fork, or your hands, cut in the butter. You can make the crumble ahead of time. Just keep it refrigerated until ready to use.

Put the plums and sugar into a 21 cm (8") baking dish. Sprinkle with the crumble.

Bake on the middle rack for 30 minutes, or until the juices are bubbling and the topping is golden. Serve warm with vanilla ice cream, vanilla sauce, or whipped cream.


IMG_7747_small.jpg
IMG_7748_small.jpg
IMG_7749_small.jpg
IMG_7762_small.jpg