Coldness – Arugula salad with pears, feta & pecans

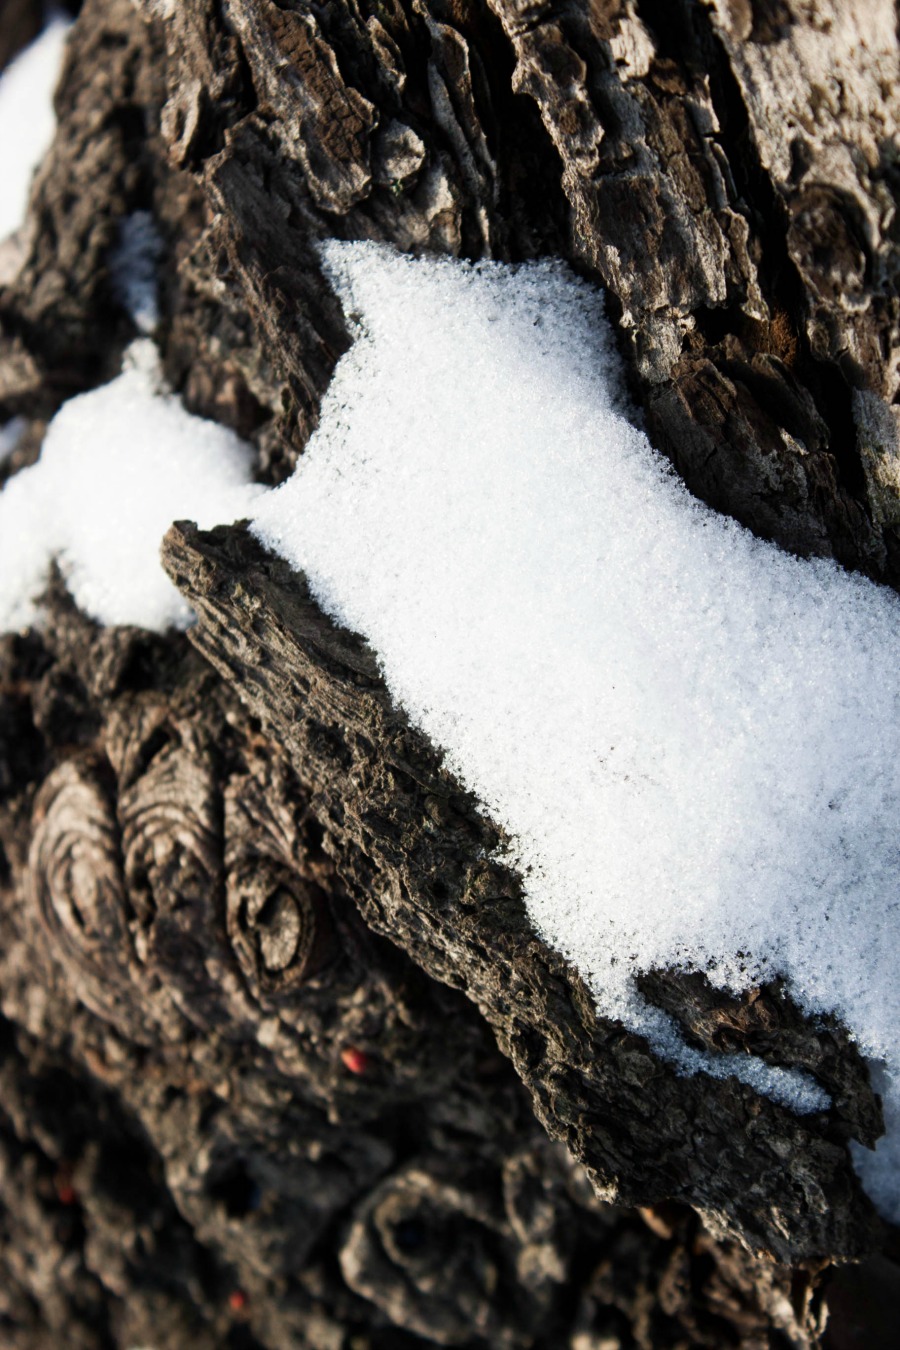
I can hear the snow crunching under my feet. I breathe out and white mist forms before my face. I smile and my heart jumps in the air. Finally, it's winter again. For a moment I feel like a child wanting to make snow angels in the shallow snow – lie on my back and vigorously move my arms up and down and my legs from side to side. Honestly, when was the last time I made one?

my blue&white kitchen

But then the cold arctic wind hits me. Hard and freezing cold. I'm talking about -20°C (-4°F) cold. So yes, really cold. Soon I can't feel my nose anymore. Cheeks? Nope. And my ears? Well, I should have put a woolen hat on... By the time I'm back home they might have fallen off. Maybe not really likely but the thought alone makes me panic a little so I rub them with my hands. Thank God I'm wearing mittens. Then I look down. My favorite ankle boots and bare legs. Well, they're not really bare. I wear thick(ish) tights. However, this isn't quite what one could call cold weather clothing. Women! What was I thinking?

Oh winter. I think we do have a stormy love-hate relationship.

my blue&white kitchen

But hey, let's talk about today's recipe...cause there's so much more than coldness and maybe it's 40°C in your corner of the world (hello Oz!). I'm not going to share a recipe for a warming soup or comforting stew. No, today we're having a simple, quick-to-make salad. And I don't post this recipe because I'm on a post-Christmas diet spree. I post it just because it's delicious.

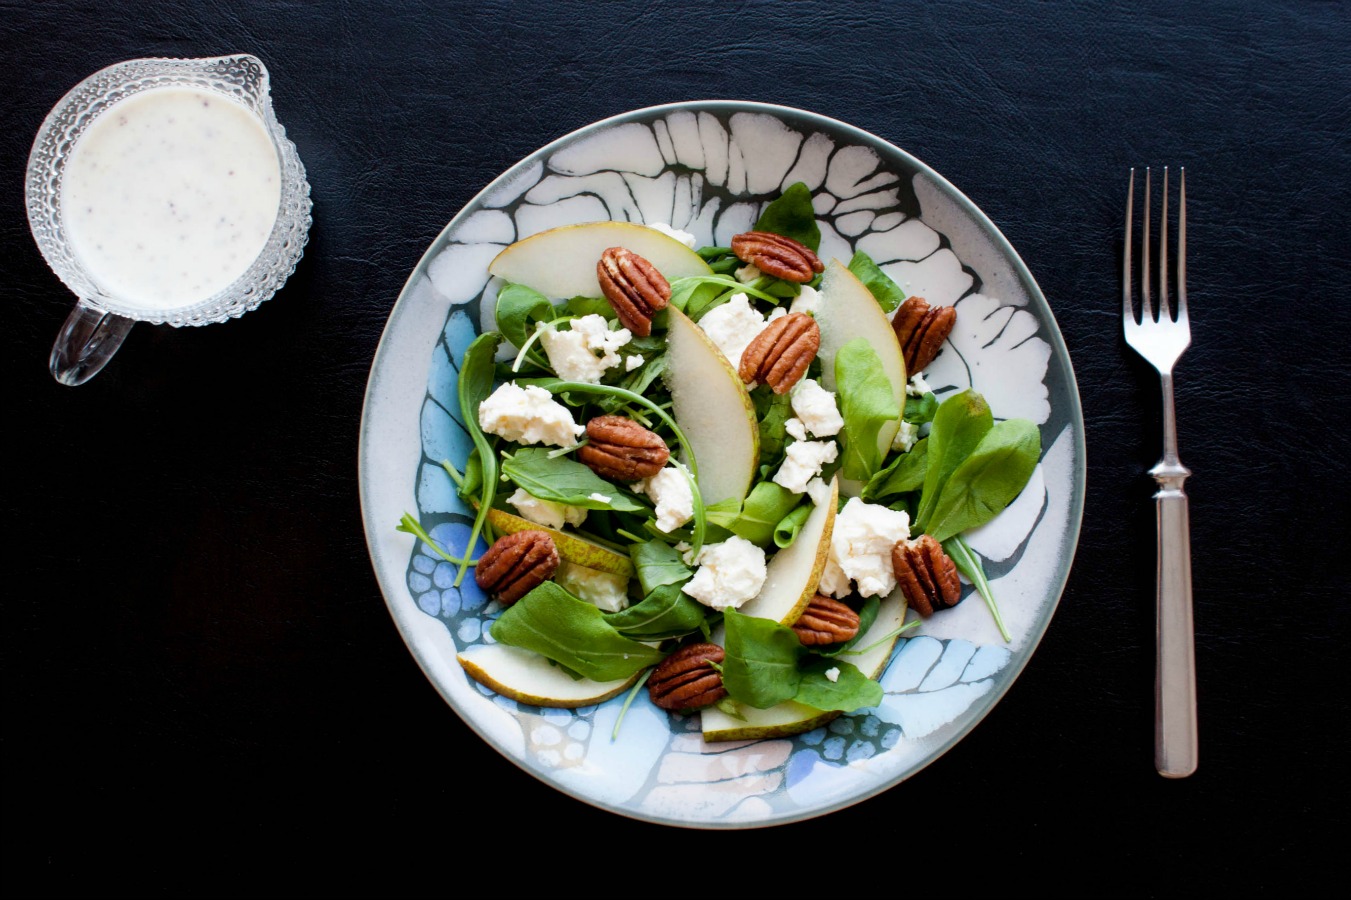
This is a variation of a salad we often make at a get-together with friends (thanks to my friend M.). The "original" version calls for blue cheese and walnuts. I, however, used feta and pecans instead. If you want to have a more filling salad, you can pimp it up with red quinoa. I should also tell you that after I took these shots I remembered that I still had a pomegranate sitting on my countertop. The pom seeds were really lovely sprinkled on top! 
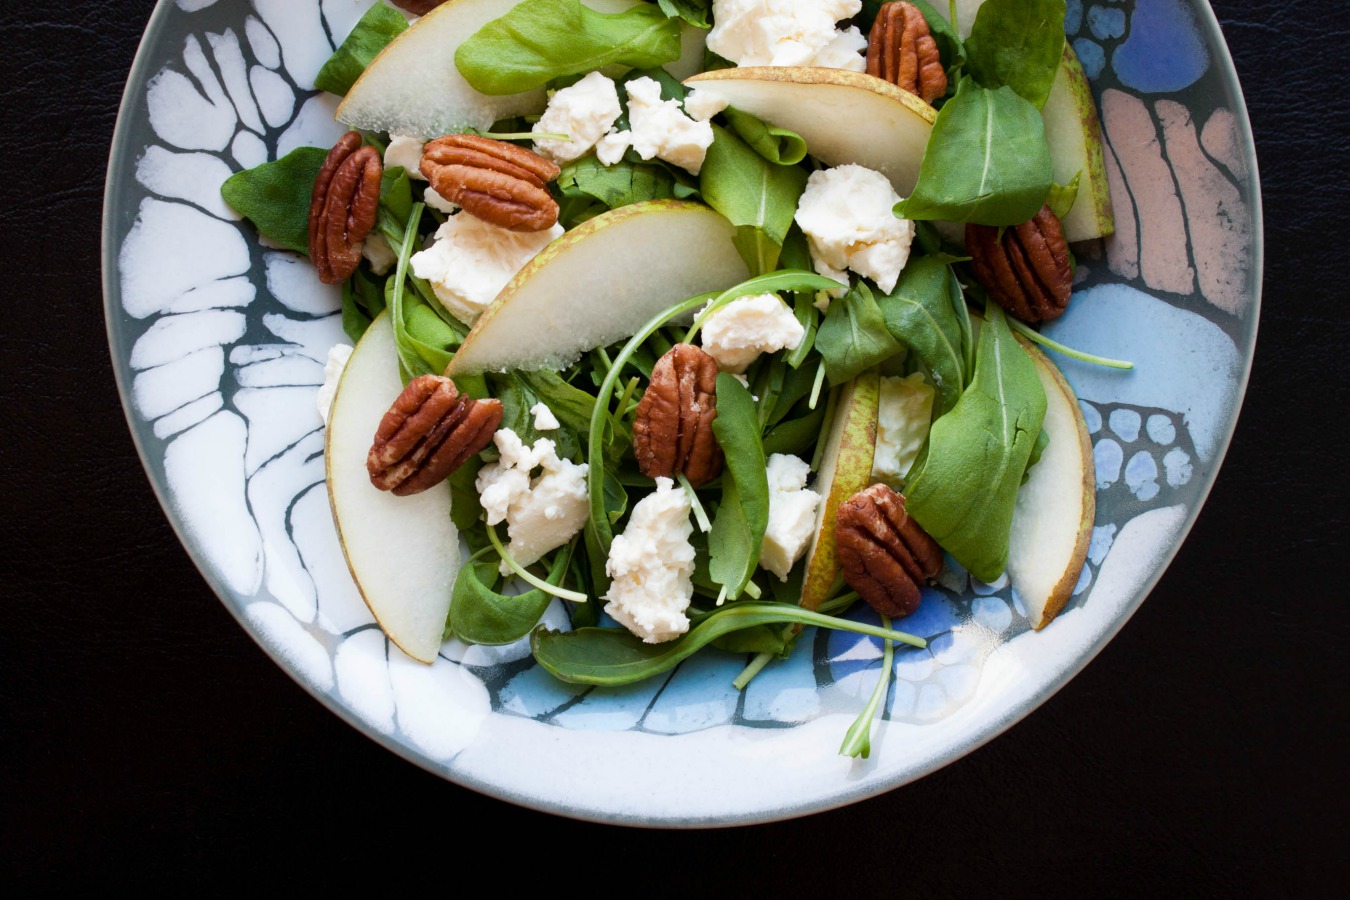
Arugula Salad with Pears, Feta & Pecans

serves 2

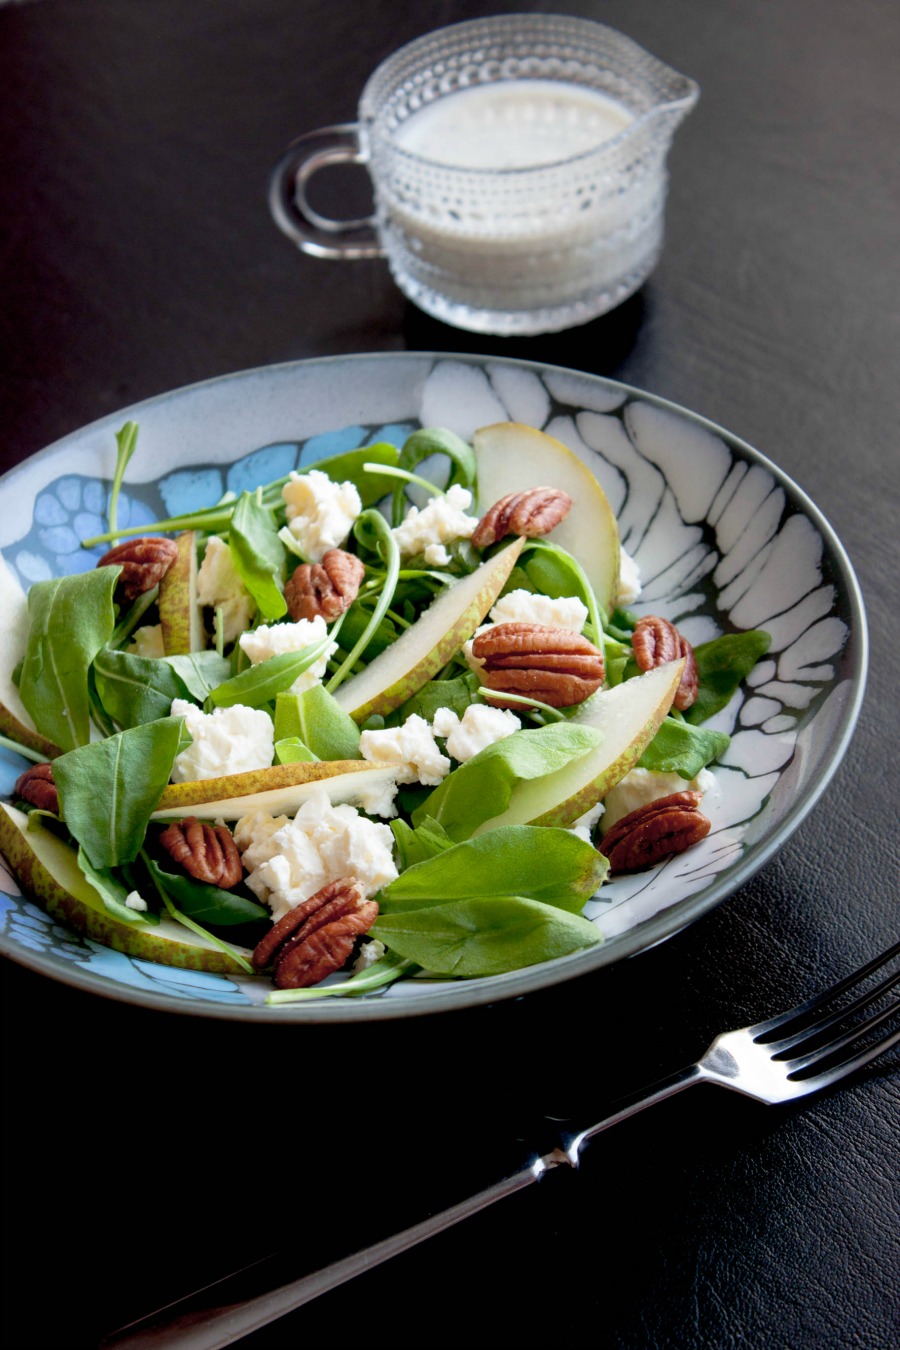
You'll end with more dressing than you need but it'll keep in the fridge for a couple of days.


2 large handfuls of arugula, washed & dried
2 pears, thinly sliced
100 g (3.5 oz) feta, crumbled
handful of pecans

for the dressing
3 tbsp full fat plain yogurt
½ tbsp whole grain mustard
½ tbsp white balsamic vinegar
a drizzle of honey
salt & freshly ground pepper, to season

For the dressing, combine yogurt, mustard, vinegar, and honey. Season with salt and pepper. Set aside.

In a large bowl, toss together arugula, pears, and feta. At this point you can either mix in the dressing or, like I do, serve it separately. Sprinkle the salad with pecans to make it look even prettier.

arugula salad with pears, feta & pecans :: my blue&white kitchen

>>>•••••••••<<<

Let's get connected!

Be Grateful – Mulled Cider with Calvados

crocheting :: my blue&white kitchen

Sorry for the silence. I've been dealing with death. Loss and grief. Crying at night while trying to keep myself together during the day. Long, stressful days. Lack of sleep.

But don't worry, I'm getting better. Day by day.

crocheting :: my blue&white kitchen
yarn :: my blue&white kitchen

Although I've been visiting the dark places more often than usual, I've been cooking and baking a lot during these past two weeks. Whether I'm sad or happy, anxious or feeling glorious – in the end, it all comes down to standing in the kitchen. Chopping, stirring, braising, kneading. Creating food and sharing it with the ones I love. That's who I am. That's what keeps me going. Through the good times and the bad times.

I created a mulled cider recipe for the holiday season that lies ahead of us. Something to warm you up from the inside. A mug of comfort. I served it at a get-together last weekend and saw people getting second servings. The next day, they asked for the recipe. One friend even told me she was gonna serve it on Christmas Eve. Yes, this recipe is a winner.

Make this and share with your loved ones. Be grateful for the time you have together. It's worth more than gold.

mulled cider :: my blue&white kitchen

Mulled Cider with Calvados

serves 2 – 3  (but the recipe can easily be doubled or tripled)

500 ml (~2 cups; 17 fl oz) unfiltered, unsweetened apple juice 
zest of ½ an orange
1 cinnamon stick
½ a thumb-sized piece of fresh ginger, peeled & sliced
2 whole allspice berries
pinch of ground cloves
130 g (1 ½ dl, packed; 4.6 oz) light muscovado sugar

optional: 2 tbsp calvados

Combine all the ingredients, except the calvados, in a medium-sized saucepan. Bring to a boil. Reduce the heat and let simmer for 30 minutes. Remove from the heat and discard the spices (you can leave some for garnish, if you wish). Add the calvados for an even more delicious mug of comfort. Serve hot.


mulled cider with calvados :: my blue&white kitchen

The Wait - Salt Roasted Chestnuts

my blue&white kitchen

I can feel how the growing darkness drains the energy from my body and mind. For me, this is the hardest part of the year. It's dark. Dark as ash. The sun only pays brief visits and I can both see and sense its slow but sure farewell. And the trees. Bare, screaming in the wind. And amidst this darkness, there's no snow to give some light. White, glistening light. That magical winter light that I adore so much. 

It's official now. I'm waiting for you, snow. Come soon, will you?

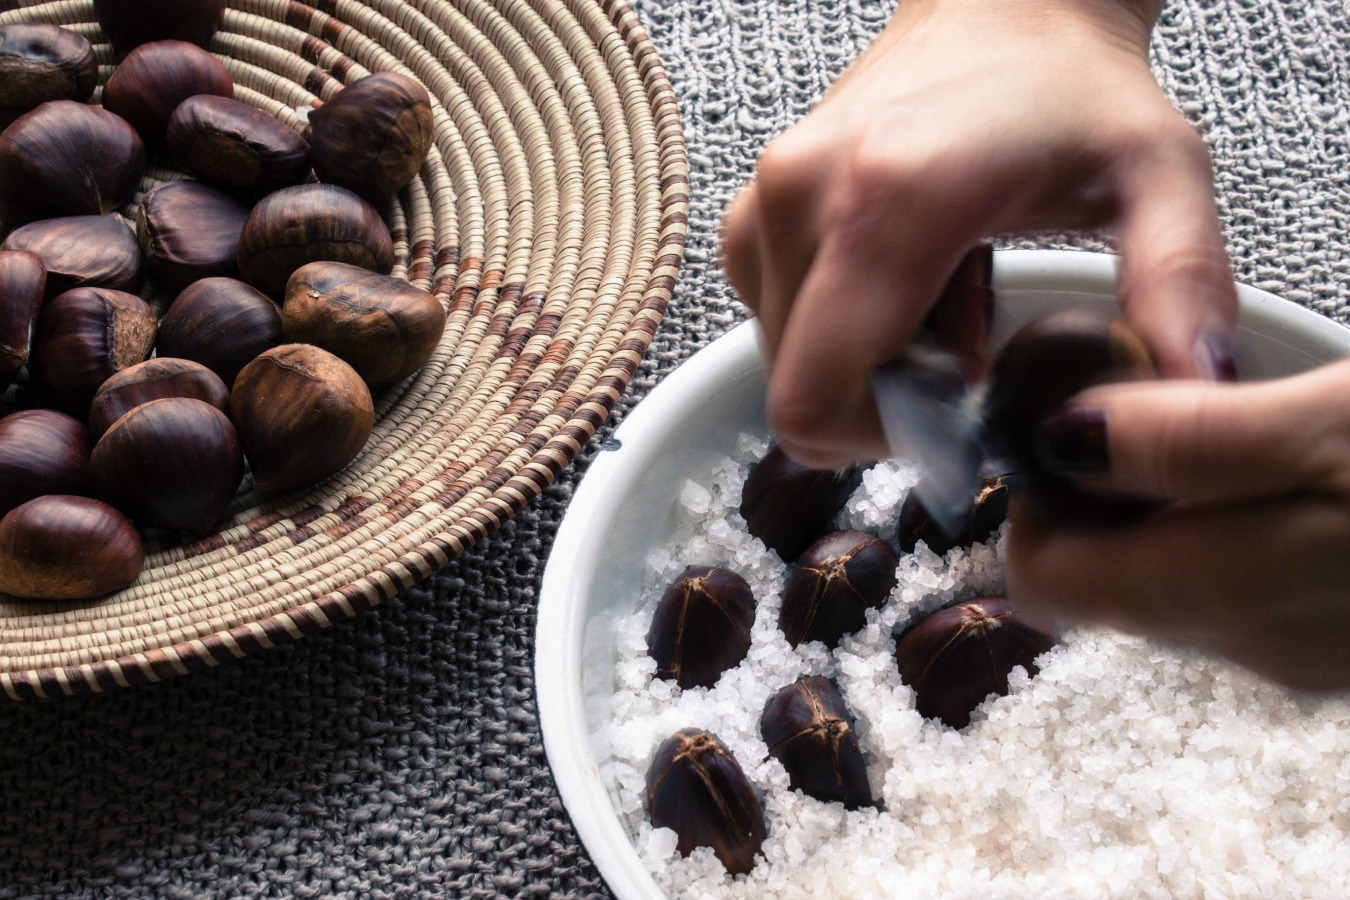
salt roasted chestnuts :: ​my blue&white kitchen

Salt Roasted Chestnuts

Chestnut season runs from early October through late December. Their flesh is sweet, energy-rich and highly nutritious. Fresh chestnuts should be heavy in your hands and firm to your touch, and have a shiny brown color. The kernels should be light in color. Pinholes may indicate worms so avoid those ones.

Why roast them in salt? The salt protects them from burning and keeps them moist. And it looks pretty as well! It's how my mom has taught me to prepare them. They are a great way to begin or end a meal, or you can enjoy them as a winter snack. You could even put them into your coat pockets – they will keep your hands warm on a chilly day! {Although I don't know who really does that anymore... Well, me. Last year. Once.}


500 g (1 lb) chestnuts
~ 1 kg (2 lb) coarse sea salt 

salted butter, to serve {I enjoy them with fleur de sel butter}
 

Preheat the oven to 175°C (350°F). 

Add the salt to an ovenproof dish (mine was 21 cm / 8"). Using a sharp knife, make a cross incision along the bulging side of each chestnut. Cut deep enough to penetrate the shell but try not to harm the flesh of the nut. And be careful not to cut yourself! Place the chestnuts, cut side up, into the salt. Two-thirds of the nut should be covered by salt.

Roast on the middle rack for about 30 minutes, or until the skins open and the insides are tender. Serve immediately. Everyone at the table can peel their own chestnuts - peel away the tough outer shell and the papery skin and enjoy the sweet kernels with a knob of butter. You may want to use a knife to help peel the chestnuts.


Note: You can store the salt for later use. 


salt roasted chestnuts :: ​my blue&white kitchen

>>>>>>>>>>>>>>><<<<<<<<<<<<<<<

​my blue&white kitchen

Behind the scenes: the photobomber.


WHOA! You can now also follow me on Facebook. Come say hi!
I would love to hear from you.

A Forager's Meal: Flammkuchen with Funnel Chanterelles, Black Forest Ham & Goat Cheese

My Blue&White Kitchen

The quiet transition from autumn to winter is not a bad time at all. It's a time for protecting and securing things and for making sure you've got in as many supplies as you can. It's nice to gather together everything you possess as close to you as possible, to store up your warmth and your thoughts and burrow yourself into a deep hole inside, a core of safety where you can defend what is important and precious and your very own. Then the cold and the storms and the darkness can do their worst. They can grope their way up the walls looking for a way in, but they won't find one, everything is shut, and you sit inside, laughing in your warmth and your solitude, for you have had foresight.

– Tove Jansson, Moominvalley in November


My Blue&White Kitchen

I was foraging mushrooms with my mom last Friday. It was a chilly day, snow lying here and there in the forest. We were looking for funnel chanterelles. They are quite common at this latitude. They don't mind frost and not even a little snow bothers them much. They grow in groups - the rule is: if you find one, you'll most probably find more. Most often, you'll find more than enough.

In some parts of the world foraging is seen as a thing only hipsters do. But here in Scandinavia most people do it. It's an important part of our culture. For me mushroom hunting is almost meditative. Surrounded by woods and quietness. But actually, if you listen very carefully for a moment, you'll notice that the forest is full of sounds... You also need to focus – keep your eyes open! The mushrooms can so easily be overseen. Last Friday it was even harder than usual as the forest ground was full of fallen leaves that had exactly the same color as the mushrooms we were looking for.

And the joy when you finally spot some! It's the kind of joy one felt in childhood. The purest kind of joy. 

Trumpet Chanterelle :: My Blue&White Kitchen
Chanterelles :: My Blue&White Kitchen

We came home with 3 kilos of funnel chanterelles (and some of this season's last chanterelles too!). Funnel chanterelles have a wonderful flavor. They can be easily dried for preservation. That's what I do with them. That way I can enjoy them all year round! You can find more about drying mushrooms and using them in this previous post.

The first thing I made, after we came home, was a simple but nourishing mushroom soup. There's really no better way to end a foraging day. A couple of days later I made a Flammkuchen, an Alsaser flatbread, topped with funnel chanterelles, some Black Forest ham, and goat cheese. It was so good that I wanted to share this recipe with you, dear readers. 

The base, which is slightly adapted from the delicious:days blog, is a staple in my kitchen. It works every single time. {Nicky uses bread flour instead of all-purpose flour. I'm sure the crust will turn out even better that way but since bread flour is hardly ever available here in Finland, I use all-purpose flour instead.} I recommend to use fresh yeast as baked goods rise far better with fresh than active dry yeast. The topping can of course be adapted to your liking. If you can't find Black Forest ham, use pancetta instead. Or leave the meat out completely. I wouldn't substitute the flavorful funnel chanterelles with button mushrooms as they often lack taste. However, black trumpets would be great!

Red Onions :: My Blue&White Kitchen

Flammkuchen with Funnel Chanterelles, Black Forest Ham & Goat Cheese

crust slightly adapted from delicious:days by Nicole Stich
yields 2 Flammkuchen, serves 4

250 g all-purpose flour
50 g rye flour
½ tsp fine sea salt
175 ml lukewarm water
15 g fresh yeast
1 tbsp olive oil

200 g crème fraîche
2 tbsp heavy cream
fine sea salt & freshly ground black pepper, to season
100 g Black Forest Ham {or pancetta}, chopped
350 g (about 4 small) red onions, finely sliced
~150 g (3-4 handfuls) funnel chanterelles (or black trumpets), cleaned & the bigger ones sliced
140 g soft goat cheese

parsley, chopped, to finish
 
 
To make the dough: Combine both flours and sea salt in a bowl of a standing mixer {or a large bowl if making the dough by hand}.  Make a well in the center. Dissolve the yeast in lukewarm water. Pour it into the well and add the olive oil. Knead for 3–5 minutes at medium speed. The dough is ready when it's elastic and comes clean off the sides of the bowl. Shape into a ball and cover with a clean kitchen towel. Let the dough rise in a warm place for 45 minutes. After the dough has risen, punch it down, shape into a ball again, and let rise for further 30 minutes.

Preheat the oven to 250°C (480°F) or as hot as your oven gets. If you want, you can place a baking tray at the bottom level so it gets preheated. It works like a pizza stone and ensures a perfect crust! 

To make the topping:  Combine the crème fraîche and heavy cream. Season with salt and pepper.

To arrange: Divide the dough into 2 equally sized portions and shape into a ball. Flatten the ball with your hands. Using a rolling pin, roll it out on a lightly floured surface. We want to have a thin crust! Transfer to a parchment-lined baking sheet. Evenly spread half of the crème fraîche mix on top and top with the other toppings {starting with the ham and ending with the goat cheese}.

Bake for 10–15 minutes, or until the crust has gained a golden brown color. While the first Flammkuchen is in the oven, you can arrange the other one. Remove the Flammkuchen from the oven when ready and sprinkle with some chopped parsley. Slice and serve hot or at room temperature.


flammkuchen with funnel chanterelles, black forest ham, & goat cheese :: my blue&white kitchen​

Looking for more topping ideas for flatbread? Here are some of my favorites:  

swans :: my blue&white kitchen

We spotted some swans on our way home!

Scandinavian Carrot Bread Rolls

Carrot Bread Rolls ::&nbsp;my blue&amp;white kitchen

Riding the 7 am train to university isn’t that much fun. {Although I should add that riding the 6 am train is even less fun.} But watching the sun rise over the horizon at 8 am from behind a train window? Oh boy! The way the first rays of light hit the sky, the fields, and the woods. The world stops for awhile and suddenly everything in life seems to make total sense. 

And so I sat there, in the 7 am train, eating my carrot bread roll filled with some butter and gruyere cheese, and was totally amazed by the golden October sunrise.

Carrot Bread Rolls ::&nbsp;my blue&amp;white kitchen

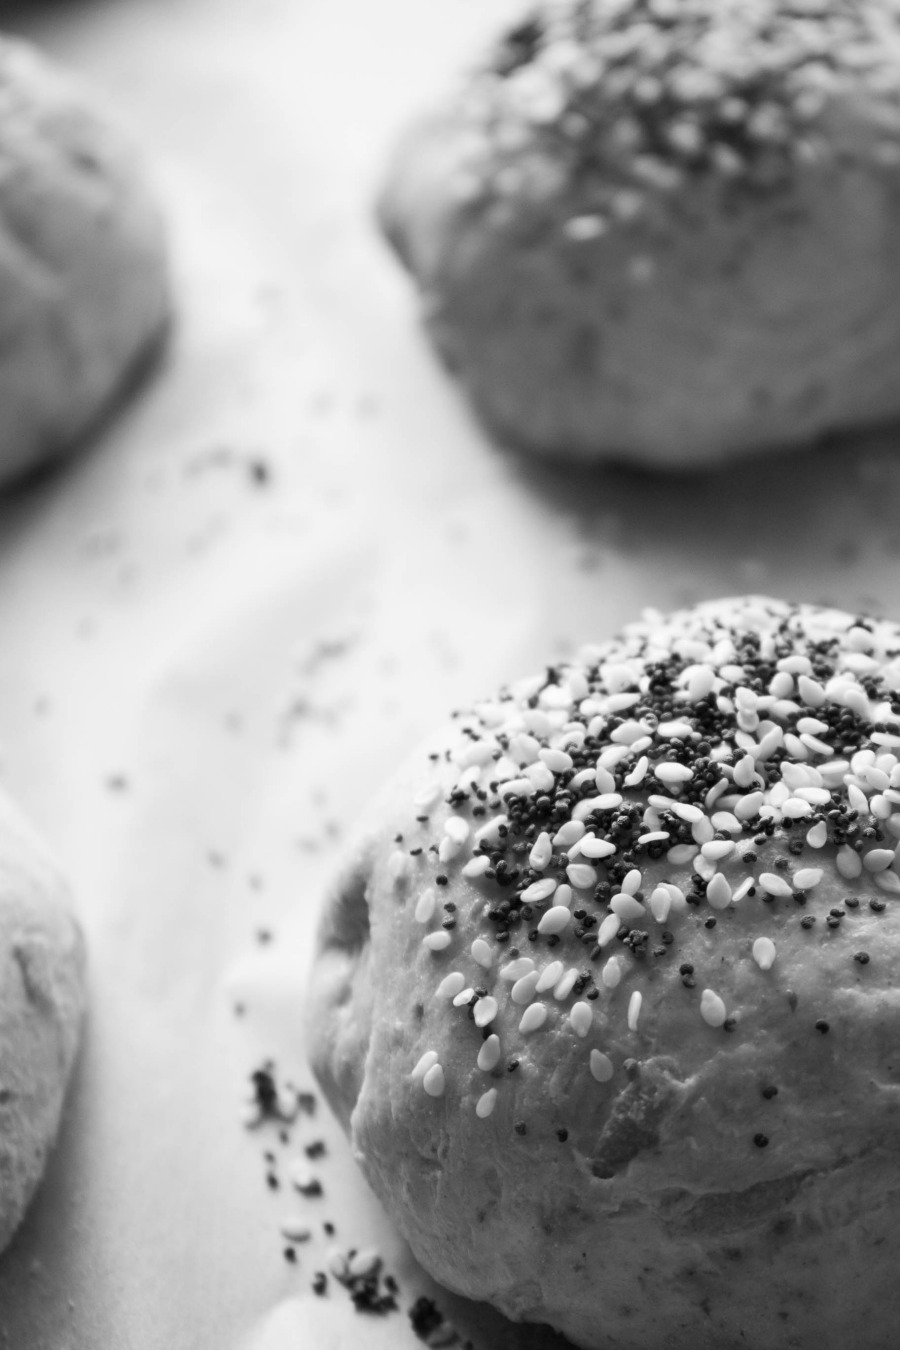
I had made the carrot bread rolls the day before. Baking is one of those things that makes a home feel like home. When I was a kid, my mom used to make bread rolls topped with poppy seeds. They were my absolute favorites. I still sprinkle mine with these small pals.

Carrot Bread Rolls ::&nbsp;my blue&amp;white kitchen

This recipe is an adaption from a recipe we once got from a family friend. The curd makes them extra luscious. However, once I forgot to add the curd but they still turned out great! This is my basic bread roll recipe. I usually make it a couple of times a month. Mostly after 9 pm. There’s something about baking late at night. Or then it's just a bad habit.


Scandinavian Carrot Bread Rolls

yields about 15 bread rolls

 
7 dl (420 g) dark wheat flour
4 dl (120 g) all-purpose flour
2 dl (120 g) rye flour
1 tsp fine sea salt
½ l lukewarm water
40 g fresh yeast
125 g quark or curd
50 g unsalted butter, at room temperature
1-2 carrots, coarsely grated
½ tbsp Scandinavian dark syrup {according to this site, it can be substituted by light molasses}

different seeds {like poppy seeds or sesame seeds}, to sprinkle
all-purpose flour, to dust

  
Combine all the flours and salt in a bowl and set aside. In a bowl of a standing mixer {or a large bowl if making the dough by hand}, combine the lukewarm water and crumbled yeast. Stir with a spoon until the yeast is completely dissolved. Gradually add the flour mixture and mix. When you have used up most of the flour mixture, add the butter, curd, carrots, and syrup. Mix. Add the remaining flour and knead until the dough comes together. Be sure not to overmix the dough! It will be quite sticky but that's alright. Adding more flour would yield dense bread rolls and we don't want that. Dust the dough surface with a little flour. Cover the bowl with a clean kitchen towel and let the dough rise in a warm place for 15 minutes.

Meanwhile, line two baking sheets with parchment paper. With your hands, form about 15 equally sized smooth balls. You probably need to use a lot of flour to prevent the dough from sticking to your hands while forming the rolls. Place the rolls on a baking sheets, leaving enough space between them to allow for rising. Dust them with a little flour and cover with a clean kitchen towel. Let rise for a further 20-30 minutes.
 
Meanwhile, preheat the oven to 225°C (435°F).

Lightly brush the rolls with a little water and sprinkle some seeds on top. Bake in the preheated oven on the middle rack for 10-15 minutes, or until they are golden brown and sound hollow when tapped underneath. They are best enjoyed while still warm but will keep for 2-3 days {although they never have survived for that long}. For a longer storage, freeze them!


Carrot Bread Rolls ::&nbsp;my blue&amp;white kitchen

P.S. As I sit here typing, large snowflakes are falling from the gray sky. The first snow has arrived.