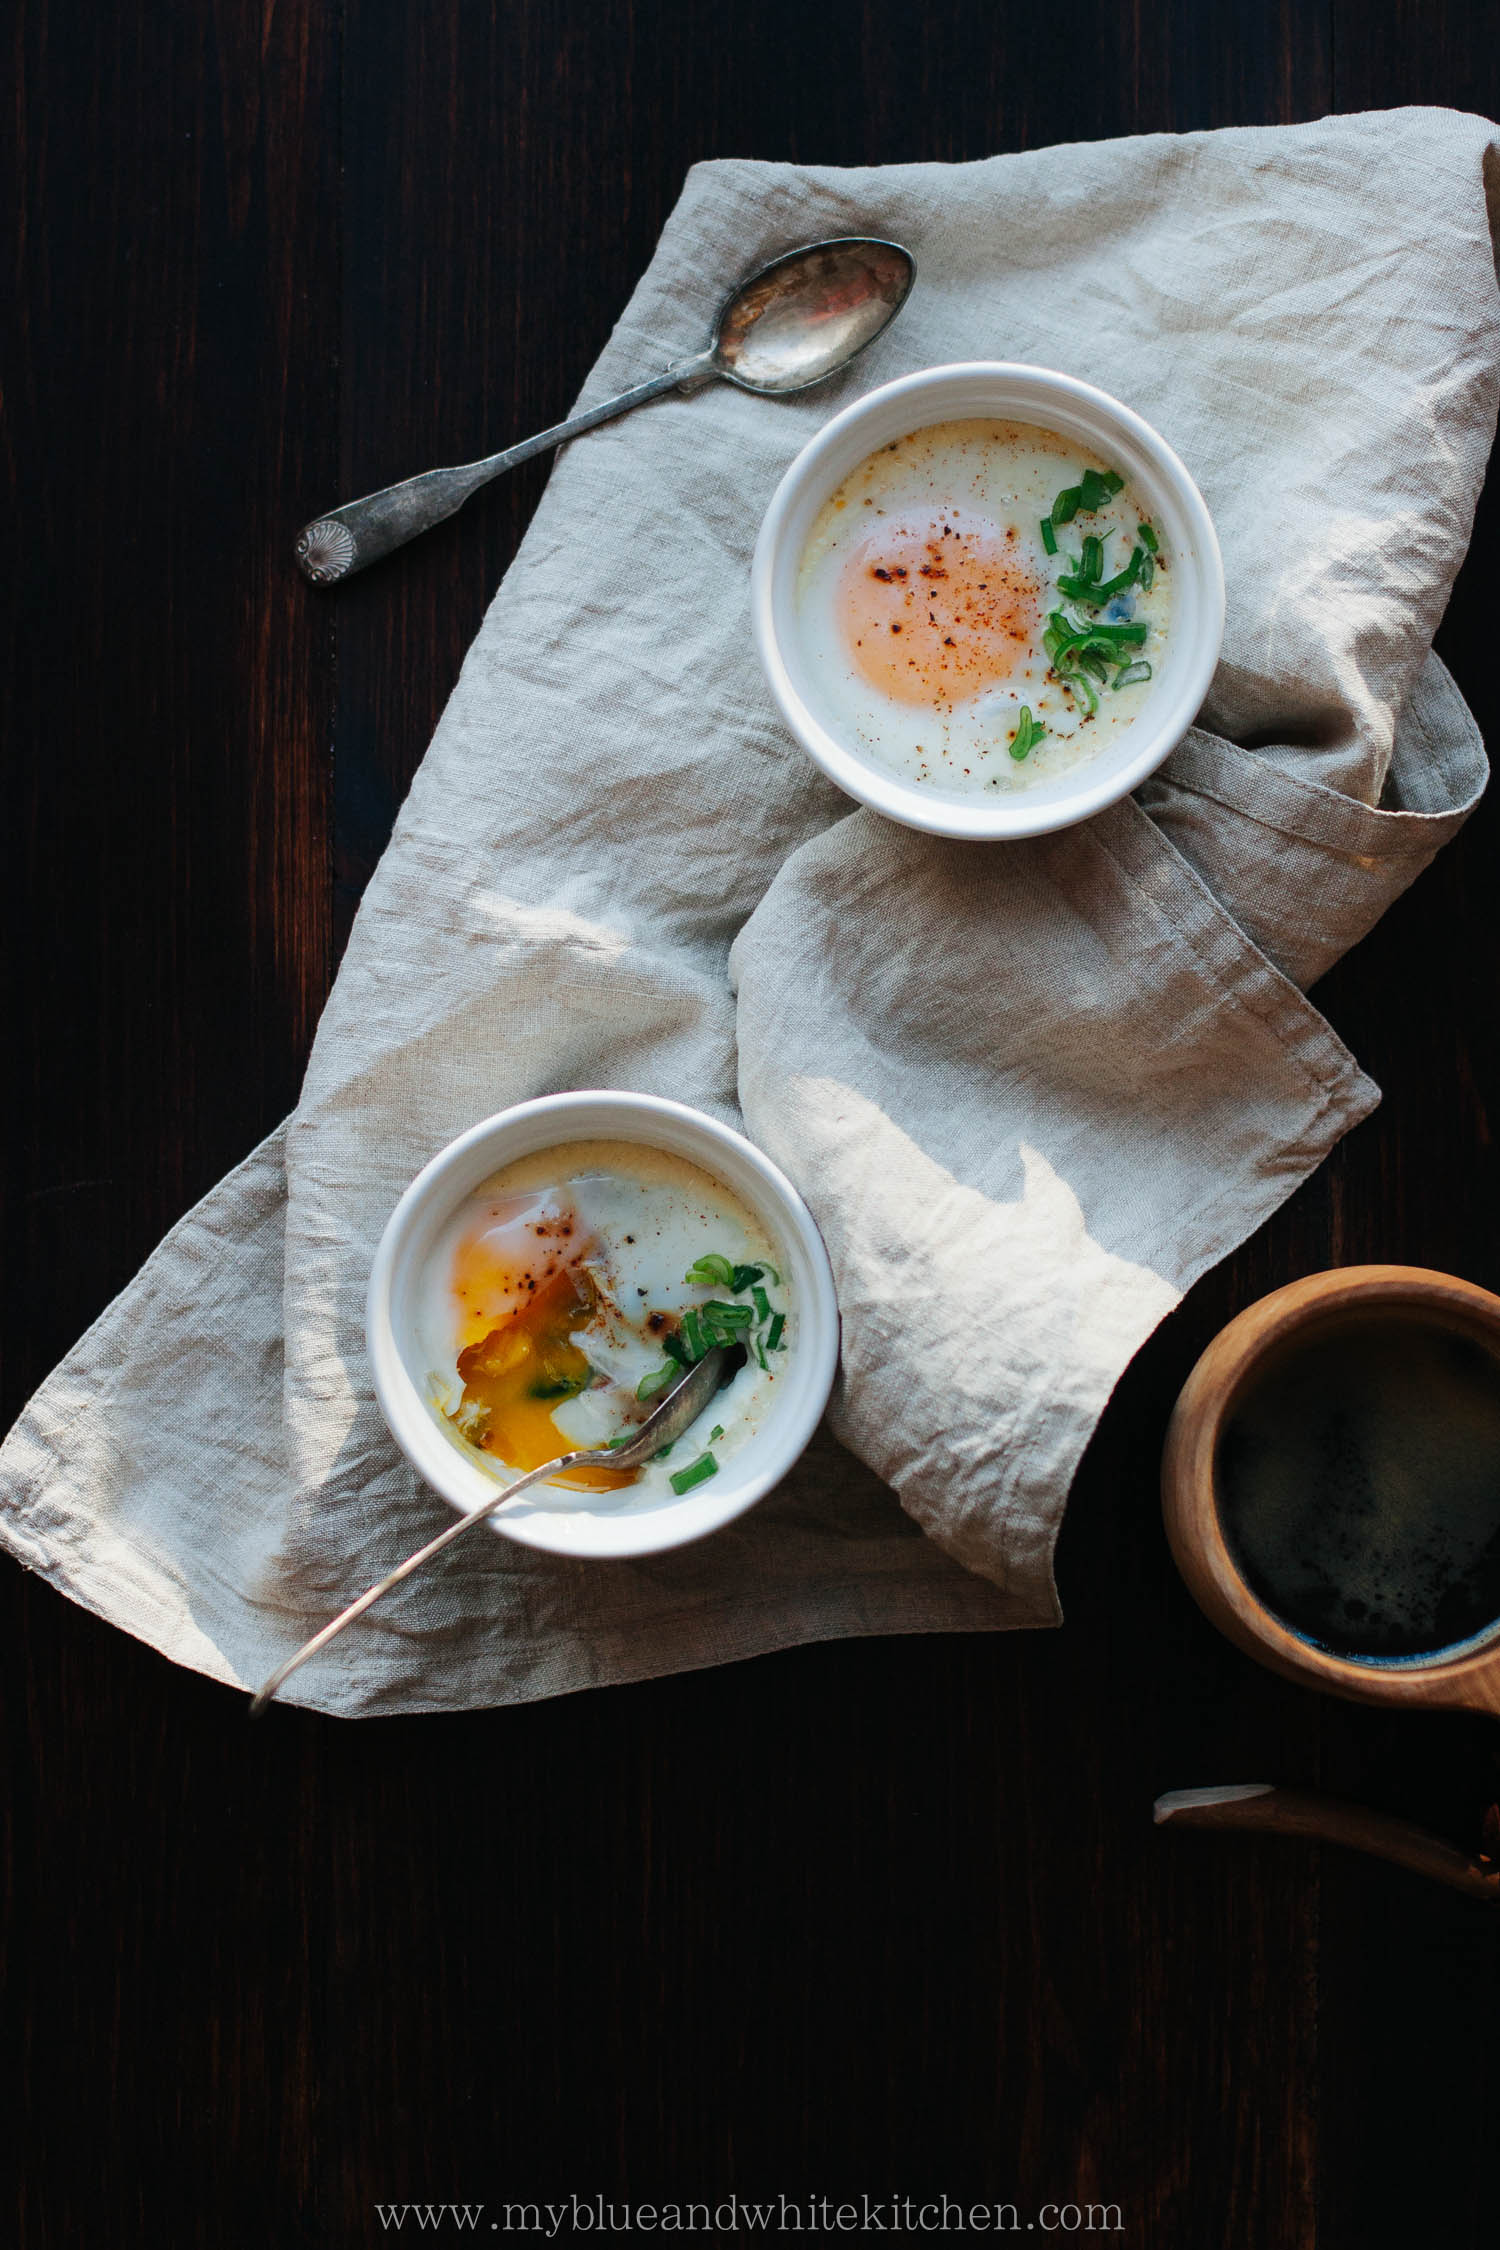
Food & Lifestyle Photography & Styling Workshop in Alentejo, Portugal | May 2016 + Some Exciting News

Alentejo Workshop May 2016 | My Blue&White Kitchen

I can't believe it has already been 3 weeks since our food and lifestyle photography and styling workshop in Alentejo, Portugal. The week I spent in Portugal was seriously one of the best and most inspiring weeks of my life. The trip gave so many answers, affirmed that I'm on the right path, that dreams are there to be made true. That I can make it if I only work really hard and believe in myself.

A huge thank you to Marta and Sanda for organizing it all and to Filipe for all the cooking and grilling despite a serious spring storm (talking about real-life heroes). Thank you Maria for being a fabulous host at Cabeça da Cabra Guesthouse - we'll meet again next year. Also, thank you to every single lady who I met, shared stories with, and laughed till tears ran down my face: Simone, Anna, Marina, Mina, Ana, Lisa, Pilar, and Giulia. I know we'll keep in touch and meet again. A special thank you to my dear friend Jonna for taking this adventure with me - this is only the beginning.

It's finally time to announce an exciting project I, Jonna, and our friend Elina are working on. By the end of this year, we'll publish issue 1 of our international, self-published knit & lifestyle magazine. We aim for more than just a magazine. We want to cherish a community of like-minded knitters, creatives, and lovers of good and beautiful things in life. We want to evoke emotions, to inspire you to gather and share. There will be workshops, retreats, and other exciting stuff happening as well. Needless to say, we're here to pour our hearts and souls into this project in order to create the most gorgeous magazine. We'll reveal more details during this summer, so if you want to keep up-to-date please follow us on our Instagram feeds: @myblueandwhitekitchen and @jonnahoo.

And now I have to excuse myself as I need to get out to enjoy the Nordic summer sun. xx

Alentejo Workshop May 2016 | My Blue&White Kitchen

Chickpea Flour Does it All – Clumpy Granola with Stewed Rhubarb

Clumpy Granola with Stewed Rhubarb | My Blue&White Kitchen

Although I consider myself a serious food enthusiast and a passionate cook and baker, there certainly are ingredients that I don't use that often or that I'm rather unfamiliar with. Similarly, there are dishes, even classics, that I've never made either because they somehow scare me to death, because I have never really been in the mood to make them, or because it just has never happened. I've never made a tarte tatin or a summery granita. Pulled pork is still on my recipes-to-tackle list. Brownies? Oh well... I've made filled pasta shells numerous times but have never made canneloni at home. And although I love Asian flavors, I don't cook Asian that often. I haven't grown up using the ingredients and have learned Asian cooking methods and techniques simply by reading online articles, books, or magazines and by watching tv shows or clips on YouTube. This means that every time I cook Asian I have to get out of my comfort zone. Sometimes it works out perfectly; other times I'm left confused, as I can't get the flavors or textures right or because the dish looks monumentally different than what it's supposed to.

For a long time, chickpea flour was an ingredient that just never found its way into my kitchen. It just never happened.

Clumpy Granola with Stewed Rhubarb | My Blue&White Kitchen

Lindsey is one of the first food bloggers I got online friends with. I still remember how fascinated I was by her cooking back in 2013 when I stumbled upon her blog, dolly and oatmeal, for the very first time. Her space was different from others, I could really feel her spirit in her photography, writing, and recipes. I've always felt that one of the best compliments one can get as a creative is that others recognize your style, that they can say "hey, that recipe/photo/piece of writing is from person x". And yes, Lindsey truly has a unique style and a special, fresh take on seasons' best produce. In her recipes she highlights how food can make us fell good and healthy without making you feel bad just because you may or may not have eaten that burger with extra fries and mayo last night. She manages to be authentic, inspiring, and encouraging both on her blog and in her debut cookbook Chickpea Flour Does it All: Gluten-Free, Dairy-Free, Vegetarian Recipes for Every Taste and Season.

Chickpea Flour Does it All is a collection of 96 delicious recipes organized by season and month. I must admit that I hardly ever like books that focus on one ingredient only (the exception is chocolate, obviously), but Chickpea Flour Does it All makes an exception. And I'm really not saying this because I love Lindsey's work anyway. The book's recipes use chickpea flour in such a clever and versatile way that you'll actually forget that chickpea flour is mentioned in the book's title. Primarily, Lindsey's book is about seasonal, fresh ingredients that are tasty not only for people who have to avoid gluten and dairy or just choose to live a specific lifestyle but for everyone. Chickpea flour is an ingredient that I, as I already mentioned, was pretty unfamiliar with prior to this book. Yes, I had made socca (according to Lindsey's recipe) before but that was about it. After testing a couple of the book's recipes, such as the divine Chocolate Banana Loaf that I started to bake after 9pm one Sunday night, I was amazed by what an amazing ingredient I had previously ignored. Chickpea Flour Does it All is a beautiful book for any food lover who wants to discover the world of seasonal, fresh cooking with big flavors and ingredients that make you feel good.

Some of the recipes that are high on my to-make list: Ginger-Shiitake Miso Broth with Chickpea Tofu, Hearty Morning Glory Loaf, Almond Butter Brownies, Chickpea Polenta with Sautéed Spring Vegetables, Sweet Flatbread with Grilled Berries, Quinoa Falafel with Romanesco Sauce, Baked Buttermilk Onion Rings, and Baby Kale Caesar Salad. I'm already drooling here, what about you?

Clumpy Granola with Stewed Rhubarb | My Blue&White Kitchen

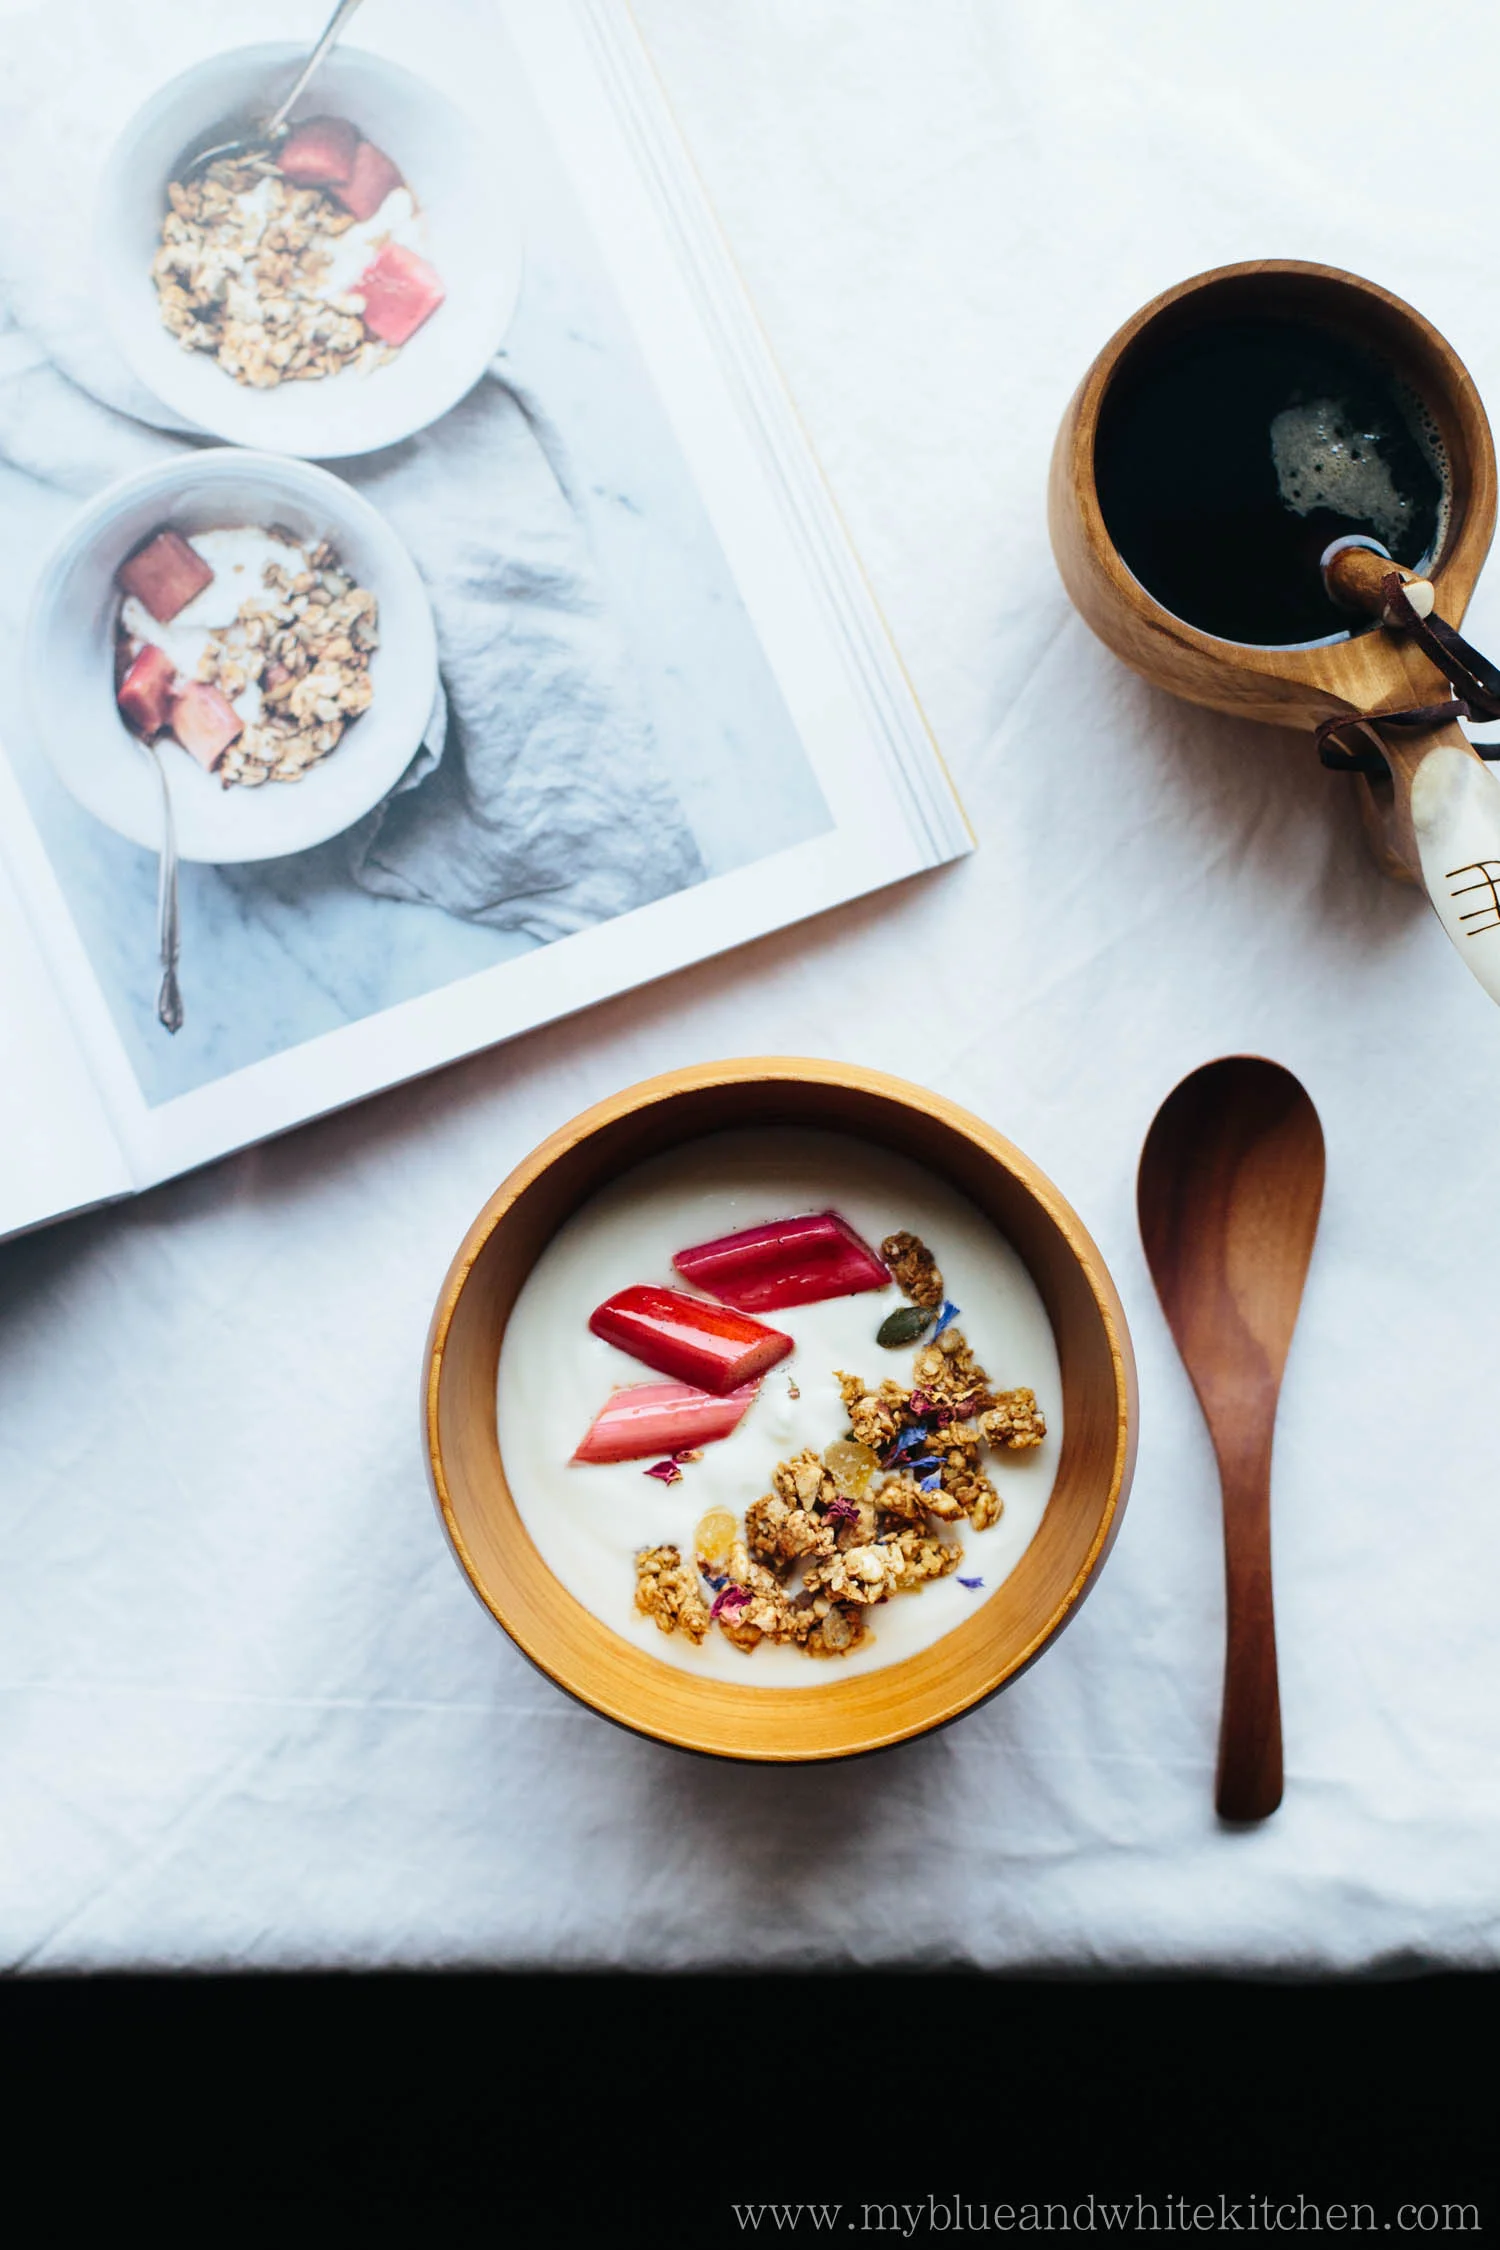
When Lindsey asked me whether I was interested in sharing one of her book's recipes on my blog, I knew that the Clumpy Granola with Stewed Rhubarb would be the one. As some of you probably know, I'm a huge fan of granola and rhubarb is one of my all-time favorite ingredients. The thought of combining these two favorite things sounded perfect. In this recipe, chickpea flour is used to create a wonderfully clumpy granola without the need to add egg whites. I ended up baking this granola numerous times because one batch didn't last very long. The first time I made the recipe, I used extra virgin olive oil instead of coconut oil and it worked out perfectly. You may want to add some dried fruit or berries to your granola once baked and cooled. For example, I added candied ginger to the batch I photographed for this post and loved it. For a spring and summer version you can add dried flowers to the baked granola to make it look extra pretty. As a final note, the stewed rhubarb tastes equally great with a scoop of vanilla ice cream and cacao nibs sprinkled on top. Just sayin'...

Clumpy Granola with Stewed Rhubarb | My Blue&White Kitchen

Clumpy Granola with Stewed Rhubarb

Recipe from Chickpea Flour Does it All: Gluten-Free, Dairy-Free, Vegetarian Recipes for Every Taste and Season by Lindsey S. Love

makes 3 cups of granola

Oats are naturally gluten-free. However, they're often processed in facilities that also process wheat or other products containing gluten, so that oats often get contaminated. If you want to make sure that your oats are gluten-free always make sure to buy oats that are labeled as such.
For a dairy-free version, Lindsey suggests to serve this granola with coconut yogurt.


for the granola:
210 g (2 cups) old-fashioned rolled oats
85 g (½ cup) almonds, chopped
15 g (½ cup) puffed brown rice
60 g (½ cup) chickpea flour
33 g (¼ cup) pumpkin seeds
35 g (¼ cup) sunflower seeds
1 tsp ground cinnamon
1 tsp ground ginger
½ tsp ground nutmeg
½ tsp fine sea salt
80 ml (⅓ cup) maple syrup
60 ml (¼ cup) coconut oil, melted

for the stewed rhubarb:
1 rhubarb stalk, trimmed & cut into 1-inch pieces (if using young, thin stalks, use 2)
1 tbsp maple syrup
1 tsp lemon juice
½ vanilla bean pod, split lengthwise and seeds scraped out or ½ tsp pure vanilla extract or vanilla paste

plain yogurt, to serve


Preheat oven to 150°C (300°F) and line a baking sheet with parchment paper. Set aside.

In a large bowl, whisk together all the dry ingredients until thoroughly combined. In a small bowl, whisk together the syrup and oil, and then fold into the dry mix with a wooden spoon or rubber spatula. Mix for 2 to 3 minutes, until the granola is wet and clumpy.
Transfer the granola to the prepared baking sheet and use the back of your spoon or spatula to spread it out in an even layer.

Baake for 40 to 45 minutes, rotating halfway through, until lightly browned and fragrant. Remove from the oven; let cool completely. Gently break up the granola into clumps and store in an airtight container at room temperature for up to 2 weeks.

To make the stewed rhubarb, heat a small saucepan over medium-low heat; add the rhubarb, syrup, lemon juice, and vanilla bean, and stir. Cook for 6 to 8 minutes, until bubbling and the rhubarb is tender and loses a bit of its color. Remove from the heat and set aside.

Enjoy the granola and stewed rhubarb with yogurt.


Recipe from Chickpea Flour Does it All: Gluten-Free, Dairy-Free, Vegetarian Recipes for Every Taste and Season. ©Lindsey S. Love, 2016. Reprinted by permission of the publisher, The Experiment. Available wherever books are sold. theexperimentpublishing.com


Clumpy Granola with Stewed Rhubarb | My Blue&White Kitchen

Disclaimer: I was sent a copy of Chickpea Flour Does it All from the publisher, the Experiment, free of charge. However, I wasn't compensated for this review. As always, all opinions are my own.


Related Posts

Towards the Light – Nordic Pancakes with Blood Orange & Aperol Compote

Nordic Pancakes w/ Blood Orange & Aperol Compote | My Blue&White Kitchen

Can I tell you an exciting piece of news? Okay, two. Number one: I graduated from university! (Finally. After 7 years it was about time.) Number two (and this is the one I'm currently most excited about): I'm gonna attend Marta's and Sanda's food photography and styling workshop in Portugal in May! I really have to thank my dear friend Jonna, an amazing knitter (she owns the coolest yarn store in whole Finland), photographer (yeh, multitalented), and creative soul, for asking me to join her in this adventure. I can't wait to eat delicious food (I'm looking at you, fresh seafood), drink wine, chat with people around the world, get inspired, learn, and enjoy the beautiful Portuguese coast. We're also gonna spend a couple of days in Lisbon, so I would be thankful for any tips on places to stay, eat, and see. Oh and places to find props. That would be awesome.

Nordic Pancakes w/ Blood Orange & Aperol Compote | My Blue&White Kitchen

May and Portugal are still a couple of months away but I can already feel the promise of spring in the air. The days are finally getting longer – at the moment 6 minutes every day. That's one hour in 10 days! I must say that this phenomenon of days getting shorter and then longer again still fascinates me. Every single year. I mean, I can't believe that last Sunday I was able to shoot in daylight well past 2pm. Crazy. There's still snow but I know we're moving towards the light, towards spring and summer. I guess that's called hope. At least to the Nordic definition of things.

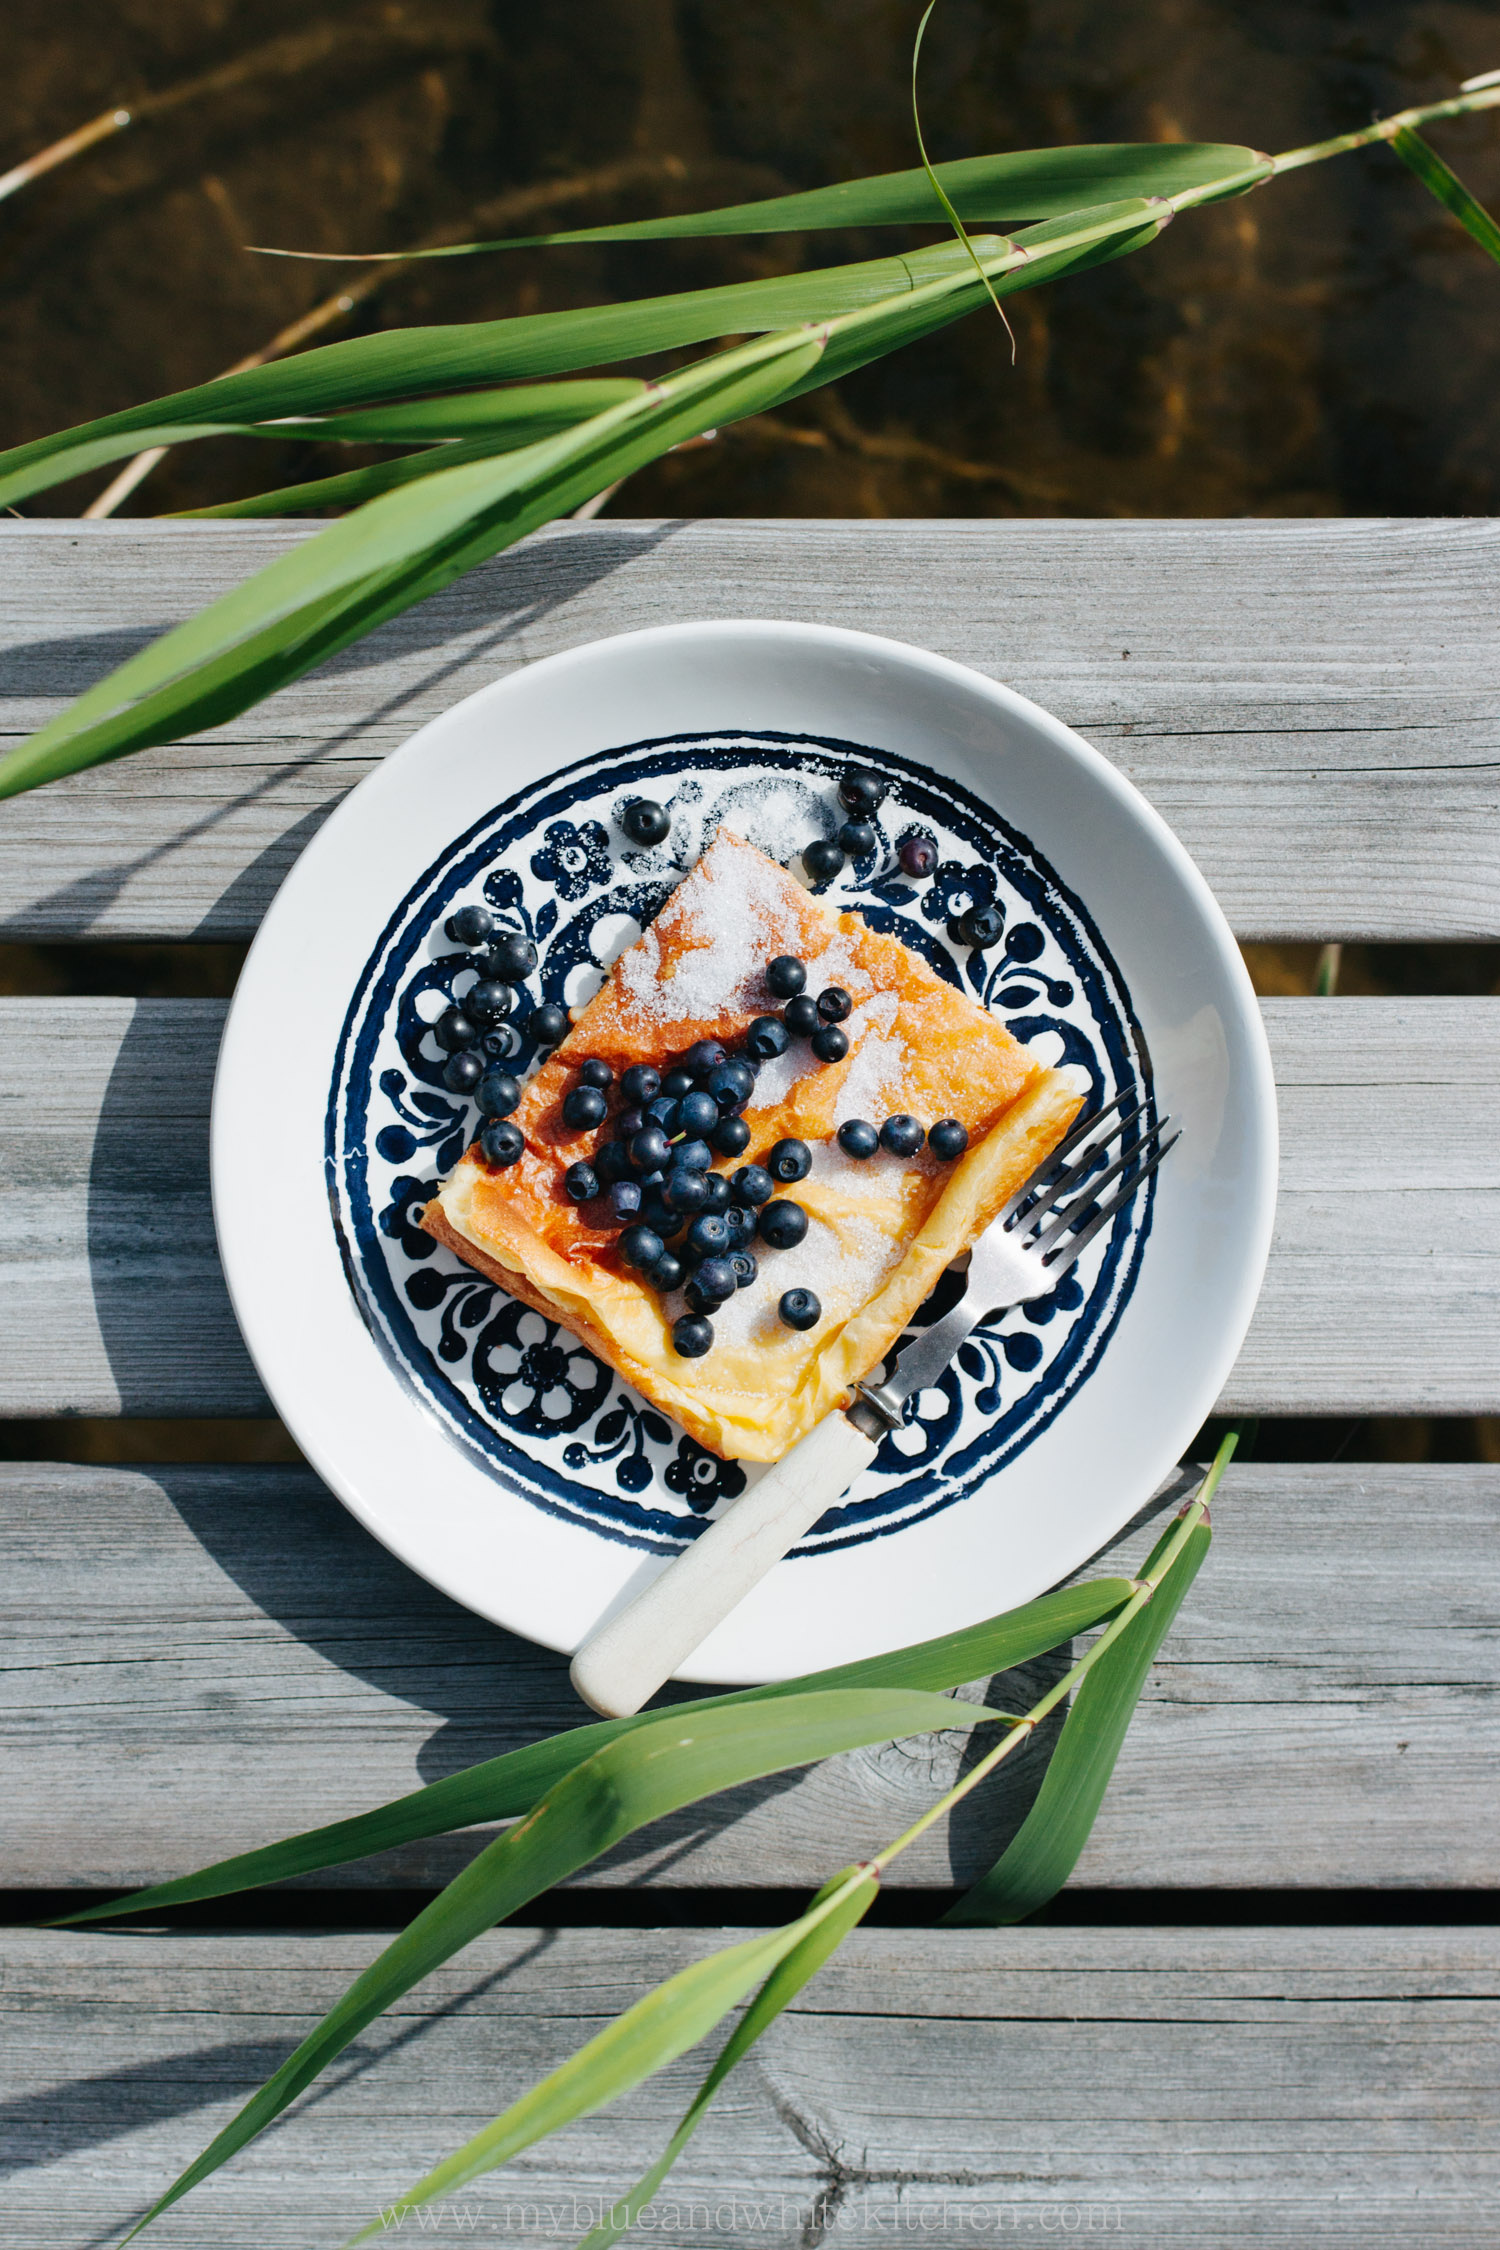
But even if you don't live here up north and wittness the return of daylight in awe, there's also another reason to love late winter days. What I'm talking about is citrus fruit and blood oranges in particular! There are just a couple of weeks left of this glorious season, so make the most of it. My suggestion: these Nordic pancakes served with a superb blood orange compote that is flavored with Aperol and vanilla. Nordic pancakes are similar to French-style crêpes. A perfect Nordic pancake has a lacy, crispy edge – someone who masters this is highly respected in any Nordic country. Don't be afraid of frying thin pancakes or crêpes. It isn't as difficult as many believe; actually, I think that crêpes belong to the same food-that-people-are-afraid-to-make-without-any-rational-reason category as risotto and choux pastry. Once you get the hang of the frying technique, it's easier than making American pancakes. I promise. Oh and don't be fooled by the very first pancake of the batch – it almost always fails (but still tastes great).

Nordic Pancakes w/ Blood Orange & Aperol Compote | My Blue&White Kitchen

Nordic Pancakes with Blood Orange & Aperol Compote

makes 12-15 pancakes, depending on size

If blood oranges aren't in season anymore, you can use oranges instead. In that case I would maybe add a grapefruit or two to the mix. Jam sugar is sugar that contains pectin as a gelling agent and is used to make preserves, such as jam. In the compote, I used jam sugar 1:3 to get a nice consistency but you may use normal sugar or 1:2 jam sugar instead if that's what you have on hand or are okay with a runnier compote. Furthermore, Aperol can be substituted with Campari, a similar type of Italian liqueur.


6 dl (2 ½ cups) milk, preferably whole milk
2 eggs
½ tsp fine sea salt
1 tsp granulated sugar
165 g (3 dl; 1 ¼ cups) all-purpose flour
3 tbsp melted butter, cooled
+ more butter for frying

for the compote:
about 1800 g (4 lb) blood oranges
6 tbsp 1:3 jam sugar
4 tbsp Aperol
½ vanilla bean, split lenghtwise & seeds scraped out

150 g crème fraîche (or sour cream), to serve
 

In a medium-sized bowl, combine the milk, eggs, salt, and sugar. Gradually, add the flour followed by the melted butter. Whisk until smooth. Let the batter rest at room temperature for 15 to 30 minutes. As the batter rests, bits of butter may rise to the surface. Don't worry; just give the batter a good whisk before frying.

Meanwhile, make the compote. First, segment the blood oranges. To do so, cut the top and bottom from the fruit and place it on a chopping board. Working from top to bottom following the curve of the fruit, cut away the skin and pith. A small and sharp knife comes most handy. Next, take the fruit in your hand and hold it over a medium-sized pot to catch the juices. Carefully, cut each inner segment away from the membrane and let the segments fall into the pot. Be careful to discard any white pith or seeds. Repeat with the remaining oranges.

Add the sugar and Aperol to the pot with the segments. Bring to a boil and simmer for about 2 minutes, or until segments have soften a bit. Strain the compote. Set the segments aside (don't throw them away!) and return the juices to the pot. Add the vanilla seeds and pod to the juices. Over medium heat, let the juices simmer uncovered for about 15 minutes, or until reduced and syrupy. Finally, add the reserved orange segments, stir, and set aside to cool.

To fry the pancakes, heat a frying pan over medium-high heat. Add a small knob of butter and a ladle of the batter; we're looking for a thin pancake, about 1 mm in thickness. As soon as the batter hits the pan, pick up the pan and swirl it, so that the batter completely covers the bottom of the pan. Fry until set and golden brown. Flip and fry until the other side is golden brown as well. Transfer fried pancakes to a plate and continue with the remaining batter. Add a small knob of butter between every other pancake.

Serve the pancakes with blood orange & Aperol compote and crème fraîche.


Nordic Pancakes w/ Blood Orange & Aperol Compote | My Blue&White Kitchen

Related Posts

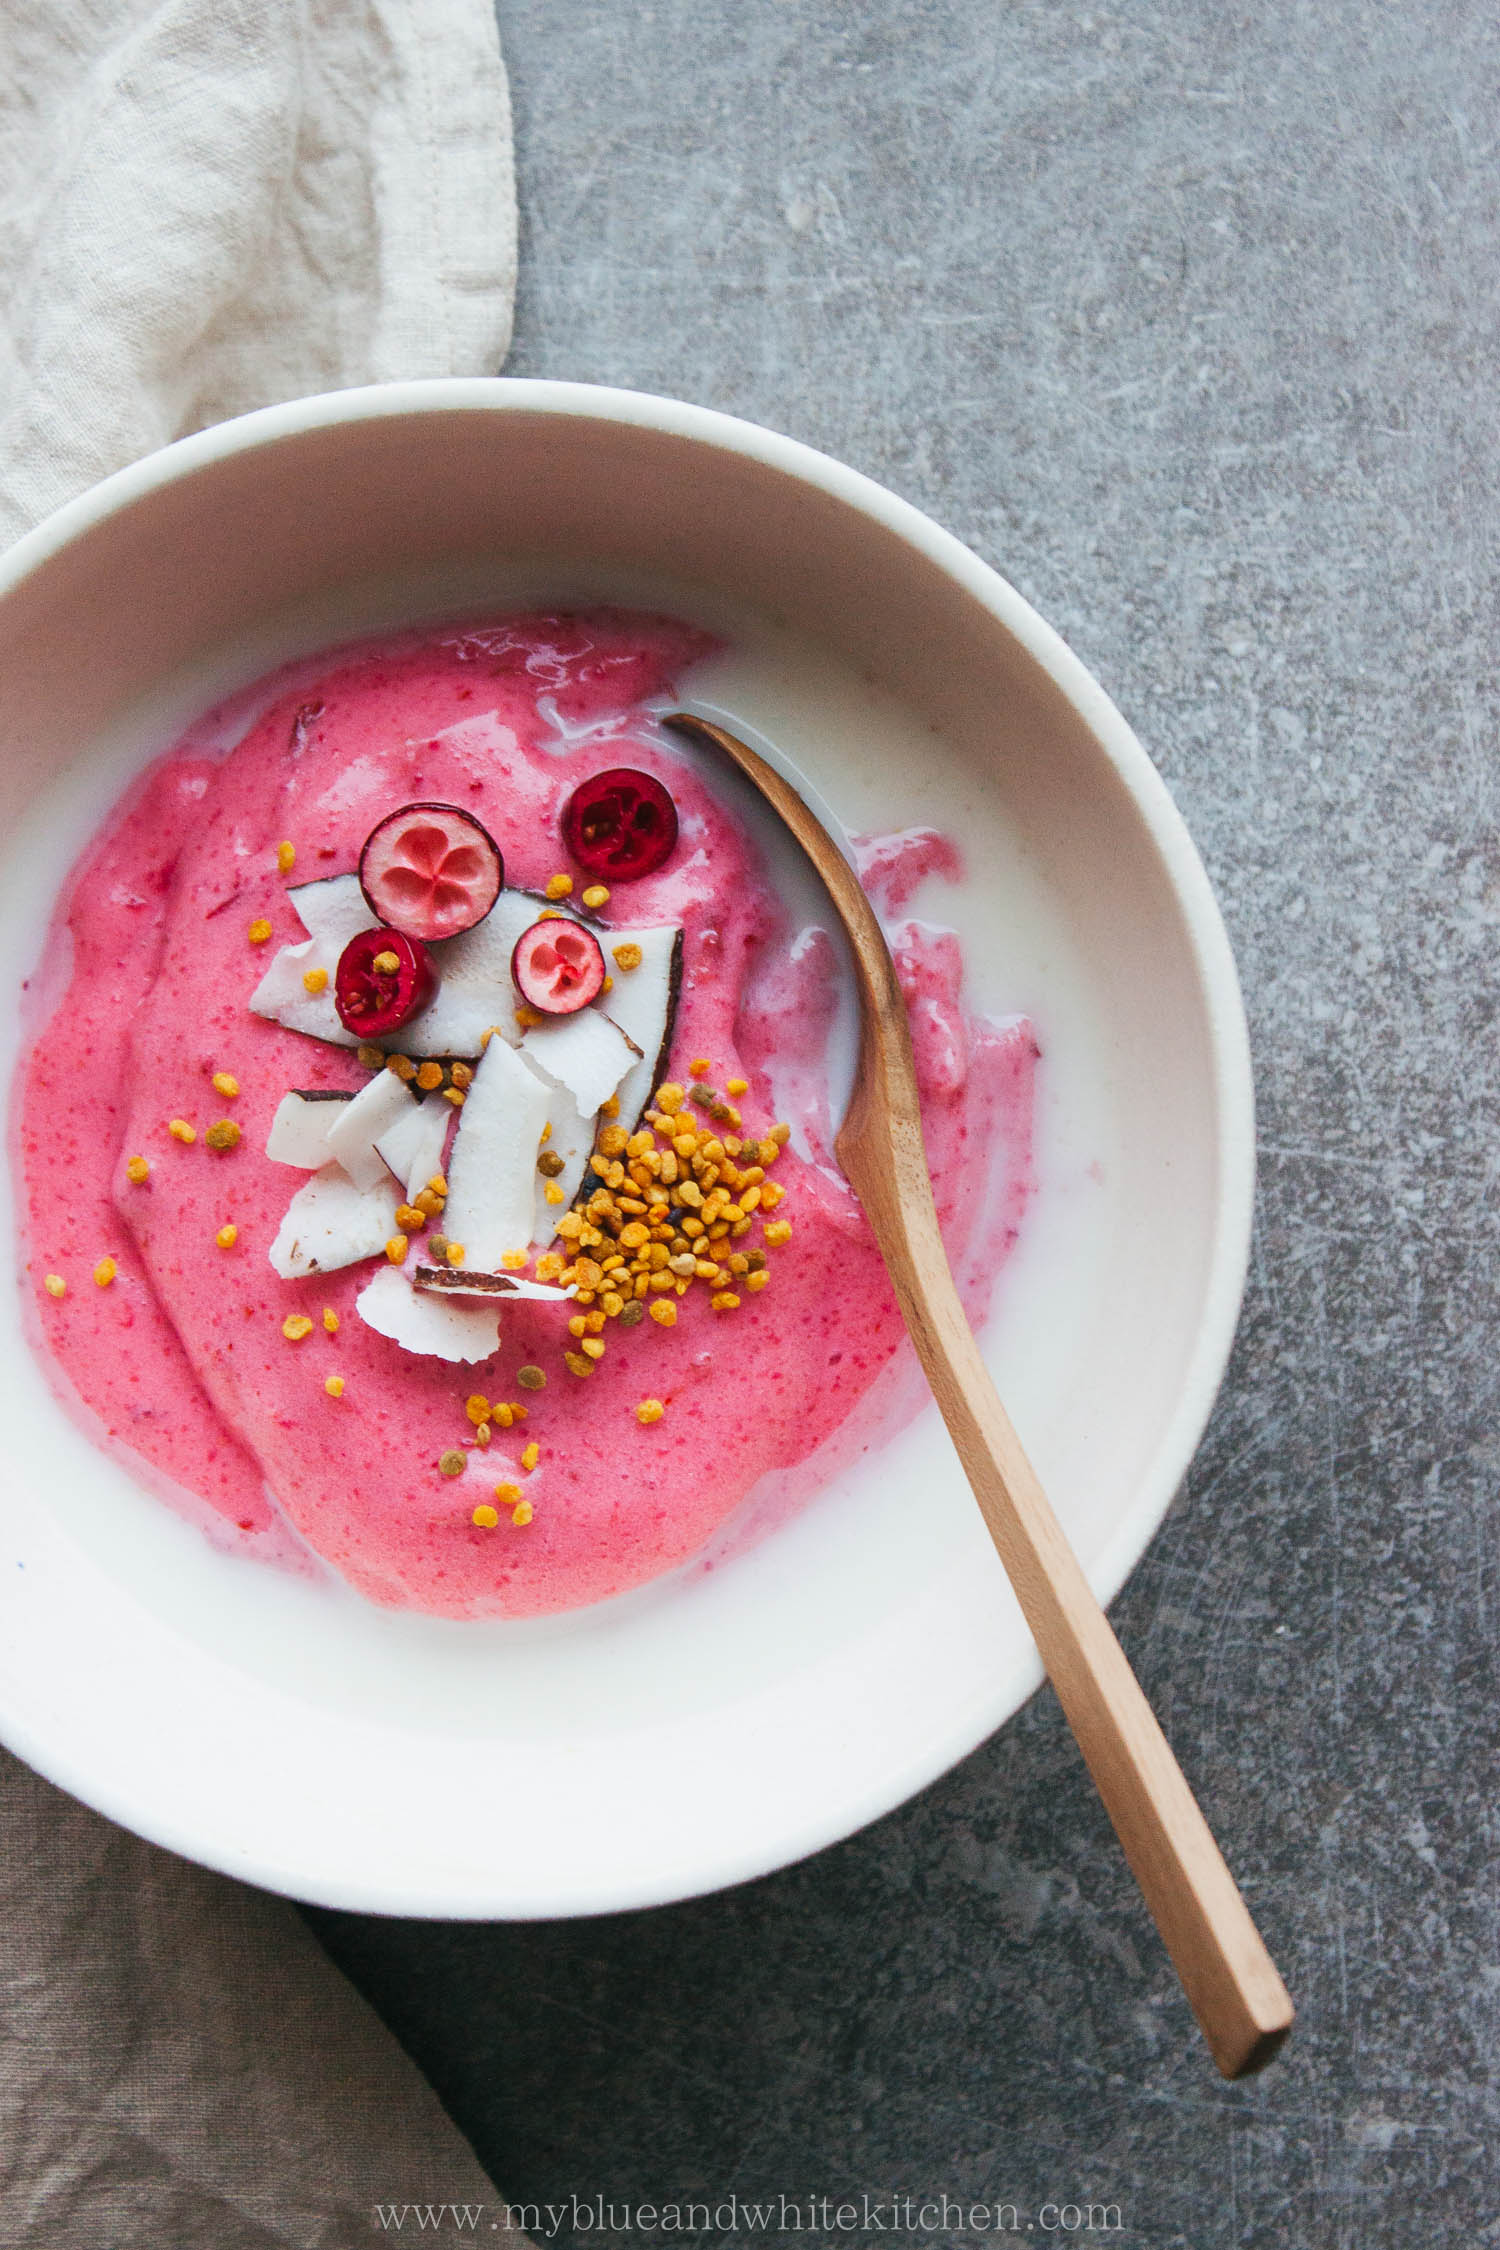
Nordic Winter Mornings – Nordic Rice Porridge with Caramelized Cinnamon Plums

Rice Porridge with Caramelized Cinnamon Plums | My Blue&White Kitchen

It's cold. And by cold I mean temperatures as low as -25°C during the day. Add some wind and it feels more like -40°C. The last two weeks or so have been challenging. For example, keeping your face (and especially your nose!) warm is the no. 1 problem when it comes to leaving the house. Your eyelashes will basically freeze. That may even look cute but it doesn't feel very nice. You'll also find yourself entering a fancy department store in not-so-approriate clothes but end up thinking "Oh whatever! It's freakin' cold outside. Deal with it." Busses and trains won't work as they're supposed to (I'm talking about calcelled trains and bus doors that won't open unless the driver gives them a good kick). You can't use your mobile phone either because it just stops working in a matter of minutes and finally the battery dies. Oh, and let's not forget that your fingers will fall off if you try to use your touch screen. On the other hand, it's never as gorgeous outside as on bitter cold winter days when the sky is blue, the sun shines, and snow covered trees turn the forests into magical winter wonderlands.

Rice Porridge with Caramelized Cinnamon Plums | My Blue&White Kitchen

I guess many of you agree that there's a special kind of comfortness in bowl foods. Maybe it's because they're so easy to eat on the sofa, wrapped up in a huge woolen blanket. Or maybe because they're often pretty flavorful yet simple dishes.

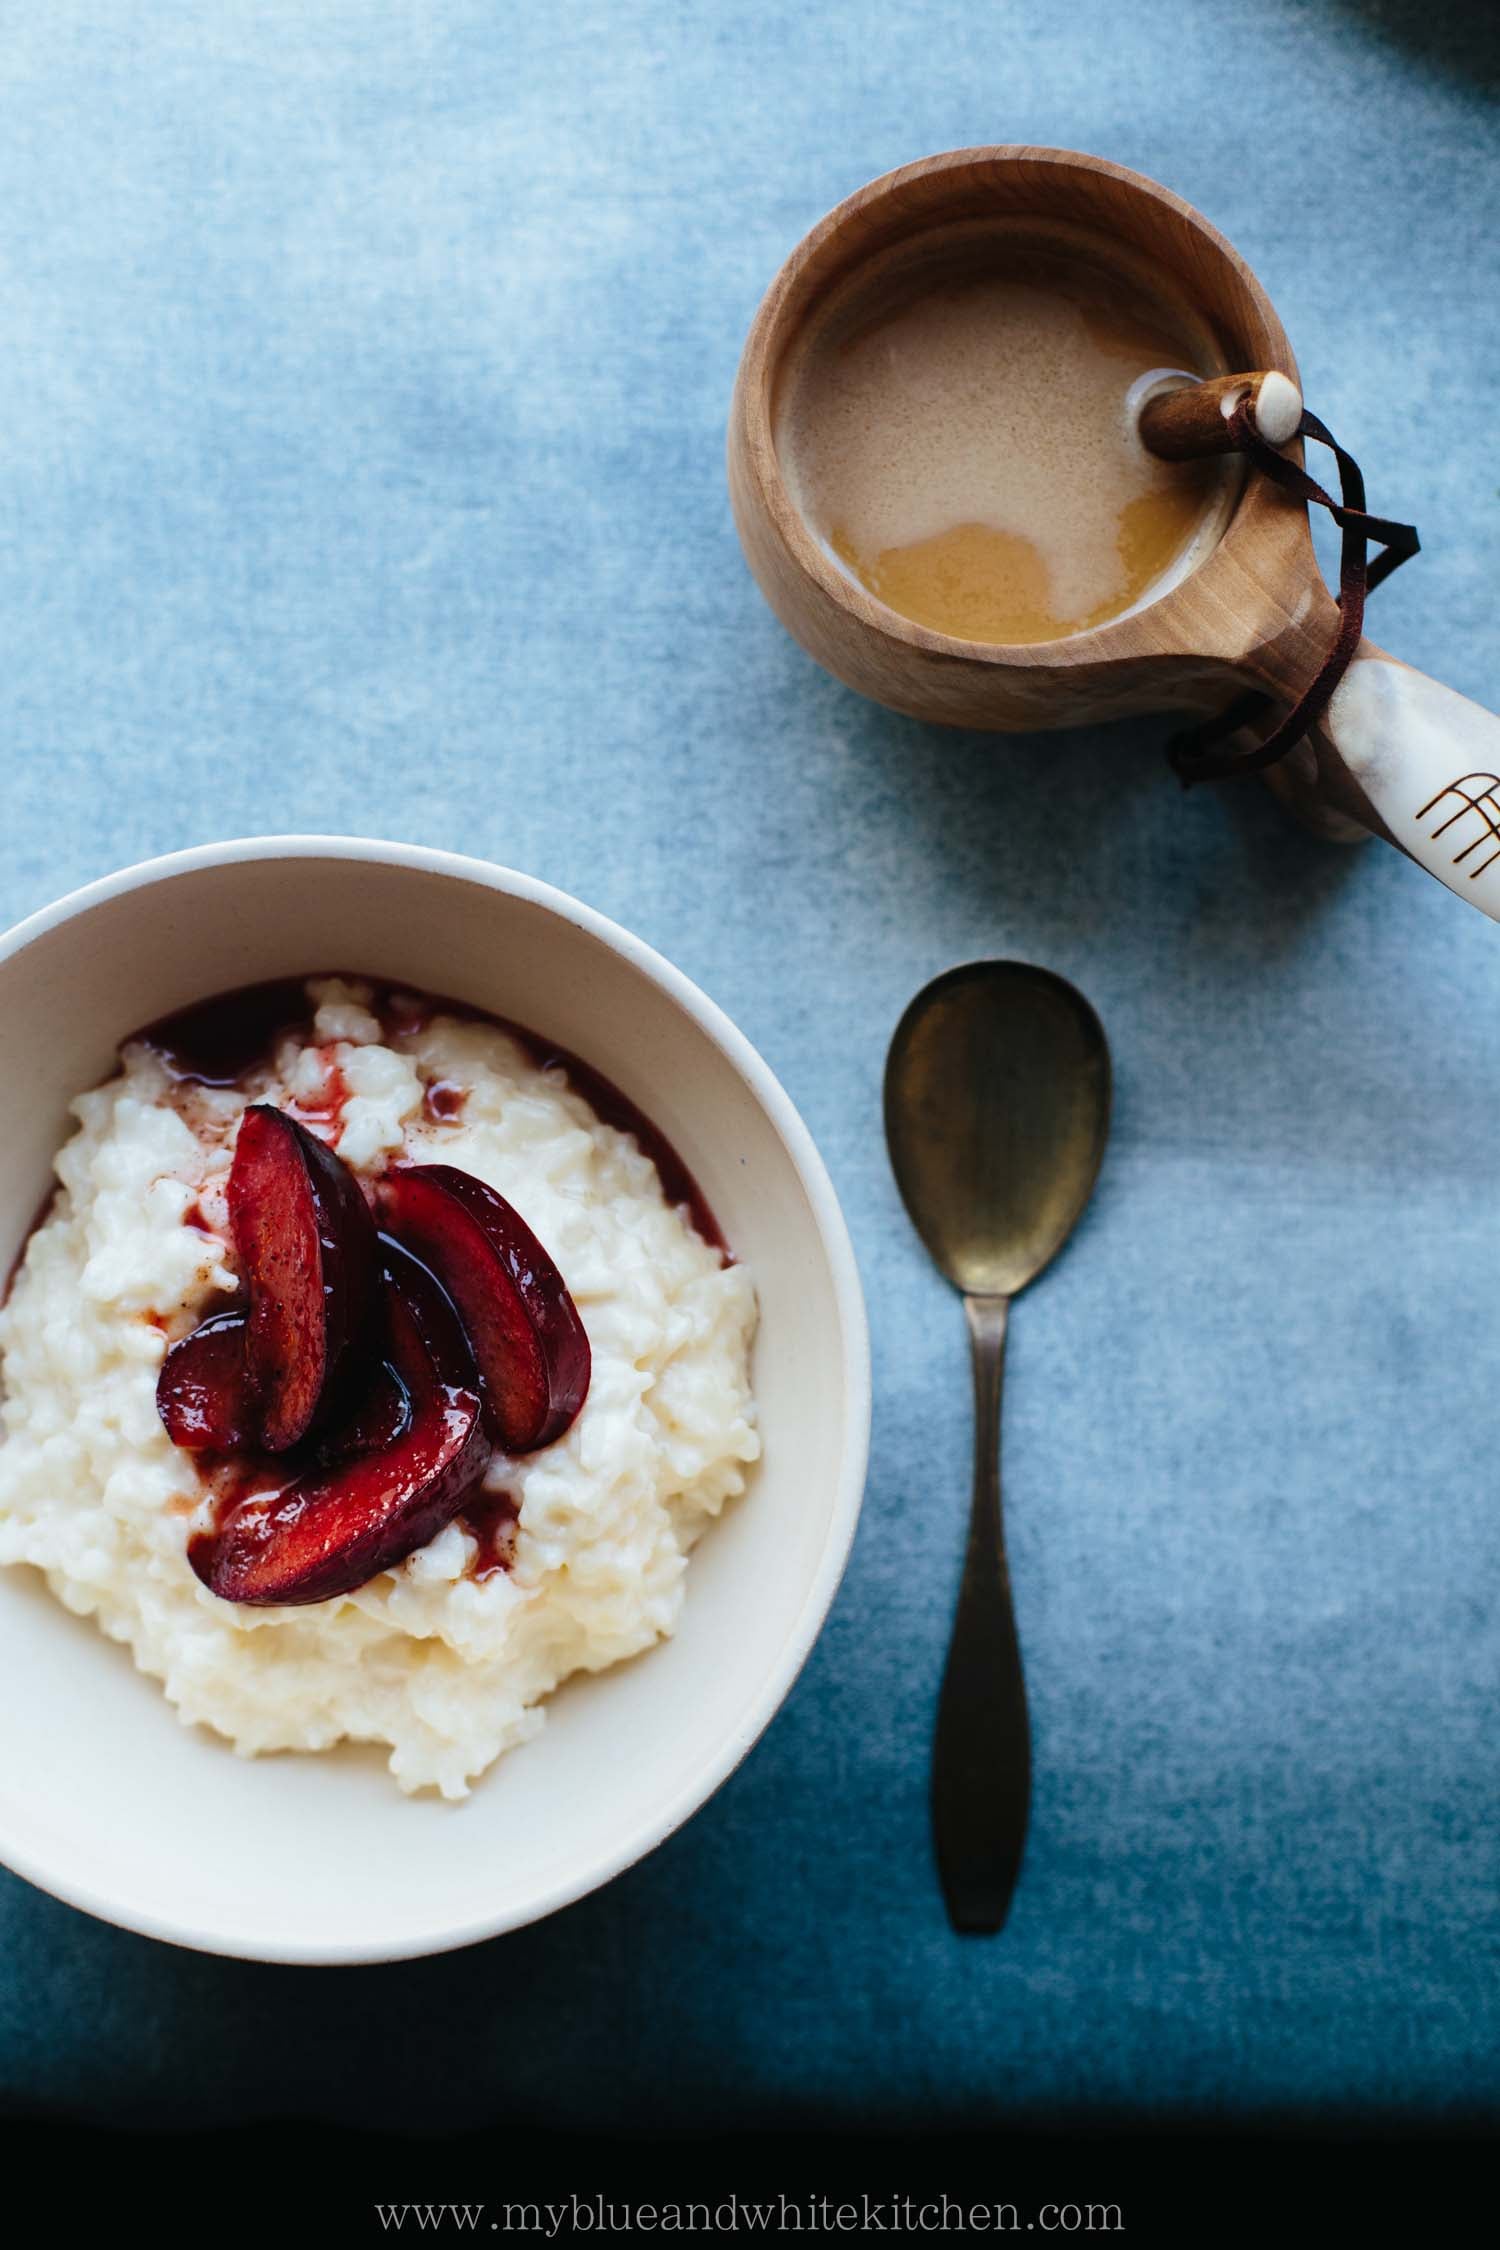
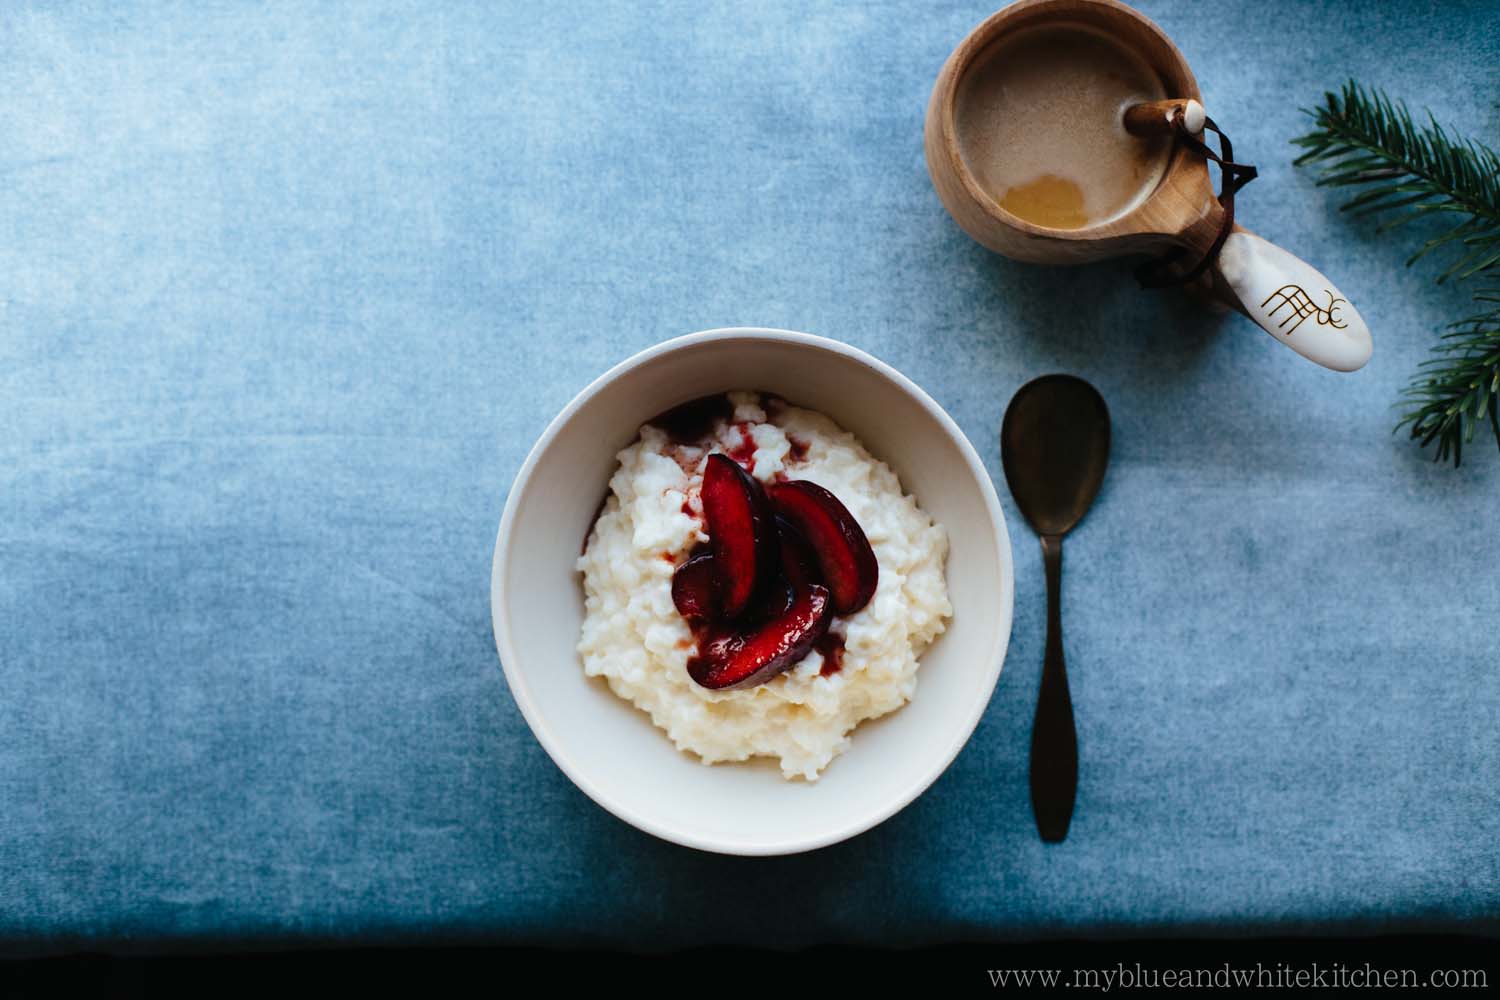
When winter hits hard, it's nice to enjoy a warm breakfast. Porridge is a popular breakfast item in the Nordic countries and many of us enjoy a bowl of oatmeal every single morning. I'm not that kind of a person but I still enjoy having porridge for breakfast every now and then. I especially love rice porridge. Sometimes I serve it with sugar, cinnamon, and milk only but sometimes I top it with caramelized fruit. In today's recipe I've made caramelized cinnamon plums but you could substitute the plums with whatever fruit you like the most, such as apples, pears, or peaches.

Comfort in a bowl. I hope you like it.

Rice Porridge with Caramelized Cinnamon Plums | My Blue&White Kitchen

Nordic Rice Porridge with Caramelized Plums

serves 2

As I mentioned above, you can substitute the plums with whatever fruit fits your taste or the season the best. The porridge itself isn't sweetened at all but you can of course add some sugar if you want to.


for the porridge:
a knob of butter
1 dl (½ cup) water
85 g (1 dl; ½ cup) short-grain white rice
500 ml (2 ¼ cups) whole milk
¼ tsp fine sea salt

for the plums:
2 tbsp butter
2 plums, pitted & sliced into wedges
2 tbsp (demerera) sugar
¼ tsp cinnamon

to serve:
sugar & cinnamon
milk, optional


In a small heavy-bottomed pot, melt the knob of butter. Add the water and bring to a boil. Add the rice. Boil for a couple of minutes, or until the water is completely absorbed. Stir every now and then. Add the milk and cook over low heat for about 40 minutes, or until the rice grains are tender and the porridge is creamy. Remember to stir the porridge regularly to avoid burning and sticking to the bottom.

While the porridge is cooking, make the caramelized cinnamon plums. In a medium-sized frying pan, melt the butter over medium heat. Add the plum wedges, sugar, and cinnamon. Cook for around 2 minutes on each side, or until soft and caramelized. Set aside.

When the porridge is ready, add the salt. If you like your porridge sweet, you can add sugar to taste. Serve with the caramelized cinnamon plums.


Rice Porridge with Caramelized Cinnamon Plums | My Blue&White Kitchen

Related Posts

Hello Winter, old friend – Kaiserschmarrn

Kaiserschmarrn | My Blue&White Kitchen

Well hello winter, old friend! Seriously folks, can you believe it's already December? This fall has gone by so incredibly fast with a new job and exciting projects. I'm usually one of the first ones to begin with Christmas baking (so many favorite cookies plus new ones to explore) but I haven't baked a single batch yet. I will definitely change that this week - maybe with some Florentines dipped in dark chocolate? Or with a batch of last year's rose pistachio shortbread?

If you're looking for a great blog for the holiday season, you should definitely visit the Munich-based blog delicious:days – there isn't a single recipe I haven't loved and Nicky is as nuts as me when it comes to holiday baking (or food in general).

Kaiserschmarrn | My Blue&White Kitchen

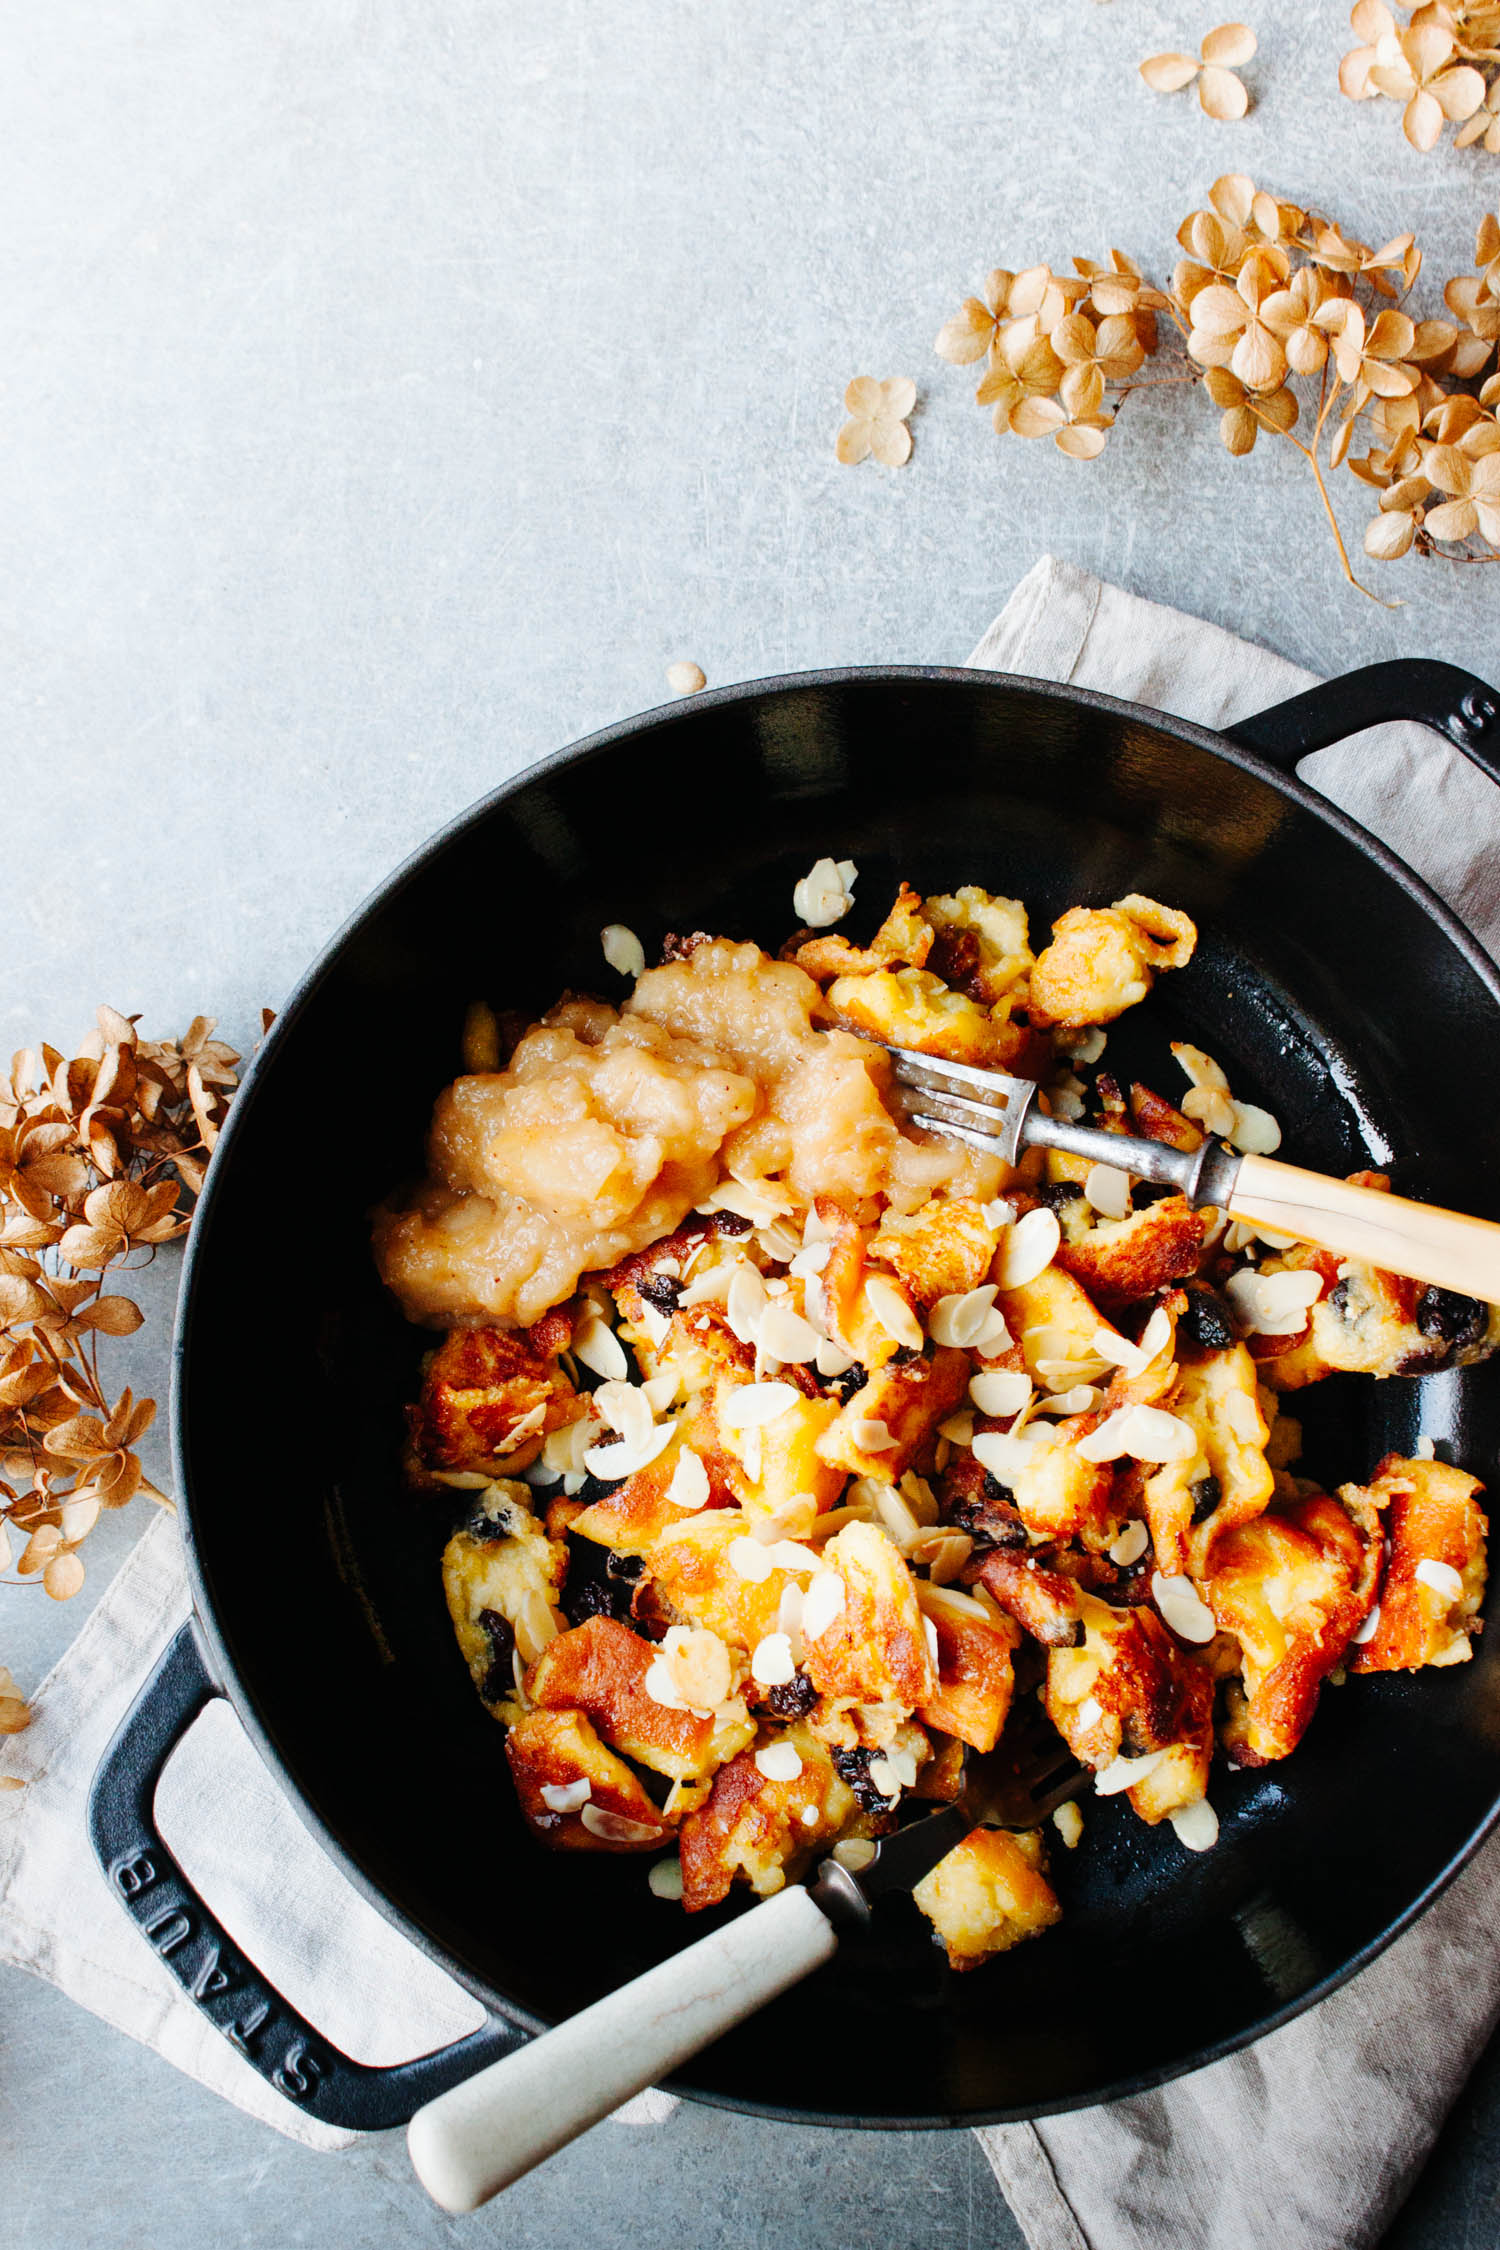
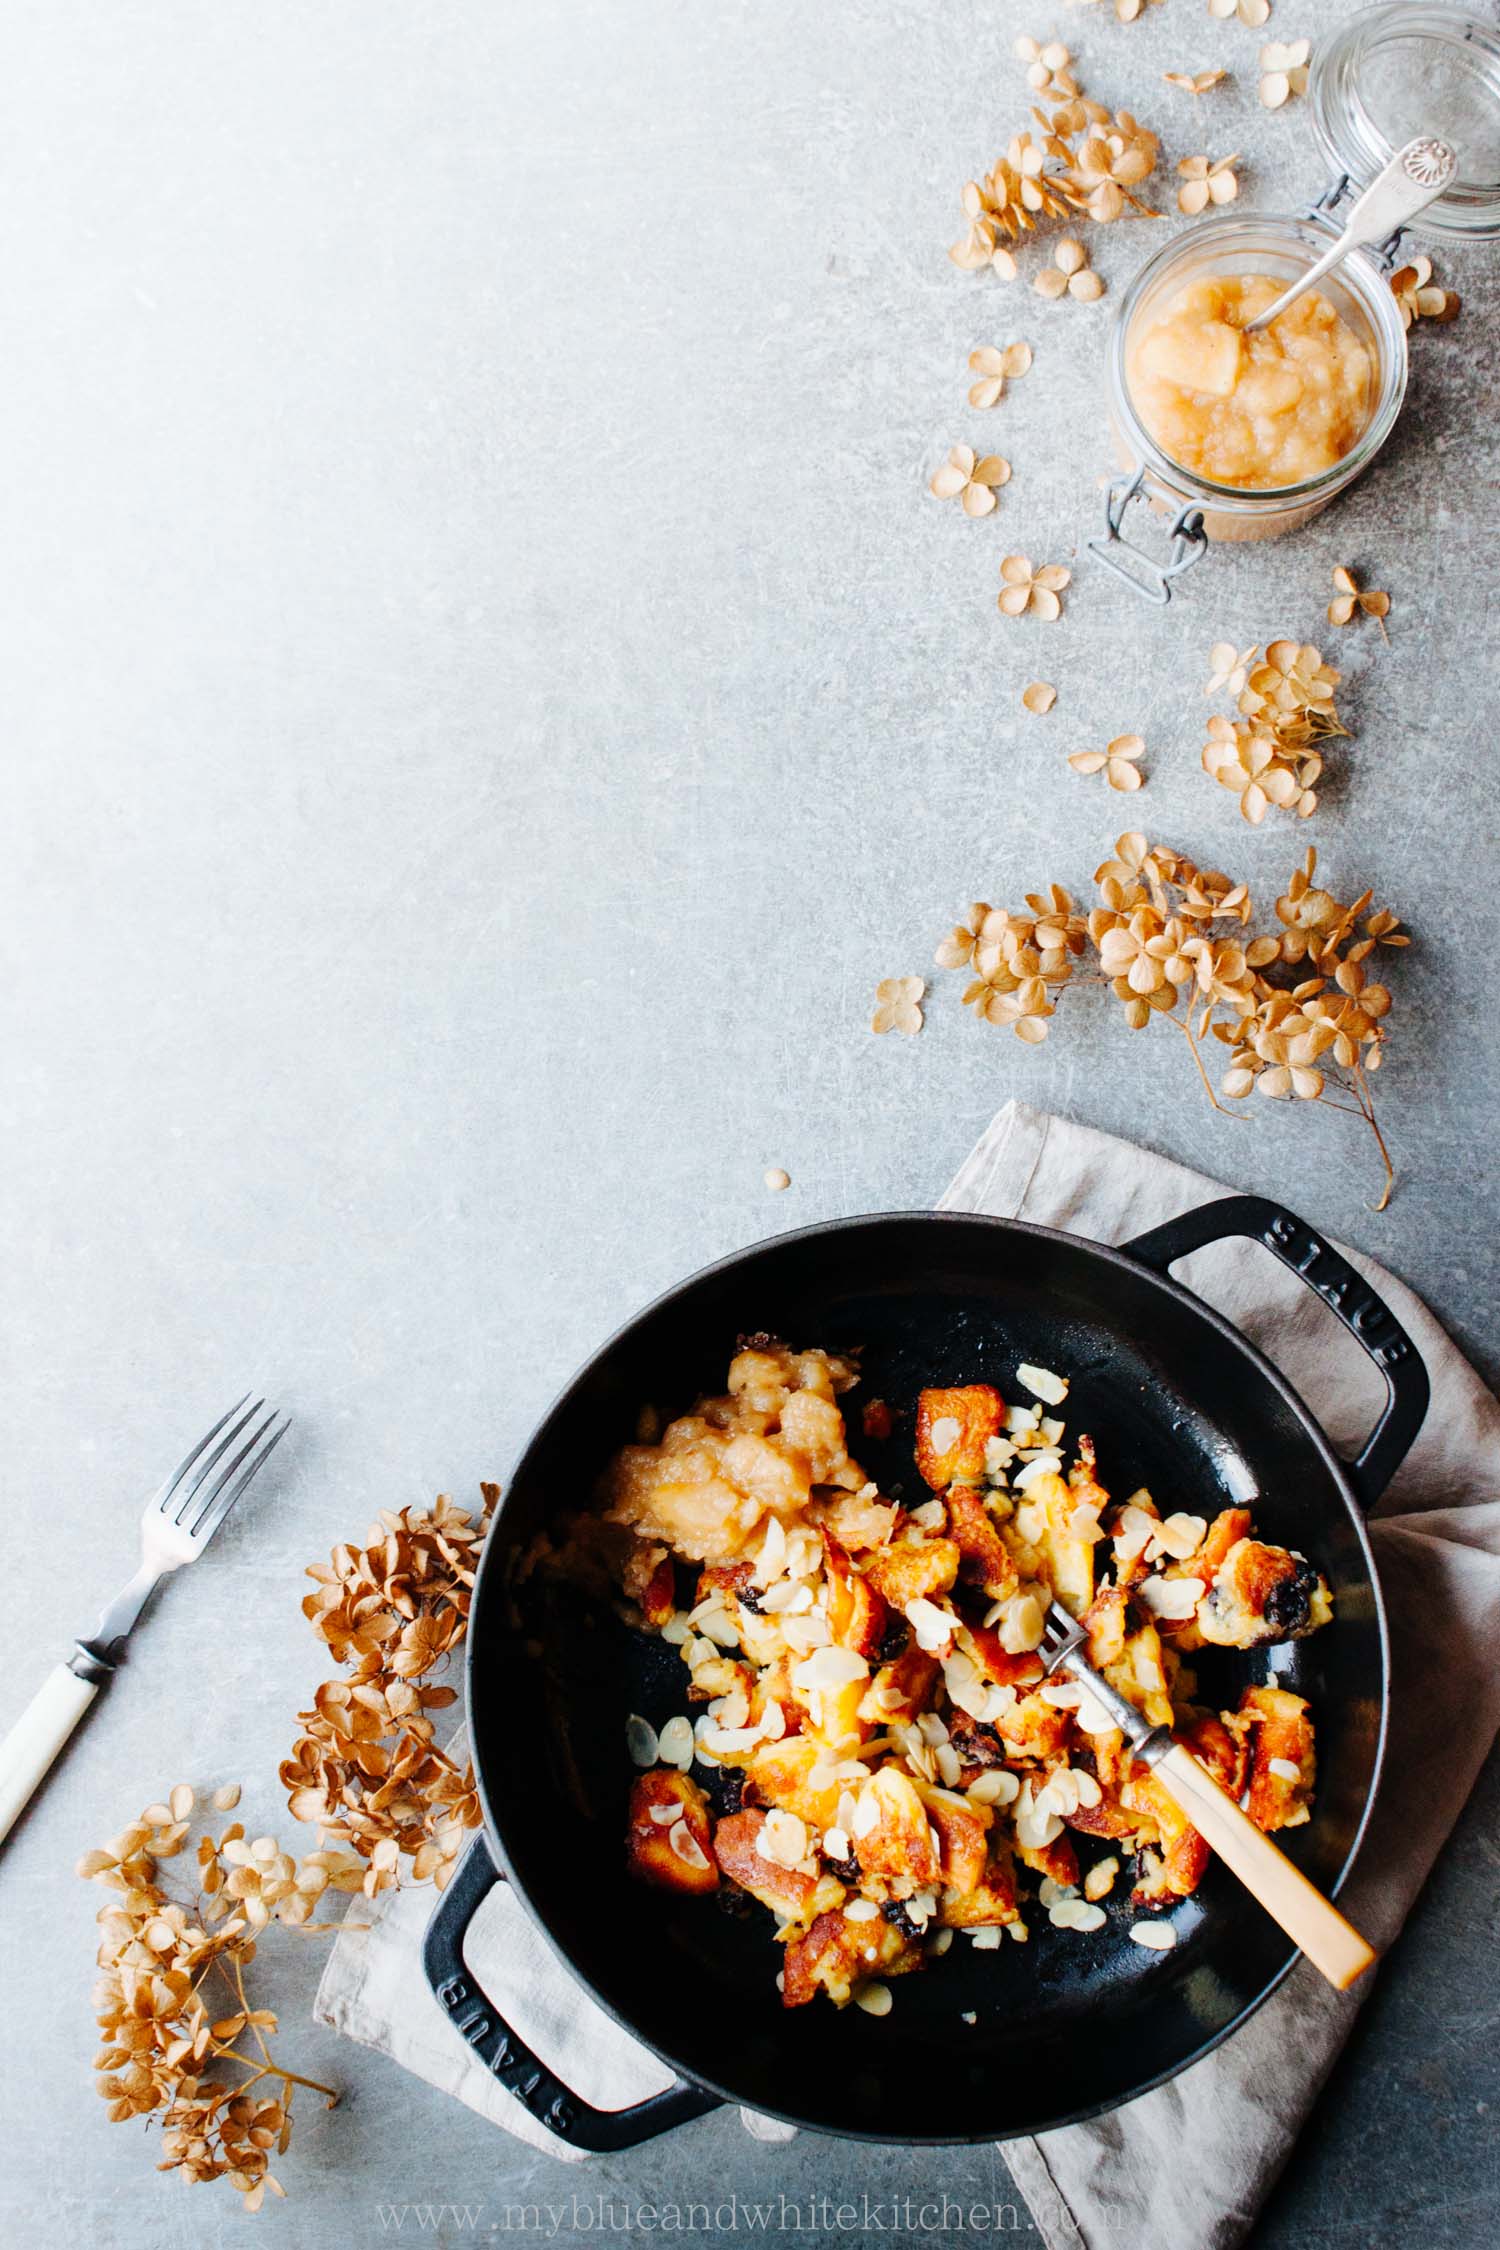
I'm so excited to share this recipe with you today. I've been dying to share it since last winter and now I finally am. Kaiserschmarrn is a kind of caramelized, fluffy Dutch baby that's torn into pieces, sprinkled with sliced almonds, dusted with powdered sugar, and served with fruit compote. It's especially popular in Austria, Southern Germany, and Switzerland, but it's apparently enjoyed in Eastern Europe as well. Kaiserschmarrn is one of the most delicious things I can imagine on cold winter days, especially after a day in the snow, and it's simply meant to be enjoyed in good company.

I experimented a lot to develop my favorite version and am more than happy with the result. According to my dad, it's the best Kaiserschmarrn he has ever eaten and I, although less experienced, can only say the same. It's a winner, a crowd-pleaser, a winter favorite. It's so delicious that I didn't even notice that I missed the final touch, a generous dust of powdered sugar, when frantically trying to photograph this babe in daylight; yeah, the days are getting ridiculously short up here and it's driving me crazy. But hey, maybe it would just be a shame to hide all that gorgeous golden brown under a layer of white sweetness.

Kaiserschmarrn is typically served with apple, plum, or apricot compote. To make a simple apple compote, core and peel a couple of apples and cut them into pieces. Melt a knob of butter and a couple of tablespoons of sugar in a pot over low heat. Add apple pieces, spices (such as cinnamon and clove), and 1 to 2 tablespoons of Calvados, apple juice, or water. Cover and cook over low heat, until apples are tender.

Kaiserschmarrn | My Blue&White Kitchen

Kaiserschmarrn

serves 3 to 4

Please read the recipe carefully before starting. Once the batter is in the pan and you turn it, there isn't much time to look at the recipe anymore. I like to serve it in a single, large pan, but you can make individual portions as well. You can definitely double the recipe. If you do, make it in a larger frying pan. Also, it won't be easy to turn a larger pancake in one piece but that doesn't really matter, as it will be torn into pieces anyway. So just do it.
 

3 tbsp rum
30 g (½ dl; ¼ cup) raisins

2 eggs (European size M; U.S. L), separated
1 ½ tbsp granulated sugar
½ tsp vanilla paste OR ½ vanilla bean, split lengthwise & seeds scraped out
pinch of fine sea salt
1,5 dl (⅔ cup) whole milk
55 g (1 dl; ½ cup minus 1 tbsp) all-purpose flour
15 g (1 tbsp) butter, for frying
15 g + 15 g (1 + 1 tbsp) butter, to caramelize
about ½ dl (¼ cup) sliced almonds
1 ½ tbsp powdered sugar, to caramelize

to serve:
powdered sugar, to finish
apple or plum compote
vanilla ice cream, if desired


Warm up the rum and soak the raisins for about 30 minutes. Drain and set aside.

In a small to medium-sized bowl, beat the egg whites until stiff. Tipp: the egg whites are done when you can turn the bowl upside down without making a mess in your kitchen ;)

In another bowl, cream the egg yolks, sugar, vanilla, and salt. Add milk and whisk until incorporated. Gradually, add the flour while whisking. Carefully fold in the egg whites with a silicone spatula. Don't mix the batter too much or it won't stay fluffy and light!

Heat a 26 cm (10") nonstick frying pan over medium heat and add 15 g/1 tbsp butter. Pour the batter into the frying pan and sprinkle soaked raisins on top. Fry for 10 to 18 minutes, or until the bottom is golden brown. You'll notice that the batter will rise, somewhat like a soufflé. When ready to turn, the batter is solid on the bottom.

Now comes the tricky part. With a good, flexible spatula, turn over the whole thing. If it breaks, don't worry; we'll soon tear it into pieces anyway. Fry it for 1–2 minutes, then start to break it into about 2,5 cm/1" pieces. Increase the heat to medium-high, add 15 g/1 tbsp butter, and fry for a couple of minutes turning the pieces every now and then, or until the pieces are golden brown all over. Add the remaining 15 g/1 tbsp butter and sliced almonds, and sprinkle with powdered sugar. Fry for about 1 minute, or until it's all nicely caramelized.

Dust with powdered sugar and serve warm with fruit compote of your choice.
...and vanilla ice cream cetainly isn't a bad idea either.


Kaiserschmarrn | My Blue&White Kitchen

Related Posts