Nordic Oven Pancake with Wild Blueberries

Nordic Oven Pancake | My Blue&White Kitchen

The last couple of weeks have been busy. To be more exact, I've been busy with life trying to spend as much time outdoors and with friends as possible (now that the weather finally turned as it's supposed to be in summer) and avoiding spending time on the computer or the phone. Summer is prescious and short here, so it always feels like one must make the most of these long days - we'll all miss them once darkness returns.

Nordic Oven Pancake | My Blue&White Kitchen

Picking a highlight of my summer isn't easy, but as some of you may have seen on Instagram, I spent a week in Finnish Lapland and Norway in the end of July. We had planned to hike the 55-km-long Hetta-Pallas trail but the weather was forecasted to be extremely rainy, so that we changed our plans on the very last minute and decided to head further north. Yeah, if there's one thing that I (once again) learned from this trip, it's that things don't always go as planned. But why should they? Often unplanned stops in life are the very best ones. And let me tell you, this trip was no exception. So after spending a day in the Pallas' fells, we drove to Saana, a glorious fell located only a couple of kilometres from the Norwegian border. The hike to the top of the Saana fell wasn't an easy one but definitely worth it. And oh Norwegia - it left us speechless and thankful for all the moments we had there. I've been traveling the world for quite a lot and feel absolutely confident saying that the scenery in Norway is one of the most stunning I've ever seen. I can't wait to discover this country even more.

Nordic Oven Pancake | My Blue&White Kitchen

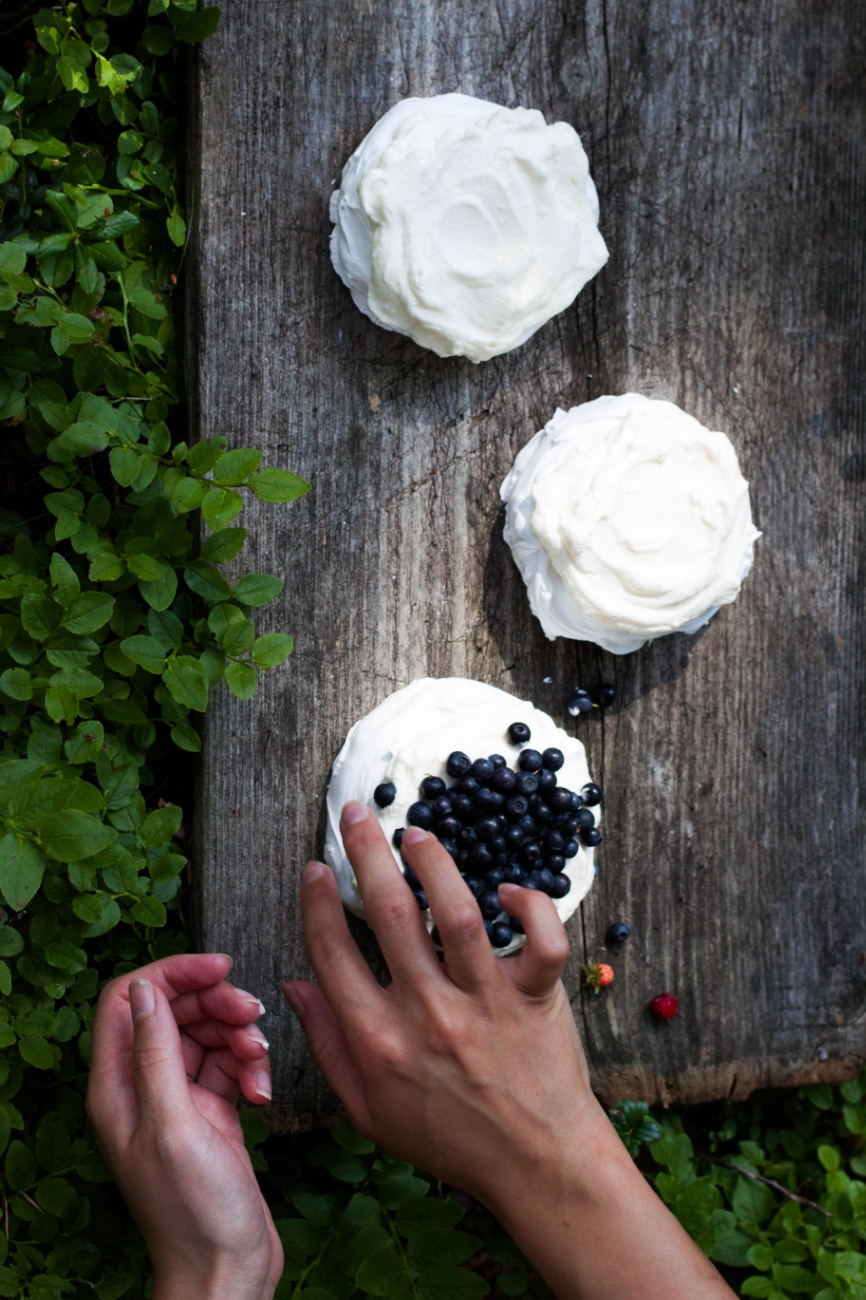
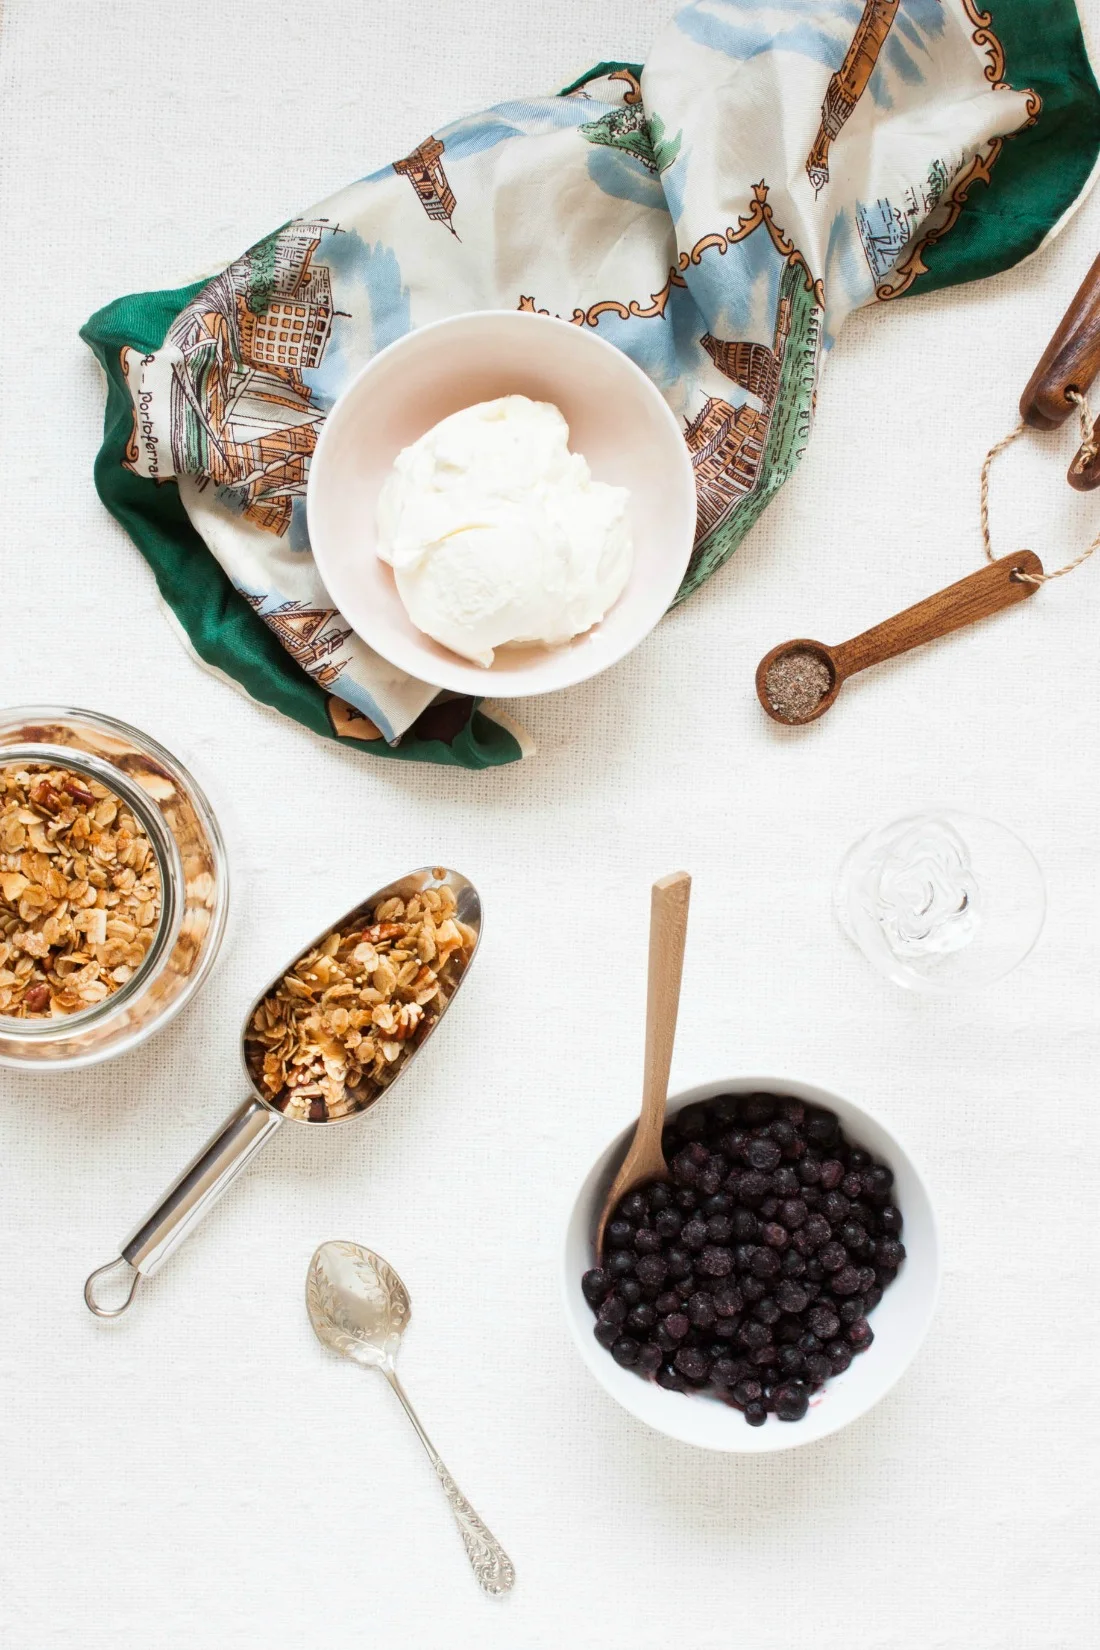
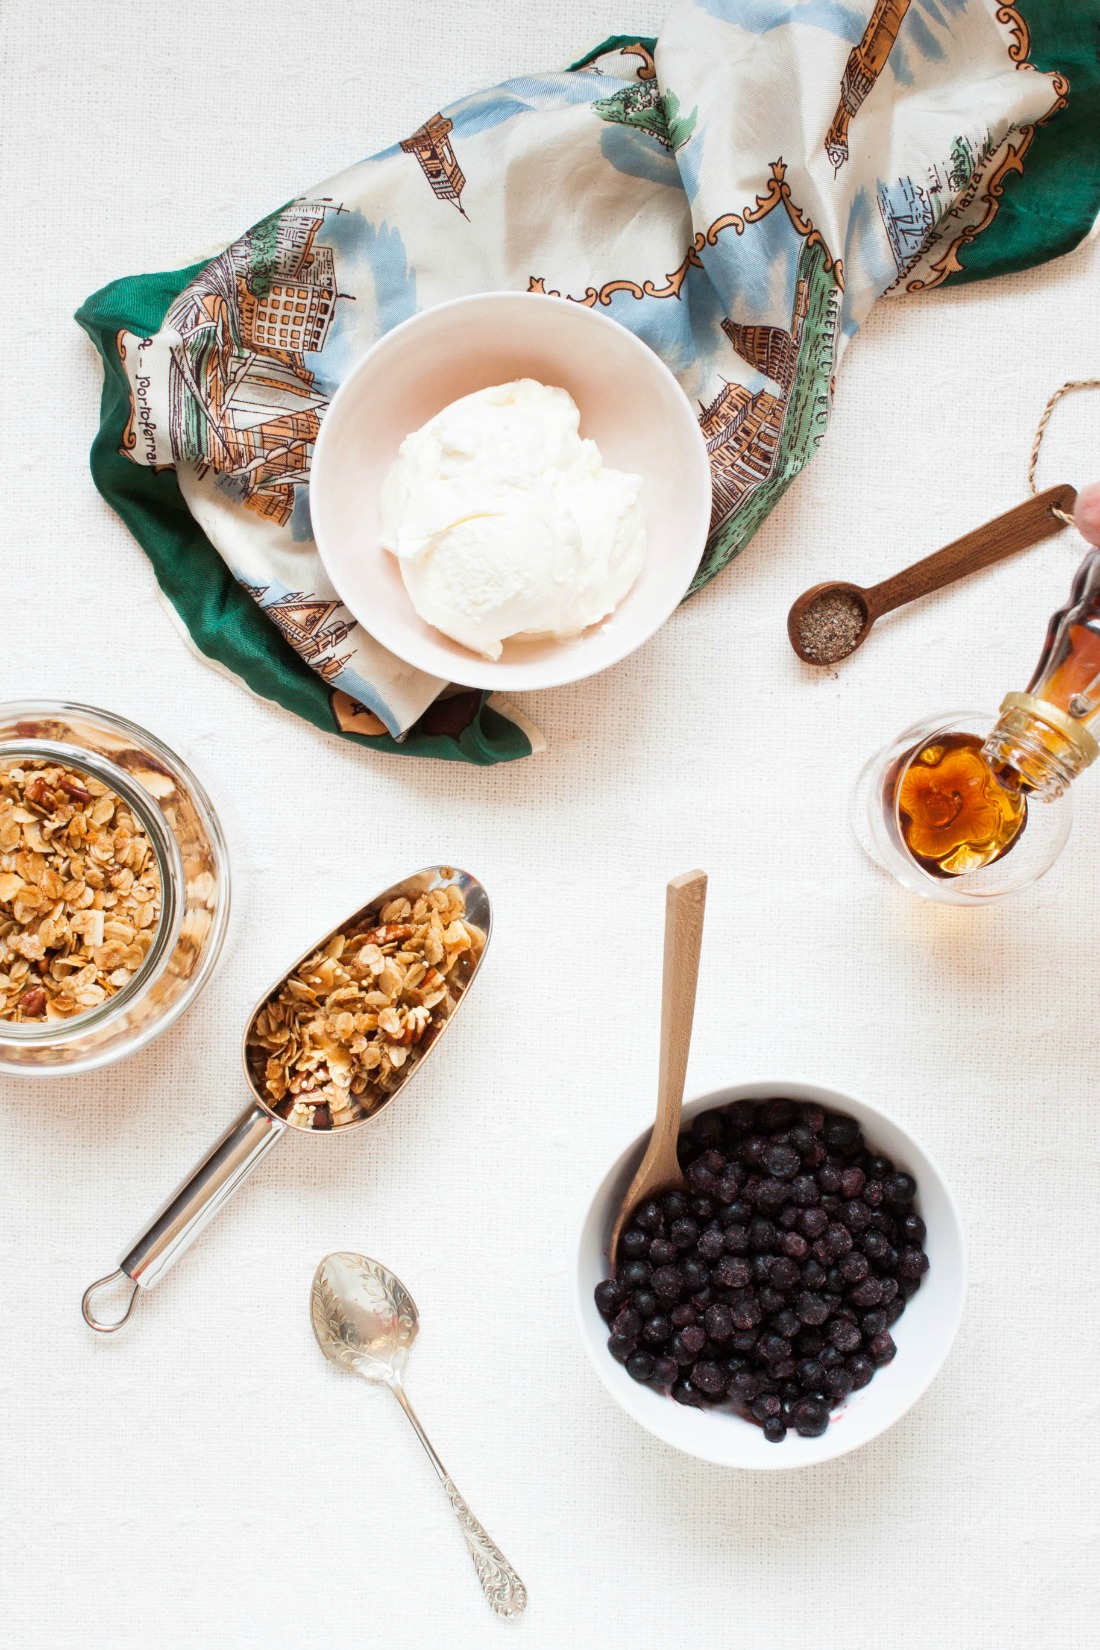
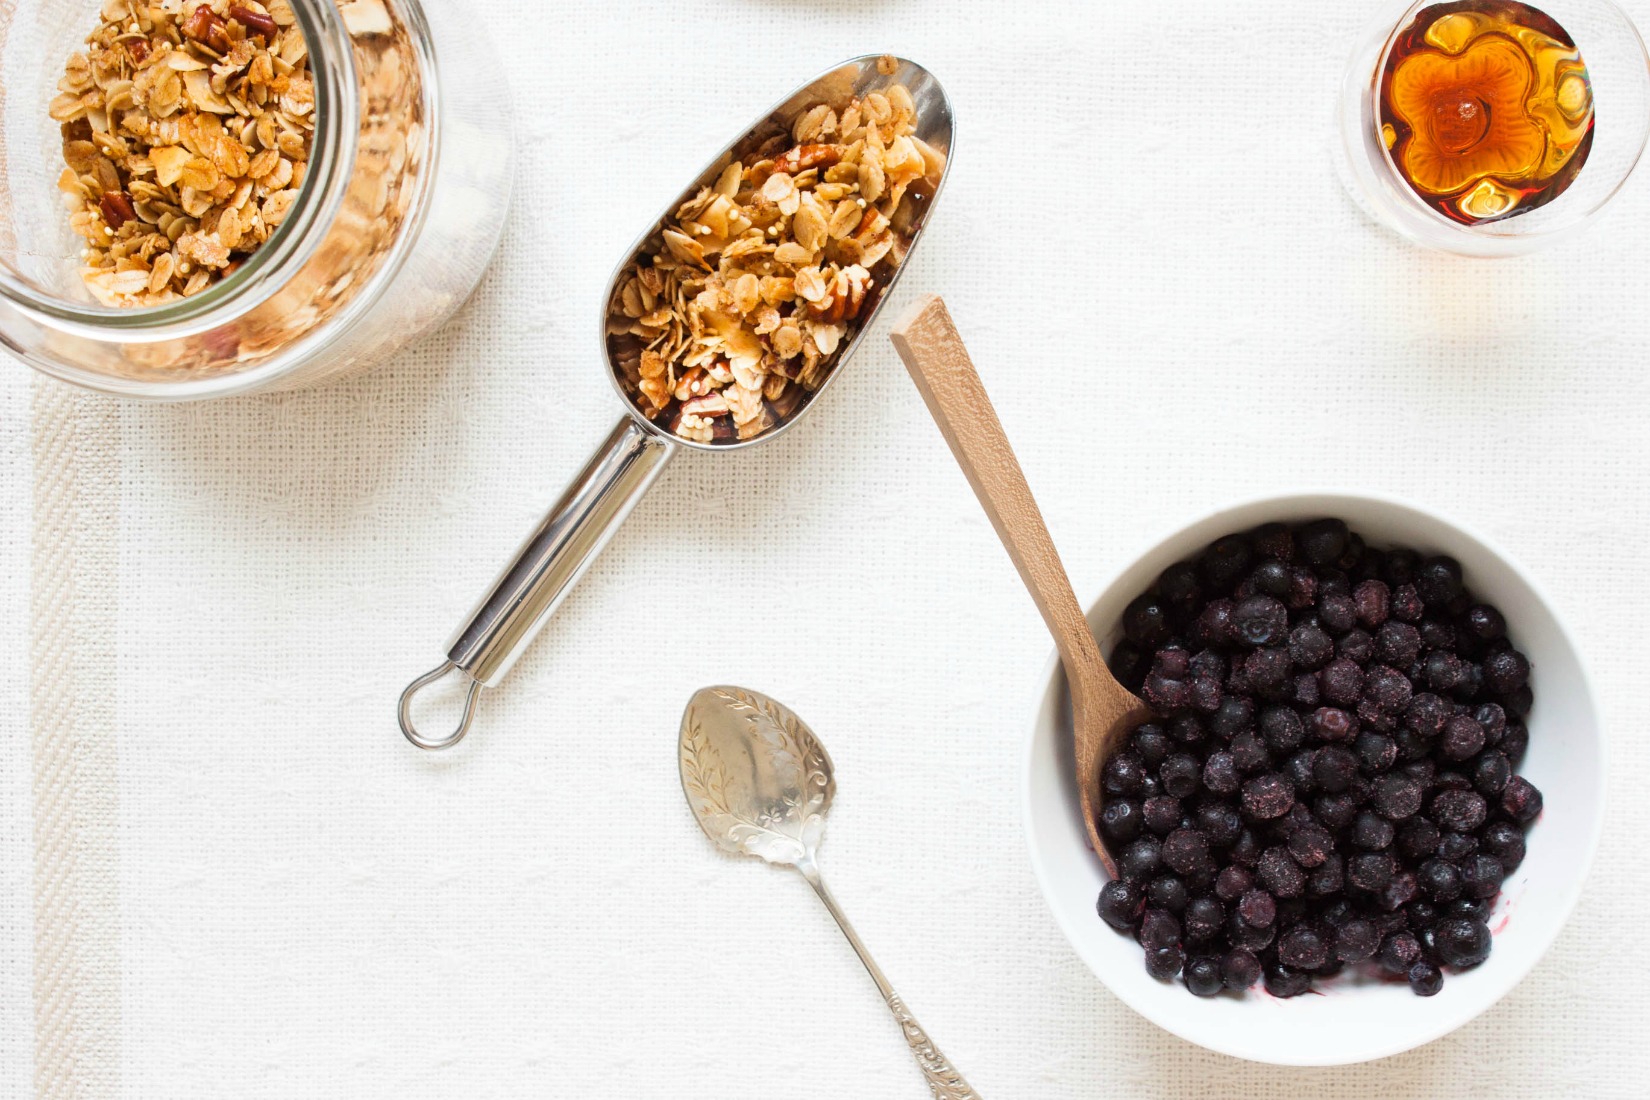
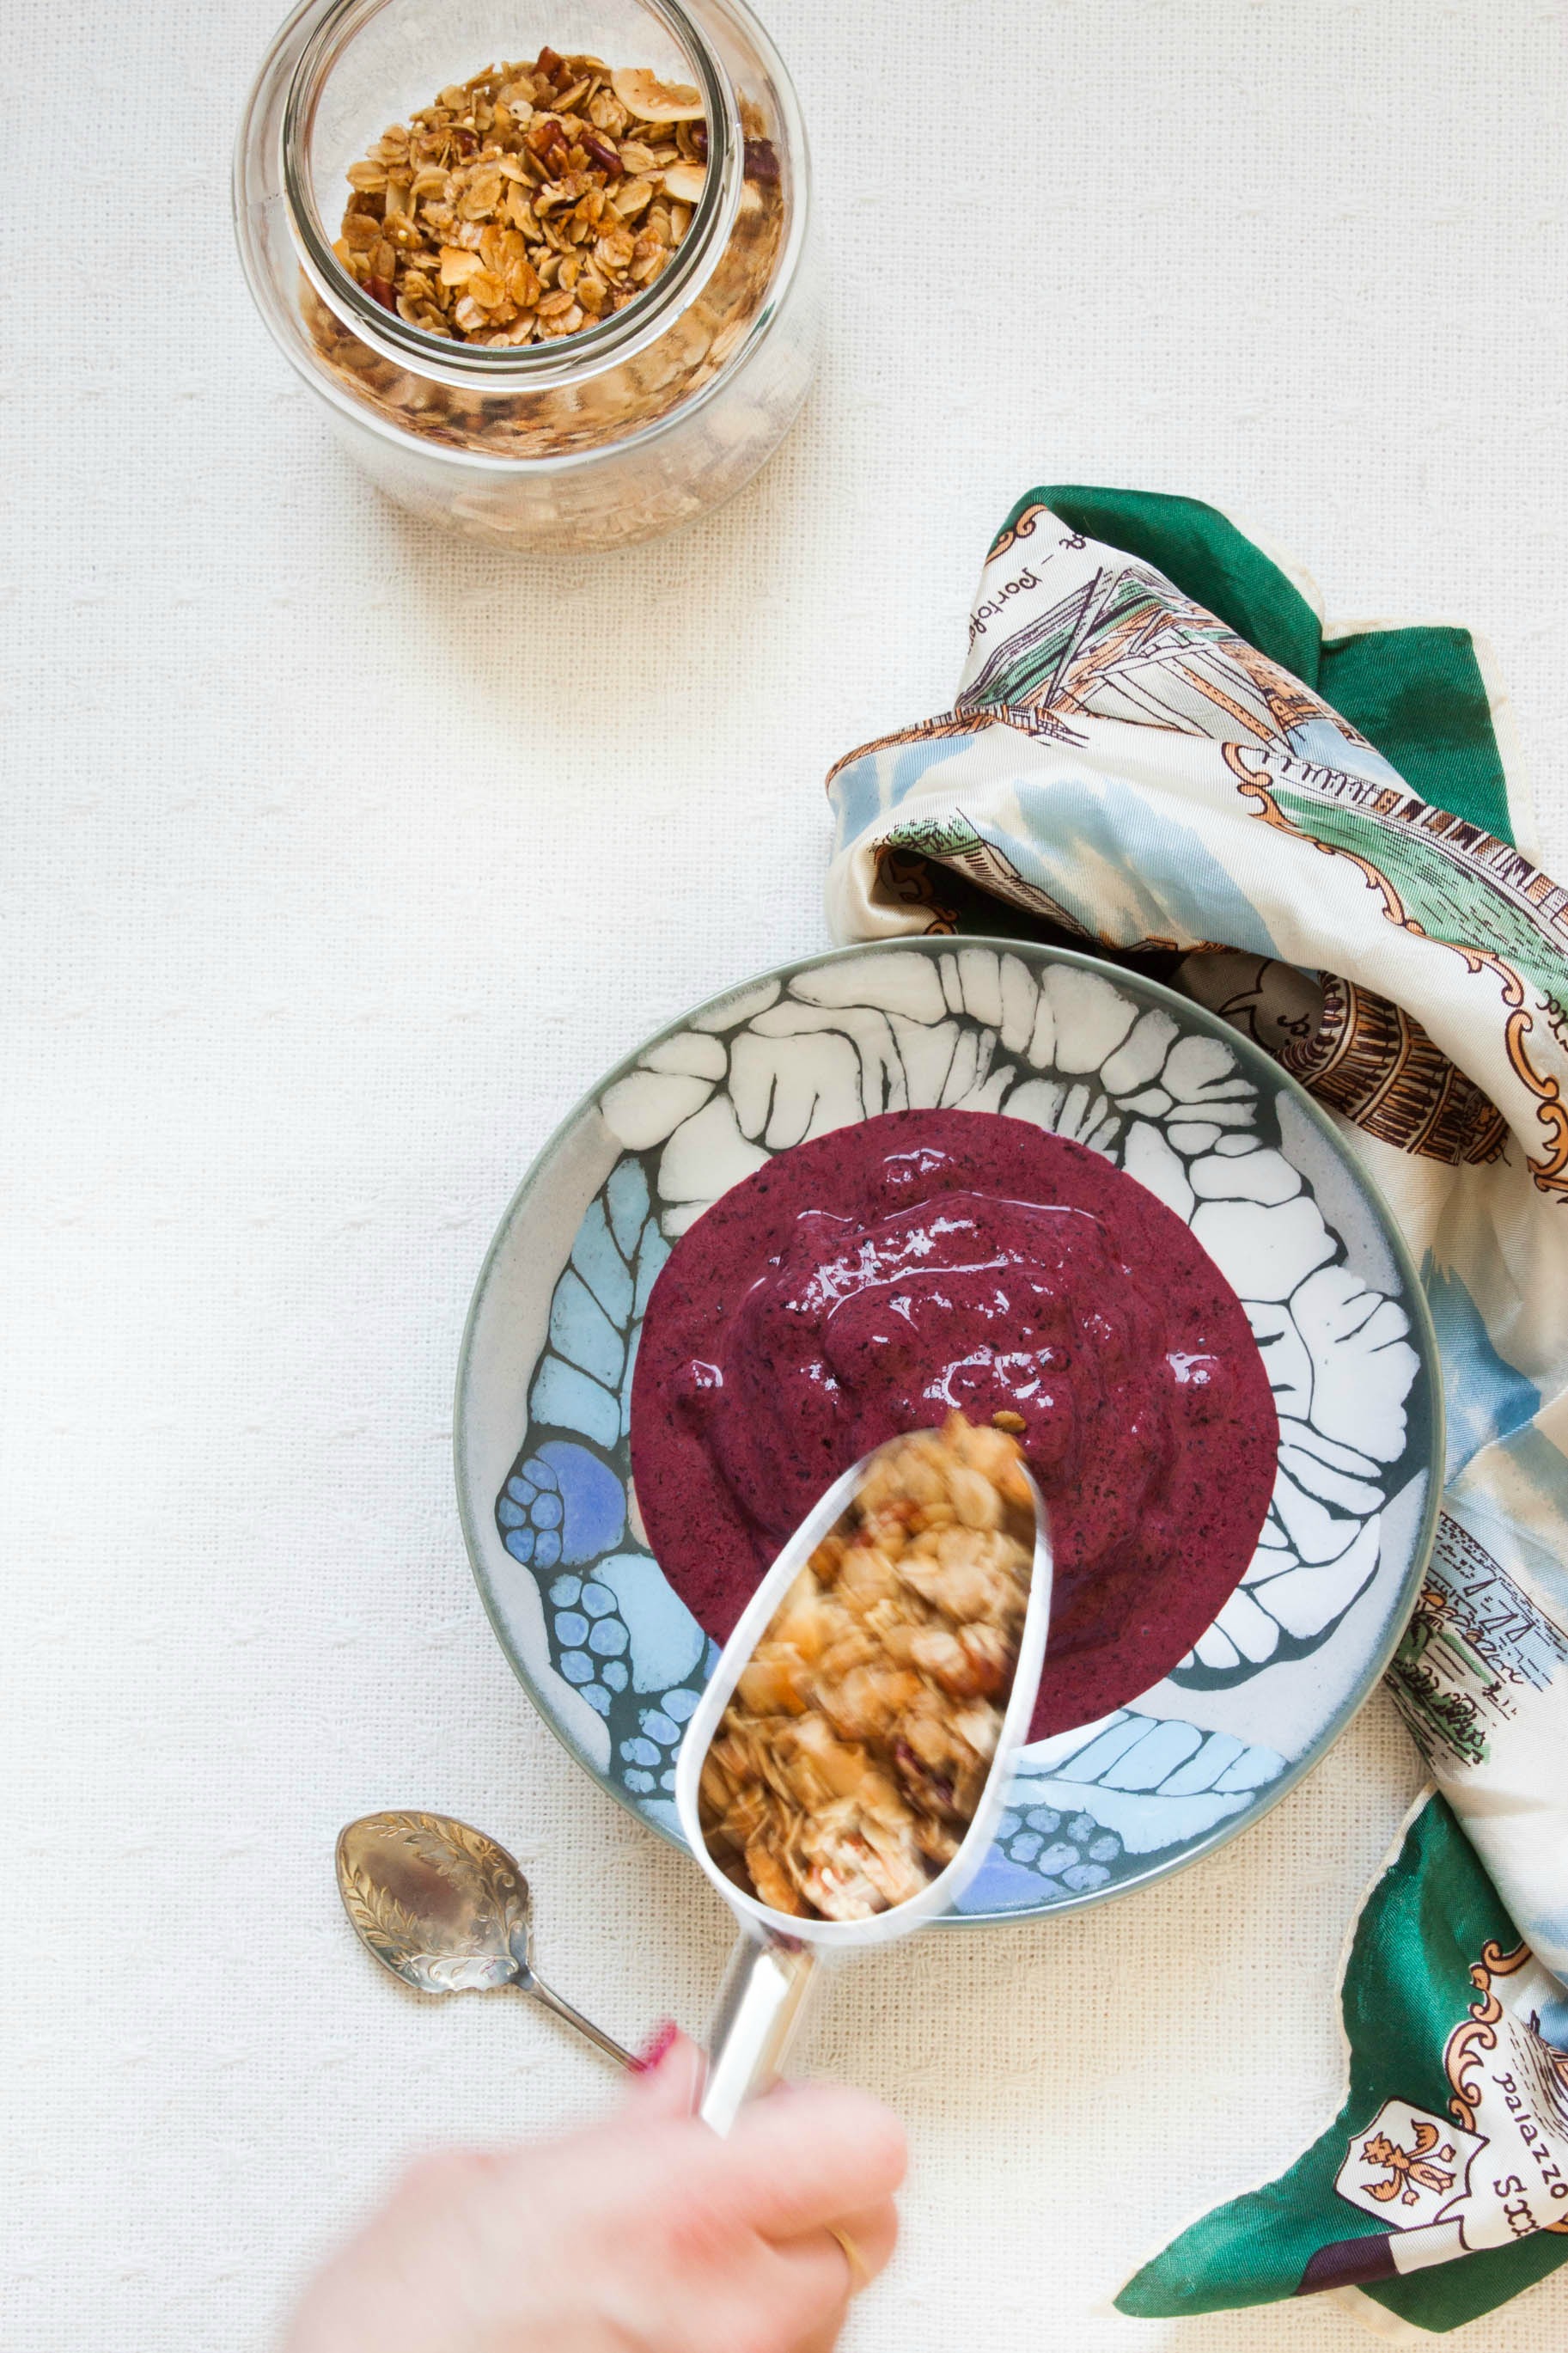
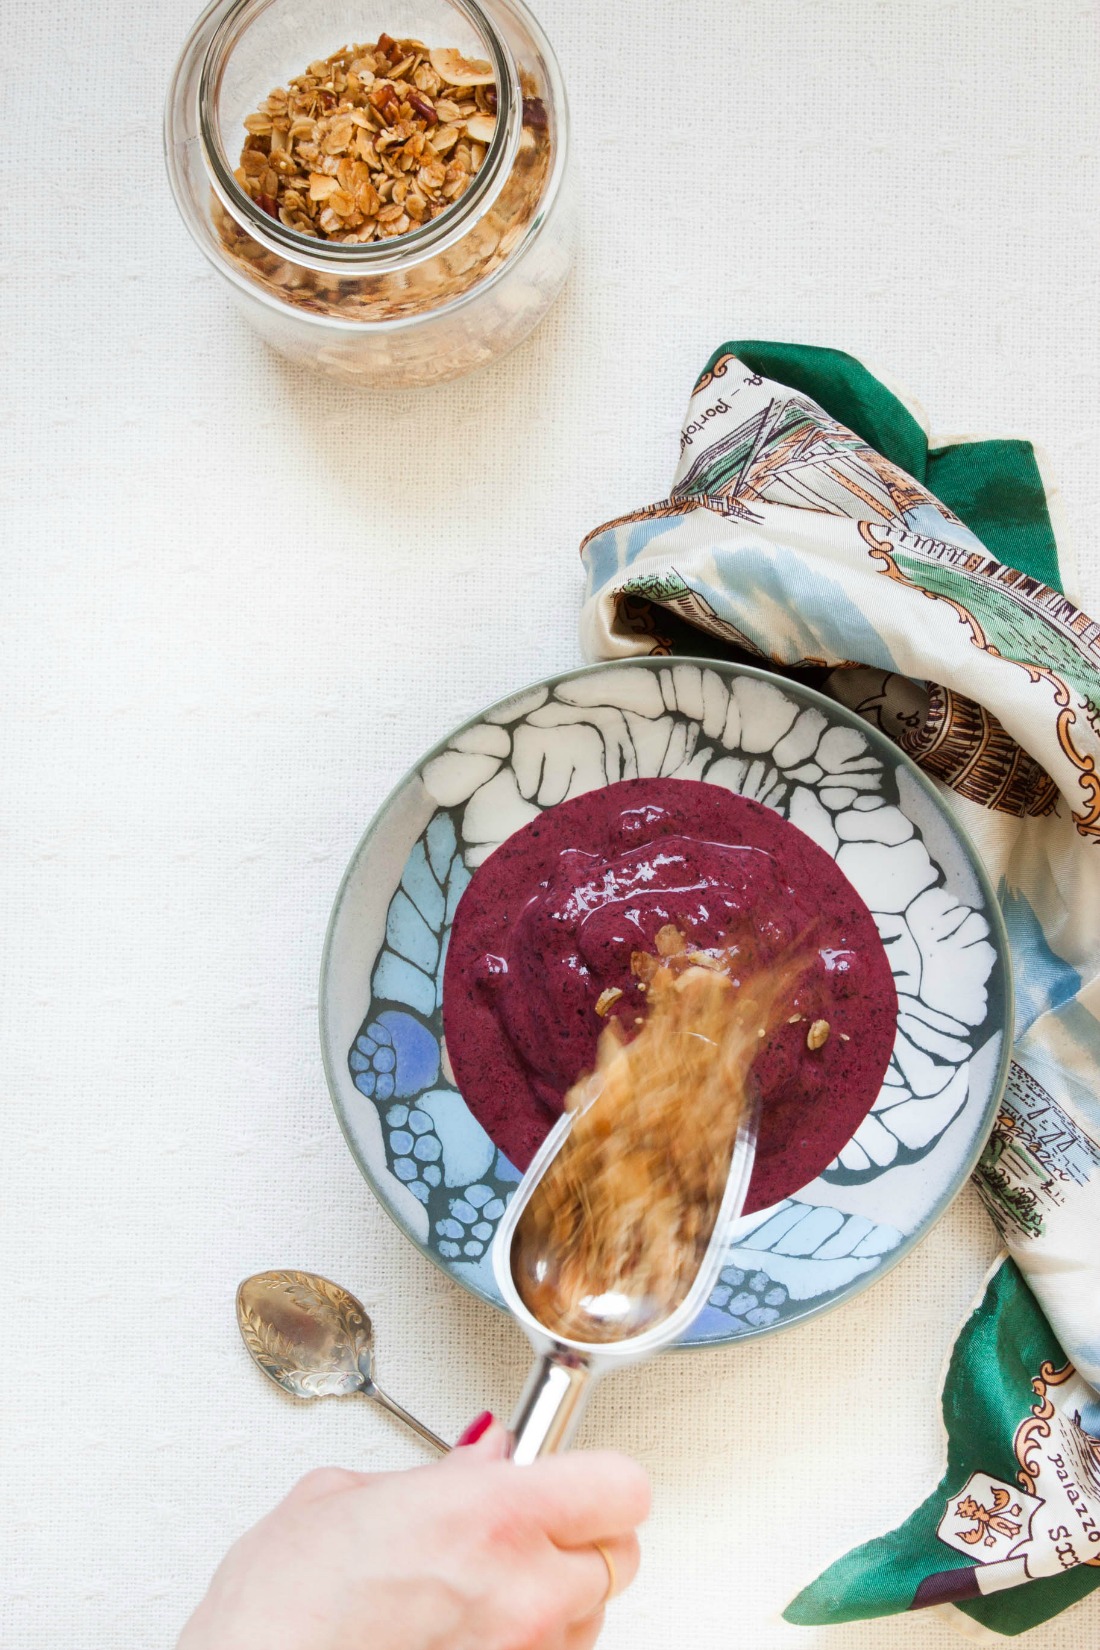
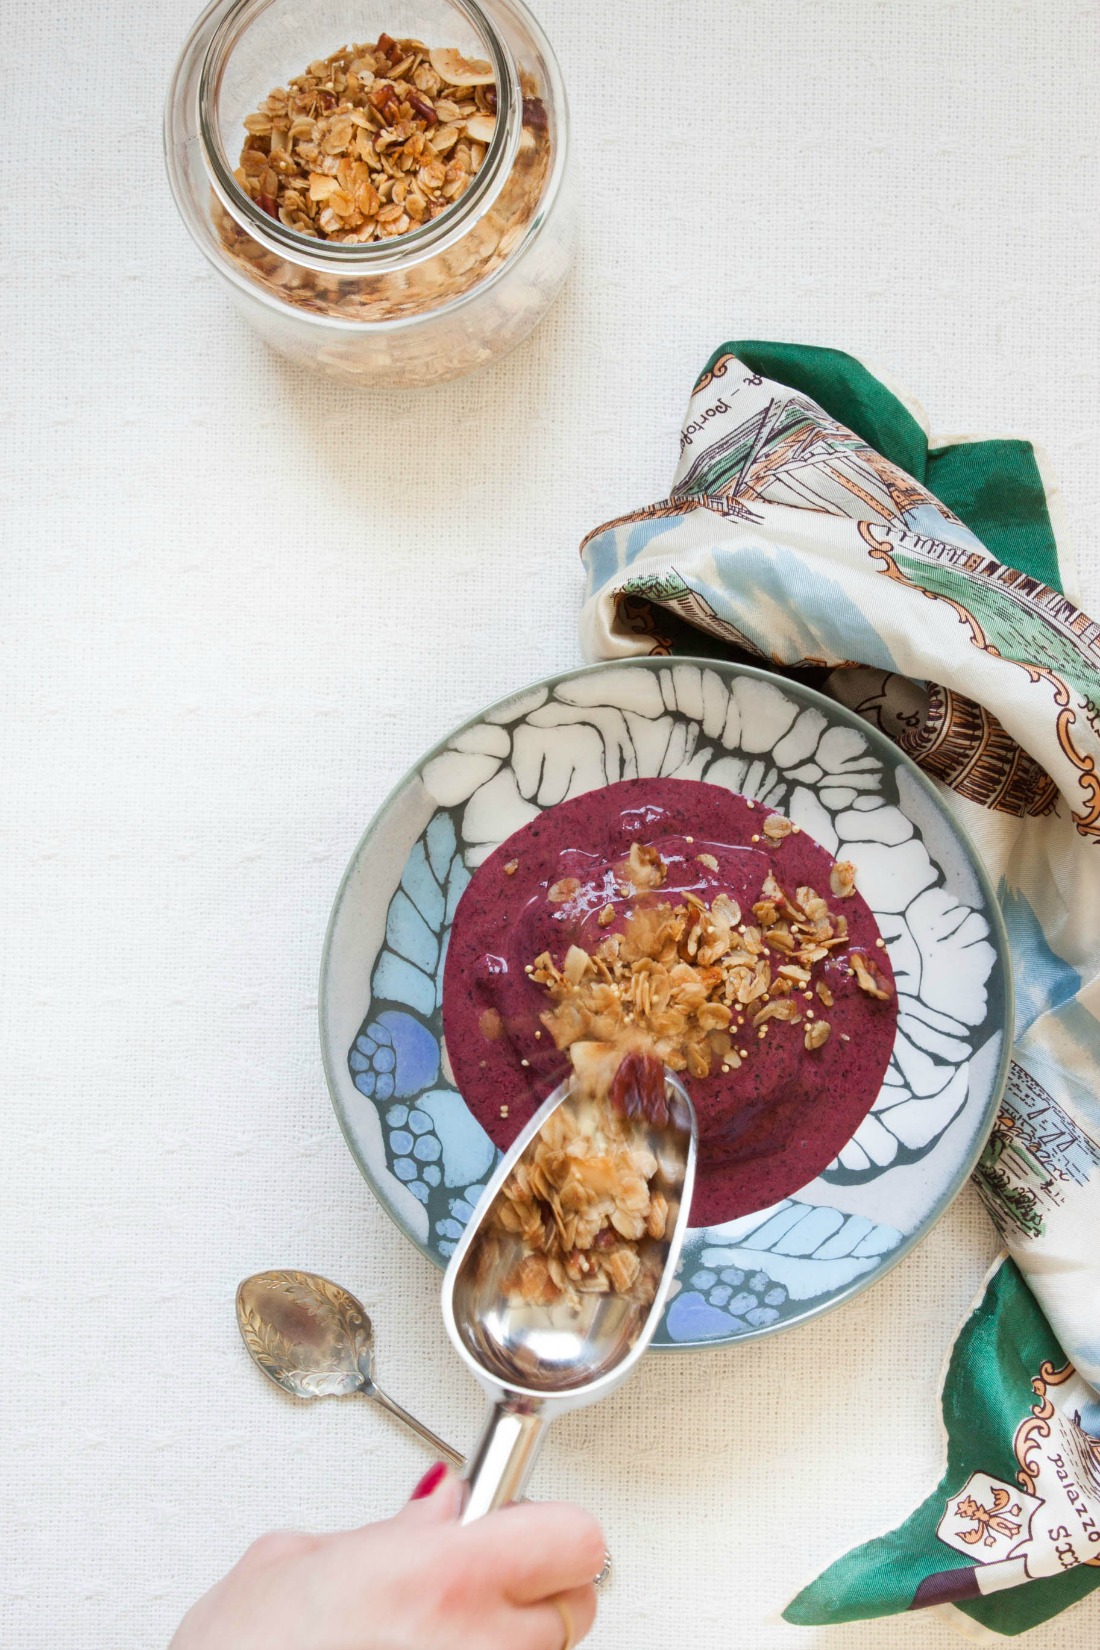
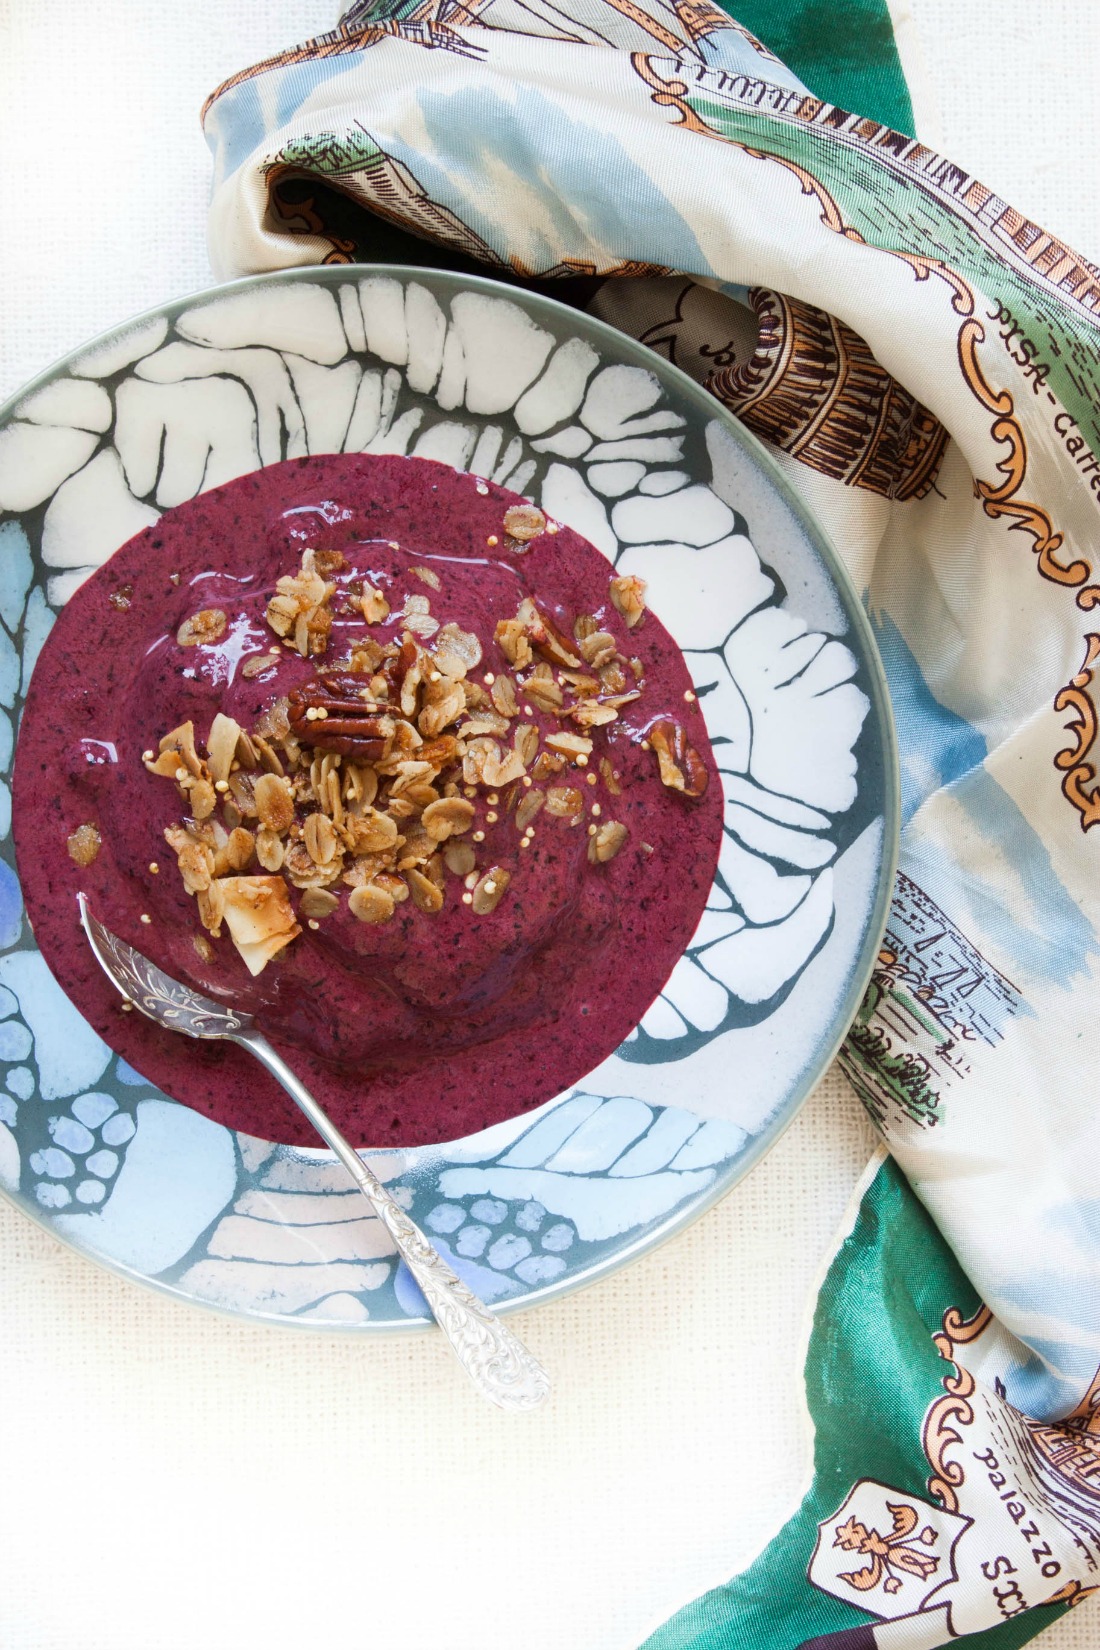
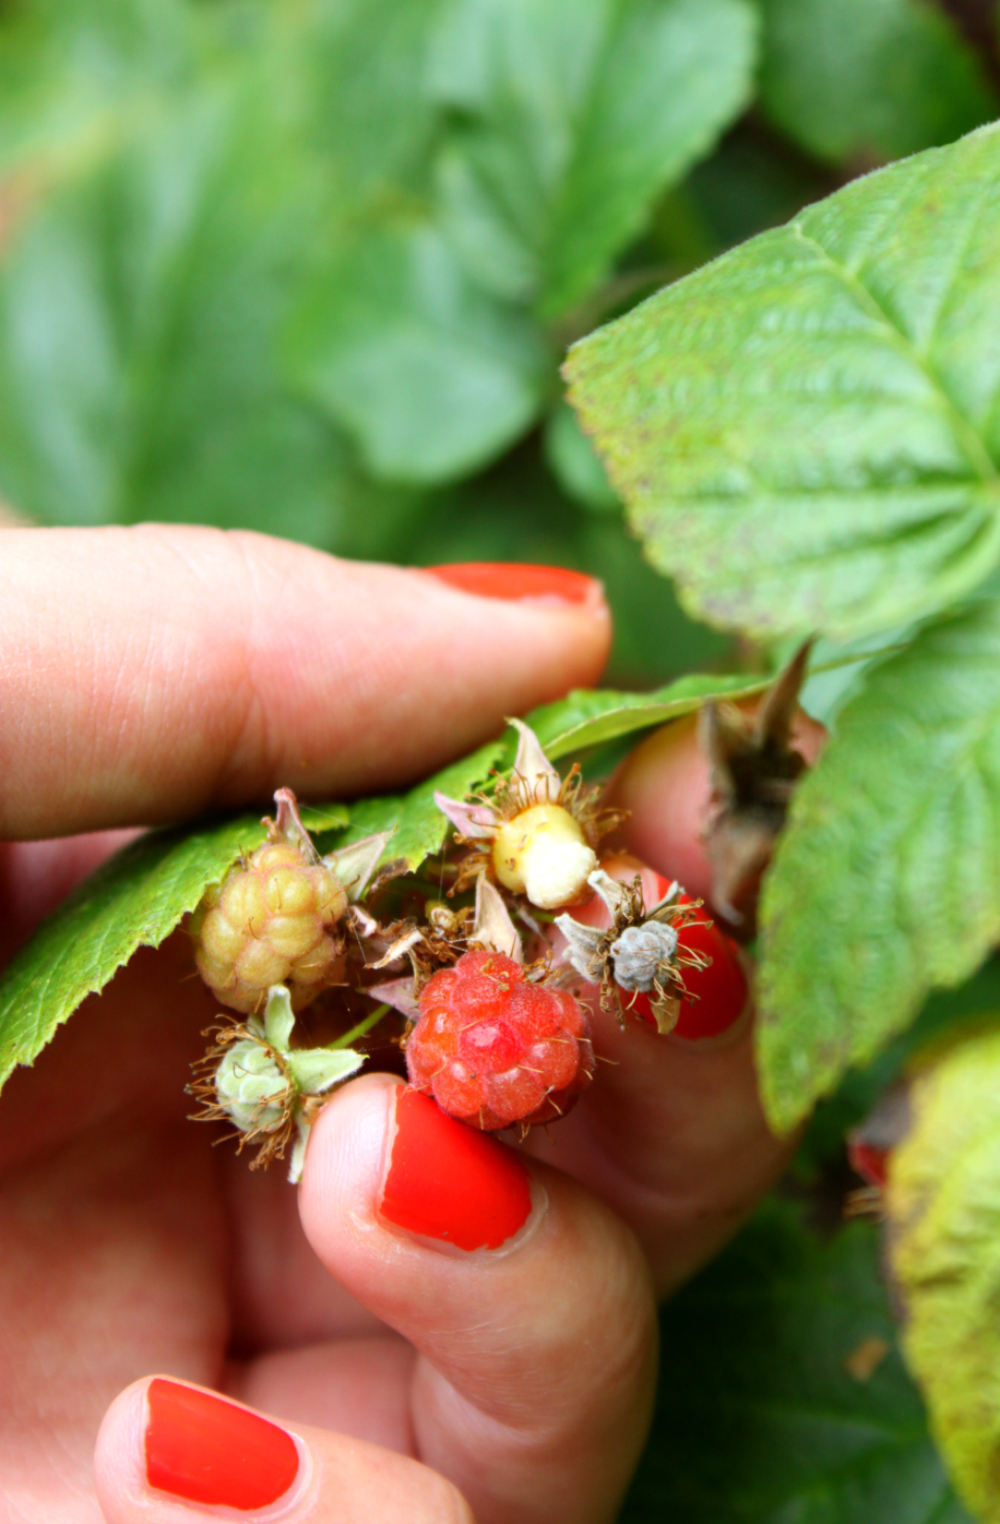
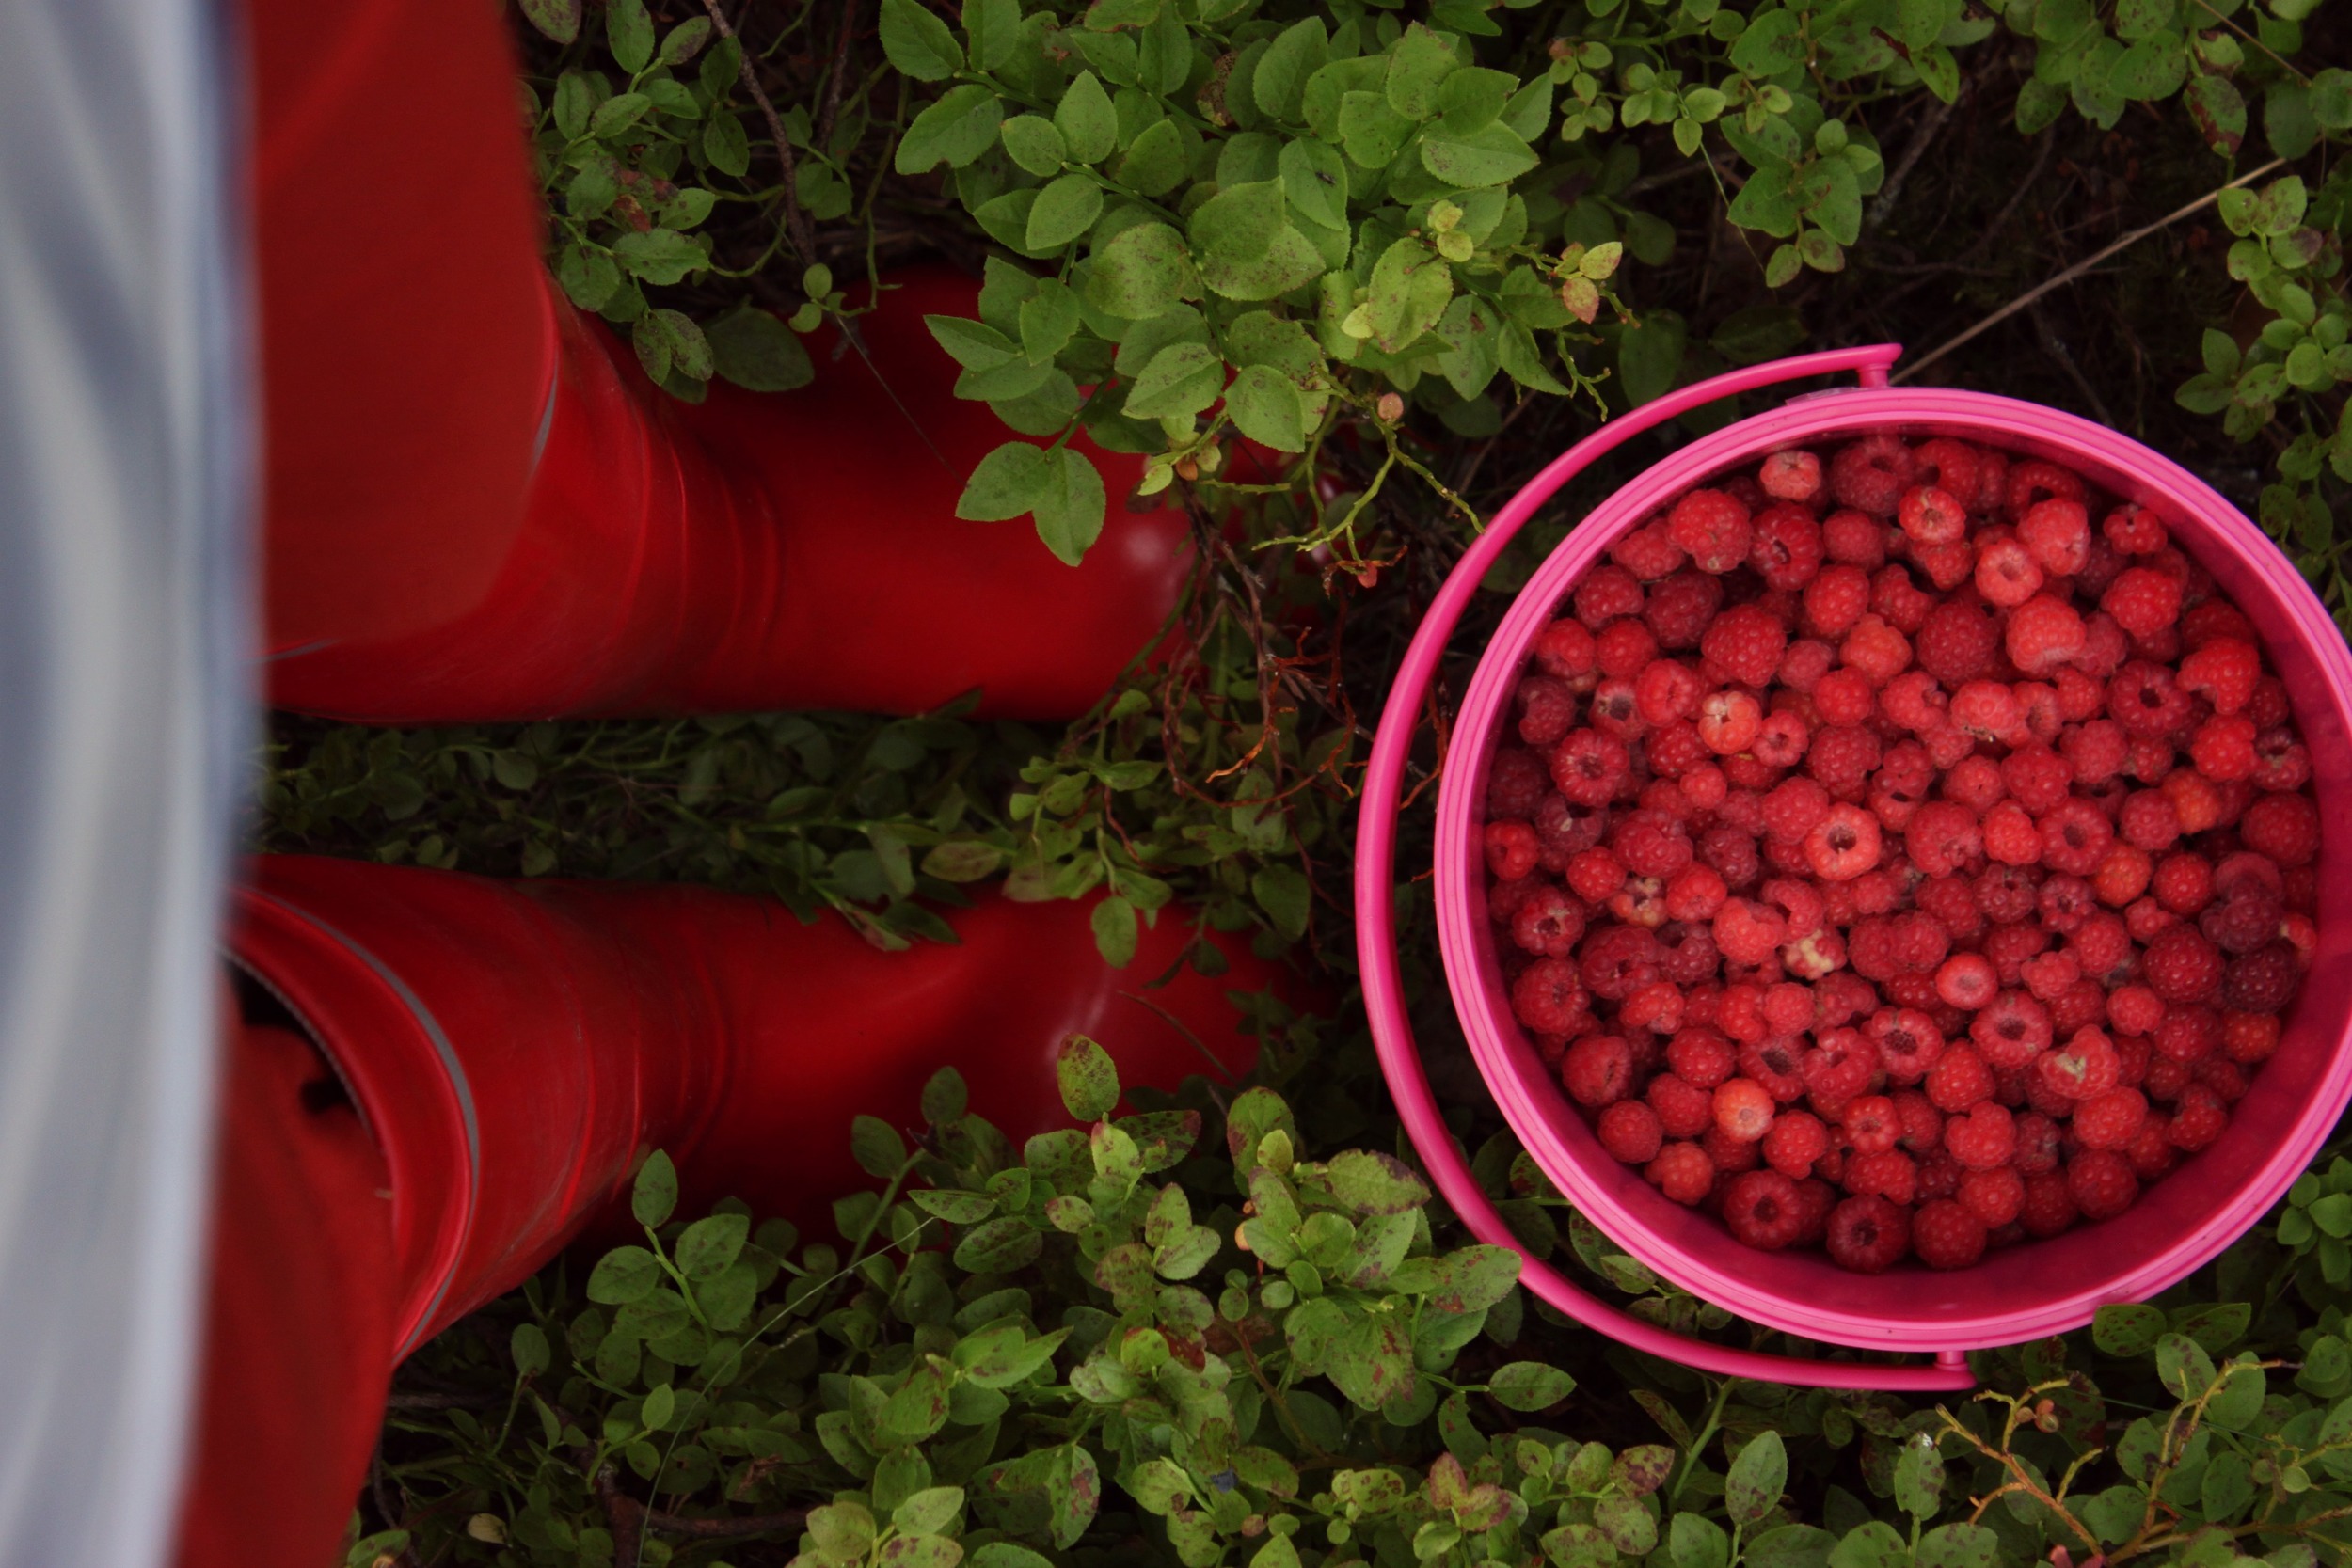
Another highlight of this summer (every summer to be more exact) have been the countless hours spent picking Nordic berries in the forest. Especially wild blueberries, called bilberries, have grown in abundance this year. I've freezed some for later use, made jam, used them in baked goods, and enjoyed them both plain and as toppings for yogurt, ice cream, etc. These blue fellas are full of flavor and one can get quite addicted to them.

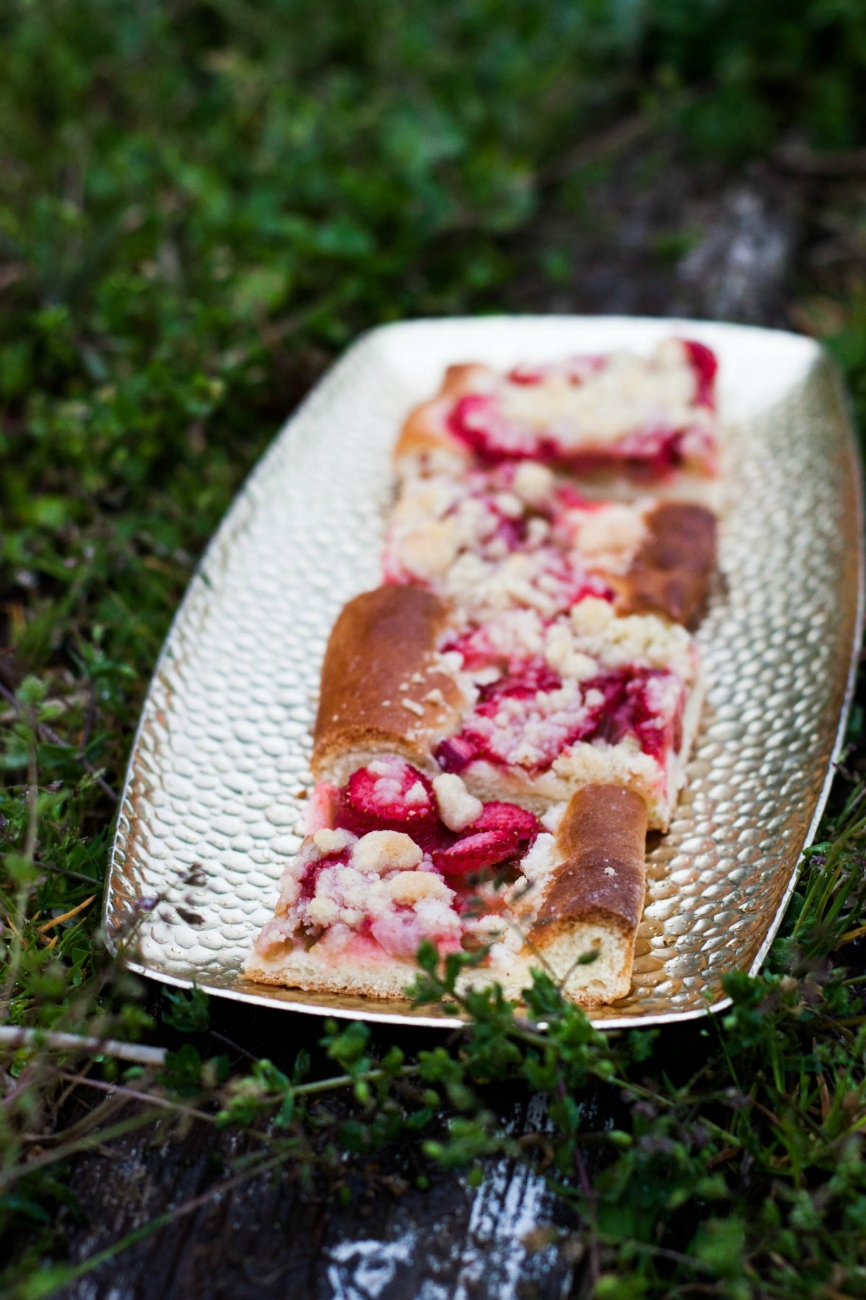
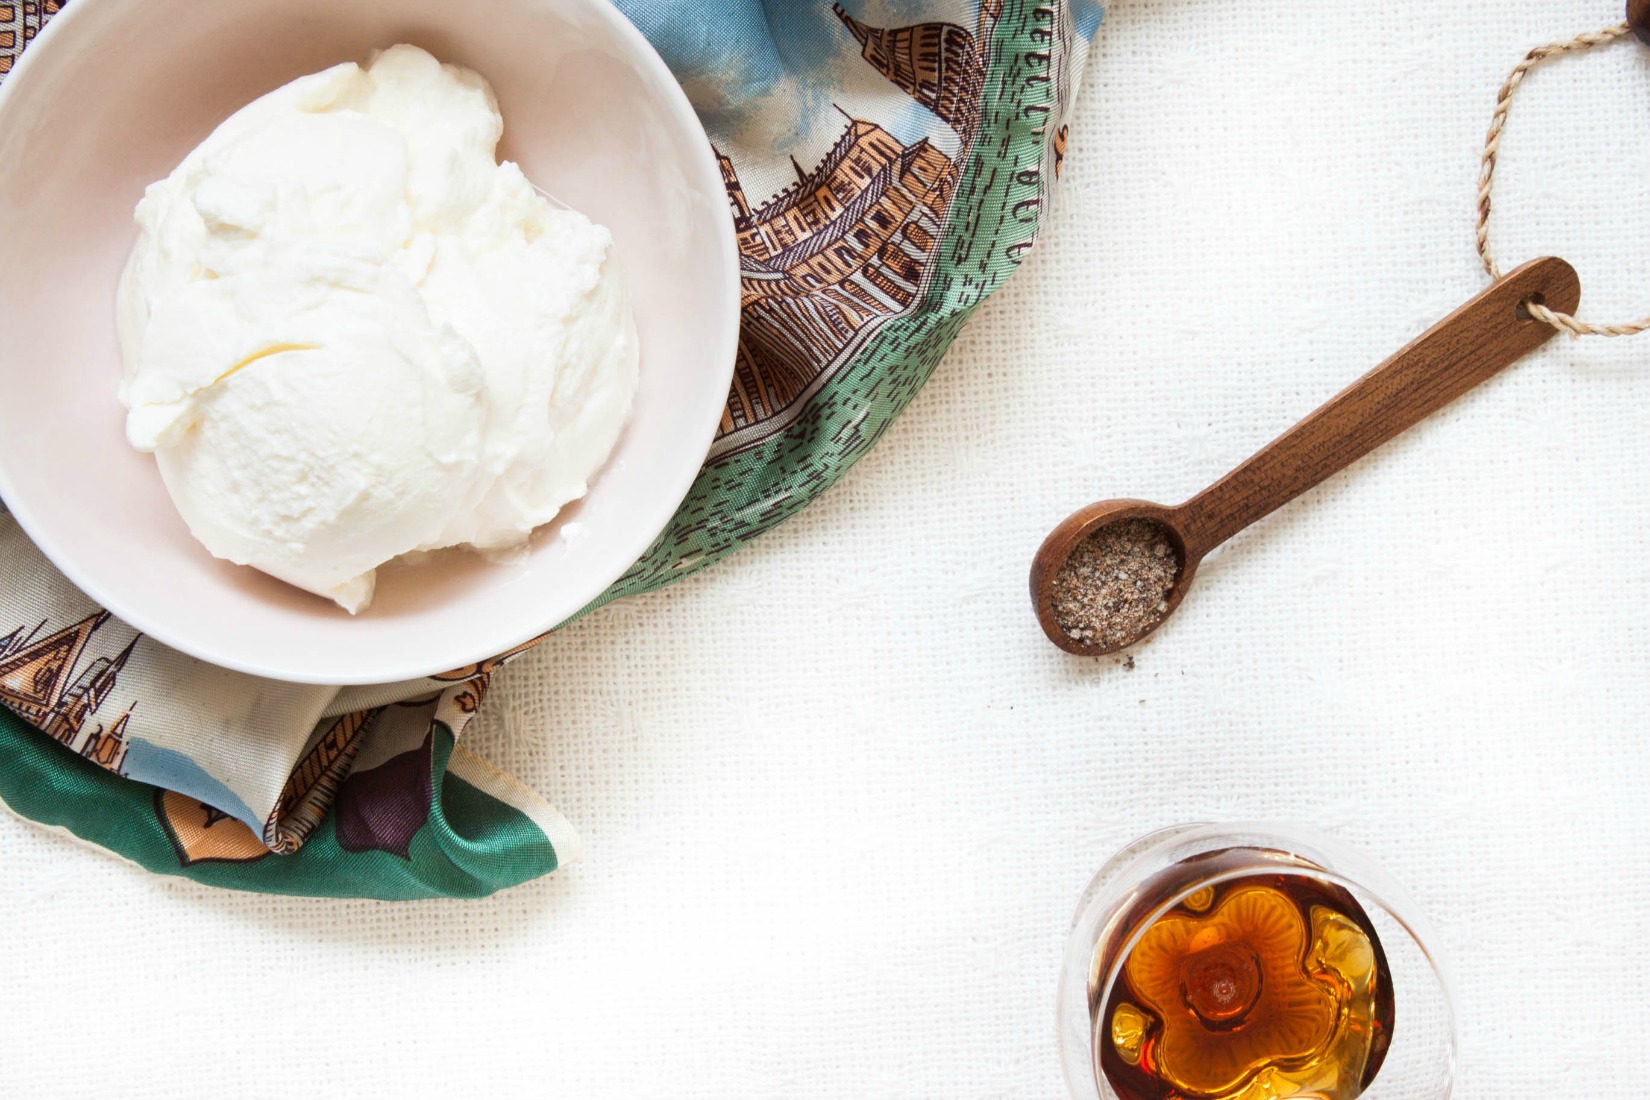
Today, I want to share a true childhood favorite with you: Nordic Oven Pancake. It's basically our version of a Dutch baby, baked on a baking sheet instead of a pan. I like when the center is barely set and still custardy making it an unresistable treat. Oven pancake is perfect when you're too lazy to make crêpes that require much more effort and time; the oven pancake batter is super easy and quick to make and your oven does most of the work. As the pancake itself isn't very sweet, the toppings are what truly makes this dish shine. You can top your slice with whatever you like - fresh berries and/or homemade jam are always a good choice but I also love to enjoy a slice with nothing more than granulated sugar. If you want to get wild and deliscious, add some whipped cream or an ice cream scoop or two.

Wishing you all wonderful late summer days! Enjoy.


Nordic Oven Pancake

makes 1 sheet (size: 39x32,5cm / 15,4"x12,8", measured from the bottom of the pan, excluding rims)

This is a true summer favorite with a custardy center. Be super careful when placing the sheet in the oven making sure not to splash any batter!

1 liter (4 ¼ cups) whole milk
3 tbsp granulated sugar
¾ tsp fine sea salt
4 eggs (European M; U.S. L)
30 g (2 tbsp) butter, melted
250 g (4 ½ dl; 2 cups minus 1 ⅔ tbsp) all-purpose flour


Preheat oven to 200°C (400°F). Line a rimmed baking sheet (at least 2 cm / ¾" deep) with parchment paper.

In a medium-sized bowl, mix together the milk, sugar, salt, eggs, and melted butter until well combined. Gradually add flour and mix until smooth. Let rest for about 30 minutes.

Pour batter into prepared baking sheet. The sheet will be filled to the rim with batter, so be extra careful when placing the sheet in the oven. Bake on the middle rack for 30 to 40 minutes, or until the top is golden brown with darker spots here and there and the bottom is golden brown. The batter will rise in the oven (and look like the Ural Mountains) but falls quickly after being removed from the oven.

Let cool down before serving, so that the center sets proberly. Serve cold or at room temperature with toppings of your choice.


Nordic Oven Pancake | My Blue&White Kitchen

Related Posts

Saying Thank You & Having Ice Cream For Breakfast...Well, Kind Of

Frozen Bilberry Cardamom Yogurt | my blue&white kitchen

You may have noticed that badge on the sidebar. Maybe you also saw my updated March Love&Inspiration post. Or you stumbled upon my euphoric/totally perplexed tweets (poor you) or my instagram pic...oh and I surely mentioned it on Facebook as well. It was a truly surreal Monday night. I'm still pinching myself just to check I'm not sleeping. If this is a dream, it's a pretty realistic director's cut...

I'm extremely honored to be nominated for a Best Food Blog Award from Saveur Magazine, in the category Best New Blog. 'OMG'  has been my mantra for the last couple of days. I'm truly over the moon about the nomination. For you who don't know what the Saveur Best Food Blog Awards are about, well, the music industry has the Grammys, the film industry the Oscars, and we food bloggers, we have the Saveur BFBAs. I still don't know how I ended up being nominated with all those super talented people; people I look up to. But there I am. BOOM!

I want to thank you for all your support, cheers, and congrats. For making my recipes. For reading this humble space of mine, for leaving comments, and for being such a constant source of inspiration. It's truly special to be honored for something you have created yourself. For something you have not only invested time in but that you've done with a big heart.

Thank you.

If you would like to vote and send me to Vegas for the Best Food Blog Awards party (Saveur will fly the winners to Vegas for free. I know, totally crazy.), please click the badge on top or on the sidebar. You'll need to register to Saveur, but it's straight forward, and there won't be any spam emails or anything. You can vote until April 9th which is next Wednesday.

But let's move on to today's recipe, shall we? I have a huge crush on it. It makes my pupils dilate, and my heart flutters like hummingbird wings when I have a spoon of it. There's berries in it which does not only turn it into a bright, cheerful color but makes it a vitamin bomb too.

As some of you already know, I often have yogurt with homemade granola, berries, and a drizzle of maple syrup or honey for breakfast. Nothing special there, but at least it's delicious. However, after I stumbled upon this recipe, all I saw in my morning bowl were the ingredients for something so much more fun. I mean, who doesn't want to have ice cream for breakfast, right? Well, maybe not real ice cream but something that totally feels like ice cream but isn't. Does this make any sense to you? [I'm sure the BFBAs are messing up with my brain...]

Frozen Bilberry Cardamom Yogurt | my blue&white kitchen

However, I didn't want any bananas in my wannabe ice cream. Those are reserved for milkshakes only (right, dad?). Adding bananas would yield in a firmer consistency, but I've always preferred my ice cream half frozen anyway. So all berries. I chose bilberries cause I still needed to clean my freezer from last summer's berries. Some of you may wonder "How much berries does this girl have in her freezer?". The answer is: way too much. It was a good summer with lots of berry picking trips. I felt the urge to spice it up with cardamom cause bilberries and cardamom are such a wonderful flavor pairing. And then maple syrup. Yesss.

Because we're talking about breakfast here and granola is such a staple on my breakfast table, we'll of course sprinkle some on top. The granola you see in the pictures is this one. It's one of the best granolas I've ever made. I like to add millet and some extra seeds to my batch.

Ooooh, heaven!


Frozen Bilberry Cardamom Yogurt

serves one hungry soul or two as a side (eat that croissant!)

I encourage you to use bilberries rather than 'regular' blueberries both for their vibrant color and for their taste. If you, however, can't find bilberries, blueberries will be just fine.

Side note: You may or may not have blue lips and a blue tongue after enjoying a bowl of this goddess of breakfast. I  strongly encourage you to have a look in the mirror before leaving the house, and to wash your teeth after rather than before breakfast. Just sayin'...


200 g (7 oz; 2 dl; ½ +  cups) Greek yogurt
200 g (7 oz; 3 dl; 1 cups) + 35 g (1.2 oz; ½ dl; ¼ cup) frozen bilberries
¼ tsp ground cardamom (preferably freshly ground)
2 tbsp maple syrup

homemade granola, to serve
 

Blend yogurt, 200 g / 7 oz bilberries, cardamom, and maple syrup in a blender until smooth. Add the remaining blueberries and mix with a spoon (we want these berries to remain whole for some additional texture). Serve with granola on top. Cheers!


A Beginning & Queen Jam

So this is it. My first post on this little space of mine. I’m excited and nervous at the same time. So let’s just start, shall we?

With the abundance of fresh summer berries and fruit, I’ve been canning like a mad one. We have a long, dark season ahead of us and a little jam at my breakfast table always helps me get through those winter mornings when I would prefer to stay in bed and wake up when it’s spring again.

So I've been picking berries at our summer cottage in the mornings and afternoons and canning on the evenings. When preserving, it's important to make sure that everything is at their peak of quality. You don't want one rotten berry or piece of fruit to ruin your whole batch of jam. Always work with clean equipment and try to work fast.

Mixing raspberries and blueberries is quite a traditional flavor combination for jam here in Scandinavia. We call it Queen Jam. Wait, Queen Jam? Where’s the King? Please don’t ask, I really don’t know why it’s called that way. I use wild raspberries and bilberries (“European blueberries”) as they both have a much stronger, more tart flavor than cultivated raspberries and “American” blueberries. This jam is especially delicious served with crêpes or waffles and whipped cream.


Queen Jam
yields about 1,15 l

650 g (23 oz) raspberries, cleaned
350 g (12.3 oz) bilberries, cleaned
330 g (11.6 oz) gelling sugar 3:1
25 ml (2 tbsp) water
optional: ½ vanilla bean, sliced lengthwise & seeds scraped out
 

To sterilize the jars: Preheat the oven to 110°C (230°F). Put the clean and empty jars in the oven for 5 to 10 minutes. To sterilize the jar lids, put them in boiling water for 5 to 10 minutes. Fill the jars with the hot jam immediately.

Making the jam: Put the berries, gelling sugar, water, vanilla bean and seeds in a medium-sized pot. Gently bring the mixture to a boil and keep boiling for 3-5 minutes stirring regularly (please check the instructions on your gelling sugar). Skim off and discard any foam from the surface of the mixture as it cooks. To check if the jam is ready, you can drizzle some jam on a cold plate. It should set within a couple of seconds, otherwise keep the jam boiling for some more minutes (this is a great tip which I’ve learned from delicious days). Discard the vanilla bean. With the help of a funnel tube, fill the sterilized jars with boiling hot jam, leaving about half a centimetre (or less) of headspace. Close jars with the lids and let cool completely.
 

I highly recommend labeling your jars so you know what you have in your pantry (I’m talking from experience here). I especially love these ones. Because this jam is made with less sugar than regular jam, it needs to be stored in the fridge. If the jars are properly sterilized and sealed, the jam will last for up to one year.

Note: You can also make this jam using 500 g of gelling sugar 1:2. The jam will of course be sweeter and the cooking time will probably vary as well. This kind of jam can even be stored in room temperature. You could also use slightly thawed frozen berries. Just omit the water if doing so.