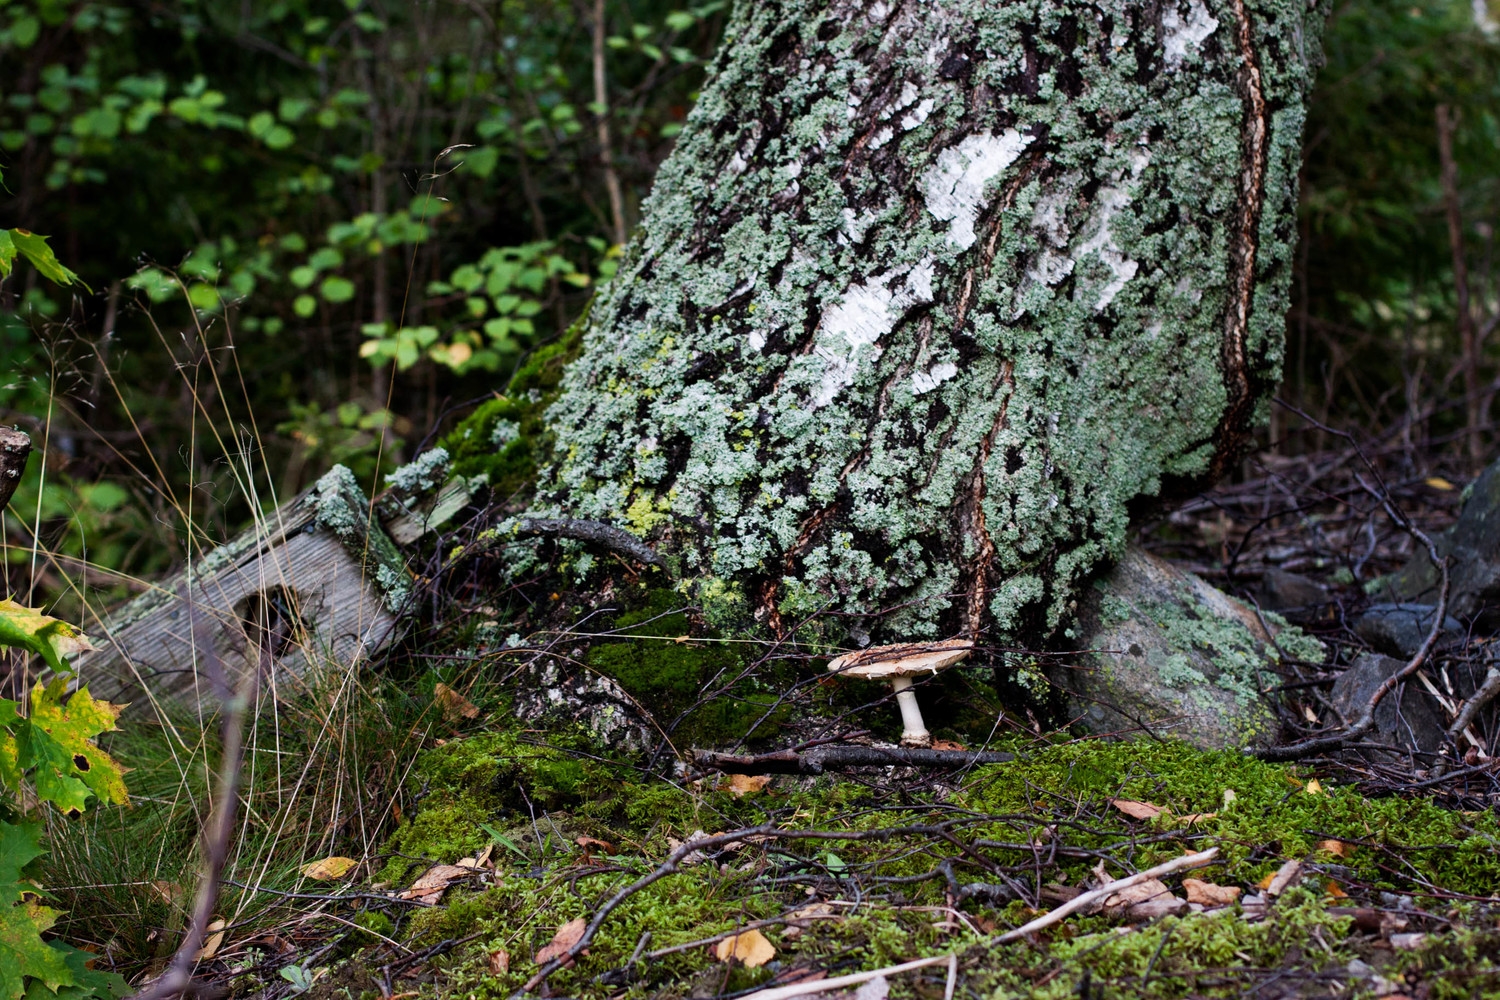
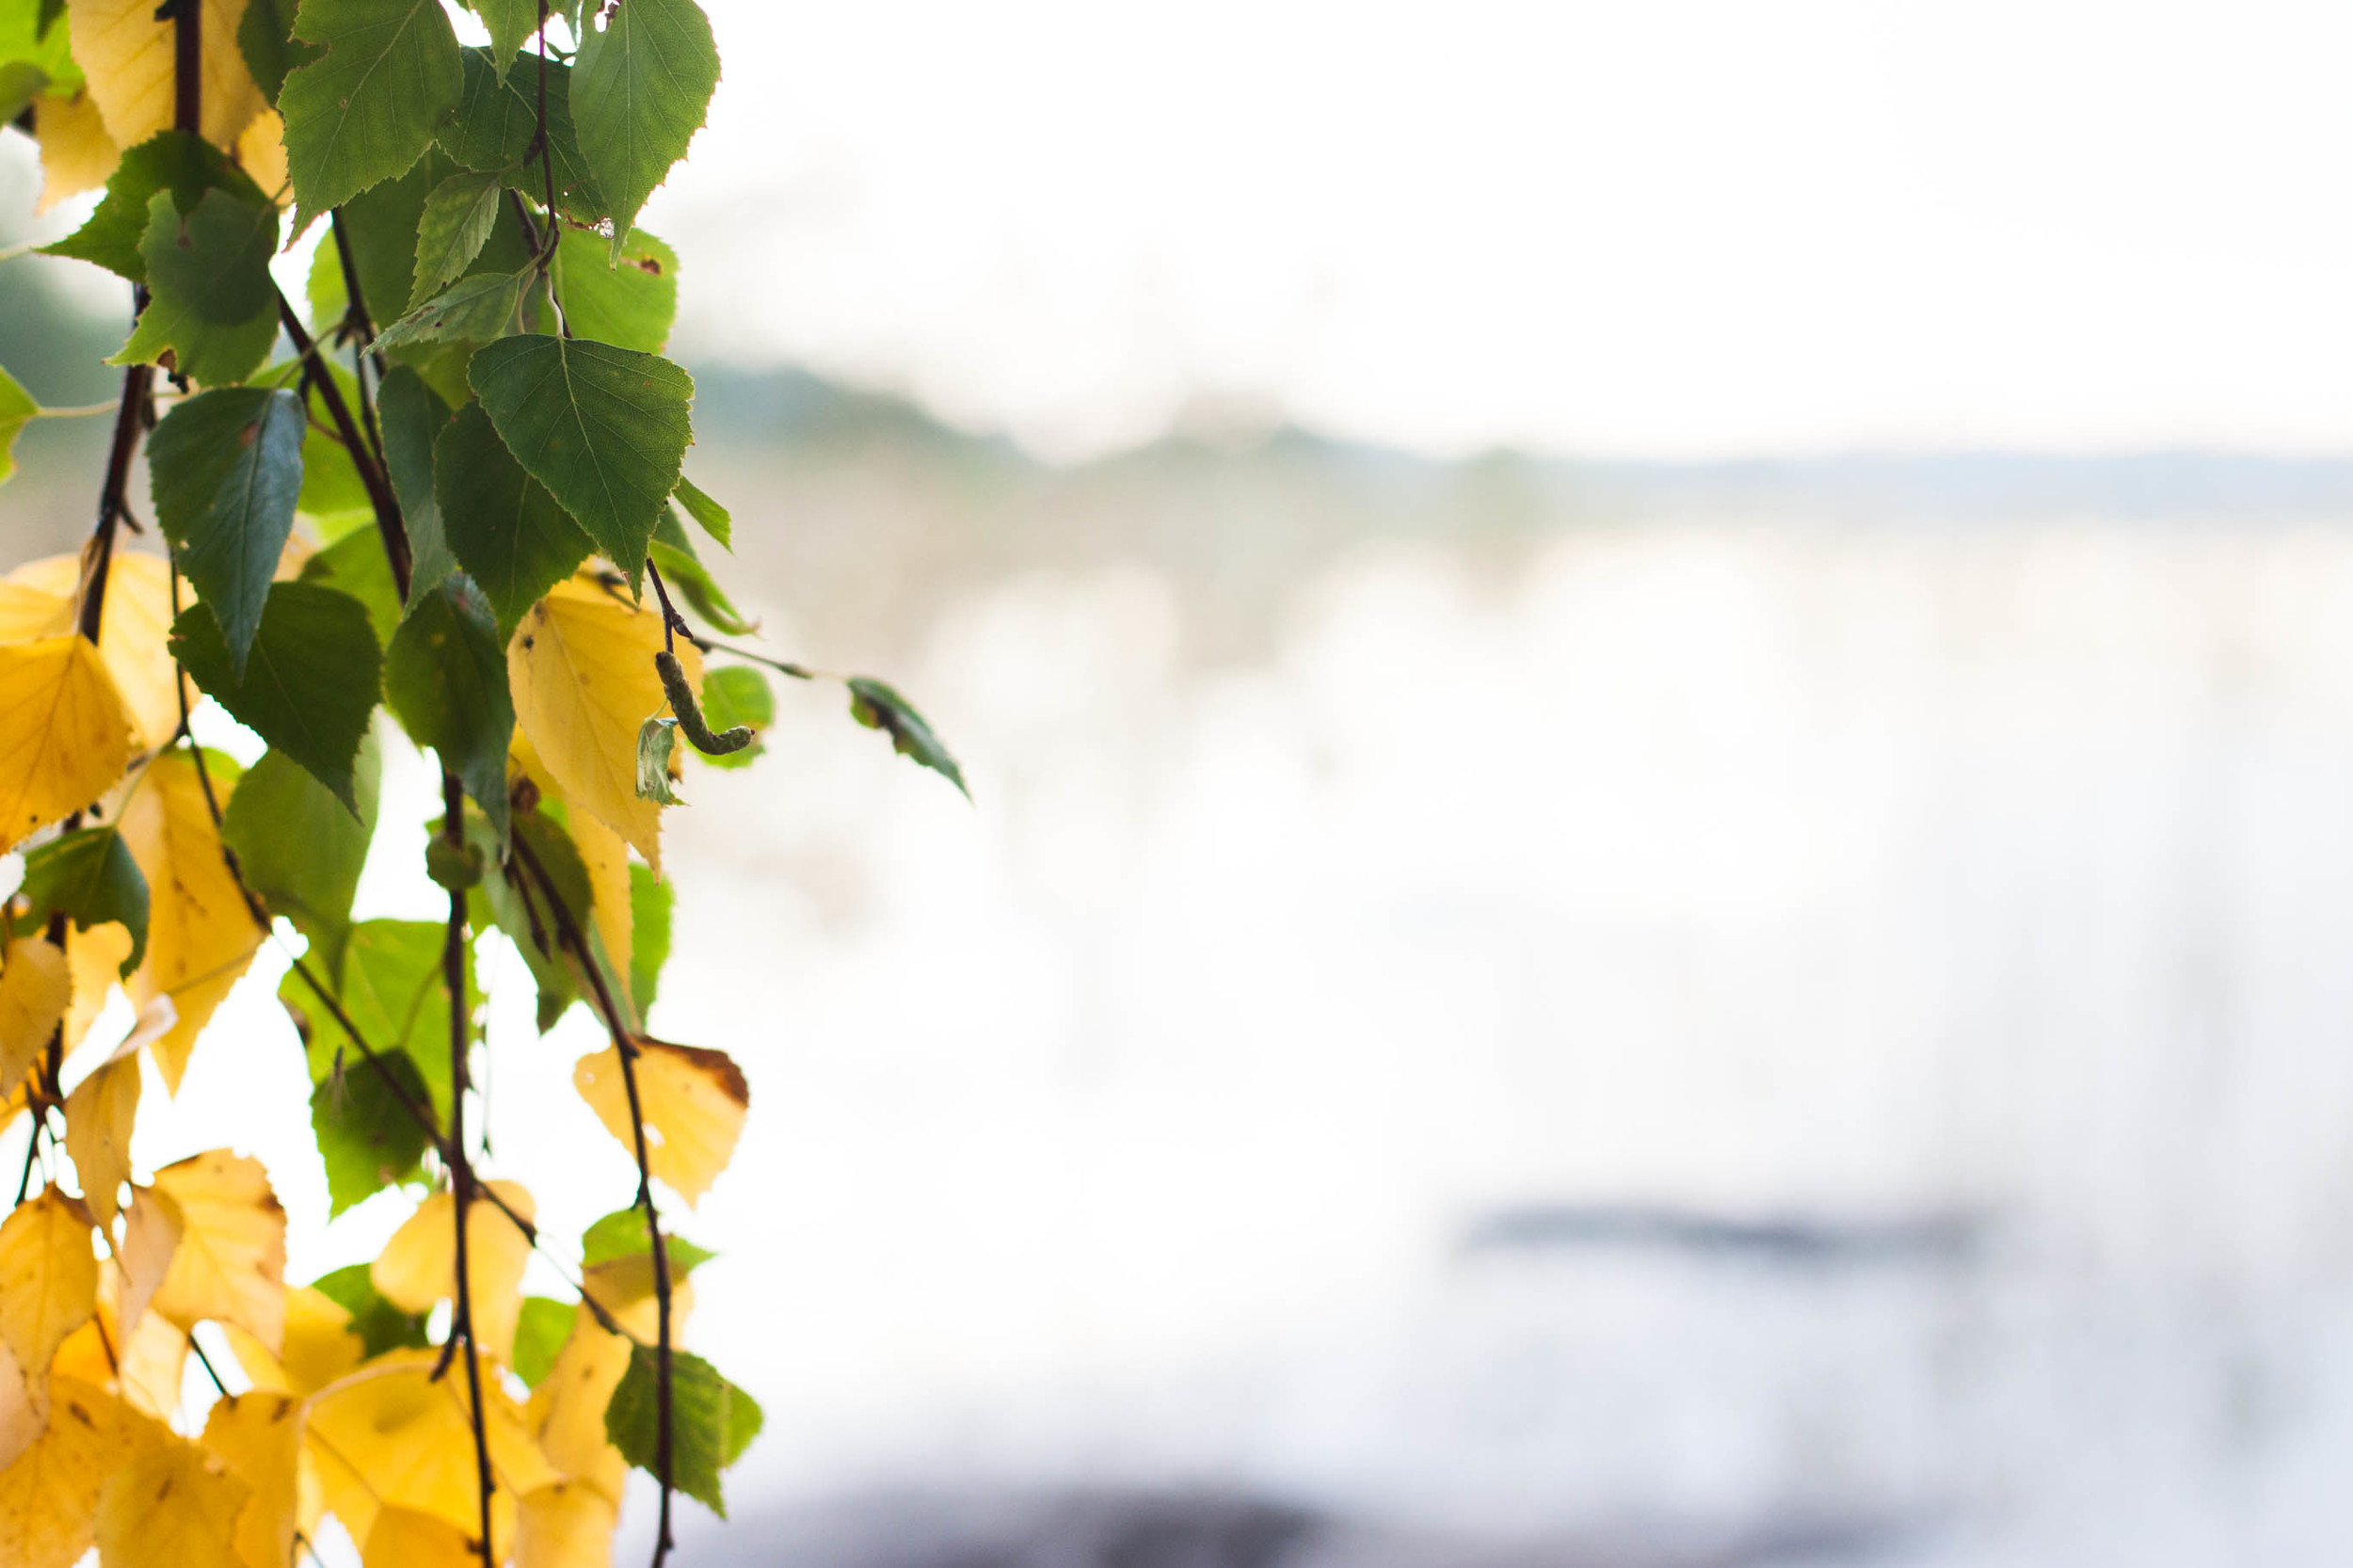
One of the biggest reasons why I love fall so much is because it's the season of numerous mushroom foraging trips. As I see the leaves slowly burst into vibrant colors and watch mist linger on the fields, my mind starts to wander in those deep forests; the forests that are not only a home to rich and diverse wildlife but also to edible berries, herbs, and mushrooms. As I've mentioned before, foraging is one of the greatest things that defines the Nordic kitchen and way of life. It's one of the most wonderful ways of living in harmony with the surrounding nature. It's a feeling of deep gratitude for those thick forests, blue lakes, and fresh air in our lungs.
We have a thing called every man's rights aka freedom to roam here in the north. This basically means that the nature is something that is to be shared with everyone. Everyone has the right to enjoy the wilderness amidst we live. As long as you don't harm nature or disturb other people's privacy, you're free to forage berries, plants, and mushrooms as well as walk, ski, cycle, and camp. It's a downright wonderful thing.
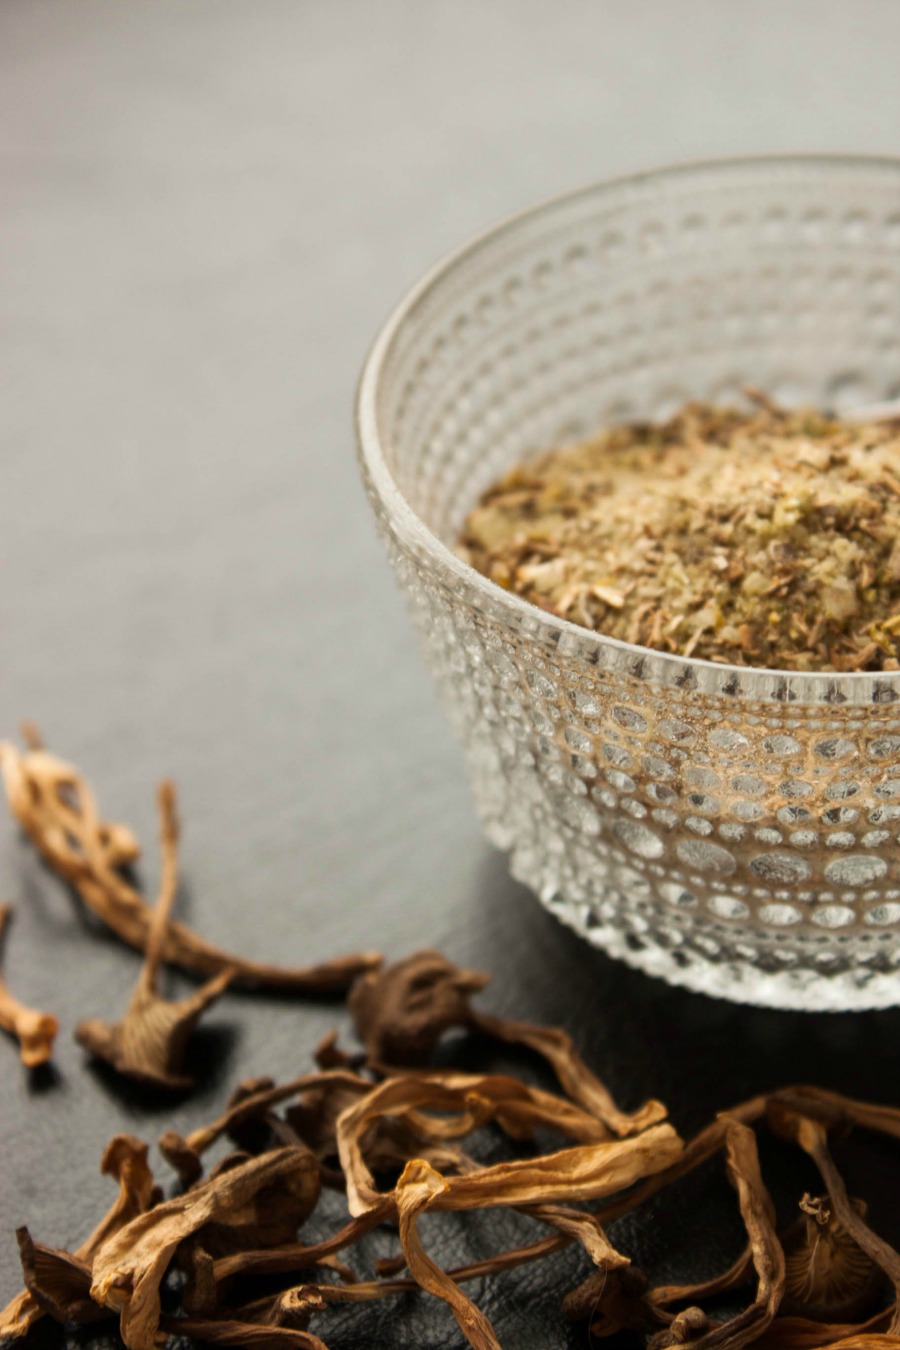
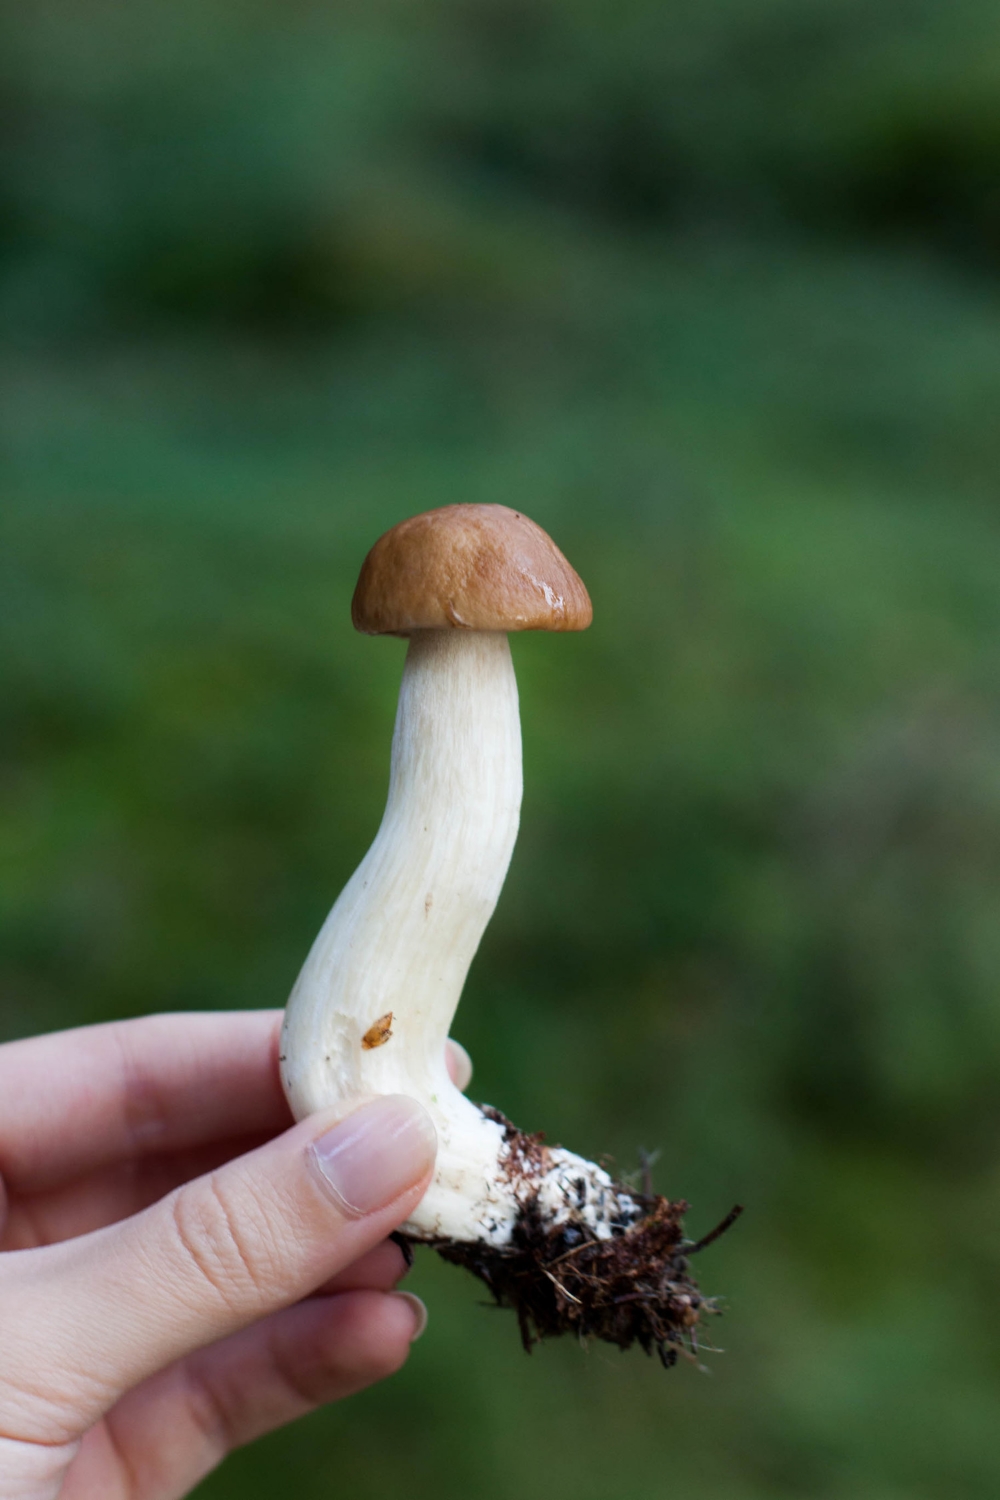
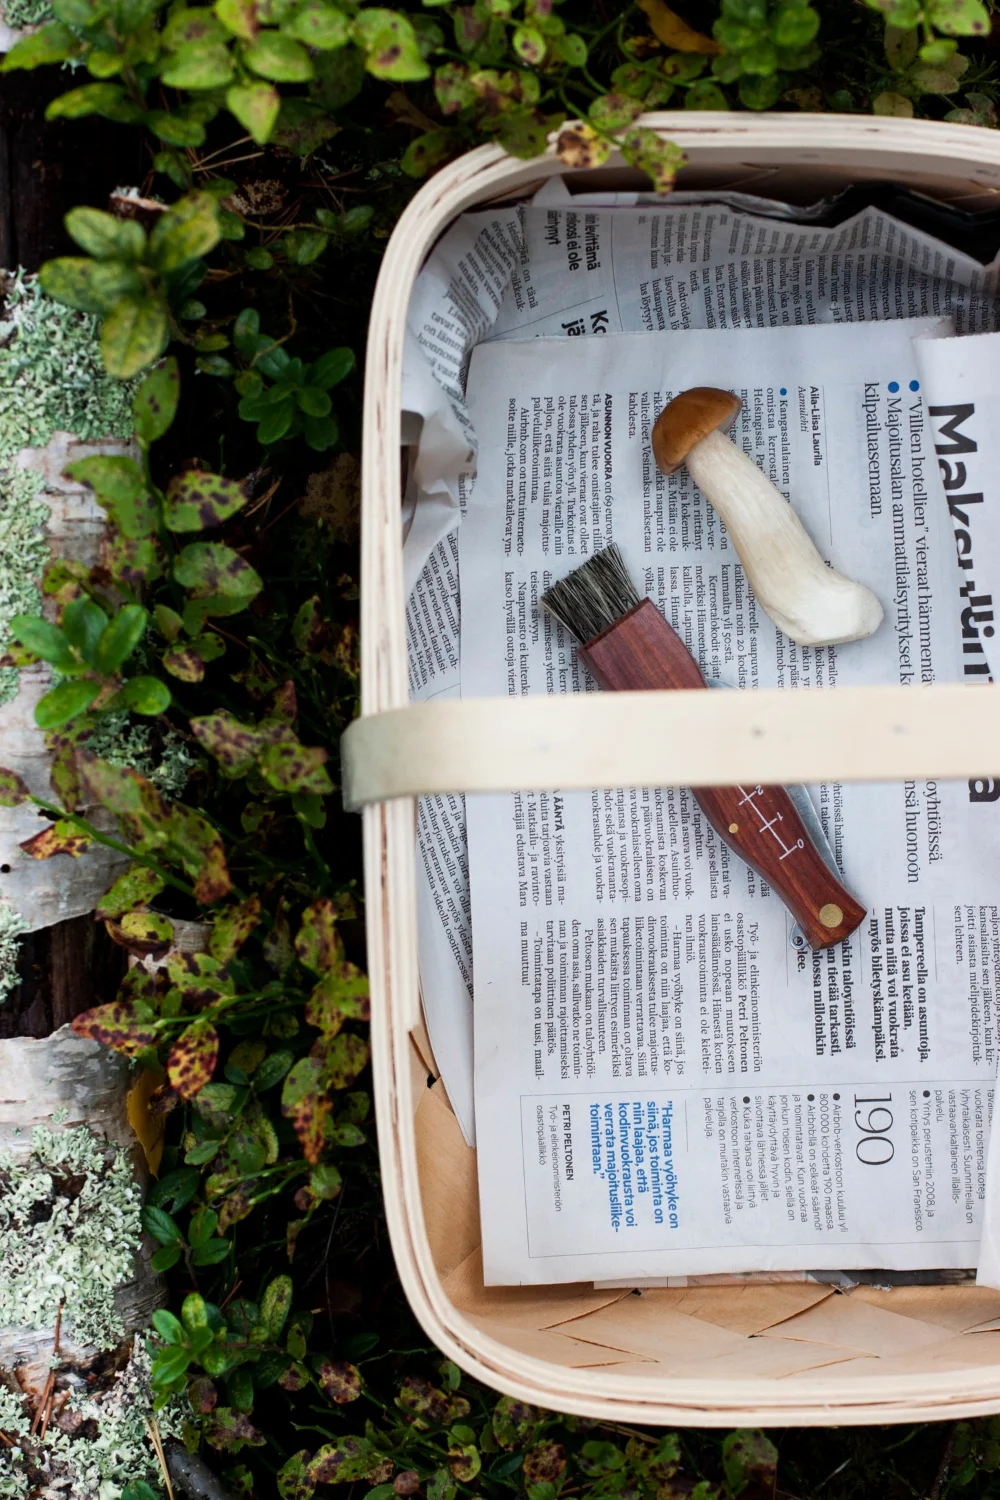
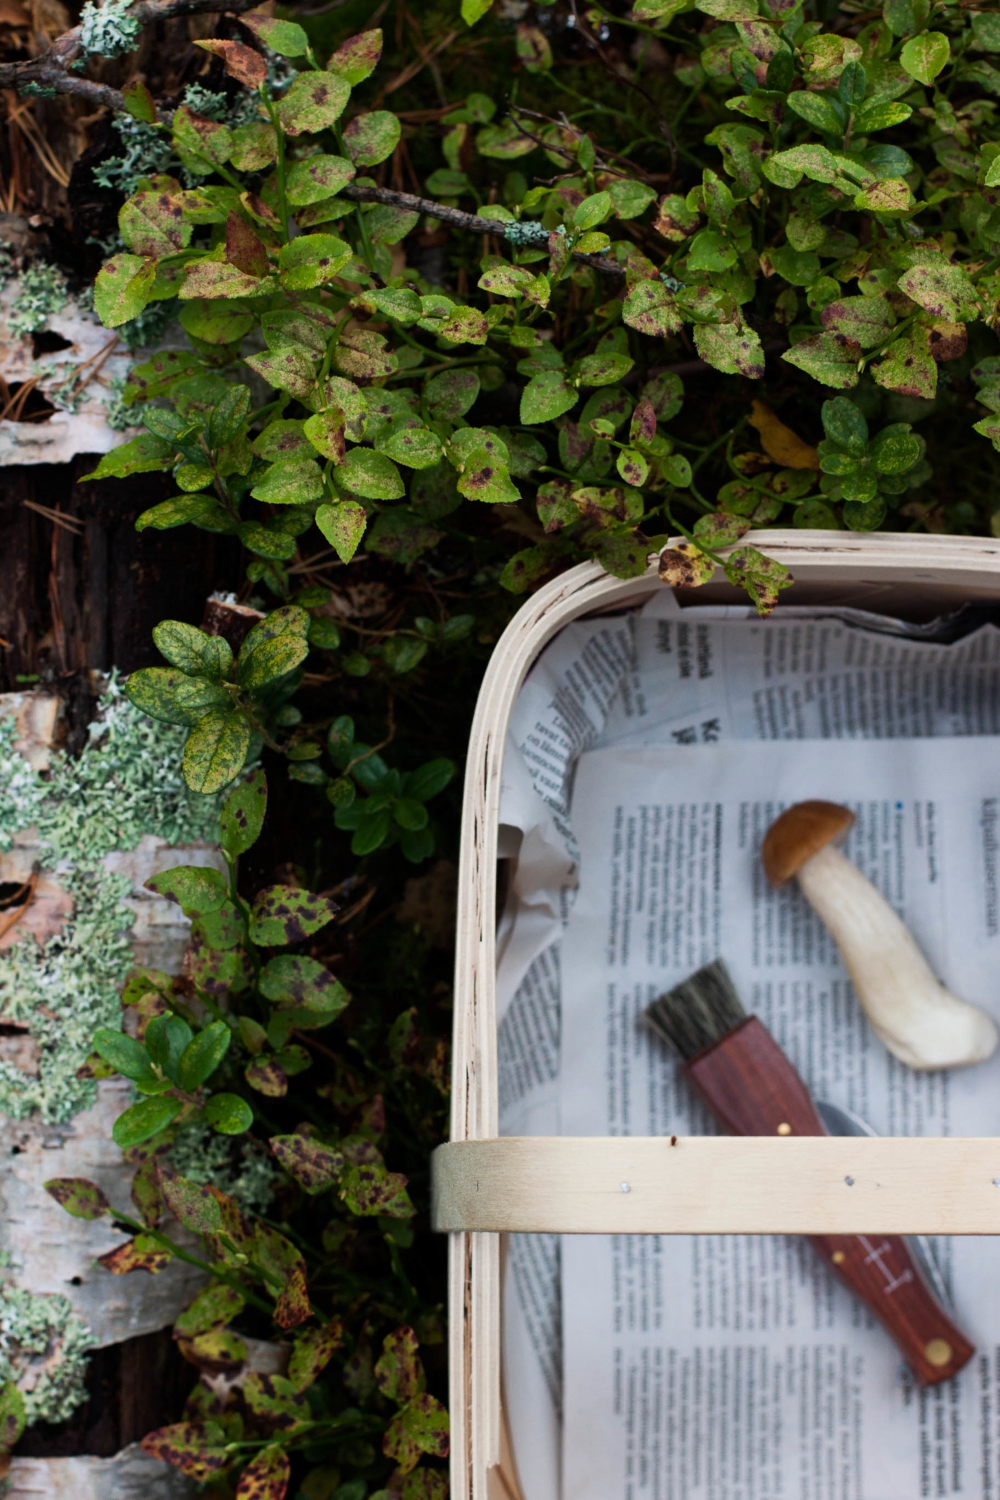
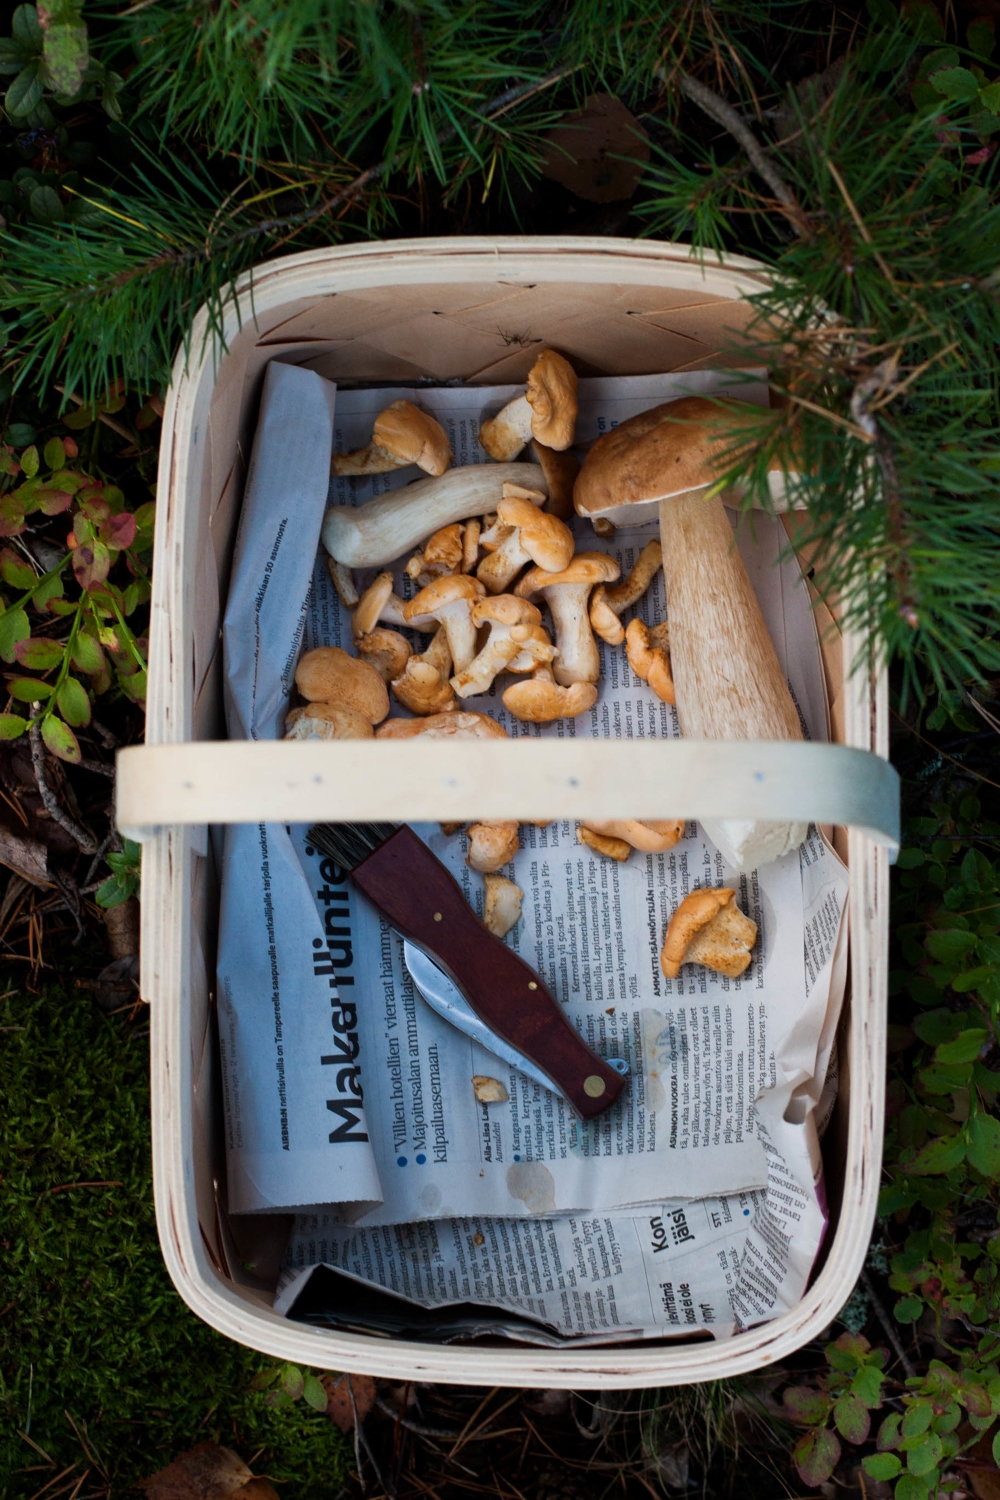
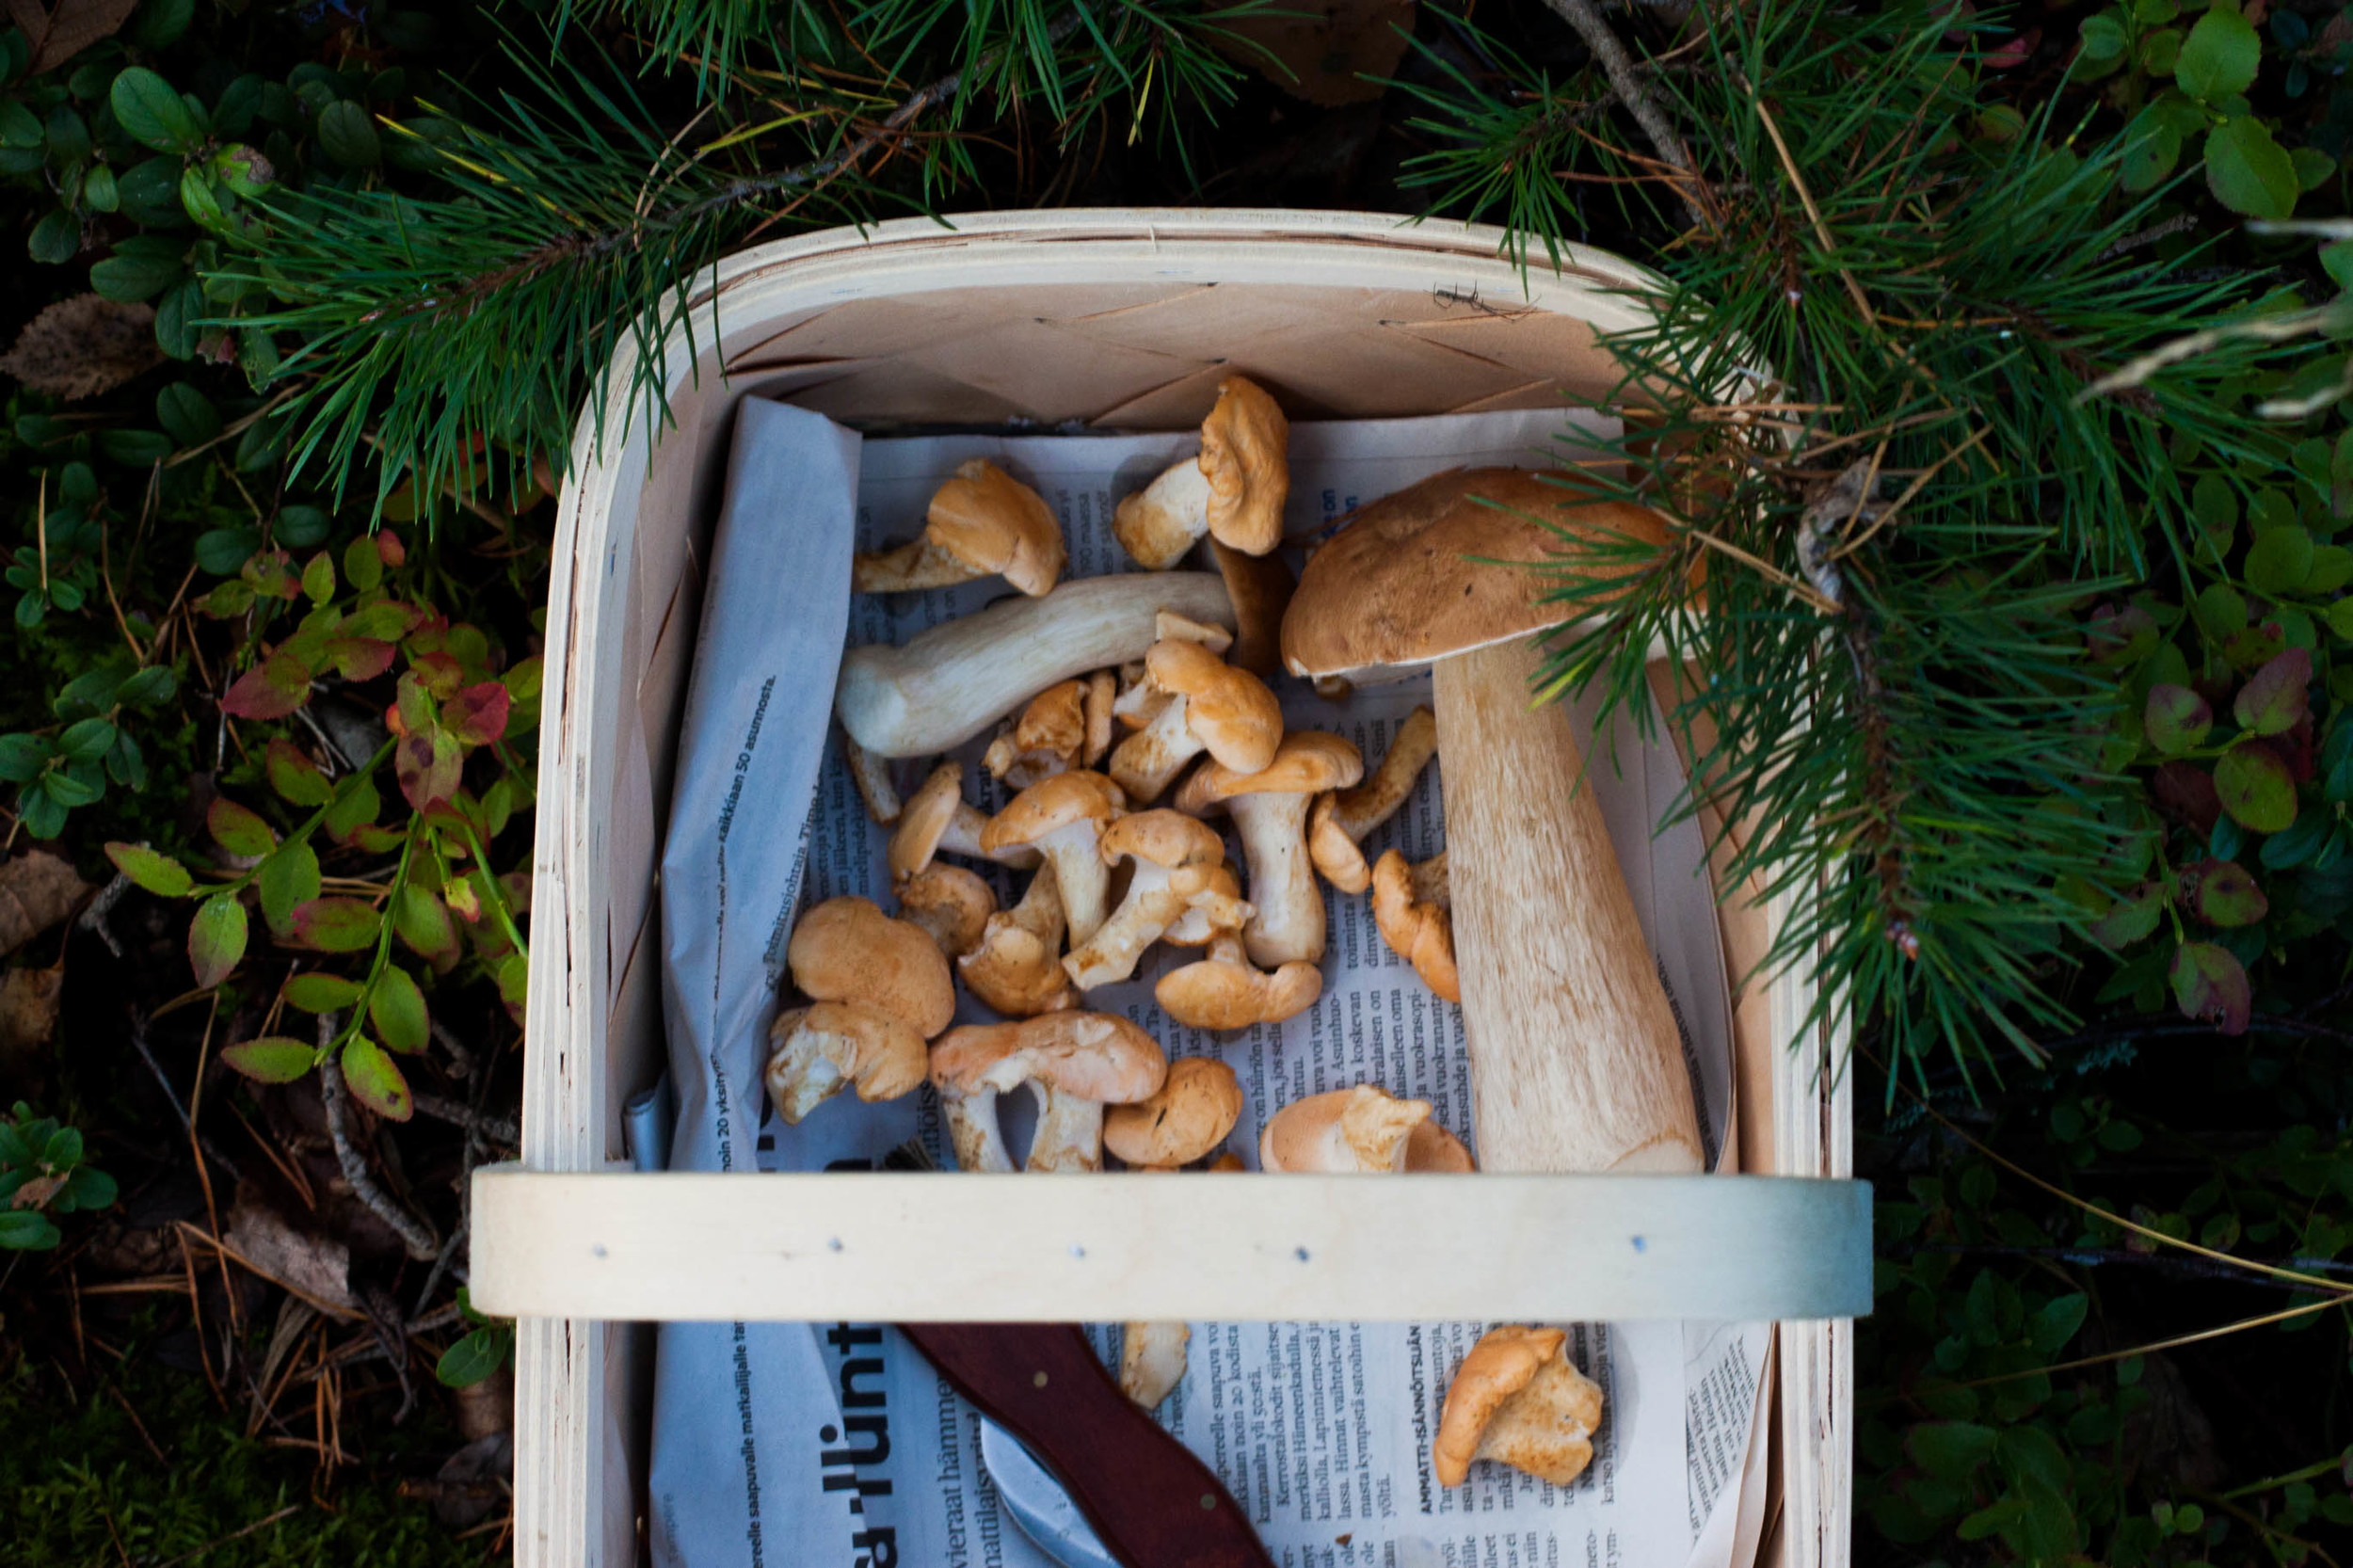
So last week I picked up my wooden basket and mushroom knife and headed into the woods to forage mushrooms. It's a brilliant mushroom year, they say. Porcini, one of the most delicious mushrooms, are growing like mad ones. It's such a good porcini year that even commercial exporters (every year we export large amounts primarily to Italy) have a hard time figuring out how to get the most of this unexpectedly phenomenal harvest. I too wasn't disappointed and returned home with a lovely harvest of porcini, hedgehog mushrooms, and something I've never foraged before, amazing parasol mushrooms. I had a basket full of possibilities.
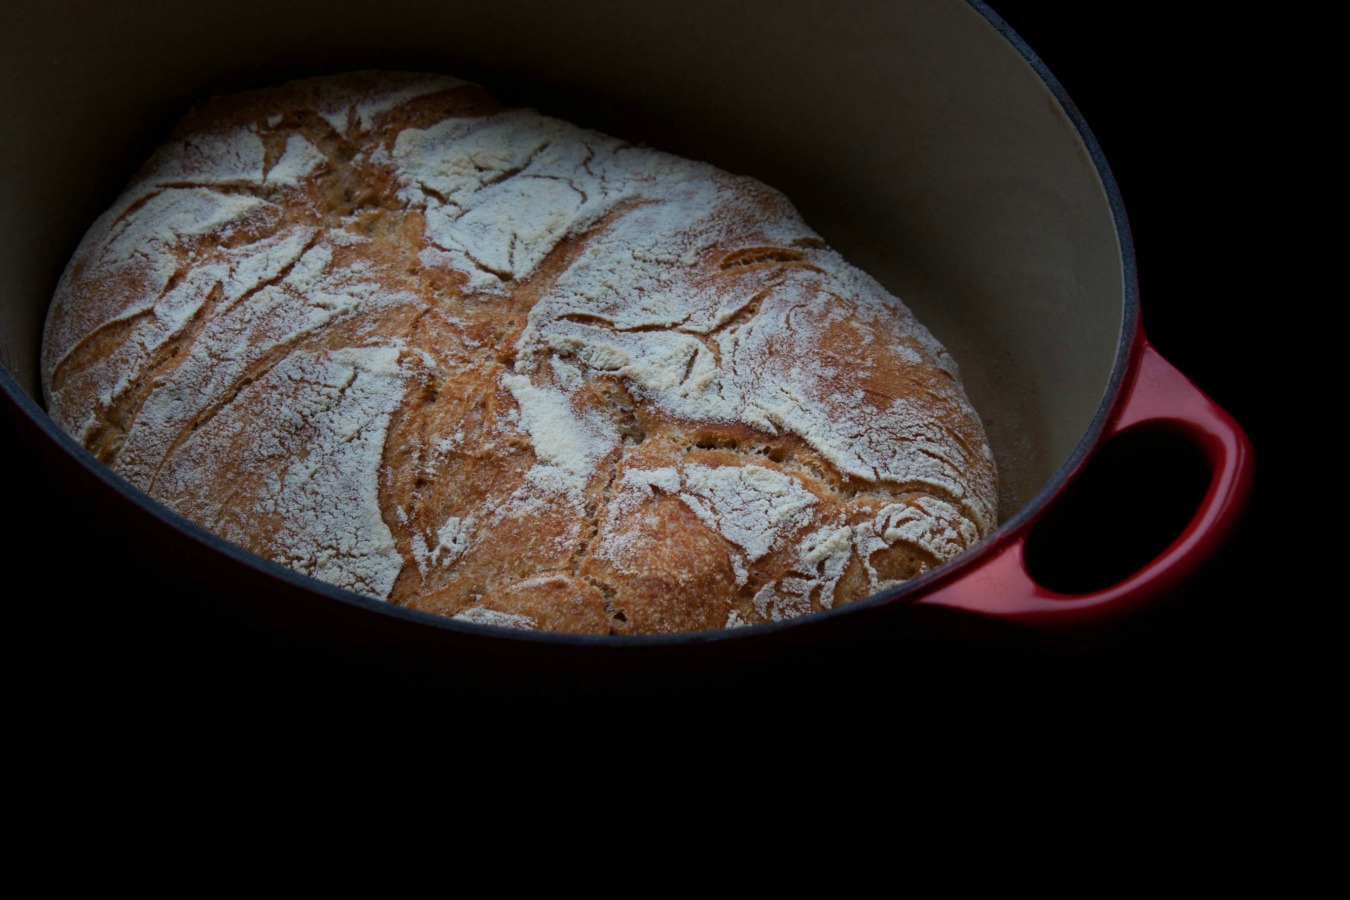
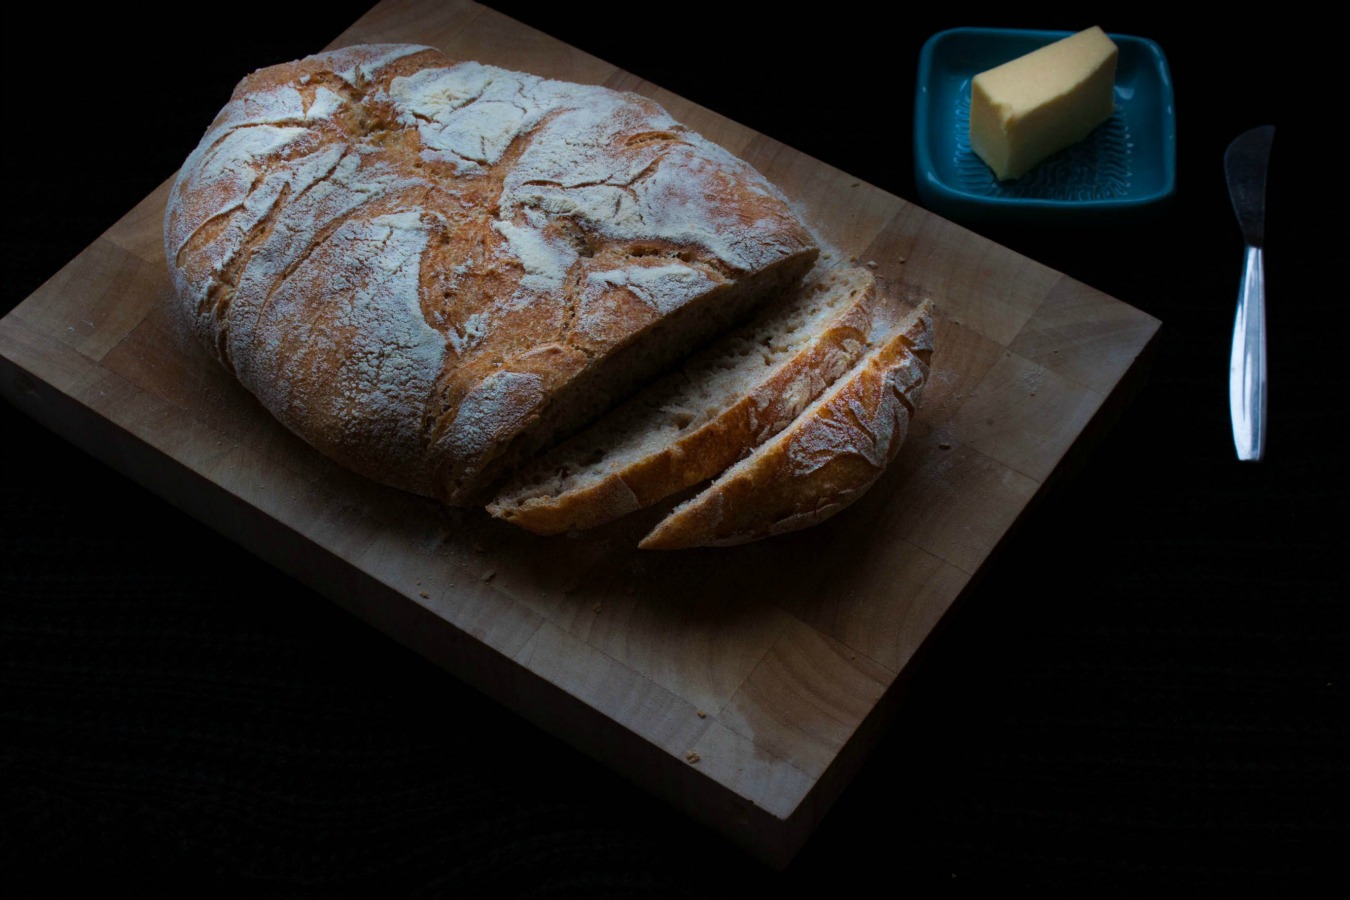
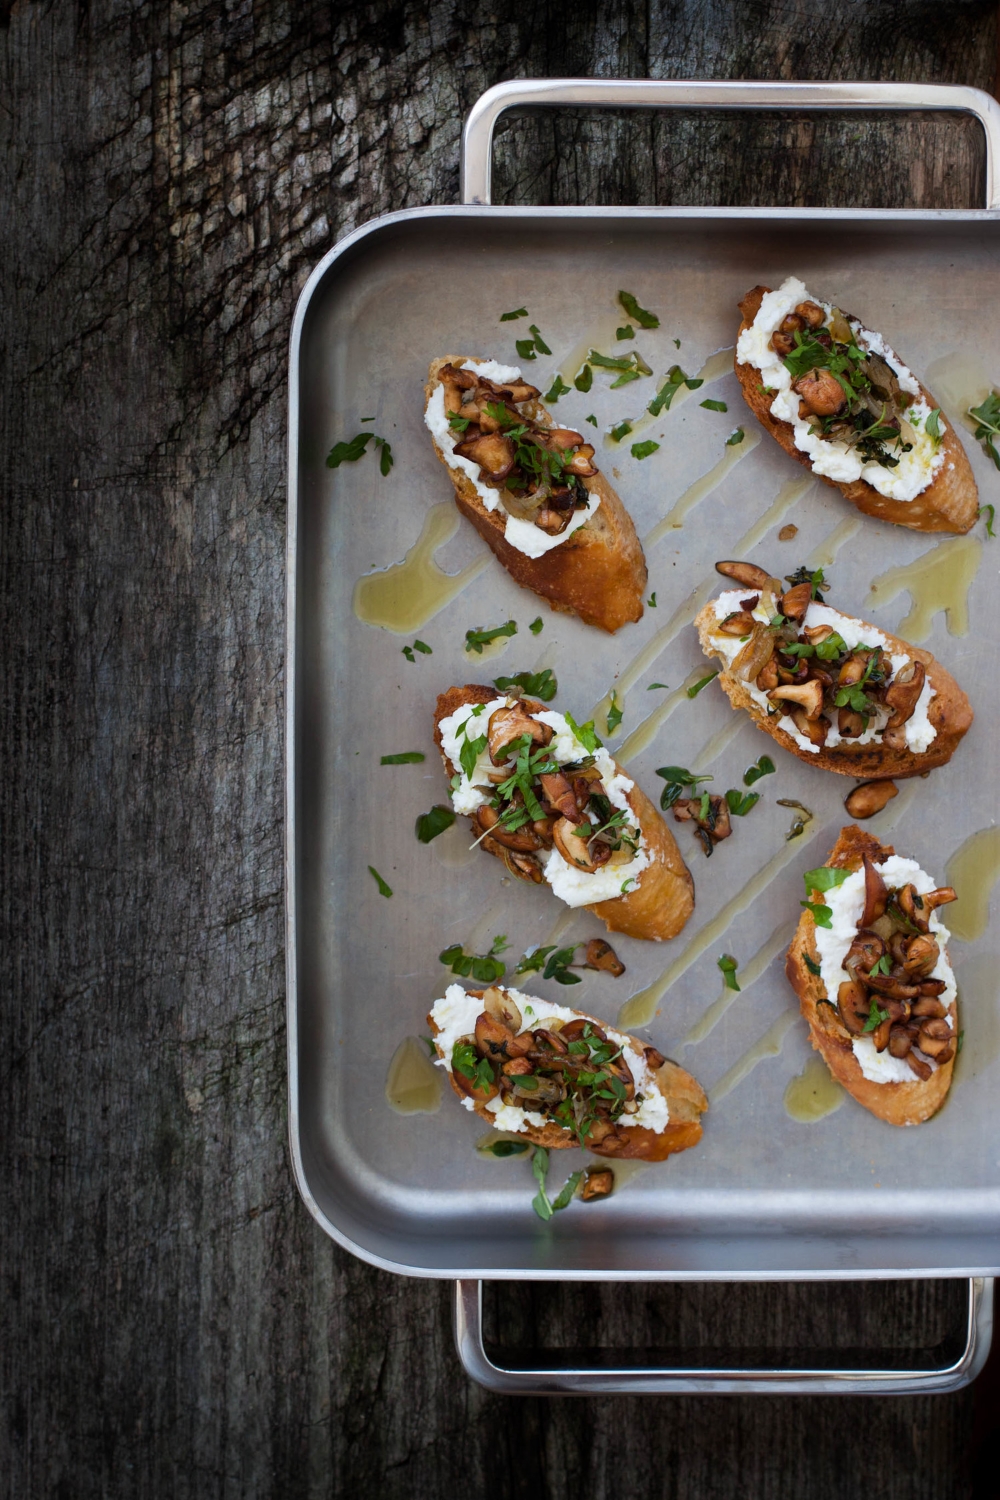
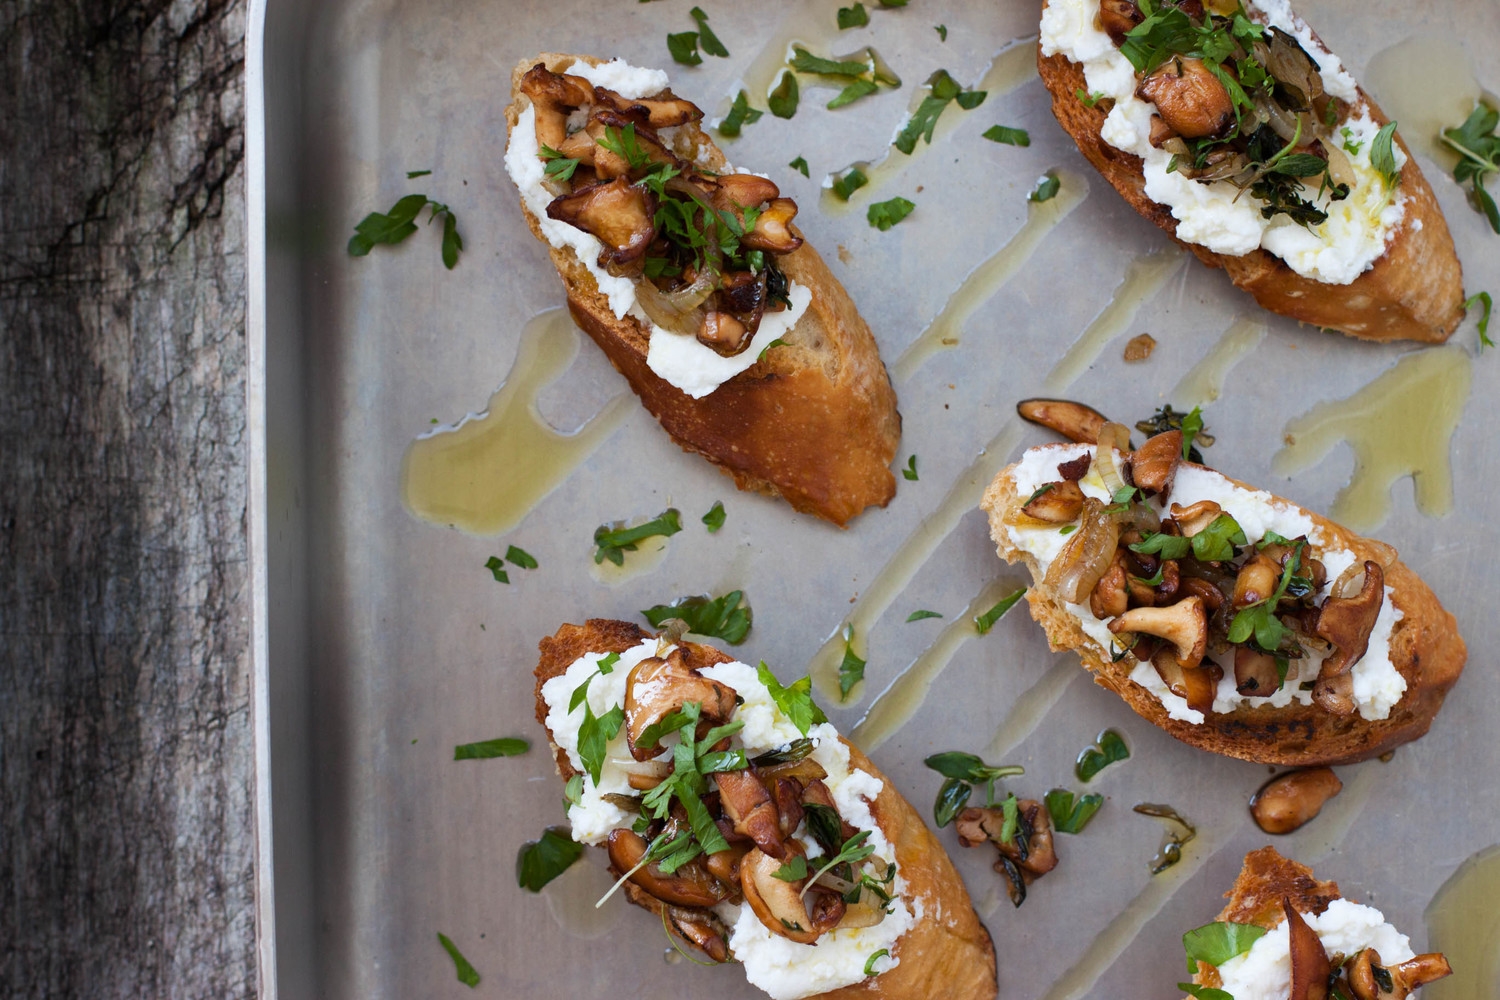
Quite quickly I decided to make crostini. I wanted to highlight the flavors of the wonderful wild mushrooms and felt that these appetizers would truly do them justice. I toasted slices of homemade Bread in 5 baguette, rubbed them with garlic, topped them with creamy and oh-so-luscious ricotta as well as herby panfried wild mushrooms. To finish, I drizzled some high quality extra virgin olive oil on top.
Quick to make, simple, and delicious. In other words, a perfect fall appetizer.
A few weeks ago, I received a sample of Feel IT extra virgin olive oils to test: Casaliva from Lombardy, in the north of Italy, Dolce Agogia from the north of Umbria, a region in central Italy, and Cerasuola from the northern parts of the lovely island of Sicily. Before tasting the Feel IT extra virgin olive oils I just thought that an olive oil was either good or bad. Never did I sample it like wine; tasting all those different nuances, noticing the differences, and wondering with what kind of food it would pair perfectly. What I had on hand were three very different extra virgin olive oils made of three different olive varieties harvested in three different parts of Italy. I truly did feel it.
Feel IT was created out of a passion for high quality, truly Italian extra virgin olive oils. Their oils are monocultivar meaning that they are pressed from a single type of olive, whereas, most olive oils are made of blends. Feel IT not only praises family owned local olive farms but also the unique flavors of different olive types. These olive oils are like a love letter from Veronica Motto, the 26-year-old Milan-based founder, to her country. And I love it.
I tried all three oils with these crostini and found Casaliva to be my favorite. Casaliva from Lombardy with the mighty Alps, the fertile Po Valley plain, and the great Lombard lakes, such as Lake Garda.
Update: Feel IT is now available through My Fabulous Collection!

On another note, I'll be traveling for the rest of the month which basically means I'm going to put on my dirndl and raise a Maß or two. I haven't planned any posts for my absence so it may be a bit quieter around here. However, I do have my camera and laptop with me so in case inspiration hits and I'm not too busy stuffing my face with Zwetschgendatschi,
Spätzle, Grießnockerl, Brezn (aka soft Pretzels), Sauerkraut, Leberkäse, and other deliciousness, I may surprise you with something Bavarian inspired.
But for now I'm leaving you with these absolutely delicious fall crostini. Enjoy!
Crostini with Wild Mushrooms & Ricotta
This is not really a recipe as I'm not going to give you exact amounts of what you need. Why? Because you don't really need to. Cook with your senses; use your eyes, your nose, and taste as you go. For 6 crostini I used around 1 cup of roughly chopped wild mushrooms and 2 small shallots. I prefer to use a mix of different mushroom varieties to keep things more interesting. The mushroom mixture can be prepared beforehand; just reheat it before assembling.
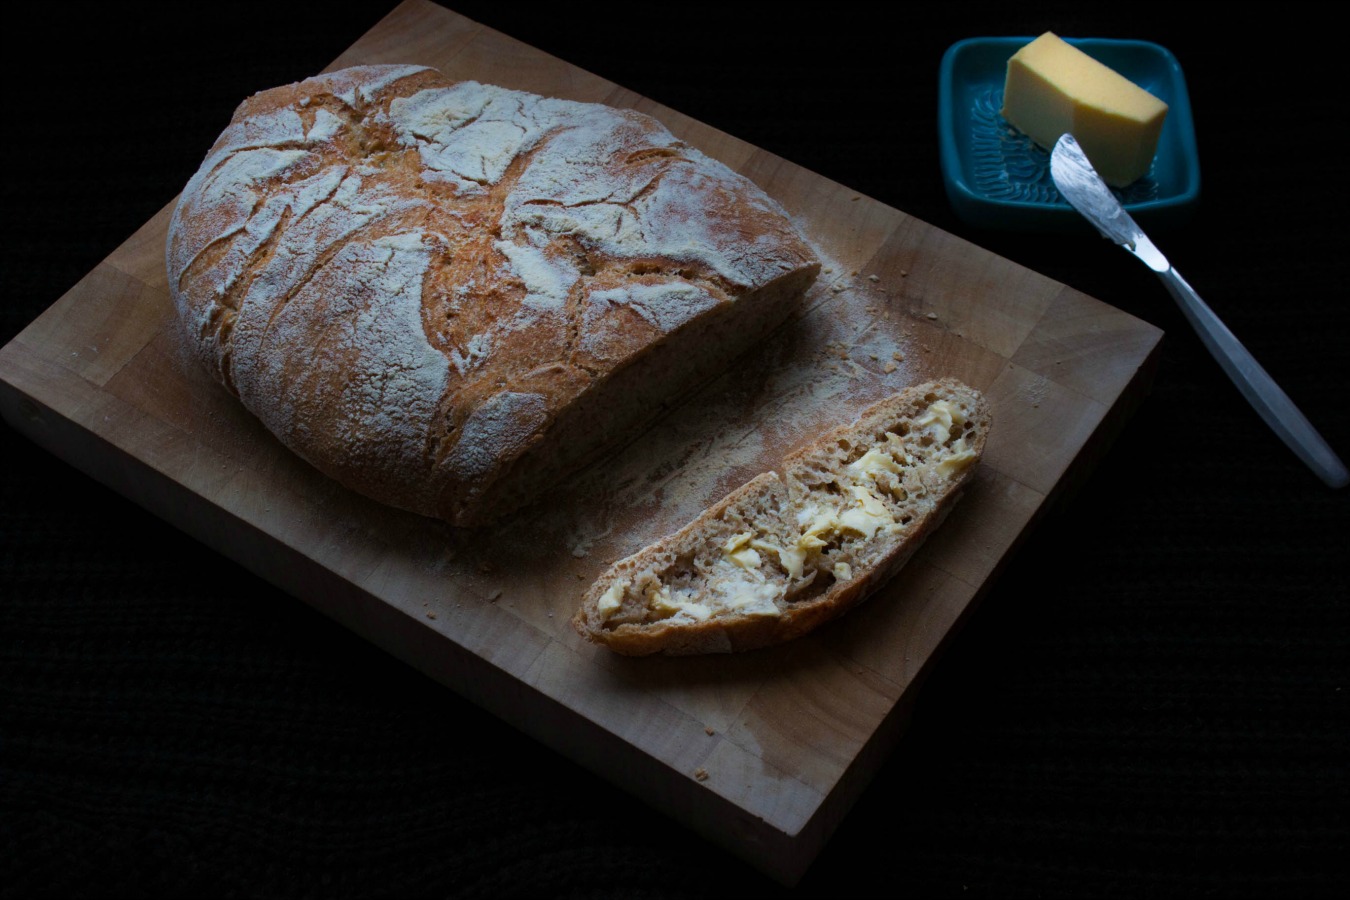
baguette or ciabatta-style bread, sliced
1 garlic clove, halved lengthwise
wild mushrooms, roughly chopped (remember that they'll shrink considerably as they cook)
butter
fresh thyme leaves
salt & freshly ground black pepper, to season
shallots, finely sliced
dry white wine
more fresh thyme leaves & finely chopped parsley
high quality ricotta
high quality extra virgin olive oil, such as Casaliva
Toast the bread slices on a dry frying pan until golden brown in color. You can also grill them for even more flavor. Rub the fried bread slices with garlic on both sides.
In a frying pan, melt the butter on high heat. Once the butter has melted and stopped to bubble, add the mushrooms and thyme. The mushrooms will first release quite a bit of moisture but as it evaporates, the mushrooms will start to get color. Season with salt and pepper. When the mushrooms are golden brown in color, lower the temperature to medium-low and add the shallots. Cook until the shallots have softened. Add a splash of white wine and let it evaporate. Add more thyme and parsley. Taste and season (or even add more wine) if necessary. Set aside.
To arrange, top each bread slice with ricotta, mushroom mixture, and more herbs. To finish, drizzle extra virgin olive oil over the crostini. Serve!

Disclaimer: This post was sponsored by Feel IT. However, all opinions are my own.
Related Posts