Be Grateful – Mulled Cider with Calvados

crocheting :: my blue&white kitchen

Sorry for the silence. I've been dealing with death. Loss and grief. Crying at night while trying to keep myself together during the day. Long, stressful days. Lack of sleep.

But don't worry, I'm getting better. Day by day.

crocheting :: my blue&white kitchen
yarn :: my blue&white kitchen

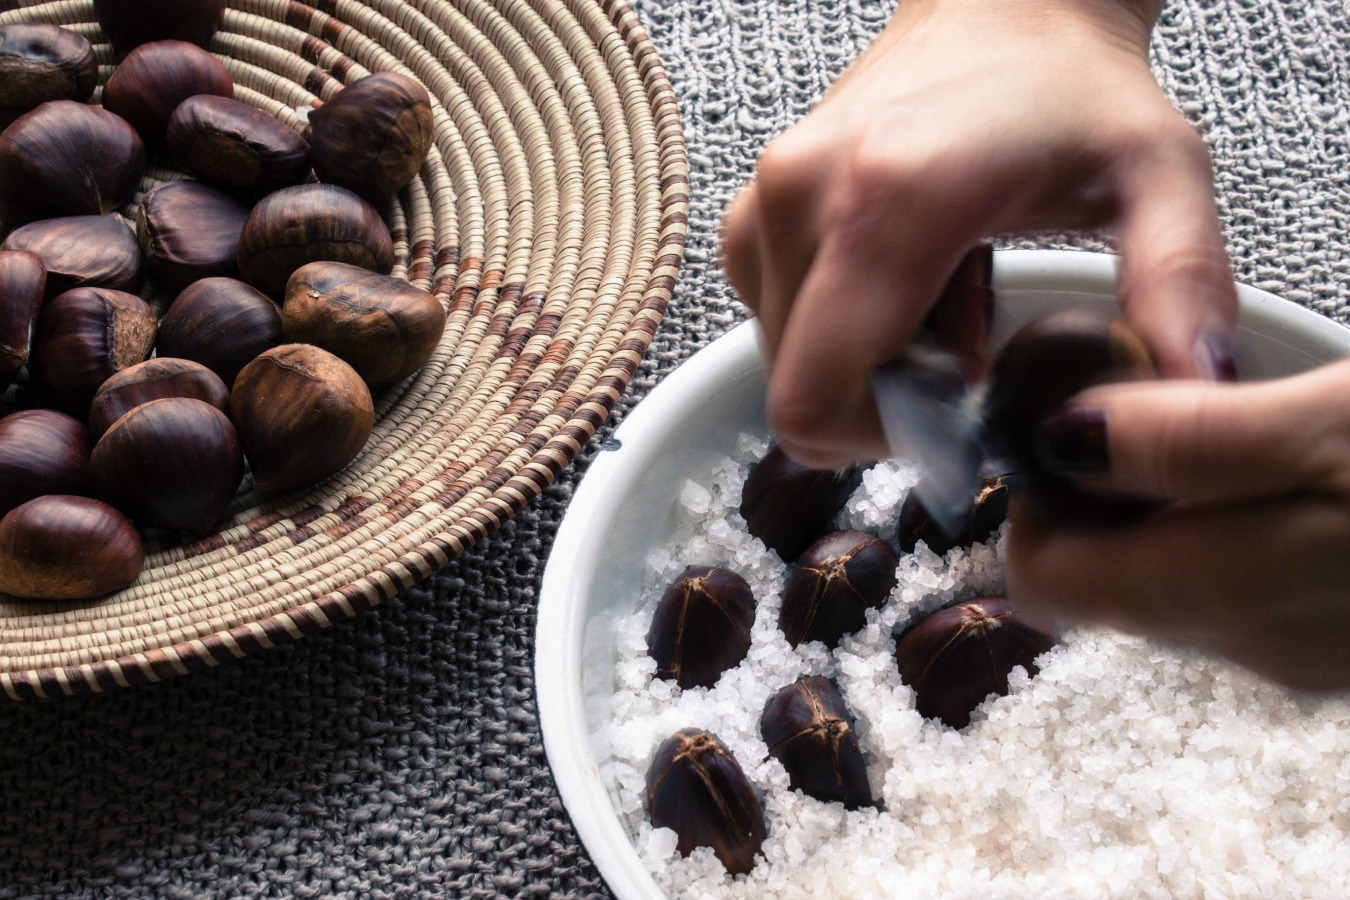
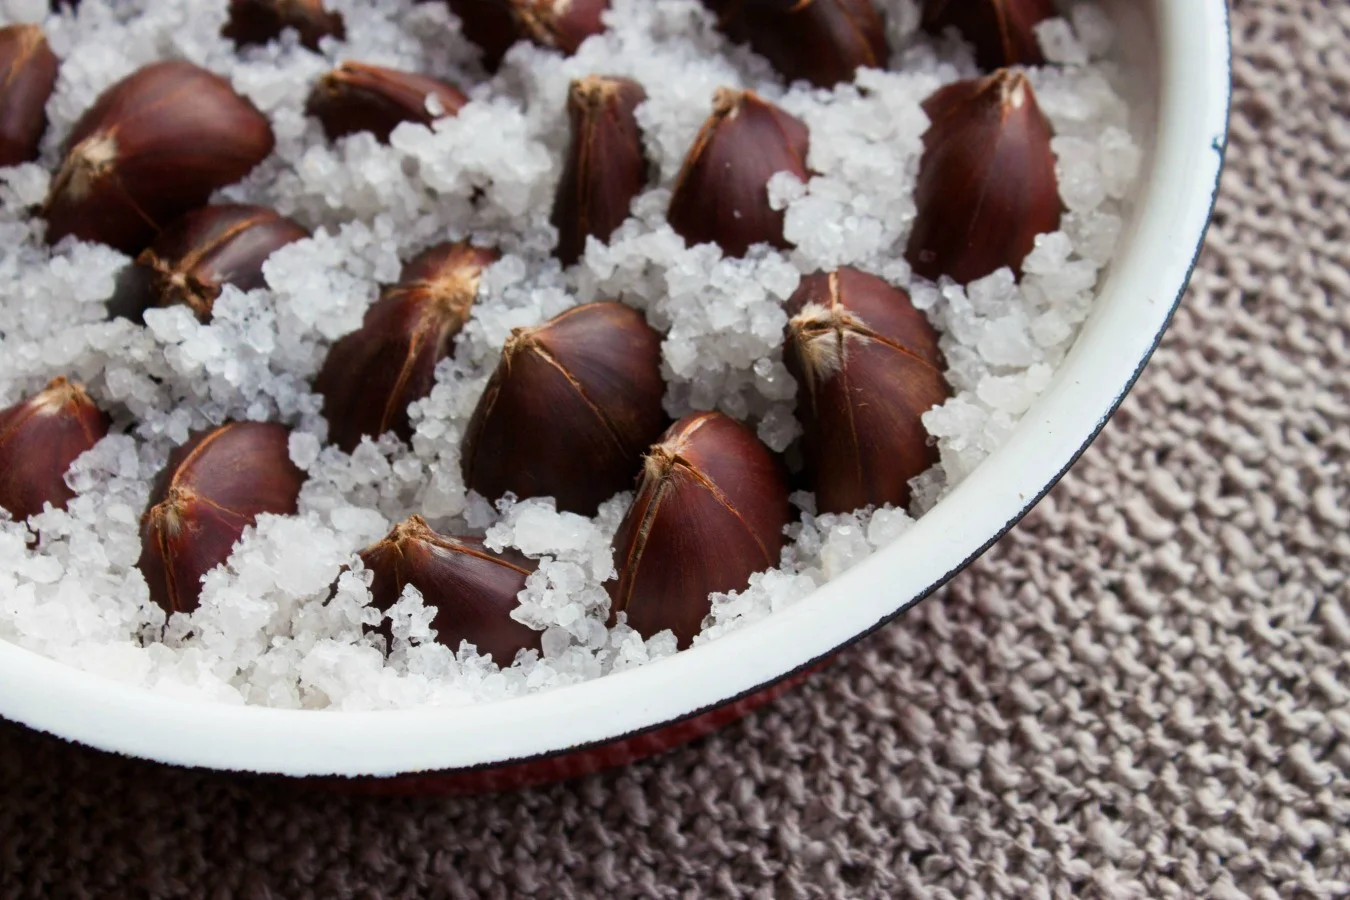
Although I've been visiting the dark places more often than usual, I've been cooking and baking a lot during these past two weeks. Whether I'm sad or happy, anxious or feeling glorious – in the end, it all comes down to standing in the kitchen. Chopping, stirring, braising, kneading. Creating food and sharing it with the ones I love. That's who I am. That's what keeps me going. Through the good times and the bad times.

I created a mulled cider recipe for the holiday season that lies ahead of us. Something to warm you up from the inside. A mug of comfort. I served it at a get-together last weekend and saw people getting second servings. The next day, they asked for the recipe. One friend even told me she was gonna serve it on Christmas Eve. Yes, this recipe is a winner.

Make this and share with your loved ones. Be grateful for the time you have together. It's worth more than gold.

mulled cider :: my blue&white kitchen

Mulled Cider with Calvados

serves 2 – 3  (but the recipe can easily be doubled or tripled)

500 ml (~2 cups; 17 fl oz) unfiltered, unsweetened apple juice 
zest of ½ an orange
1 cinnamon stick
½ a thumb-sized piece of fresh ginger, peeled & sliced
2 whole allspice berries
pinch of ground cloves
130 g (1 ½ dl, packed; 4.6 oz) light muscovado sugar

optional: 2 tbsp calvados

Combine all the ingredients, except the calvados, in a medium-sized saucepan. Bring to a boil. Reduce the heat and let simmer for 30 minutes. Remove from the heat and discard the spices (you can leave some for garnish, if you wish). Add the calvados for an even more delicious mug of comfort. Serve hot.


mulled cider with calvados :: my blue&white kitchen

The Wait - Salt Roasted Chestnuts

my blue&white kitchen

I can feel how the growing darkness drains the energy from my body and mind. For me, this is the hardest part of the year. It's dark. Dark as ash. The sun only pays brief visits and I can both see and sense its slow but sure farewell. And the trees. Bare, screaming in the wind. And amidst this darkness, there's no snow to give some light. White, glistening light. That magical winter light that I adore so much. 

It's official now. I'm waiting for you, snow. Come soon, will you?

salt roasted chestnuts :: ​my blue&white kitchen

Salt Roasted Chestnuts

Chestnut season runs from early October through late December. Their flesh is sweet, energy-rich and highly nutritious. Fresh chestnuts should be heavy in your hands and firm to your touch, and have a shiny brown color. The kernels should be light in color. Pinholes may indicate worms so avoid those ones.

Why roast them in salt? The salt protects them from burning and keeps them moist. And it looks pretty as well! It's how my mom has taught me to prepare them. They are a great way to begin or end a meal, or you can enjoy them as a winter snack. You could even put them into your coat pockets – they will keep your hands warm on a chilly day! {Although I don't know who really does that anymore... Well, me. Last year. Once.}


500 g (1 lb) chestnuts
~ 1 kg (2 lb) coarse sea salt 

salted butter, to serve {I enjoy them with fleur de sel butter}
 

Preheat the oven to 175°C (350°F). 

Add the salt to an ovenproof dish (mine was 21 cm / 8"). Using a sharp knife, make a cross incision along the bulging side of each chestnut. Cut deep enough to penetrate the shell but try not to harm the flesh of the nut. And be careful not to cut yourself! Place the chestnuts, cut side up, into the salt. Two-thirds of the nut should be covered by salt.

Roast on the middle rack for about 30 minutes, or until the skins open and the insides are tender. Serve immediately. Everyone at the table can peel their own chestnuts - peel away the tough outer shell and the papery skin and enjoy the sweet kernels with a knob of butter. You may want to use a knife to help peel the chestnuts.


Note: You can store the salt for later use. 


salt roasted chestnuts :: ​my blue&white kitchen

>>>>>>>>>>>>>>><<<<<<<<<<<<<<<

​my blue&white kitchen

Behind the scenes: the photobomber.


WHOA! You can now also follow me on Facebook. Come say hi!
I would love to hear from you.