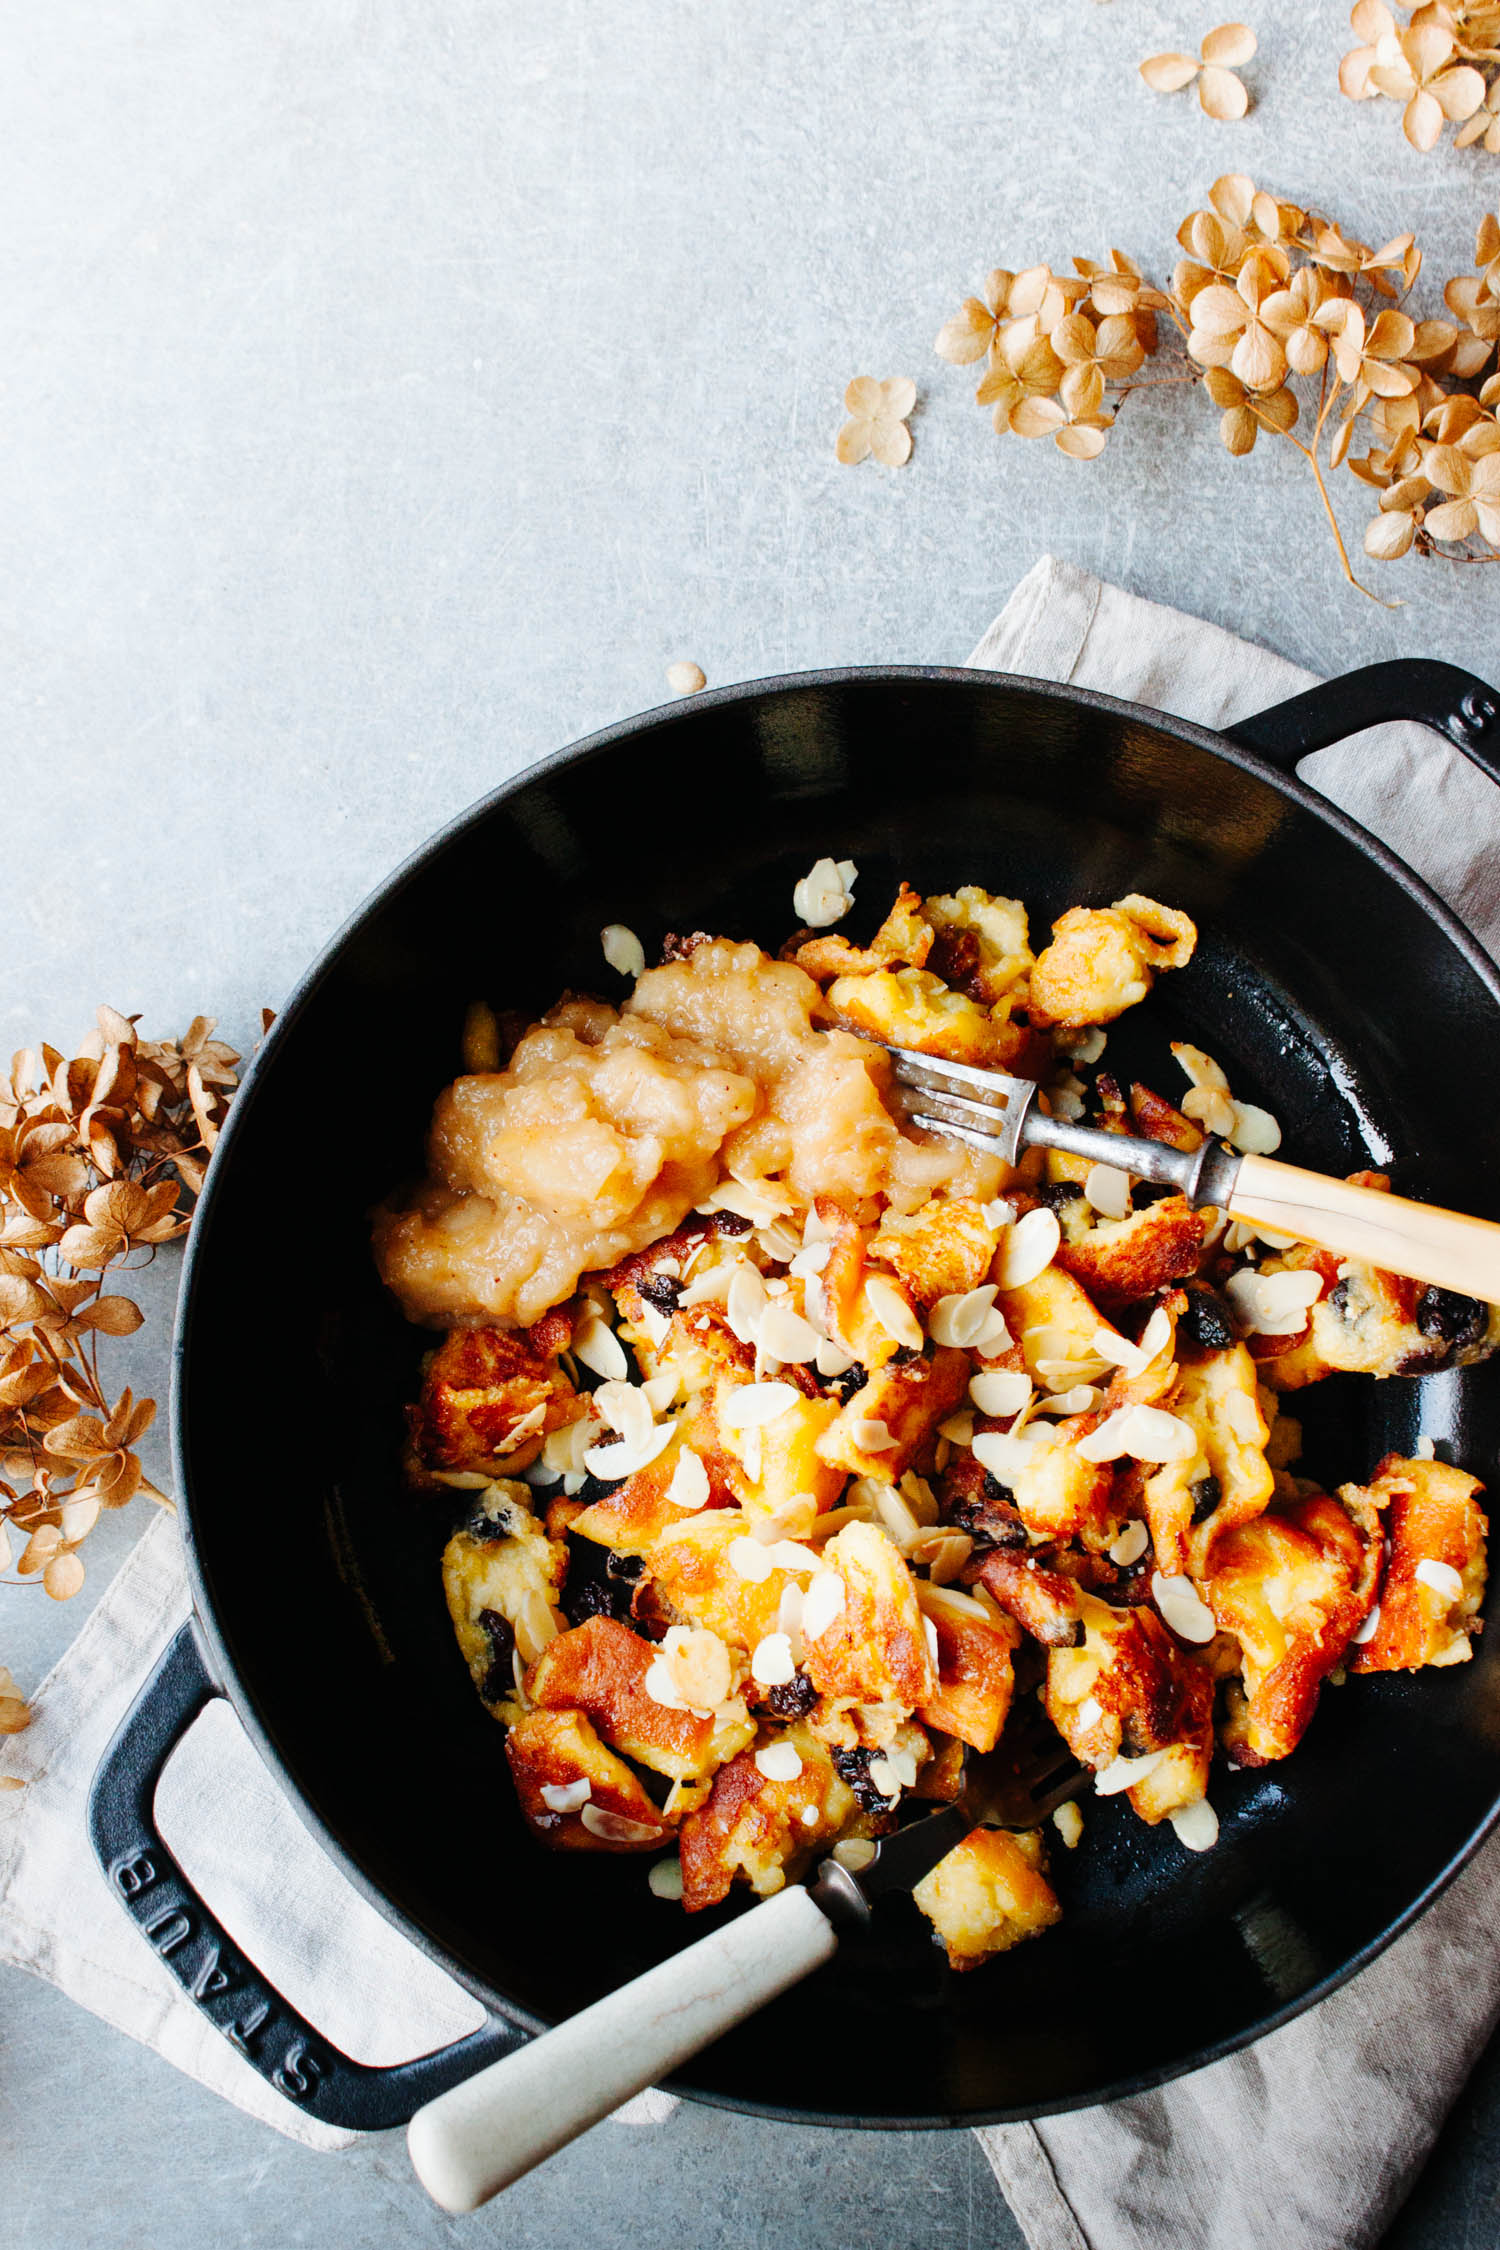
Chickpea Flour Does it All – Clumpy Granola with Stewed Rhubarb

Clumpy Granola with Stewed Rhubarb | My Blue&White Kitchen

Although I consider myself a serious food enthusiast and a passionate cook and baker, there certainly are ingredients that I don't use that often or that I'm rather unfamiliar with. Similarly, there are dishes, even classics, that I've never made either because they somehow scare me to death, because I have never really been in the mood to make them, or because it just has never happened. I've never made a tarte tatin or a summery granita. Pulled pork is still on my recipes-to-tackle list. Brownies? Oh well... I've made filled pasta shells numerous times but have never made canneloni at home. And although I love Asian flavors, I don't cook Asian that often. I haven't grown up using the ingredients and have learned Asian cooking methods and techniques simply by reading online articles, books, or magazines and by watching tv shows or clips on YouTube. This means that every time I cook Asian I have to get out of my comfort zone. Sometimes it works out perfectly; other times I'm left confused, as I can't get the flavors or textures right or because the dish looks monumentally different than what it's supposed to.

For a long time, chickpea flour was an ingredient that just never found its way into my kitchen. It just never happened.

Clumpy Granola with Stewed Rhubarb | My Blue&White Kitchen

Lindsey is one of the first food bloggers I got online friends with. I still remember how fascinated I was by her cooking back in 2013 when I stumbled upon her blog, dolly and oatmeal, for the very first time. Her space was different from others, I could really feel her spirit in her photography, writing, and recipes. I've always felt that one of the best compliments one can get as a creative is that others recognize your style, that they can say "hey, that recipe/photo/piece of writing is from person x". And yes, Lindsey truly has a unique style and a special, fresh take on seasons' best produce. In her recipes she highlights how food can make us fell good and healthy without making you feel bad just because you may or may not have eaten that burger with extra fries and mayo last night. She manages to be authentic, inspiring, and encouraging both on her blog and in her debut cookbook Chickpea Flour Does it All: Gluten-Free, Dairy-Free, Vegetarian Recipes for Every Taste and Season.

Chickpea Flour Does it All is a collection of 96 delicious recipes organized by season and month. I must admit that I hardly ever like books that focus on one ingredient only (the exception is chocolate, obviously), but Chickpea Flour Does it All makes an exception. And I'm really not saying this because I love Lindsey's work anyway. The book's recipes use chickpea flour in such a clever and versatile way that you'll actually forget that chickpea flour is mentioned in the book's title. Primarily, Lindsey's book is about seasonal, fresh ingredients that are tasty not only for people who have to avoid gluten and dairy or just choose to live a specific lifestyle but for everyone. Chickpea flour is an ingredient that I, as I already mentioned, was pretty unfamiliar with prior to this book. Yes, I had made socca (according to Lindsey's recipe) before but that was about it. After testing a couple of the book's recipes, such as the divine Chocolate Banana Loaf that I started to bake after 9pm one Sunday night, I was amazed by what an amazing ingredient I had previously ignored. Chickpea Flour Does it All is a beautiful book for any food lover who wants to discover the world of seasonal, fresh cooking with big flavors and ingredients that make you feel good.

Some of the recipes that are high on my to-make list: Ginger-Shiitake Miso Broth with Chickpea Tofu, Hearty Morning Glory Loaf, Almond Butter Brownies, Chickpea Polenta with Sautéed Spring Vegetables, Sweet Flatbread with Grilled Berries, Quinoa Falafel with Romanesco Sauce, Baked Buttermilk Onion Rings, and Baby Kale Caesar Salad. I'm already drooling here, what about you?

Clumpy Granola with Stewed Rhubarb | My Blue&White Kitchen

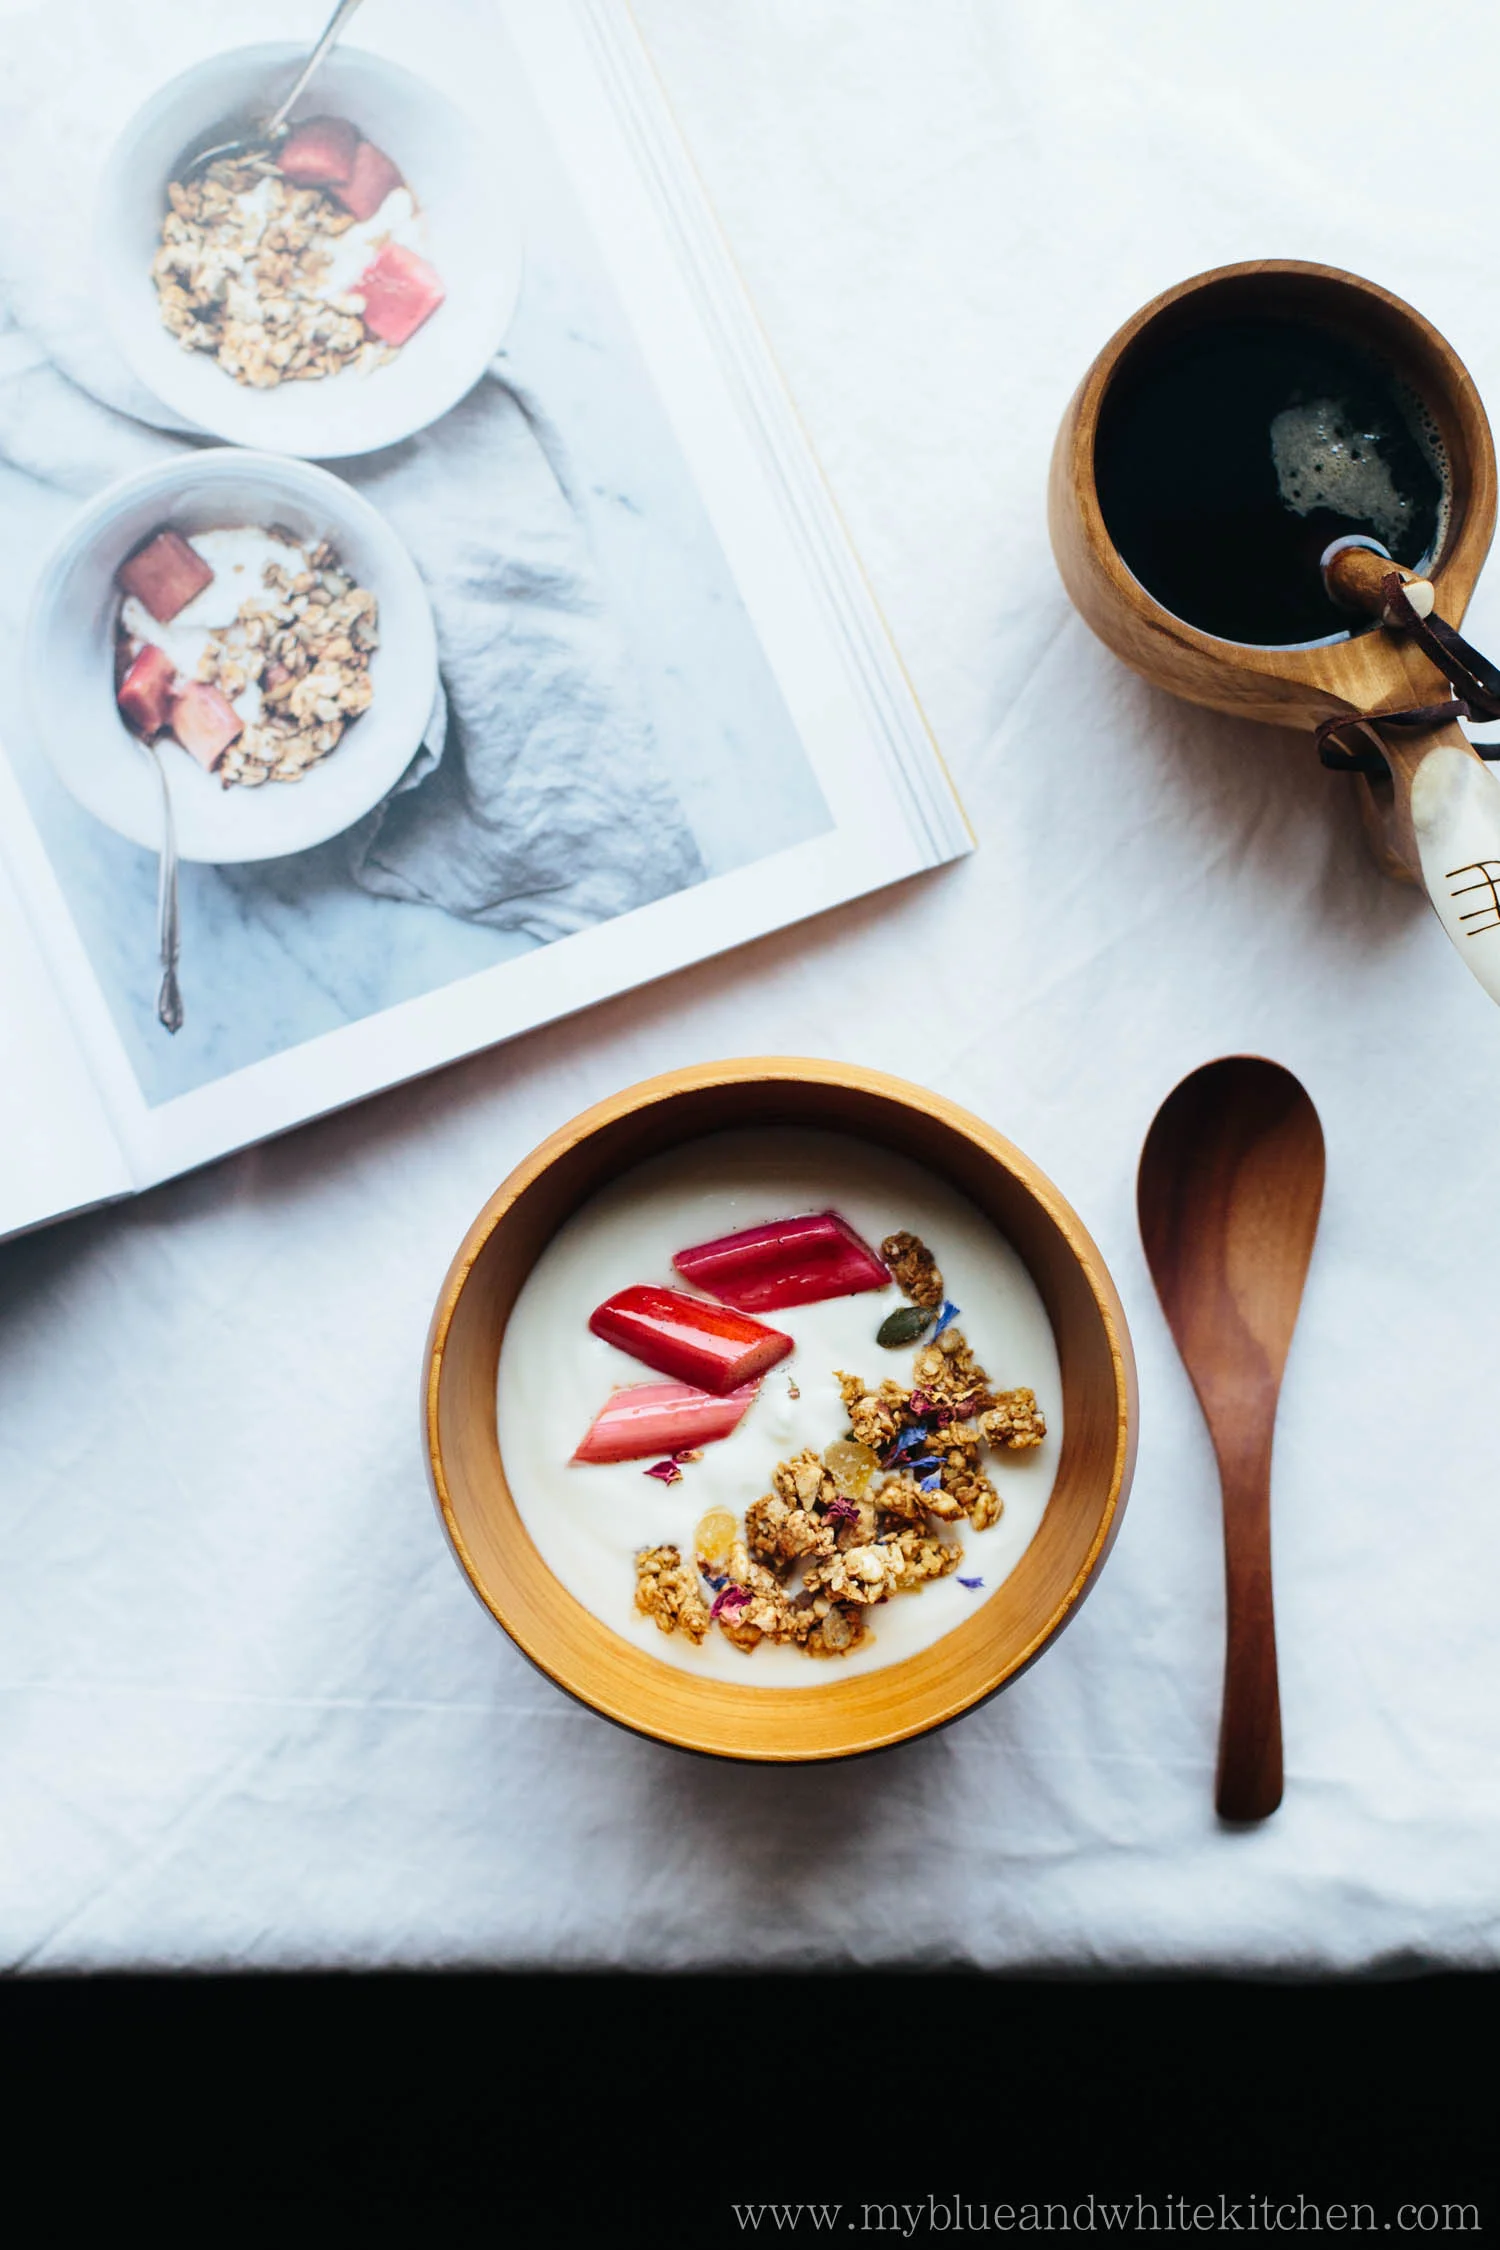
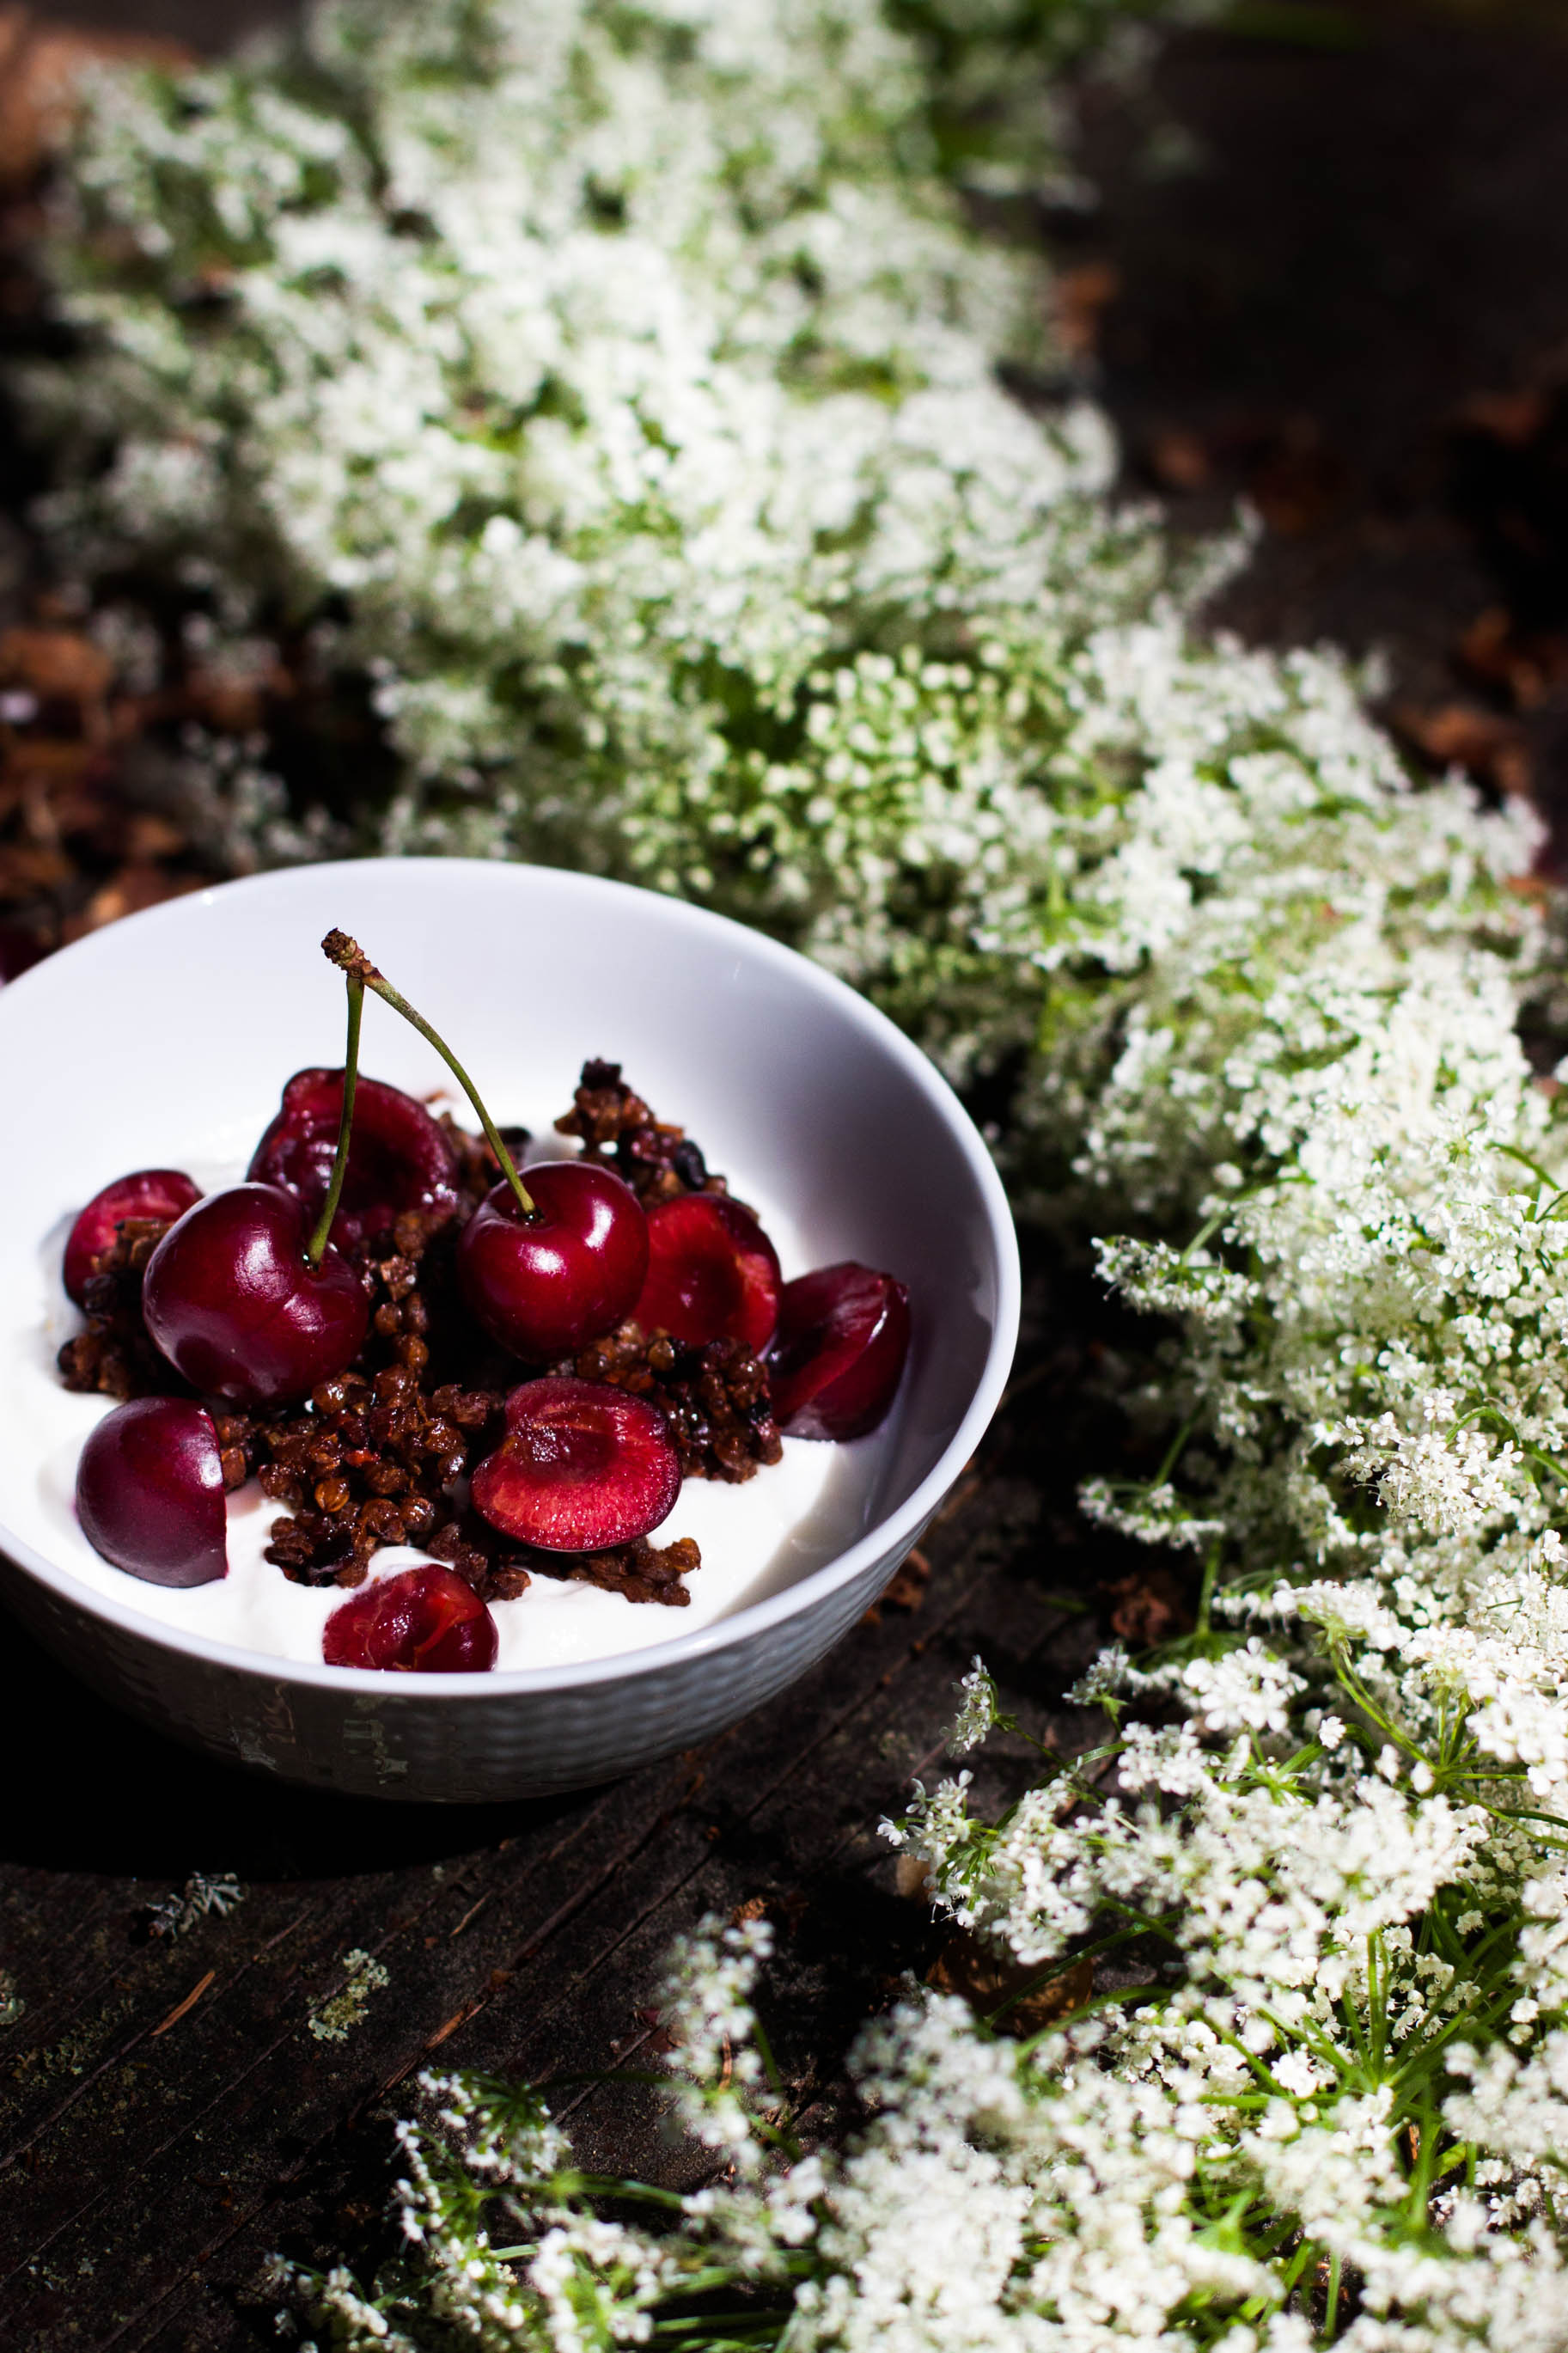
When Lindsey asked me whether I was interested in sharing one of her book's recipes on my blog, I knew that the Clumpy Granola with Stewed Rhubarb would be the one. As some of you probably know, I'm a huge fan of granola and rhubarb is one of my all-time favorite ingredients. The thought of combining these two favorite things sounded perfect. In this recipe, chickpea flour is used to create a wonderfully clumpy granola without the need to add egg whites. I ended up baking this granola numerous times because one batch didn't last very long. The first time I made the recipe, I used extra virgin olive oil instead of coconut oil and it worked out perfectly. You may want to add some dried fruit or berries to your granola once baked and cooled. For example, I added candied ginger to the batch I photographed for this post and loved it. For a spring and summer version you can add dried flowers to the baked granola to make it look extra pretty. As a final note, the stewed rhubarb tastes equally great with a scoop of vanilla ice cream and cacao nibs sprinkled on top. Just sayin'...

Clumpy Granola with Stewed Rhubarb | My Blue&White Kitchen

Clumpy Granola with Stewed Rhubarb

Recipe from Chickpea Flour Does it All: Gluten-Free, Dairy-Free, Vegetarian Recipes for Every Taste and Season by Lindsey S. Love

makes 3 cups of granola

Oats are naturally gluten-free. However, they're often processed in facilities that also process wheat or other products containing gluten, so that oats often get contaminated. If you want to make sure that your oats are gluten-free always make sure to buy oats that are labeled as such.
For a dairy-free version, Lindsey suggests to serve this granola with coconut yogurt.


for the granola:
210 g (2 cups) old-fashioned rolled oats
85 g (½ cup) almonds, chopped
15 g (½ cup) puffed brown rice
60 g (½ cup) chickpea flour
33 g (¼ cup) pumpkin seeds
35 g (¼ cup) sunflower seeds
1 tsp ground cinnamon
1 tsp ground ginger
½ tsp ground nutmeg
½ tsp fine sea salt
80 ml (⅓ cup) maple syrup
60 ml (¼ cup) coconut oil, melted

for the stewed rhubarb:
1 rhubarb stalk, trimmed & cut into 1-inch pieces (if using young, thin stalks, use 2)
1 tbsp maple syrup
1 tsp lemon juice
½ vanilla bean pod, split lengthwise and seeds scraped out or ½ tsp pure vanilla extract or vanilla paste

plain yogurt, to serve


Preheat oven to 150°C (300°F) and line a baking sheet with parchment paper. Set aside.

In a large bowl, whisk together all the dry ingredients until thoroughly combined. In a small bowl, whisk together the syrup and oil, and then fold into the dry mix with a wooden spoon or rubber spatula. Mix for 2 to 3 minutes, until the granola is wet and clumpy.

Transfer the granola to the prepared baking sheet and use the back of your spoon or spatula to spread it out in an even layer.

Baake for 40 to 45 minutes, rotating halfway through, until lightly browned and fragrant. Remove from the oven; let cool completely. Gently break up the granola into clumps and store in an airtight container at room temperature for up to 2 weeks.

To make the stewed rhubarb, heat a small saucepan over medium-low heat; add the rhubarb, syrup, lemon juice, and vanilla bean, and stir. Cook for 6 to 8 minutes, until bubbling and the rhubarb is tender and loses a bit of its color. Remove from the heat and set aside.

Enjoy the granola and stewed rhubarb with yogurt.


Recipe from Chickpea Flour Does it All: Gluten-Free, Dairy-Free, Vegetarian Recipes for Every Taste and Season. ©Lindsey S. Love, 2016. Reprinted by permission of the publisher, The Experiment. Available wherever books are sold. theexperimentpublishing.com


Clumpy Granola with Stewed Rhubarb | My Blue&White Kitchen

Disclaimer: I was sent a copy of Chickpea Flour Does it All from the publisher, the Experiment, free of charge. However, I wasn't compensated for this review. As always, all opinions are my own.


Related Posts

Finding Light & Joy – Smoked Fish Spread

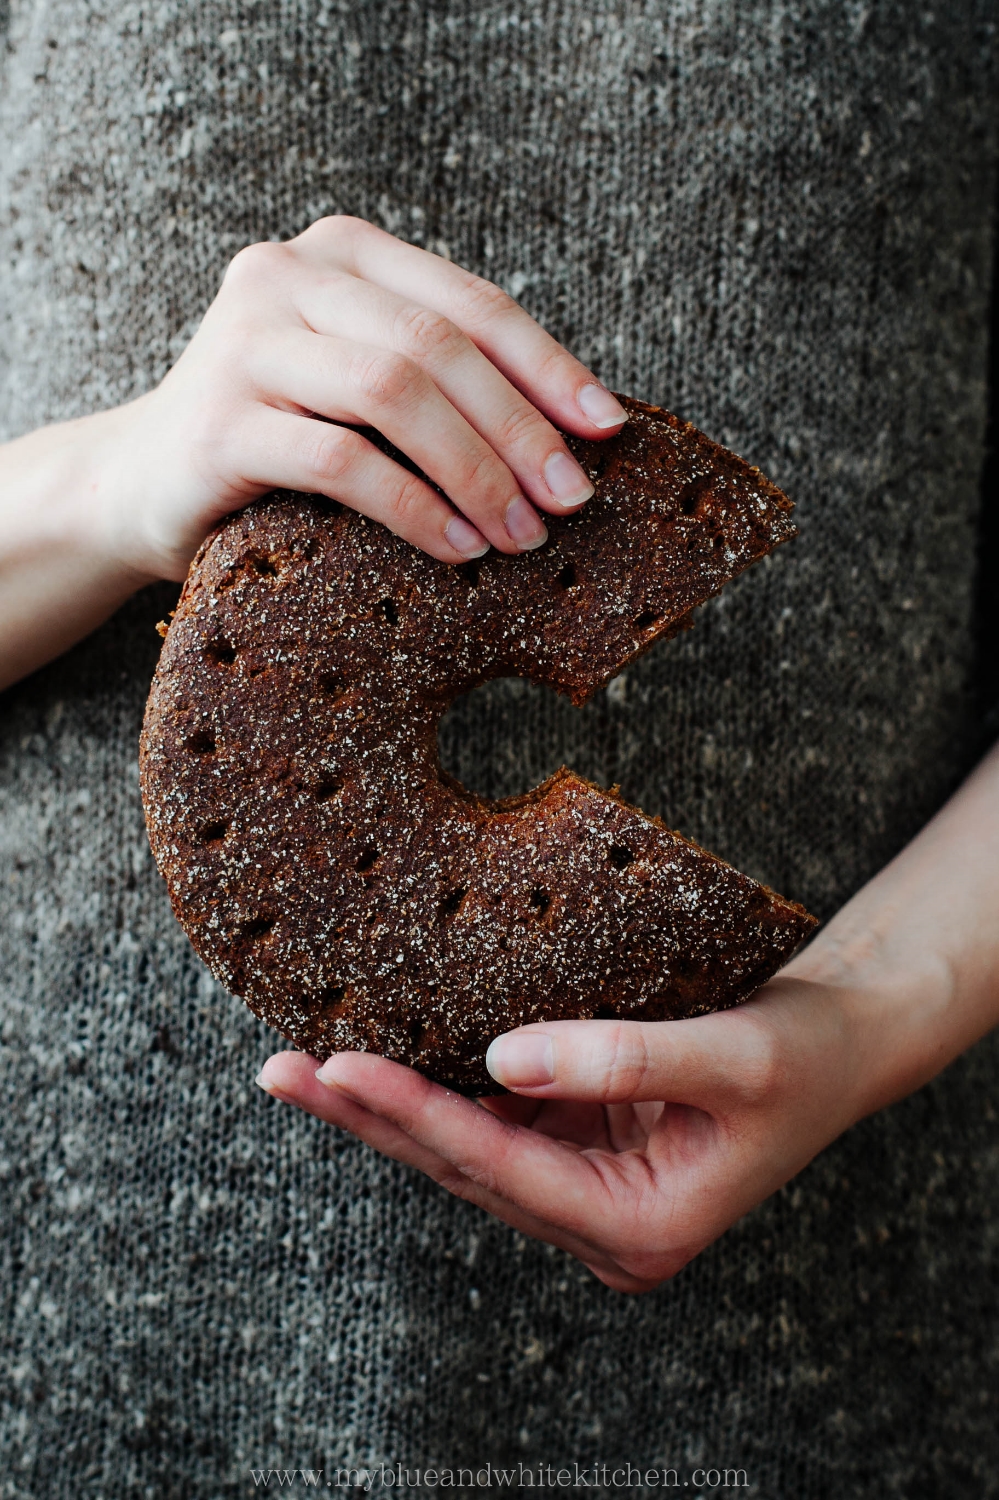
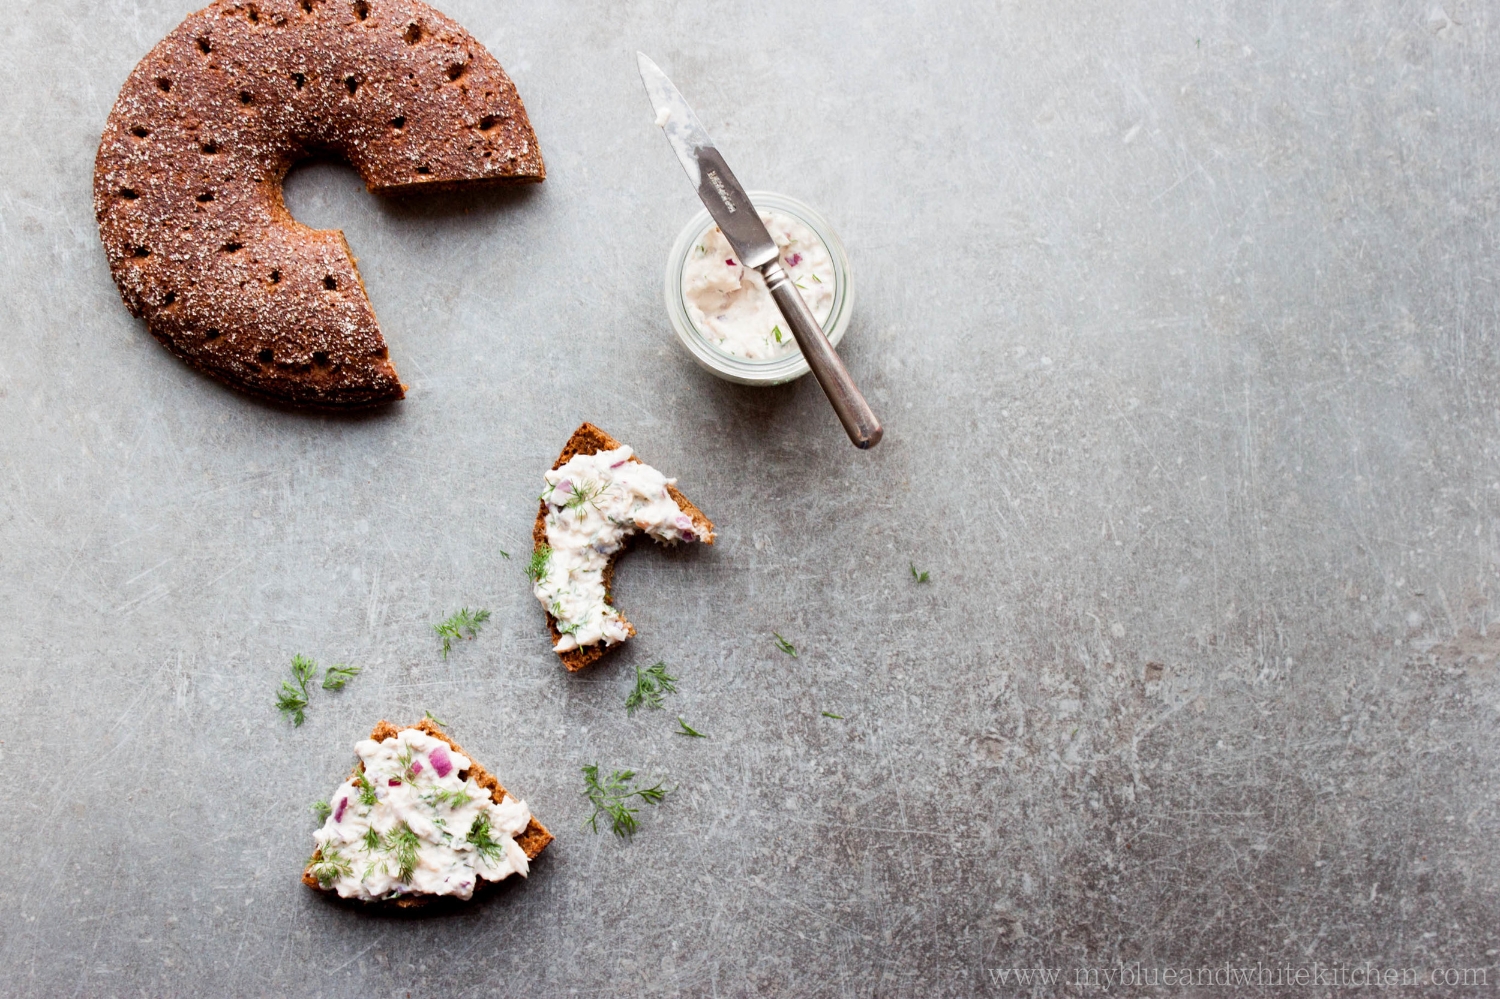
Smoked Fish Spread | My Blue&White Kitchen

One night a couple of months ago, I sat down and "wrote down" a (mental) list of things I would like to start doing, do more, or do again. I was searching for more happy moments, for ways to bring more light and joy into my life. I quickly realised that I would love to have a veggie garden this summer. I'm still working on it but hope to harvest things like radishes, peas, and herbs later this summer. I wanted to knit more both by myself and in company. Since then, I've spent many days knitting while drinking coffee and chatting with lovely people. I also knew that it was finally time to start taking riding lessons again. I spent a great deal of my childhood and adolescence at the stables but had since neglected this passion of mine. Last Monday, I finally sat in the sattle again! My muscles are still hurting (like seriously HURTING!) but I had so much fun. It felt good and familiar. I had found my happy place; well, one of them.

Daily hassles, work, and chores... It's so easy to start neglecting ourselves. What do you want? What brightens up your day? Stop for a while and listen to yourself; to your body and mind. Life can be so very short, so why wait?

Smoked Fish Spread | My Blue&White Kitchen

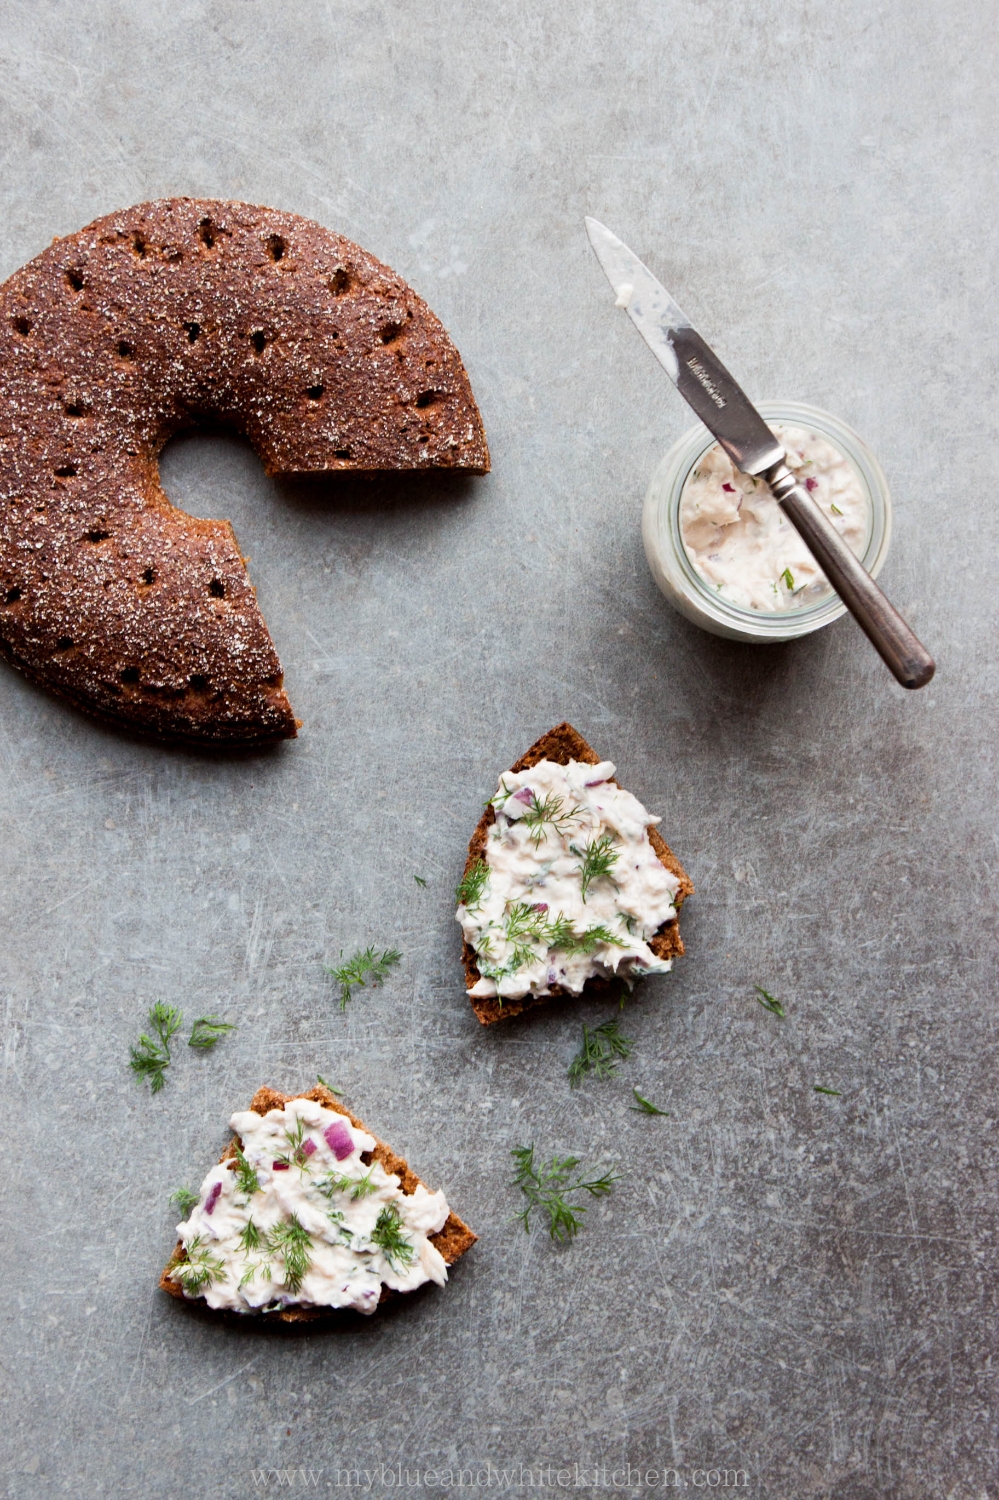
Because this is a food blog, I also have a recipe for you. This smoked fish spread is one of those recipes that I originally didn't even plan to share with you. I just knew that it wouldn't be the most beautiful dish to look at and that it would be especially hard to do its deliciousness justice in a pic. But as I had my first sporkful of this spread, I just knew that if I wanted to do justice to you, my readers, I would need to share it on the blog. So I did my best to make it look like a thing that you would like to make.

This smoked fish spread is wonderful served on hearty, Nordic style rye bread or with boiled new potatoes. You could also use it as sandwich stuffing! It's really quick and easy to make; the only step that needs a bit of accuracy and time is boning the fish. The spread can be prepared in advance and stored in the fridge until ready to use. Are you celebrating Midsummer next week? Well, I'm definitely going to serve this next Friday and am sure that it will be a total crowd-pleaser.


Smoked Fish Spread

makes about 4 dl / 1 ⅔ cups

You can use any smoked fish. I recommend a nice mix of 2 or 3 types of fish – I used smoked rainbow trout and Atlantic mackerel. The spread can be made ahead and stored in the fridge until ready to use. Serve with hearty rye bread or boiled new potatoes.


300 g smoked fish, skin and bones removed
200 g sour cream
½ red onion, finely chopped
a small bunch of dill, finely chopped
juice of about ¼ lemon
pinch of fine sea salt
freshly ground black pepper

more dill, for garnish


Put the smoked fish into a food processor and pulse briefly - we want to have the fish slightly puréed. In a small bowl, mix together sour cream and onion. Add smoked fish and dill. Season with lemon juice, salt, and pepper. Mix until well combined.

Place in the fridge until ready to use.


Smoked Fish Spread | My Blue&White Kitchen

Related Posts

Hello 2015 – Nordic Canapés with Roe & Gravlax

I hope you all had a wonderful Christmas in good company and enjoyed delicious food and got a chance to relax for a few days! If you're like me, you're surprised by the approach of New Year's Eve. It's quite ridiculous as Christmas and New Year are always just one week apart from each other, but every single year I find myself kind of surprised by their proximity. Suddenly, one has to change from Christmas mood to the celebration of a new, hopefully exciting year.

Some of you may have made plans for New Year's Eve. Maybe a party at a friend's house or a casual get-together? Or maybe you're feeling a bit overwhelmed by it all and consider spending a night at home. Or you're hosting a New Year's Eve party yourself (awesome!). Well, for all of you who haven't yet decided what to serve next Wednesday whether to friends, family, or just yourself, I have a Nordic treat that I strongly recommend you to consider.

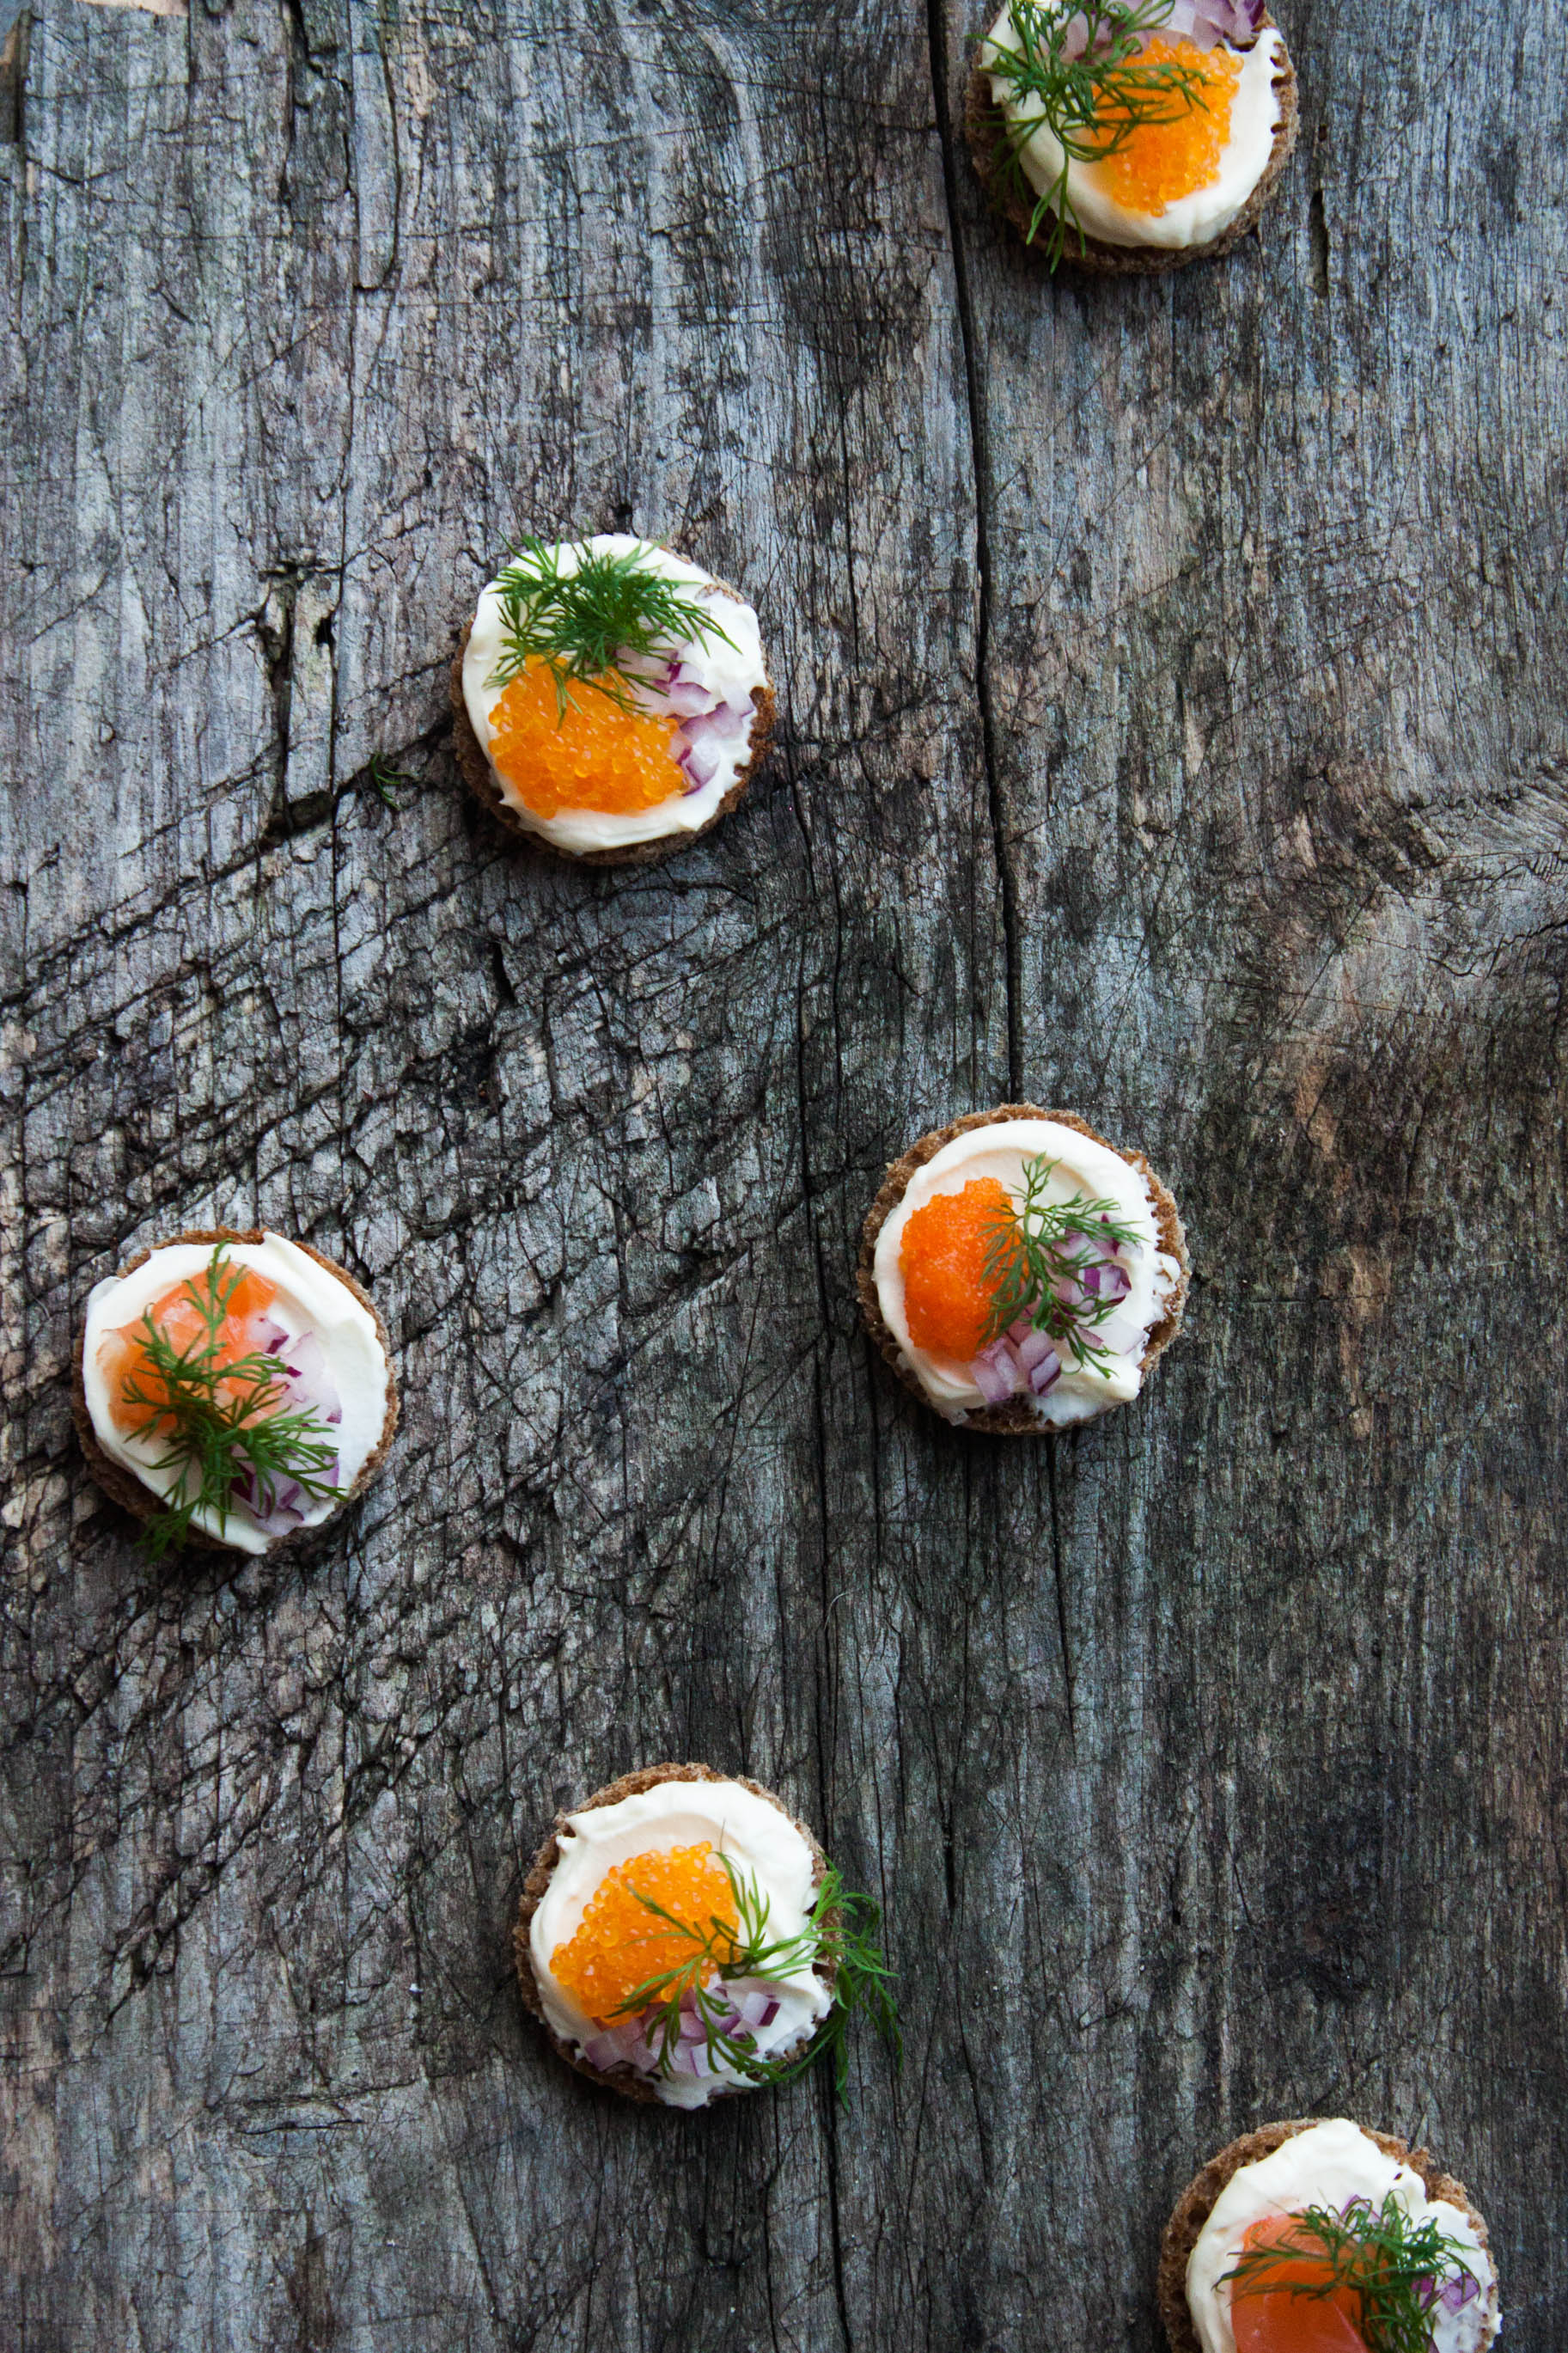
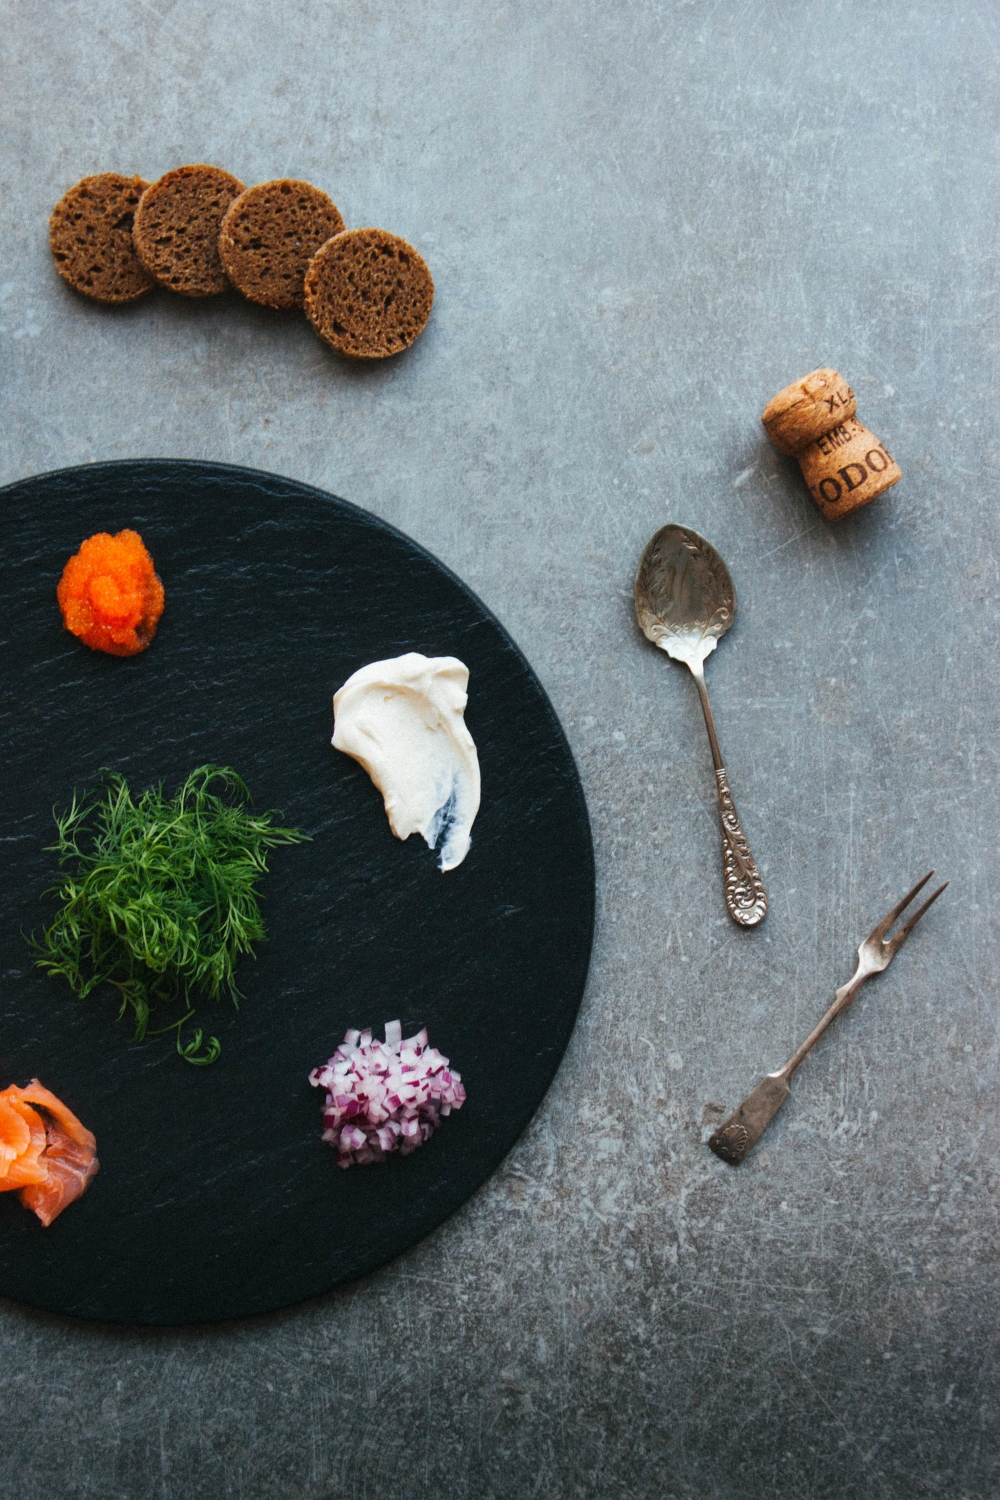
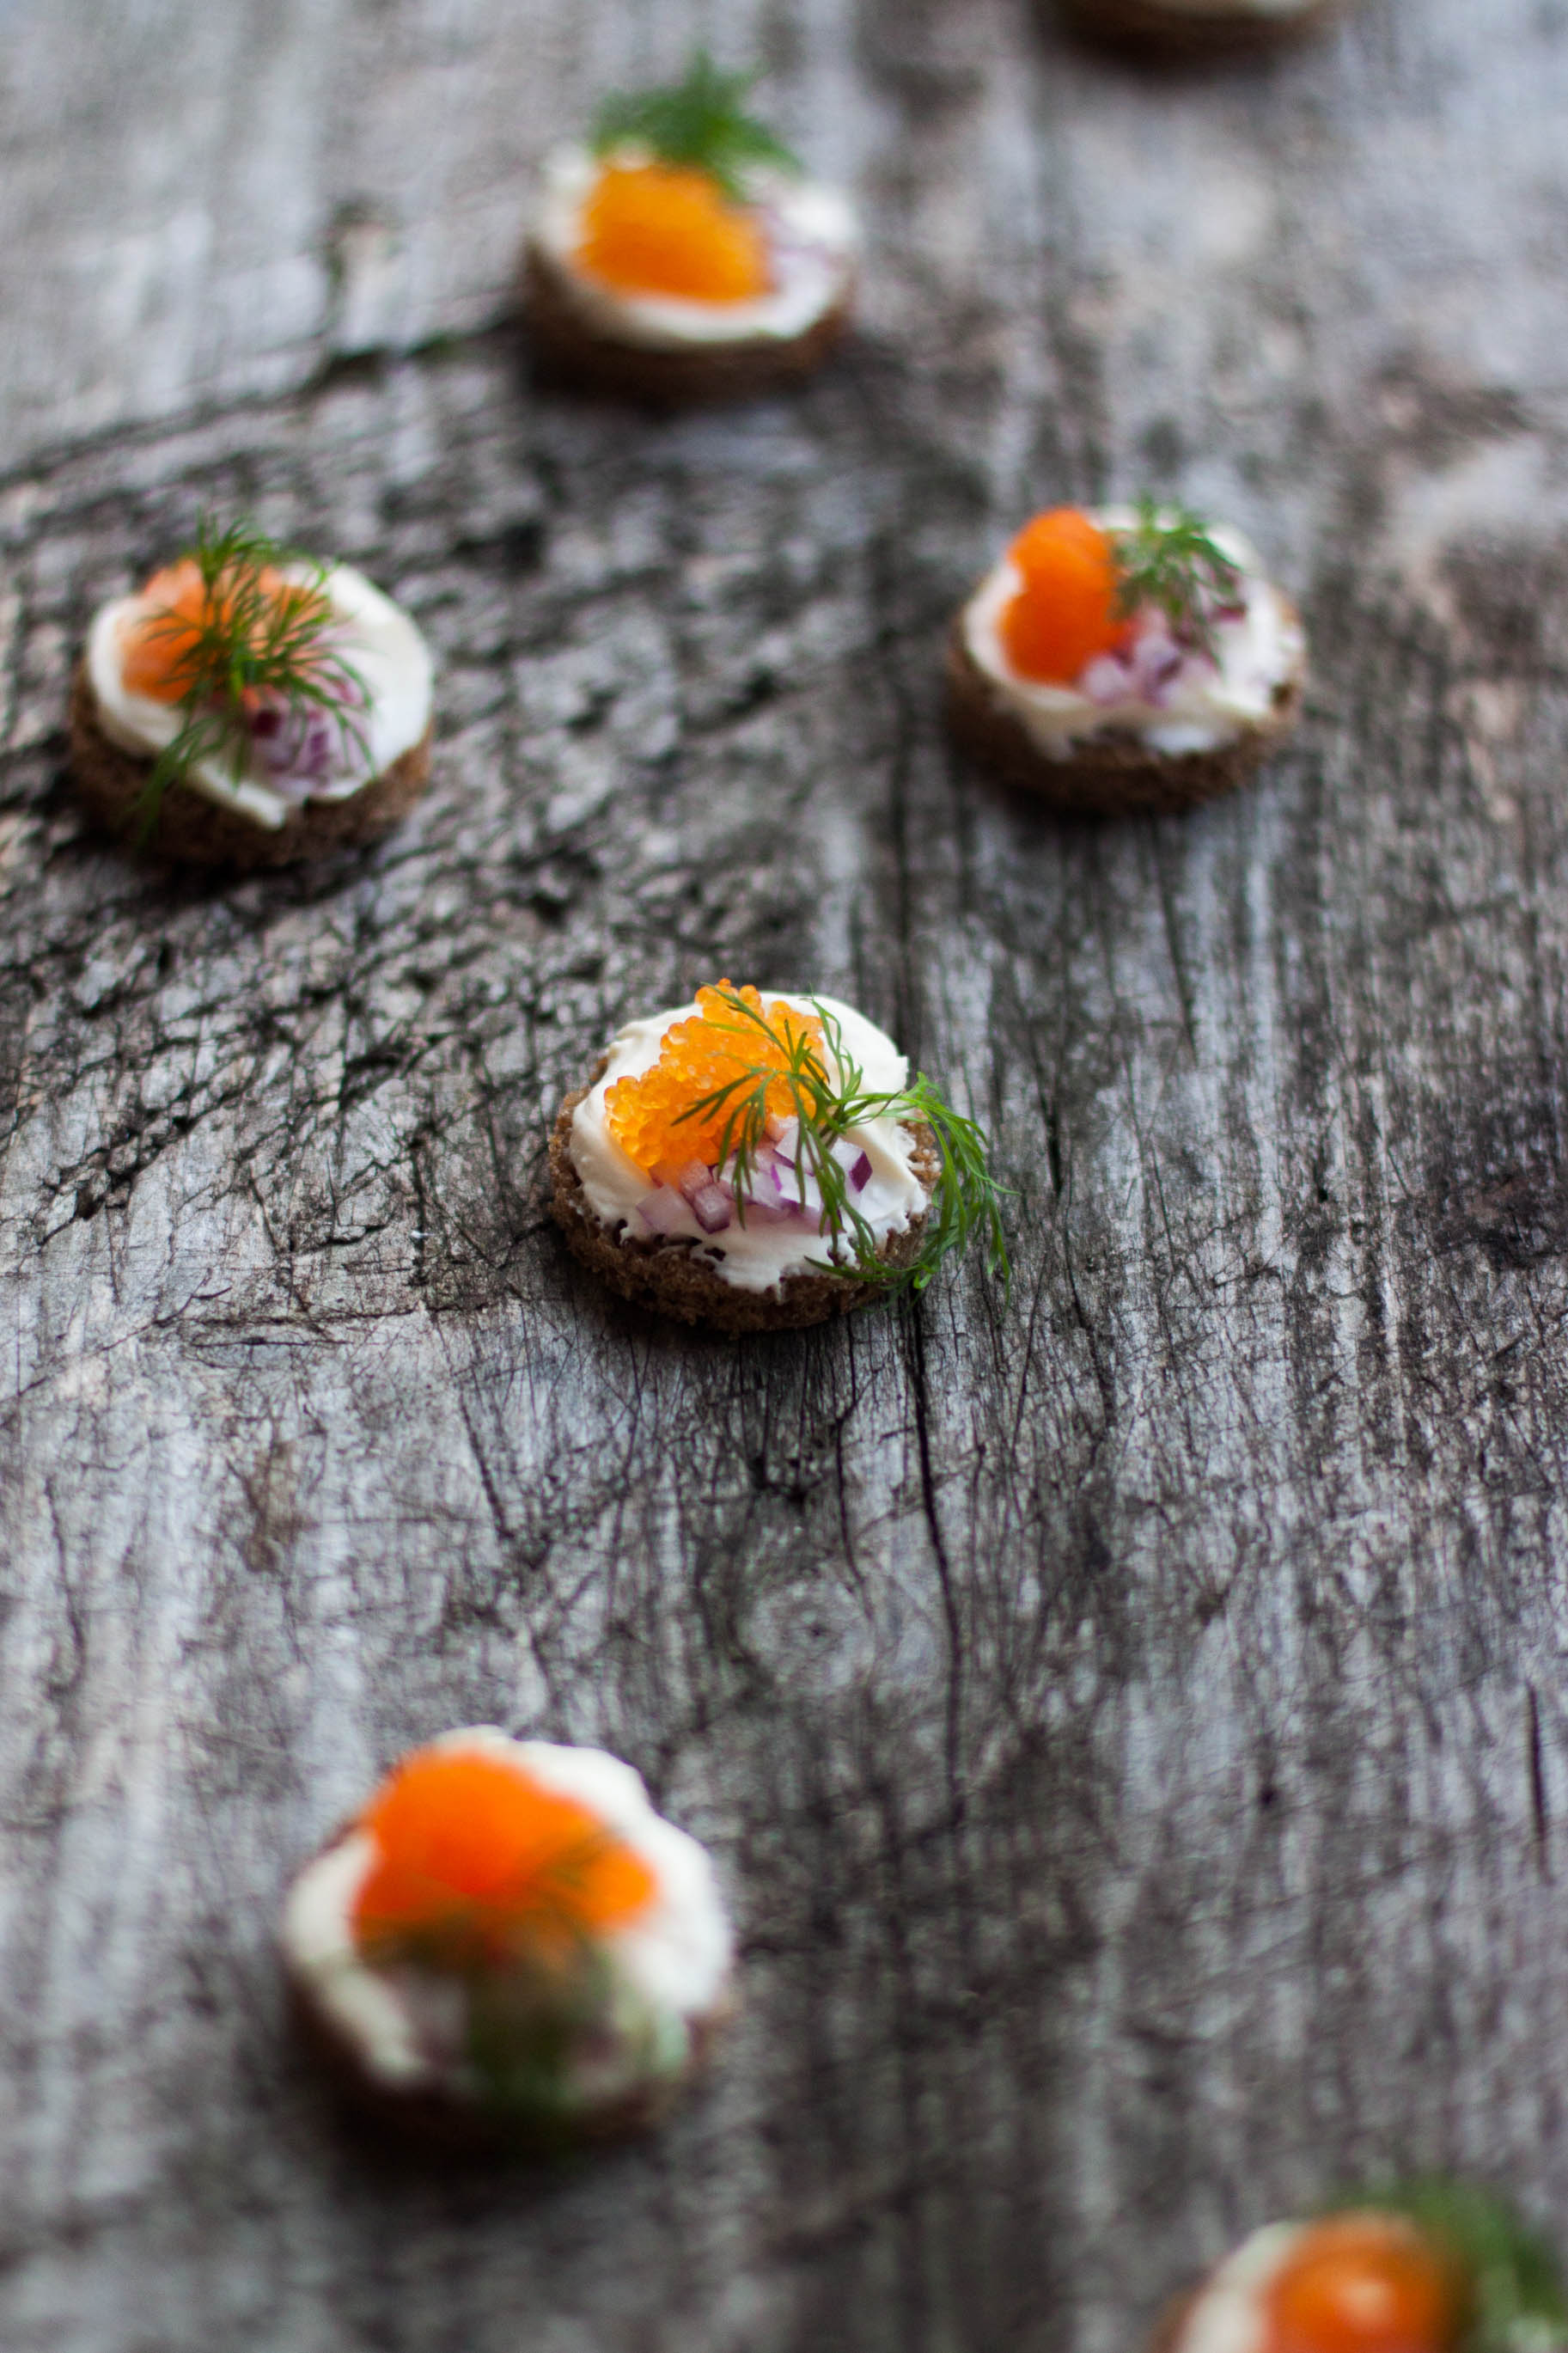
I call these Nordic canapés as they really are a culinary love letter to Nordic flavors. Dark rye bread is topped with smetana, a kind of sour cream from Eastern and Central Europe, finely diced red onion, roe, gravlax, and dill. These are super easy and quick to prepare, look absolutely stunning, and taste amazing. In my world, there's no better way to welcome guests into your home. Serve with a glass of sparkling wine and welcome 2015 with a broad smile.


Nordic Canapés with Roe & Gravlax

I recommend dark rye bread or Nordic potato rye bread/limpa (which I actually used), but crispbread or lightly toasted toast would work as well. Use whatever roe you like the most or are able to find; this time, I used vendance (the orange one in the pictures) and European whitefish (the yellow one). You can make gravlax yourself or buy it from a trusted source. Always make sure the gravlax is fresh; it should be consumed within a couple of days.

dark rye bread or Nordic potato rye bread/limpa
butter
smetana or full-fat sour cream
red onion, finely diced
fish roe, thawed if frozen
gravlax, cut into thin slices
dill

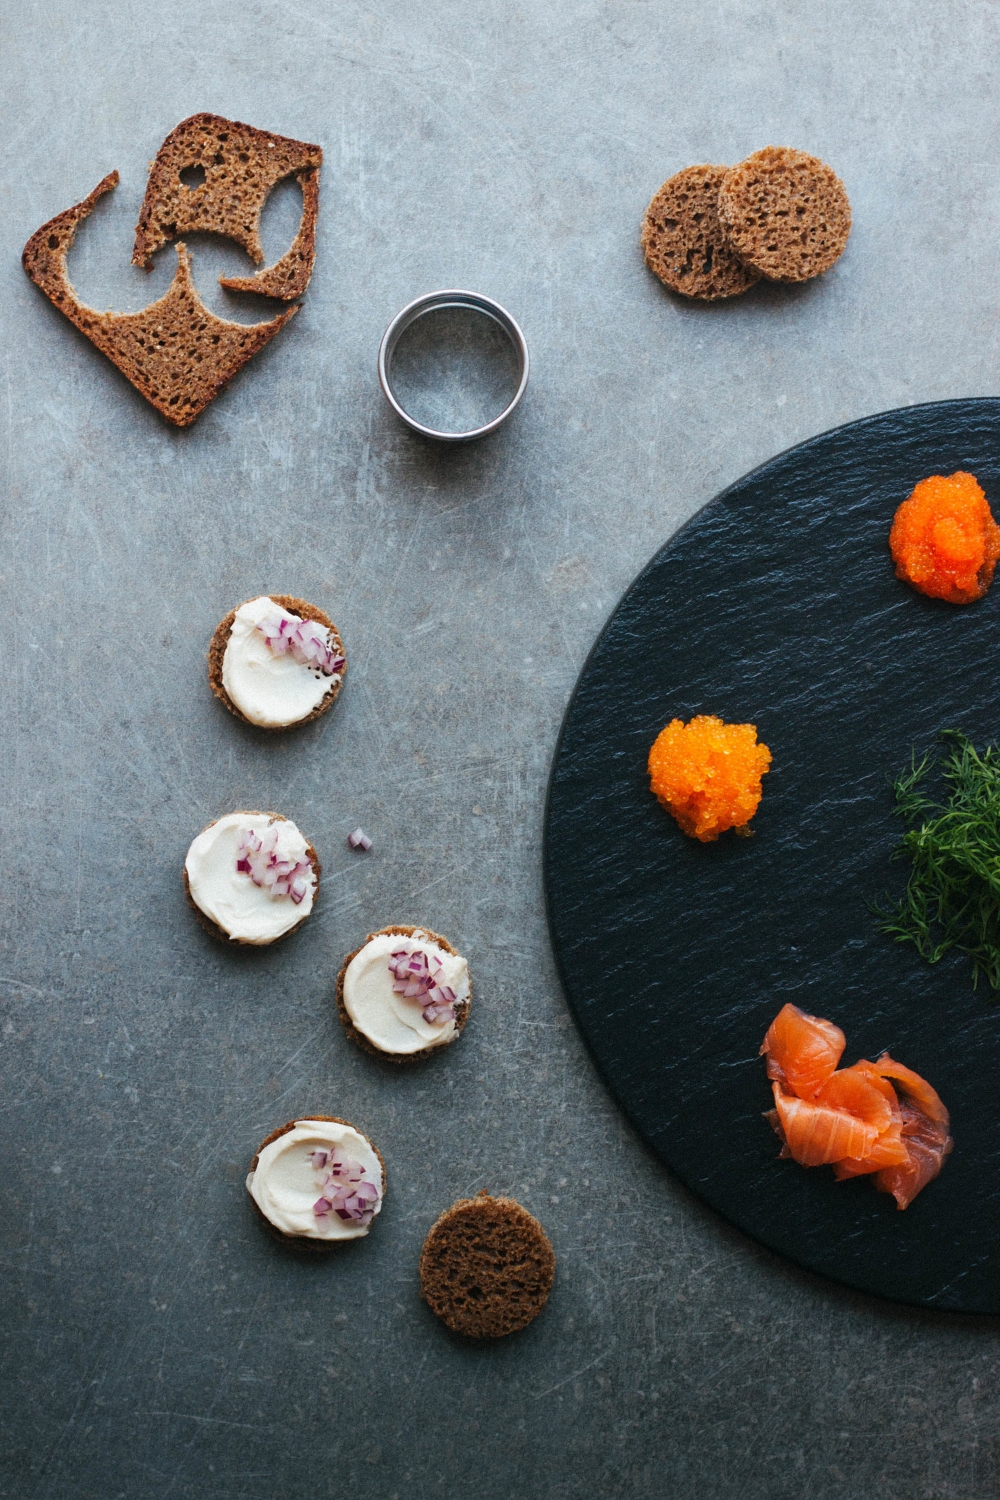
Cut out canapés using a cookie cutter of your choice. I used a round one with a diameter of 4 cm / 1.5". Lightly butter each piece. Top with smetana or full-fat sour cream, finely diced red onion, roe or gravlax (or even both), and dill. Serve and enjoy!


Related Posts

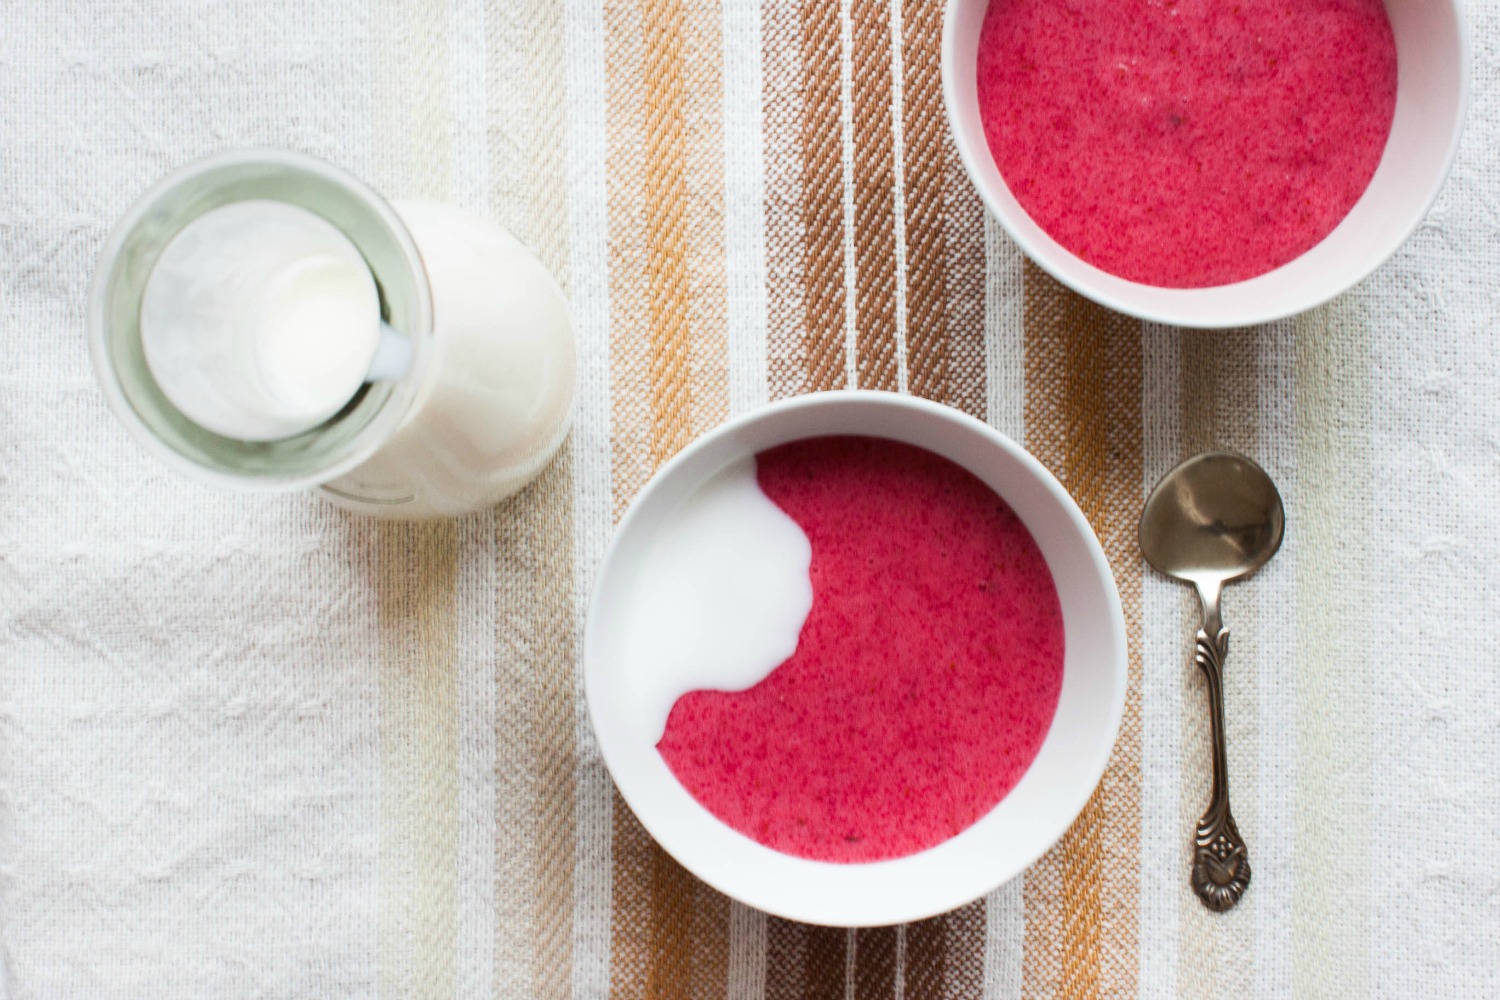
Overnight Oats + A Promo Code For Stitch Linens

Overnight Oats | My Blue&White Kitchen

Are you familiar with Marta Greber and her blog What Should I Eat For Breakfast Today? Well, I have to blame her and her gorgeous blog for having been madly obsessed with overnight oats for the last couple of months. It all started with this post last August. See how pretty and tempting that breakfast bowl is? I wanted that deliciousness in my life, made my first batch of overnight oats, and so the love story of me and overnight oats began.

Porridge is an institution here in the north. I think most people start their day with a bowl of warm and comforting porridge. There are even food trucks that sell nothing but porridge (!!). But, you know, I've never been a morning porridge person myself. Yes, I enjoy a bowl of rice porridge in winter (although, not for breakfast, except on Christmas Eve when it's an obligatory part of our Nordic Christmas traditions) as well as farina porridge a couple of times a year, but I've never been attracted to the regular cereal porridges that are all too often rather tasteless and bland. Oh and the consistency can certainly be an issue as well. I haven't grown up eating porridge every single morning, so it's nothing I have an emotional connection with. It's nothing I crave. Well, not until I saw that post about overnight oats that is.

What I love about overnight oats is that it a) can be, as it name already says, prepared on the night before and b) is ridiculously versatile and can be adapted according to the season as well as to one's preferences & diet. My first overnight oats was a combination of oats + apple juice + grated apples + yogurt + nuts + berries. I immediately fell in love with this breakfast and have enjoyed it in the early (and late) morning hours several times a week for the last couple of months. It makes a great breakfast to-go when made in a mason jar or can be enjoyed as a healthy and filling midday snack.

The overnight oats ratio is easy to remember: 1 part of oats to 1 part of liquid. As liquid, you can use juice, such as pure orange or apple juice, milk, plant milk, or even water. Furthermore, you can add some spices to the mix, such as cinnamon, vanilla, cardamom, or ginger. Or what about grated apples, pears, or carrots?

There are, of course, endless topping possibilities that I like to change according to the seasons. Some of my favorites are:

  • nuts (almonds, hazelnuts, walnuts, pistachios, pecans, cashews, etc.)
  • fruit & berries (apples, pears, plums, figs, berries of all kind, etc.)
  • dried berries (cranberries, raisins, figs, cherries, berry powder, etc.)
  • sweeteners (agave nectar & honey)
  • plain yogurt, nut butter, jam, etc.
  • toasted coconut flakes, seeds, bee pollen, cacao nibs, candied ginger, puffed amaranth, etc.

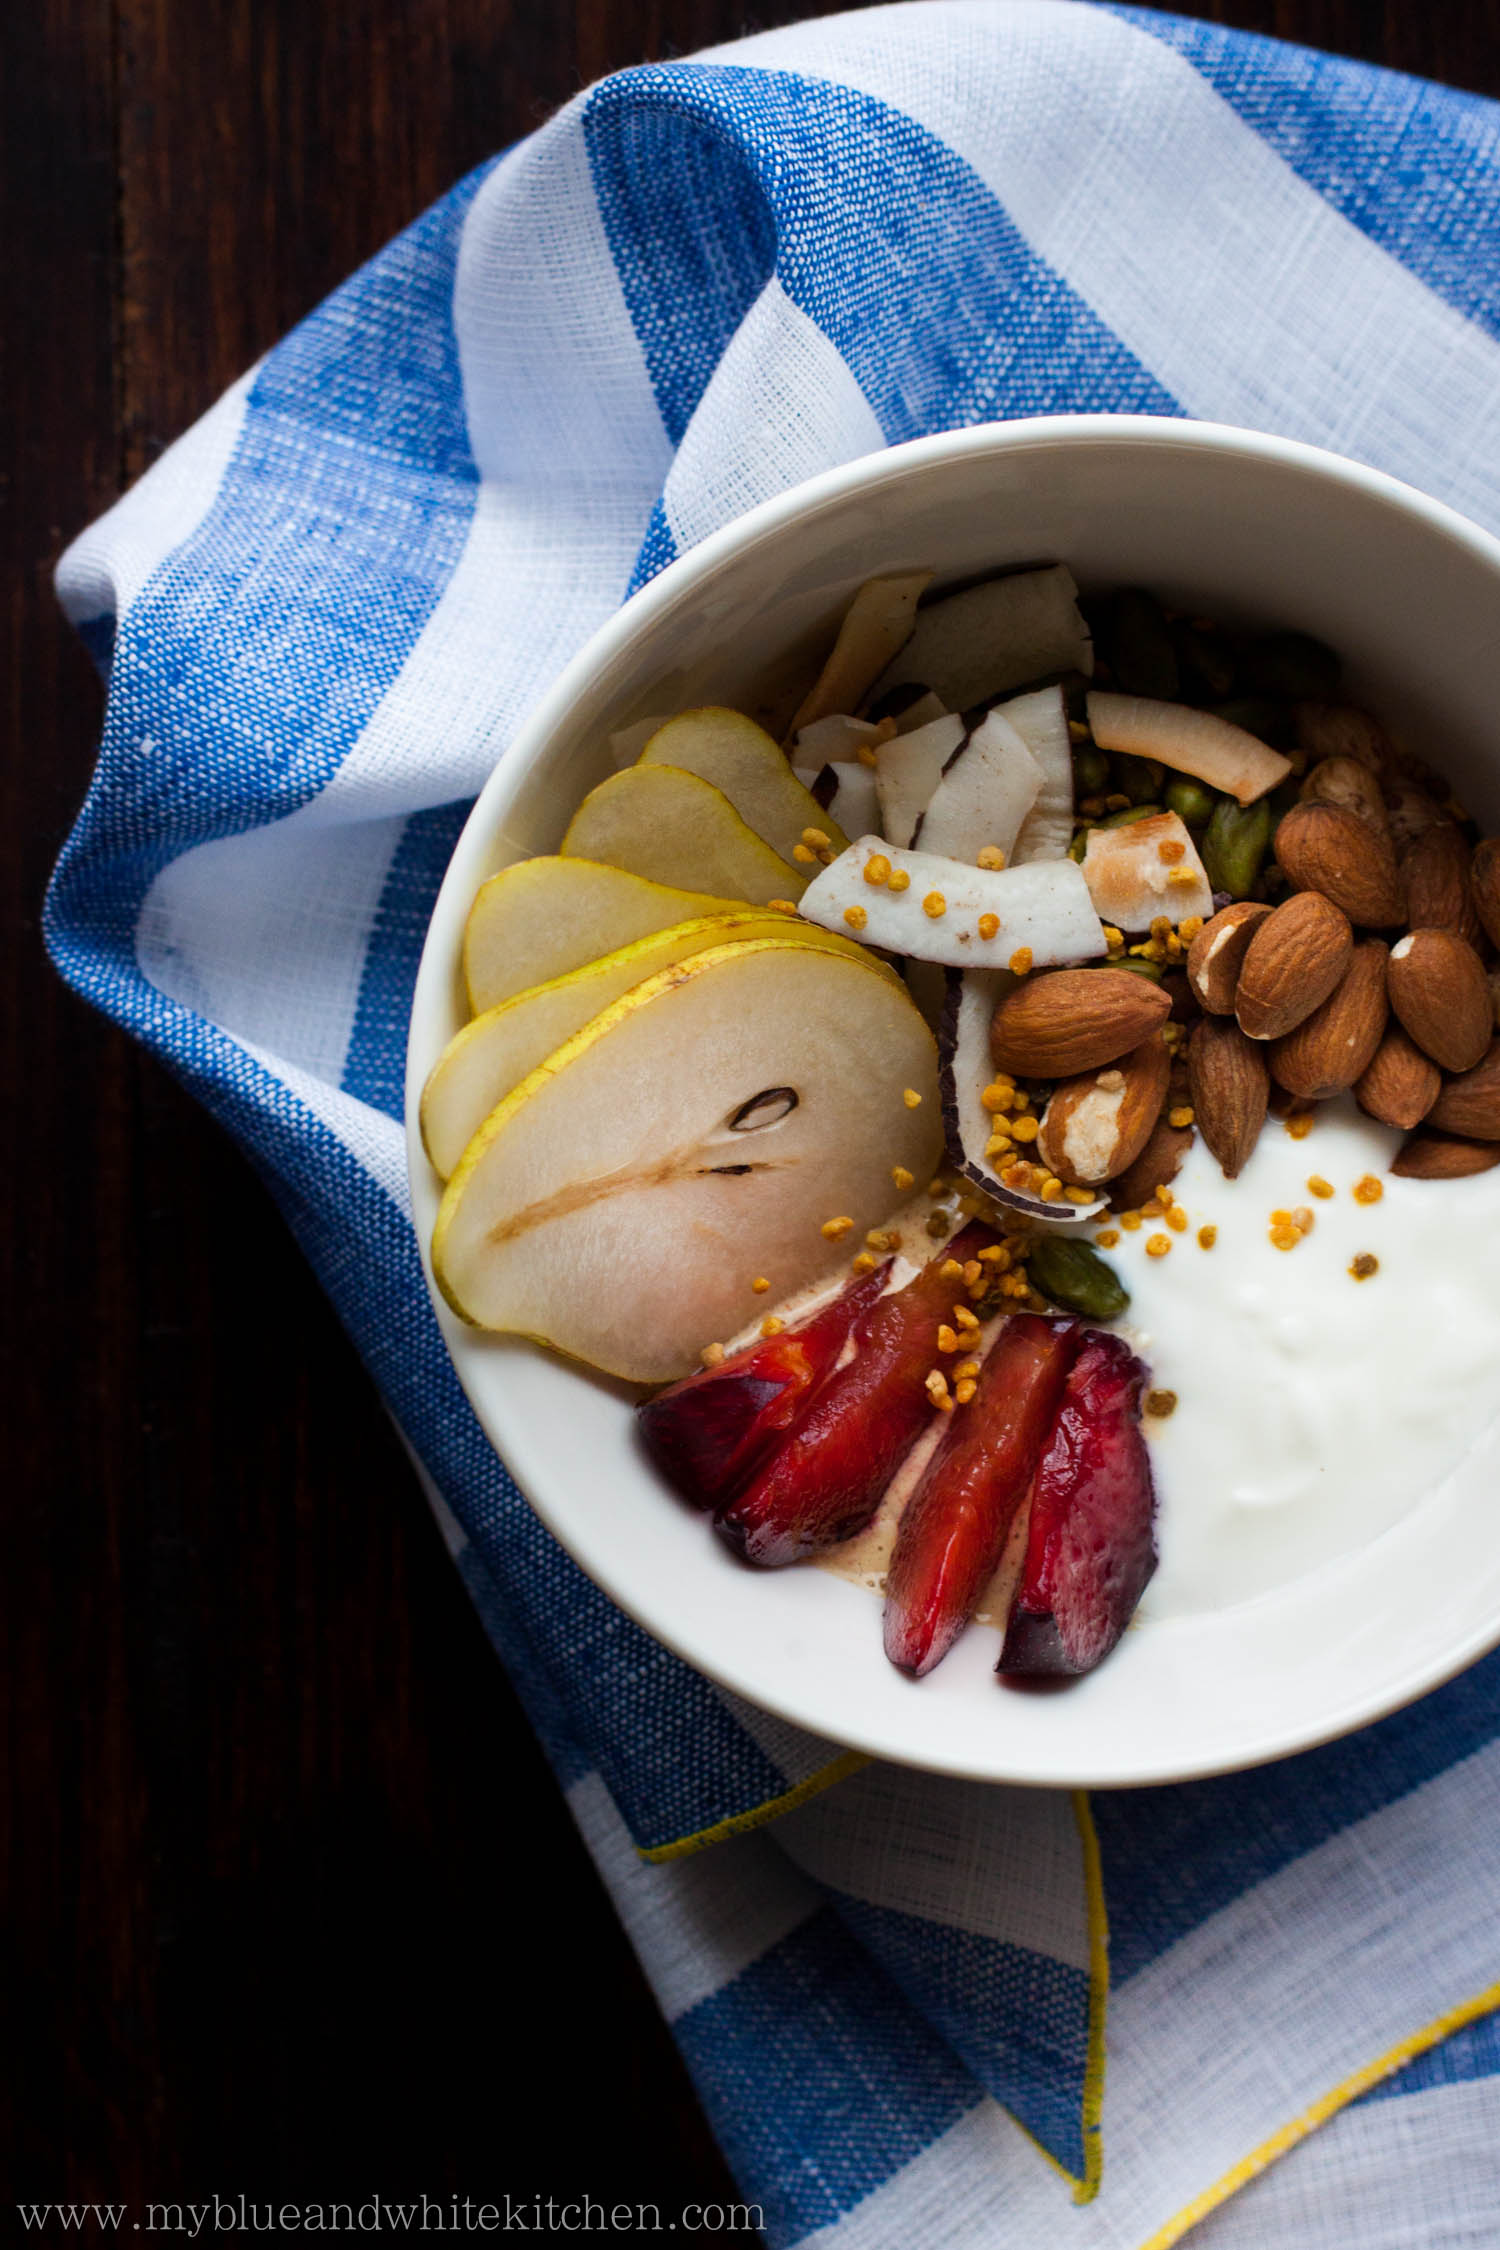
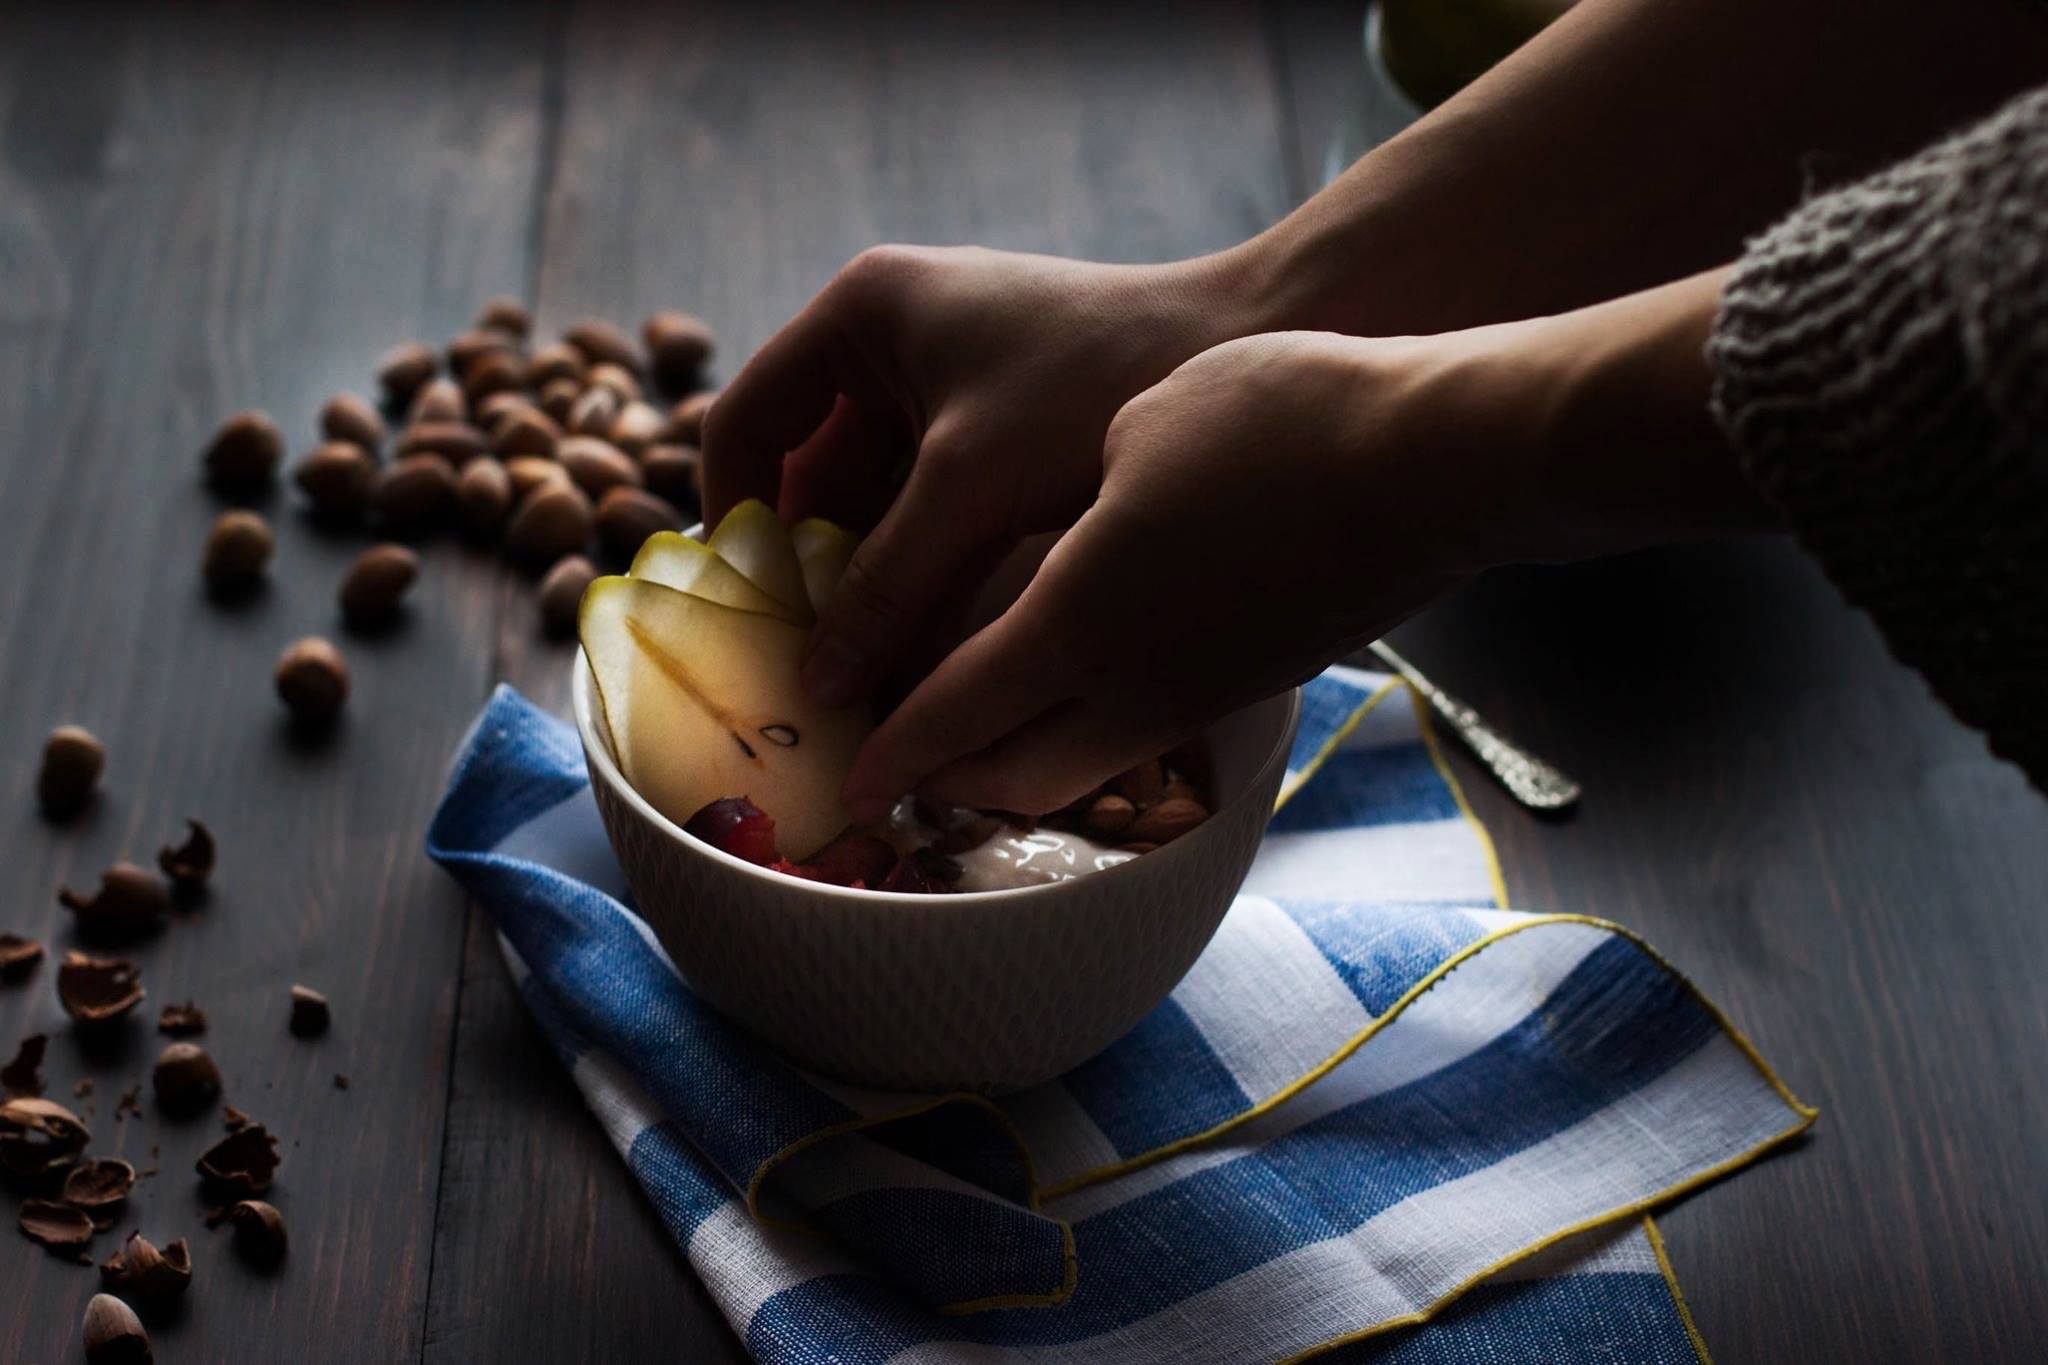
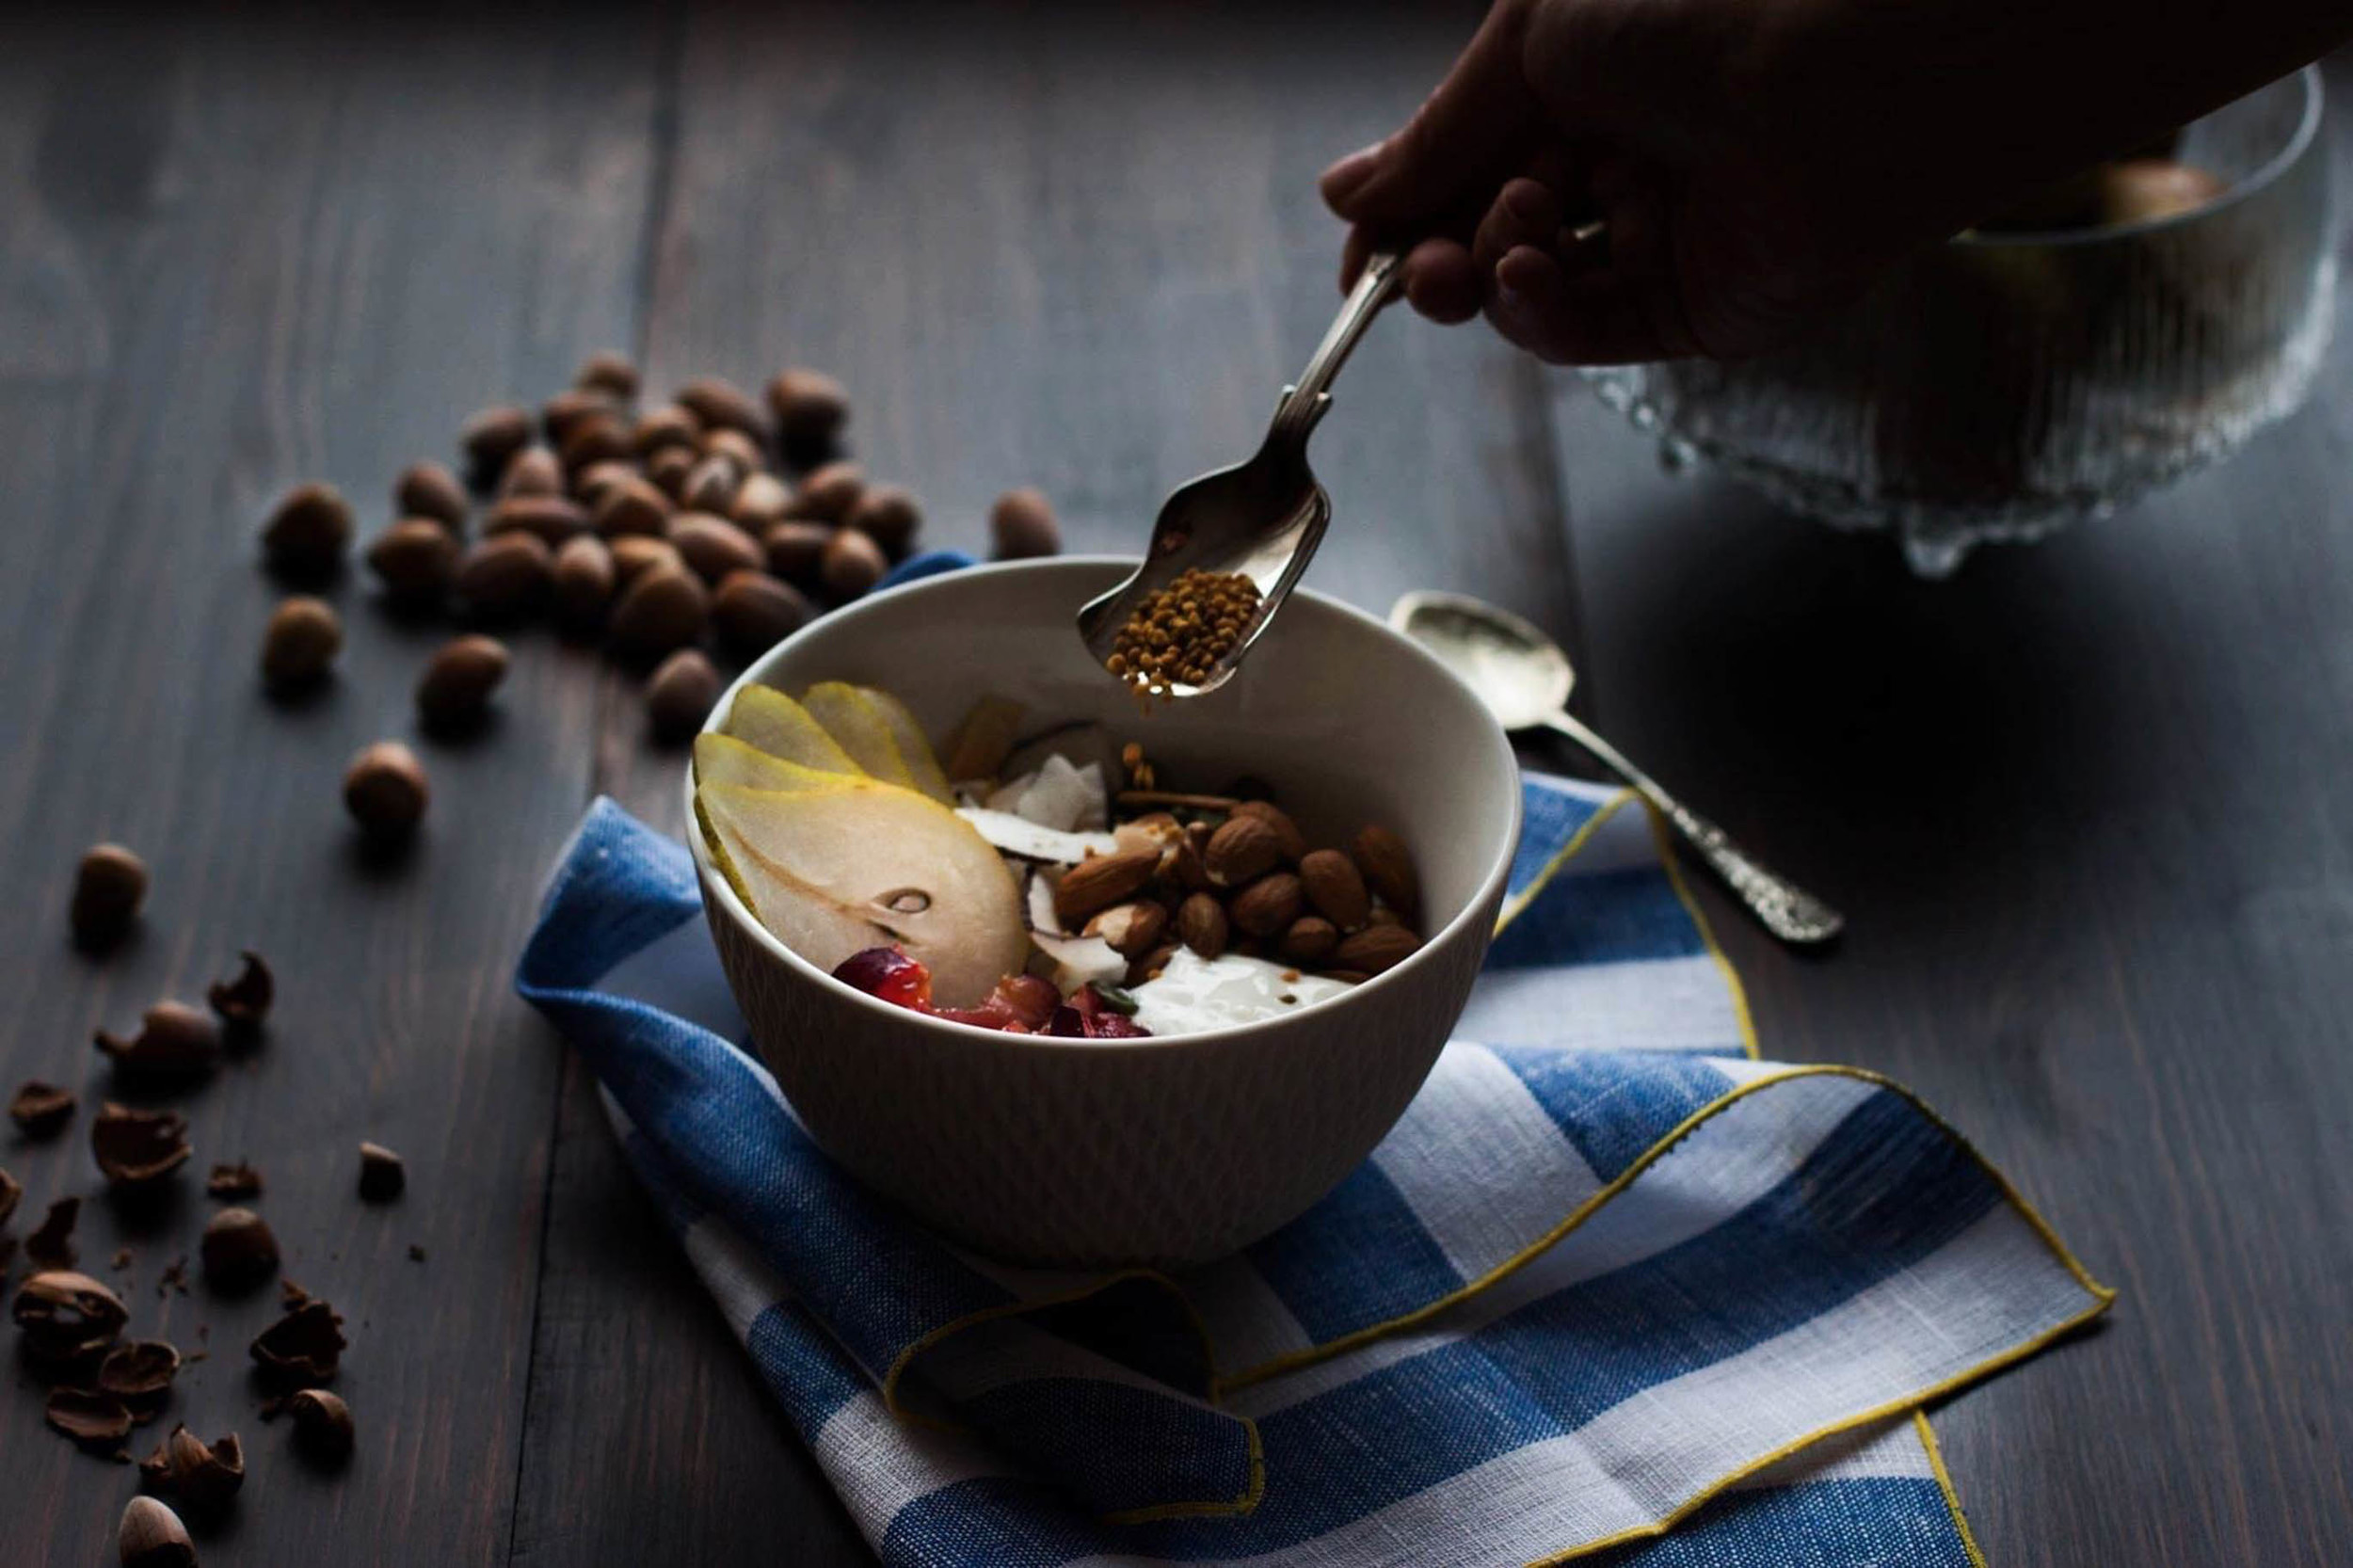
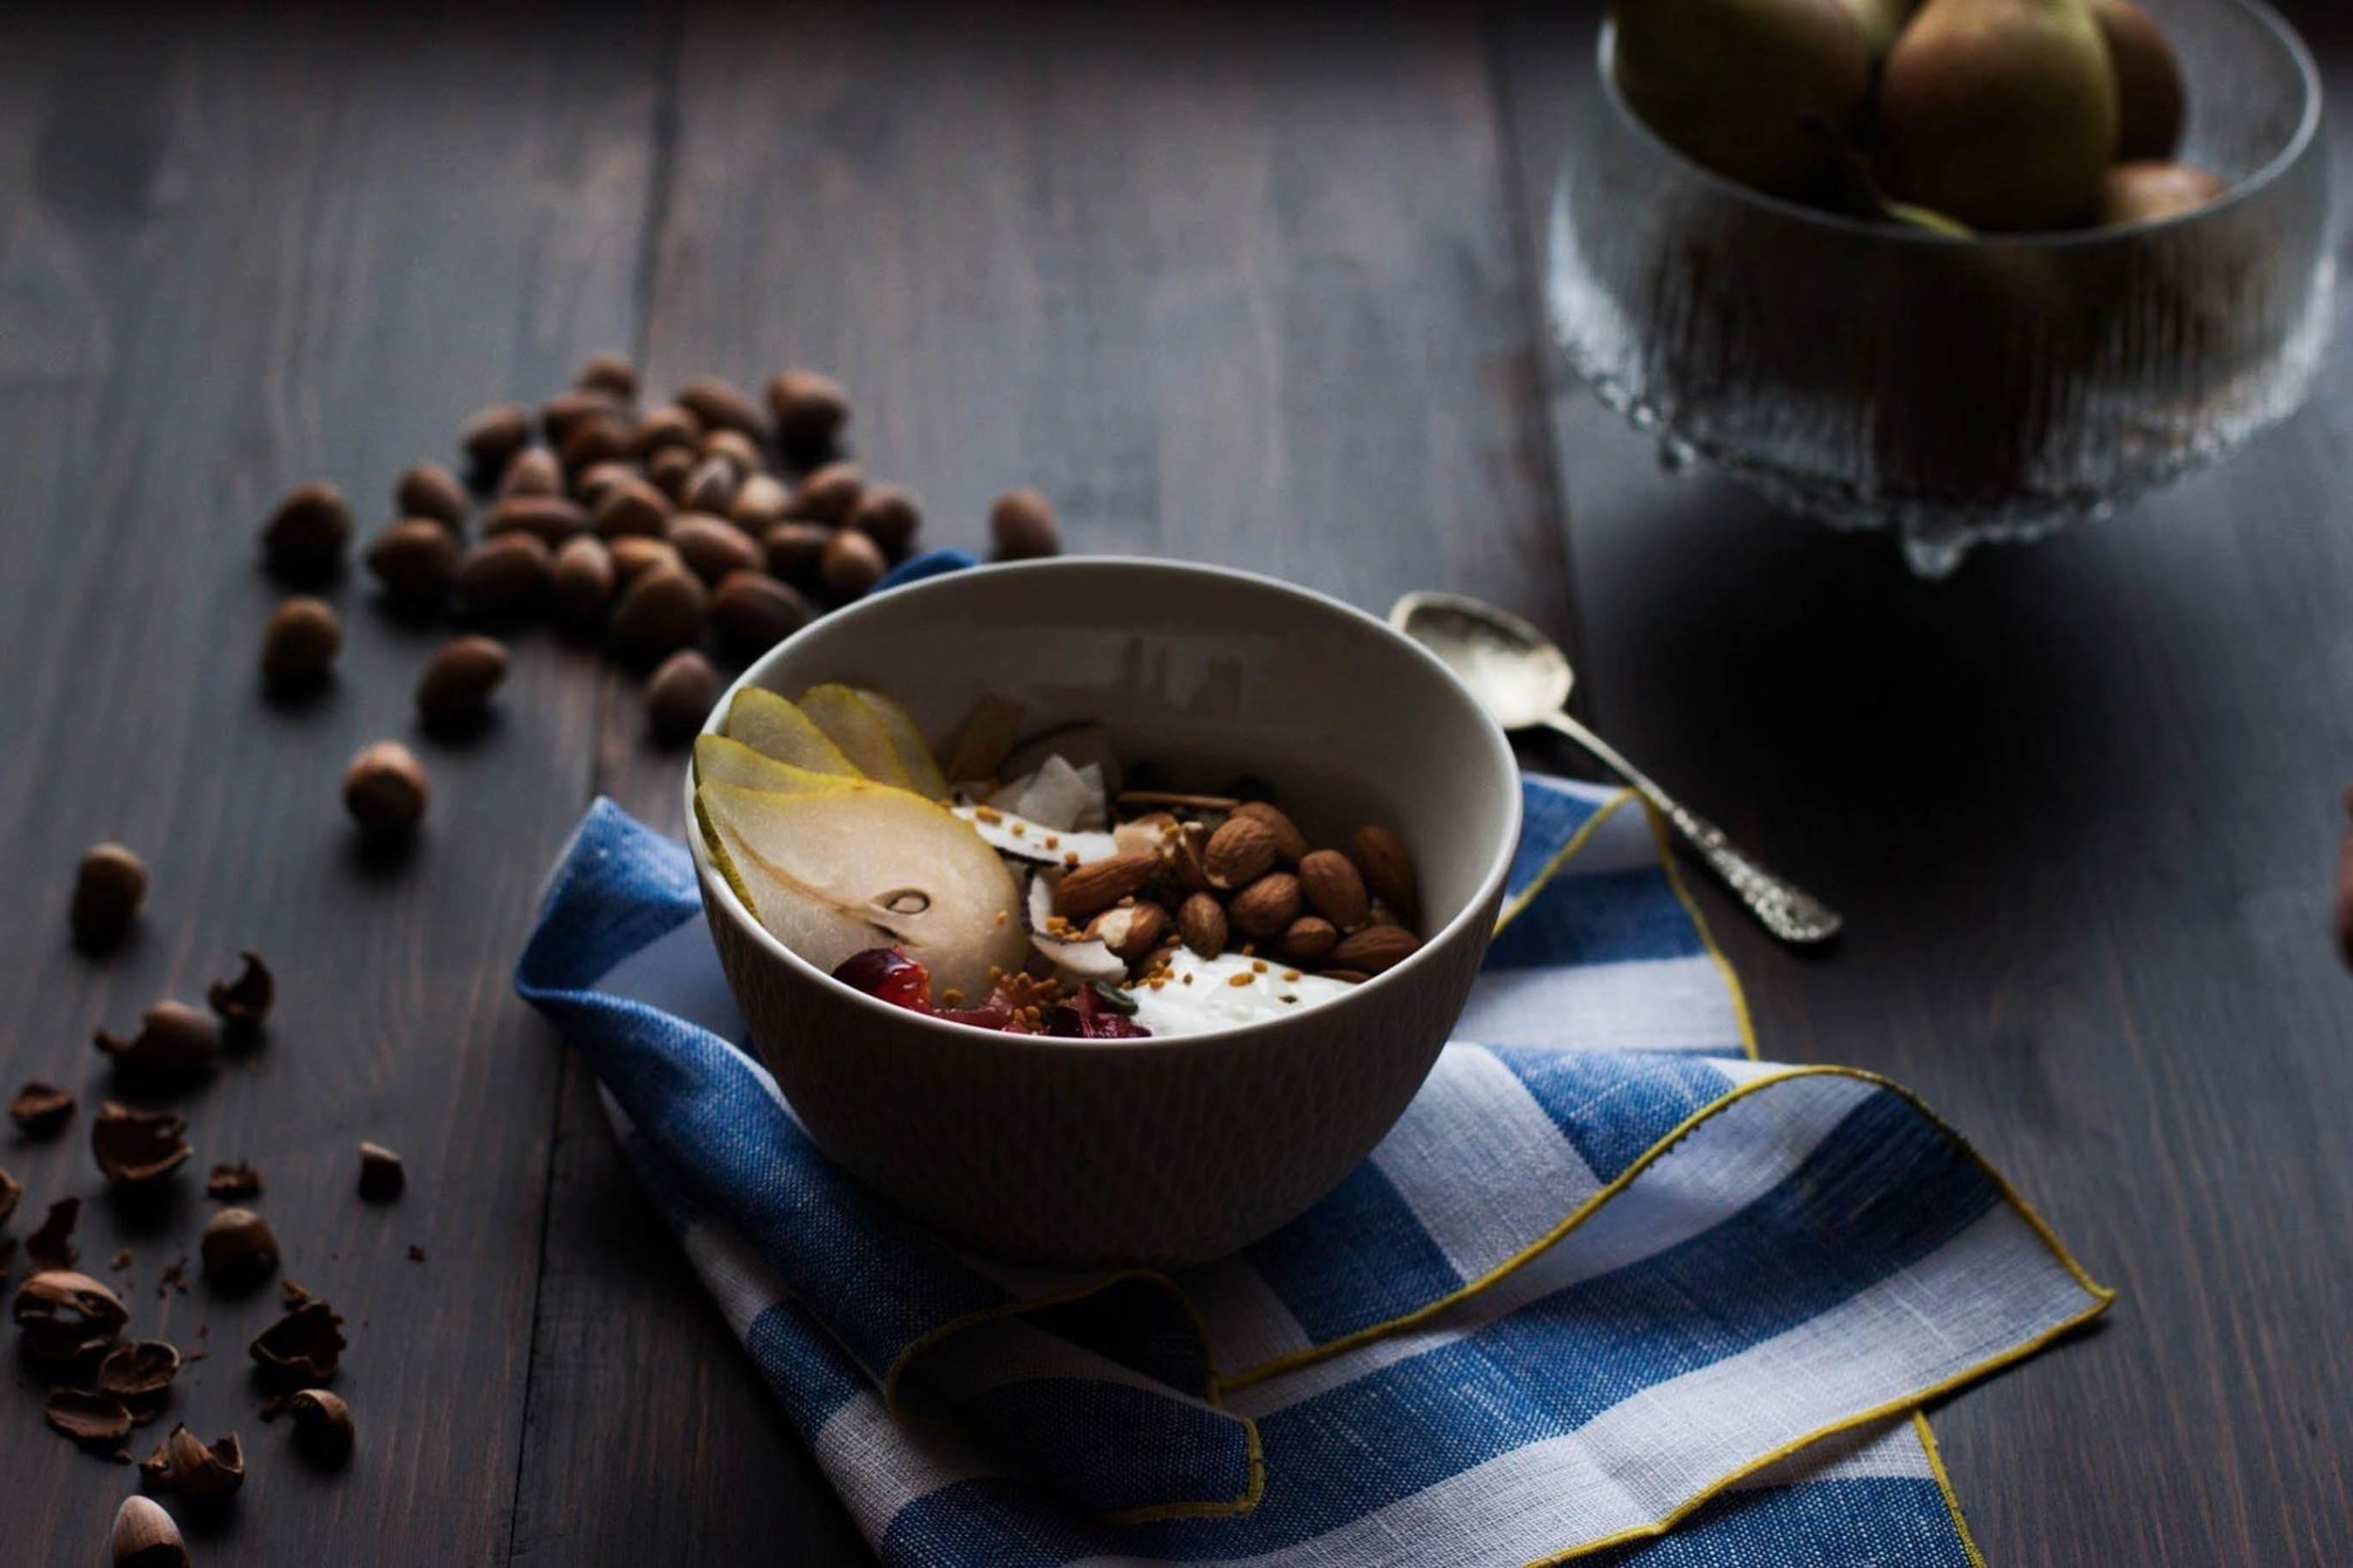
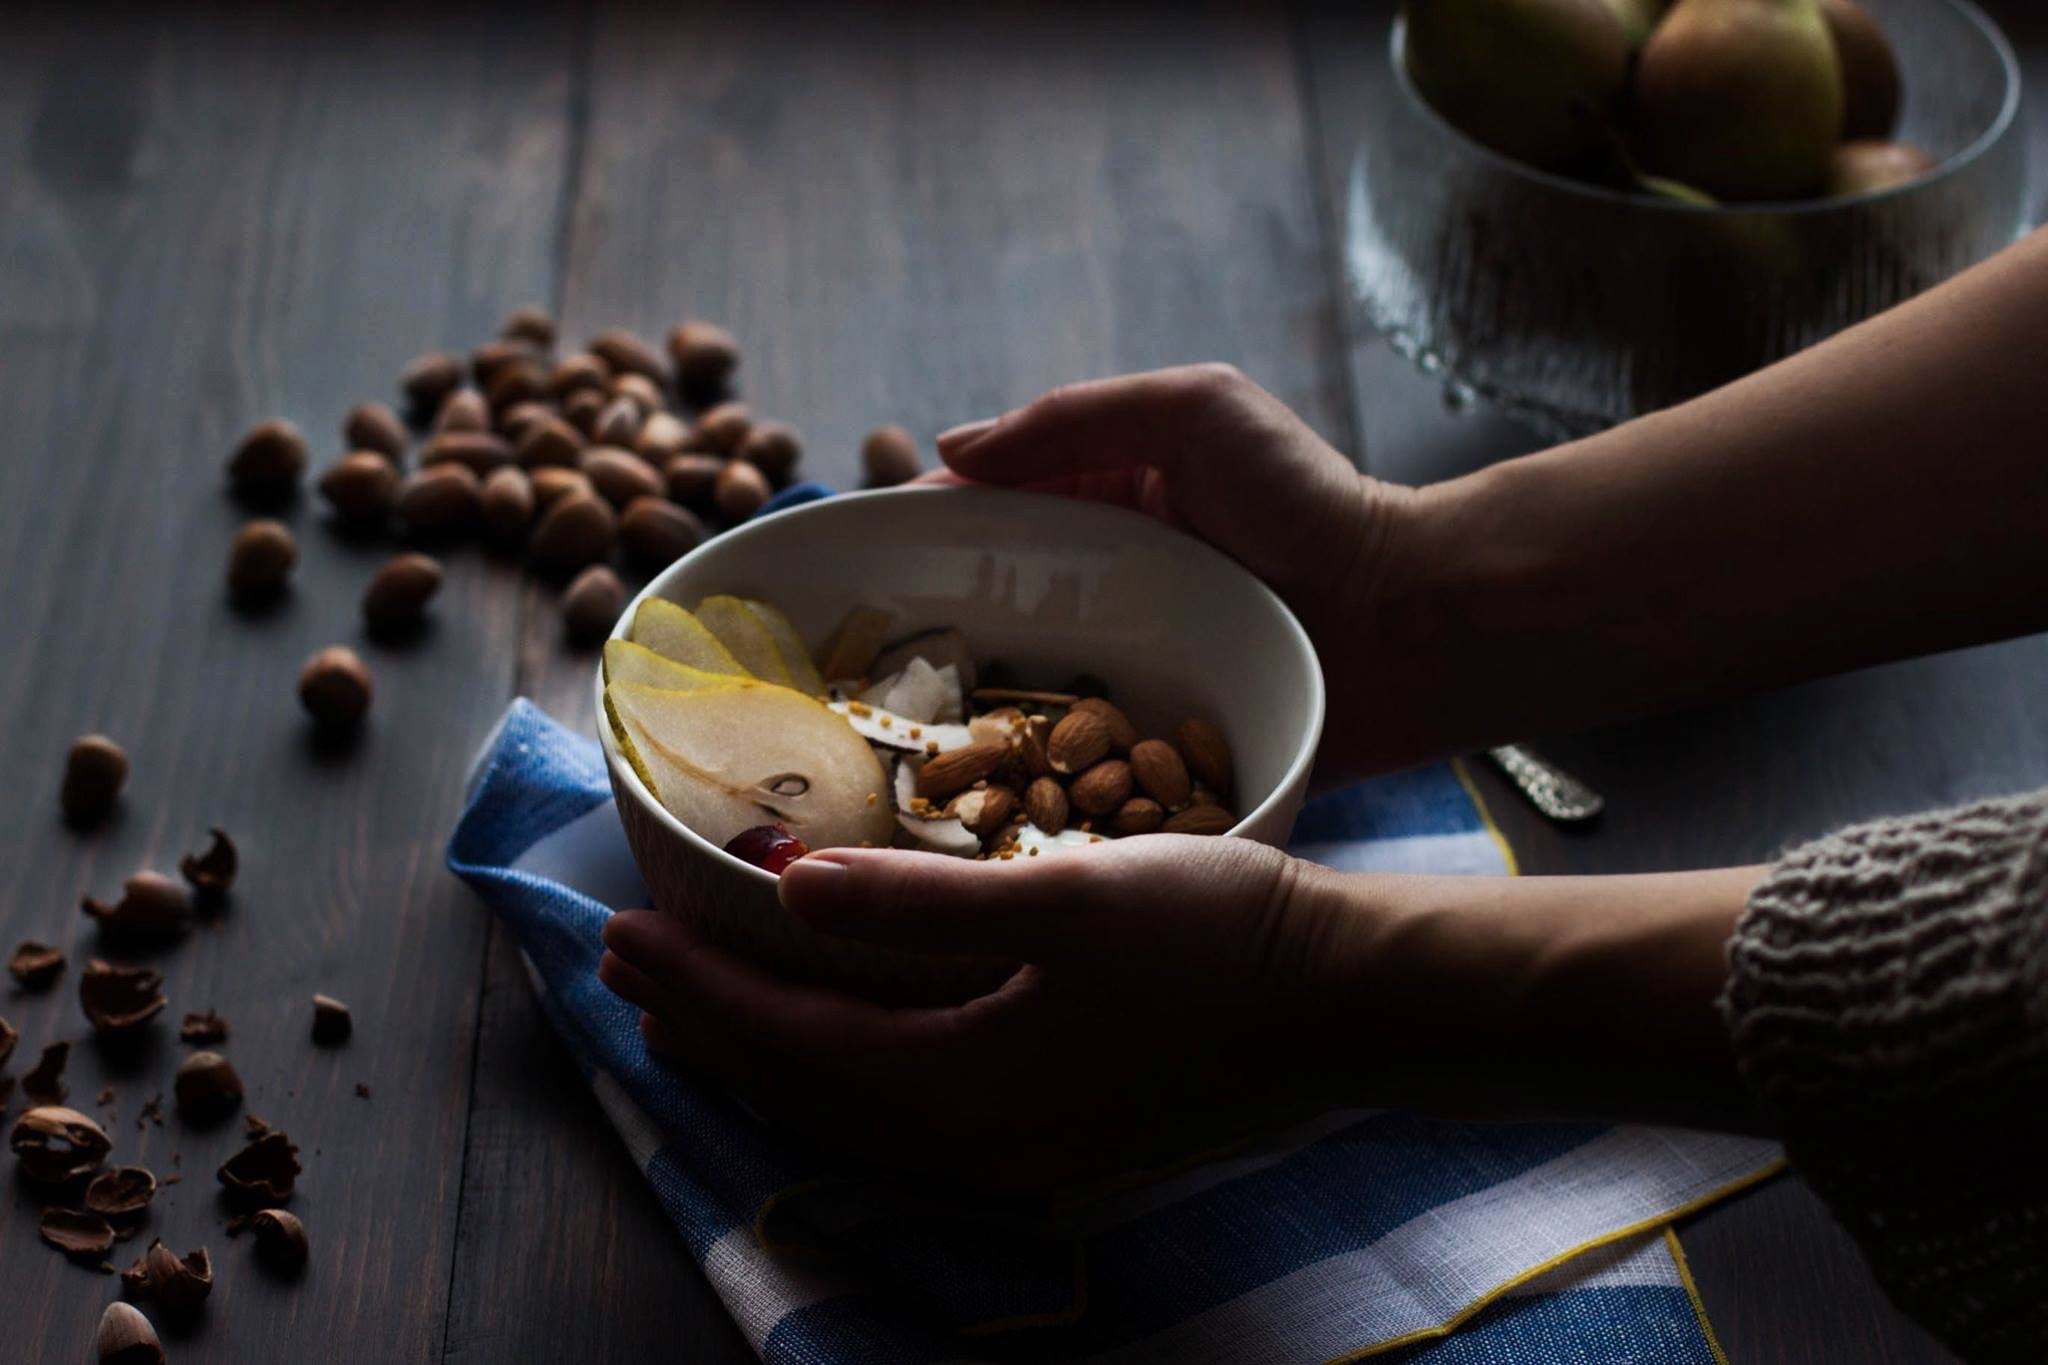
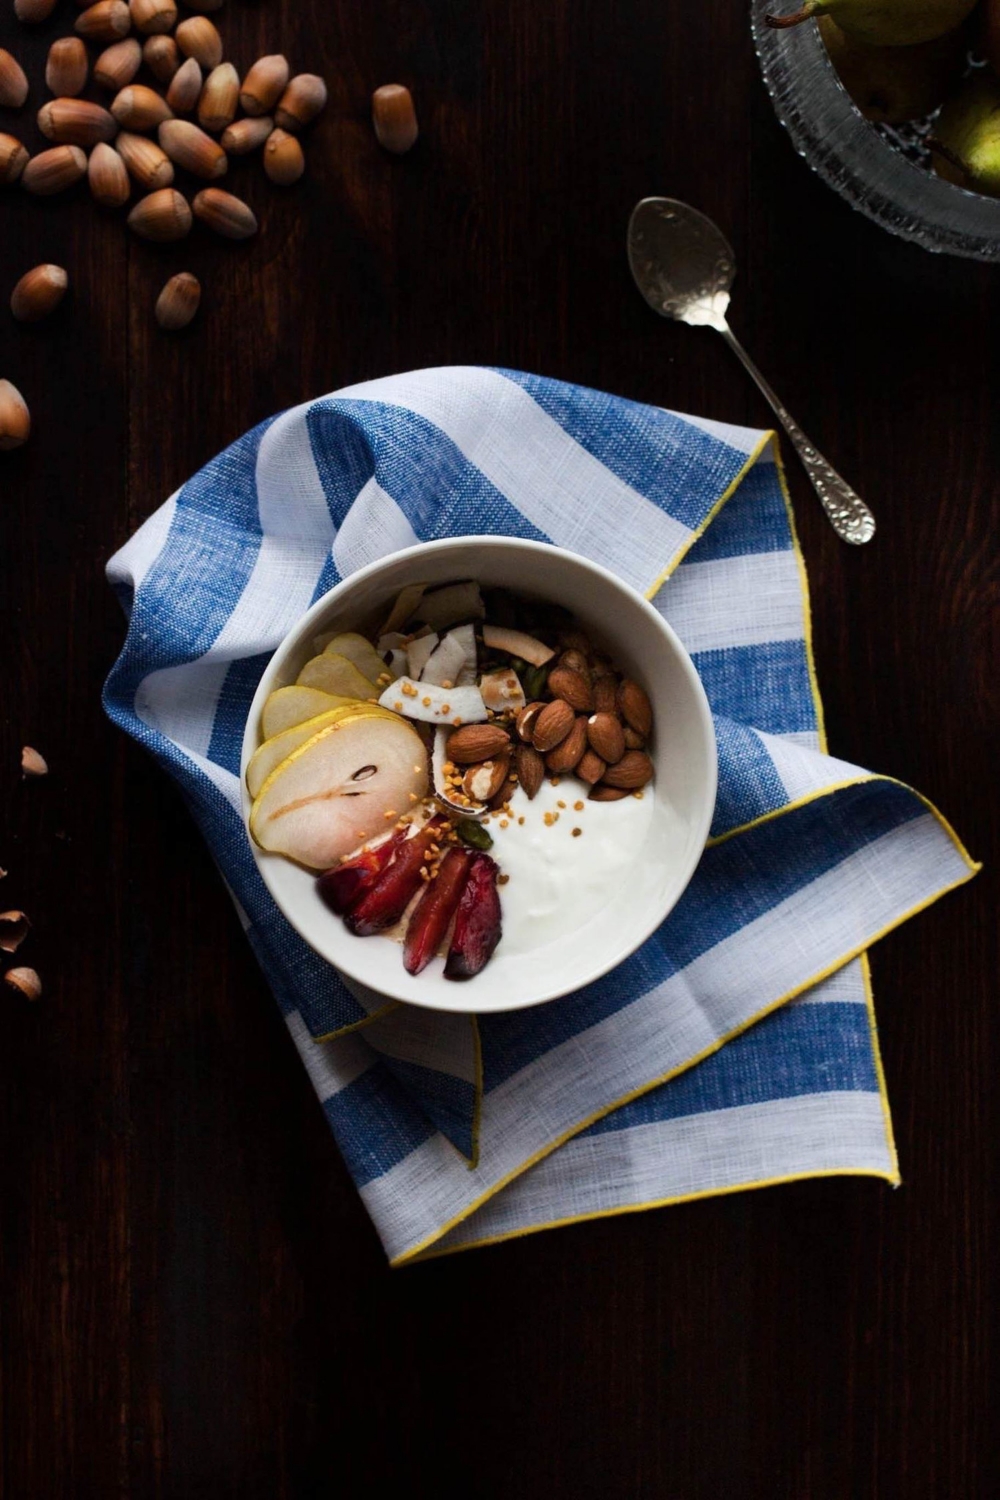
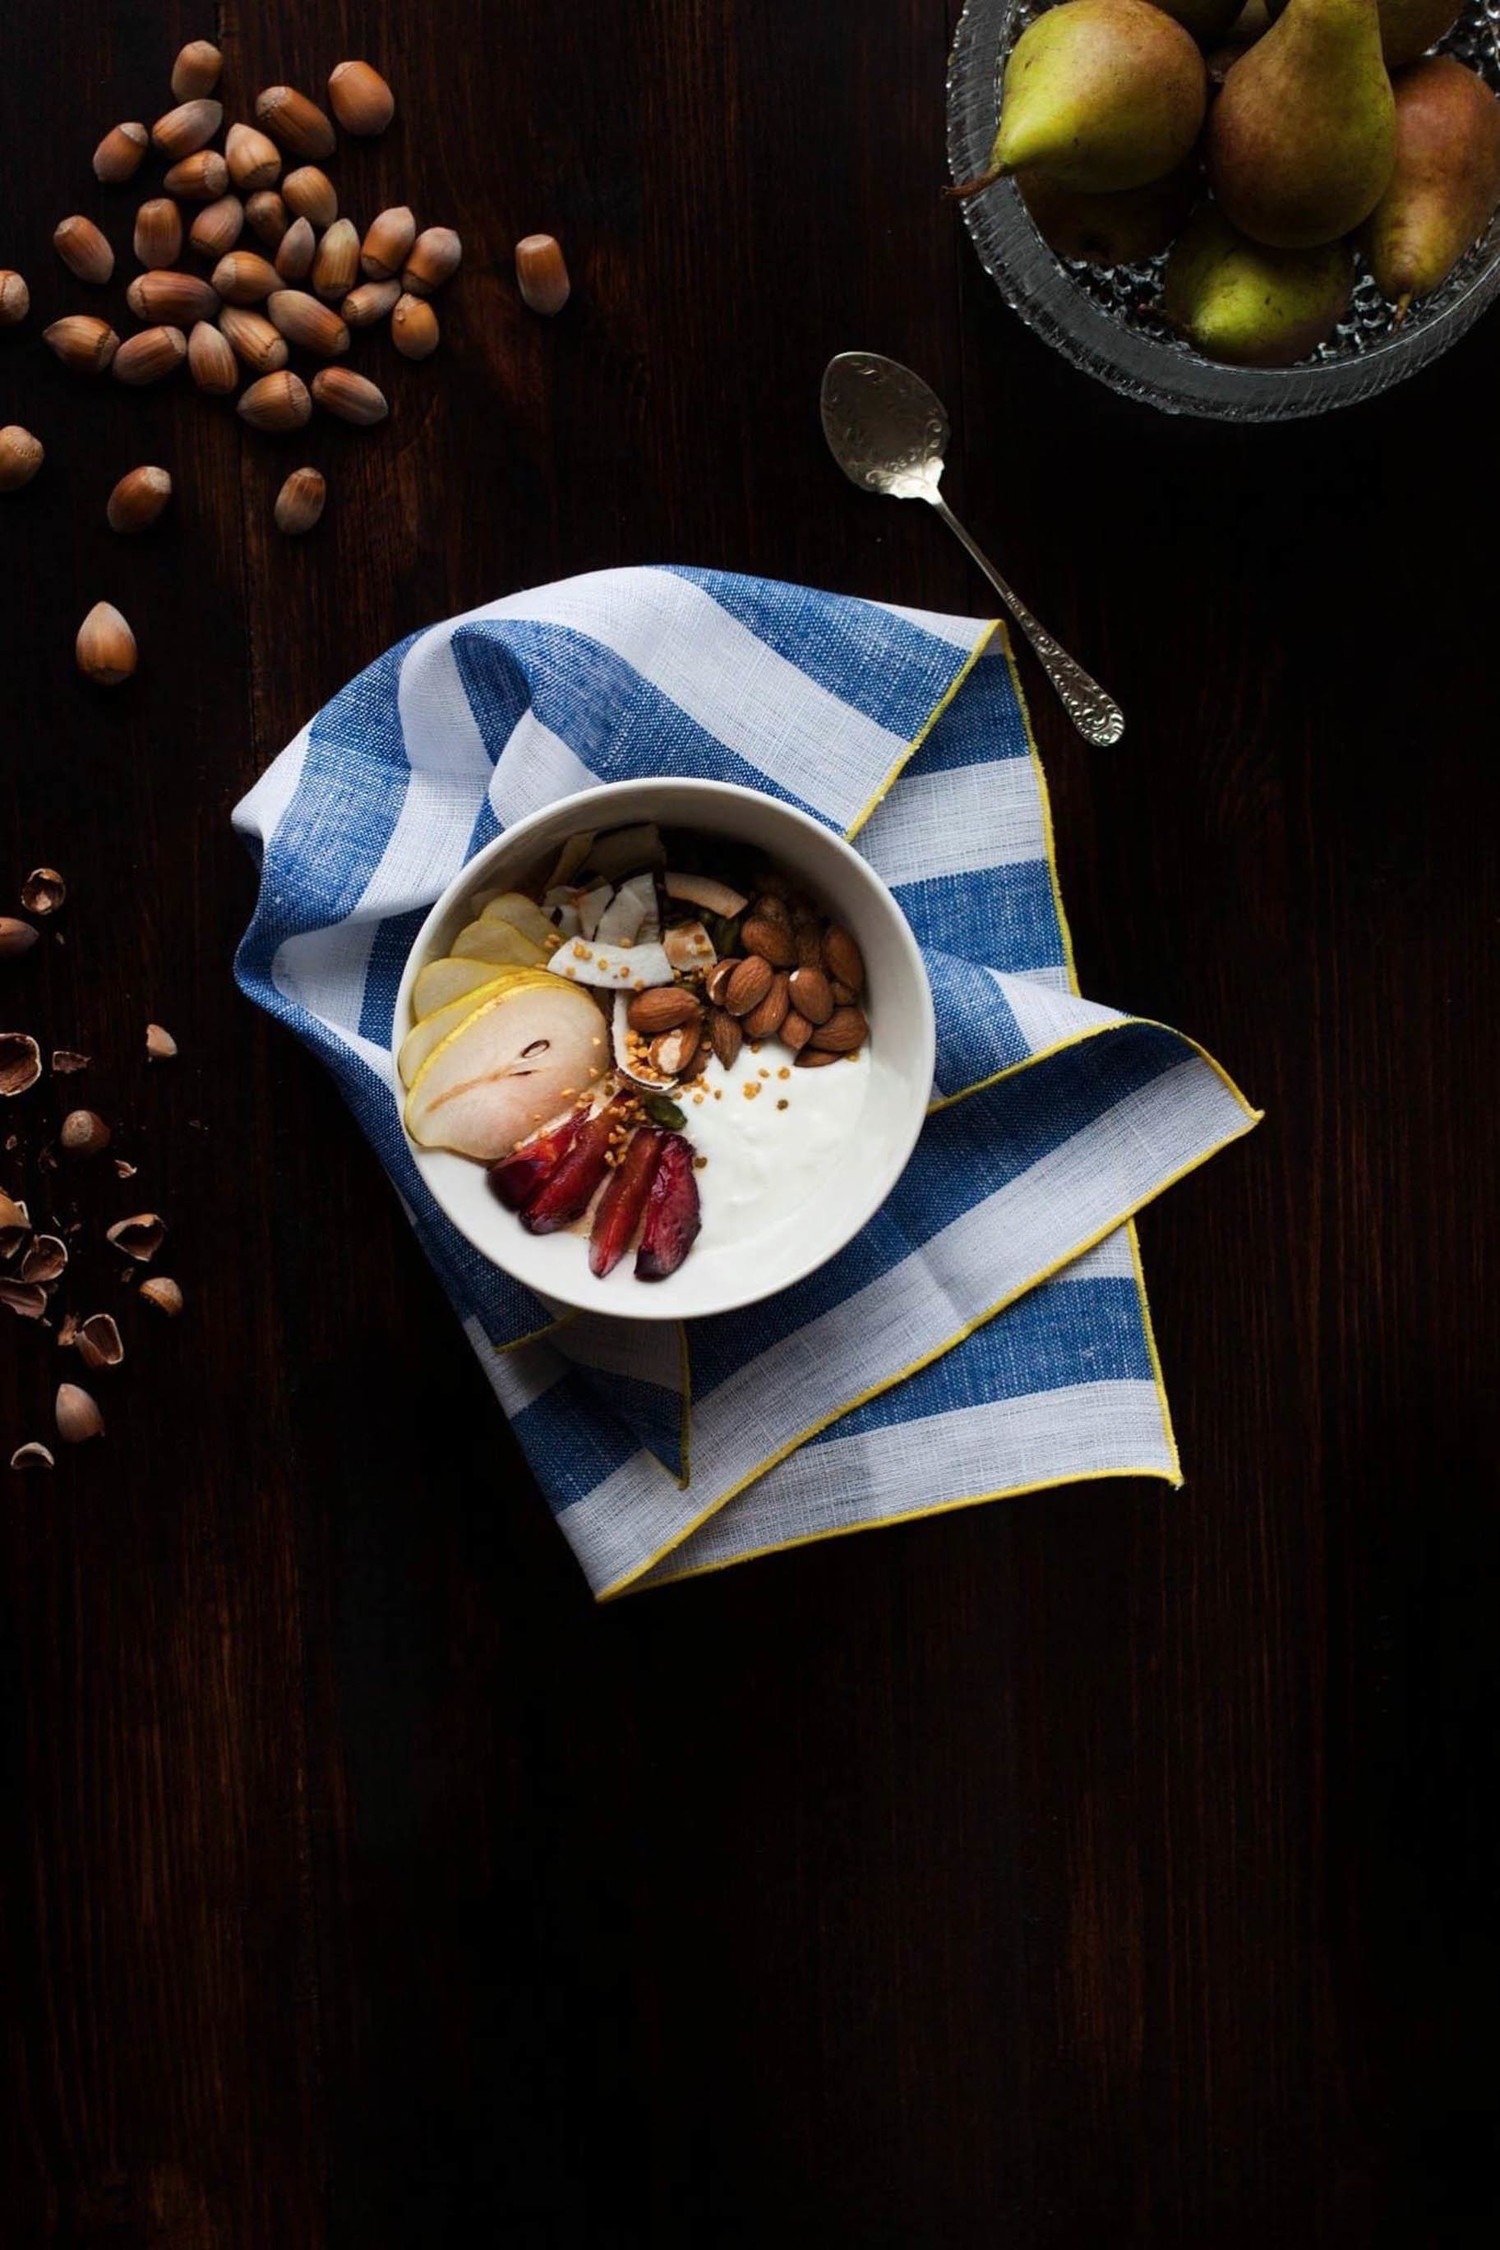
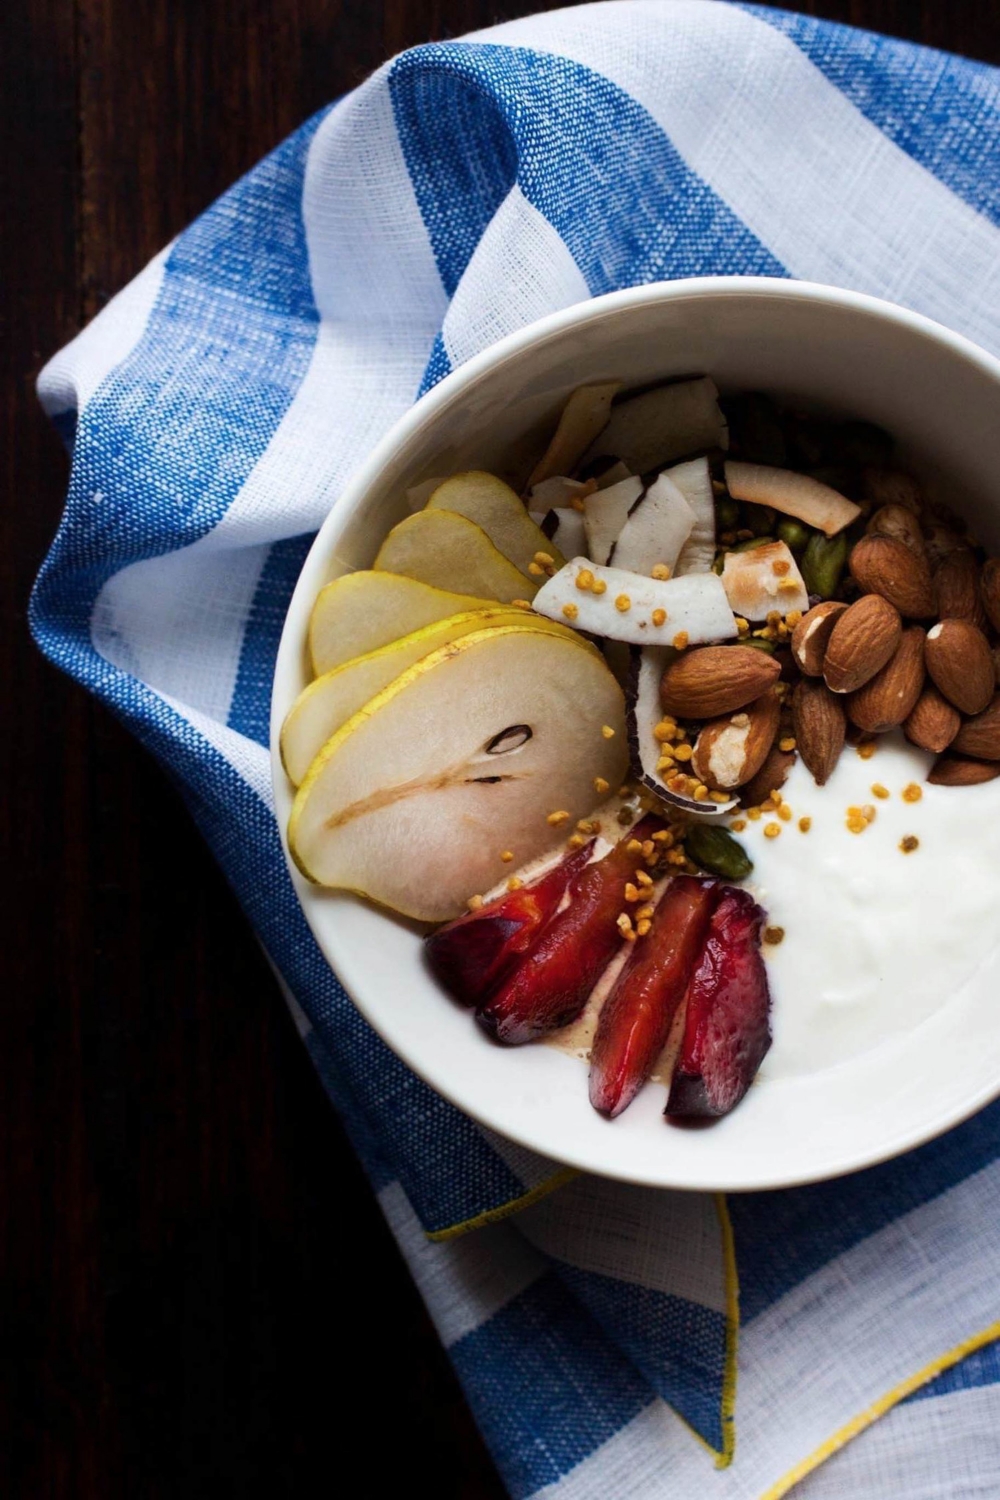
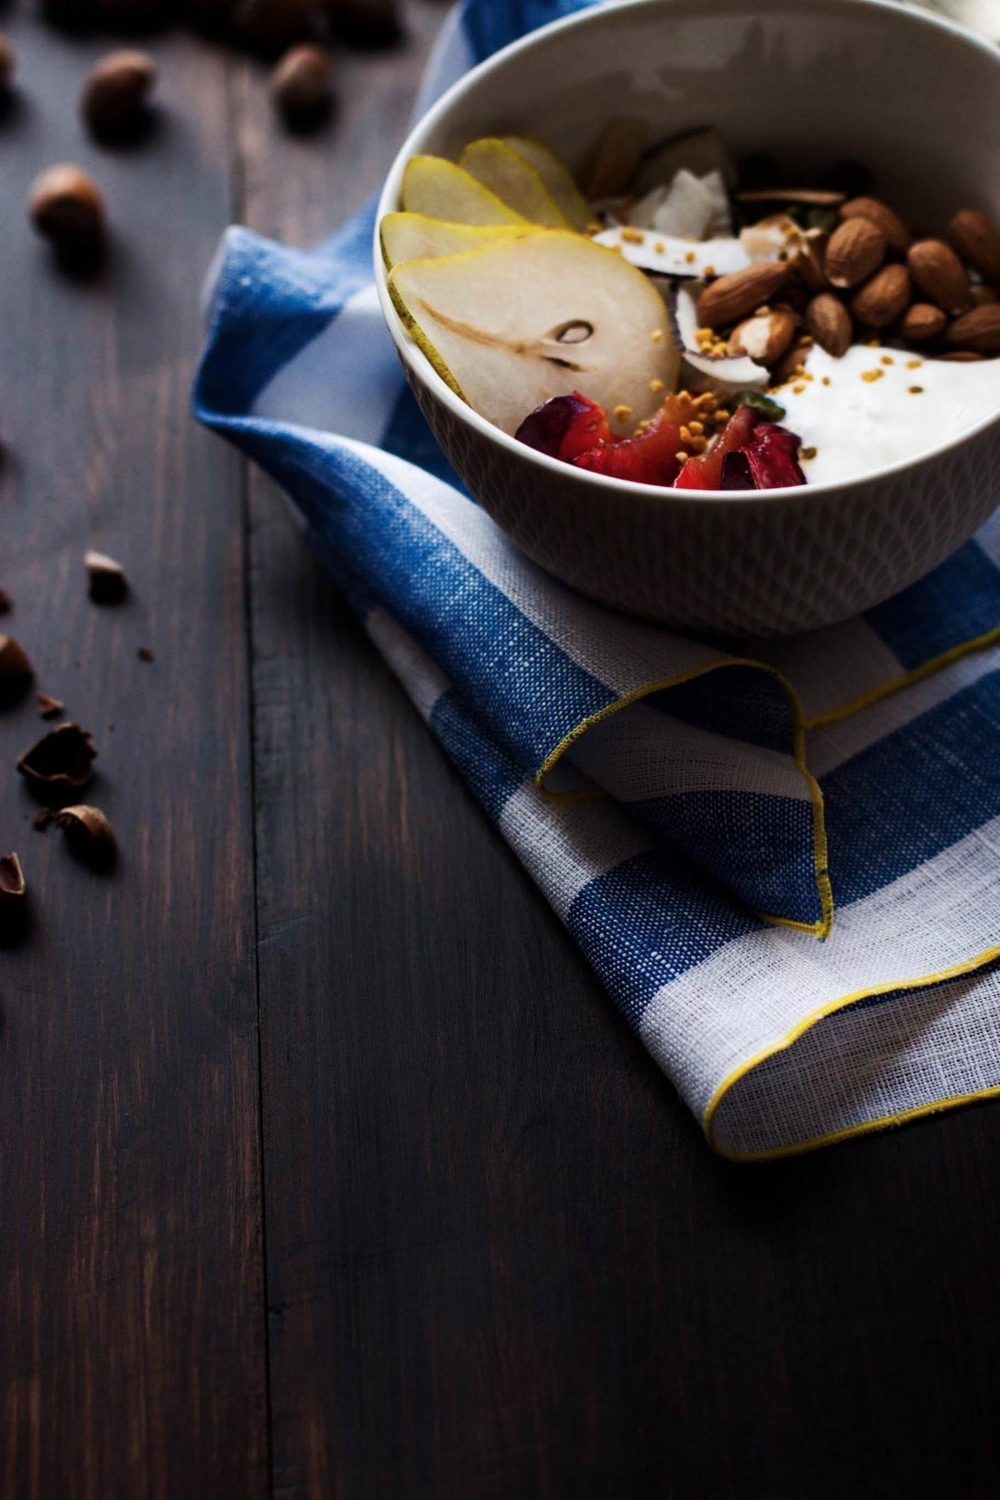
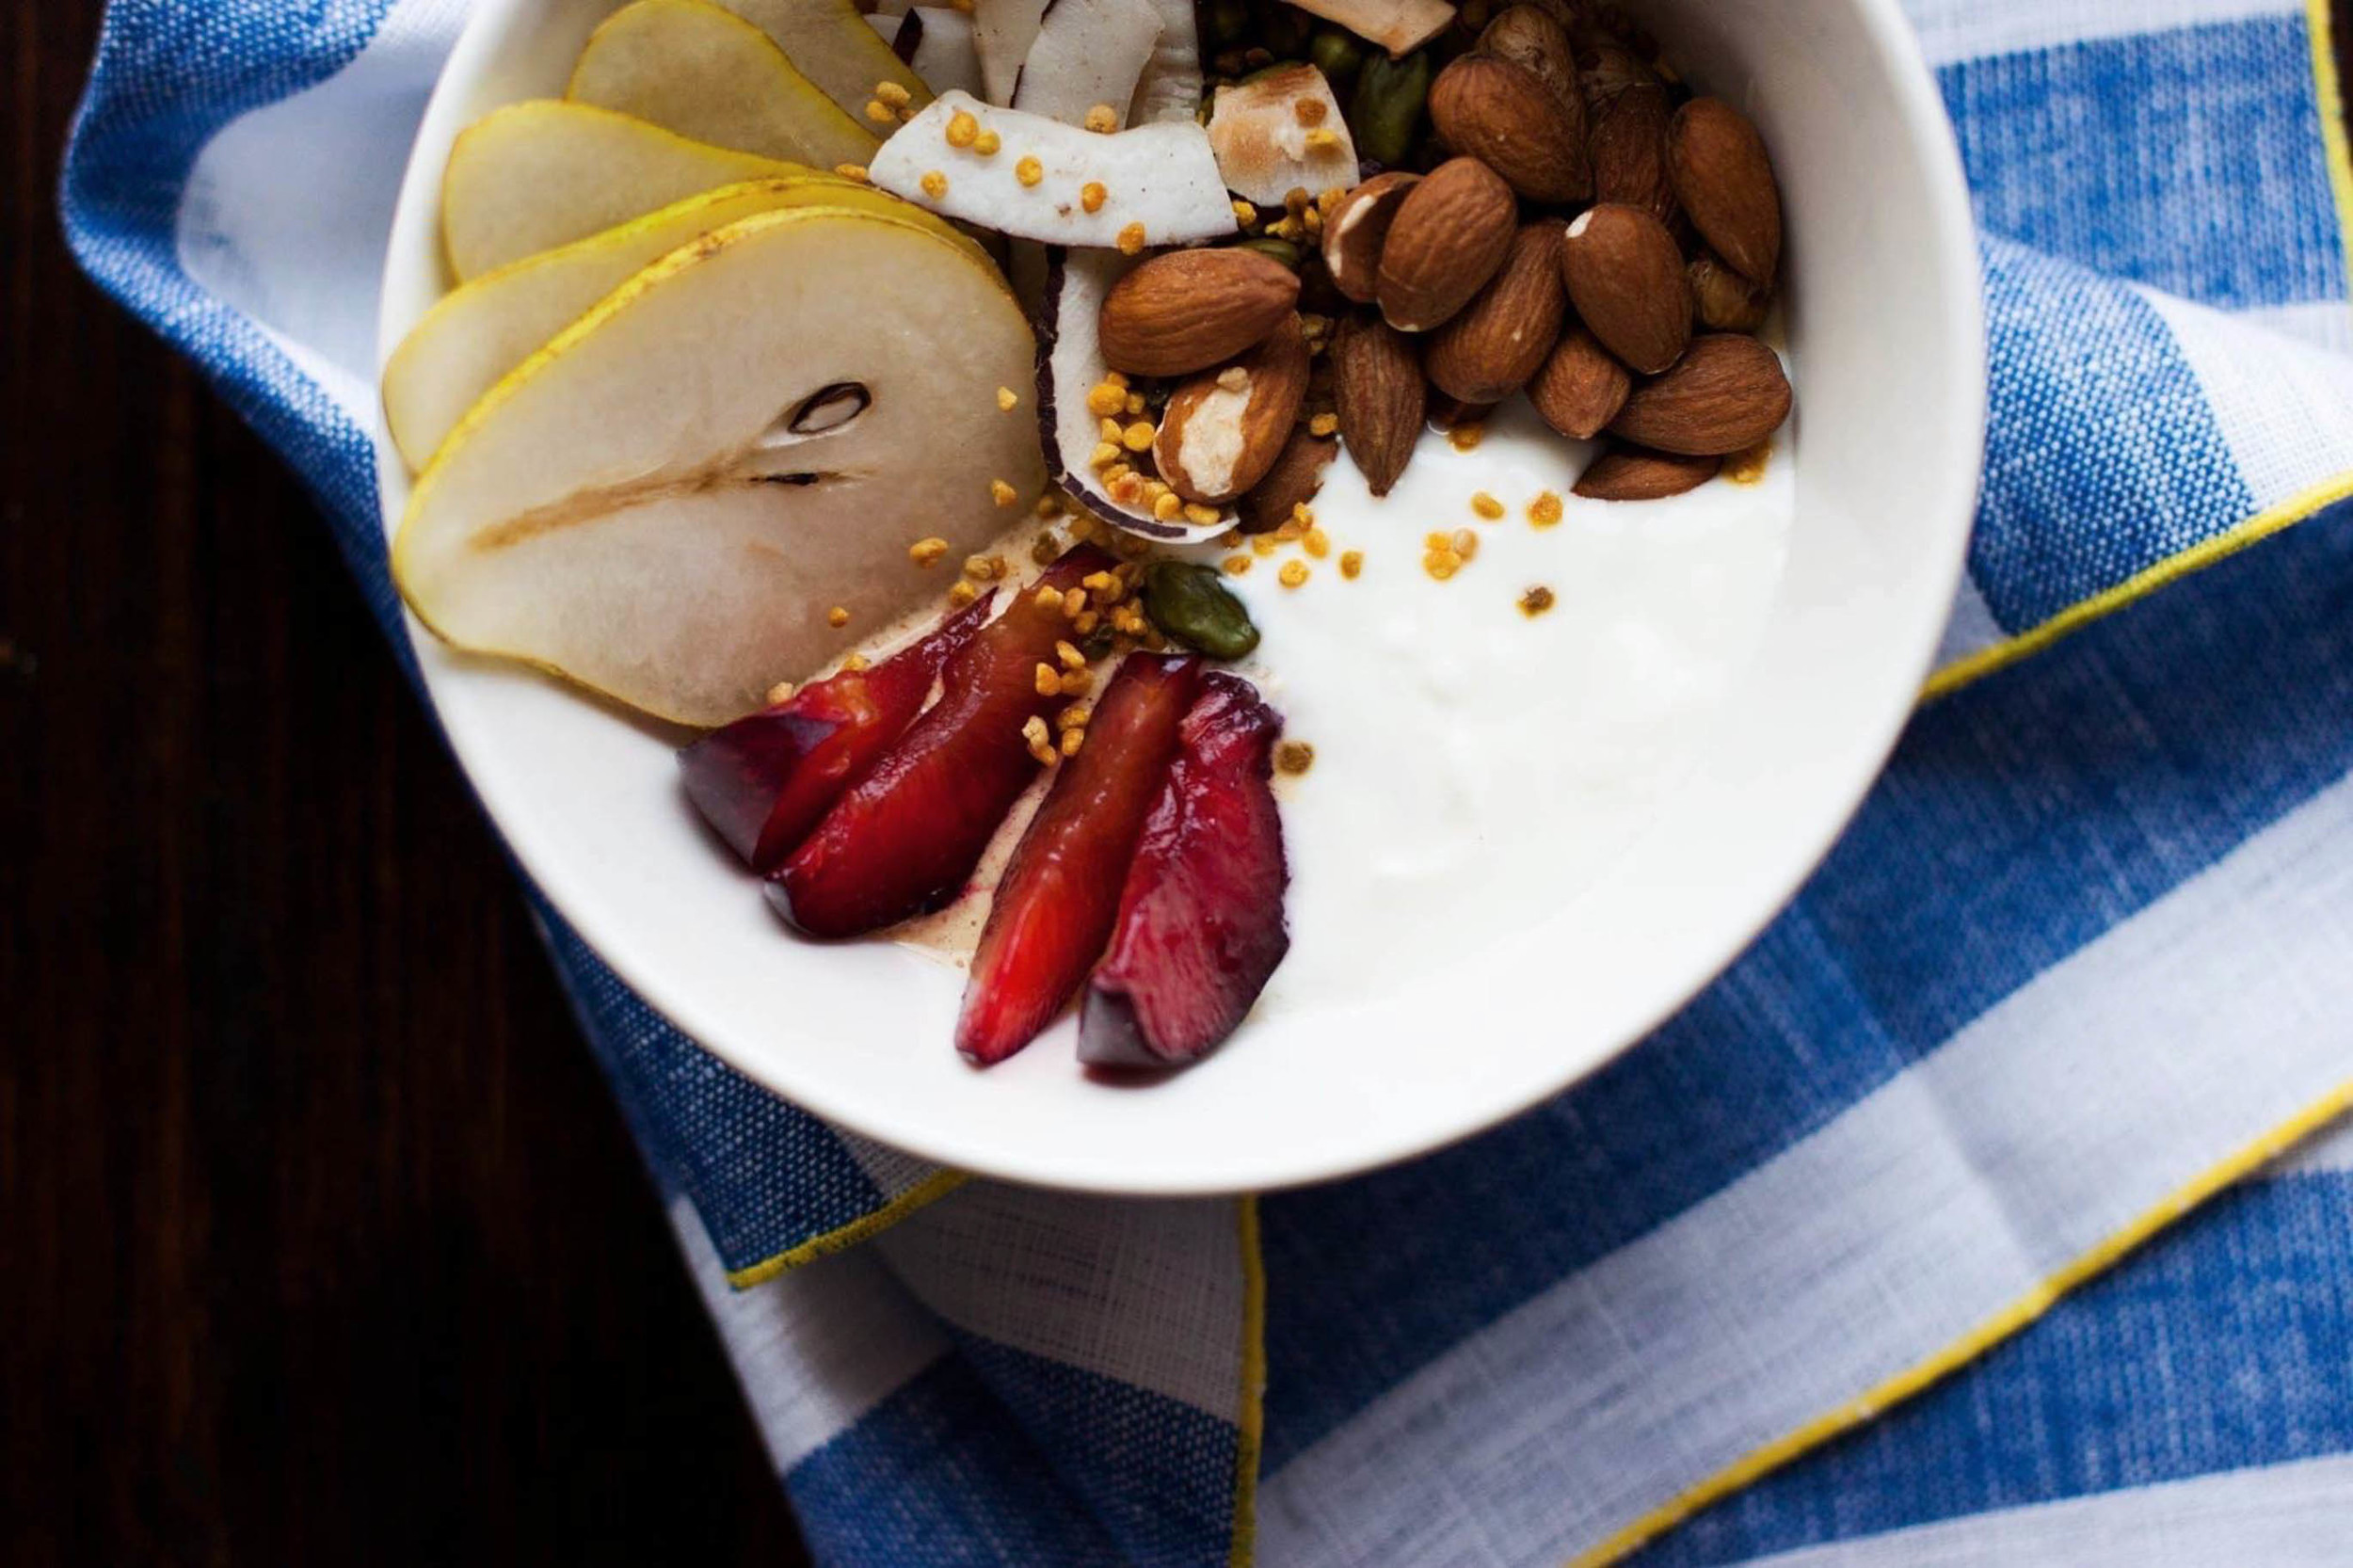
This week, I've been having my oatmeal with pure orange juice, cinnamon, plain yogurt, gorgeous, local pears (seriously, these are the best pears I've ever had), pluots (bought them for the first time last week and am obsessed by their beauty and sweet flavor), toasted coconut flakes, wild hazelnuts that I brought with me from Germany (they look like acorns, though), almonds, pistachios, and bee pollen (a new ingredient in my kitchen). Because of the sweetness of the pears and pluots, I don't even feel the need to add any sweetener.

Are you in the overnight oats game already? What's your favorite combination? I would love to hear!


Overnight Oats

for 1 hungry soul

This dish is gluten-free as long as you make sure your oats aren't contaminated with gluten. Oats are gluten-free themselves but are often manufactured in factories that also handle other, non-gluten-free grains. Check that your package specifies that the oats are gluten-free. To make this dairy-free, simply use plant-based dairy.

1 ½ dl (⅔ cup) rolled oats
1 ½ dl (⅔ cup) pure orange juice
½ tsp cinnamon

1 tbsp yogurt + more to serve

toppings of your choice (here I used pears, pluots, coconut flakes, hazelnuts, almonds, pistachios, & bee pollen)


Mix together the rolled oats, orange juice, and cinnamon. Cover and place in the fridge for a minimum of 2 hours or overnight.

If using coconut flakes, toast them in a dry pan on medium-high heat while stirring regularly until fragrant and light golden brown in color.

While I most often skip this step myself, note that soaking nuts increases their nutritional value and makes them easier to digest. Hazelnuts and Brazil nuts make an exception as they don't contain enzyme inhibitors and pistachios and macadamia nuts' taste may alter, so I don't soak them. To soak, simply place the nuts in a bowl, cover with twice as much water, and let soak for 6 to 12 hours or overnight. Rinse and use immediately or store in the fridge for up to a week.

In the morning, mix 1 tablespoon of yogurt with the soaked oats. Top with more yogurt, fruit, berries, nuts, or whatever your culinary heart longs for and enjoy!


See those gorgeous blue & white linens I've used in these pics? They're from STITCH and are handmade by Blair, a design student (how cool is that??) in a tiny apartment in NYC (even cooler, right?). I have a special place in my heart for small, brilliant companies and artisan products and immediately fell in love with the look and feel of her high quality linens. Aside from these blue & white linens, my favorites probably are the French Green Dinner Napkins. That color is amazing!

Here's some awesome news: you get 15% off from all STITCH products from today until January 31th with the promo code LOVEBLUE&WHITE. They'll launch some brand-new fall & holiday colors in the coming days so stay tuned! This may be the perfect little something to get to your loved ones for Christmas. I mean, they even offer custom made linens soon.

Hop on over to stock up your collection of linens! Cause let's be honest: one can never own too many. Am I right or am I right?


Disclaimer: Linens provided by STITCH.


Related Posts

Into The Woods – Crostini with Wild Mushrooms & Ricotta

One of the biggest reasons why I love fall so much is because it's the season of numerous mushroom foraging trips. As I see the leaves slowly burst into vibrant colors and watch mist linger on the fields, my mind starts to wander in those deep forests; the forests that are not only a home to rich and diverse wildlife but also to edible berries, herbs, and mushrooms. As I've mentioned before, foraging is one of the greatest things that defines the Nordic kitchen and way of life. It's one of the most wonderful ways of living in harmony with the surrounding nature. It's a feeling of deep gratitude for those thick forests, blue lakes, and fresh air in our lungs.

We have a thing called every man's rights aka freedom to roam here in the north. This basically means that the nature is something that is to be shared with everyone. Everyone has the right to enjoy the wilderness amidst we live. As long as you don't harm nature or disturb other people's privacy, you're free to forage berries, plants, and mushrooms as well as walk, ski, cycle, and camp. It's a downright wonderful thing.

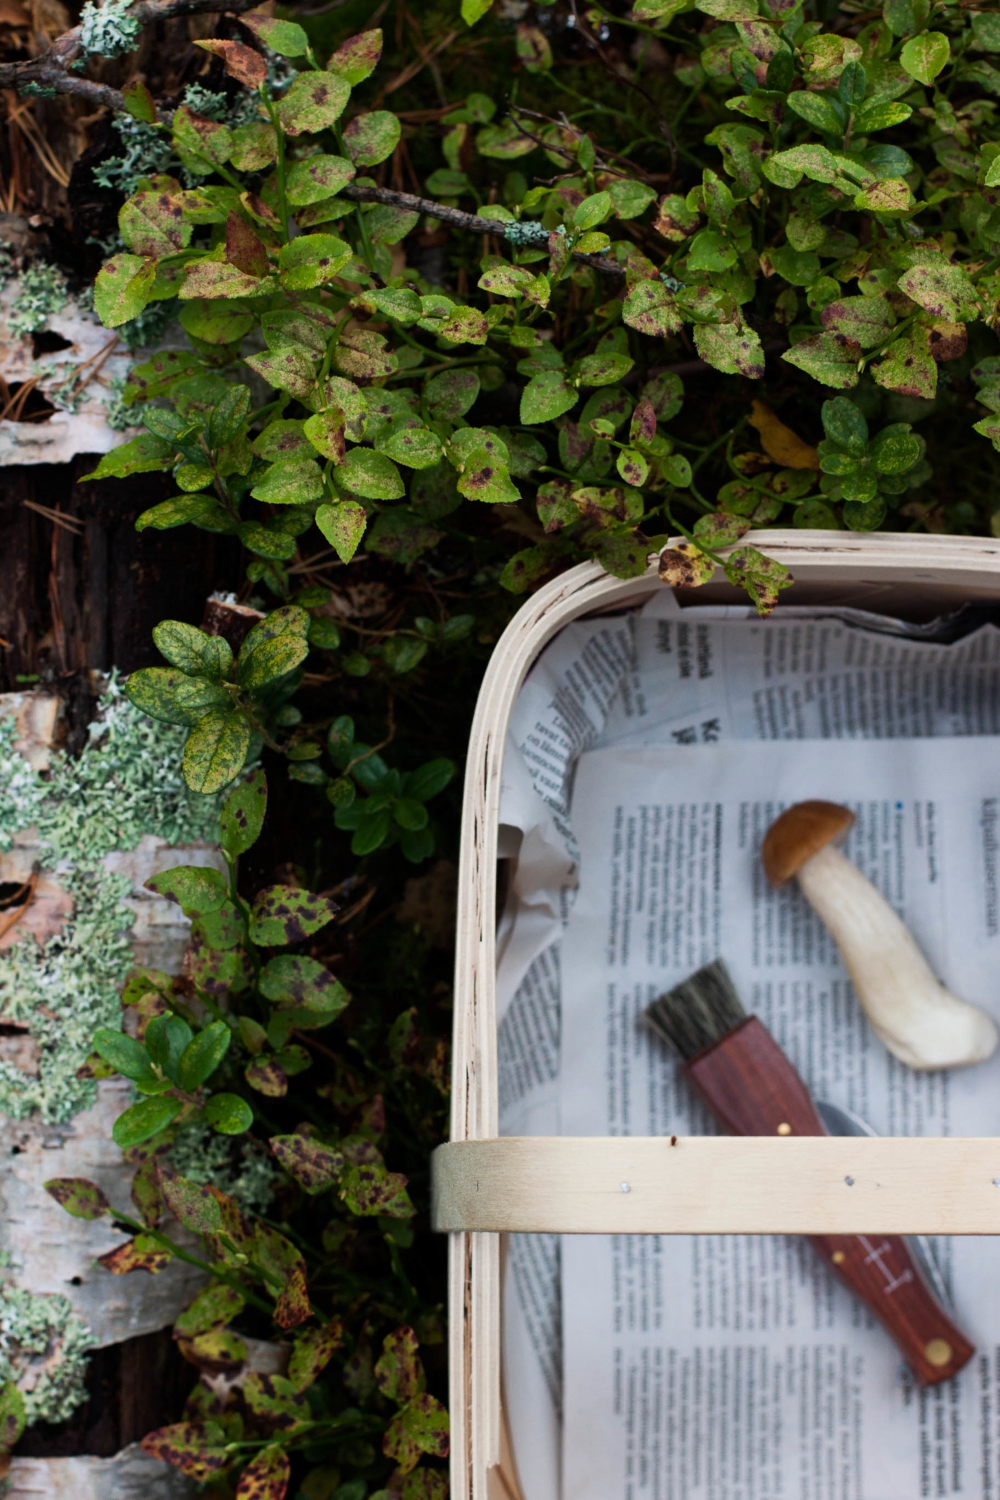
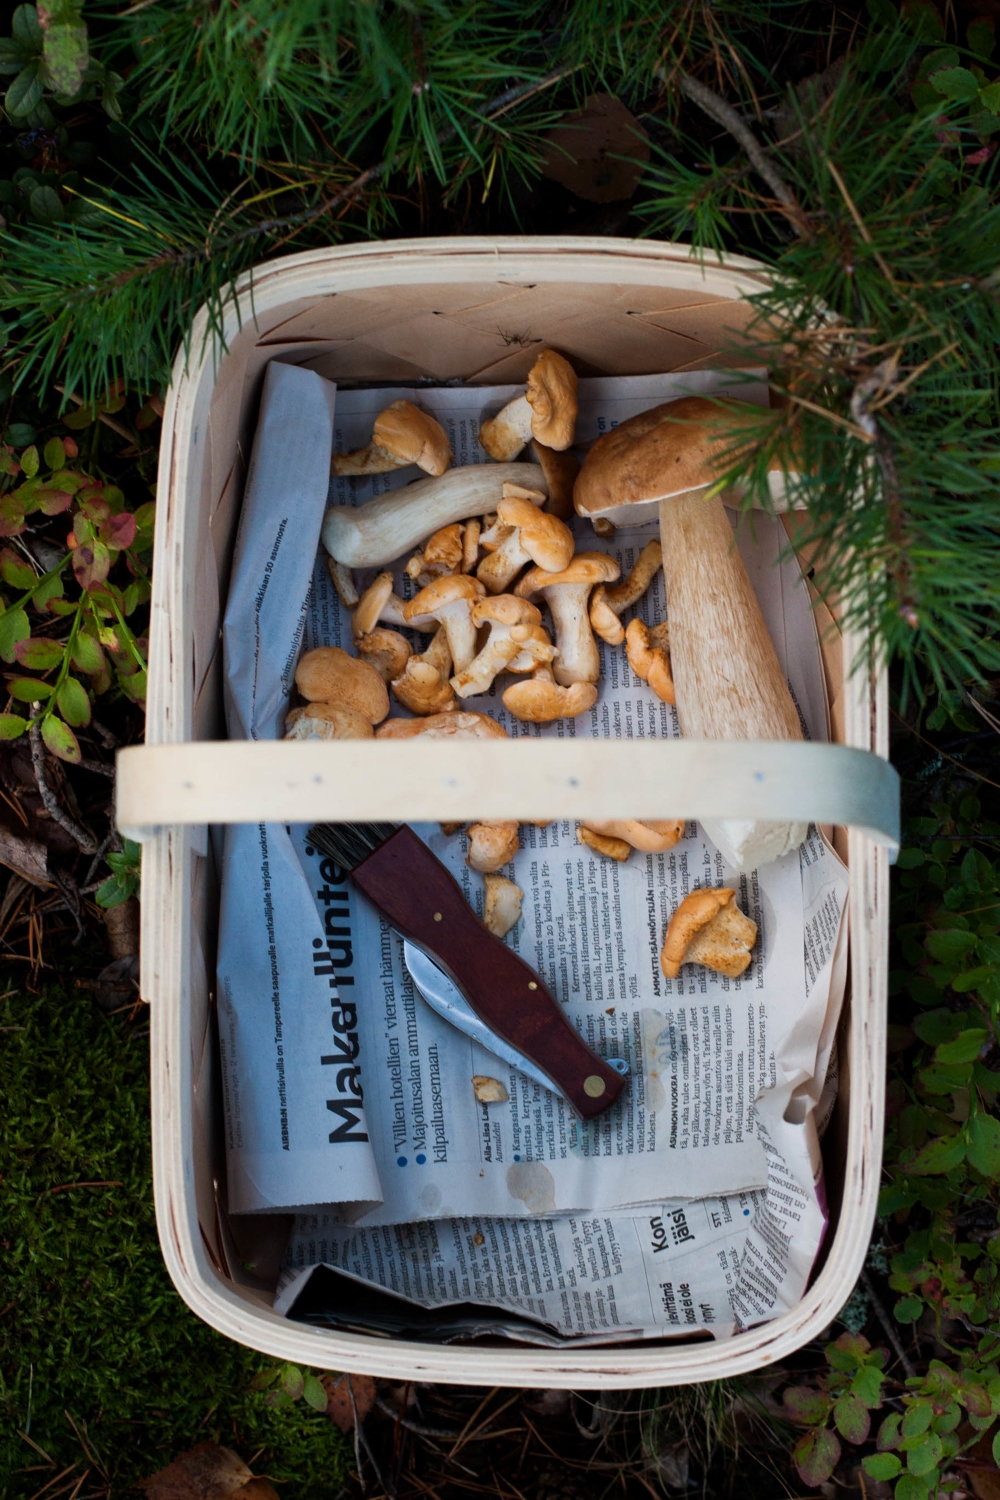
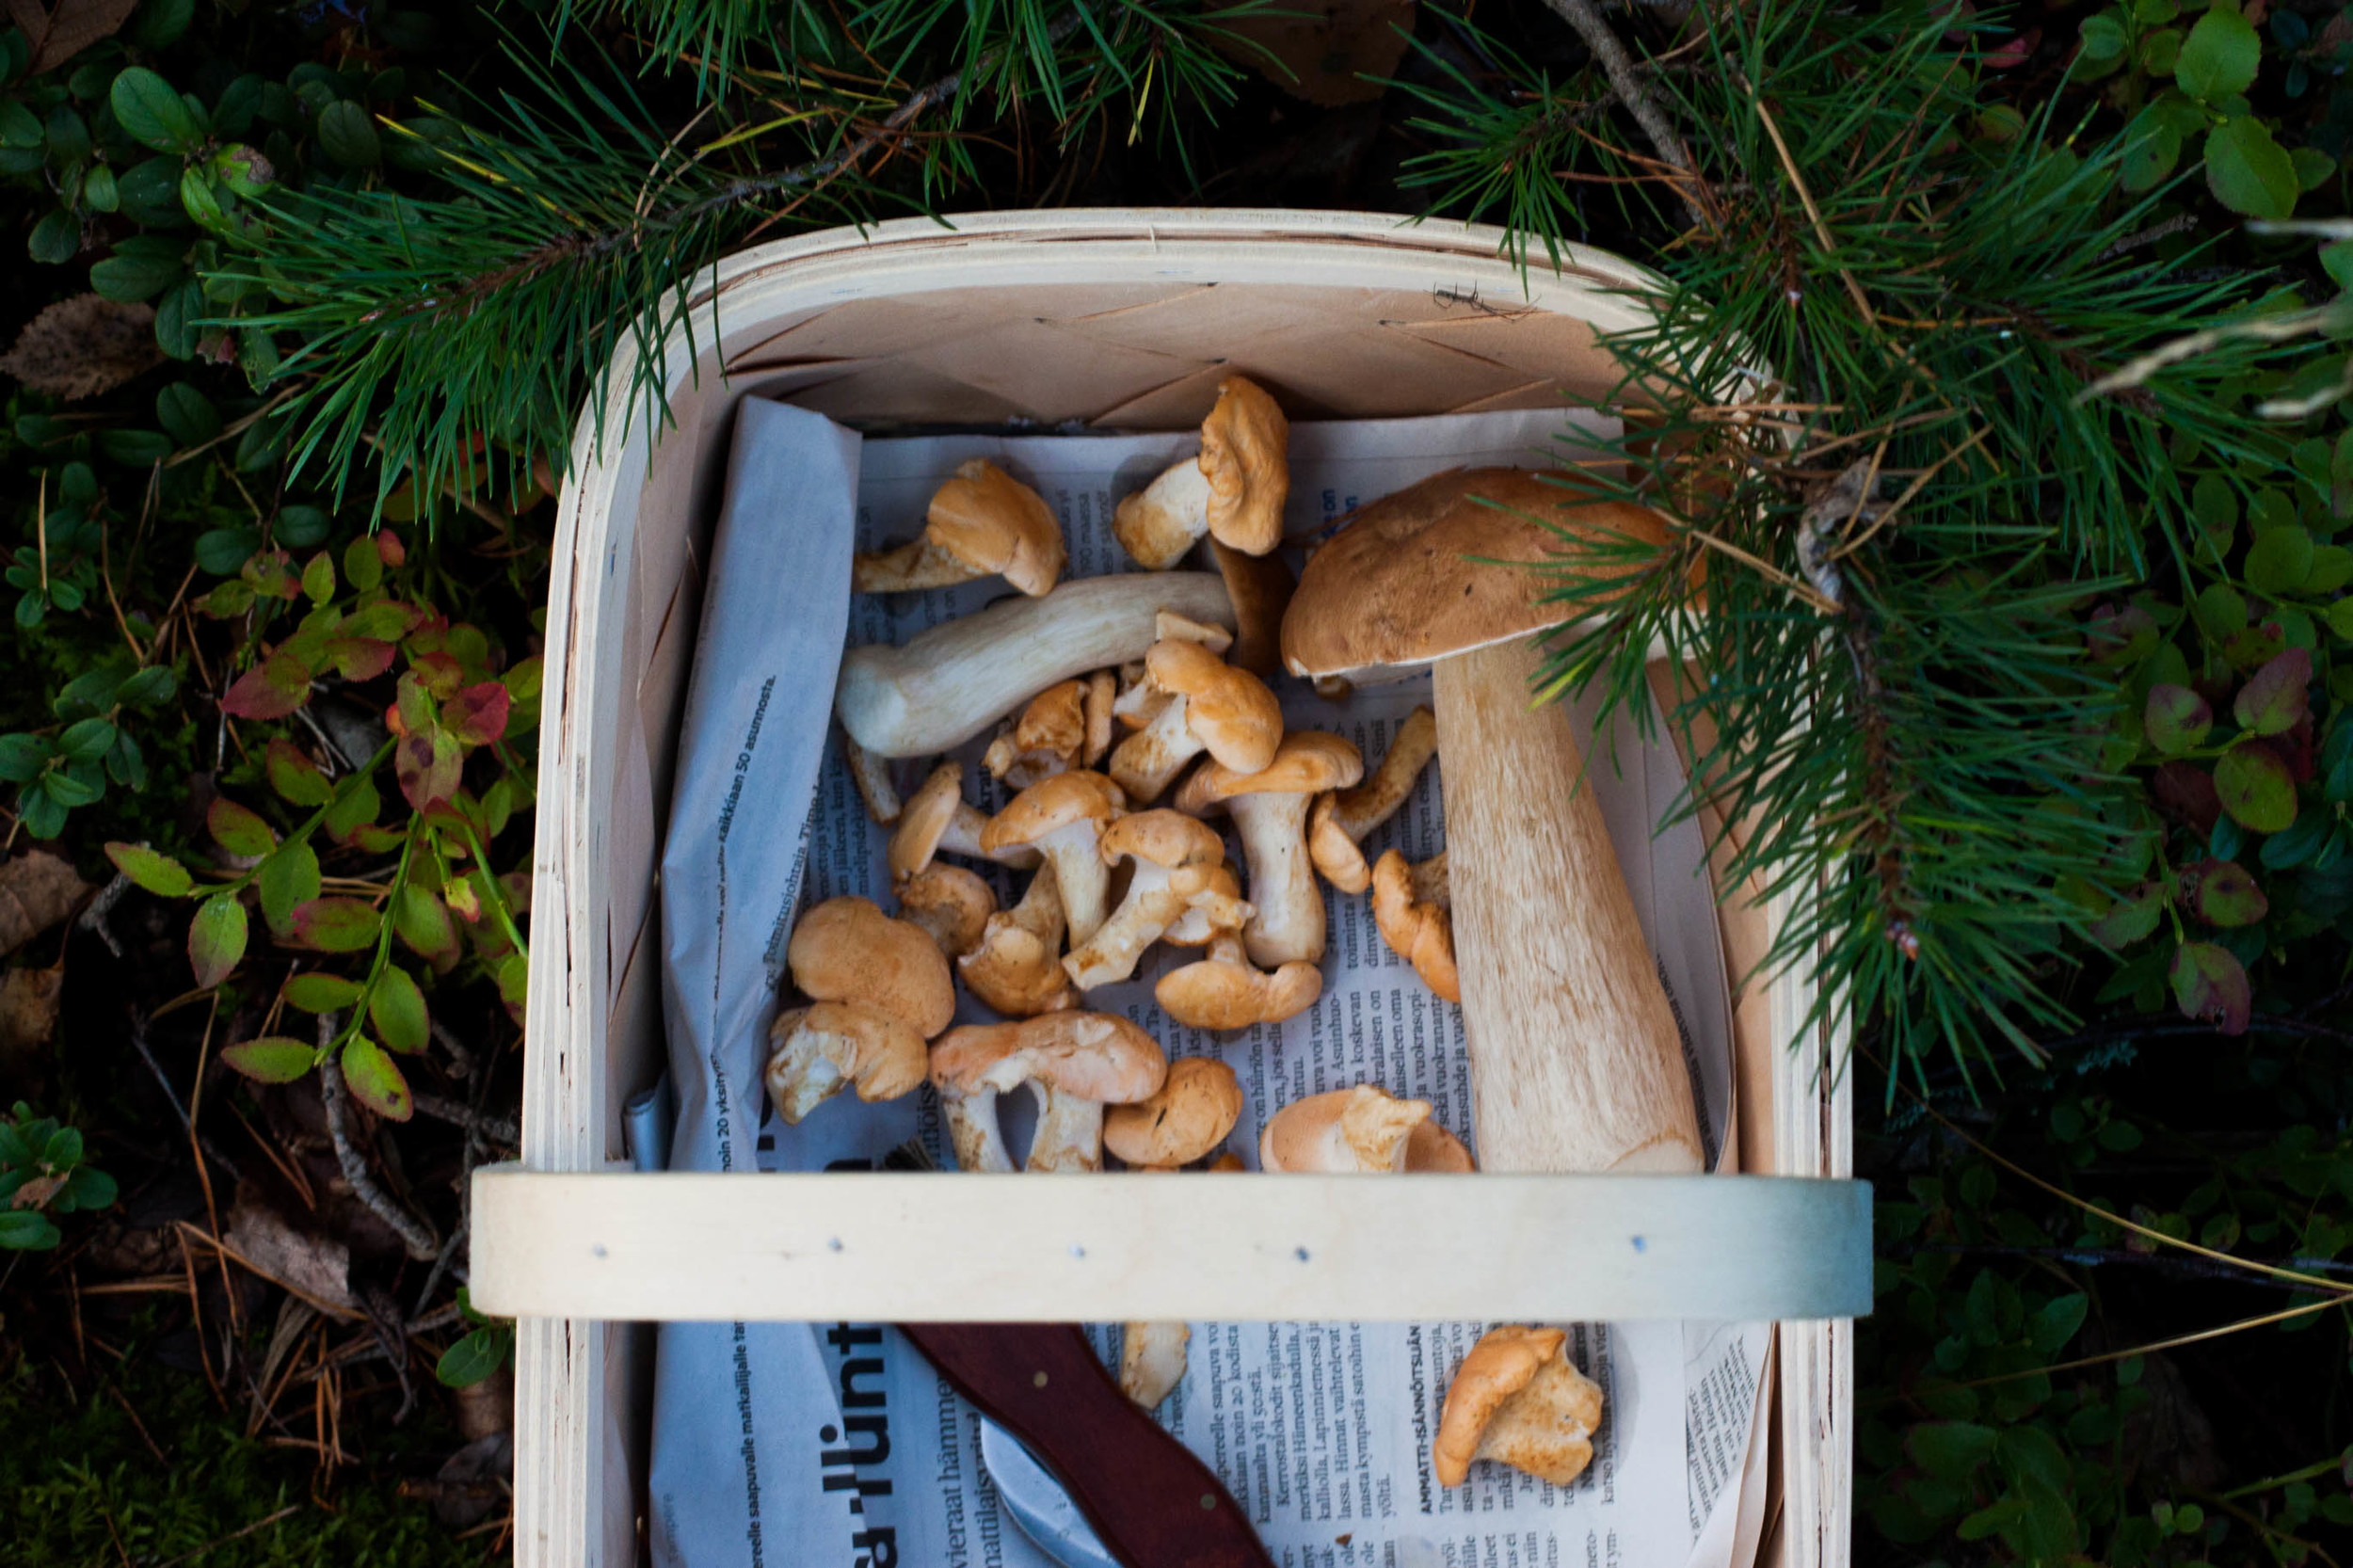
So last week I picked up my wooden basket and mushroom knife and headed into the woods to forage mushrooms. It's a brilliant mushroom year, they say. Porcini, one of the most delicious mushrooms, are growing like mad ones. It's such a good porcini year that even commercial exporters (every year we export large amounts primarily to Italy) have a hard time figuring out how to get the most of this unexpectedly phenomenal harvest. I too wasn't disappointed and returned home with a lovely harvest of porcini, hedgehog mushrooms, and something I've never foraged before, amazing parasol mushrooms. I had a basket full of possibilities.

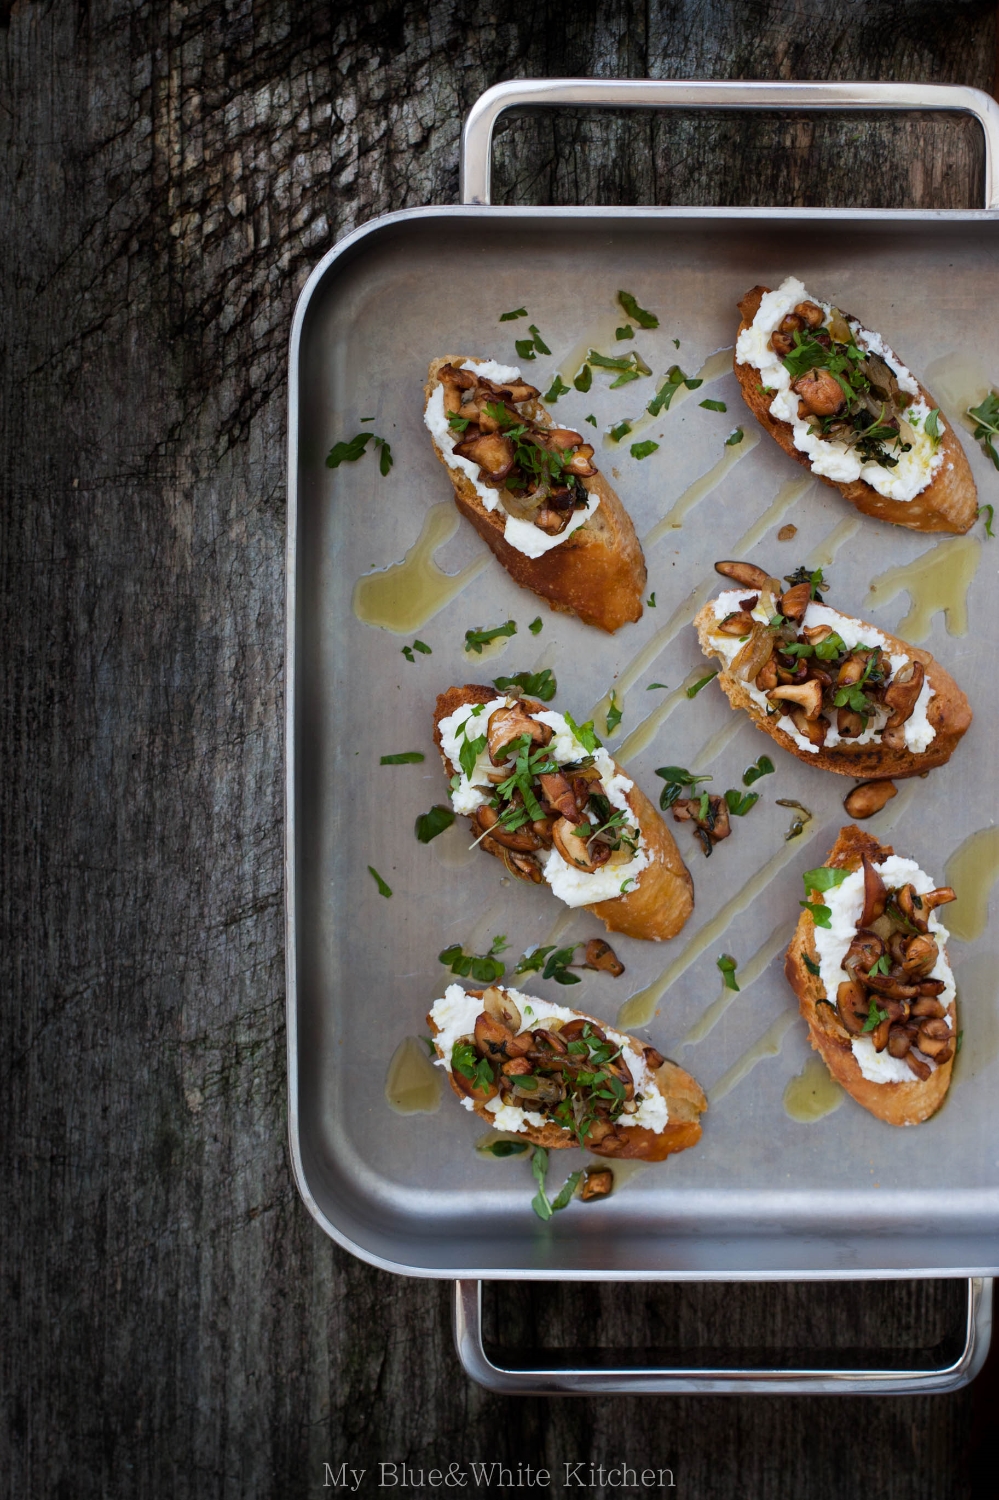
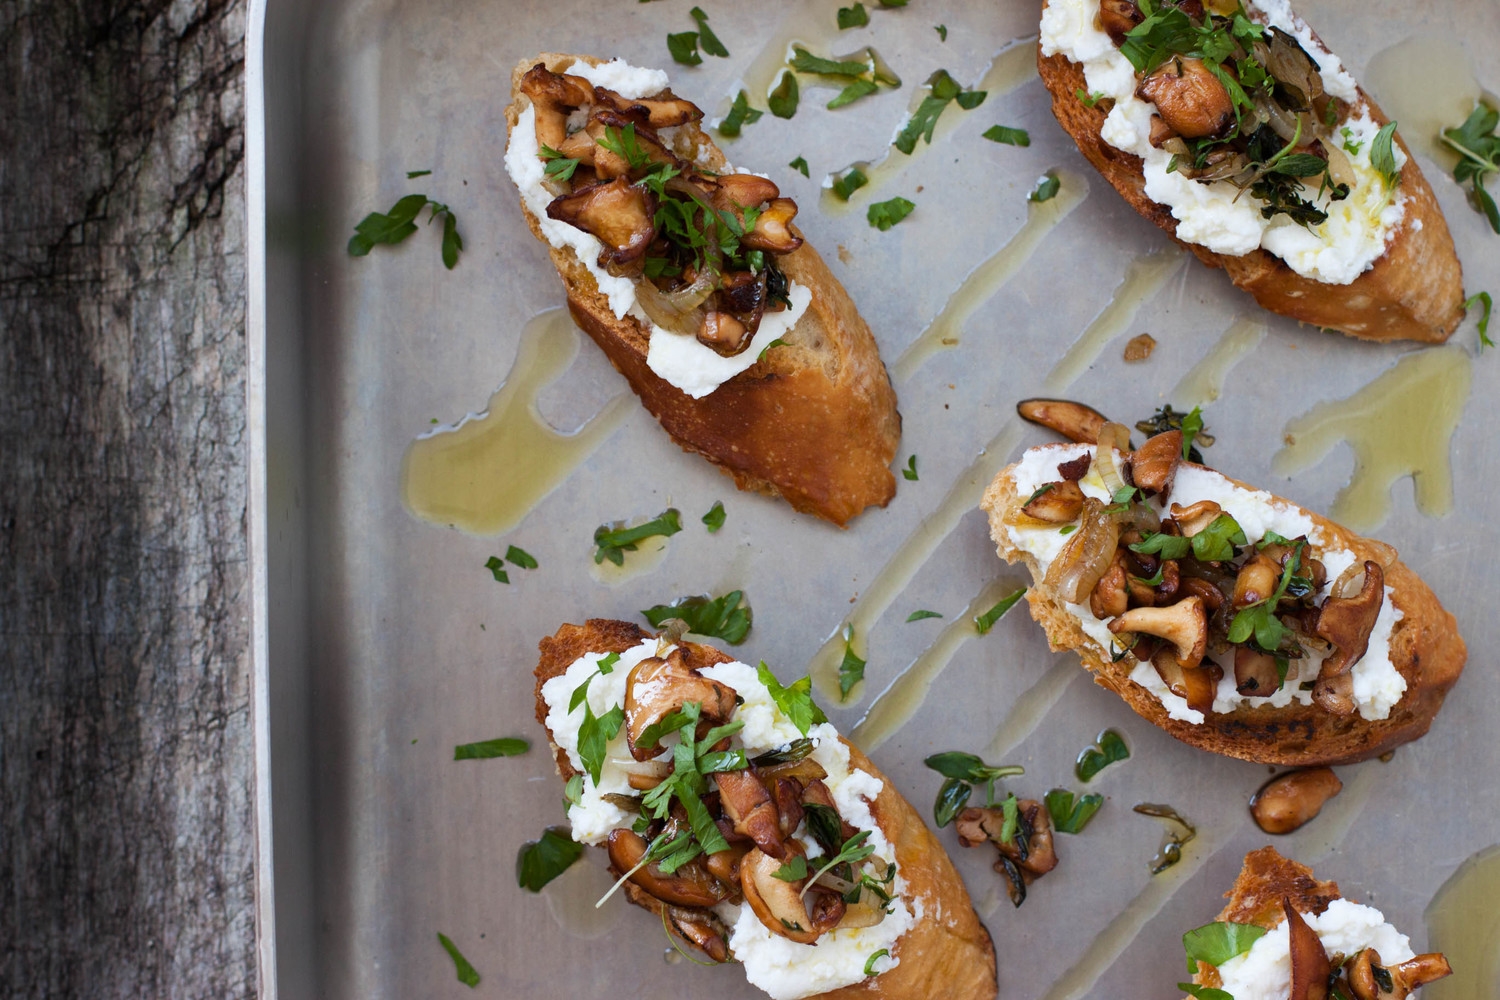
Quite quickly I decided to make crostini. I wanted to highlight the flavors of the wonderful wild mushrooms and felt that these appetizers would truly do them justice. I toasted slices of homemade Bread in 5 baguette, rubbed them with garlic, topped them with creamy and oh-so-luscious ricotta as well as herby panfried wild mushrooms. To finish, I drizzled some high quality extra virgin olive oil on top.

Quick to make, simple, and delicious. In other words, a perfect fall appetizer.

A few weeks ago, I received a sample of Feel IT extra virgin olive oils to test: Casaliva from Lombardy, in the north of Italy, Dolce Agogia from the north of Umbria, a region in central Italy, and Cerasuola from the northern parts of the lovely island of Sicily. Before tasting the Feel IT extra virgin olive oils I just thought that an olive oil was either good or bad. Never did I sample it like wine; tasting all those different nuances, noticing the differences, and wondering with what kind of food it would pair perfectly. What I had on hand were three very different extra virgin olive oils made of three different olive varieties harvested in three different parts of Italy. I truly did feel it.

Feel IT was created out of a passion for high quality, truly Italian extra virgin olive oils. Their oils are monocultivar meaning that they are pressed from a single type of olive, whereas, most olive oils are made of blends. Feel IT not only praises family owned local olive farms but also the unique flavors of different olive types. These olive oils are like a love letter from Veronica Motto, the 26-year-old Milan-based founder, to her country. And I love it.

I tried all three oils with these crostini and found Casaliva to be my favorite. Casaliva from Lombardy with the mighty Alps, the fertile Po Valley plain, and the great Lombard lakes, such as Lake Garda.

Update: Feel IT is now available through My Fabulous Collection!

Feel IT High Quality Extra Virgin Olive Oils | My blue&White Kitchen

On another note, I'll be traveling for the rest of the month which basically means I'm going to put on my dirndl and raise a Maß or two. I haven't planned any posts for my absence so it may be a bit quieter around here. However, I do have my camera and laptop with me so in case inspiration hits and I'm not too busy stuffing my face with Zwetschgendatschi,
SpätzleGrießnockerlBrezn (aka soft Pretzels)SauerkrautLeberkäse, and other deliciousness, I may surprise you with something Bavarian inspired.

But for now I'm leaving you with these absolutely delicious fall crostini. Enjoy!


Crostini with Wild Mushrooms & Ricotta

This is not really a recipe as I'm not going to give you exact amounts of what you need. Why? Because you don't really need to. Cook with your senses; use your eyes, your nose, and taste as you go. For 6 crostini I used around 1 cup of roughly chopped wild mushrooms and 2 small shallots. I prefer to use a mix of different mushroom varieties to keep things more interesting. The mushroom mixture can be prepared beforehand; just reheat it before assembling.
 

baguette or ciabatta-style bread, sliced
1 garlic clove, halved lengthwise

wild mushrooms, roughly chopped (remember that they'll shrink considerably as they cook)
butter
fresh thyme leaves
salt & freshly ground black pepper, to season
shallots, finely sliced
dry white wine
more fresh thyme leaves & finely chopped parsley

high quality ricotta

high quality extra virgin olive oil, such as Casaliva


Toast the bread slices on a dry frying pan until golden brown in color. You can also grill them for even more flavor. Rub the fried bread slices with garlic on both sides.

In a frying pan, melt the butter on high heat. Once the butter has melted and stopped to bubble, add the mushrooms and thyme. The mushrooms will first release quite a bit of moisture but as it evaporates, the mushrooms will start to get color. Season with salt and pepper. When the mushrooms are golden brown in color, lower the temperature to medium-low and add the shallots. Cook until the shallots have softened. Add a splash of white wine and let it evaporate. Add more thyme and parsley. Taste and season (or even add more wine) if necessary. Set aside.

To arrange, top each bread slice with ricotta, mushroom mixture, and more herbs. To finish, drizzle extra virgin olive oil over the crostini. Serve!


Crostini with Wild Mushrooms & Ricotta | My Blue&White Kitchen

Disclaimer: This post was sponsored by Feel IT. However, all opinions are my own.

Related Posts