Saint Lucia's Day – Swedish Saffron Buns

Swedish Saffron Buns :: my blue&white kitchen

I should be writing my Master's thesis but instead I want to talk about Saint Lucia's Day and saffron buns. They are just too luscious not to blog about.

Swedish Saffron Buns :: my blue&white kitchen

Saint Lucia's Day is celebrated in Scandinavia on December 13. In Finland, it's mostly celebrated among the Swedish-speaking Finns. Although we have never really celebrated Saint Lucia's at home, I've always loved this church feast day.

Swedish Saffron Buns :: my blue&white kitchen

Every year on Saint Lucia's Day pupils from my city's Swedish school came to our school. A girl, Lucia, led the beautiful procession of young girls dressed in white gowns holding a single candle each. She wore a white cotton gown and a red sash was tied around her waist. On her head, she wore a crown of candles and in her hands she held a single candle. And all along they sang this beautiful song, luciasången.

"Natten går tunga fjät,
runt gård och stuva,
Kring jord som sol'n förlät,
skuggorna ruva.
Då i vårt mörka hus,
stiger med tända ljus,
Sankta Lucia, Sankta Lucia"

"The night treads heavily
around yards and dwellings
In places unreached by sun,
the shadows brood
Into our dark house she comes,
bearing lighted candles,
Saint Lucia, Saint Lucia."

According to the Julian calendar this was the longest night of the year. Lucia was believed to bring the light into the winter darkness.

Swedish Saffron Buns :: my blue&white kitchen

The other reason why I loved this day was, and still is, food. Saffron buns to be exact. Luscious with a gorgeous yellow color coming in many different traditional shapes. They are rich and sweet, spiced with saffron. Let me warn you – if you don't like saffron then these buns aren't for you. They are best enjoyed with a cup of coffee, mulled wine, or a big glass of cold milk. So good.

So next Friday, it's Saint Lucia's Day. Will you bake saffron buns with me?

Swedish Saffron Buns :: my blue&white kitchen

Swedish Saffron Buns – 'Lussekatter'

makes about 20 lussekatter
adapted from Monikas Jul by Monika Ahlgren, p. 155

I made lussekatter, buns formed into a S-shape, but as I already mentioned there are many different shapes for these traditional buns. This is the first time I made buns using this two-dough-method. I read about it in Monika Ahlgren's cookbook and was eager to try it. Don't be afraid to make two doughs! It's neither more work nor does it take more time to make. Thanks to this method the buns rose especially well!

Dough 1
50 g (
~ 3.5 tbsp) unsalted butter
5 dl (
2 cups; 17 fl oz) whole milk
50 g (1.7 oz) fresh yeast
1 tbsp granulated sugar
1 tsp fine sea salt
12–13 dl (
760–825 g; 5–5 ½ cups; 27–29 oz) bread flour (for us Scandinavians vetemjöl special)

Dough 2
1 g saffron
1 tsp granulated sugar
125 g (4
½ oz) unsalted butter, at room temperature
2 dl (170 g; 0.8 cups; 6 oz) granulated sugar
1 egg (M) 
5 dl (320 g; 2 cups; 11 oz) bread flour (for us Scandinavians vetemjöl special

1 egg, lightly beaten, to brush
small handful of raisins, for decorating


Dough 1
In a small bowl, combine the sugar, salt, and flour. Set aside. In a small saucepan, melt the butter and add the milk. Wait until the milk mixture is lukewarm and add the crumbled yeast. With a spoon, stir until the yeast is completely dissolved.

Transfer the milk mixture into a large mixing bowl (you can make the dough by hand, like me, or in a stand mixer). Gradually add the dry ingredients and knead the dough until it comes clean off the sides of the bowl. Don't overwork the dough! Shape into a ball and cover with a clean kitchen towel. Let the dough rise in a warm place for 1 hour.


Dough 2
In a mortar, grind the saffron threads to a fine powder with one teaspoon of sugar. This will make the grinding easier. However, if you use grinded saffron, which I don't recommend, you can skip this step. In a bowl of a stand mixer, cream the butter and sugar until light and fluffy. Add the egg and grinded saffron.

Combine the two doughs. Gradually add the flour while kneading. First it will look like a big mess but will come together eventually. Knead until well combined and the dough pulls away from the sides of the bowl.
 

Shaping the buns
Line two baking sheets with parchment paper.

Roll the dough into 40 x 1,5 cm ropes. To shape the lussekatter: roll both ends of each rope tight in opposite directions into a S-shape. Place the buns on the baking sheets. Remember to leave enough space between the buns to allow for them to expand. Cover the shaped buns with a clean kitchen towel and let rise for 20 to 30 minutes.

Meanwhile, preheat the oven to 225°C (435°F).

Brush the buns with a lightly beaten egg and place one raisin in each circle. Bake the buns for 7 to 10 minutes, or until golden brown in color. Remove from the oven and let cool slightly.

The buns are best enjoyed the same day!


I think this short video from the official sites of Sweden is quite informative and fun to watch.

HAPPY LUCIA'S DAY!

Let the Christmas Baking Begin – German Hazelnut Macaroons

my blue&white kitchen

Winter is the time for comfort, for good food and warmth,
for the touch of a friendly hand and for a talk beside the fire:
it is the time for home.

– Edith Sitwell


The first of December. The land was covered in snow and the sun shone in all its glory. It shone so bright that I had a hard time to see the road as I drove to work (read: hazard driving). "What a perfect start for this exciting month!", I thought to myself.

December will be filled with all sorts of cookies – some will be traditional, like these ones, while others will be more on the experimental side. Baking will be inevitable – fresh yeast will be sitting in my fridge on a regular basis. There is also a big chance you will be served a pot of meat stew if you happen to stop by. As you see, it's all about flour in your hair, the smell of cinnamon & cardamom in the air, and joyous moments of creating and recreating memories.

German Hazelnut Macaroons :: my blue&white kitchen

This is a traditional German Christmas cookie recipe. I make several batches every year. They are absolutely delicious and quick to make. How flat or fluffy your cookies will come out, depends on how long you whip your meringue. I usually whip the egg whites and sugar for 4 to 5 minutes. This way the cookies will be fluffy but the top will even out as it bakes.
 

I would love to hear what you are baking for the holiday season. So please, leave a comment!


(I made these for a special someone. But SHHHH, he/she doesn't have a clue yet. It's supposed to be a surprise.)


German Hazelnut Macaroons

slightly adapted from Ruokaposti 8/1985
makes about 20 cookies

160 g (5.6 oz) hazelnut flour (I grind mine from whole, unblanched hazelnuts)
2 egg whites (M)
130 g (4.6 oz; 1 ½ dl; 0.6 cups) granulated sugar
3 tbsp all-purpose flour
1 tsp baking powder

whole hazelnuts, for decorating


Preheat the oven to 200°C (400°C). Line two baking trays with parchment paper.

In a small bowl, mix together both flours and baking powder. Set aside.

Place the egg whites and sugar in a clean & dry medium-sized bowl. Whip on full speed or until stiff. With a stand mixer this takes 4 to 5 minutes. With a rubber spatula, fold in the dry ingredients.

With the help of two spoons, portion the macaroons on the lined baking tray. Top each one with a whole hazelnut. Bake for 9 to 11 minutes. The macaroons should now still be light in color and the center slightly soft to the touch (they will get firm as they cool down). Take them out and let cool completely. The macaroons can be stored in an airtight container for 2 to 3 weeks.


German Hazelnut Macaroons :: my blue&white kitchen

 I wish you all HAPPY COOKIE BAKING!

The Wait - Salt Roasted Chestnuts

my blue&white kitchen

I can feel how the growing darkness drains the energy from my body and mind. For me, this is the hardest part of the year. It's dark. Dark as ash. The sun only pays brief visits and I can both see and sense its slow but sure farewell. And the trees. Bare, screaming in the wind. And amidst this darkness, there's no snow to give some light. White, glistening light. That magical winter light that I adore so much. 

It's official now. I'm waiting for you, snow. Come soon, will you?

salt roasted chestnuts :: ​my blue&white kitchen

Salt Roasted Chestnuts

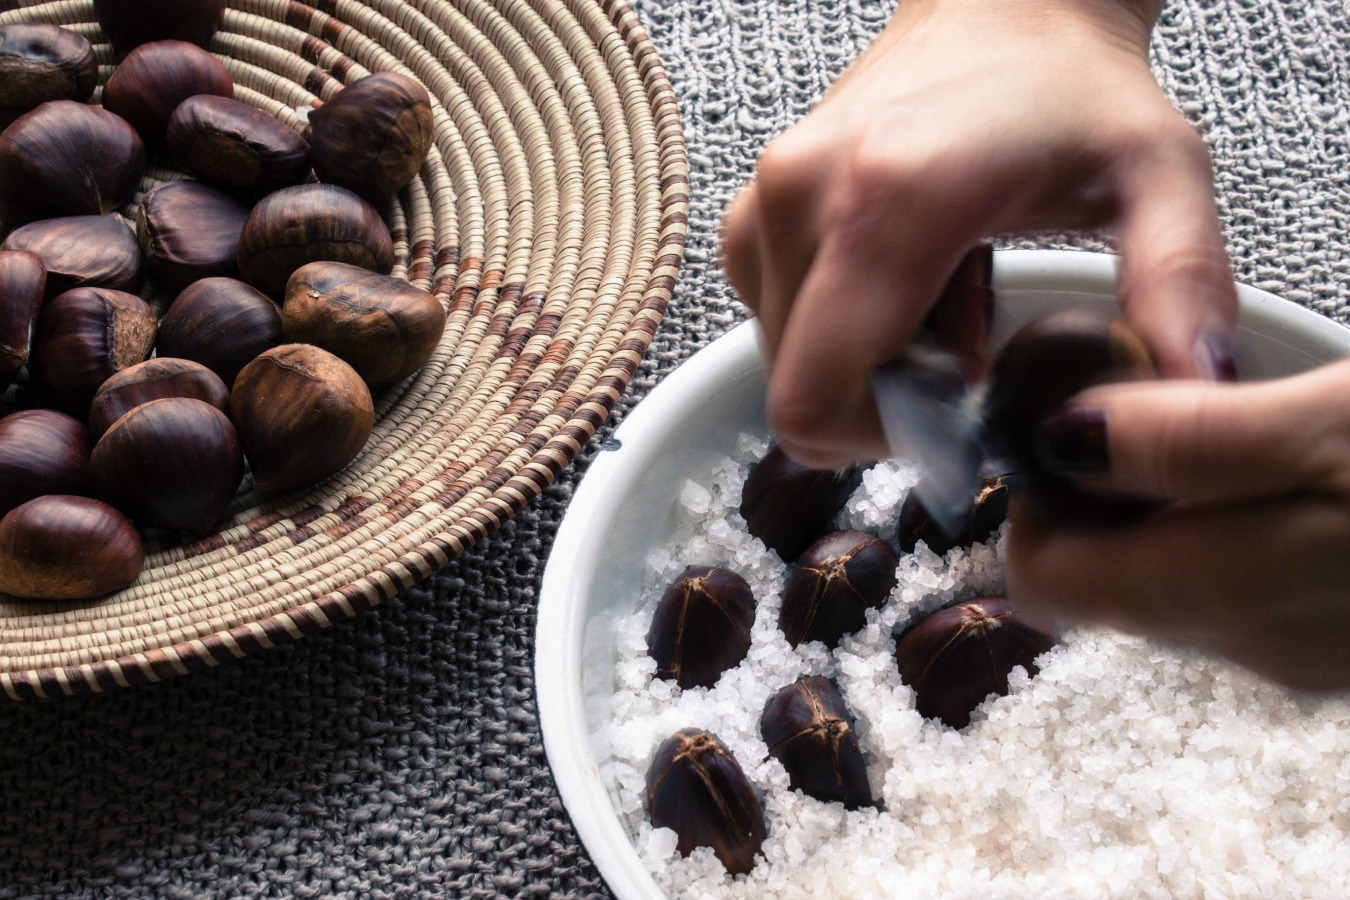
Chestnut season runs from early October through late December. Their flesh is sweet, energy-rich and highly nutritious. Fresh chestnuts should be heavy in your hands and firm to your touch, and have a shiny brown color. The kernels should be light in color. Pinholes may indicate worms so avoid those ones.

Why roast them in salt? The salt protects them from burning and keeps them moist. And it looks pretty as well! It's how my mom has taught me to prepare them. They are a great way to begin or end a meal, or you can enjoy them as a winter snack. You could even put them into your coat pockets – they will keep your hands warm on a chilly day! {Although I don't know who really does that anymore... Well, me. Last year. Once.}


500 g (1 lb) chestnuts
~ 1 kg (2 lb) coarse sea salt 

salted butter, to serve {I enjoy them with fleur de sel butter}
 

Preheat the oven to 175°C (350°F). 

Add the salt to an ovenproof dish (mine was 21 cm / 8"). Using a sharp knife, make a cross incision along the bulging side of each chestnut. Cut deep enough to penetrate the shell but try not to harm the flesh of the nut. And be careful not to cut yourself! Place the chestnuts, cut side up, into the salt. Two-thirds of the nut should be covered by salt.

Roast on the middle rack for about 30 minutes, or until the skins open and the insides are tender. Serve immediately. Everyone at the table can peel their own chestnuts - peel away the tough outer shell and the papery skin and enjoy the sweet kernels with a knob of butter. You may want to use a knife to help peel the chestnuts.


Note: You can store the salt for later use. 


salt roasted chestnuts :: ​my blue&white kitchen

>>>>>>>>>>>>>>><<<<<<<<<<<<<<<

​my blue&white kitchen

Behind the scenes: the photobomber.


WHOA! You can now also follow me on Facebook. Come say hi!
I would love to hear from you.

Scandinavian Carrot Bread Rolls

Carrot Bread Rolls ::&nbsp;my blue&amp;white kitchen

Riding the 7 am train to university isn’t that much fun. {Although I should add that riding the 6 am train is even less fun.} But watching the sun rise over the horizon at 8 am from behind a train window? Oh boy! The way the first rays of light hit the sky, the fields, and the woods. The world stops for awhile and suddenly everything in life seems to make total sense. 

And so I sat there, in the 7 am train, eating my carrot bread roll filled with some butter and gruyere cheese, and was totally amazed by the golden October sunrise.

Carrot Bread Rolls ::&nbsp;my blue&amp;white kitchen

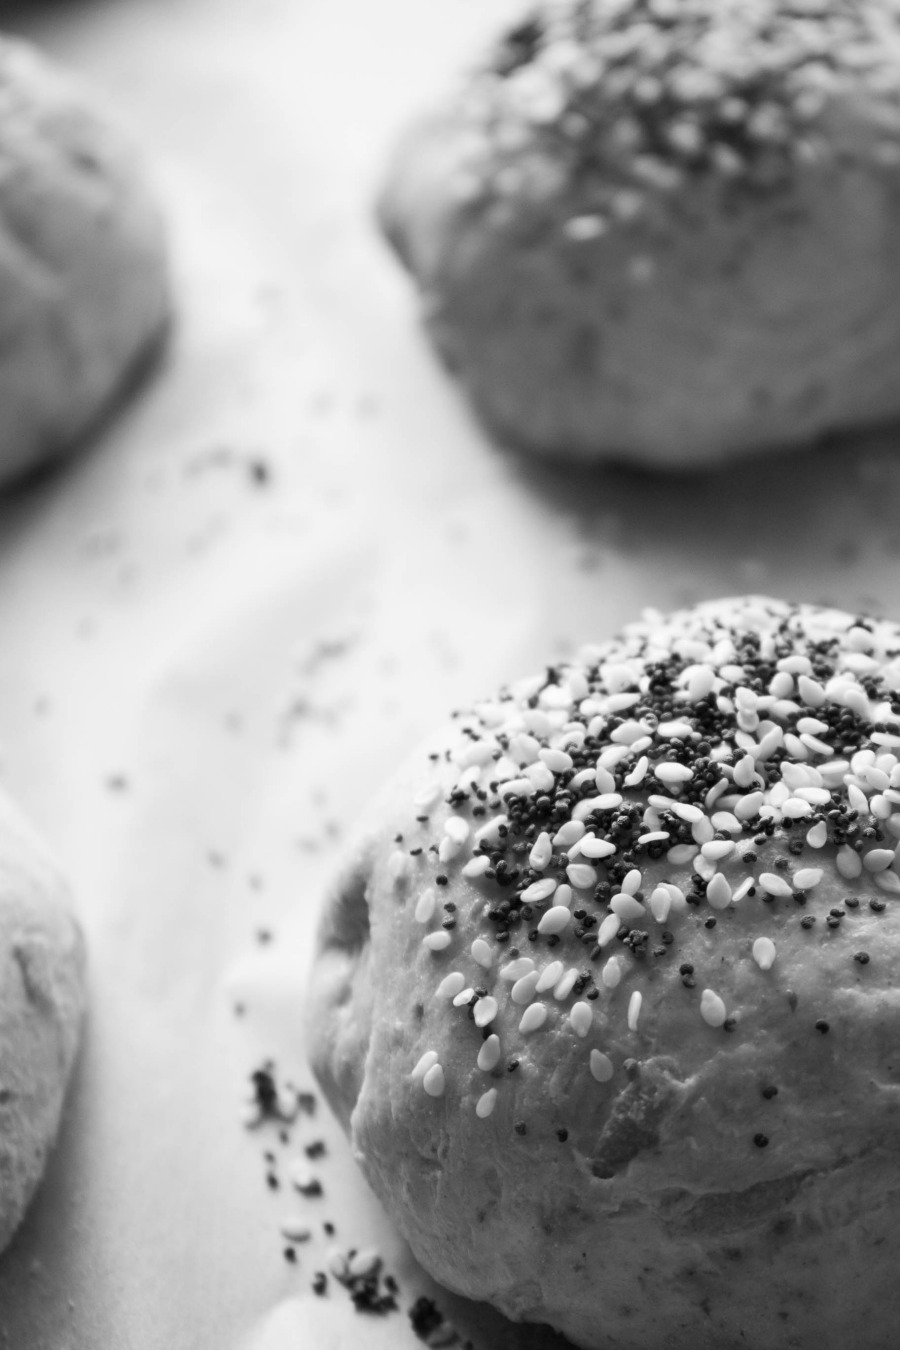
I had made the carrot bread rolls the day before. Baking is one of those things that makes a home feel like home. When I was a kid, my mom used to make bread rolls topped with poppy seeds. They were my absolute favorites. I still sprinkle mine with these small pals.

Carrot Bread Rolls ::&nbsp;my blue&amp;white kitchen

This recipe is an adaption from a recipe we once got from a family friend. The curd makes them extra luscious. However, once I forgot to add the curd but they still turned out great! This is my basic bread roll recipe. I usually make it a couple of times a month. Mostly after 9 pm. There’s something about baking late at night. Or then it's just a bad habit.


Scandinavian Carrot Bread Rolls

yields about 15 bread rolls

 
7 dl (420 g) dark wheat flour
4 dl (120 g) all-purpose flour
2 dl (120 g) rye flour
1 tsp fine sea salt
½ l lukewarm water
40 g fresh yeast
125 g quark or curd
50 g unsalted butter, at room temperature
1-2 carrots, coarsely grated
½ tbsp Scandinavian dark syrup {according to this site, it can be substituted by light molasses}

different seeds {like poppy seeds or sesame seeds}, to sprinkle
all-purpose flour, to dust

  
Combine all the flours and salt in a bowl and set aside. In a bowl of a standing mixer {or a large bowl if making the dough by hand}, combine the lukewarm water and crumbled yeast. Stir with a spoon until the yeast is completely dissolved. Gradually add the flour mixture and mix. When you have used up most of the flour mixture, add the butter, curd, carrots, and syrup. Mix. Add the remaining flour and knead until the dough comes together. Be sure not to overmix the dough! It will be quite sticky but that's alright. Adding more flour would yield dense bread rolls and we don't want that. Dust the dough surface with a little flour. Cover the bowl with a clean kitchen towel and let the dough rise in a warm place for 15 minutes.

Meanwhile, line two baking sheets with parchment paper. With your hands, form about 15 equally sized smooth balls. You probably need to use a lot of flour to prevent the dough from sticking to your hands while forming the rolls. Place the rolls on a baking sheets, leaving enough space between them to allow for rising. Dust them with a little flour and cover with a clean kitchen towel. Let rise for a further 20-30 minutes.
 
Meanwhile, preheat the oven to 225°C (435°F).

Lightly brush the rolls with a little water and sprinkle some seeds on top. Bake in the preheated oven on the middle rack for 10-15 minutes, or until they are golden brown and sound hollow when tapped underneath. They are best enjoyed while still warm but will keep for 2-3 days {although they never have survived for that long}. For a longer storage, freeze them!


Carrot Bread Rolls ::&nbsp;my blue&amp;white kitchen

P.S. As I sit here typing, large snowflakes are falling from the gray sky. The first snow has arrived. 

A Moment of Late Summer Bliss & a Red Currant Tart

IMG_7187_.JPG

It’s all about berries these days. And somehow, although I’ve been berry picking multiple days a week for the past 3 weeks, I’m not bored. Not a bit. Summer is good to us and we should embrace it.

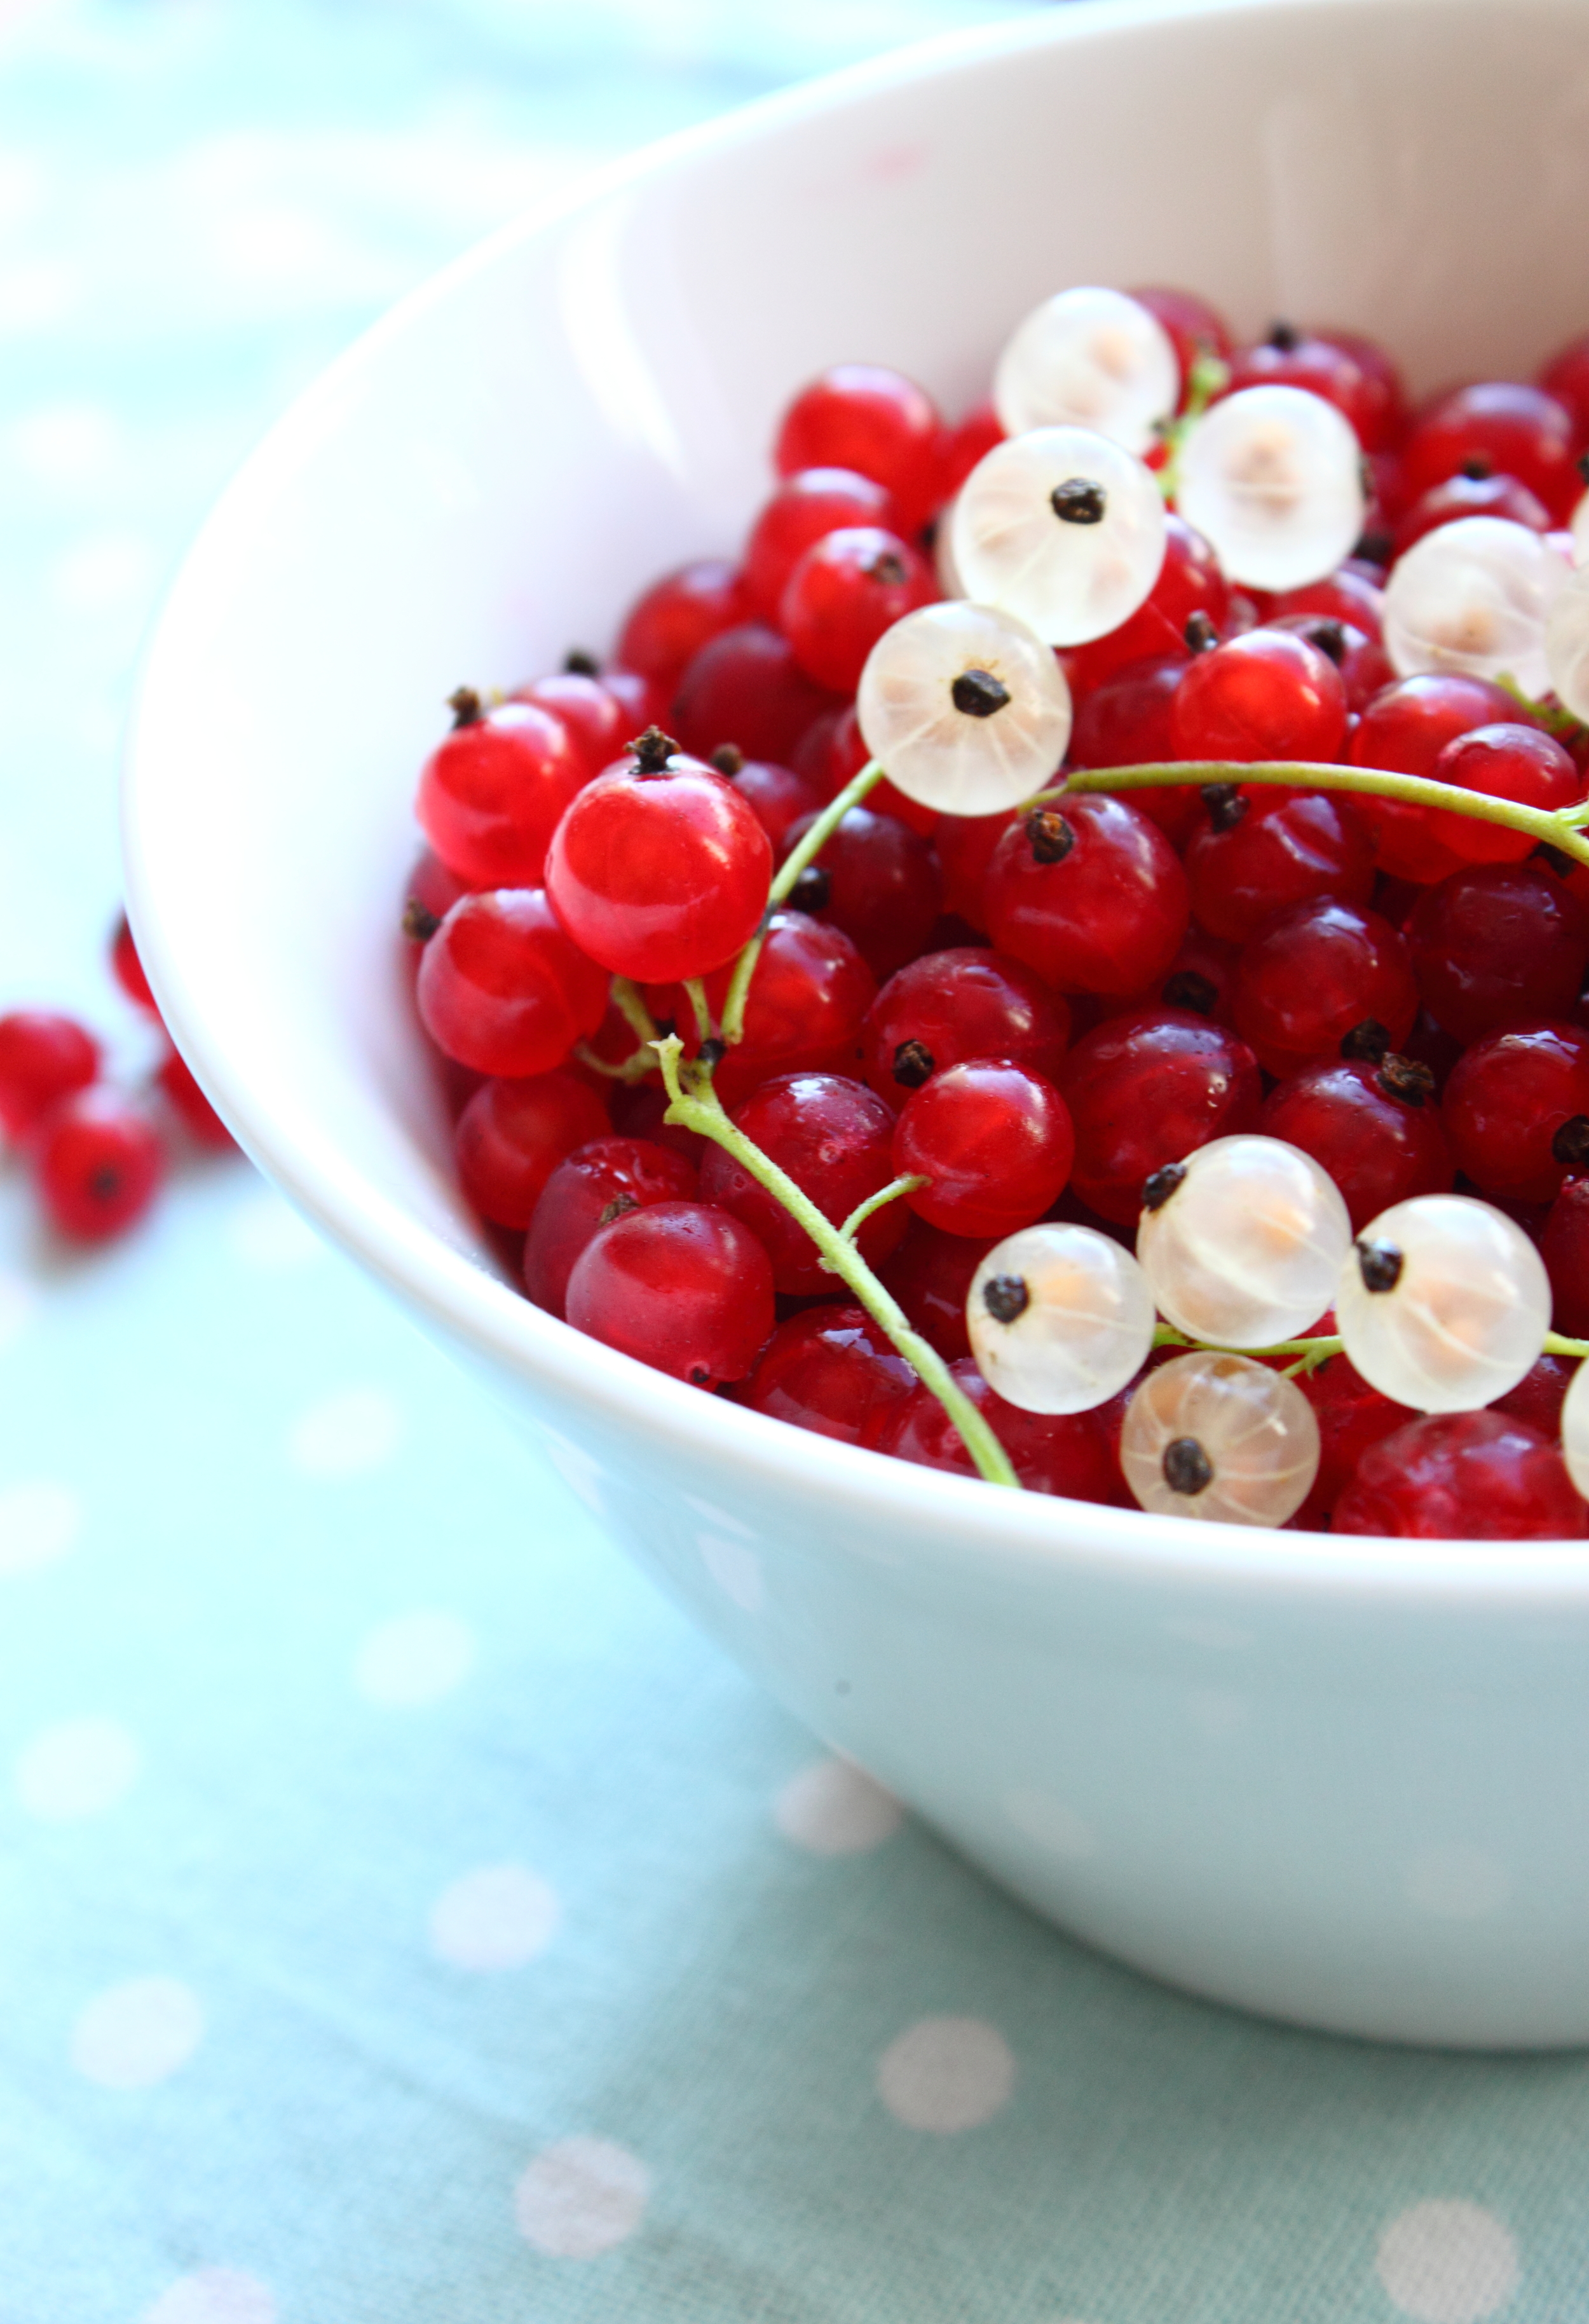
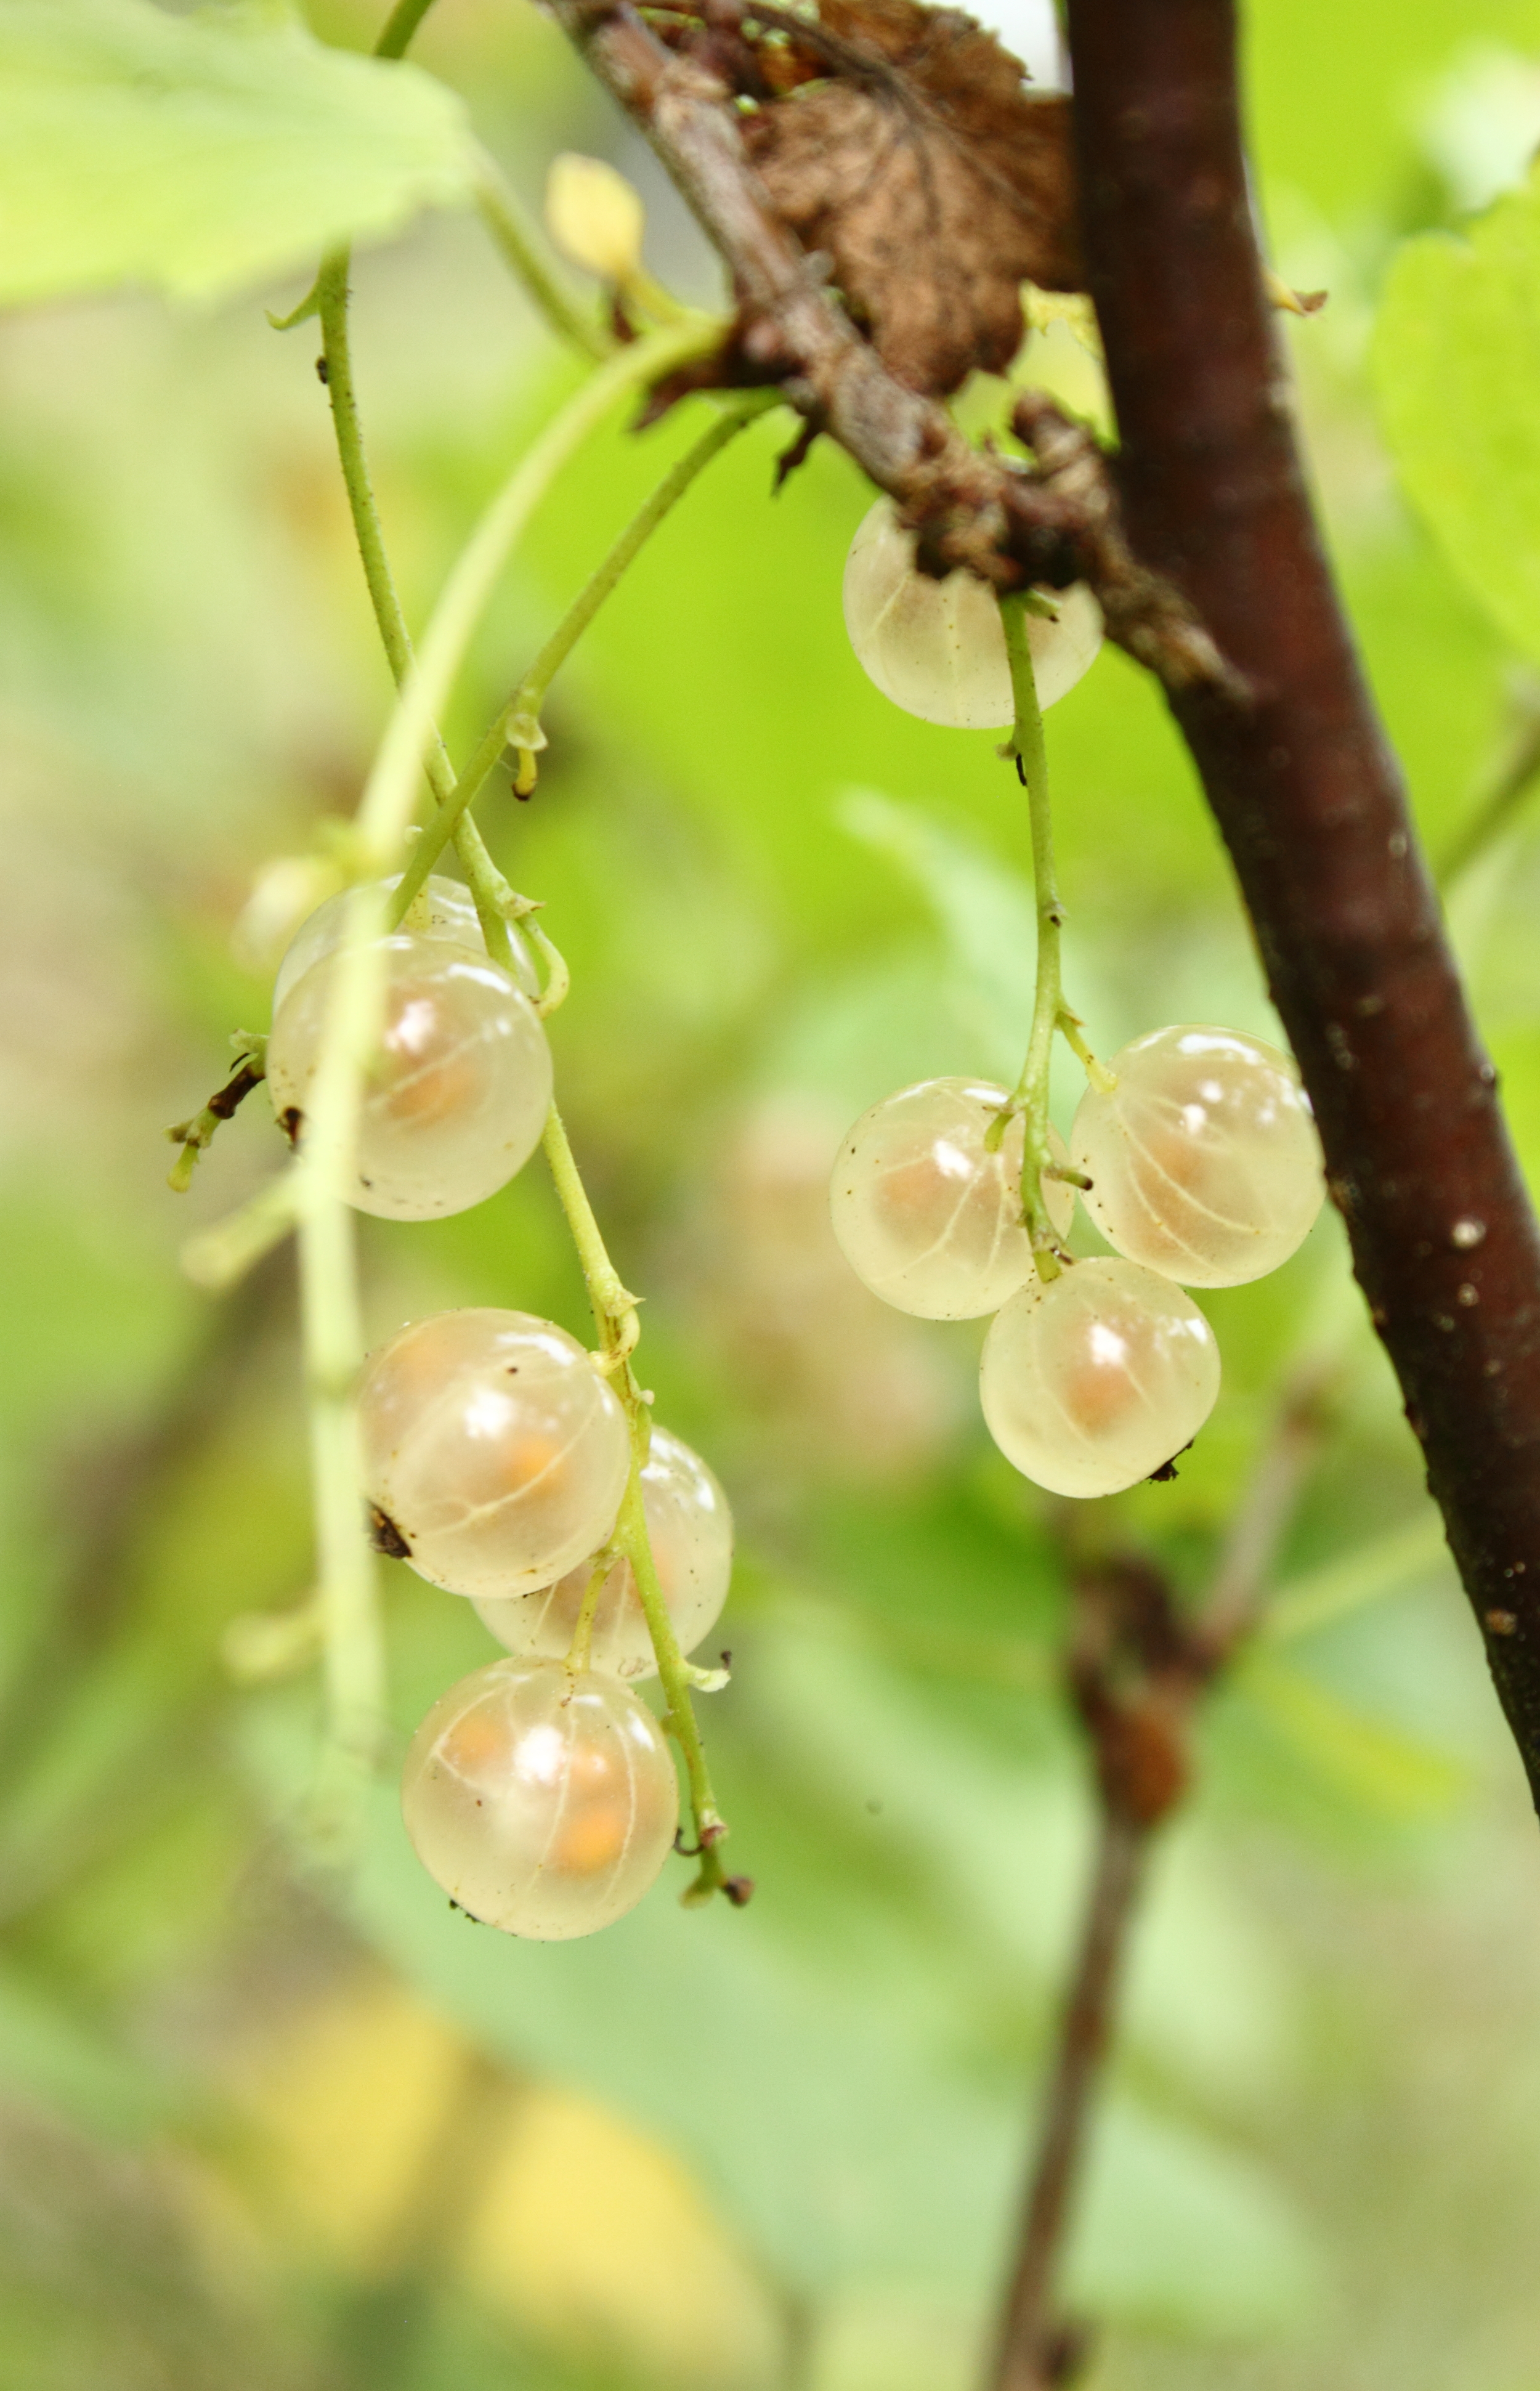
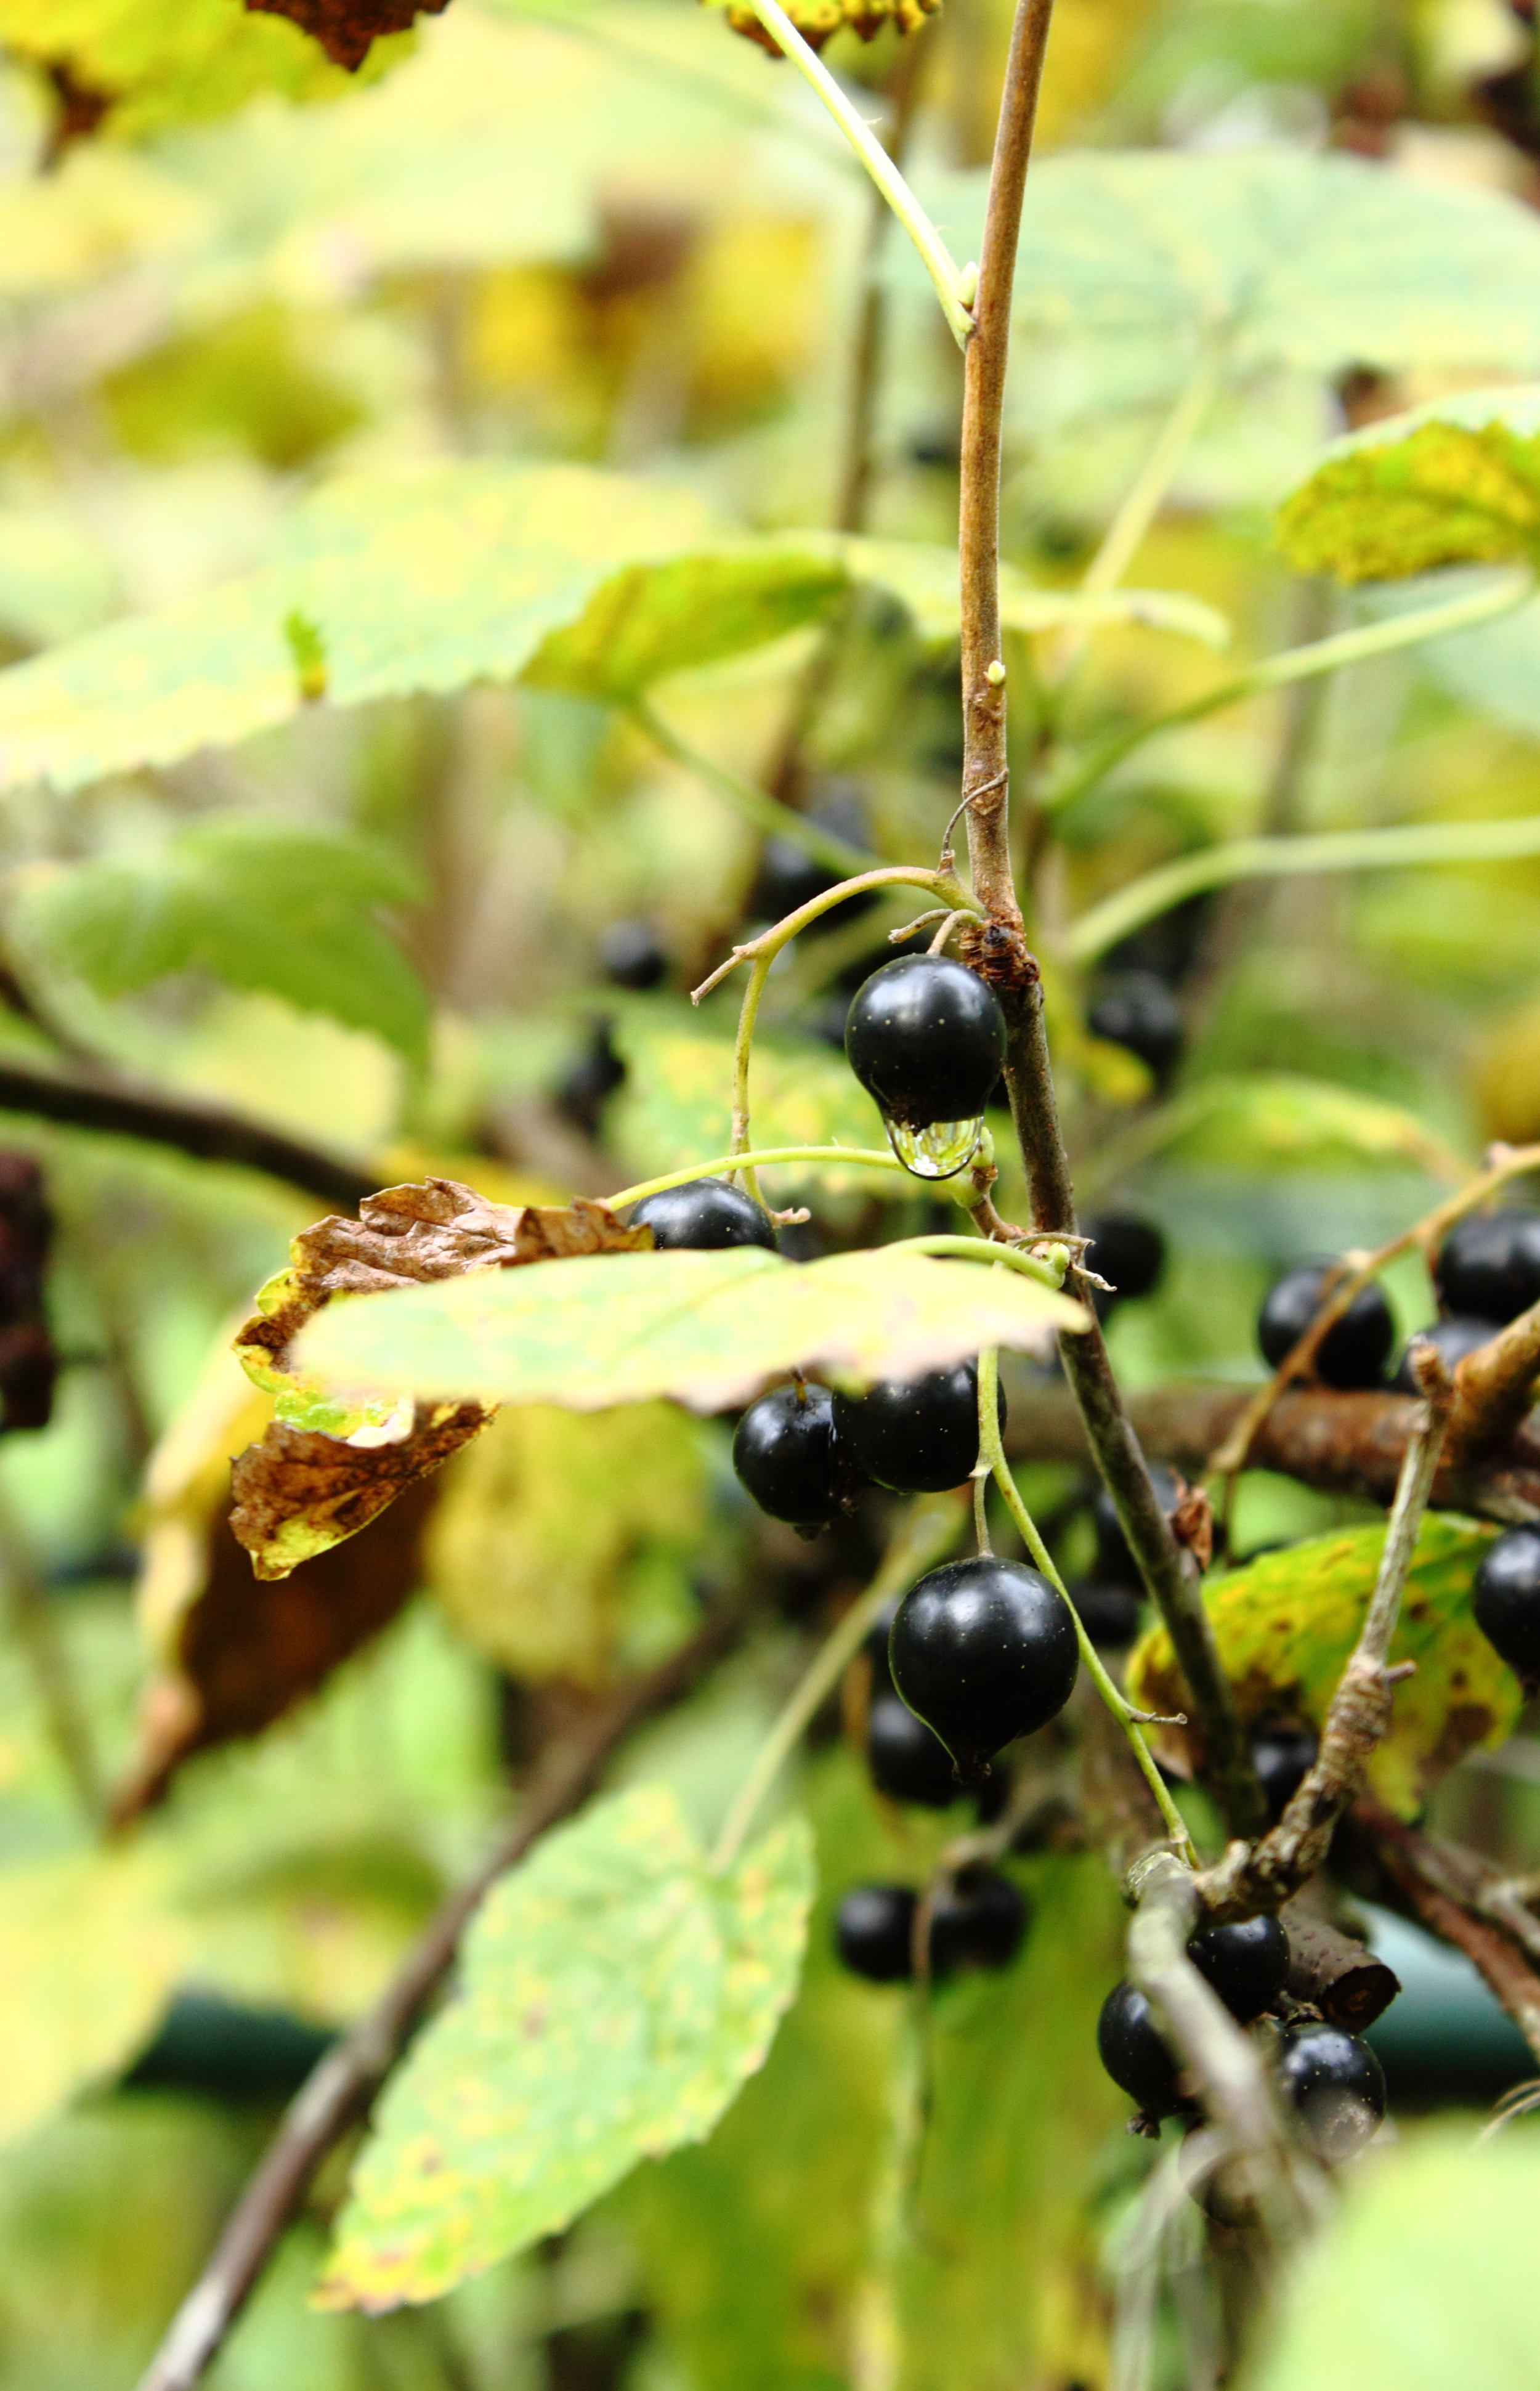
A couple of days ago I made a small trip to the countryside to the summer house of my dear great-aunt and her husband. A red wooden house surrounded by woods, water, and….berry bushes! Red, black, and white currants. Some blueberry bushes too.

IMG_7103_.JPG
IMG_7107_.JPG
IMG_7115_.JPG

Currant picking is quite a straightforward business. No scratches all over your arms or small worms nesting in your goodies like when raspberry picking. Nor are there stained fingers or that awful pain in your back which you get from picking bilberries. Oh and no mosquito air force waiting to drain the blood from you.

So I picked currants with a smile on my face. I went to the sauna and cooled down on the porch with a glass of homemade red currant juice in my hand. I listened to bird songs. Peaceful. A moment of late summer bliss.

IMG_7040_.JPG
IMG_7075_.JPG
IMG_7086_.JPG

Now I have my freezer and fridge full of currants (I came home with nearly 10 liters!). I’m still figuring out what I’m gonna make from all of them. I think there will be some jam making sessions and some will be saved for cold winter days. I’m also intrigued by the idea of making black currant juice. I’ll see.

I decided to start with this red currant tart. My great-aunt served quite a similar, simple but oh so delicious, tart and I couldn’t resist making one at home too. I especially love the tartness of it and the small vanilla seeds in the filling. So pretty!

IMG_7177_.JPG

RED CURRANT TART

Crust
85 g sugar
200 g unsalted butter, cold and diced
1 egg (M)
pinch of fine sea salt
185 g all-purpose flour
115 g whole grain barley flour

Filling
85 g sugar
120 g quark
120 g sour cream
1 egg (M)
½ tsp natural vanilla paste or ½ vanilla pod (sliced lengthwise and seeds scraped out)
250 g red currants (or any other currants or berries)

In a medium-sized bowl quickly rub the butter into the sugar with your fingers (or a pastry cutting tool or alternatively pulse in a food processor) until well incorporated and crumbly. Add the egg and mix. Add salt and both flours and knead until everything has come together. Avoid over-working the dough - try to work as fast as possible. There should still be some small butter pieces left. The dough should feel quite crumbly but stick together. Form the dough into a disk, wrap in plastic wrap, and refrigerate for at least an hour.

Preheat oven to 175°C (350°F). Roll the dough out and press into a 26 cm (10”) tart mold. If the dough cracks, don’t worry, just pinch it back together. Cut off any excess. With a fork, poke several holes in the bottom of the tart dough. Bake on the middle rack for 10 minutes. {I didn’t use baking weights and my tart came out perfectly.}

In the meantime prepare the filling. Remove currants from stems, wash them and dry with a kitchen towel or household paper. Beat the sugar, curd, sour cream, egg, and natural vanilla paste (or vanilla seeds) in a small bowl until smooth.

Pour the mixture into the prebaked tart. Top with the red currants. Bake for 25-30 minutes until the edges start to brown and the filling has set. Let cool down a bit before serving.

Serve with vanilla ice cream or vanilla sauce, if desired – especially if you want to balance out the tartness. I have to say that in Finland we would always enjoy this alongside a cup of freshly brewed coffee. We are, after all, a coffee nation.


IMG_7207_.JPG