Fall Vibes – Plum Galettes

Plum Galettes | My Blue&White Kitchen

Fall is the time for new beginnings. Kids go back to school and their parents go back to work; thousands of students start at colleges and at universities eager to get to know new people, to learn, and to dream big. As nature is getting ready to face winter, we're getting back to the everyday routines or are just creating new ones. 

For me, this fall started with a new full-time job. I've really enjoyed my first weeks, although I've often feeled rather exhausted when getting back home. It's been a challenge to manage both work, the blog, and my free-time. It has meant to be kinder to myself, to endure unfinished projects, and the fact that I can't be at more than one place at a time. As much as I've liked my new work and getting to know my colleagues, I've also got into decorating my office (it's one of the most fun parts, right?). I'm still looking for a picture to hang on the wall and am dreaming of a succulent terrarium, one of RK design's gorgeous wall hangings, and/or a minimalistic swag wreath. But still, I think that already a pot or two of something green really makes the whole room feel cozy and welcoming. They fill the space with life.

Plum Galettes | My Blue&White Kitchen

Weekends are more important than ever. They're spend loading up batteries and forgetting about work stuff. I've spent as much time as possible in the woods and in the kitchen, as those are the places where I find peace. Those are the places where I feel connected to myself and to my surroundings. When I'm in the woods, the words of Terry Tempest Williams come to my mind: "To be whole. To be complete. Wildness reminds us what it means to be human, what we are connected to rather than what we are separated from." That women. If you haven't read her work, you should.

Plum Galettes | My Blue&White Kitchen

I've enjoyed roaming in the woods but sadly fall harvest doesn't look that good. Lingonberries are plenty and there are still wild blueberries to be picked. However, although chanterelles were plenty in summer, the woods are now short of mushrooms. I really hope that this will change soon! Maybe the weather will be more favorable in September and October; there are so many wild mushroom recipes that I'm eager to test and possibly share with you guys. Well, it's raining today, so I still have hope ;) Mushroom foraging trips are one of the best parts of fall.

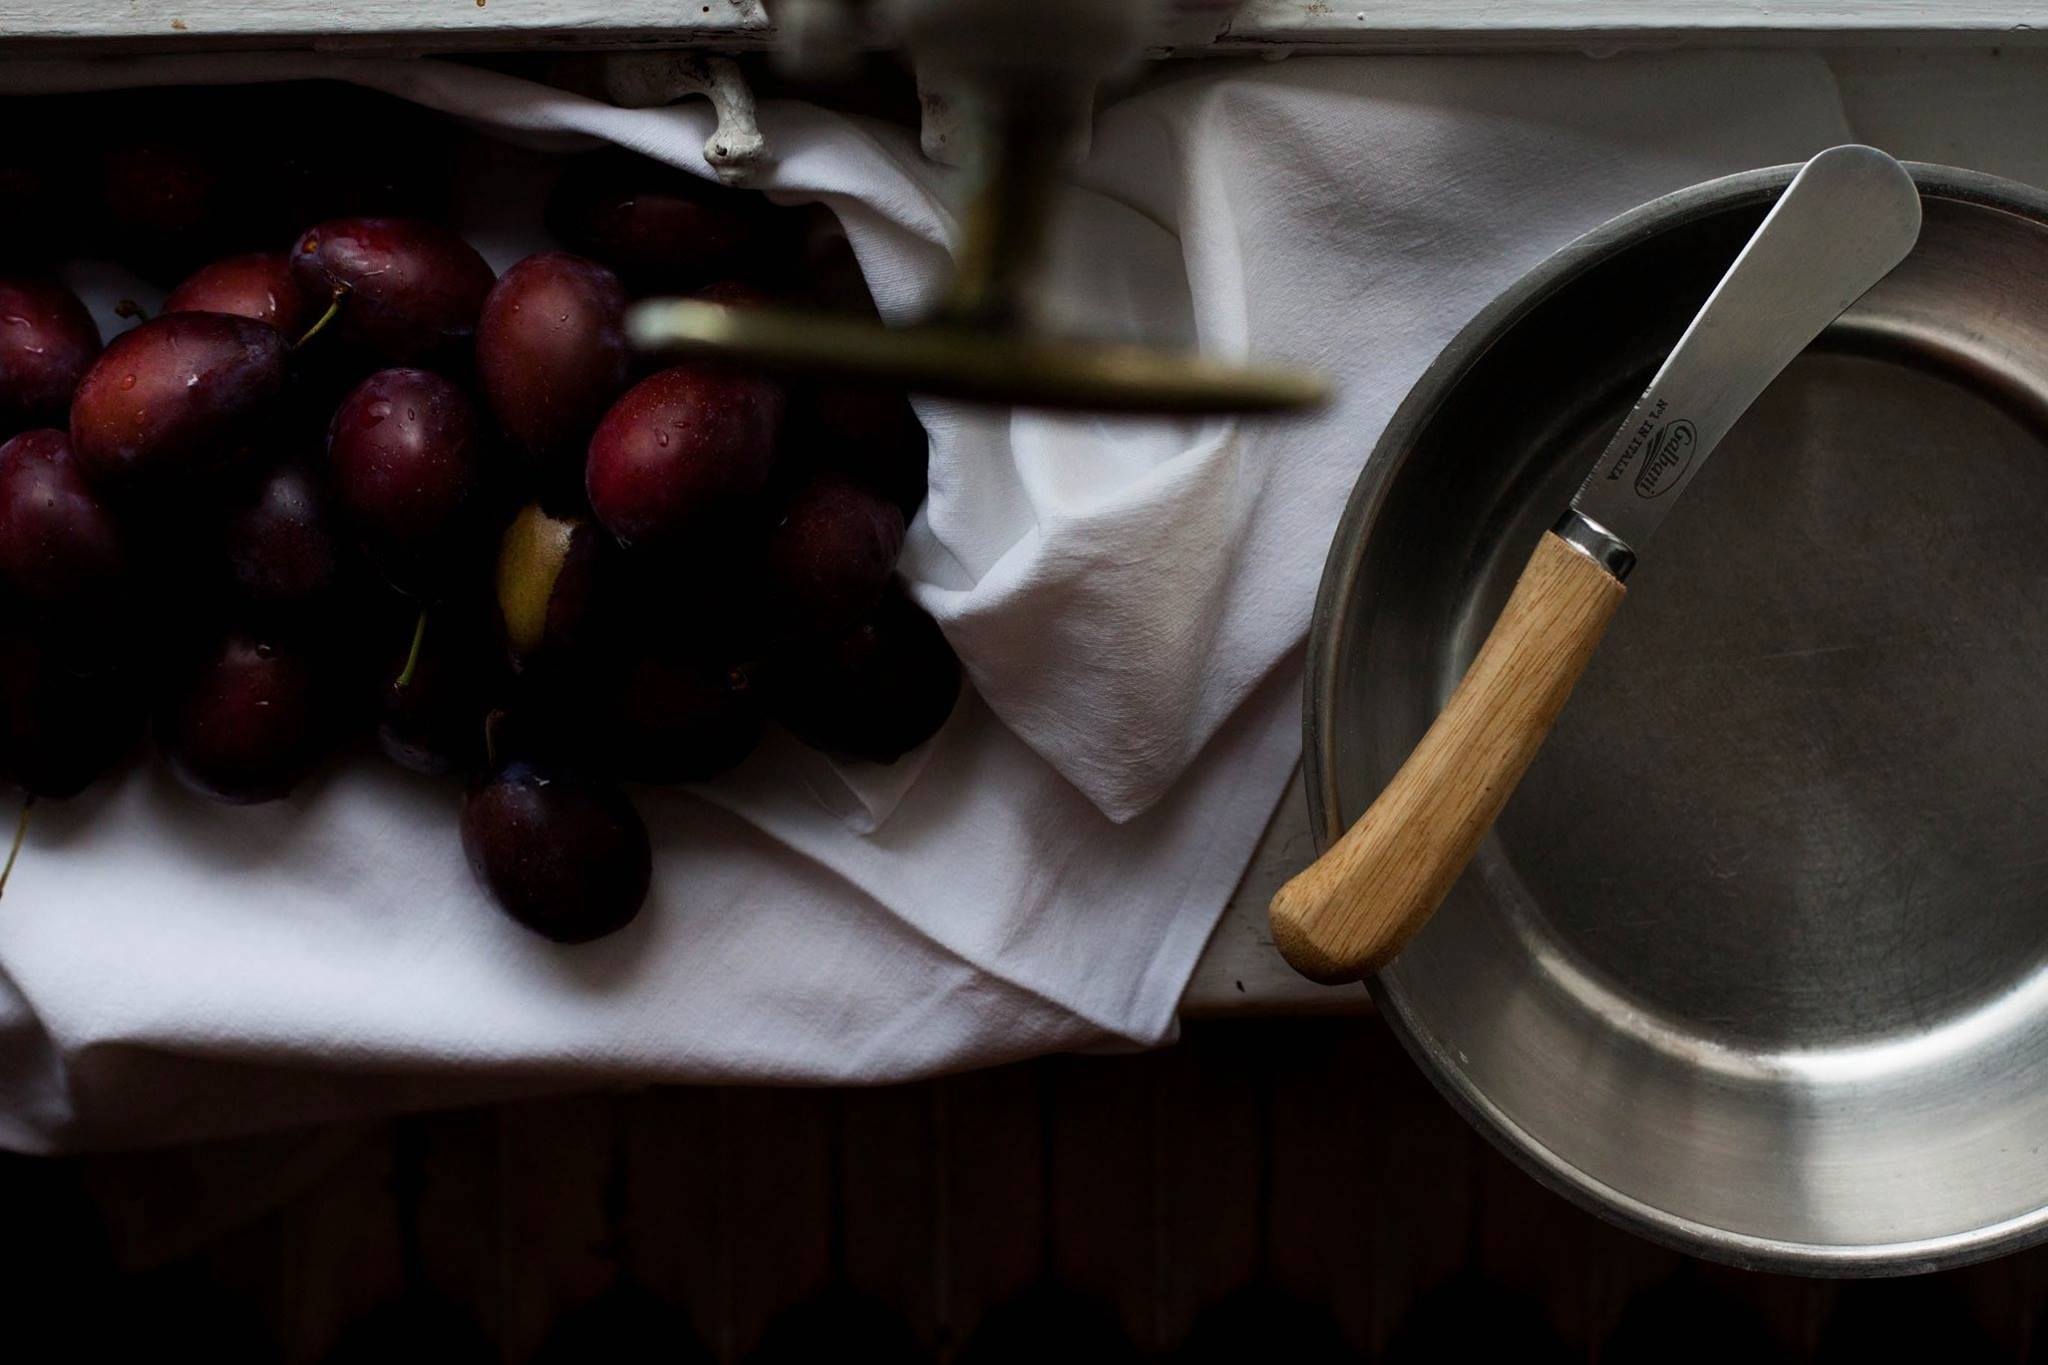
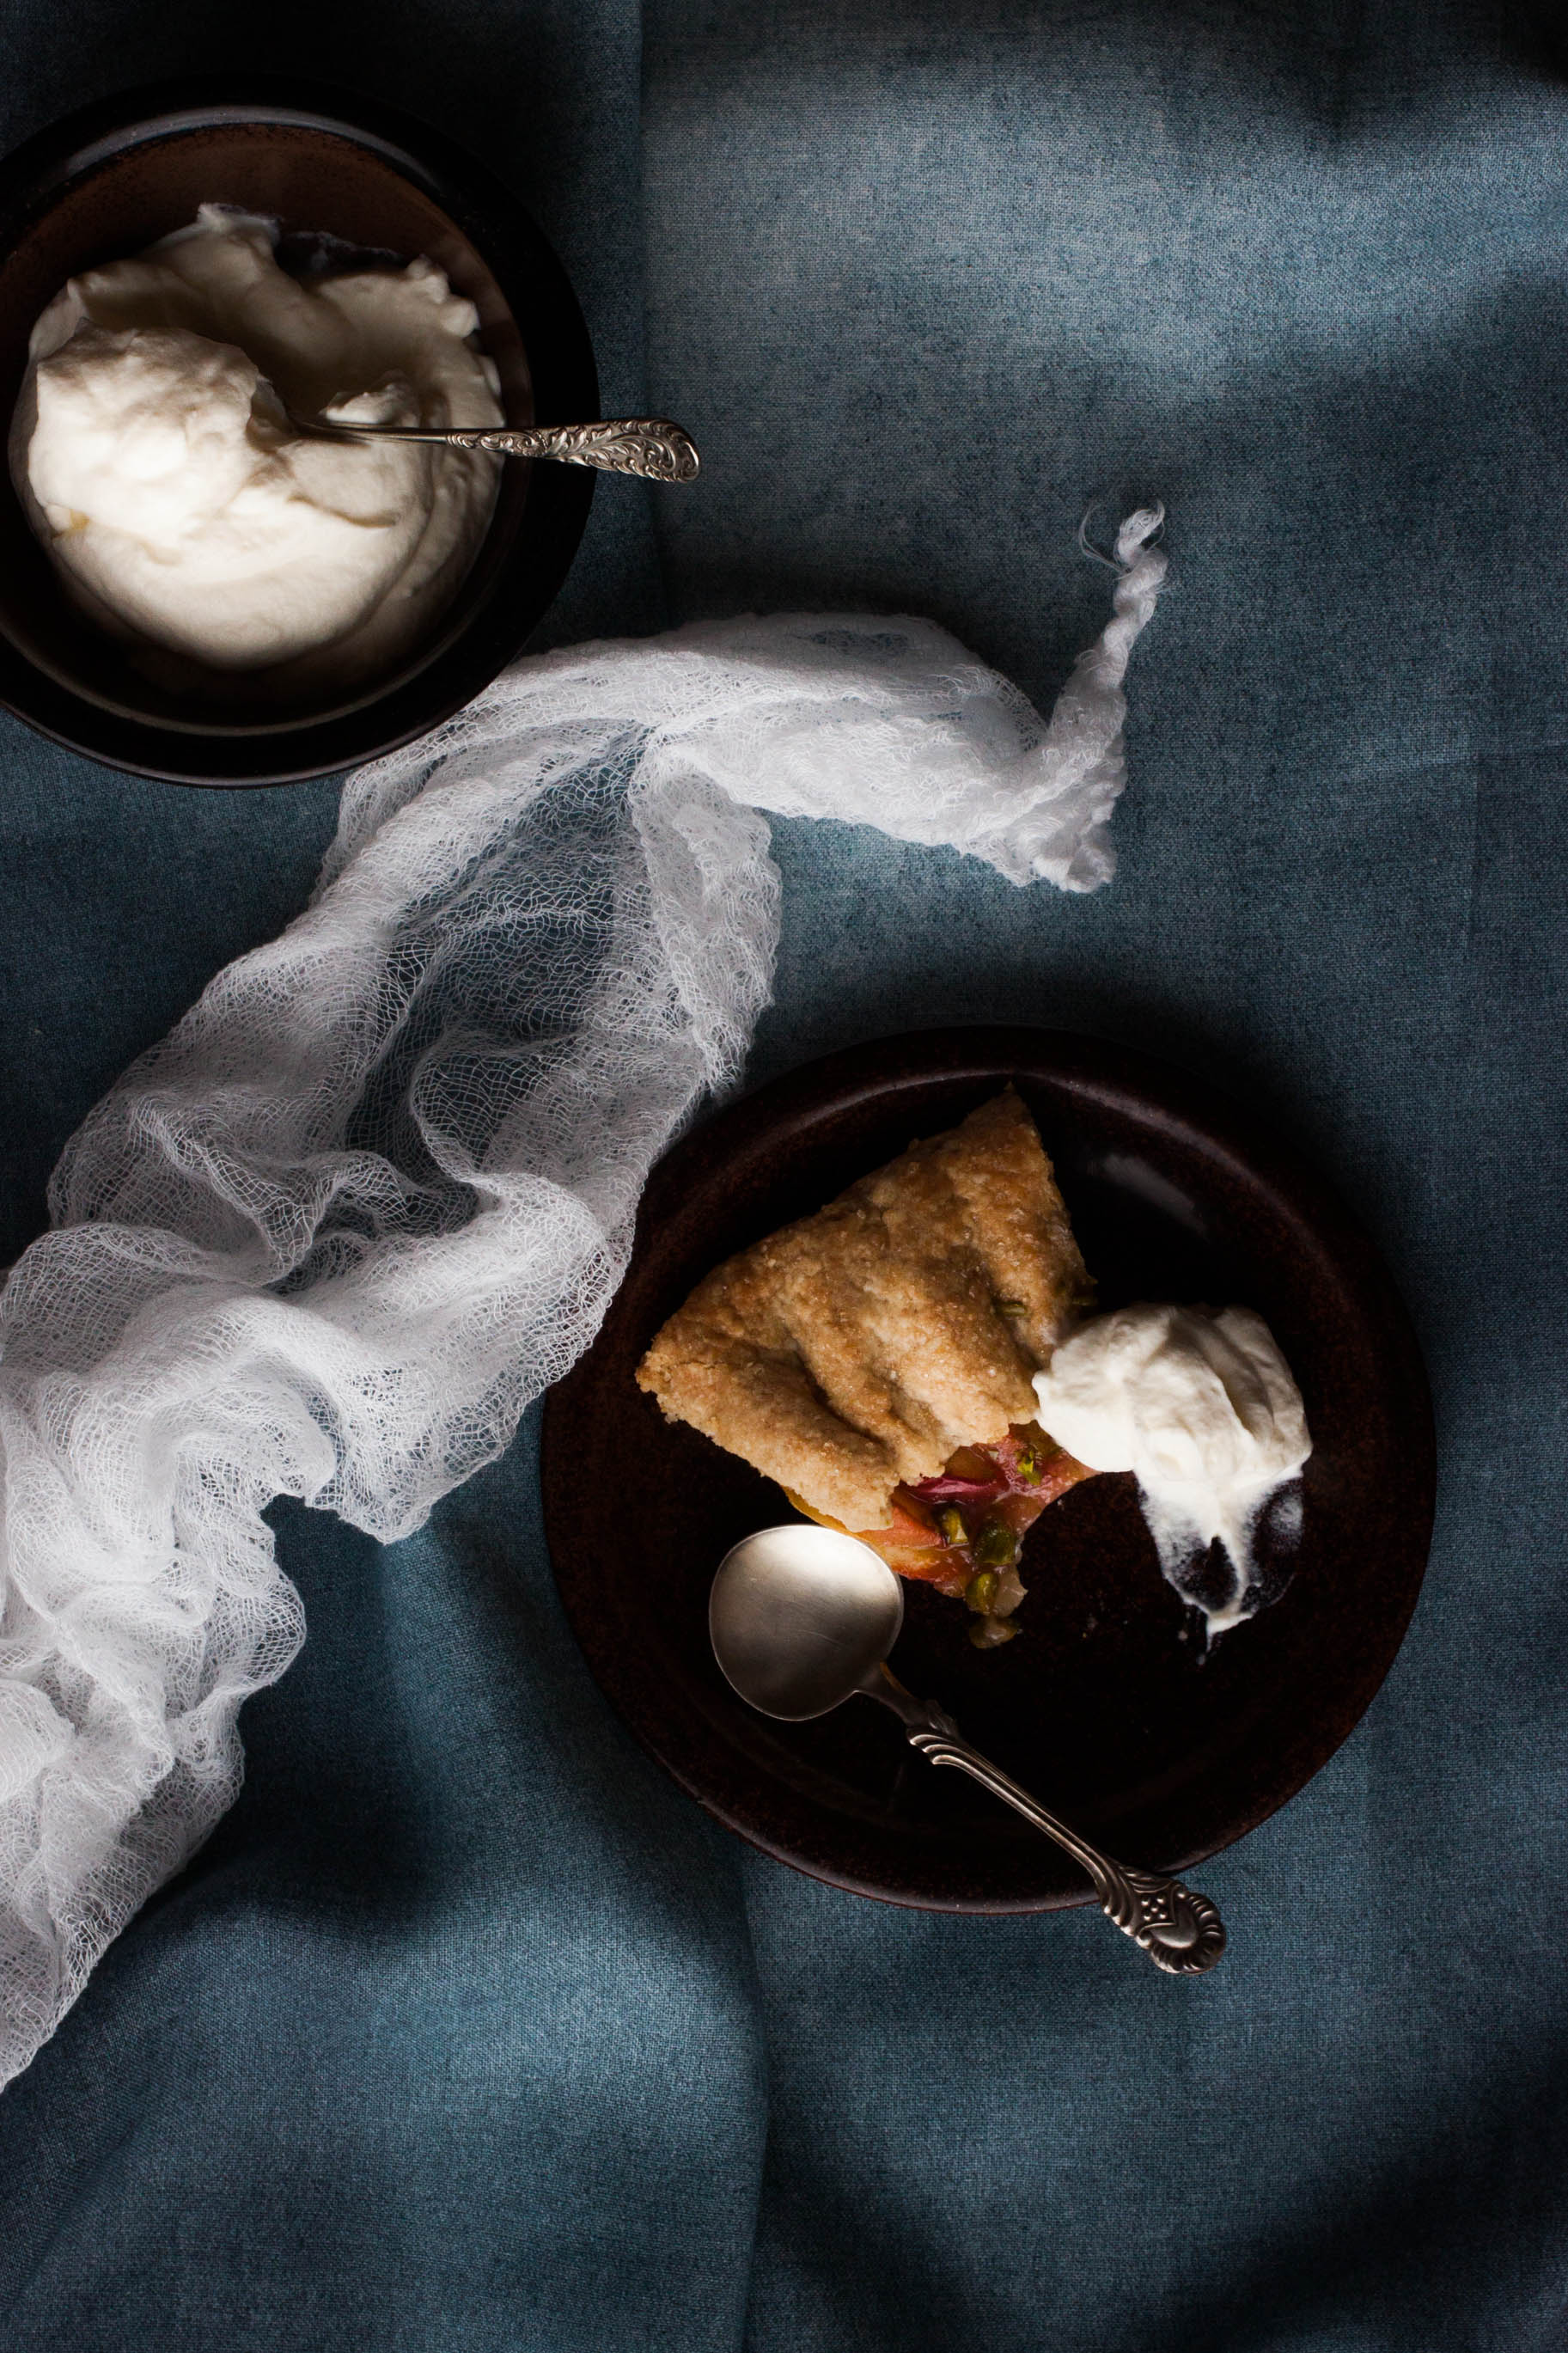
At least there are plums (not in the woods but anyway)! Those juicy, delicious fellas are always worth waiting for; Zwetschgendatschi, plums with portwine, Kaiserschmarrn with plum compote (I hope to share the recipe with you this fall/early winter), rice porridge with caramelized, cinnamon-spiced plums... Gosh, how I cherish this season! So today, I want to share a recipe that's close to my heart. This galette is a long-time favorite; I've baked it every year for at least a decade. I still remember how I used to come back home from school only to find leftovers on the kitchen counter. I would reheat a slice and enjoy it with a dollop of whipped cream. It's a simple galette with a short ingredient list and easy to follow steps. The taste, however, is decadent. It's the kind of recipe I come back to again and again, that I share with family and friends, and that will surely be handed down through generations.

Please feel free to share your favorite plum recipes in the comment section below! One can never have too many.

Plum Galettes | My Blue&White Kitchen

P.S. I did a fun interview with the German Food & Travel magazine Speisen + Reisen this summer. I feel honoured to be featured in a 4-page-long (!) article as well as being able to share 5 recipes. The issue is out now, so be sure to get your copy! *crazyhappy*


Plum Galettes

makes 6 small or 1 large galette

for the crust
220 g (4 dl; 1  cups) all-purpose flour + more to dust
1 large pinch of fine sea salt
2 tbsp granulated sugar
150 g cold, unsalted butter, cut into cubes
4 tbsp ice cold water

for the filling
400 g plums, cut into 6-8 wedges
45 g (½ dl; 3  tbsp) granulated sugar

powdered sugar, to finish
whipped cream or vanilla ice cream, to serve


To make the crust
In a medium-sized bowl, combine the flour, salt, and sugar. With your fingers, quickly rub the butter into the dry ingredients until well incorporated and crumbly. The dough should now resemble coarse bread crumbs with plenty of pea-sized pieces of butter remaining. Add water gradually just until the dough holds together when pinched. Work as fast as possible to avoid over-working the dough. Alternatively, you can make the dough with a pastry cutting tool or in a food processor.

Form the dough into a disk and wrap in plastic. Refrigerate for at least an hour.


To assemble and bake
Preheat the oven to 180°C (355°F). Line a baking sheet with parchment paper. Set aside.

Lightly dust the chilled dough with flour. If you're making small galettes, cut the dough into 6 equally-sized portions. Roll the dough out on a well-floured work surface into about 3 mm (0.1") thick circles. If the dough cracks, don't worry; just pinch it back together. Transfer to the prepared baking sheet. Arrange the plum wedges in the centre and be sure to leave a 4–5cm (1.5–2") border. Fold up the edges.

Bake on the middle rack for about 40 minutes, or until edges are golden brown and the filling bubbles.

Dust with powdered sugar and serve warm or at room temperature with whipped cream or vanilla ice cream. I always reheat any leftovers; the flavors are so much better and the galette seems to simply melt in your mouth.


Plum Galettes | My Blue&White Kitchen

Related Posts

Zwetschgendatschi – German Plum Sheet Cake

Zwetschgendatschi | My Blue&White Kitchen

+++
When I bake, my mind finds peace.
+++

There's something about baking that calms me down even when my mind tries vigorously to solve out things that aren't really ones it can solve. Maybe it has to do with the familiar ritual of measuring flour, butter, and sugar. Maybe it's the rhythmical pace of kneading dough. Baking calms me down like nothing else, gives me comfort, makes me feel whole again. Whether in moments of pure joy or of sadness, you can find me in the kitchen with a bowl in my hands and flour in my hair.

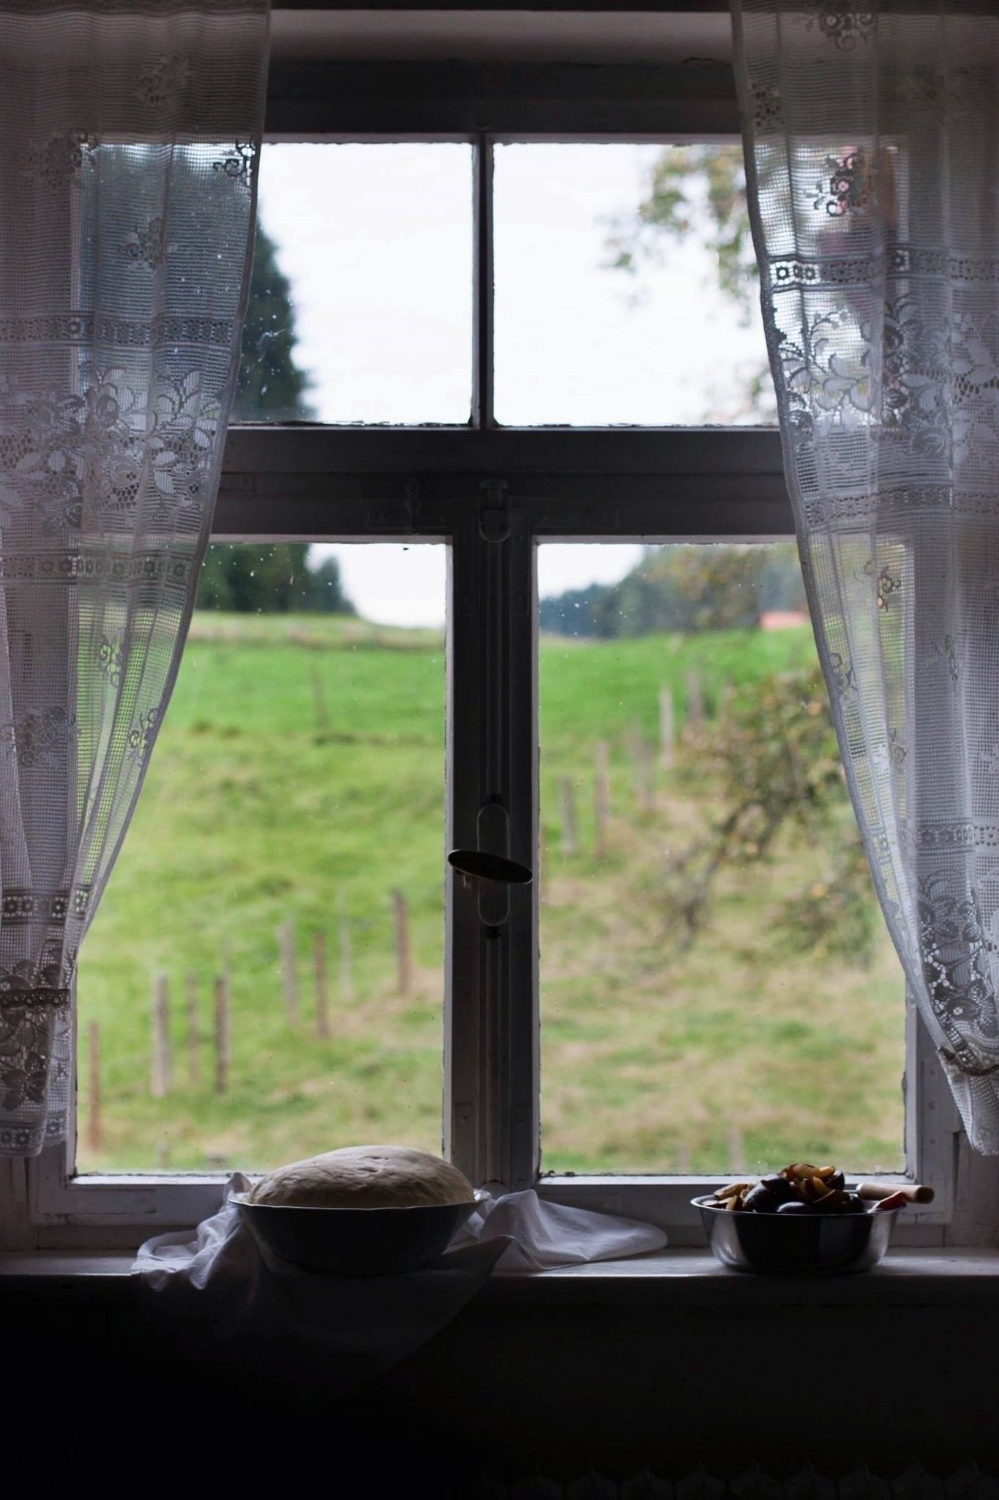
I'm back at my most favorite kitchen window, my favorite spot to bake and take pictures. I'm kneading dough and quartering plums while enjoying the beautiful scenery; alps and cows. The light is, again, magical. Soft, clean, and welcoming. Perfect.

Zwetschgendatschi | My Blue&White Kitchen

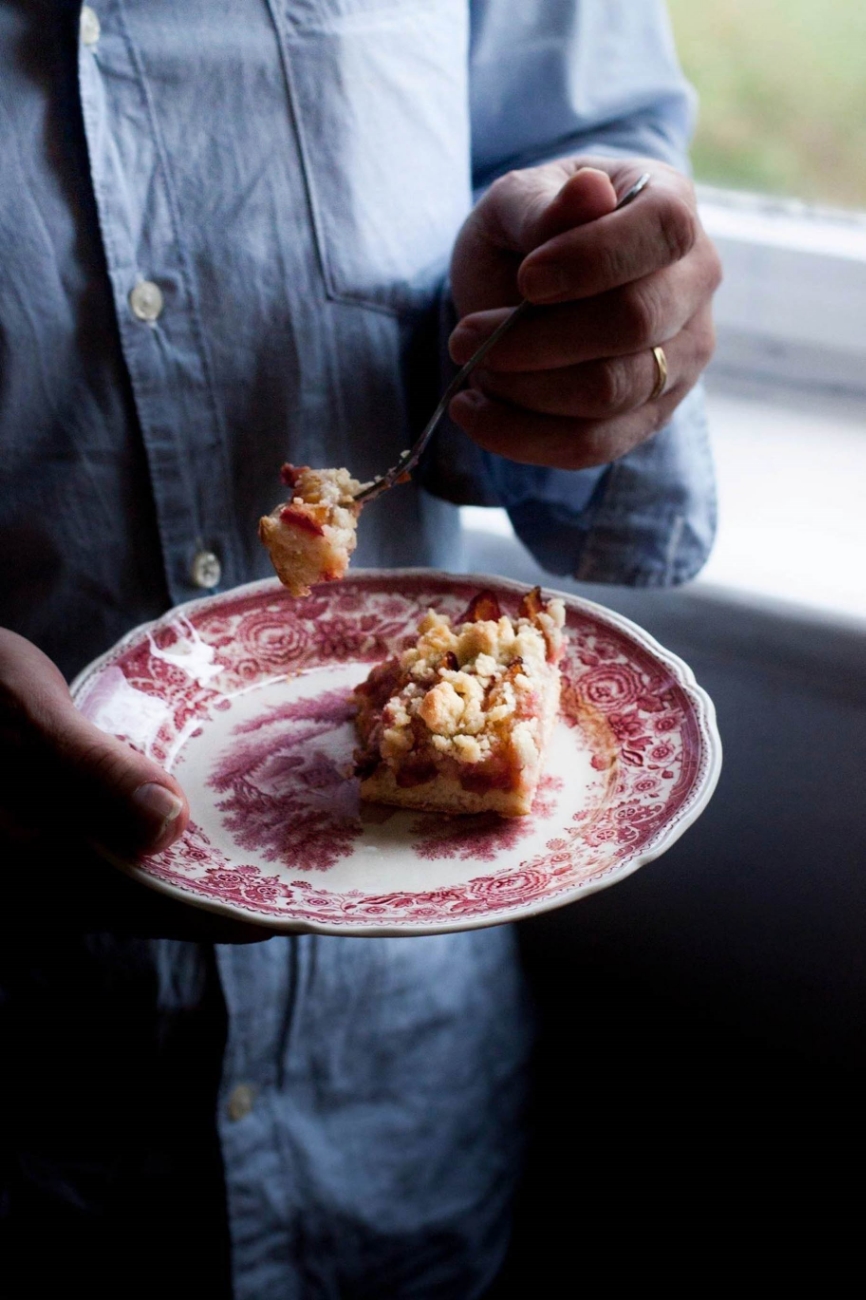
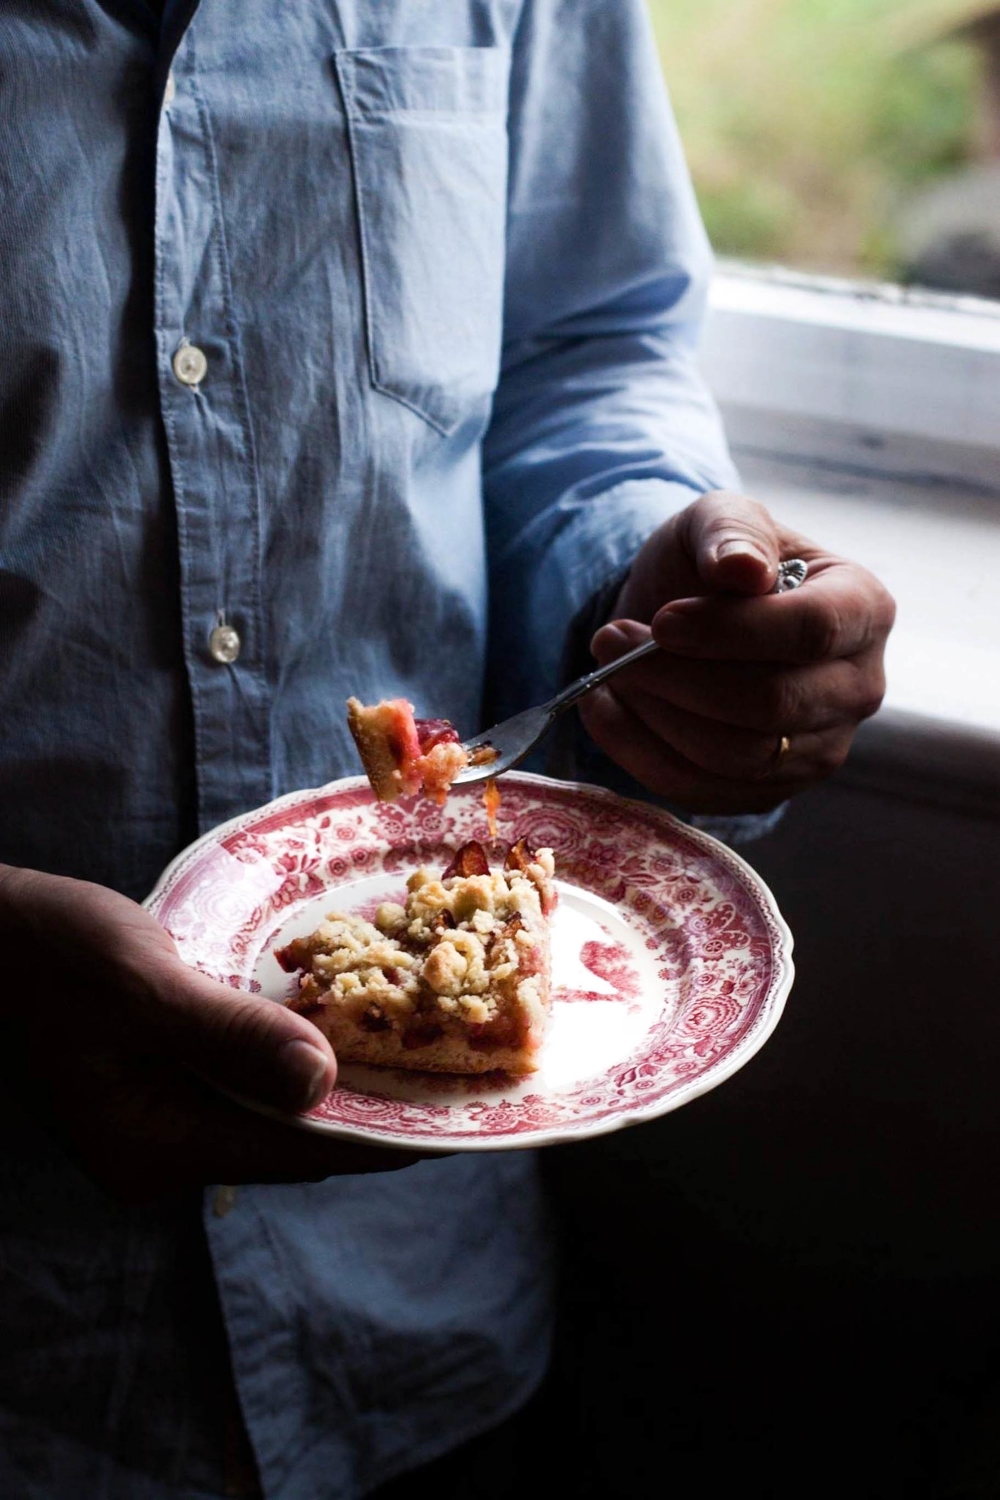
Prune plums, called Zwetschgen here, are in season from August to September. They are used to make one of my most favorite cakes, Zwetschgendatschi, a traditional plum sheet cake that is topped with lots of streusel or sliced almonds. I belong to that range of people who always choose a slice with streusel; maybe it's because my beloved late Oma made it that way. A generous dollop of whipped cream is almost mandatory, although, to be honest with you I was too lazy to whip cream this time, so I enjoyed the Zwetschgendatschi plain. And you know what? It was luscious.

This cake is basically the best thing you can do when you spot gorgeous prune plums at the farmers' market or have some sitting on your kitchen counter waiting for their destiny.


Zwetschgendatschi – German Plum Sheet Cake


The recipe yields one large sheet and is adapted from a handwritten note my Oma has given me years ago. It tastes just like hers did. This is not just a cake; it's an ode to her.

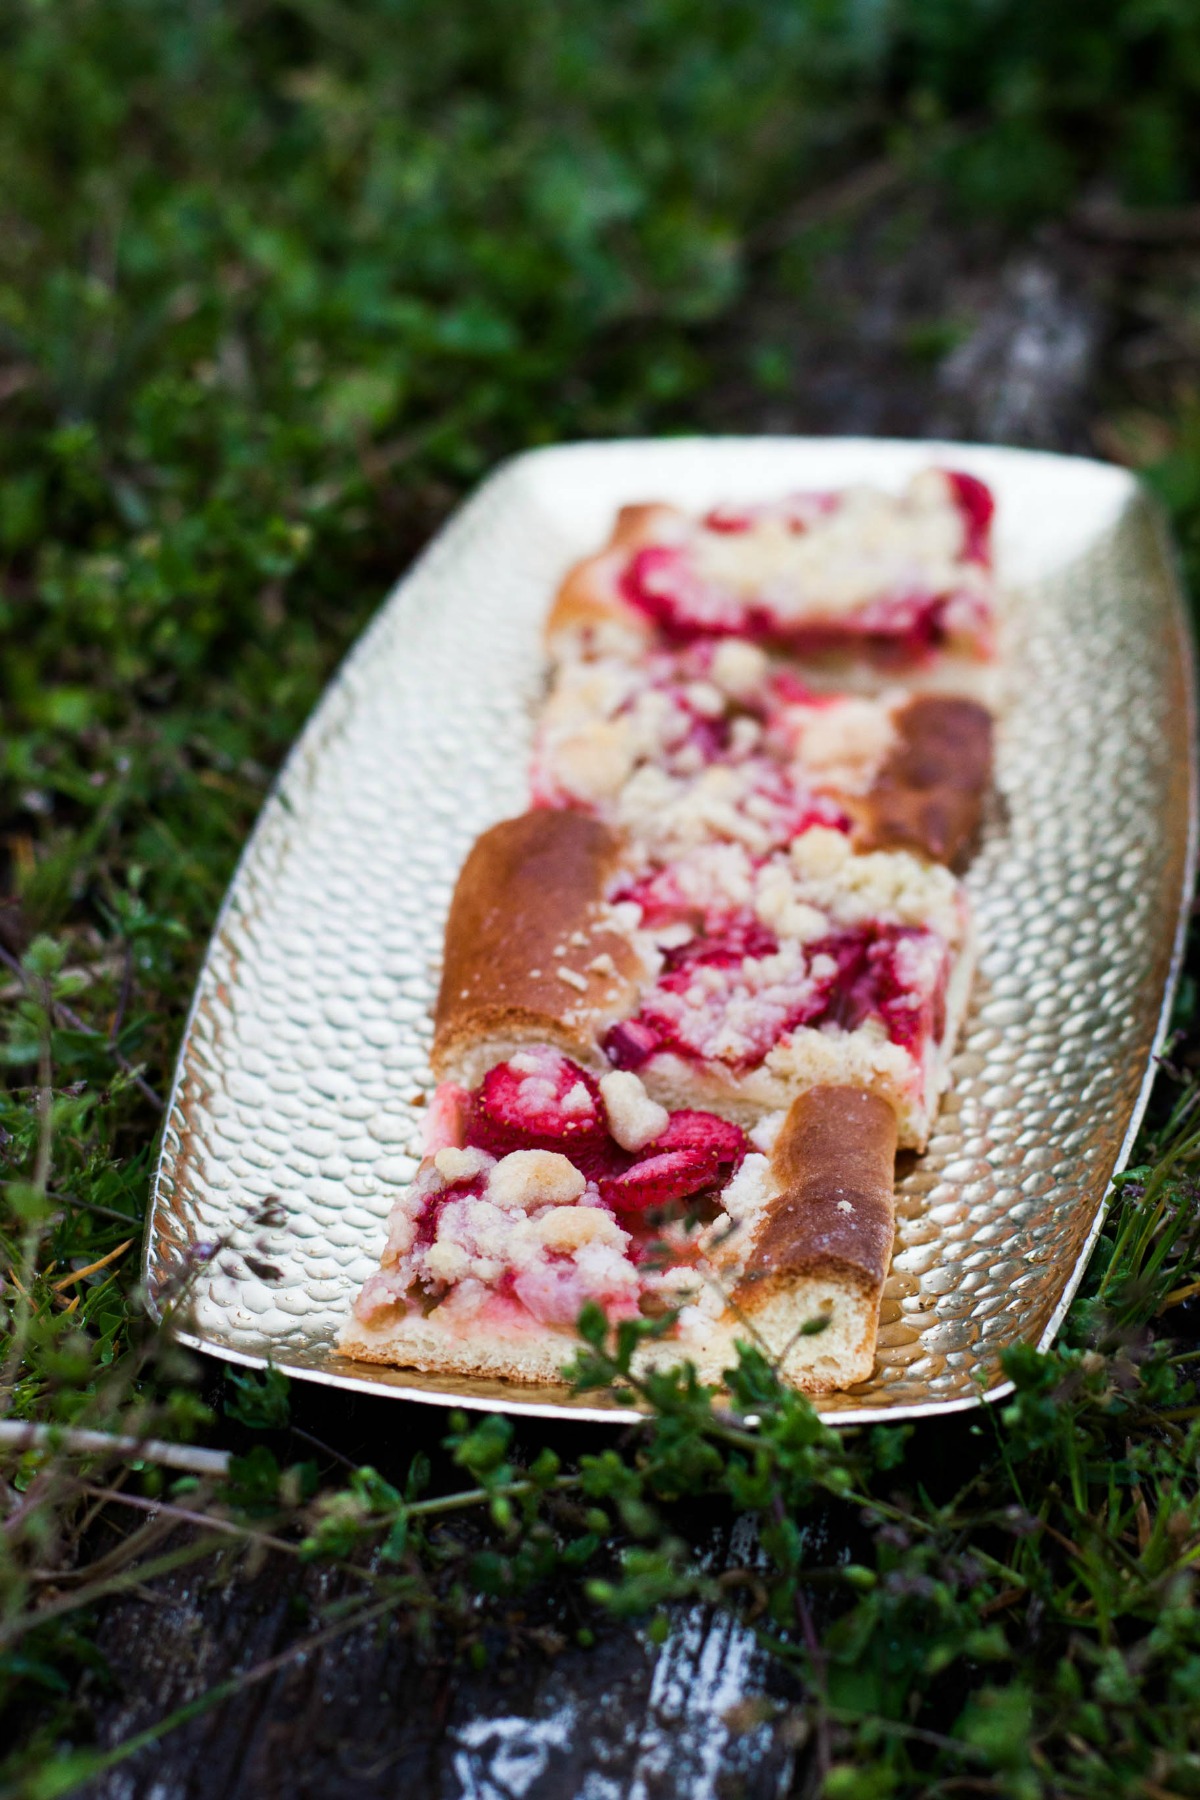
If you prefer a thinner crust, make the dough I used in this Rhubarb Strawberry Datschi – the result will be a more sophisticated, delicate Datschi with a higher fruit to crust ratio.

for the dough
250 ml (1 cup) lukewarm milk
21 g fresh yeast [or 7 g / 2 ¼ tsp (instant) active dry yeast, used according to packet instructions]
66 g (5 tbsp) granulated sugar
1 pinch of fine sea salt
1 tbsp vegetable oil, such as canola or olive oil
2 eggs (European size M; U.S. L) OR 1 egg (European size L; U.S. XL), at room temperature
500 g all-purpose flour

for the streusel
230 g all-purpose flour
125 g granulated sugar
pinch of fine sea salt
125 g unsalted butter

for the topping
1 kg (generous 2 lb) Zwetschgen (prune plums) or damson plums, quartered
2 tbsp granulated sugar
cinnamon

optional:
whipped cream, to serve


To make the dough
In a medium-sized bowl, combine milk and crumbled yeast. [If using instant active dry yeast, skip this step. Combine yeast with some flour and add to warm, about 42°C / 108°F, milk mixture just before adding the rest of the flour.] Stir until yeast is completely dissolved. Add sugar, salt, oil, and eggs. Whisk until combined. Gradually add flour and knead. Continue to knead and add flour until the dough comes clean off the sides of the bowl and doesn't stick to your hands. Note: You can make the dough in a stand mixer if you prefer.

Shape into a ball and cover with a clean kitchen towel. Let the dough rise in a warm place for about 1 hour, or until it's almost double in size.

Meanwhile, preheat the oven to 180°C / 355°F. Line a rimmed baking sheet with parchment paper.


To make the streusel
In a small bowl, combine flour, sugar, salt, and butter until you have a crumbly mixture. If not using immediately, put the bowl into the fridge until ready to use.


To assemble the Datschi
With a rolling pin, roll out the dough until roughly the size of the baking sheet. Spread out on the prepared baking sheet and pull into shape. Arrange the plum quarters in slightly overlapping rows (tightly and cut side up) over the dough. Leave a rim of about 1 cm / 0.5". Sprinkle with sugar and some cinnamon. Sprinkle the streusel over the fruit.

Bake for 25–30 minutes, or until the edges are dark brown. Let cool, cut into squares, and, if you like, serve with a generous dollop of whipped cream.

The Datschi will keep for up to 3 days and is, in my opinion, at its best on the second day when the flavors have developed.


Zwetschgendatschi | My Blue&White Kitchen

Related posts

A Thunderstorm & Redcurrant Buttermilk Cake

You know when you laugh so hard that you eventually can't breathe anymore and every single muscle in your body seems to hurt? Yes, that happened multiple times during last weekend. I don't think I've laughed so much and wholeheartedly in a while. I think I've never stared at the night sky for several hours in a row. Seriously, when was the last time you gazed at bright stars and spotted shooting stars and satellites? Promise me you'll do that. It's epic.

I spent last weekend in the Finnish archipelago where we threw a bachelorette party for my dear friend. I was so exhausted after those three days...okay, a total understatement. I actually think that my IQ was below zero for several days after I came back home. Not because of alcohol but simply due to emotional and physical exhaustion. Maybe I still haven't fully recovered, so I'll just start talking about today's recipe which is one I connect many childhood memories with.
Redcurrant Buttermilk Cake | My Blue&White Kitchen

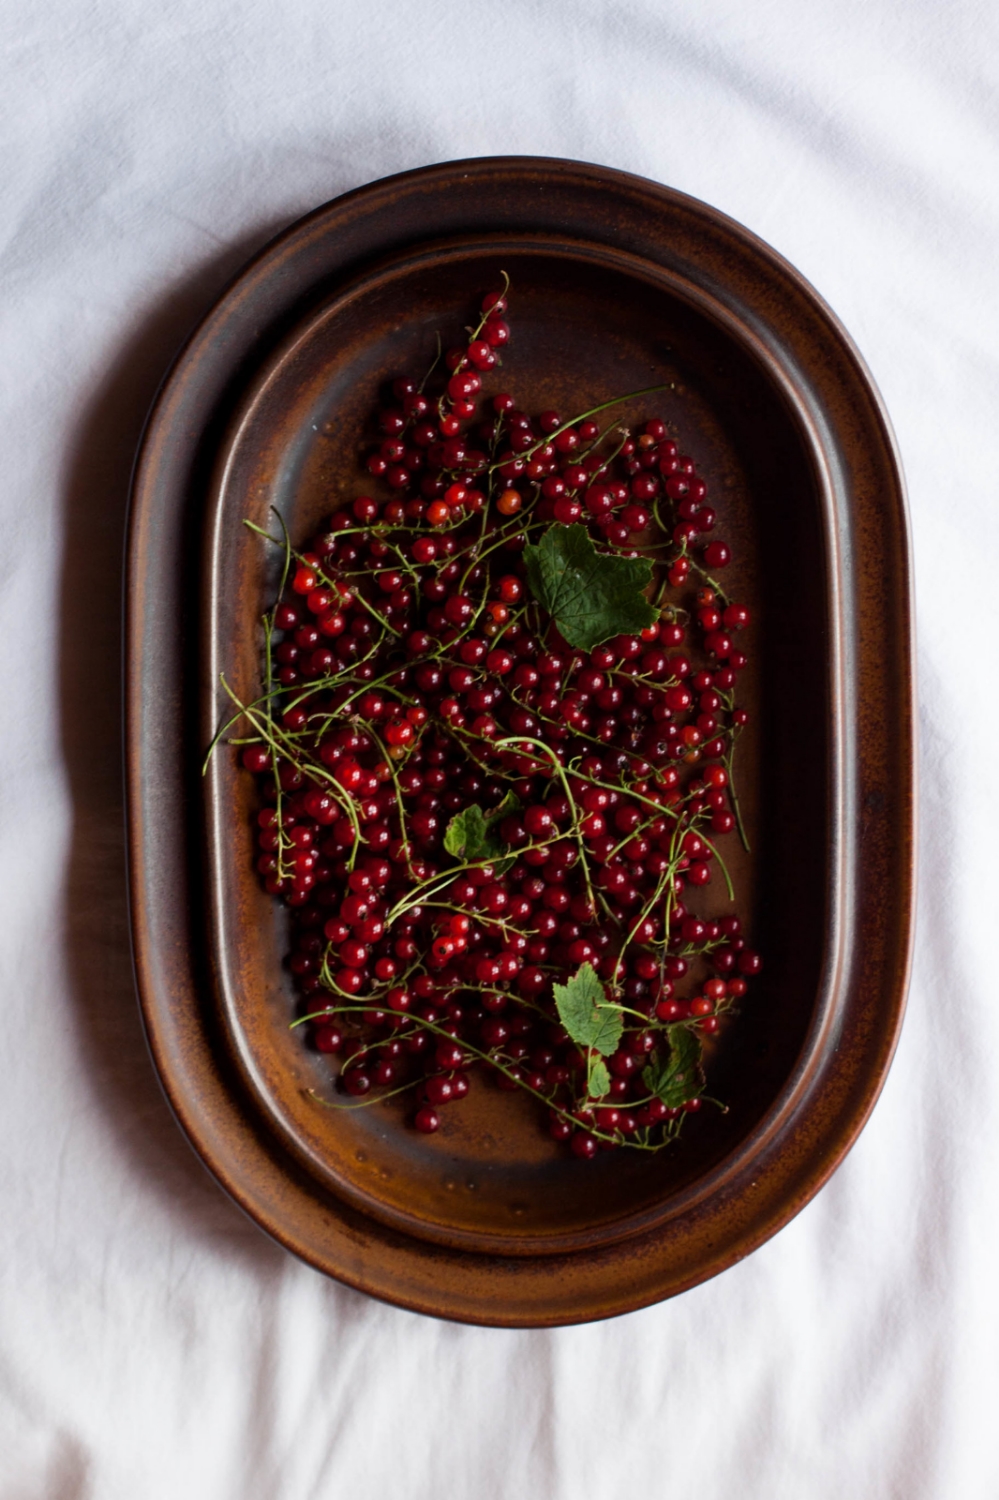
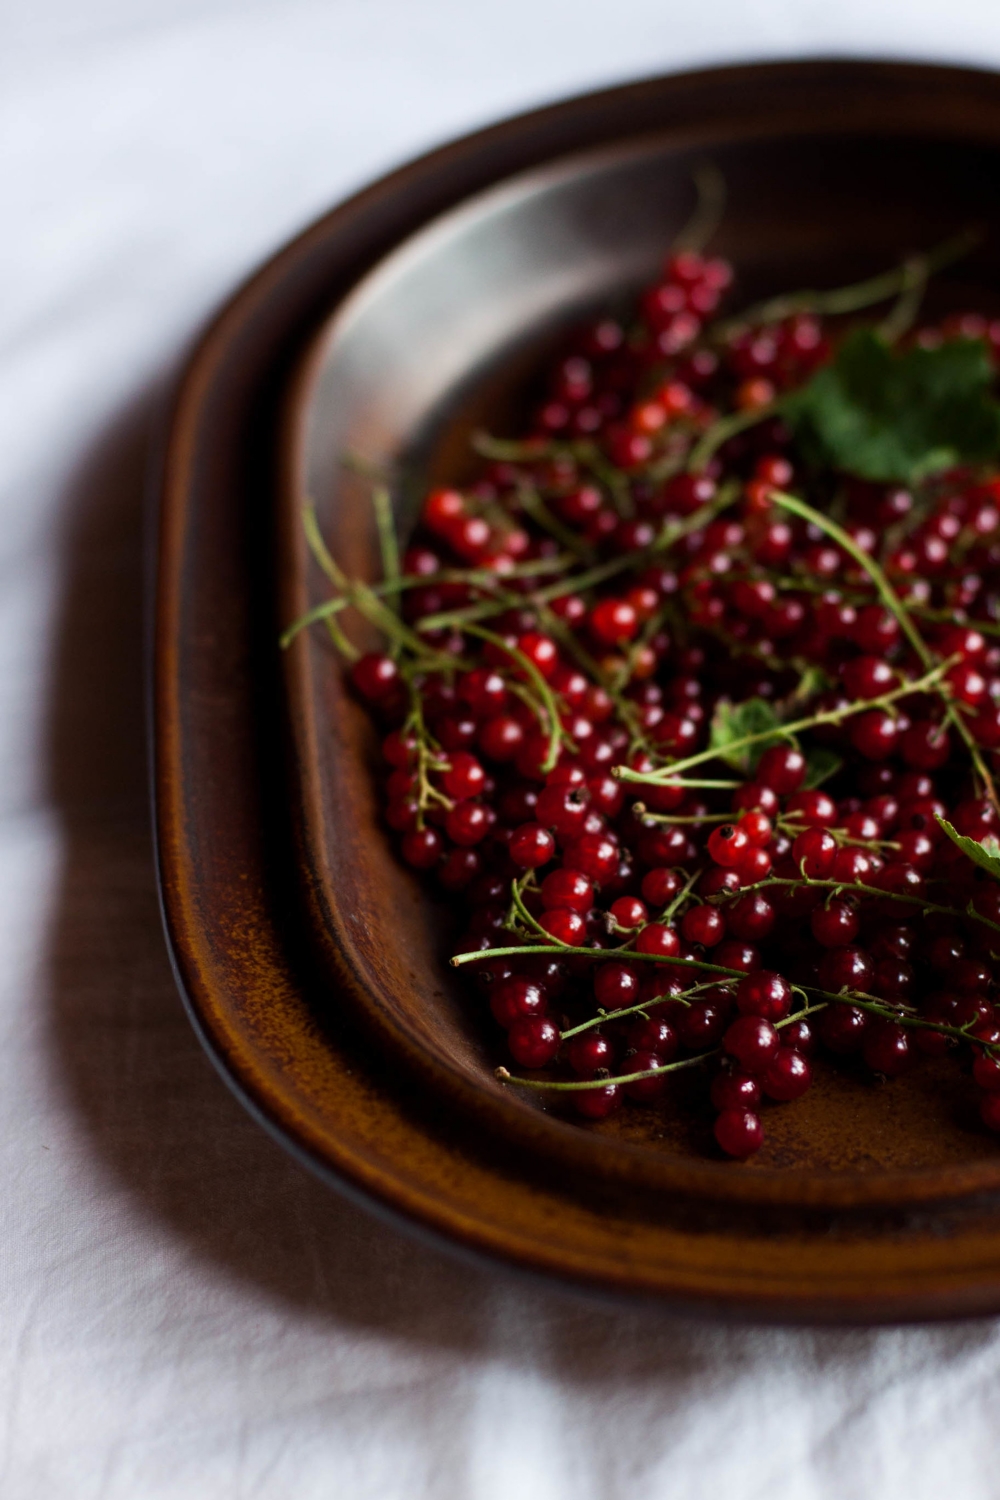
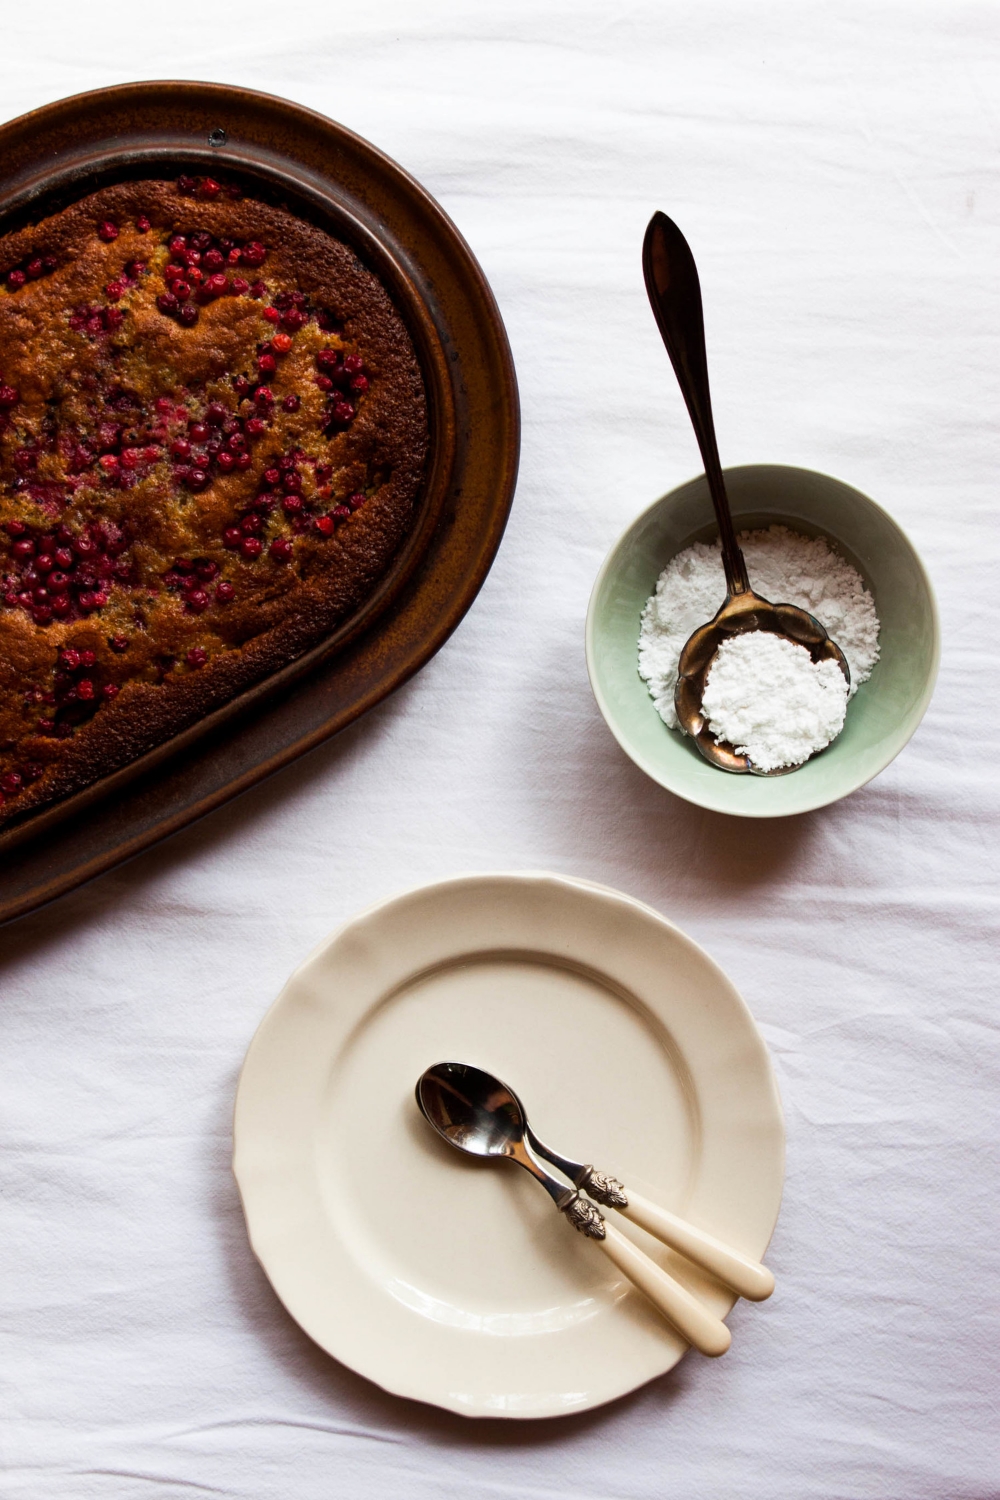
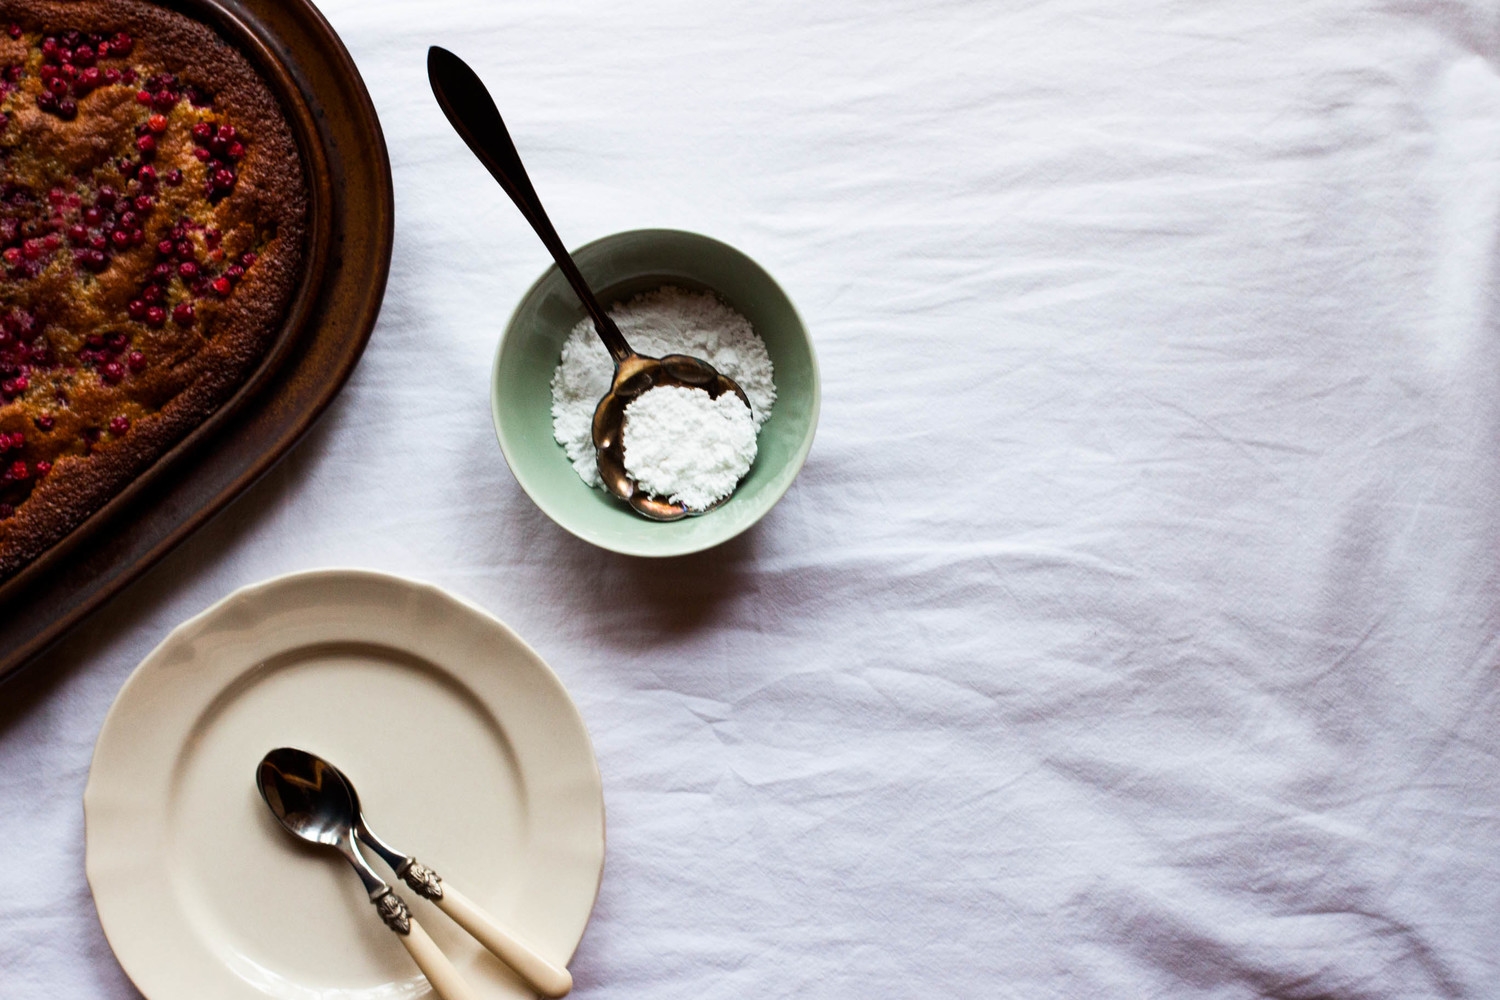
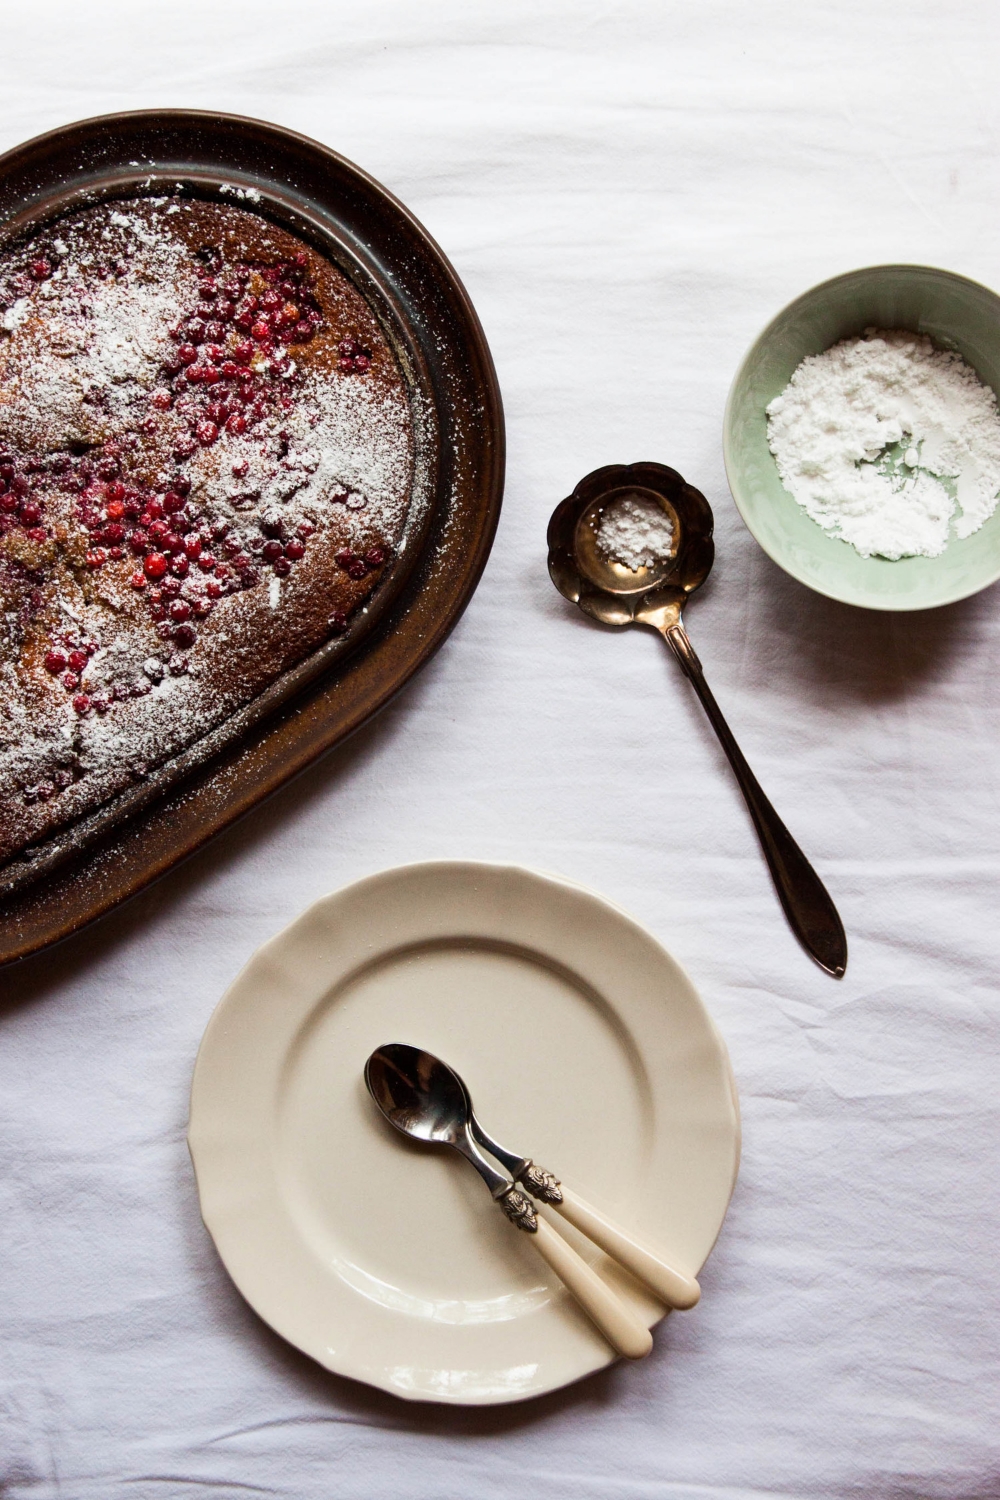
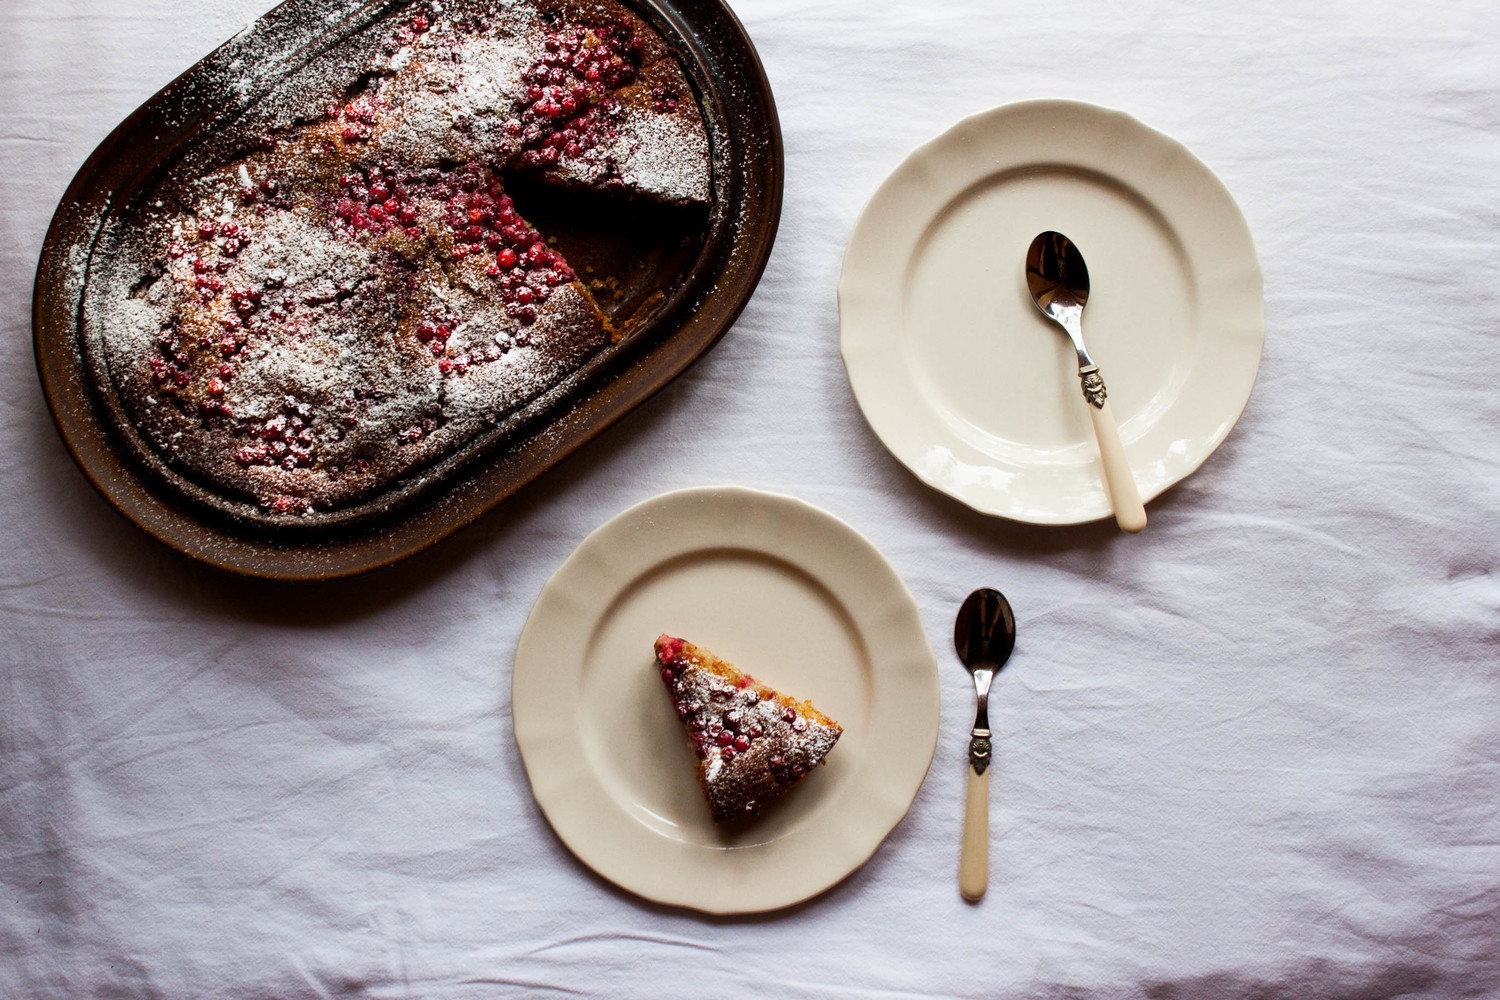
The cake I share with you today is one my mom used to make when I was a kid. It's actually one of the most traditional berry cakes here in Finland. I made it with redcurrants because I had a bunch of them at hand after a recent berry picking trip. Also, I think that this batter works best with tart berries or fruit due to its relative sweetness. You could, however, substitute currants with blueberries or other fruit of your choice. The cake is moist and sweet, the currants add a wonderful tartness to it, and as it bakes, a lovely dark crust forms thanks to the buttermilk. The cake is a real no-brainer and I'm pretty confident you could even make this with an IQ below zero. Just mix everything together (according to my mom it's irrelevant in which order; just make sure everything is incorporated) and scatter the berries over, bake, done.

I shot these pics right before this summer's worst thunderstorm. It was a stormy day, and I actually thought twice before I found the courage to bake the cake despite the weather forecast. The worst scenario in my head: thunderstorm hitting, power cut, and the cake still baking in the oven = disaster. However, I succeeded to bake the cake (while constantly tracking weather forecasts) and shot it in the doorway cause that basically was the place with the best light source. So there I stood with a camera in my hands and the door wide open while the storm was building up outside. I really had not much styling in my head; I just wanted to get some shots before the skies opened up. These may not be the best pictures but I like them anyway simply because I'll always recognize the moment they were taken in.

The thunderstorm eventually hit, but luckily we (including the cake) were all doing fine. I sat in the dark cottage with all lights and electrical devices turned off and silently ate my cake while gazing out the window. Happy face.


Redcurrant Buttermilk Cake

makes 1 sheet cake

The cake is usually made as a sheet cake, but to make a cake as seen in the pictures just halve the recipe and bake in a cake pan (I used a shallow 28 cm / 11" to 17 cm / 7" pan). Note that the berries must be dried carefully to prevent them from sinking to the bottom while baking. If your berries are really juicy and you feel nervous about them, simply toss the berries in some flour or potato starch to give them a light coating before sprinkling them on top of the cake. The flour/starch will absorb the potential liquid and keep the berries from sinking.

100 g (1 ½ dl; cup) graham flour
290 g (5 dl + 2 tbsp; 2 cups + 4 tbsp) all-purpose flour
2 tsp baking powder
1 tsp baking soda
pinch of salt
4 ½ dl (1 ¾ cups + 2 ⅓ tbsp) buttermilk (if you are in Scandinavia, you can use filmjölk instead or make your own buttermilk)
150 g unsalted butter, melted
350 g (4 dl; 1 ⅔ cups) granulated sugar
1 tsp vanilla paste (or 1 vanilla bean, split open & seeds scraped out)
2 eggs (M)

~ 600 g (~ 1 ½ lb) redcurrants, cleaned & dried carefully

powdered sugar, to dust

optional: vanilla ice cream, to serve


Preheat the oven to 250°C (475°F). Line a deep baking sheet with parchment paper.

In a small bowl, combine the flours, baking powder, baking soda, and salt. Set aside. In a medium-sized bowl mix together the buttermilk, melted butter, sugar, vanilla paste, and eggs. Add the dry ingredients and whisk until combined. Let the batter sit for about 5 minutes.

Pour the batter into the baking dish and top with the redcurrants. Bake on the middle rack for 20 to 30 minutes, or until deep brown in color. Let cool a bit and dust with powdered sugar. Enjoy warm or at room temperature plain or with a scoop of vanilla ice cream. The cake will keep for up to two days.


Redcurrant Buttermilk Cake | My Blue&White Kitchen

Related posts

Toscakaka – Nordic Caramel Almond Cake

Toscakaka − Nordic Caramel Almond Cake | my blue&white kitchen

Drumroll, please... My summer vacation started this week! Wohooo! I still can't get my head around the fact that someone is actually paying me for doing nothing. So for the next 4 weeks I get paid for sleeping in, eating strawberries and fresh peas by the handful, hanging out with friends and family, spending way too much time watching music videos like this one, staining my hands with the sweet juices of cherries, chatting with the lovely lady at the farmers' market, sitting on the porch enjoying a glass of chilled rosé, and watching the World Cup every single night. Absolutely no complaints.

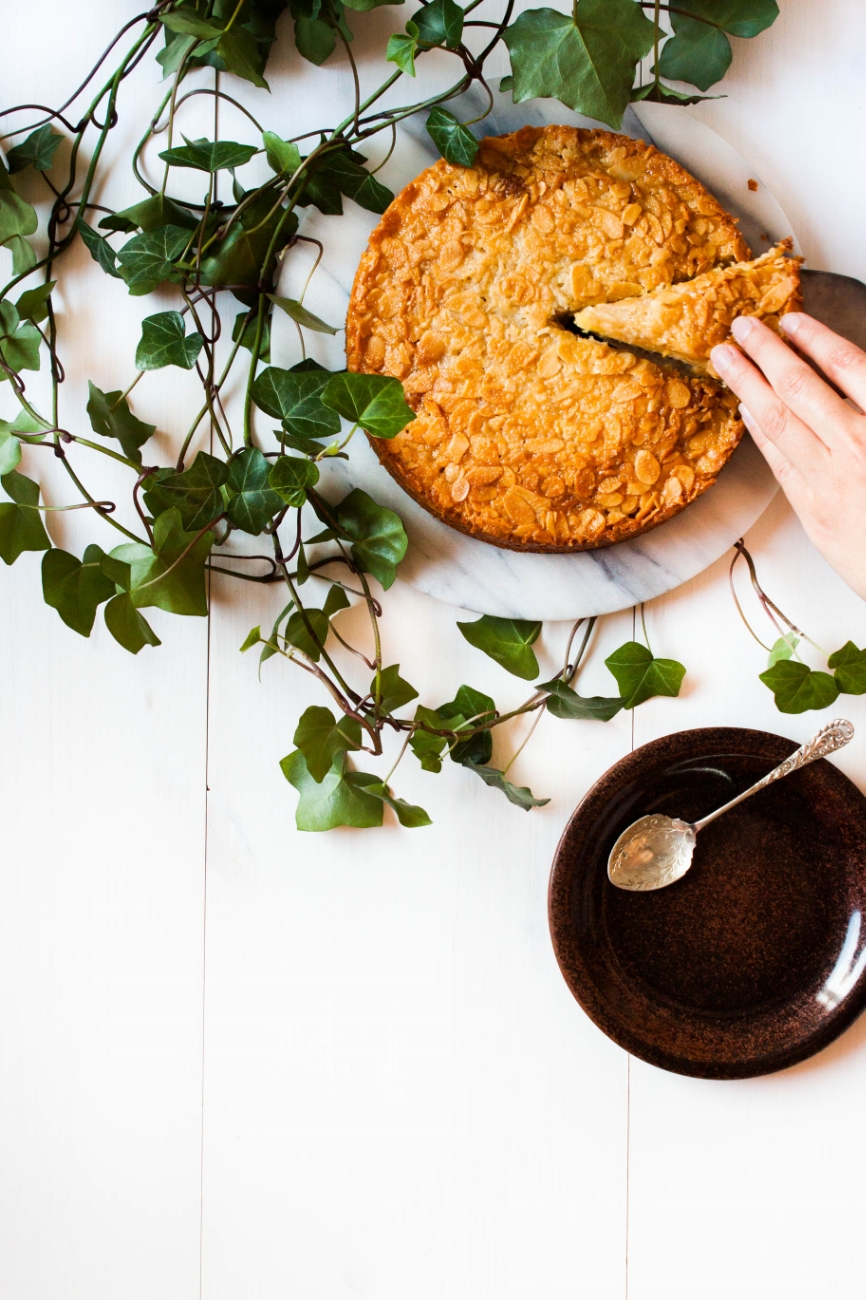
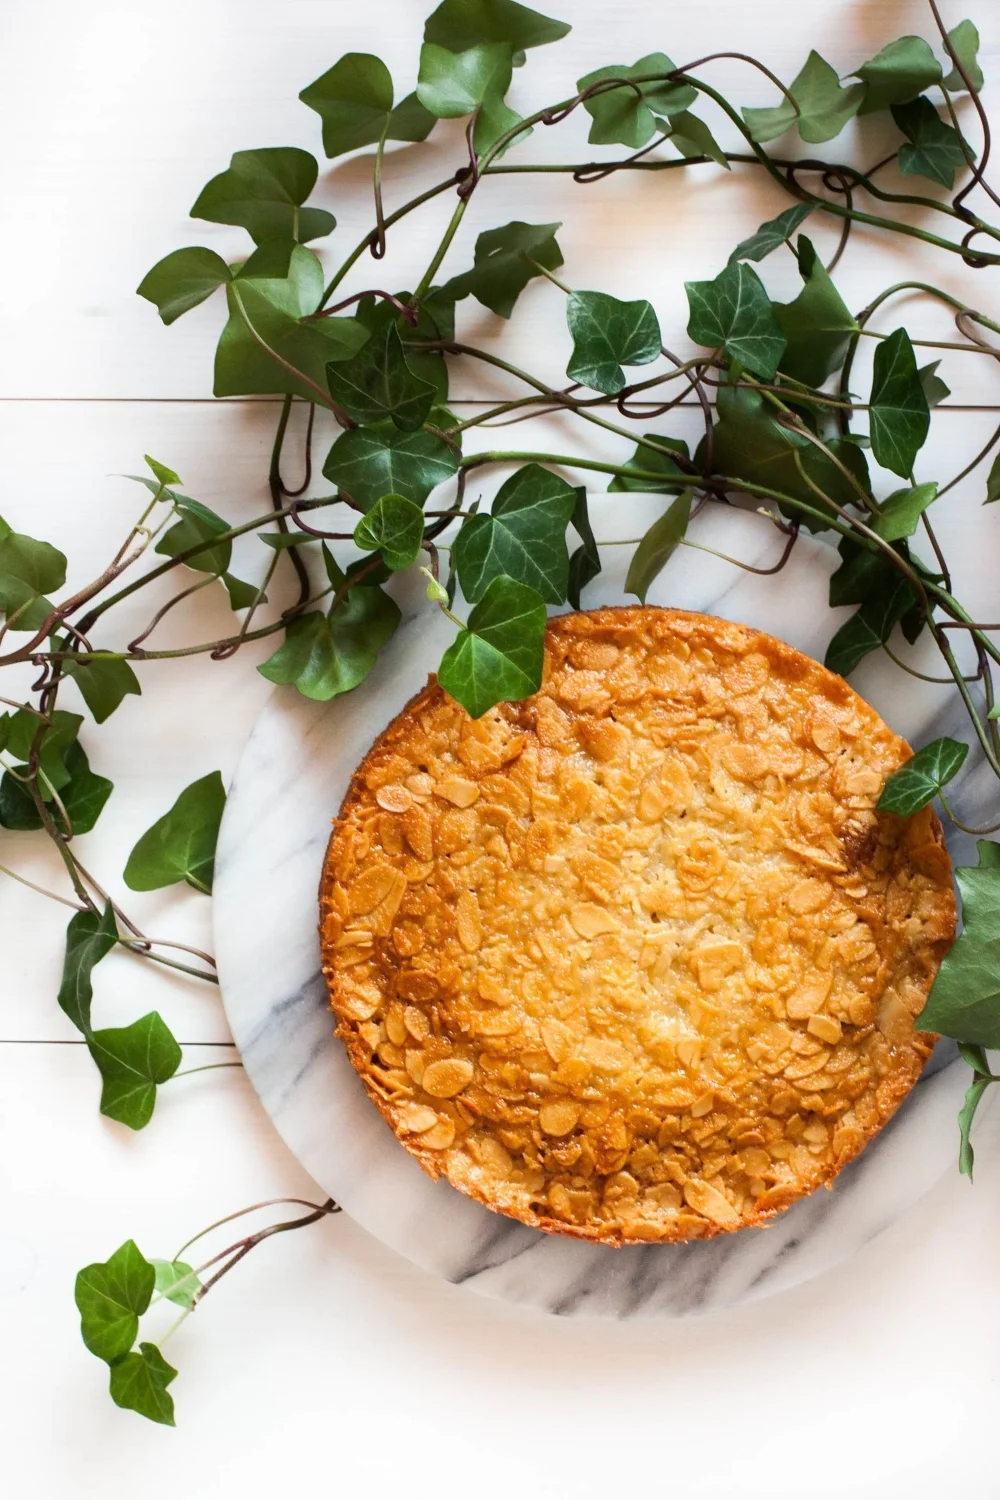
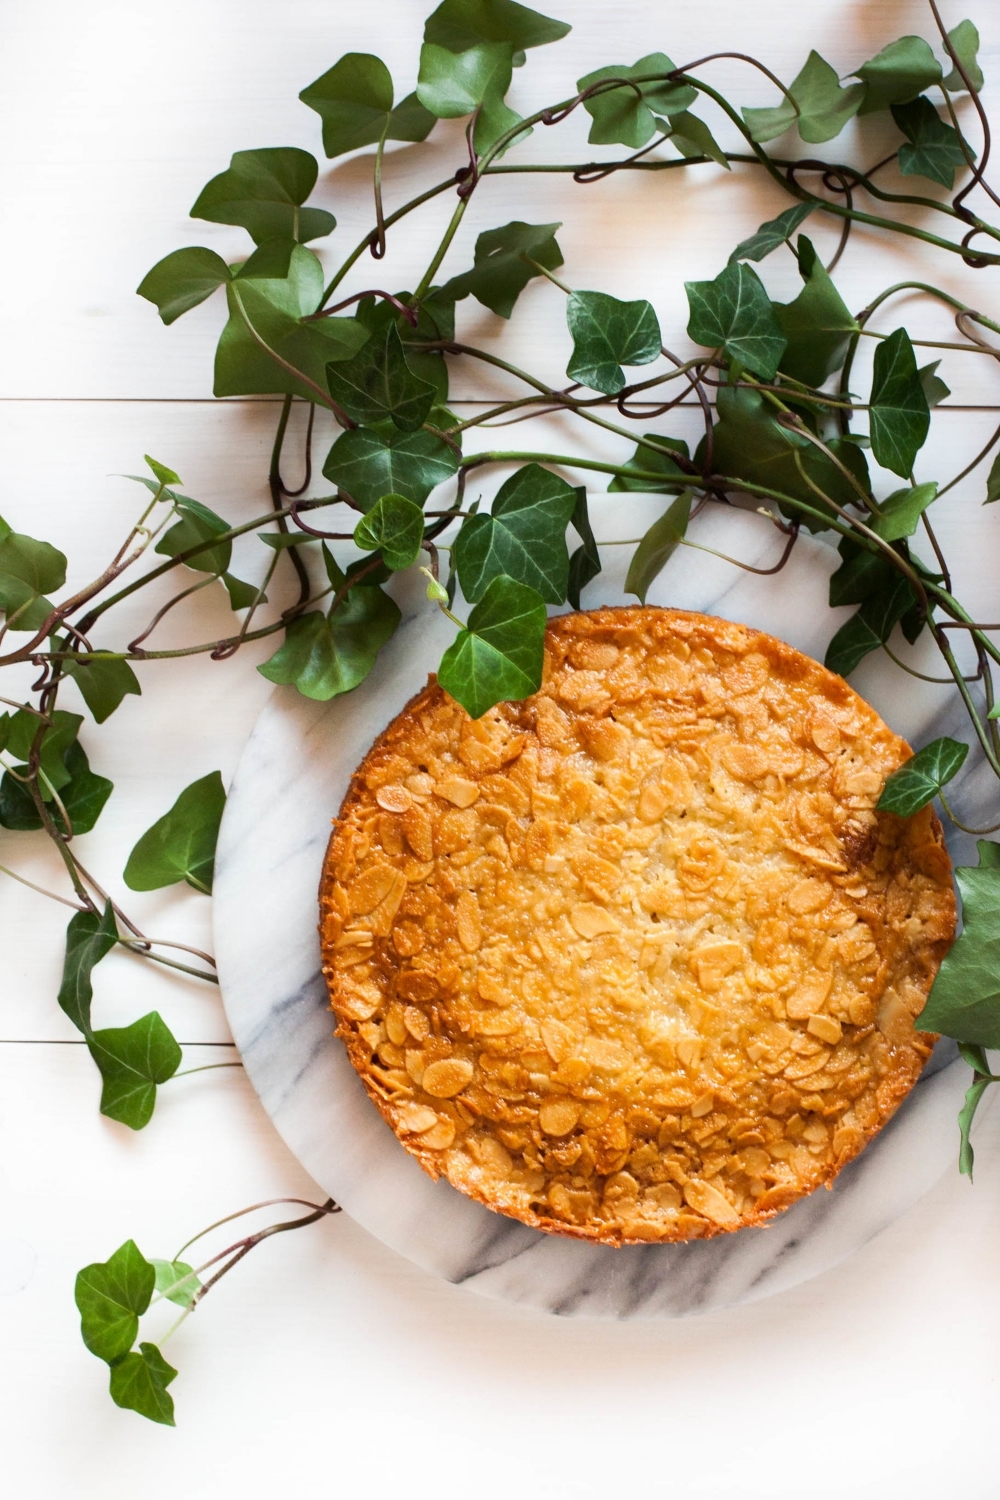
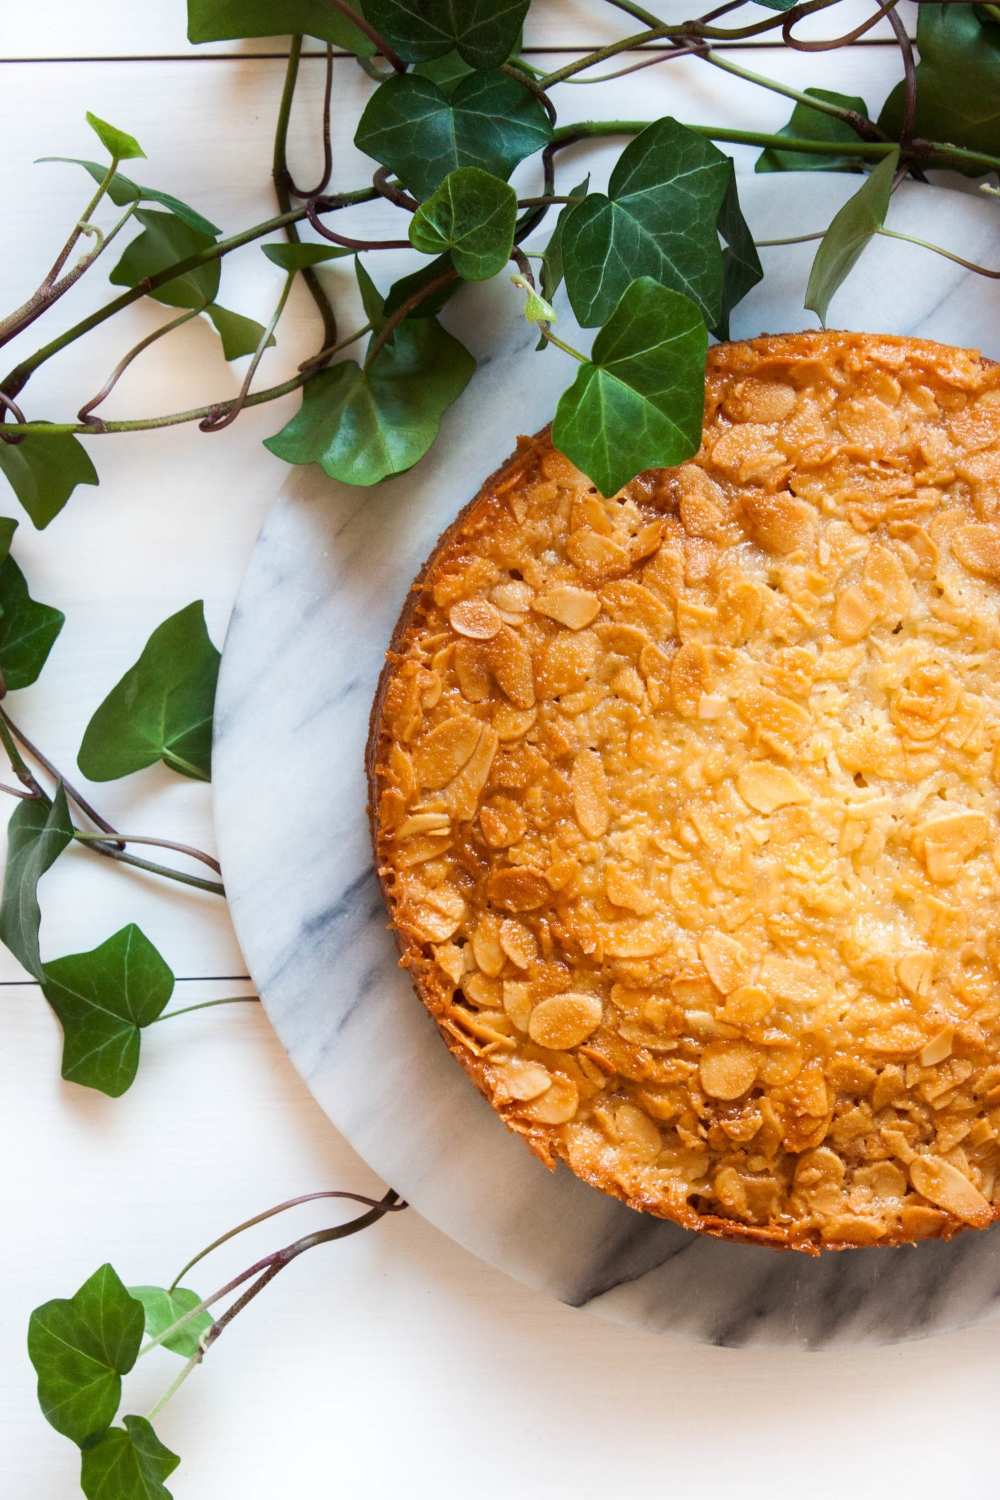
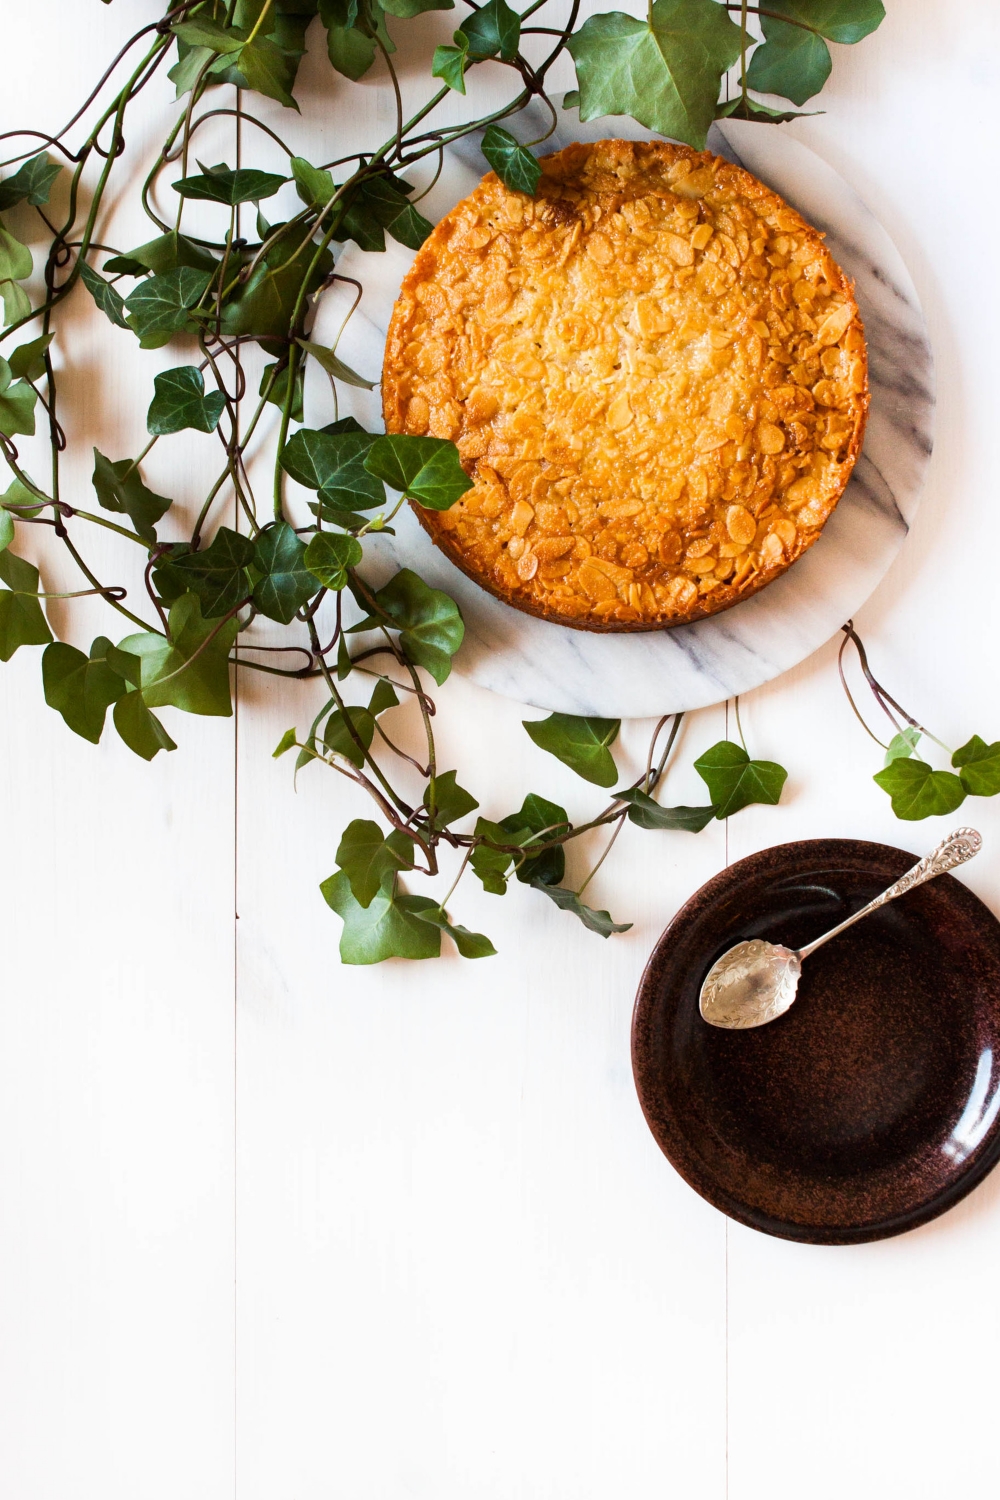
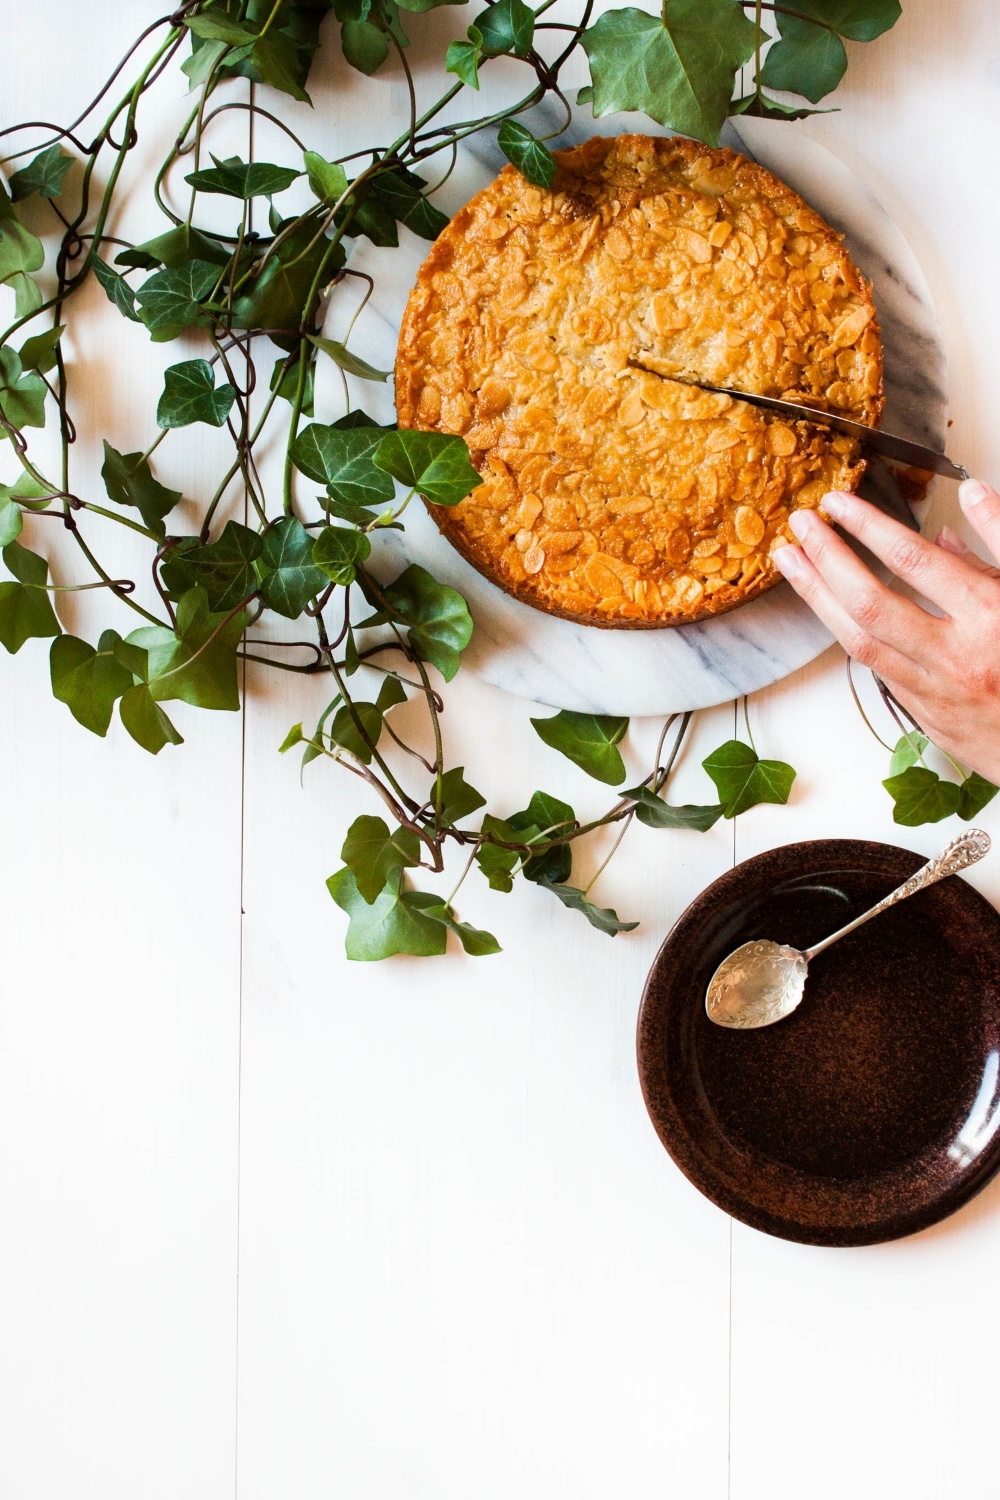
This occasion definitely calls for cake. So how about toscakaka? It's basically a classic pound cake topped with one giant Florentine. Pretty damn genius if you ask me. Not without reason is it one of the most loved cakes in Scandinavian baking. I'm not sure of its origin but already my great-great-grandmother, a known cook, baker, and author, baked this cake. The ingredients must have been rather expensive at that time so I guess it has been a treat reserved solely for the upper class.

This cake is baked according to a family recipe. Toscakaka was my late great-grandfather's signature cake, and luckily he left a small note with the ingredients needed to recreate this treat. I've kept that small piece of paper like a gem for several years now, but somehow I've never actually made the cake. Maybe I feared screwing it up? Would I be able to make the cake taste as good as he did? Last week, I finally overcame my fear of failing. The cake came out perfect. I don't know if it tasted as good as the ones my great-grandfather baked but it was everything I could have asked for. A moist cake base and a crunchy caramel almond crust. I was proud of myself, and I'm sure he would have been too.

This cake is highly addictive. I've made three cakes in one week. Yeah. Let it be summer vacation.

Toscakaka – Nordic Caramel Almond Cake

makes one 20 cm / 8" cake

I made a few small adaptions to the original recipe like adding lemon zest to the batter. I think it was lovely but feel free to omit it if you wish to. Also, my great-grandfather was known to always double the caramel almond topping. It appears, however, that he must have been using a larger cake pan. I was baking this cake again last Sunday and decided to double the topping cause HOW CAN ONE NOT WANT MORE OF THAT CRUNCHY GOODNESS!?! Well, I ended up creating a mess as the topping overflew in the oven. So that definitely lacks some more recipe testing...
 

For the dough
125 g (4.4 oz) unsalted butter, at room temperature
135 g (4.8 oz; 1 ½ dl; ⅔ cup) caster sugar
3 eggs (M), at room temperature
zest of 1 lemon
140 g (4.9 oz; 2 ½ dl; 1 cup) all-purpose flour
pinch of fine sea salt
1 ½ tsp baking powder
2 tbsp milk, at room temperature

For the topping
55 g (2 oz) unsalted butter
55 g (2 oz; 1 ¼ dl; ½ cup) sliced almonds
3 tbsp granulated sugar
1 tbsp all-purpose flour
2 tbsp heavy cream

optional: fresh strawberries (or other berries) and Greek yogurt or lightly whipped cream, to serve
 

To make the cake
Preheat oven to 175°C (350°F).

Grease the cake pan (preferably springform). In a small bowl, mix the flour, salt, and baking powder. Set aside. In a bowl of a standing mixer, cream the butter and sugar together until light and fluffy. Add the eggs one at a time and beat until well incorporated. (If your batter breaks at this step, your eggs have probably not been at room temperature or you've added the eggs too quickly. Don't worry. The dough should come together once the flour is added.) Add lemon zest and about half of the flour mixture and mix until smooth. Gradually add the milk and finally the rest of the flour mixture and mix until you have a smooth batter. Pour into the prepared cake pan. Bake on the middle rack for 25–30 minutes or until risen, golden brown in color, and almost done (the cake will continue to bake once the topping is added but needs to be enough cooked to support the topping).


To make the topping
Add the butter, almonds, sugar, flour, and heavy cream to a medium-sized heavy-bottomed pot. Keep your eyes on the cake. When the cake starts to look ready for the topping, start cooking the caramel almond topping (the topping comes together in less than 5 minutes). Over medium-high heat, stir until the mixture starts to bubble and thicken slightly. Remove from heat and pour over the pre-baked cake making sure that it's evenly distributed. I think it's easiest to pour the topping in the middle of the cake and, with the help of a spatula, gently spread into an even layer. Bake for further 10–15 minutes or until the crust is golden brown and bubbles.

Cool for about 10 minutes, and run a knife around the edge of the pan to release the cake. Let cool on a wire rack. The caramel will harden as the cake cools down.

Enjoy at room temperature plain or with fresh berries and some Greek yogurt or lightly whipped cream.


Toscakaka − Nordic Caramel Almond Cake | my blue&white kitchen

Side note: I shot this cake at 9pm. Talking about nightless nights and all that amazingness...

A Different Pace – No-Bake Yogurt Cream Cake with Strawberries

I'm sitting here at the kitchen table and typing these words on my notebook. The rhythmical sound is, in its own way, very soothing. This is a 100-year-old house with squeaky old wooden floors. A house with a story, a history. It has seen both birth and death, peace and war, joy and sorrow, love and hatred, hope and despair, full bellies and hungry souls.

What stories would these walls tell us if they could speak?

There's a window right in front of me. Probably my most favorite window ever. The light that shines through is magical. Totally different from the one we have in the north.

When I look out of the window, I see green fields and hills. A forest too. There's also a big apple tree full of beautiful, delicate, white flowers that cheers me up every time I look at it. On the left, I can see the mighty Alps with their white peaks glistening in the spring sun. It's a view I never really seem to get used to.

my blue&white kitchen

On some days, I'm lucky enough to spot a hawk on a hunting trip. Flying in wide circles before plunging into a deep dive. On other days, there are light brown cows grazing under the window. They wrap their tongues around the lush grass and snip it off. When they walk, you can hear the sound of cow bells. So cliché, really.

No-Bake Yogurt Cream Cake with Strawberries | my blue&white kitchen

It's a different way of life here. A different feel and pace. In a small village near the Alps, everyone knows everything about everyone else. Or at least they think they do. I would lie if I would say that wouldn't freak me out a bit. Everyone knows who you are although you only visit once or twice a year. The lady at the bakery where we get fresh bread every morning always asks "How do you do?" and "For how long will you stay?". She doesn't ask it out of politeness; she asks it because she really wants to know.

No-Bake Yogurt Cream Cake with Strawberries | my blue&white kitchen

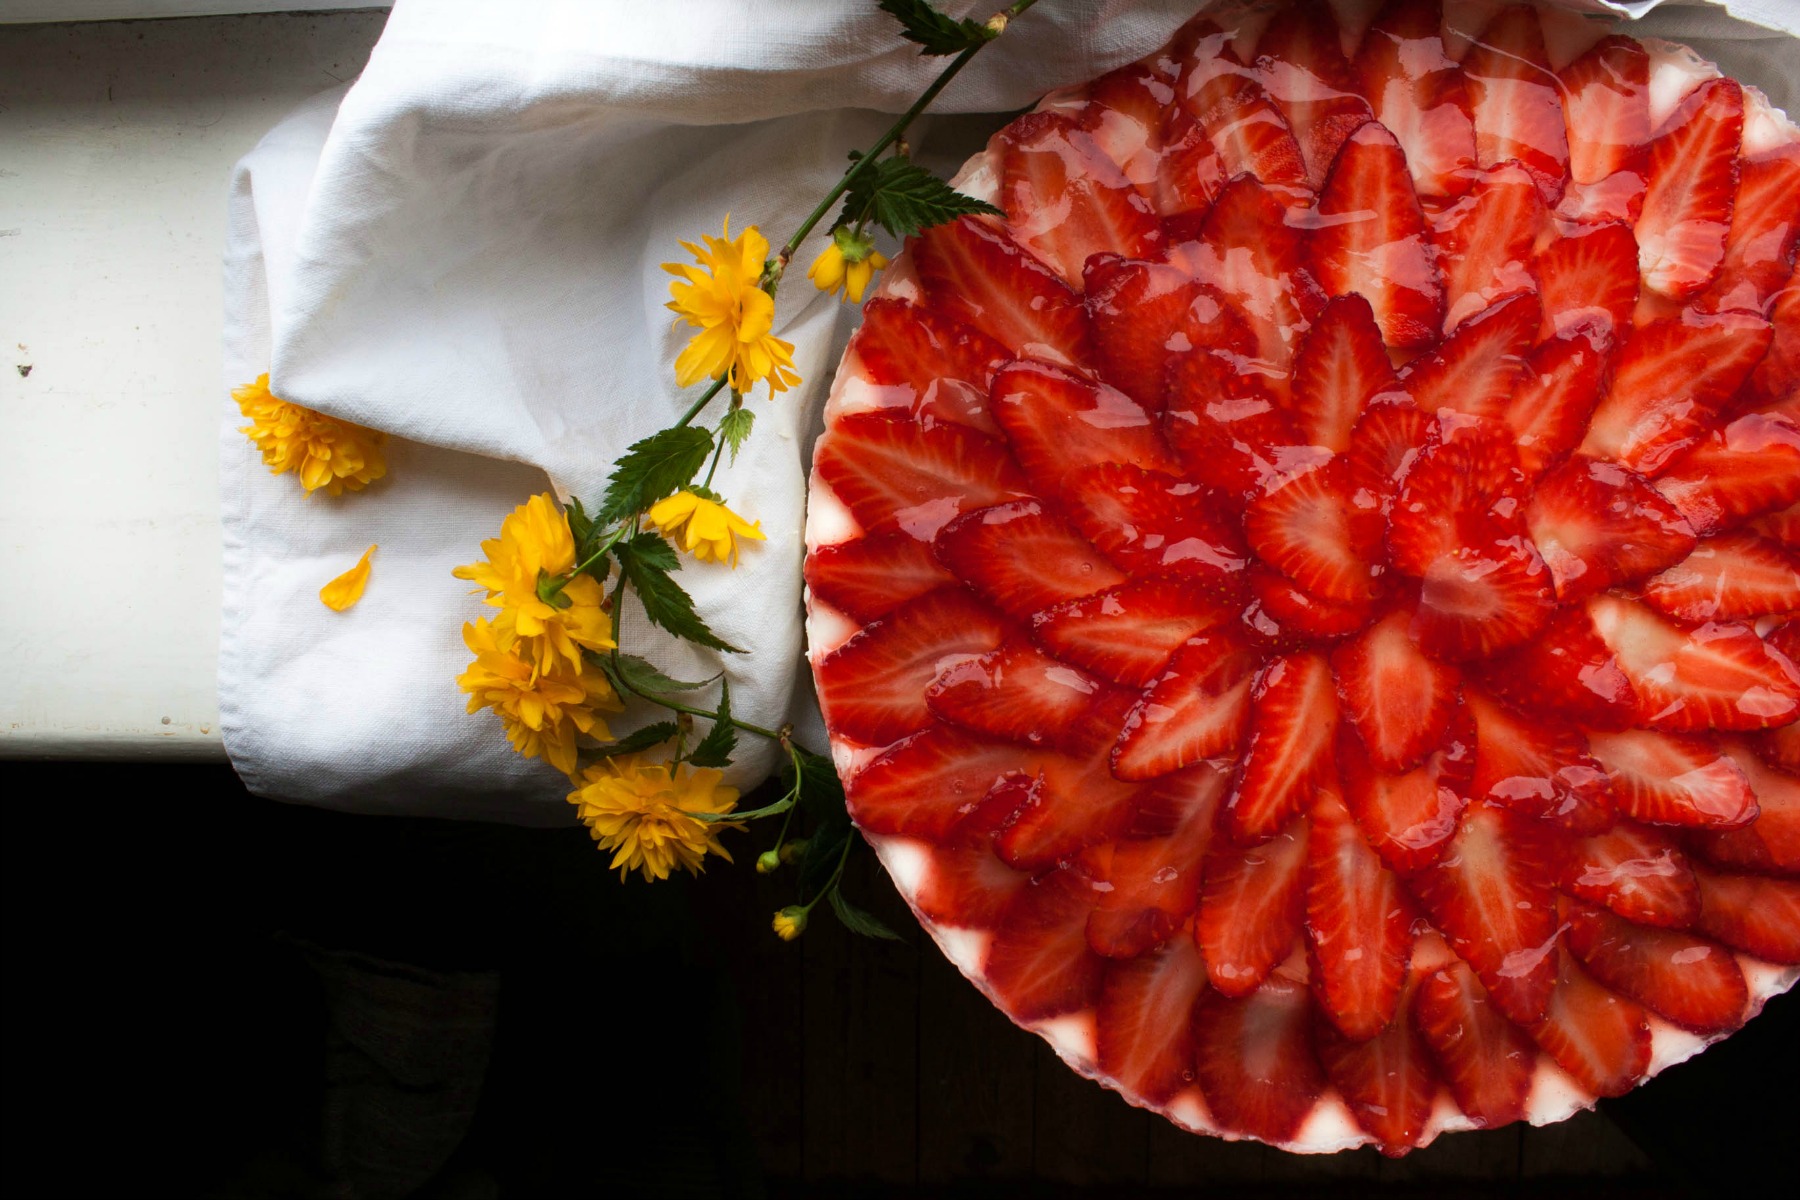
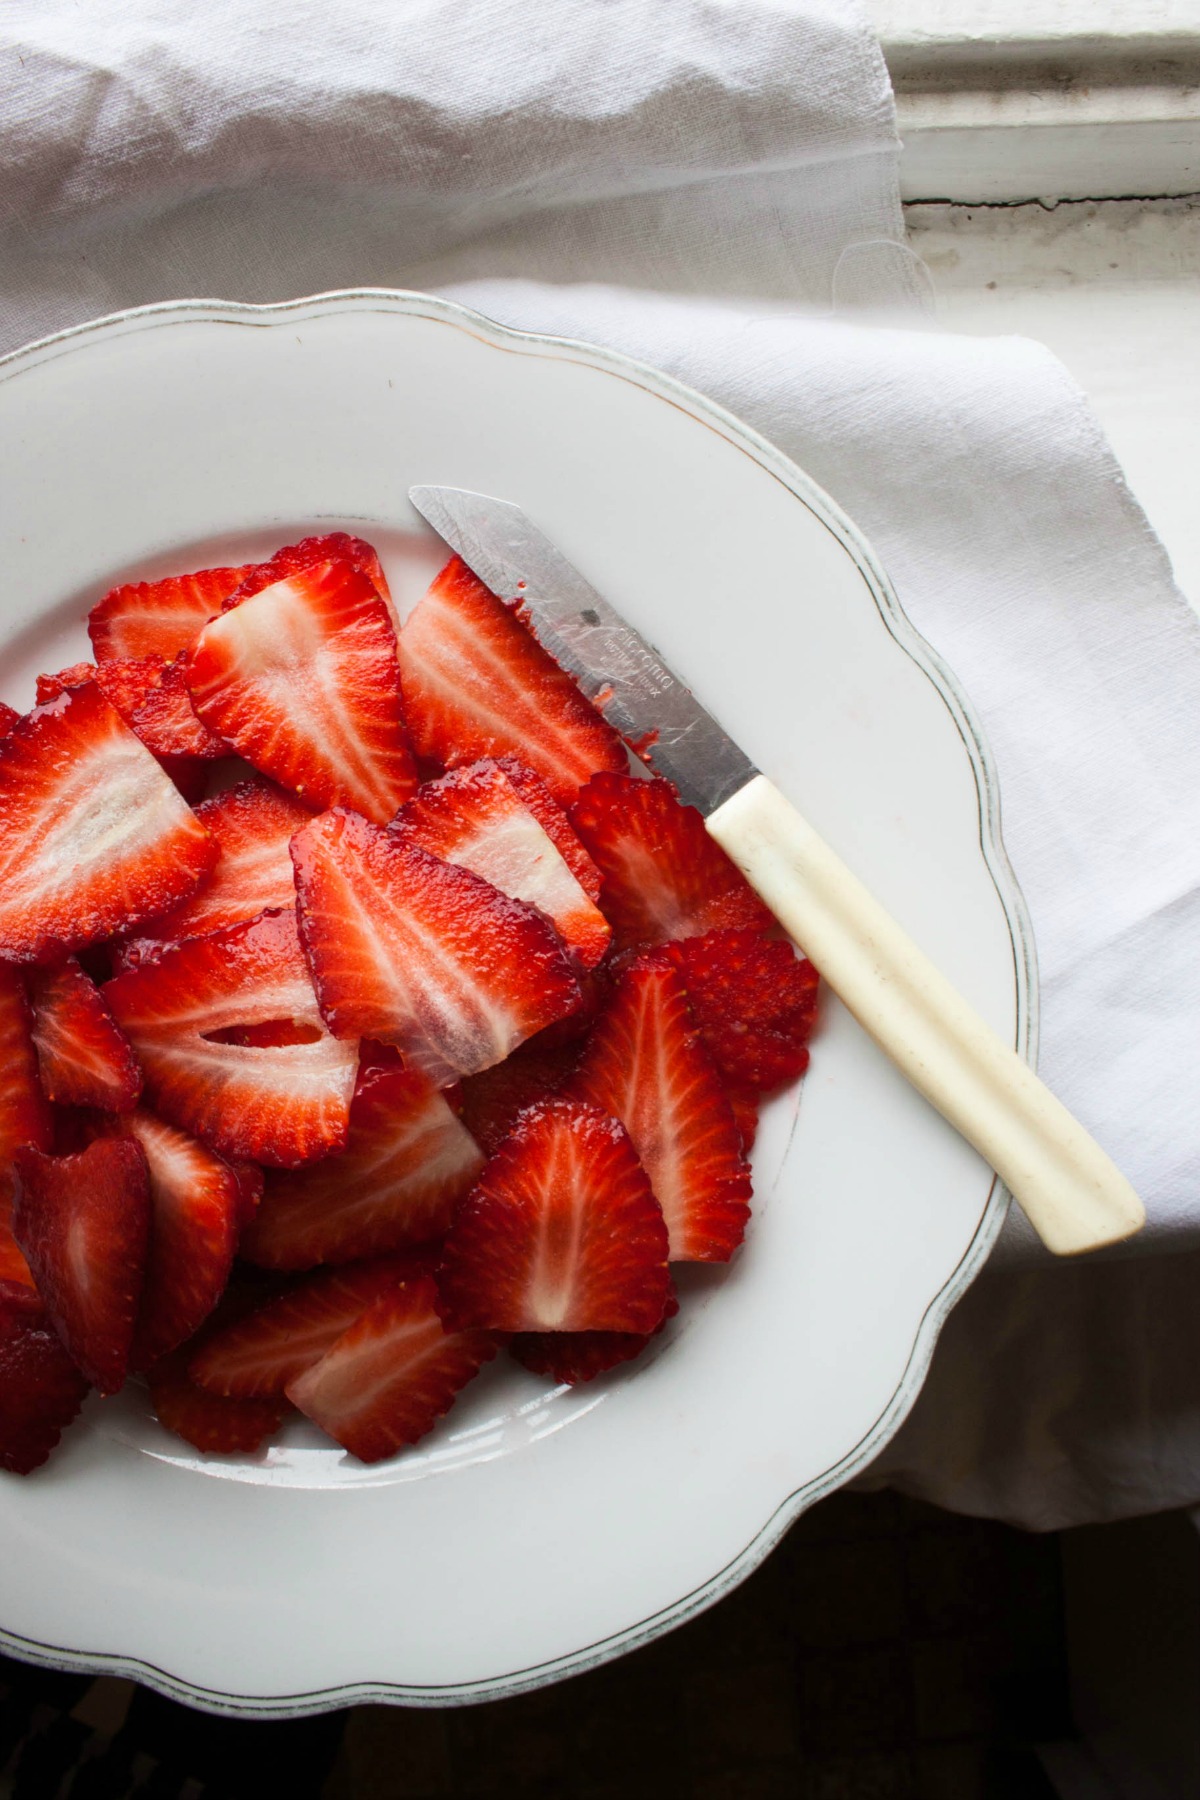
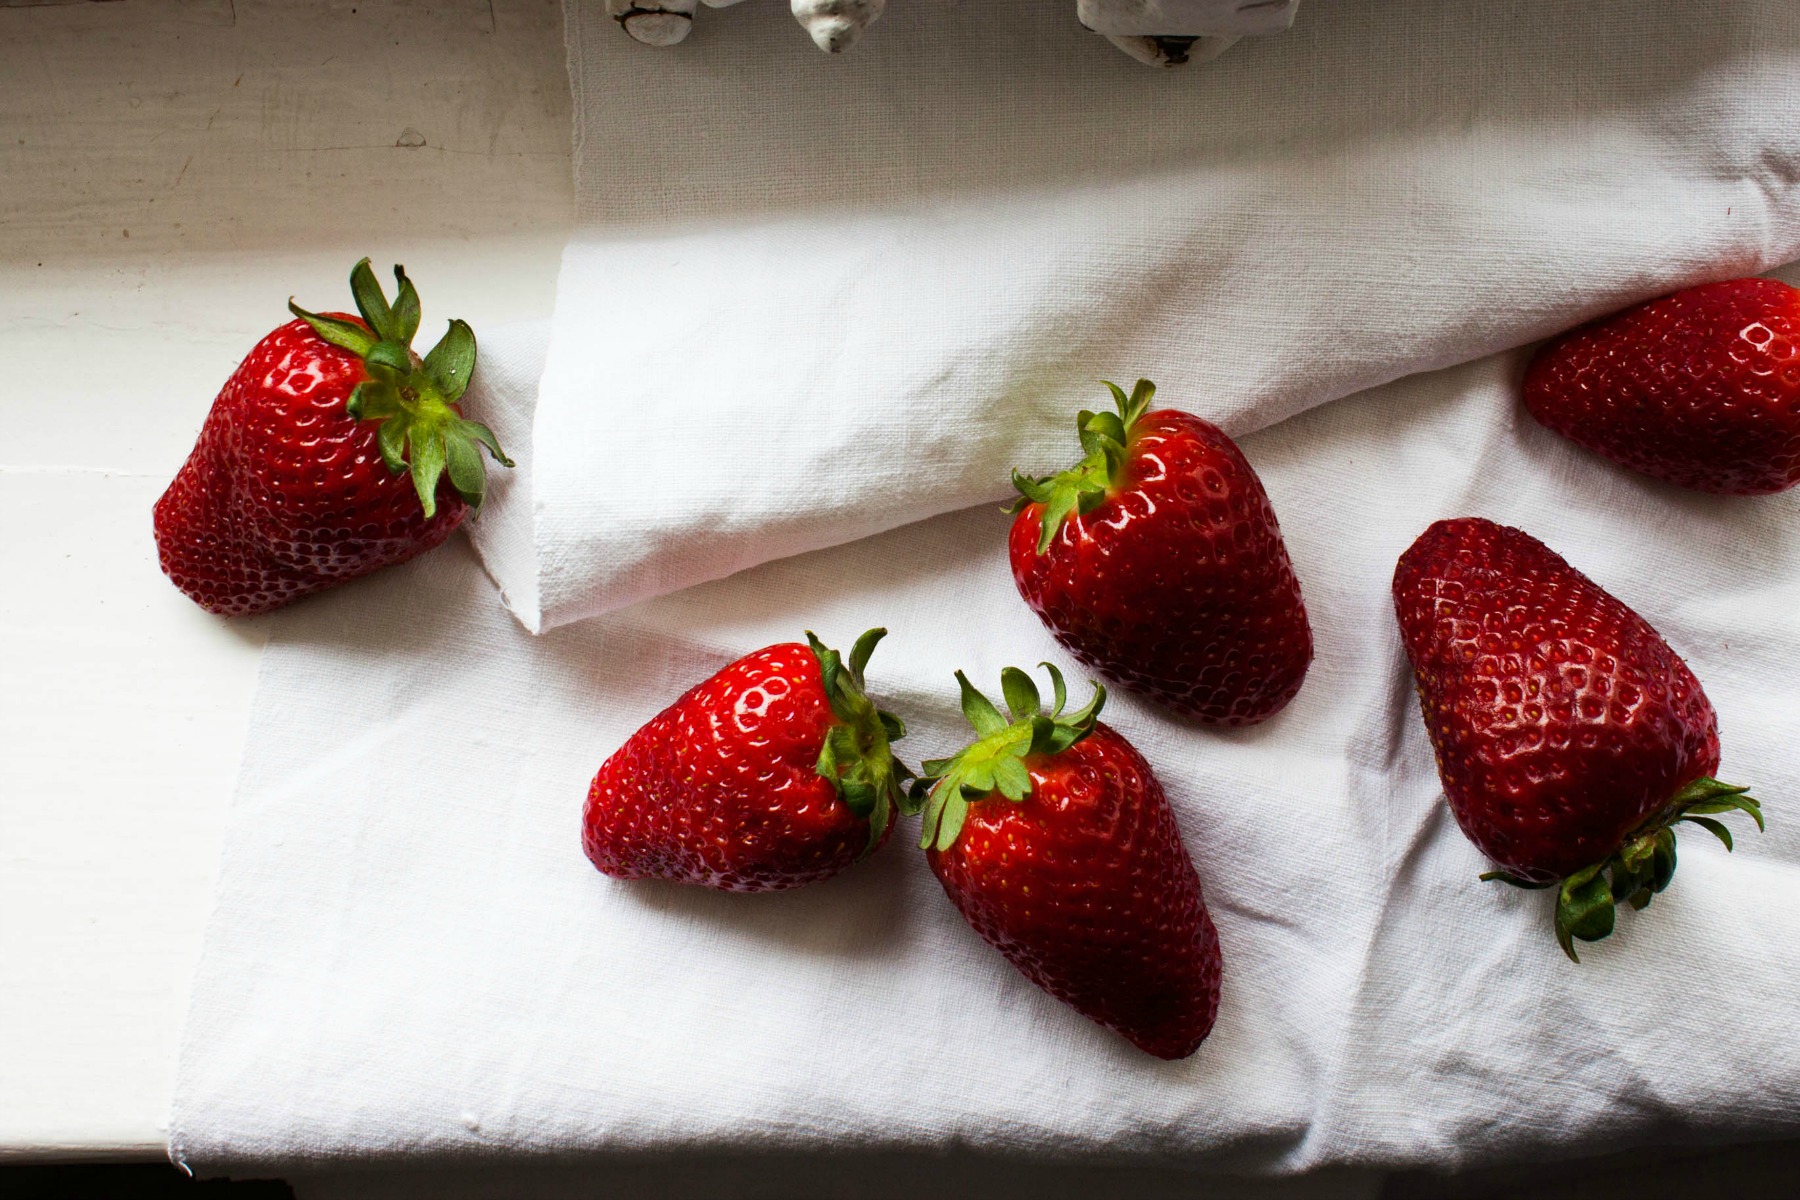
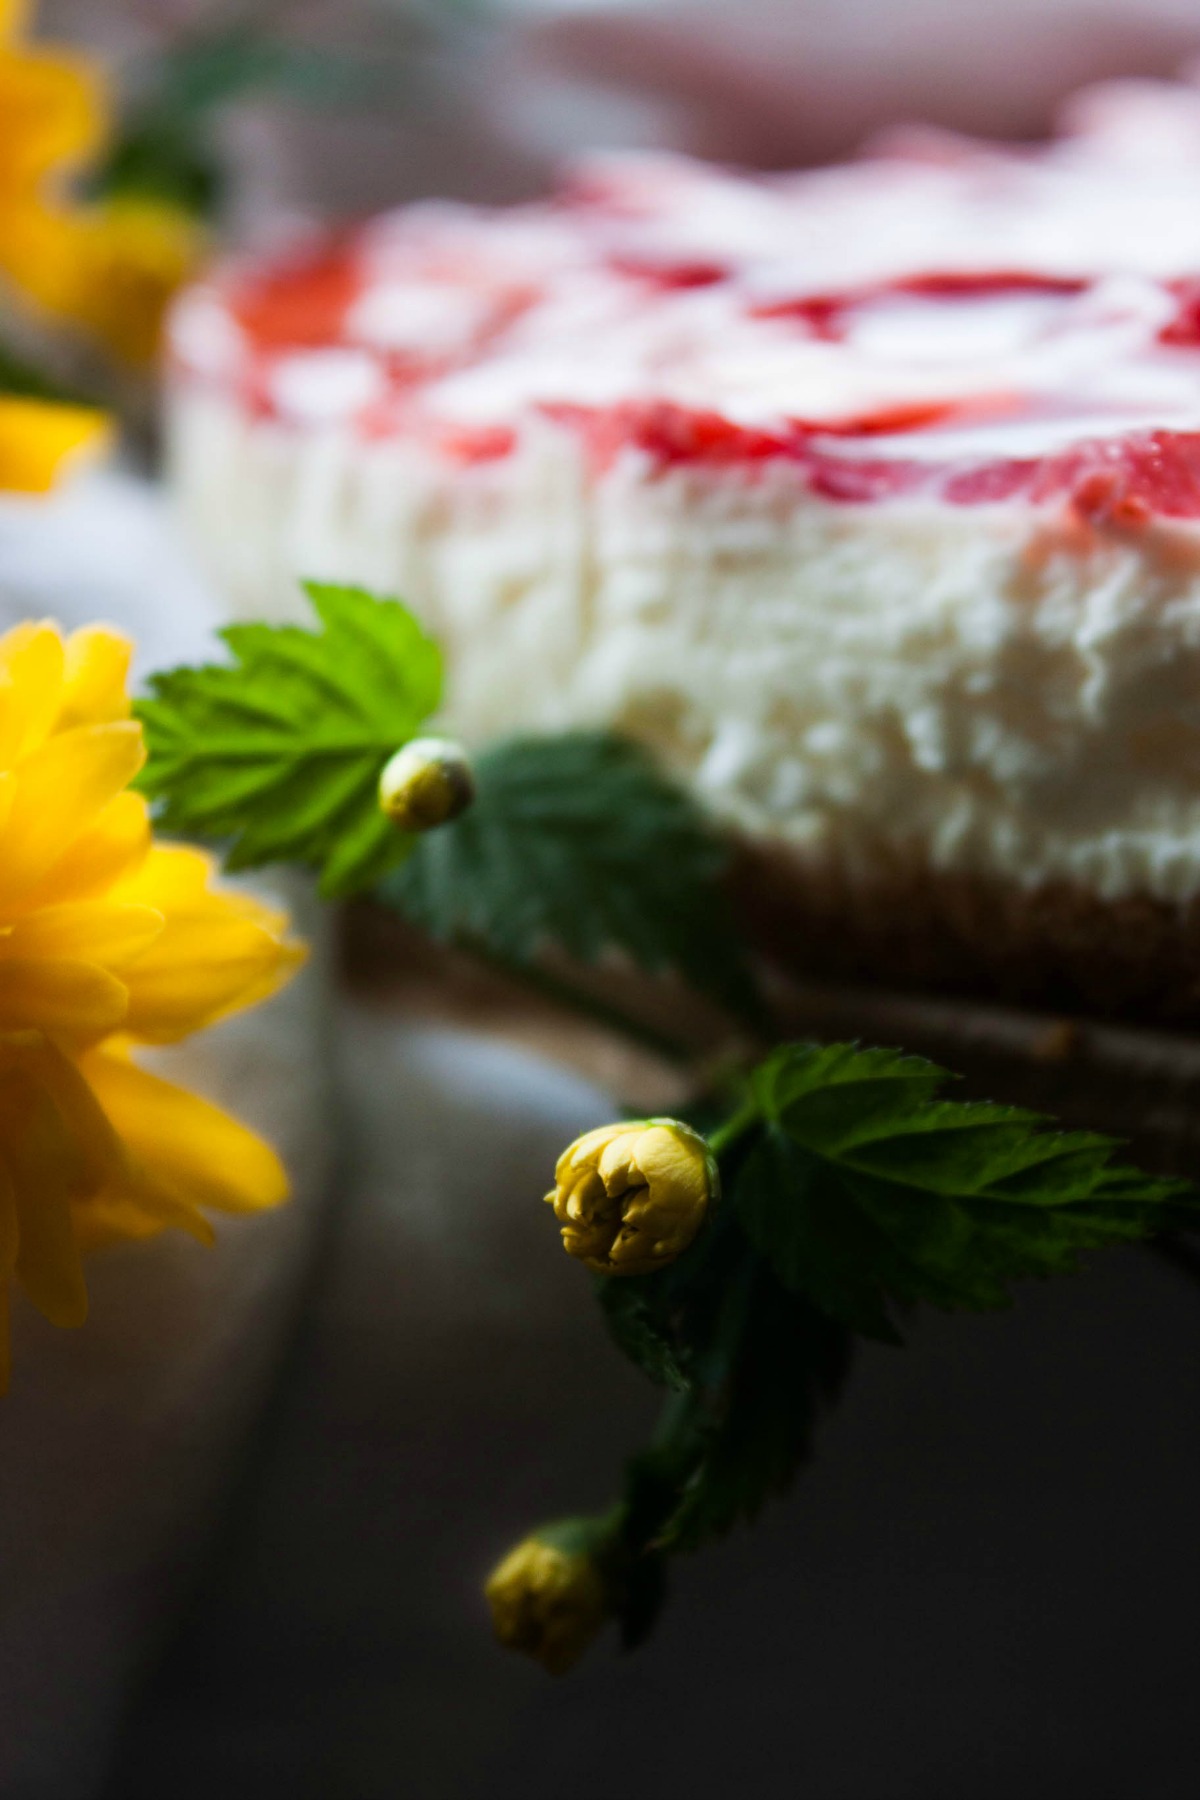
It was my Opa's birthday so I made a cake. A light, fresh, not-too-sweet yogurt cream cake topped with luscious strawberries. The strawberries really are the heroes here. The perfect cake to celebrate 85 years and the awakening of nature.


No-Bake Yogurt Cream Cake with Strawberries

makes one 28 cm / 11" cake (you could, however, make it in a smaller pan as well)

for the base:
200 g (7 oz) graham crackers, like digestive biscuits
100 g (3.5 oz) butter, melted

for the filling:
400 ml (1  cups) whipping cream
500 ml (2 cups + 1 heaping tbsp) yogurt (3.5 %), at room temperature
75 g (2.6 oz) granulated sugar
1 large organic lemon, juice & zest
7 sheets of gelatine

to finish:
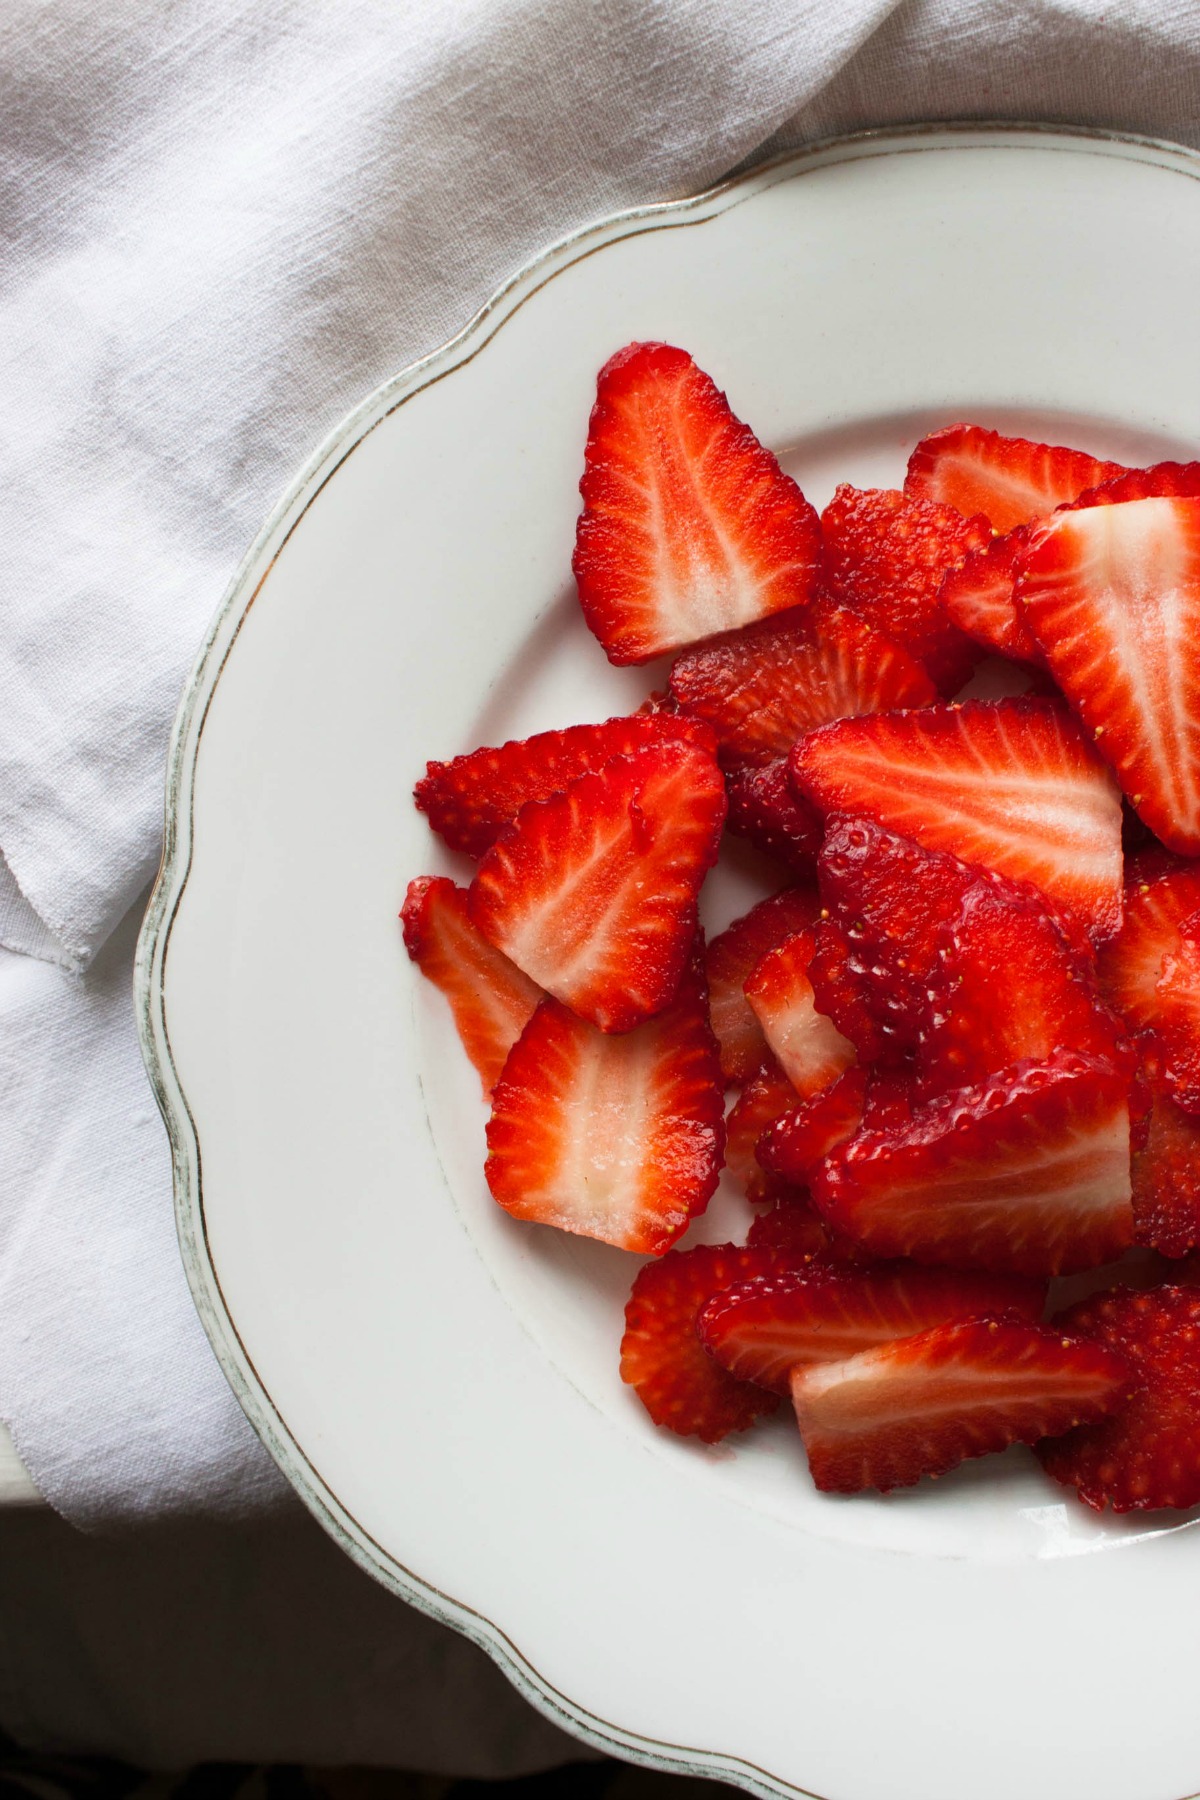
300 g (10.5 oz) strawberries, washed, dried, hulled, & cut into thin slices
optional: 1 packet clear cake glaze, sugar, & water (according to package instructions)


To make the base
Line a 28 cm / 11" springform pan with parchment paper. In a food processor, mix the biscuits until finely ground. Add the butter and pulse again until combined. Pour the base into the prepared springform pan and press firmly down to create an even layer. Put into the fridge.
 

To make the filling
Whip the cream and put into the fridge. Mix the yogurt, sugar, and lemon zest. Set aside.

Soak the sheets of gelatin in cold water for 5 minutes (check package instructions). Meanwhile, in a small pot, warm the lemon juice. Once soft, lift the sheets from the water and gently wring to remove any excess water. Dissolve in warm (but not boiling!) lemon juice stirring until completely dissolved. Gradually add the lemon juice-gelatine mixture to the yogurt while stirring vigorously. Gently fold in the whipped cream.

Pour the filling into the prepared springform pan and smooth the surface. Refrigerate for at least 6 hours, better still overnight.
 

To assemble the cake
Arrange the strawberry slices on top. If you're making the cake in advance or would want to keep the cake fresh for one to two days, cover the top with clear cake glaze. For the glaze, follow the package instructions and refrigerate for at least half an hour.