Fall Vibes – Plum Galettes

Plum Galettes | My Blue&White Kitchen

Fall is the time for new beginnings. Kids go back to school and their parents go back to work; thousands of students start at colleges and at universities eager to get to know new people, to learn, and to dream big. As nature is getting ready to face winter, we're getting back to the everyday routines or are just creating new ones. 

For me, this fall started with a new full-time job. I've really enjoyed my first weeks, although I've often feeled rather exhausted when getting back home. It's been a challenge to manage both work, the blog, and my free-time. It has meant to be kinder to myself, to endure unfinished projects, and the fact that I can't be at more than one place at a time. As much as I've liked my new work and getting to know my colleagues, I've also got into decorating my office (it's one of the most fun parts, right?). I'm still looking for a picture to hang on the wall and am dreaming of a succulent terrarium, one of RK design's gorgeous wall hangings, and/or a minimalistic swag wreath. But still, I think that already a pot or two of something green really makes the whole room feel cozy and welcoming. They fill the space with life.

Plum Galettes | My Blue&White Kitchen

Weekends are more important than ever. They're spend loading up batteries and forgetting about work stuff. I've spent as much time as possible in the woods and in the kitchen, as those are the places where I find peace. Those are the places where I feel connected to myself and to my surroundings. When I'm in the woods, the words of Terry Tempest Williams come to my mind: "To be whole. To be complete. Wildness reminds us what it means to be human, what we are connected to rather than what we are separated from." That women. If you haven't read her work, you should.

Plum Galettes | My Blue&White Kitchen

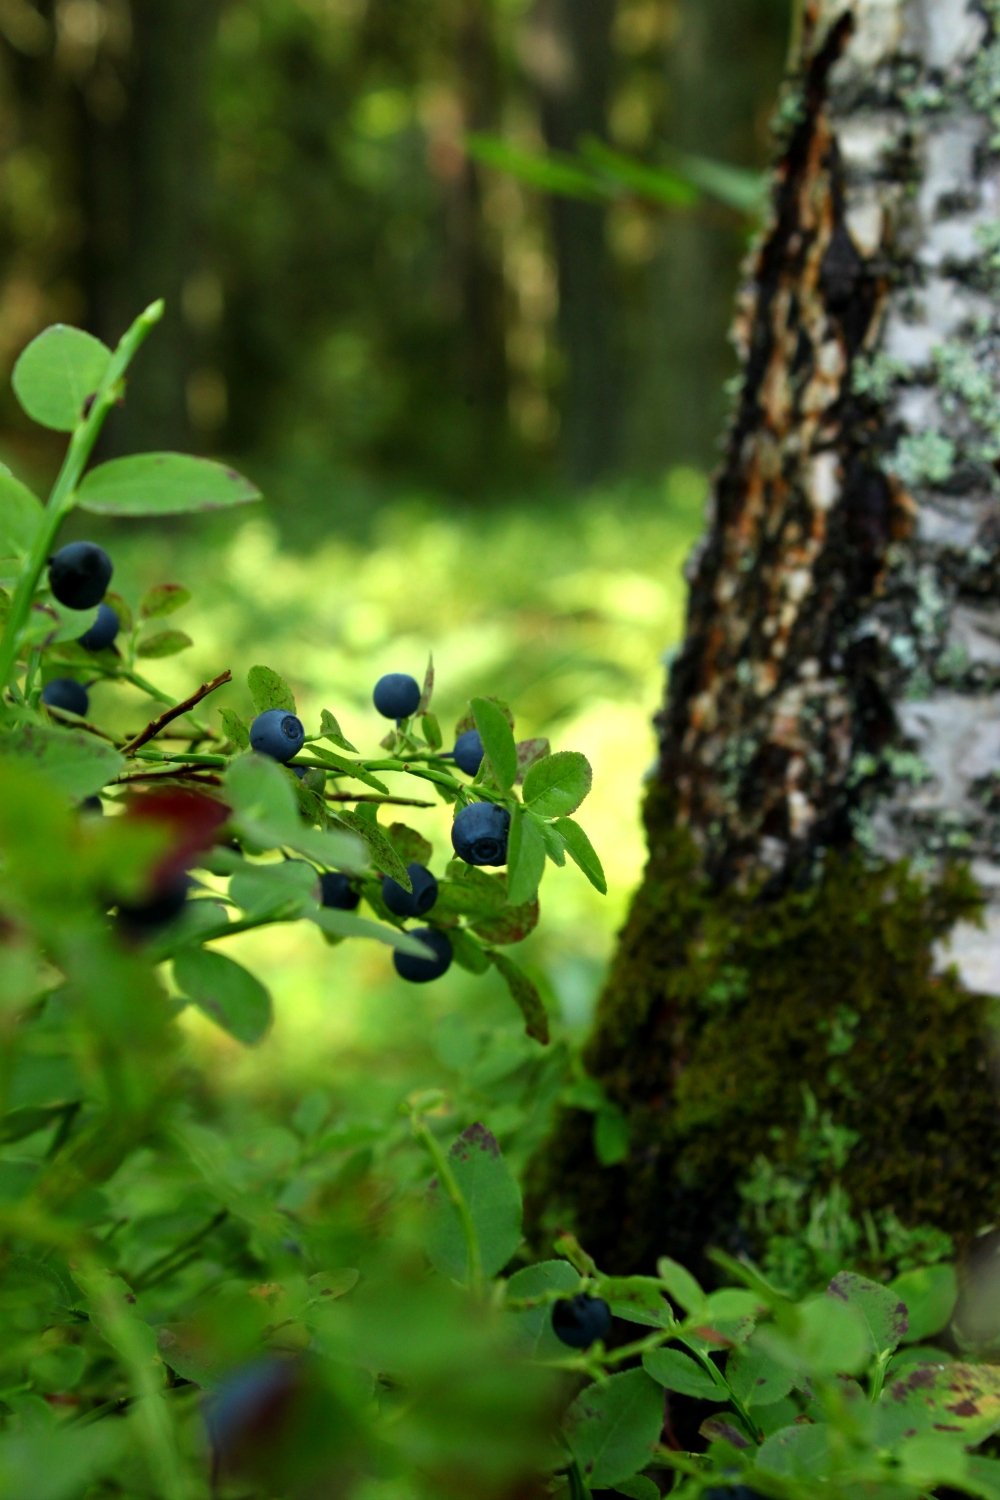
I've enjoyed roaming in the woods but sadly fall harvest doesn't look that good. Lingonberries are plenty and there are still wild blueberries to be picked. However, although chanterelles were plenty in summer, the woods are now short of mushrooms. I really hope that this will change soon! Maybe the weather will be more favorable in September and October; there are so many wild mushroom recipes that I'm eager to test and possibly share with you guys. Well, it's raining today, so I still have hope ;) Mushroom foraging trips are one of the best parts of fall.

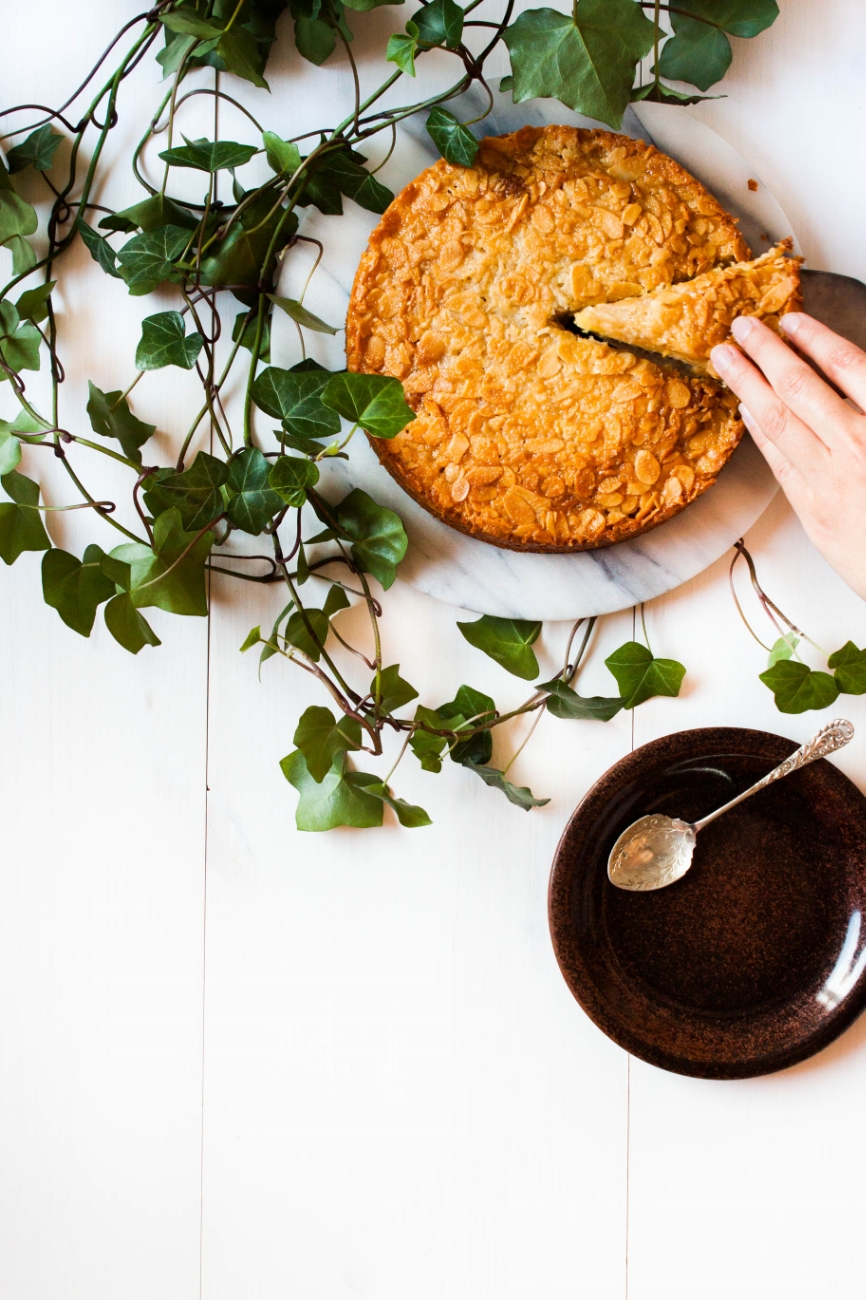
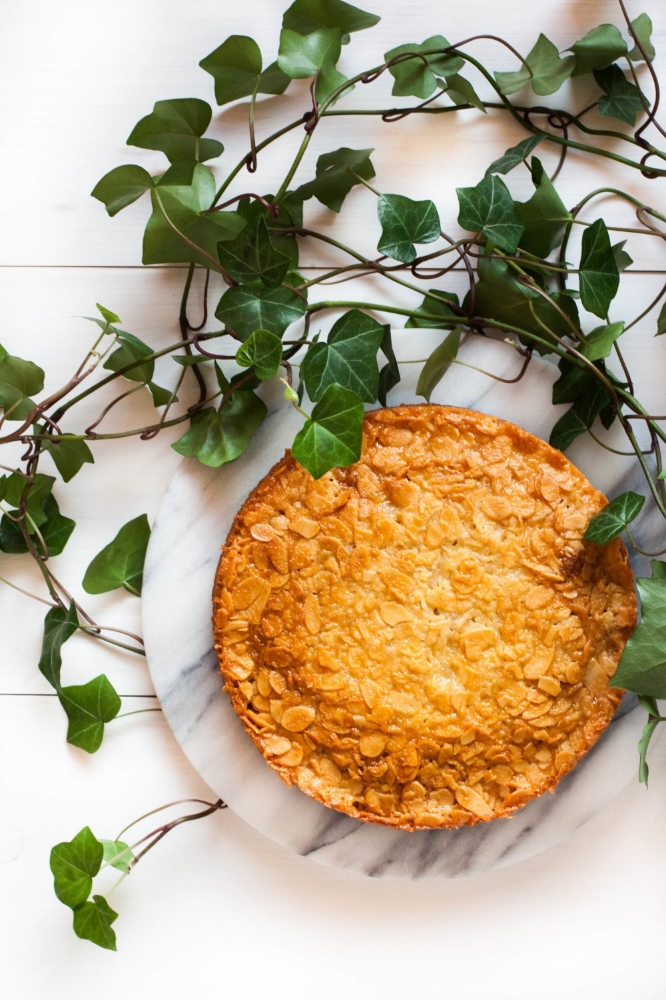
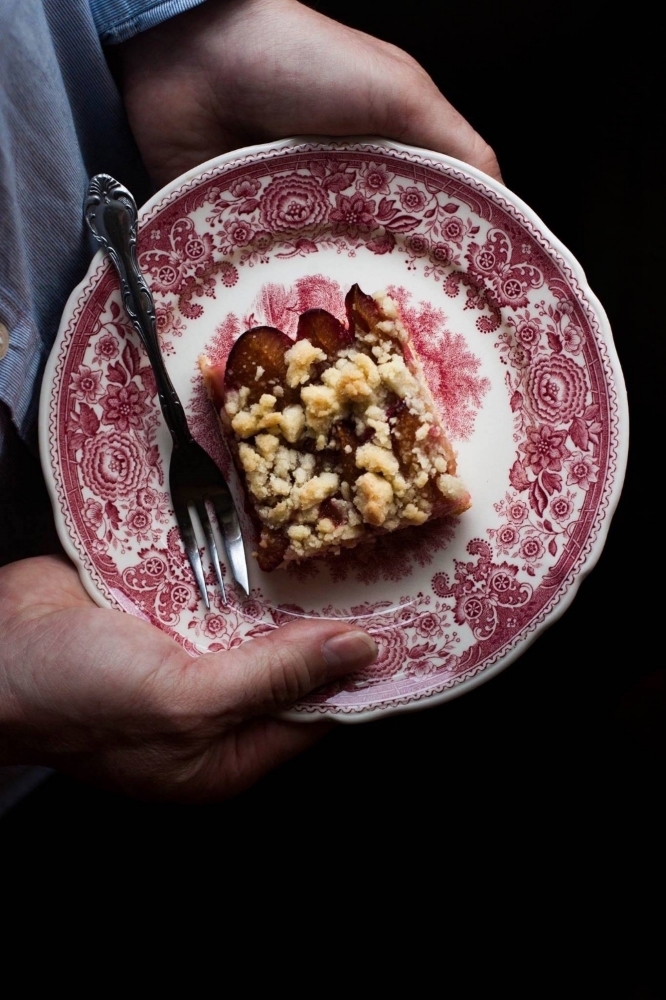
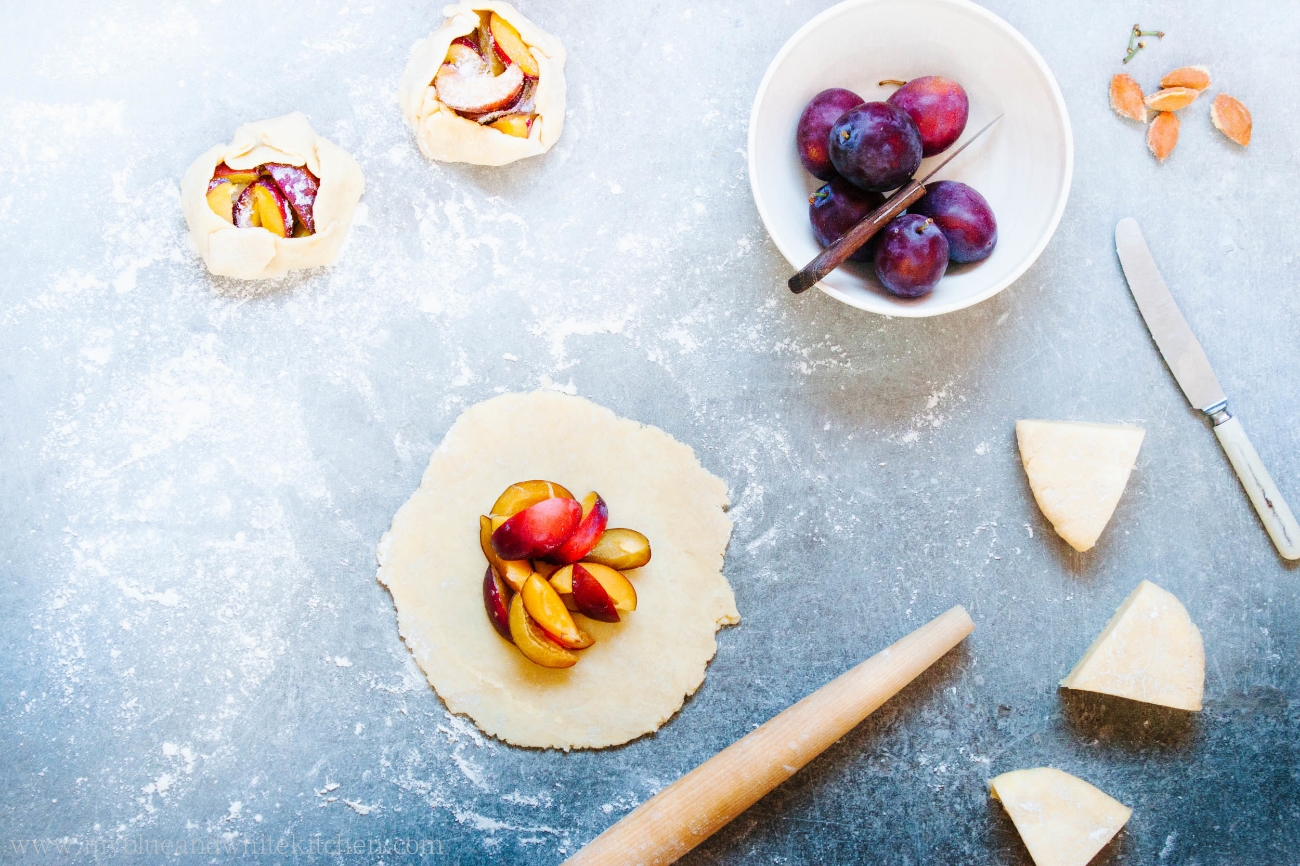
At least there are plums (not in the woods but anyway)! Those juicy, delicious fellas are always worth waiting for; Zwetschgendatschi, plums with portwine, Kaiserschmarrn with plum compote (I hope to share the recipe with you this fall/early winter), rice porridge with caramelized, cinnamon-spiced plums... Gosh, how I cherish this season! So today, I want to share a recipe that's close to my heart. This galette is a long-time favorite; I've baked it every year for at least a decade. I still remember how I used to come back home from school only to find leftovers on the kitchen counter. I would reheat a slice and enjoy it with a dollop of whipped cream. It's a simple galette with a short ingredient list and easy to follow steps. The taste, however, is decadent. It's the kind of recipe I come back to again and again, that I share with family and friends, and that will surely be handed down through generations.

Please feel free to share your favorite plum recipes in the comment section below! One can never have too many.

Plum Galettes | My Blue&White Kitchen

P.S. I did a fun interview with the German Food & Travel magazine Speisen + Reisen this summer. I feel honoured to be featured in a 4-page-long (!) article as well as being able to share 5 recipes. The issue is out now, so be sure to get your copy! *crazyhappy*


Plum Galettes

makes 6 small or 1 large galette

for the crust
220 g (4 dl; 1  cups) all-purpose flour + more to dust
1 large pinch of fine sea salt
2 tbsp granulated sugar
150 g cold, unsalted butter, cut into cubes
4 tbsp ice cold water

for the filling
400 g plums, cut into 6-8 wedges
45 g (½ dl; 3  tbsp) granulated sugar

powdered sugar, to finish
whipped cream or vanilla ice cream, to serve
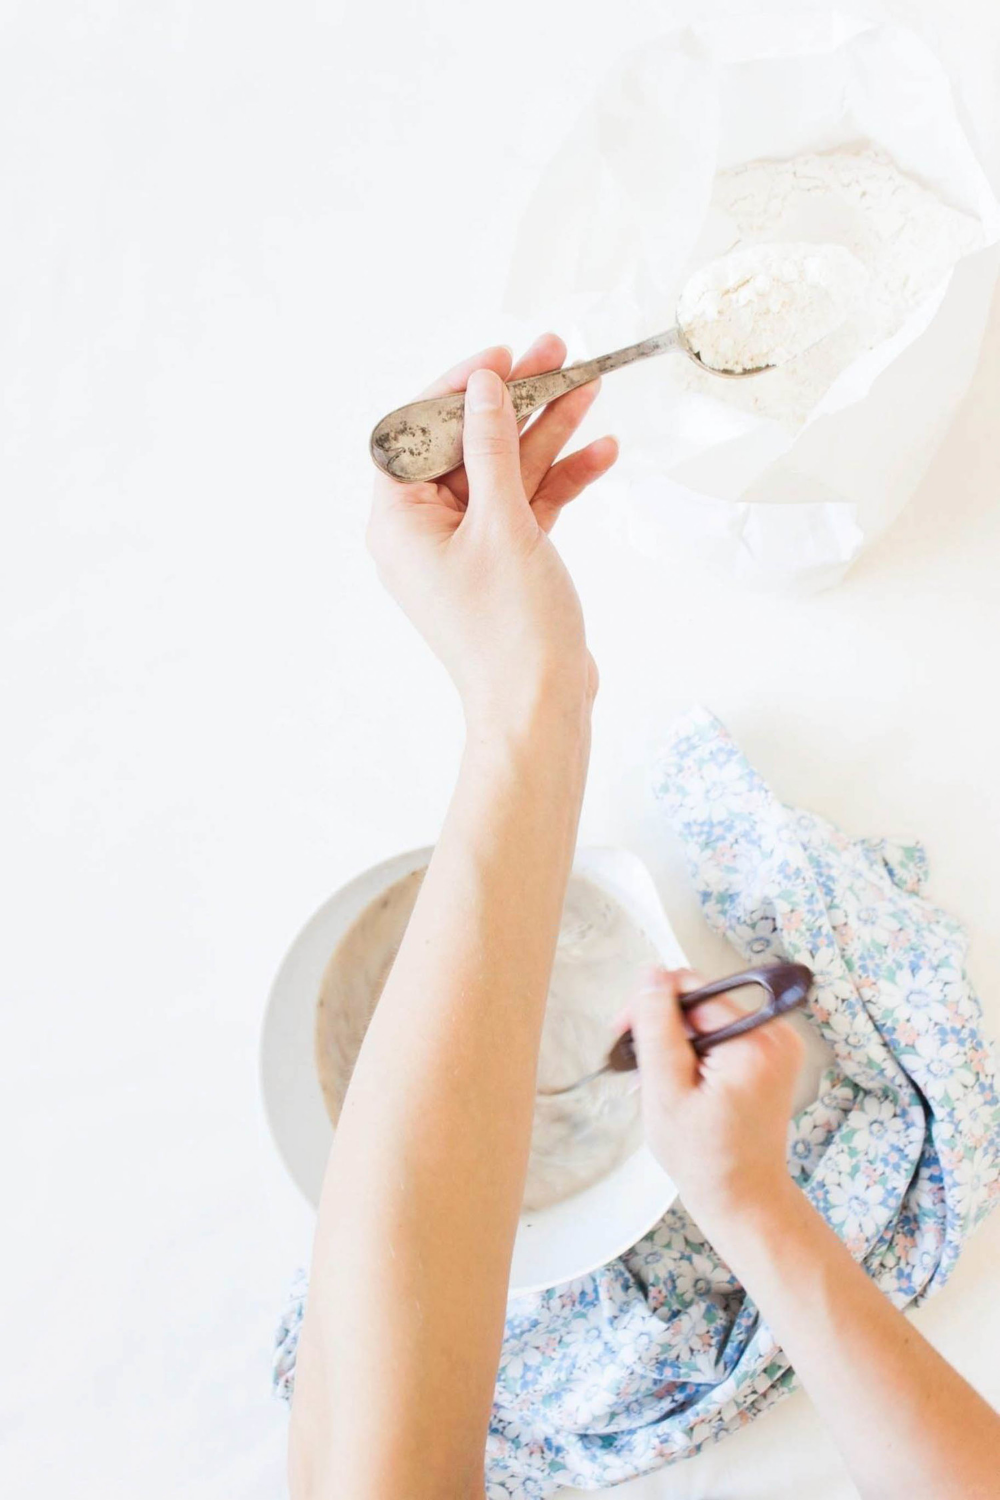
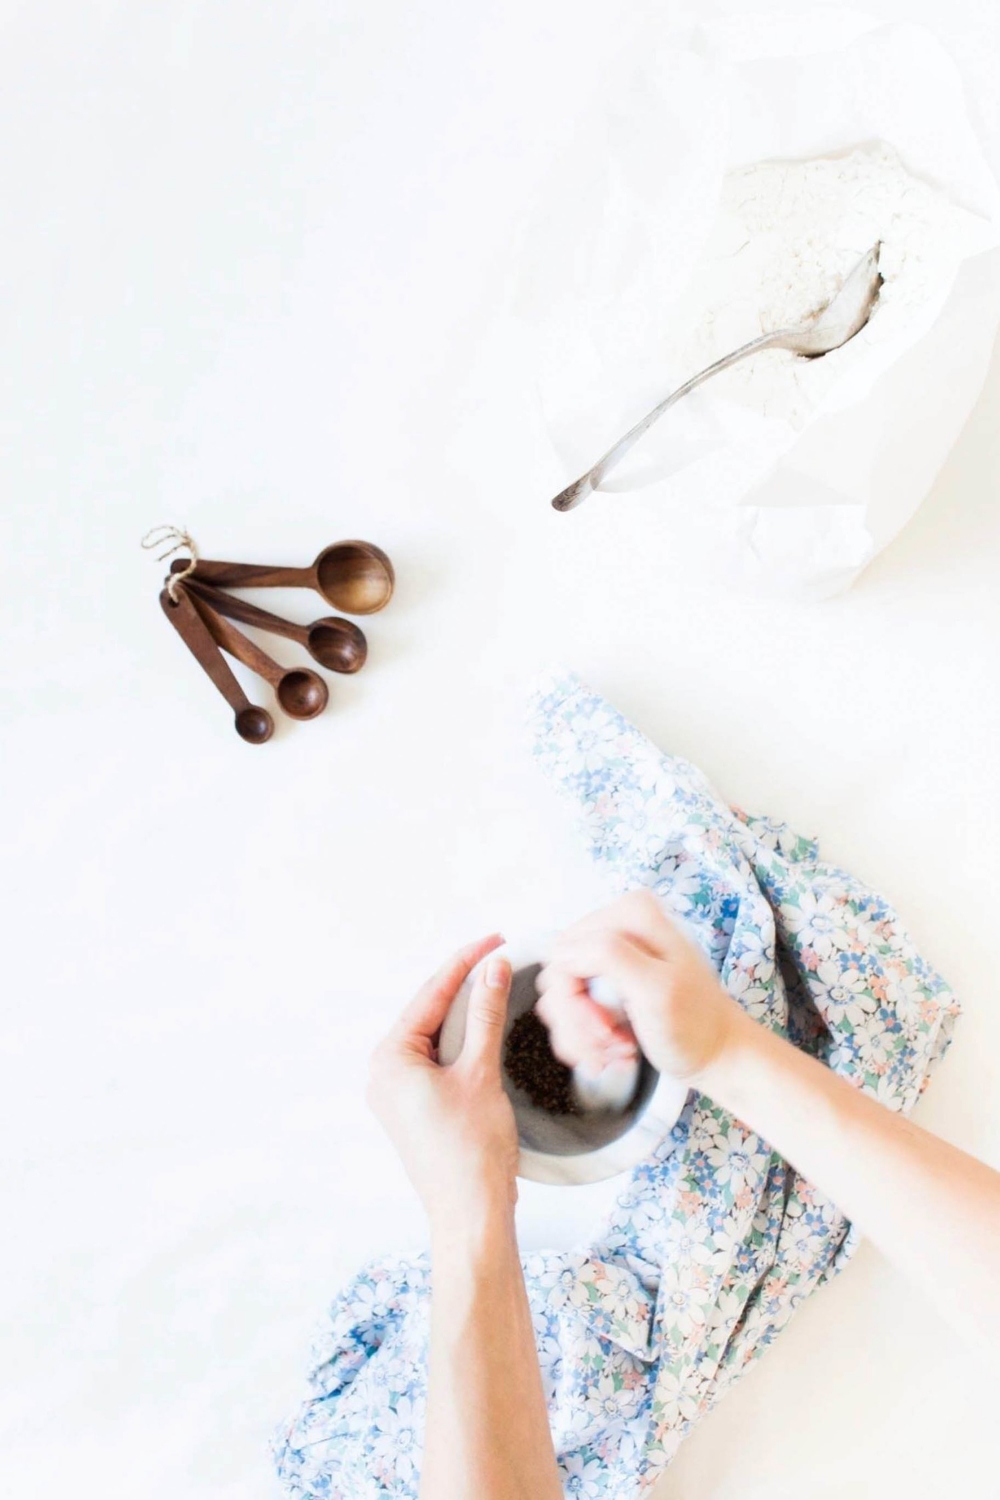

To make the crust
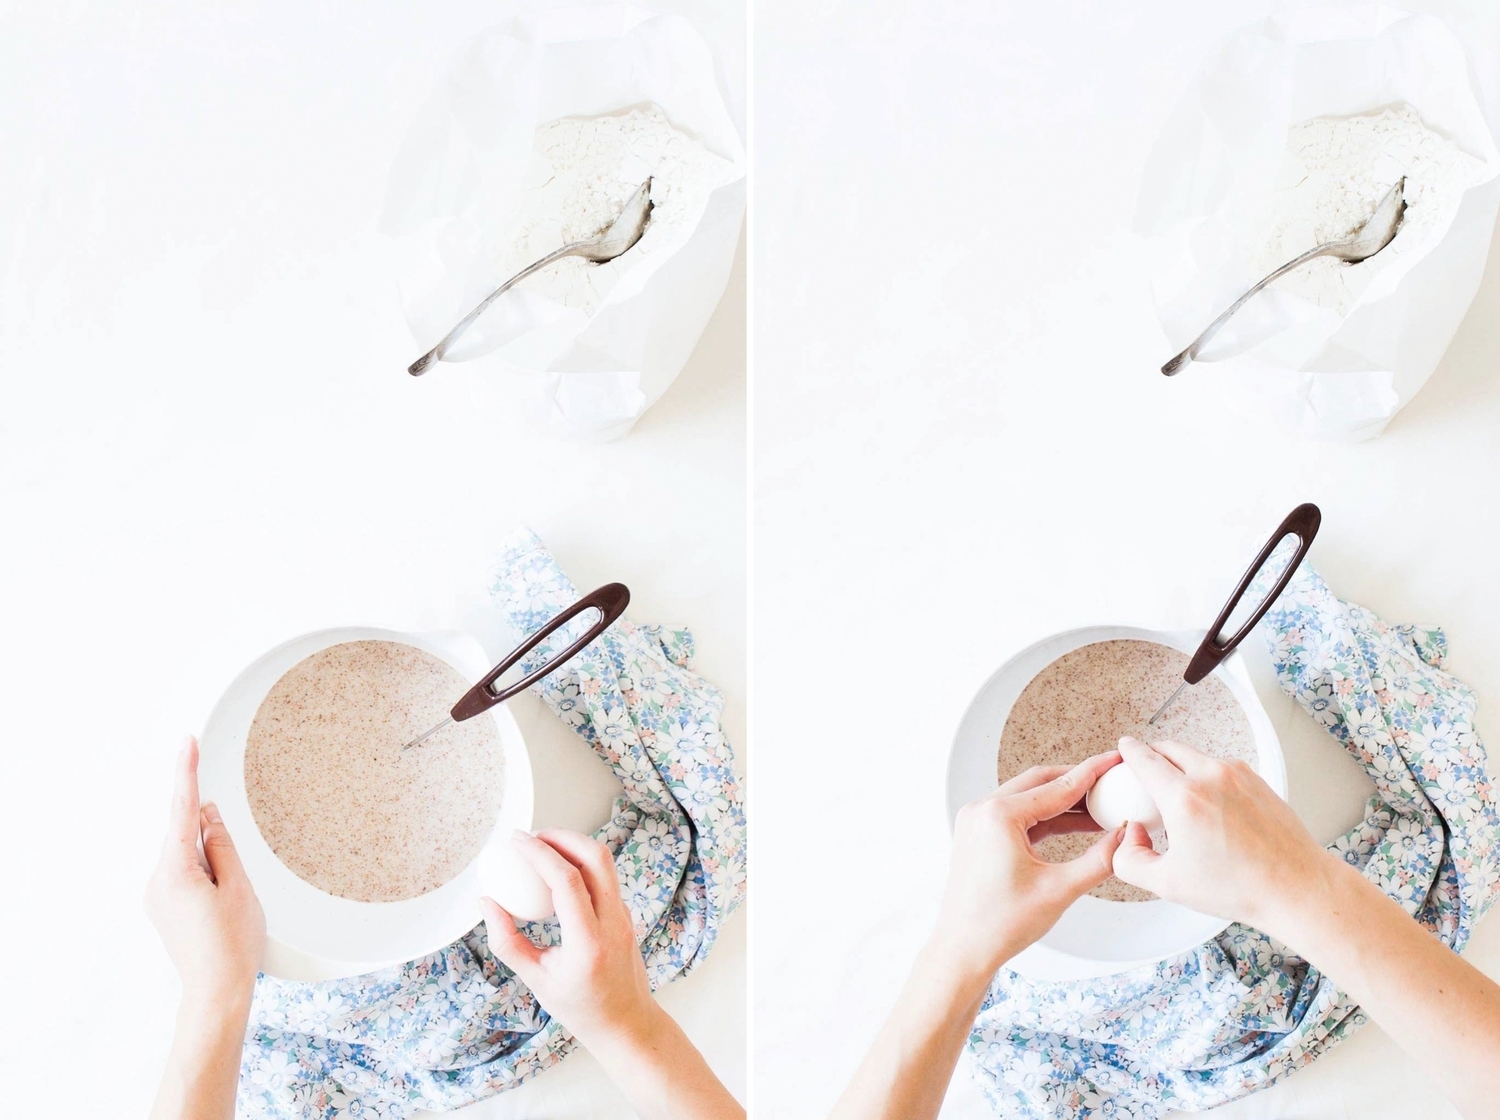
In a medium-sized bowl, combine the flour, salt, and sugar. With your fingers, quickly rub the butter into the dry ingredients until well incorporated and crumbly. The dough should now resemble coarse bread crumbs with plenty of pea-sized pieces of butter remaining. Add water gradually just until the dough holds together when pinched. Work as fast as possible to avoid over-working the dough. Alternatively, you can make the dough with a pastry cutting tool or in a food processor.

Form the dough into a disk and wrap in plastic. Refrigerate for at least an hour.


To assemble and bake
Preheat the oven to 180°C (355°F). Line a baking sheet with parchment paper. Set aside.

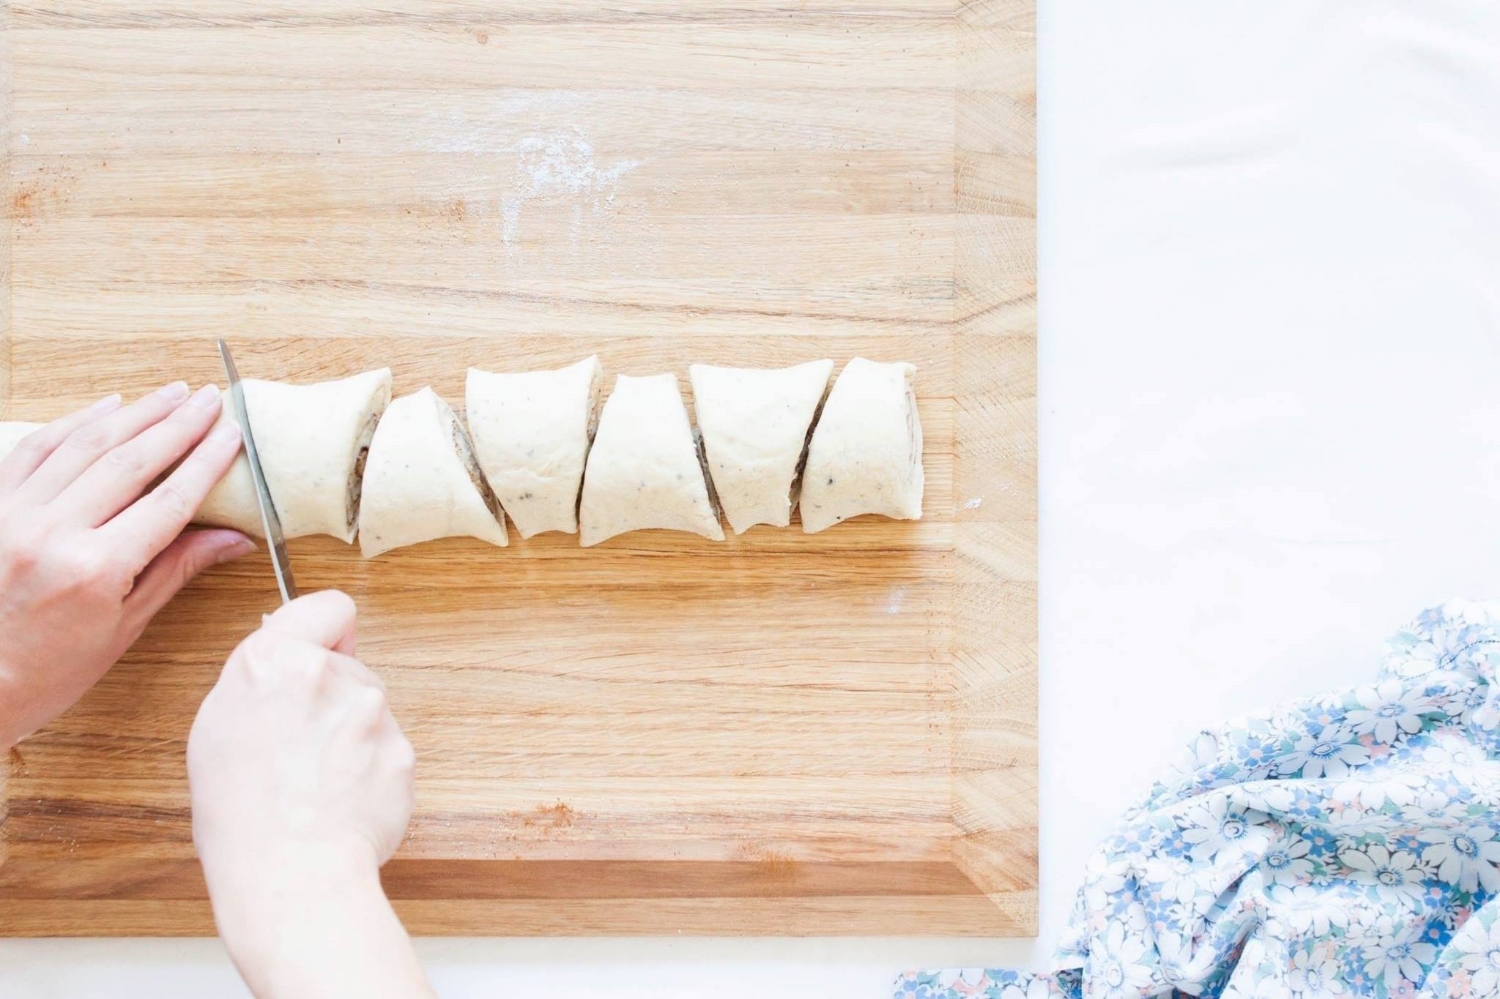
Lightly dust the chilled dough with flour. If you're making small galettes, cut the dough into 6 equally-sized portions. Roll the dough out on a well-floured work surface into about 3 mm (0.1") thick circles. If the dough cracks, don't worry; just pinch it back together. Transfer to the prepared baking sheet. Arrange the plum wedges in the centre and be sure to leave a 4–5cm (1.5–2") border. Fold up the edges.

Bake on the middle rack for about 40 minutes, or until edges are golden brown and the filling bubbles.

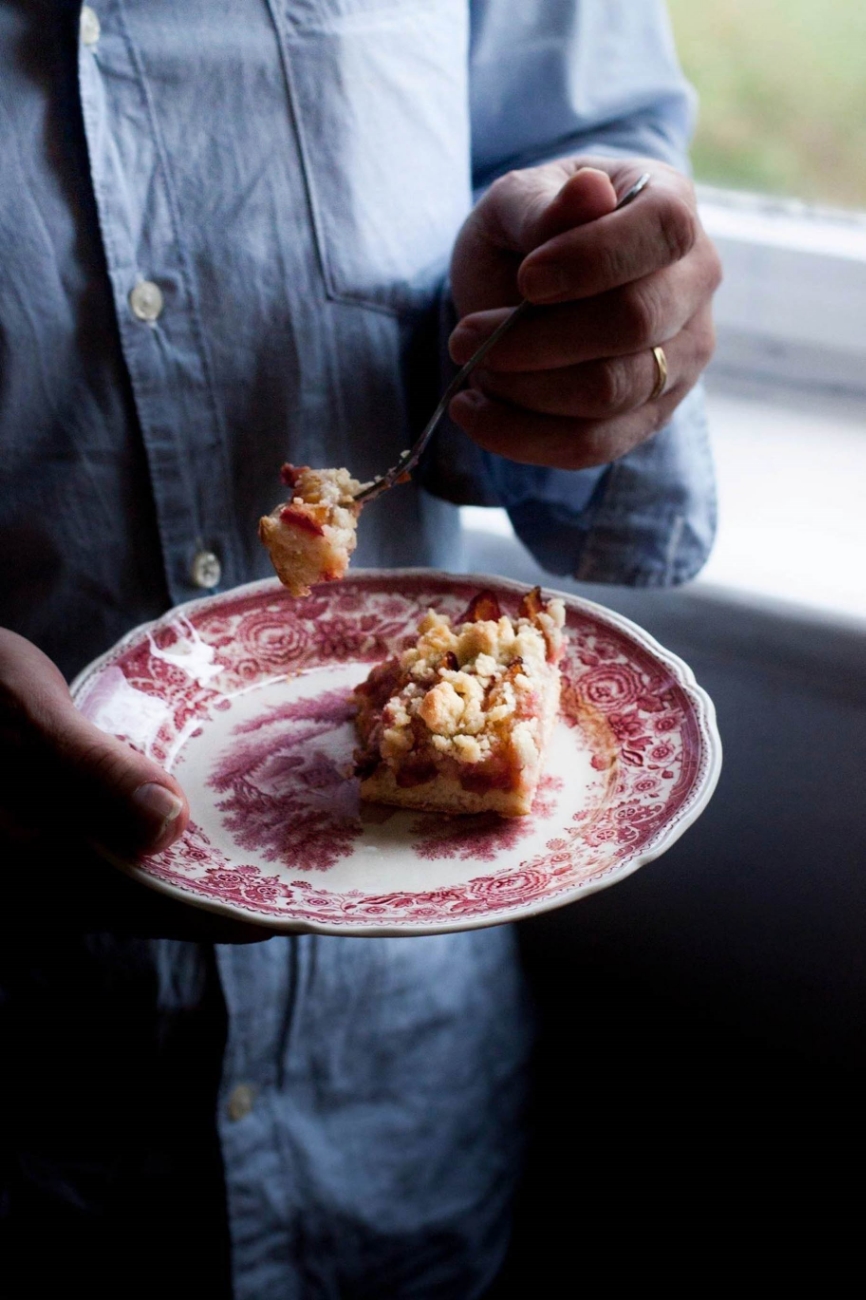
Dust with powdered sugar and serve warm or at room temperature with whipped cream or vanilla ice cream. I always reheat any leftovers; the flavors are so much better and the galette seems to simply melt in your mouth.


Plum Galettes | My Blue&White Kitchen

Related Posts

To Keep "In Shape" – Double Chocolate Muffins with Flaked Sea Salt & Dried Flowers

Double Chocolate Muffins with Flaked Sea Salt & Dried Flowers | My Blue&White Kitchen

Quite often I get asked how I keep "in shape" while I cook, bake, and eat so much. Moderation is of course one thing which I've also talked about here on the blog. It's something I actually don't have to do very consciously as it comes quite naturally to me. The other thing I usually mention is that I hardly ever eat any processed food and don't buy sweets and baked stuff (except croissants and ice cream). I make them at home. Craving pizza? I make it from scratch. Chocolate? Homemade chocolate cake it is. Partly this has to do with the fact that I just freakin' love standing in the kitchen. At least most of the time. Furthermore, we haven't a takeout culture here in Finland and, hence, there aren't that many places that offer great takeout food. And what about processed food? Well, it's primarily a question of personal preference. It doesn't taste good. Not to me at least. And because I live to eat rather than eat to live and because I basically belong to that range of people who rather skip a meal than eat something that's crap (not entirely sure how good a thing that is), I very rarely buy or eat any convenience food.

So yes, I eat butter, sugar, and meat. And yes, I love a good loaf of bread. I'm not following a special diet. I don't have a list of forbidden food. I eat. A lot. Occasionally, such as last week, I go and get a burger. But still, I'm eating (to my standards) pretty healthy and consciously and, thus, manage to stay "in shape". I know that eating this way doesn't come naturally to all of us. Many of us struggle. I struggle sometimes too.

So how to find balance? I'm afraid I don't have an answer to this question. I only have a couple of thoughts. Listen to your body. Listen to your mind. What do they, and ultimately you, crave? What makes them, and ultimately you, feel good? Be interested in what you put in your mouth. Think seasonally. Think locally. Discover. How does a fresh tomato that has grown in soil taste like? How does a simple soup made from scratch differ from a canned one? Trial and error. Get connected. Share. Gather in the kitchen and around the table. Create memories around food. Get back to the roots. Think simpler.

So what has this all to do with chocolate muffins? Well, they too were created because I 1) craved chocolate (the ultimate way to beat winter blues) and 2) knew that a chocolate bar or a bought chocolate muffin wouldn't do. Originally, I didn't plan to sprinkle dried flowers on top. But as I pulled the muffins out of the oven and saw the sun shining through the windows, I felt like dried flower petals would be perfect. A layer of white snow is still covering the fields and hills, but spring lingers in the air. There's light. There's hope.

Double Chocolate Muffins with Flaked Sea Salt & Dried Flowers | My Blue&White Kitchen

Double Chocolate Muffins with Flaked Sea Salt & Dried Flowers

makes 16–18 medium-sized muffins

This recipe can easily be halved. You can use whatever dried flowers you have on hand. I used a mix of hibiscus, elderflower, cornflower, lavender, orange blossom, thyme flower, viola, erica, and yarrow. The recipe calls for buttermilk. Should buttermilk not be easy to come by where you live, you can make your own: stir 1 tbsp lemon juice into 1 cup milk and let the mixture sit in room temperature for 5 to 10 minutes. The milk should now have thickened slightly and have small curdled bits in it. If you live in Scandinavia, you can use filmjölk.

2 tbsp cocoa powder
250 g (4 ½ dl; 2 cups minus 1 ½ tbsp) all-purpose flour
1 tbsp baking powder
½ tsp baking soda
¼ tsp fine sea salt
2 eggs
175 g (2 dl; ¾ cup plus 2 tbsp) granulated sugar
½ dl (1 cup) buttermilk
180 g bittersweet chocolate (70 % cocoa), melted & cooled 
90 g bittersweet chocolate (70 % cocoa), roughly chopped
115 g (1 stick) unsalted butter, melted & cooled to room temperature

flaked sea salt, to sprinkle on top
optional: dried flowers, to sprinkle on top


Preheat oven to 175°C (350°C).

In a medium bowl, combine cocoa powder, flour, baking powder, baking soda, and salt. Set aside.  Line the inside of 16 to 18 muffin cups with muffin liners.

In a stand mixer at high speed, beat the eggs and sugar until light and fluffy. Turn the speed to low, and gradually add buttermilk, melted butter, and melted chocolate. At this point, the batter may look curdled. Don't worry, it's normal. Add the flour mixture and mix until just combined.

Divide batter among muffin liners, filling each ¾ full. Top with coarsely chopped chocolate. Bake for 15–18 minutes or until a cake tester inserted near the center comes out clean.

Sprinkle with flaked sea salt and dried flowers of your choice.


Double Chocolate Muffins with Flaked Sea Salt & Dried Flowers | My Blue&White Kitchen

Related Posts

Saint Lucia's Day – Saffron Knots with Orange Almond Filling for Life & Thyme

Saffron Knots with Orange Almond Filling | My Blue&White Kitchen

December is a month packed full with holidays and traditions, especially in the Nordic countries. Last Saturday, we celebrated Finland's Independence Day, one of the most festive days of the year. I made rack of lamb with roasted Provençal vegetables (haha, totally neither Finnish nor Nordic but delicious). For dessert, I made a vanilla parfait with roasted cinnamon plum sauce and gingerbread. The parfait was really nice but a tad too sweet for my taste; it need a few tweaks before it's ready to be shared.

Next Saturday, December 13, is Saint Lucia's Day. It's mainly celebrated by the Swedish-speaking community but few can escape the lovely sound of the Lucia song or the luscious saffron buns. And let's be honest: every occasion that brings some joy and light into these dark Nordic winter days is more than welcome. Saint Lucia's Day is the very essence of that; according to the Julian calendar it was the longest night of the year. Lucia, the girl wearing a white cotton gown with a red sash tied around her waist and a crown made of lingonberry twigs, was believed to bring the light into the winter darkness.


"The night treads heavily
around yards and dwellings
In places unreached by sun,
the shadows brood
Into our dark house she comes,
bearing lighted candles,
Saint Lucia, Saint Lucia."


So when I was asked to contribute a holiday recipe to Life & Thyme, I knew I had to share a Saint Lucia's Day treat. As I already shared the traditional saffron buns last year, I decided to create a new version of the old classic. I used the basic Nordic cardamom-spiced bun dough but used saffron instead of cardamom. I decided to fill the saffron buns with a delicious orange almond filling and shape them into knots. The result was everything I could have asked for, or to be honest, it was even better. The orange flavor works wonderfully with the saffron and the filling makes these knots a treat made in the Nordic winter heaven.

You can read the recipe on Life & Thyme where I also share how I'm spending my Christmas. One word: unplug.

Should you be interested in Saint Lucia's Day and how it's celebrated here in the Nordic countries, I recommend watching the fun and informative video on the official sites of Sweden.

Happy baking!


Related Posts

Korvapuusti – Finnish Cinnamon Rolls

My Blue&White Kitchen | Finnish Cinnamon Rolls

Last Saturday, I woke up realizing it was National Cinnamon Roll Day, and I didn't have anything planned. "Oh crap", I repeated to myself like some sort of mantra. As I had to go to work that day, I decided to devote the next day to baking those traditional sweet treats. They're the ultimate Nordic baked good, and our love for them is deep and true, endless like the Nordic winter nights. Or winters in general.

We all know that the days are getting colder now. First comes the rain, then the snow. Therefore, we all need some cinnamon rolls in our lives. They make it all so much more bearable.

I think cinnamon rolls are not without reason one of the most loved baked goods in the world. While they're topped with icing all over North America, here in Scandinavia we skip the icing and sprinkle pearl sugar on top. Lots of it. Furthermore, we use the traditional cardamom-spiced yeast dough that is also used to make pulla, as we call them in Finland, or bulle, as they're called in Sweden. Here in the north, cinnamon rolls are the ultimate baked good that can be found at every café. That's also how you're supposed to eat them; alongside a big cup of coffee. However, I think they're also great with a glass of cold milk, especially when they're still warm. You can, of course, also enjoy them with a cup of tea; after all, it's your choice, your moment of comfort.

Cinnamon rolls are actually called korvapuusti here in Finland which can be translated as slapped ears. I have no idea where this slightly violent name comes from; I tried to do some research on it but without success. However, the name has been around since the late 1800's. Very mysterious indeed. But I like it; I like food with funny names.

Although the dough and filling are the same in both Finland and Sweden, the shape is unique to Finland. For me, this is the one and only cinnamon roll shape. It's a bit like with pasta; theoretically they all should taste the same no matter the shape but in reality, well, they definitely don't.

I even made a GIF (my very first one!) to show you how to shape proper korvapuustis. See? Easy! And it's definitely lots of fun to poke once finger into dough. Truth.

My Blue&White Kitchen | Finnish Cinnamon Rolls

A few notes on the recipe: For the best result, make sure that all your ingredients are at room temperature. I recommend using bread flour, but this recipe will work with all-purpose flour as well. Just substitute the flour by weight, not volume (although, you'll notice when the dough is ready as it'll come clean off the sides of the bowl). Pearl sugar is obligatory; remember to be generous with it. You can certainly adapt the filling to your liking by adding more or less sugar. I like mine not overly sweet, but I've seen recipes that use up to 2 ½ dl / 1 cup of granulated sugar (basically almost three times as much as my recipe calls for) for the same amount of rolls. You can leave the egg out and, furthermore, substitute the milk with water should you follow a special diet. However, as you can imagine, the most delicious and flavorful result is made with eggs and milk.

So next time you plan to make cinnamon rolls, why not try this Nordic variety? I hope you do.


Korvapuusti – Finnish Cinnamon Rolls

makes around 30 rolls
 

5 dl (2 cups + 2 tbsp) lukewarm milk (preferably whole milk)
50 g fresh yeast (or alternatively 16 g / 1 tbsp + 2 tsp instant active dry yeast)
180 g (2 dl; ¾ cup + 2 tbsp) granulated sugar
1 ½ tsp fine sea salt
1 tbsp + 1 tsp ground cardamom (preferably freshly ground)
1 egg
about 1 kg (15 dl; 6 ½ cups) bread flour
170 g (1 ½ sticks) unsalted butter, at room temperature

for the filling
150 g (1  sticks) soft butter
6 tbsp granulated sugar
1 tbsp + 2 tsp cinnamon

for the egg wash
1 egg

pearl sugar, to sprinkle
 

To make the dough
In a large mixing bowl (you can make the dough by hand, like me, or in a stand mixer), combine the lukewarm milk and crumbled yeast. [If using instant active dry yeast, skip this step. Combine the yeast with some flour and add to the warm, 42°C / 108°F, milk mixture before adding the rest of the flour.] Stir with a spoon until the yeast is completely dissolved. Add sugar, salt, cardamom, and egg and mix until combined. Gradually add about two thirds of the flour and knead. Add butter and knead until well combined. Continue to knead the dough, and gradually add just enough flour so the dough comes clean off the sides of the bowl and doesn't stick to your hand.

Don't overwork the dough or you'll end up with hard rolls, not soft as we want them to be. Shape into a ball and cover with a clean kitchen towel. Let the dough rise in a warm, draft-free place for about 1 hour, or until double in size.

Meanwhile, mix together the butter, sugar, and cinnamon for the filling. Set aside.


To shape and bake the rolls
Line four baking sheets with parchment paper.

Punch down the dough and divide into two equally sized portions. Lightly dust a clean work surface with flour. Roll out the first portion of dough into a large, about 60-by-40-centimeter / 23-by-16-inch rectangle. Spread half of the filling evenly on top. Beginning with the long side, roll the dough into a tight tube shape, seam side down. Cut into 15 cylinders and press each point tightly into the center with your index finger. 

Place the shaped cinnamon rolls on the baking sheets, spacing them about 5 cm / 2" apart. Cover with a clean kitchen towel and let rise for further 30 minutes, or until they're double in size. Repeat with the second batch.

Meanwhile, preheat the oven to 225°C (435°F).

For the egg wash, lightly whisk the egg. Before baking, brush each roll with the egg wash and sprinkle generously with pearl sugar. Bake the rolls on the middle rack for 10 – 15 minutes, or until golden to dark brown in color. When the rolls are done, the bottoms will most probably be dark brown in color; this is totally normal and typical for Nordic cardamom-spiced sweetbread. Repeat with the other sheets of rolls.

The cinnamon rolls are best eaten while still slightly warm or on the same day. However, you can freeze them once baked and warm them up when ready to serve.


My Blue&White Kitchen | Finnish Cinnamon Rolls

Related Posts

About The Blog Turning One & Being A Wild Raspberry Scone Warrior

Raspberry Buttermilk Scones | My Blue&White Kitchen

The truly creative mind in any field is no more than this: A human creature born abnormally, inhumanly sensitive. To him, a touch is a blow, a sound is a noise, a misfortune is a tragedy, a joy is an ecstasy, a friend is a lover, a lover is a god, and failure is death. Add to this cruelly delicate organism the overpowering necessity to create, create, create – so that without the creating of music or poetry or books or buildings or something of meaning, his very breath is cut off from him. He must create, must pour out creation. By some strange, unknown, inward urgency he is not really alive unless he is creating.

– Pearl S. Buck

Raspberry Buttermilk Scones | My Blue&White Kitchen

First of all, this little blog baby of mine has turned one! Wohoo! Happy birthday, blog! It still can't walk on it's own or talk or write posts but I'm proud of it anyway. It all started with my love for food and photography and my inner longing to share that passion with others. Never in my wildest dreams could I have imagined all the goodness that I would experience as a result of me finally finding the courage to start my own blog. Isn't it weird how one decision can have such a huge impact on your life?

Thank you for being here. Thank you for saying "hi!" and leaving encouraging comments. Thank you for making my recipes. You can't even imagine how exciting it is to hear that one of you has baked or cooked a recipe and loved it as much as I have! Thank you for your friendship. Oh, how many wonderful people I've met along the way! So many creative, inspiring, and strong souls. I've been welcomed to this community of food bloggers with such kindness and for that, I'm so very grateful. Thank you.

Raspberry Buttermilk Scones | My Blue&White Kitchen

Now to these scones... They were a result of some serious battles. First, there was that raspberry picking trip where I had to fight against a whole mosquito army. There was blood. There was cursing and physical violence. And casualties. I came home with itching mosquito bites, some blood on my forehead, and a red knee cause I walked straight into a nettle bush and was so very clever to wear shorts (Don't do that. Just don't.). However, this all was worth it as my bucket was heavy with large and juicy raspberries. 

Then there was the day when I made these scones and shot the post. Real talk: I almost had a breakdown cause I had such a hard time trying to get these babes look beautiful and do them justice. I spend several hours trying to get that perfect shot (yes, several hours). Trying different angles, lighting, props. Nope. This wasn't my day, and I and these scones would definitely not become friends anymore. I struggled with serious self-doubts. By that time I had already declared them as enemy. I walked away. However, the scones still lingered on my frustrated mind. "Okay, let's approach these in a whole new way", I thought. You see the results here. I like these shots. A lot. Sometimes it's good to walk away to get some distance, and come back later with new eyes and a clear mind.

These scones and pictures are a labor of a true wild raspberry scone warrior.

Raspberry Buttermilk Scones | My Blue&White Kitchen

I really love these scones. Actually, the scones in the pictures aren't the most beautiful ones as I, in my frustration, ate the really pretty ones (sorry guys). They are light and tender but have a wonderful crust as well. They aren't too sweet and are speckled with pink raspberries. I decided to substitute part of the all-purpose flour with whole wheat spelt flour to make them a bit more wholesome. Furthermore, as I recreated the recipe a few times during last week I ended up making the scones a bit smaller and thicker to support the rising. I and these scones have made peace again. They are lovely little fellas.

They say that scones are best eaten while still warm and fresh, but I think potential leftovers are great on the next evening or even the next morning toasted in a toaster or pan. Add a knob of butter or enjoy with some brie (!!). I almost was turning these into some kind of French-toast-meets-scones thing but thought that it would be worth another post and story. Let's start with the basics and play wild and reckless another time. That said, the recipe can easily be halved as eight scones tends to be quite a lot unless you are feeding a whole family or hosting a brunch for a bunch of friends.

Raspberry Buttermilk Scones | My Blue&White Kitchen

Raspberry Buttermilk Scones

makes 8 scones

There are two essential things to keep in mind when making scones: keep it cold and work fast. Make sure that your butter and liquids, such as buttermilk, are really cold. Never overwork the dough: just mix and fold until everything is incorporated. Be sure that you've preheated your oven, lined a baking sheet with parchment paper, and have all ingredients at hand (preferably already measured) before starting to make the dough.

The first time I made these, it was a hot summer day. On the evening before I was wondering if I should change my plans of baking scones in the forecasted heat. However, I was too eager to hide the harvested raspberries in scone dough... What I made to ensure that the dough would be as cold as possible despite the challenging circumstances was the following: the night before, I measured the flours, sugar and salt, added them to the bowl I was going to make the dough in and stored it in the freezer. I also weighted the required amount of butter and froze it as well. The following morning, I added the baking powder and baking soda to the dry ingredients. Using a box grater, I coarsely grated the frozen butter and stirred it into the dry ingredients. After that, I proceeded as depicted below.

The recipe can easily be halved. Baked scones can be frozen.


190 g (3 ½ dl; 1 ½ cups) all-purpose flour
100 g (2 dl; ¾ cup + 1 ½ tbsp) whole wheat spelt flour
45 g (½ dl; 3 tbsp + 1 tsp) granulated sugar
2 tsp baking powder
½ tsp baking soda
135 g (1 ¼ sticks) cold unsalted butter, cubed
2 dl (¾ cup + 1 ½ tbsp) buttermilk (if you are in Scandinavia, you can use filmjölk instead or make your own buttermilk)
130 g (2 ½ dl; 1 cup) raspberries

melted butter


Preheat the oven to 225°C (450°F). Line a baking sheet with parchment paper and set aside.

In a medium-sized bowl, combine the dry ingredients. Cut the butter into the dry ingredients with a pastry cutter until the dough is crumbly and resembled small peas. Alternatively, you can do this by hand. Work quickly to ensure that the butter stays cold. Add the buttermilk and mix just until the dough comes together. At this point the dough should feel slightly sticky but still be easy to handle. If the dough feels too sticky add a bit more flour.

Transfer the dough to a lightly floured work surface. Pat the dough into an about 1,5 cm (0.5") thick circle and scatter the raspberries on top of the dough. Fold the dough over the raspberries 3 to 4 times. Because of the berries, the dough will probably feel quite sticky at this point. Lightly flour the work surface and dough to prevent sticking. Pat into an about 3 cm (2") thick circle. Cut into 8 wedges and place on the prepared baking sheet. Slightly brush with melted butter.

Bake the scones on the middle rack for 12 to 15 minutes, or until golden brown. Enjoy while still warm.


Related Posts