Last Day(s) of Summer - Salt Roasted New Potatoes with Dill

fresh.jpg

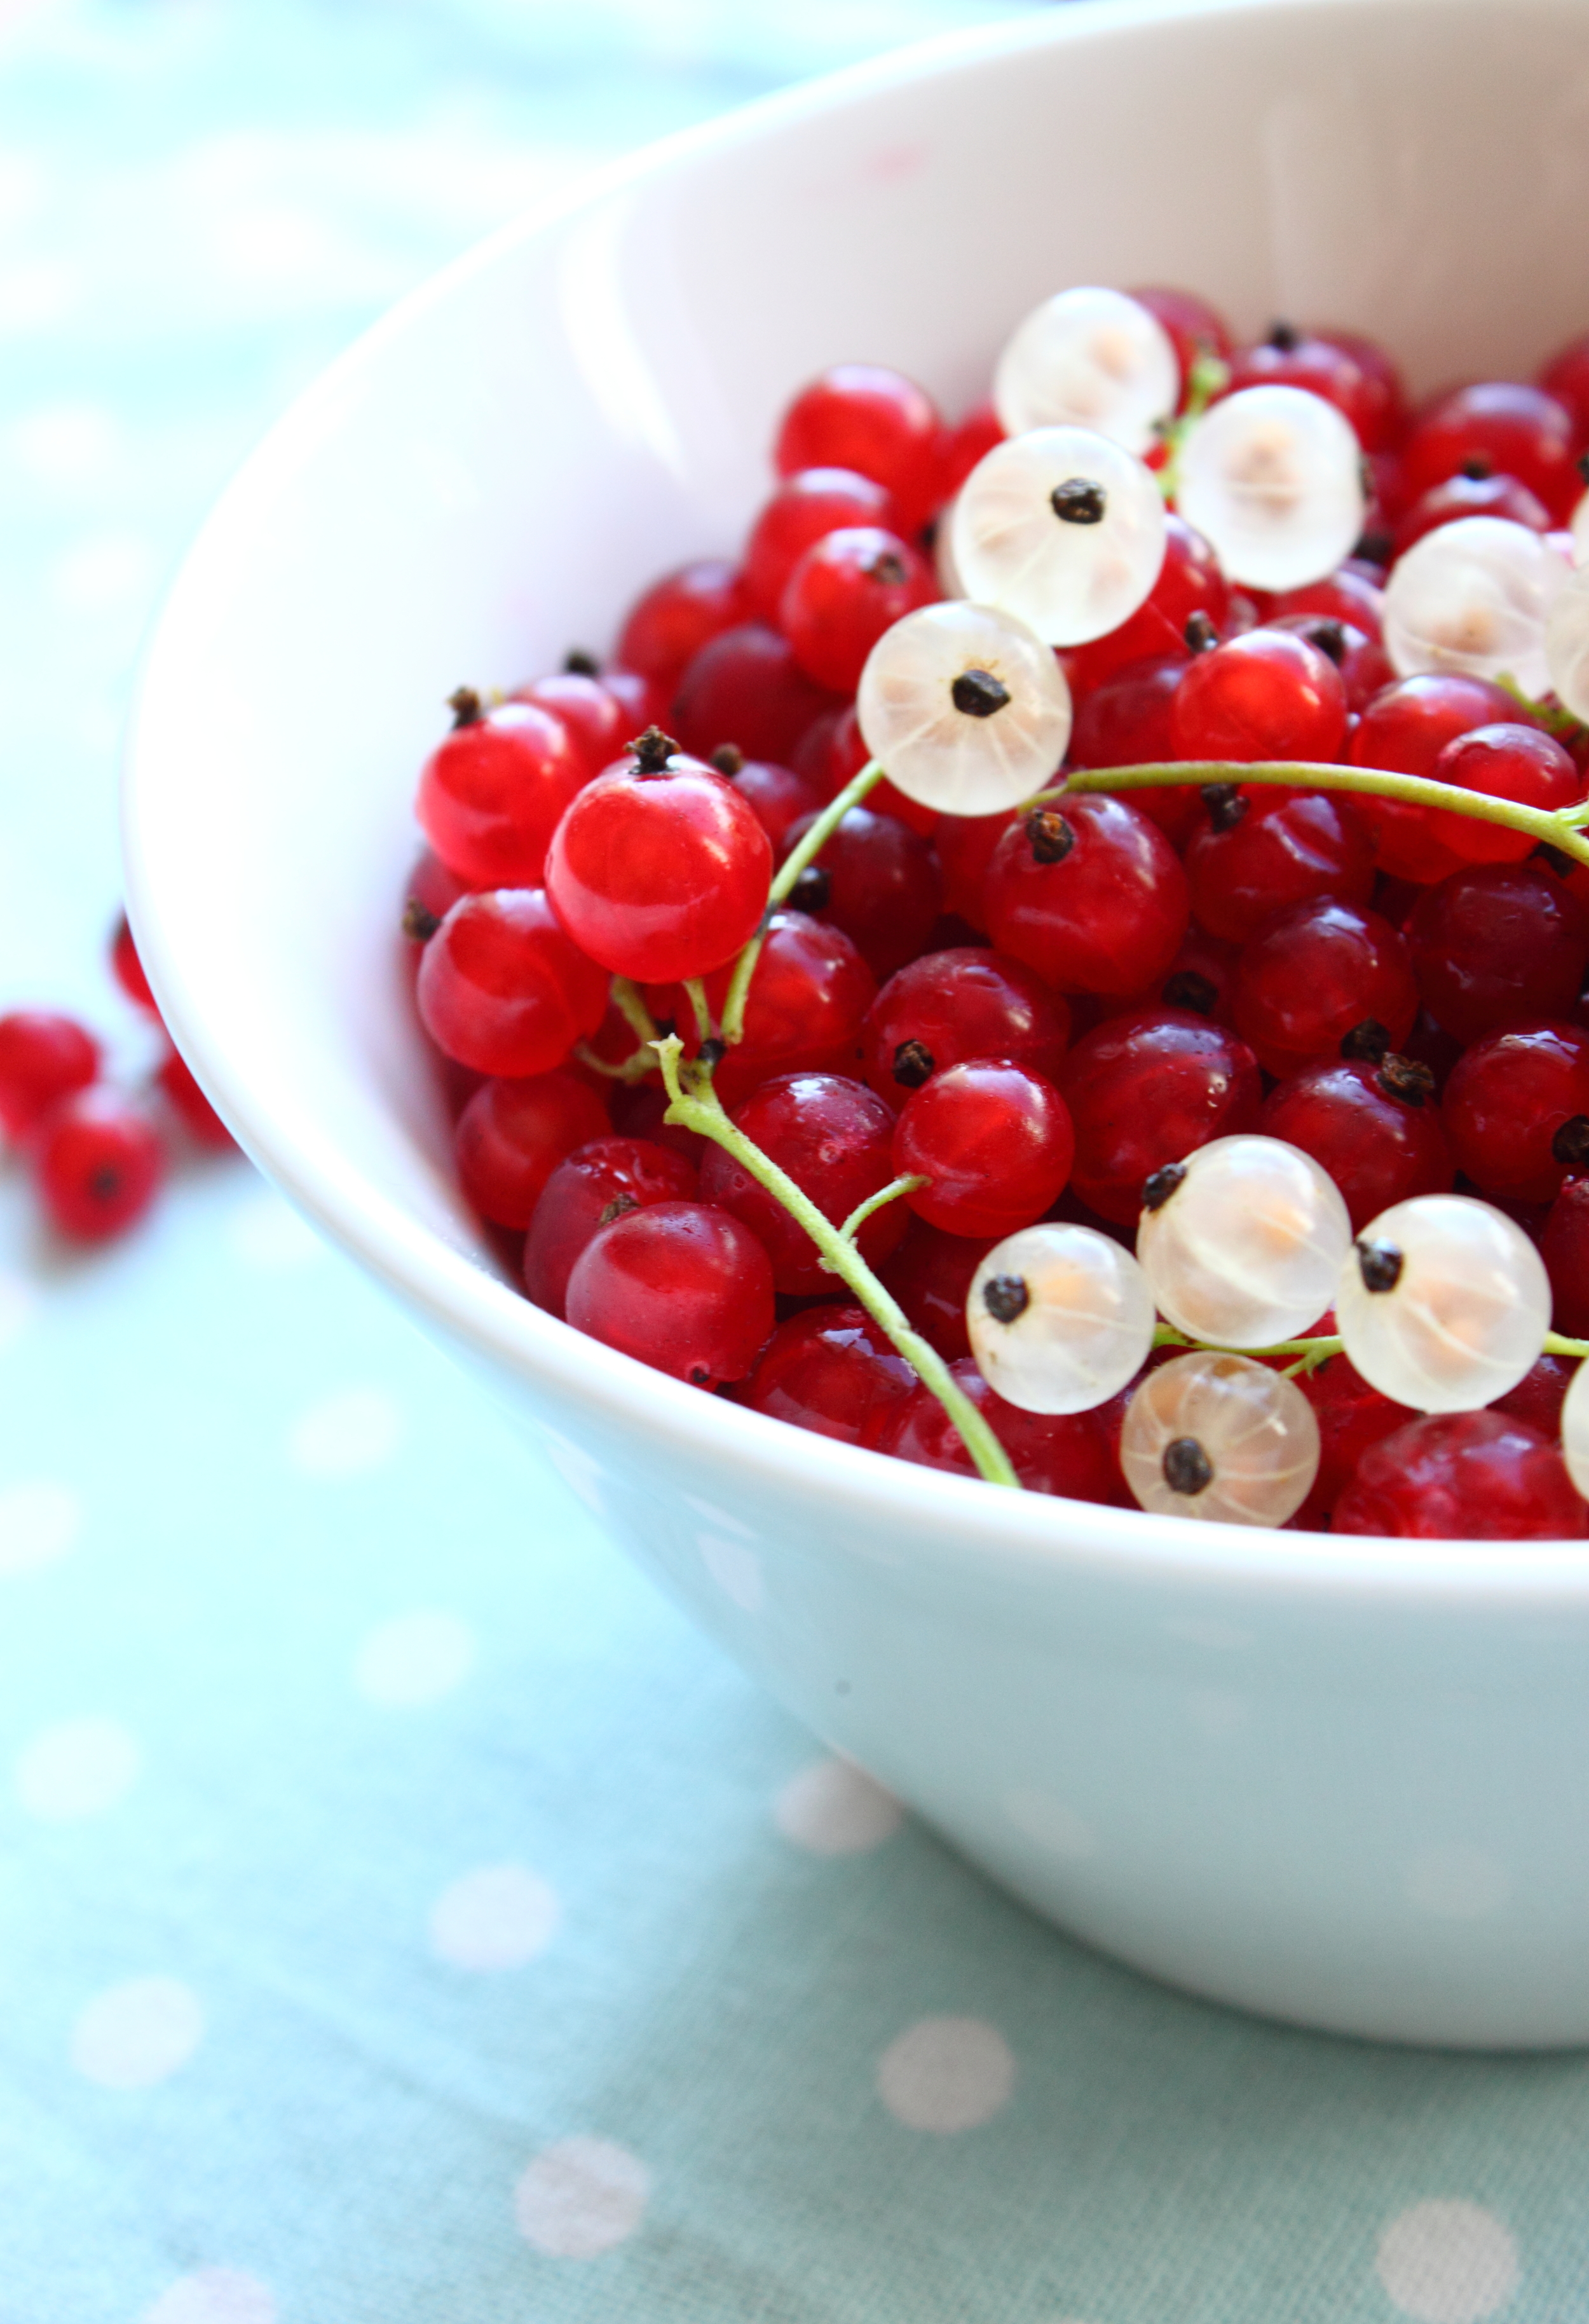
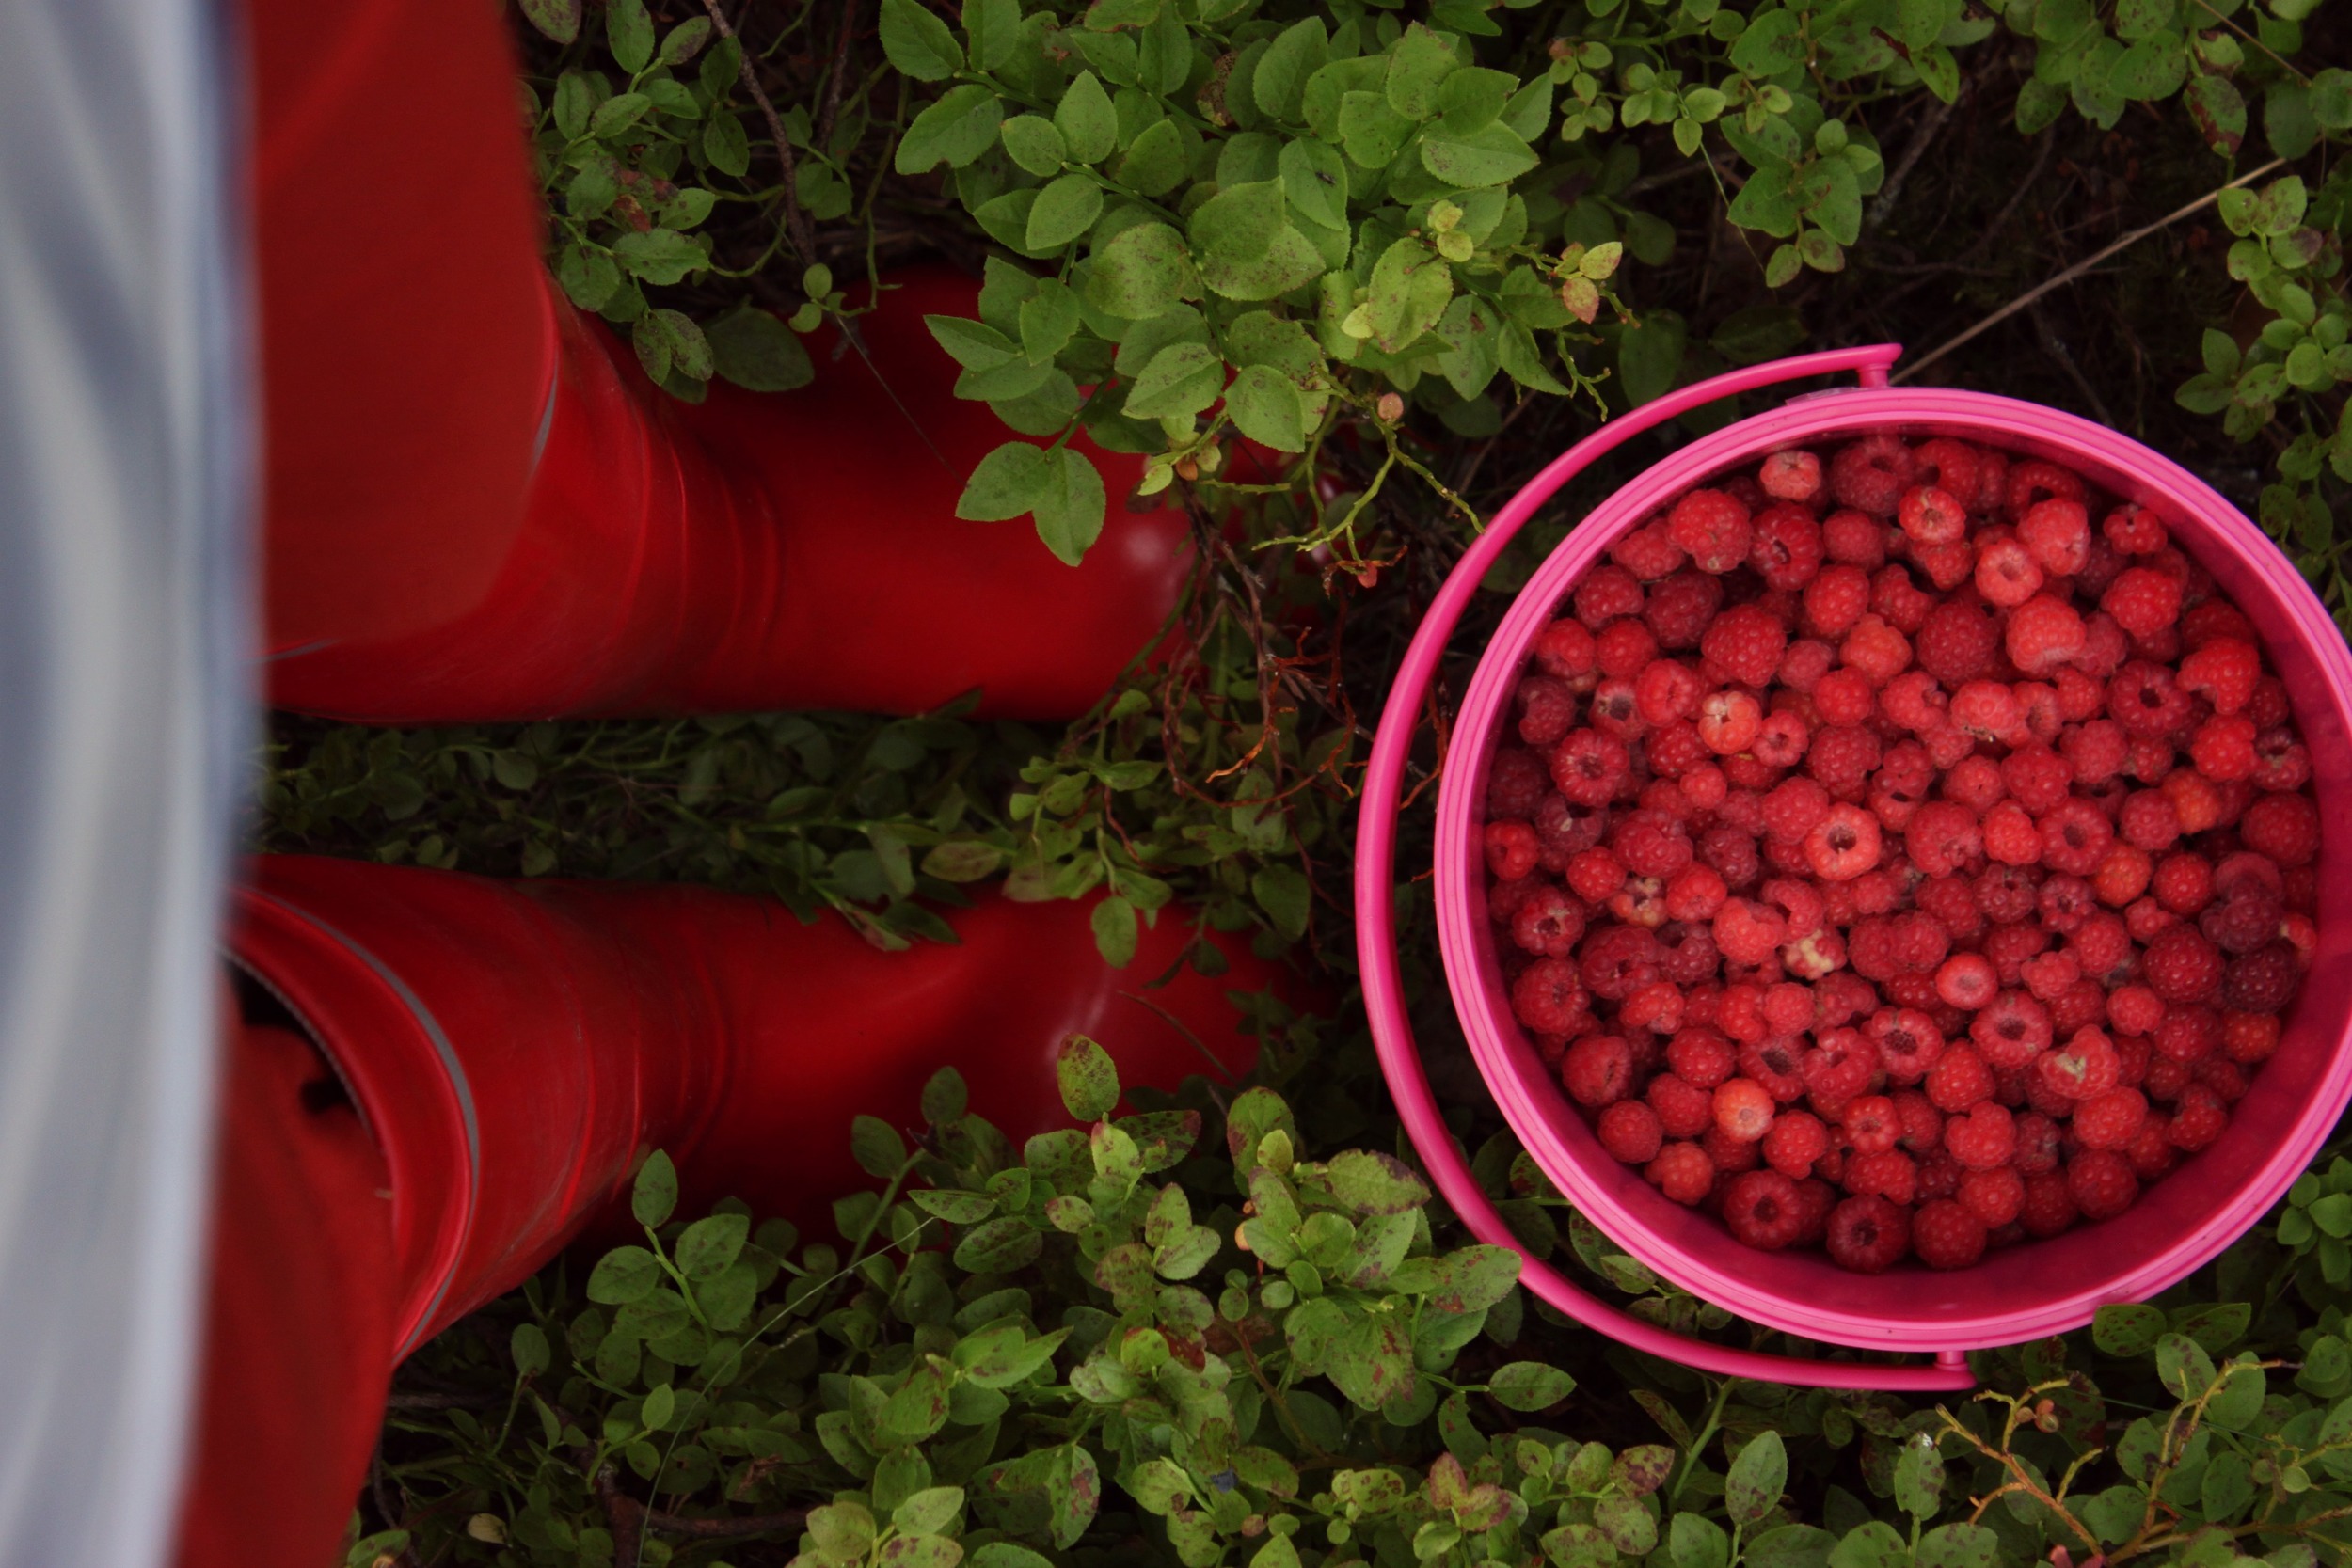
I'm a summer girl. No denying that. I love the blue skies and the warm summer breeze. I love how life is lived outside. I love having a barbecue night with family and friends. I love drinking my morning coffee from a paper mug at the farmers market {which I do way too seldom!}. But most of all I love the light. Oh that light! The one that can't be found anywhere else in the world. When the sun never really goes down, I think to myself "Life doesn't get better than this".

toberoasted.jpg

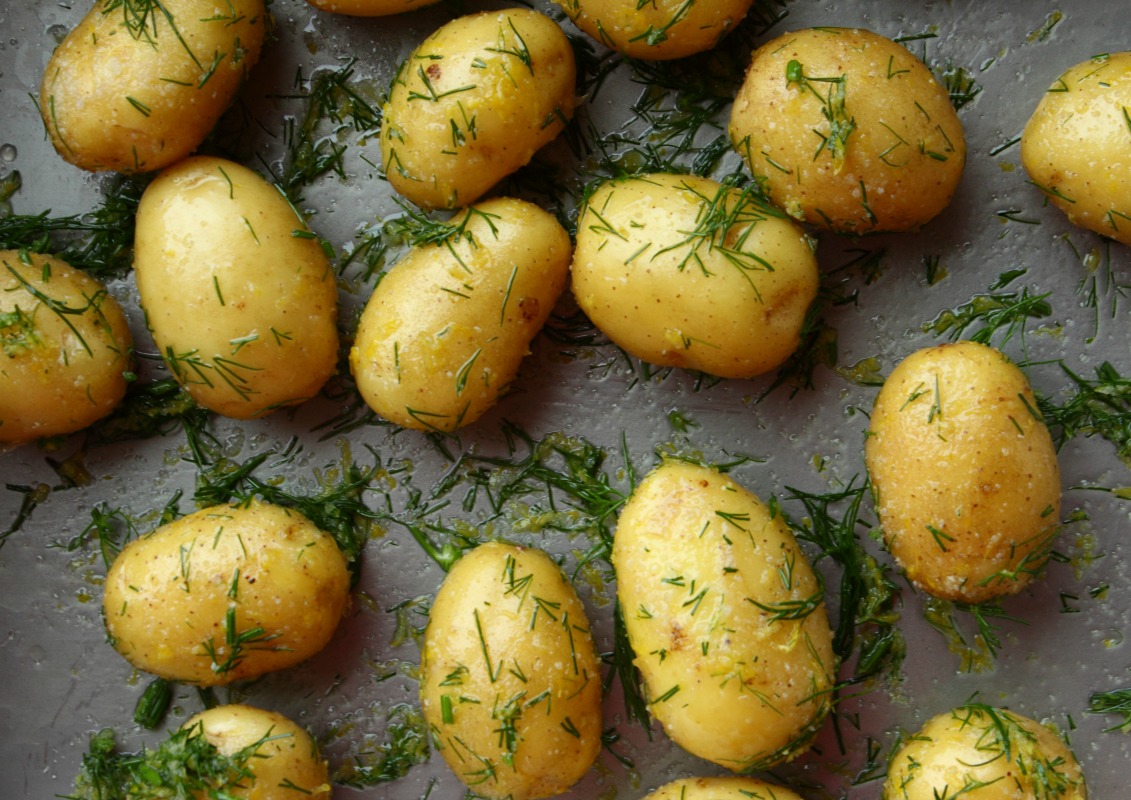
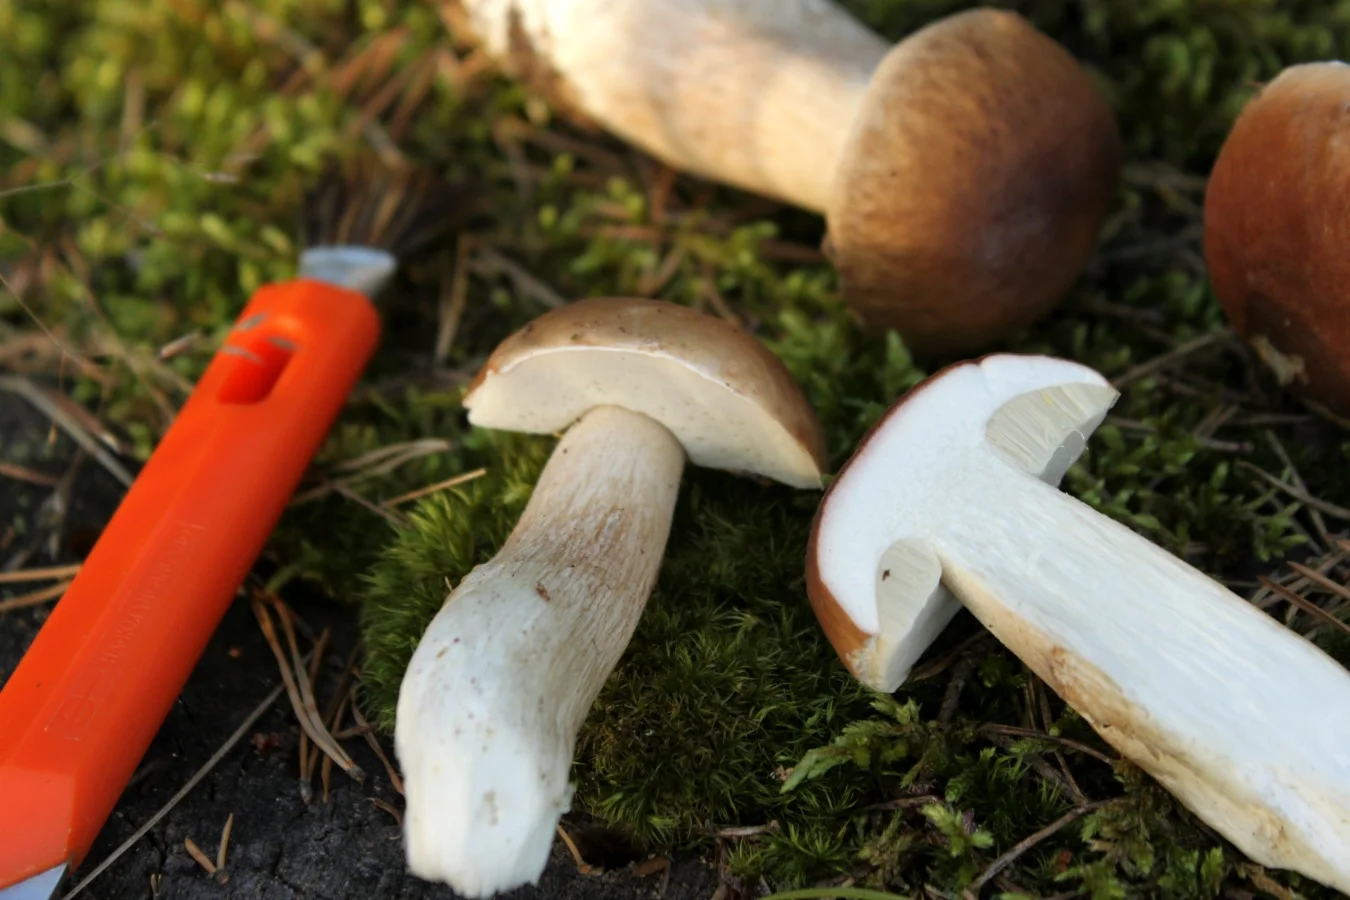
I wanted to celebrate the last day(s) of summer with the last new potatoes of the season. New potatoes are best bought at the farmers market where they most likely have seen the sunlight for the first time only a few hours before. How do you know if your new potatoes are fresh? The skin should come off easily when you rub it with your fingers. I firmly believe that the smaller the potato, the better the taste so I always dig for the tiny ones... Oh and select the dirty ones - the dirt protects them from harm. In this case dirty is beautiful.


roasted.jpg
readytoserve.jpg

Salt Roasted New Potatoes with Dill
serves 2-3

500 g (1 lb) new potatoes {the smaller the better}
zest of 1 lemon
2 tsp fine sea salt
1 tbsp dill, chopped {I like to simply cut it with my kitchen scissors}
olive oil

Preheat oven to 225°C (435°F).

Wash (but don't peel) potatoes and put into a roasting pan. Toss potatoes with lemon zest, sea salt and dill as well as just enough olive oil to coat the potatoes evenly.

Roast on the middle rack for 30 minutes, or until potatoes are tender and golden brown. If the salt crust is too thick for your liking, just remove any excess salt.

Serve as a side dish for any grilled meat or fish. I enjoyed mine with a piece of warm smoked salmon and a green salad.

Note: You can of course use regular potatoes for this dish. Just try to get small ones or you will need to adjust the roasting time or even pre-boil your potatoes before roasting.


Inspiration & An Evening Walk

IMG_7483.jpg

Nature is a constant source of inspiration. Colors and forms. So many different colors and forms.

IMG_7453.jpg
IMG_7460.jpg
IMG_7462.jpg
IMG_7474.jpg

Right now I see summer taking its last breaths. Fall is taking over. Little by little. But I'm not ready to say my farewells to summer. Not quite yet. Give me just a few more days. A week maybe.

IMG_7474_bw.jpg
IMG_7515.jpg
IMG_7521jpg

I wanted to take a short evening walk last Saturday and see if I could find some blueberries. I came home with something else - porcini! {signs of fall!} Just look at these beauties.

IMG_7316.jpg
IMG_7340.jpg

I cleaned, sliced and sautéed them in butter. I love when the edges start to crisp. Some sea salt and black pepper fresh from the mill. A few slices of baguette. Call it a dinner for one. Totally simple. Totally delicious.

IMG_7392.jpg

A Moment of Late Summer Bliss & a Red Currant Tart

IMG_7187_.JPG

It’s all about berries these days. And somehow, although I’ve been berry picking multiple days a week for the past 3 weeks, I’m not bored. Not a bit. Summer is good to us and we should embrace it.

A couple of days ago I made a small trip to the countryside to the summer house of my dear great-aunt and her husband. A red wooden house surrounded by woods, water, and….berry bushes! Red, black, and white currants. Some blueberry bushes too.

IMG_7103_.JPG
IMG_7107_.JPG
IMG_7115_.JPG

Currant picking is quite a straightforward business. No scratches all over your arms or small worms nesting in your goodies like when raspberry picking. Nor are there stained fingers or that awful pain in your back which you get from picking bilberries. Oh and no mosquito air force waiting to drain the blood from you.

So I picked currants with a smile on my face. I went to the sauna and cooled down on the porch with a glass of homemade red currant juice in my hand. I listened to bird songs. Peaceful. A moment of late summer bliss.

IMG_7040_.JPG
IMG_7075_.JPG
IMG_7086_.JPG

Now I have my freezer and fridge full of currants (I came home with nearly 10 liters!). I’m still figuring out what I’m gonna make from all of them. I think there will be some jam making sessions and some will be saved for cold winter days. I’m also intrigued by the idea of making black currant juice. I’ll see.

I decided to start with this red currant tart. My great-aunt served quite a similar, simple but oh so delicious, tart and I couldn’t resist making one at home too. I especially love the tartness of it and the small vanilla seeds in the filling. So pretty!

IMG_7177_.JPG

RED CURRANT TART

Crust
85 g sugar
200 g unsalted butter, cold and diced
1 egg (M)
pinch of fine sea salt
185 g all-purpose flour
115 g whole grain barley flour

Filling
85 g sugar
120 g quark
120 g sour cream
1 egg (M)
½ tsp natural vanilla paste or ½ vanilla pod (sliced lengthwise and seeds scraped out)
250 g red currants (or any other currants or berries)

In a medium-sized bowl quickly rub the butter into the sugar with your fingers (or a pastry cutting tool or alternatively pulse in a food processor) until well incorporated and crumbly. Add the egg and mix. Add salt and both flours and knead until everything has come together. Avoid over-working the dough - try to work as fast as possible. There should still be some small butter pieces left. The dough should feel quite crumbly but stick together. Form the dough into a disk, wrap in plastic wrap, and refrigerate for at least an hour.

Preheat oven to 175°C (350°F). Roll the dough out and press into a 26 cm (10”) tart mold. If the dough cracks, don’t worry, just pinch it back together. Cut off any excess. With a fork, poke several holes in the bottom of the tart dough. Bake on the middle rack for 10 minutes. {I didn’t use baking weights and my tart came out perfectly.}

In the meantime prepare the filling. Remove currants from stems, wash them and dry with a kitchen towel or household paper. Beat the sugar, curd, sour cream, egg, and natural vanilla paste (or vanilla seeds) in a small bowl until smooth.

Pour the mixture into the prebaked tart. Top with the red currants. Bake for 25-30 minutes until the edges start to brown and the filling has set. Let cool down a bit before serving.

Serve with vanilla ice cream or vanilla sauce, if desired – especially if you want to balance out the tartness. I have to say that in Finland we would always enjoy this alongside a cup of freshly brewed coffee. We are, after all, a coffee nation.


IMG_7207_.JPG

A Beginning & Queen Jam

So this is it. My first post on this little space of mine. I’m excited and nervous at the same time. So let’s just start, shall we?

With the abundance of fresh summer berries and fruit, I’ve been canning like a mad one. We have a long, dark season ahead of us and a little jam at my breakfast table always helps me get through those winter mornings when I would prefer to stay in bed and wake up when it’s spring again.

So I've been picking berries at our summer cottage in the mornings and afternoons and canning on the evenings. When preserving, it's important to make sure that everything is at their peak of quality. You don't want one rotten berry or piece of fruit to ruin your whole batch of jam. Always work with clean equipment and try to work fast.

Mixing raspberries and blueberries is quite a traditional flavor combination for jam here in Scandinavia. We call it Queen Jam. Wait, Queen Jam? Where’s the King? Please don’t ask, I really don’t know why it’s called that way. I use wild raspberries and bilberries (“European blueberries”) as they both have a much stronger, more tart flavor than cultivated raspberries and “American” blueberries. This jam is especially delicious served with crêpes or waffles and whipped cream.


Queen Jam
yields about 1,15 l

650 g (23 oz) raspberries, cleaned
350 g (12.3 oz) bilberries, cleaned
330 g (11.6 oz) gelling sugar 3:1
25 ml (2 tbsp) water
optional: ½ vanilla bean, sliced lengthwise & seeds scraped out
 

To sterilize the jars: Preheat the oven to 110°C (230°F). Put the clean and empty jars in the oven for 5 to 10 minutes. To sterilize the jar lids, put them in boiling water for 5 to 10 minutes. Fill the jars with the hot jam immediately.

Making the jam: Put the berries, gelling sugar, water, vanilla bean and seeds in a medium-sized pot. Gently bring the mixture to a boil and keep boiling for 3-5 minutes stirring regularly (please check the instructions on your gelling sugar). Skim off and discard any foam from the surface of the mixture as it cooks. To check if the jam is ready, you can drizzle some jam on a cold plate. It should set within a couple of seconds, otherwise keep the jam boiling for some more minutes (this is a great tip which I’ve learned from delicious days). Discard the vanilla bean. With the help of a funnel tube, fill the sterilized jars with boiling hot jam, leaving about half a centimetre (or less) of headspace. Close jars with the lids and let cool completely.
 

I highly recommend labeling your jars so you know what you have in your pantry (I’m talking from experience here). I especially love these ones. Because this jam is made with less sugar than regular jam, it needs to be stored in the fridge. If the jars are properly sterilized and sealed, the jam will last for up to one year.

Note: You can also make this jam using 500 g of gelling sugar 1:2. The jam will of course be sweeter and the cooking time will probably vary as well. This kind of jam can even be stored in room temperature. You could also use slightly thawed frozen berries. Just omit the water if doing so.