Being kind to oneself – Salmon Salad with Wasabi Dressing

my blue&white kitchen

I wasn't quite sure if I should publish this post the way it looks now. You know, I'm not fully satisfied with the salad shots. I felt the urge to shoot them again. To do better. But then I looked at my day planner and realized that the coming week would be a busy one. Train rides, lectures on the university, making analyses for my thesis, work shifts. I wouldn't be at home during the daylight hours. So I would either have to post this with the shots I had, or you guys would have to wait for this delicious salad for one whole week longer.

You must know, I'm someone who always tries to do her very best. Always trying to push further, challenging myself. As a kid, my parents needed to tell me to do less, not more. Over the years, I've learned to be more forgiving to myself. It doesn't come natural to me; it's a thing I need to do consciesly. "It's okay." "You've already done enough for today." So here I am, putting this online without being fully satisfied with it. Being kinder to myself. Telling myself "It's alright".

And, like you see on these pictures, I think I need to be kinder to spring too. It snowed last week. Oh well... But at least the sun never left.

my blue&white kitchen

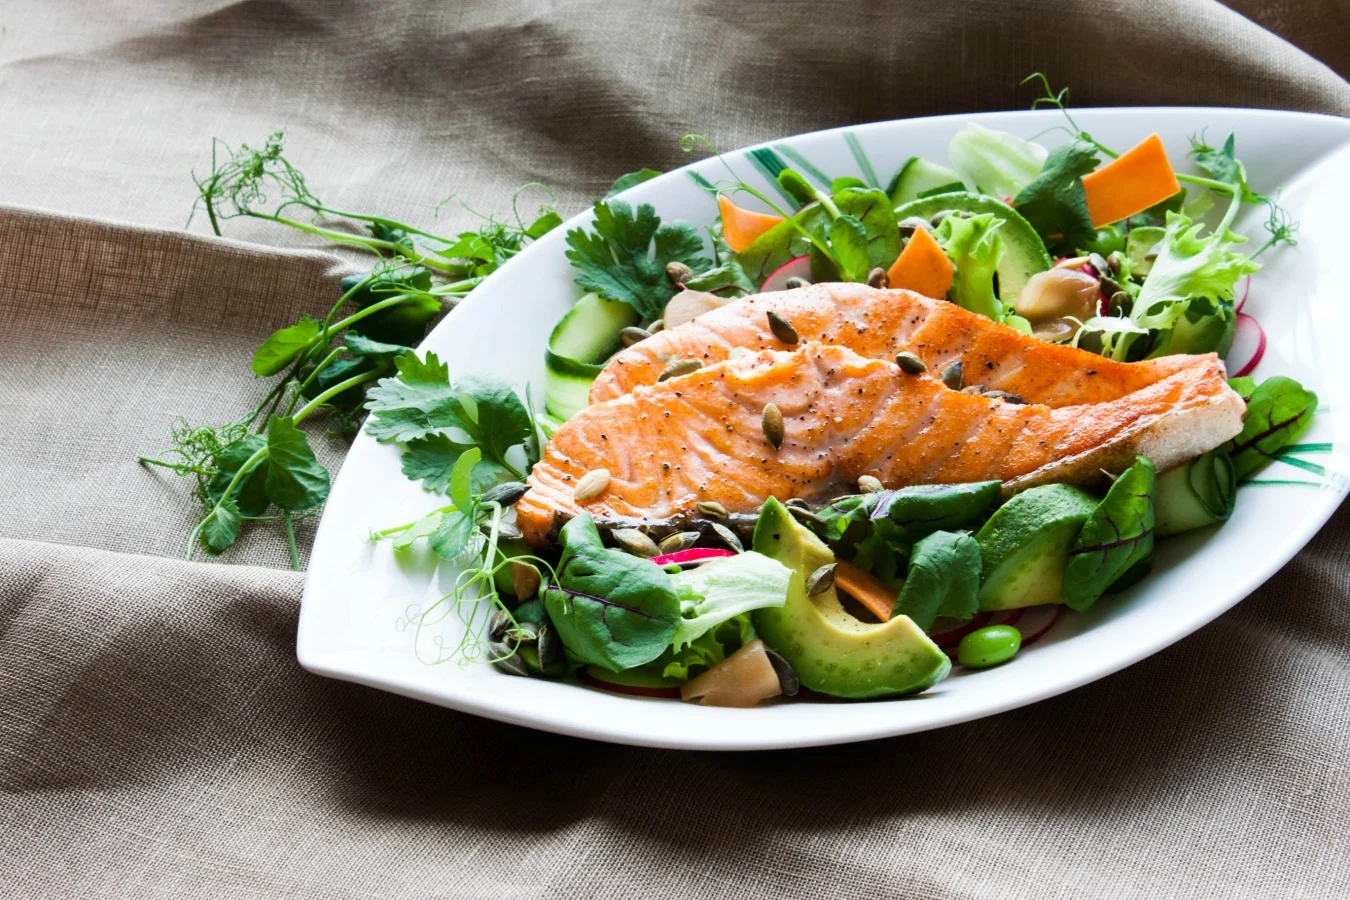
Today, I share a salad with you that I've been enjoying often during the last couple of weeks. A mix of different greens, pan-fried salmon, and a highly addictive wasabi dressing. A wonderful composition. I didn't want to give you strict quantities for the ingredients. After all, a salad is a forgiving dish. Choose what's in season or what looks especially delicious at the store or at the farmer's market. How big is your appetite? Two or three handfuls of salad? Maybe you don't like salmon? Leave it out or substitute it with something else. Really, go ahead, and make this salad yours.

Salmon Salad with Wasabi Dressing | my blue&white kitchen

Salmon Salad with Wasabi Dressing

This salad is greatly inspired by the salmon and avocado salad from the Helsinki-based restaurant Rafla. The recipe can also be found in the Finnish cookbook Safkaa - Parempaa arkiruokaa by Alexander & Hanna Gullichsen, p. 33

150 g salmon per person, cut lenghtwise into 1 cm thick fillets
fine sea salt & freshly ground black pepper, to season
lime, to drizzle on top

a mix of different salads & herbs (I used frisée salad, bloody dock, pea tendrils, & cilantro), washed & dried
piece of carrot, cut into long stripes
piece of cucumber, cut into long stripes
avocado, halved & sliced
edamame beans, cooked (I used frozen ones)
radishes, thinly sliced
gari (Japanese pickled ginger)

for the dressing (serves 2):
juice of ½ a lime
pinch of fine sea salt
2 tsp wasabi
4 tbsp neutral vegetable oil, like canola

to serve:
pumpkin seeds, toasted
rice vinegar
salt & freshly ground black pepper, optional


For the dressing, whisk together the lime juice, salt, and wasabi until completely combined. While whisking constantly, slowly add the oil. This is crucial to keep the dressing from separating.

In a frying pan, fry the salmon, skin side down first, until cooked through. While cooking, season with salt & pepper, and drizzle with some lime juice.

Arrange the salad on a plate, sprinkle with some toasted pumpkin seeds, and drizzle with some rice vinegar. 


Salmon Salad with Wasabi Dressing | my blue&white kitchen

Last Breath – Beet & Potato Latkes

beet & potato latkes :: my blue&white kitchen

Do you still remember how I told you that February is my favorite winter month? Well, that was before this February. It has been a letdown. A total bummer. Where are the freezing temperatures? Where is the bright sunshine? I wanted to take long walks on the lake ice. I wanted to wear sunglasses because the harsh light that would be reflected by the white snow would otherwise hurt my eyes. I wanted to go sledding with my friends and drink Lumumba from a thermos. Instead, it has been gray and wet. Snow? Gone. February 2014, nul point.

I don't want it to be winter anymore if it looks like this. Spring. I want it to be spring.

beet & potato latkes :: my blue&white kitchen

At the same time as I wish this season would be already over, I realize (with a slight feeling of terror) that I don't have much time to enjoy the wintery foods. Like beets. I've had them way too seldom. I haven't made borscht. I haven't baked a chocolate beet cake yet. I've not eaten enough of beet salad with arugula, chèvre, and walnuts.

This is me taking my last breaths of winter. This is me shaking off the gray dust of February. This is me making beet & potato latkes.

Will you join me?

beet & potato latkes :: my blue&white kitchen

Beet & Potato Latkes

makes about 20 latkes, enough to serve 4–6 hungry souls

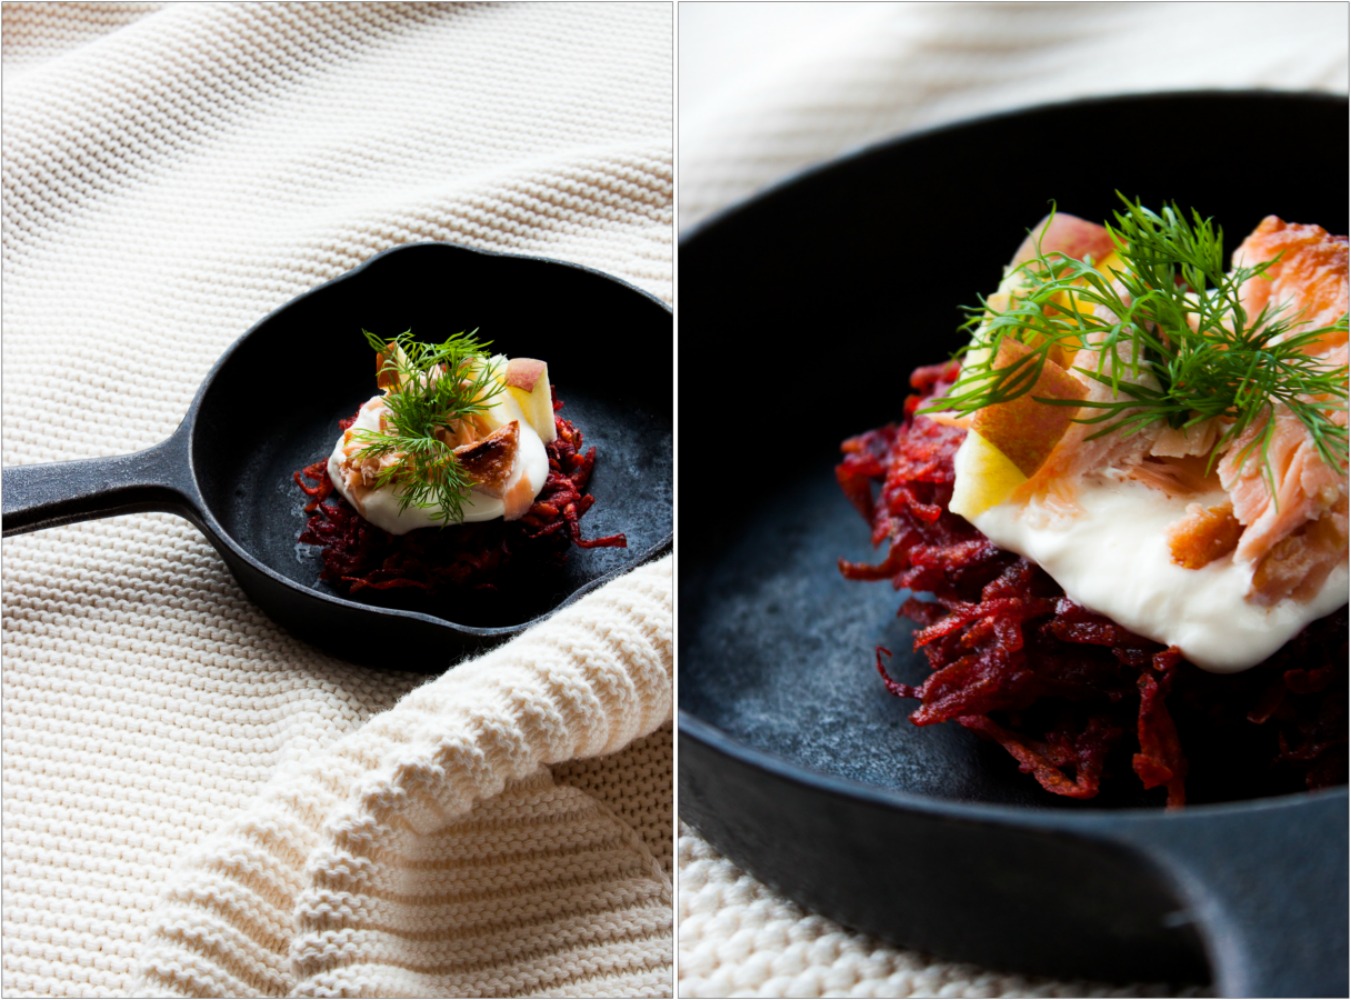
The ruby red latkes topped with creamy sour cream, salmon with a subtle smoke note, crispy apples to fresh it up, and the classic pairing of dill. These latkes aren't only gorgeous to look at but also damn delicious. I think they are perfect served at a get-together with a simple green salad and a glass of sparkling wine. I used blazing salmon as I really love its flavor but you can substitute it with regular cooked salmon. Blazing salmon is a traditional Finnish fish preparation, in which the salmon is nailed to a wooden plank and partly smoked, partly cooked over an open fire. It's one of my most favorite ways to enjoy salmon, especially in salads, as smoked salmon often has a too strong flavor for my liking.

For the latkes:
375 g (13 oz) red beets, peeled
900 g (2 pounds) starchy potatoes, like Russet, peeled
2 eggs (M)
40 g (1.5 oz; 0,6 dl; ¼ cups) fine plain tried breadcrumbs
1 tbsp fine sea salt

vegetable oil, for frying

To serve:
~ 375 g (12 oz) salmon (preferably blazing salmon)
~ 300 g (10 oz) sour cream
2 tart apples, cubed
dill sprigs
 

Preheat the oven to 150°C (325°F). Line a baking sheet with parchment paper and place a wire rack on top of it. Line another baking sheet with paper towels.

Using the large holes of a box grater, grate the beets and potatoes. Place in a colander and let drain for 10–15 minutes. Press the shreds firmly against the colander a couple of times to draw out excess moisture. We want the shreds to be as dry as possible to ensure crispy latkes!

In a medium bowl, whisk the eggs, breadcrumbs, and salt. Add the beet and potato shreds. Using your hands or a silicone spatula, mix until well coated.

Generously coat a large frying pan with oil (about ⅓ cm / 1/8" high) and heat over medium-high heat. Drop a small amount of latke mixture into the pan – if the oil sizzles around the edges, it's ready. Working in batches, drop large spoonfuls of the latke mixture into the hot pan and press slightly with the back of your spoon to flatten. My latkes were around 1 cm / ½" thick and 7,5 cm / 3" in diameter. Fry until brown and crisp, about 2–3 minutes per side.

Transfer the latkes to the paper towel-lined baking sheet to drain, then transfer to the prepared wire rack. Place the sheet with the wire rack and latkes in the oven to keep warm and crisp while continuing to fry the remaining latkes.

Serve the latkes warm with sour cream, salmon, apples, and dill as well as a simple green salad.


beet & potato latkes :: my blue&white kitchen

Real-life food blogger note: The day I shot this post (last Tuesday) was one of those nasty, gray days. The secret behind these sunny looking pictures? A foam board. Praise the foam board!

Sesame² & Poppy Seed Crispbread

seed crispbread :: my blue&white kitchen

“There are such a lot of things that have no place in summer and autumn and spring. Everything that’s a little shy and a little rum. Some kinds of night animals and people that don’t fit in with others and that nobody really believes in. They keep out of the way all the year. And then when everything’s quiet and white and the nights are long and most people are asleep
— then they appear.”

– Tove Jansson, Moominland Midwinter

seeds_small.jpg

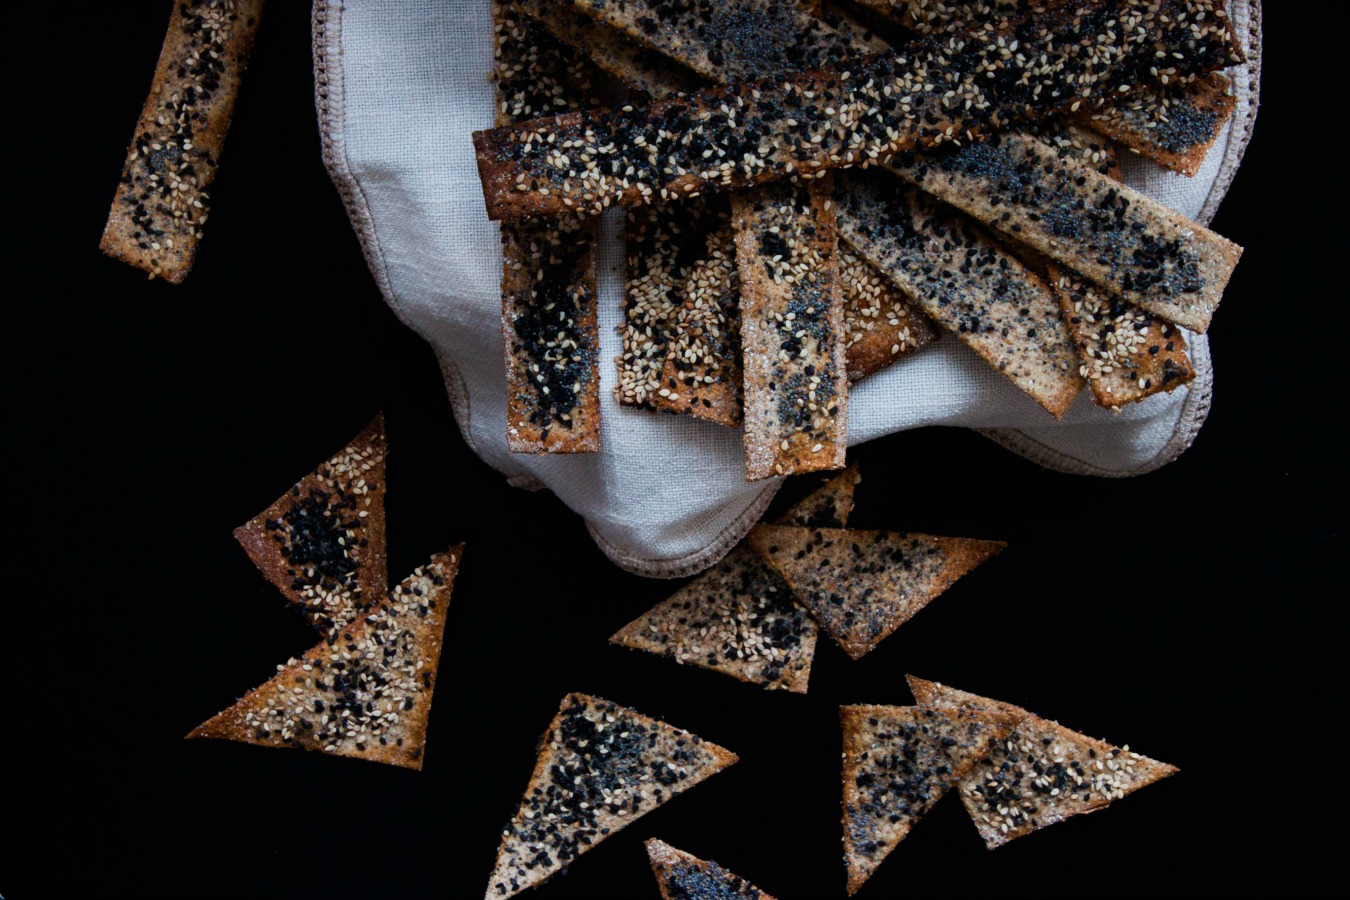
Crispbread, the Scandinavian take on crackers, has been baked for centuries and can therefore be considered as a staple of Nordic cuisine. The most traditional version is shaped into a large round with a hole in the middle – this way the bread could be stored on long sticks under the roof. To sleep in an old log house under a crispbread sky...I definitely like the idea. And maybe, just maybe, one crispbread would have been offered to the shy creatures of winter.

You won't find many Scandinavian families who don't have a pack of crispbread at home at all times. It is one of the secrets of how we people of the North survive the long, dark winters. Forget its reputation as low-caloric diet food. It's so much more than that (and to be honest, I doubt any Scandinavian enjoys it because of it being "health food"). Crispbread is enjoyed as a midday snack simply buttered or with cheese and thin slices of cucumber. It's also great alongside a bowl of soup, like a hearty pea soup, or a green salad.

Nowadays, few people make homemade crispbread anymore. Maybe it's because you can find a ton of different varieties at your local grocery store. However, homemade crispbread is not only tastier but also easy and relatively quick to make. So why not make your own crispbread at home?

seed crispbread :: my blue&white kitchen

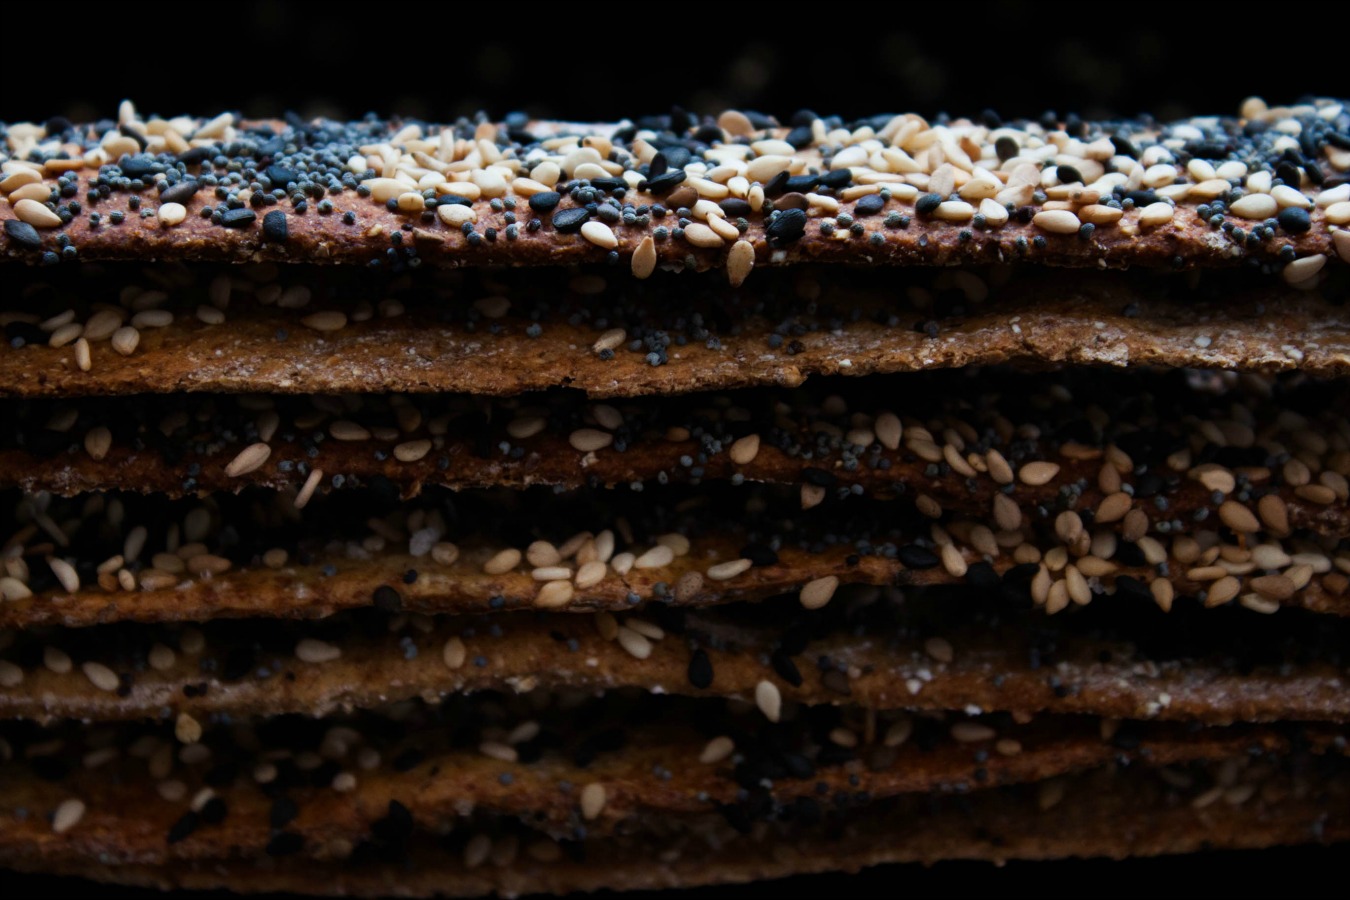
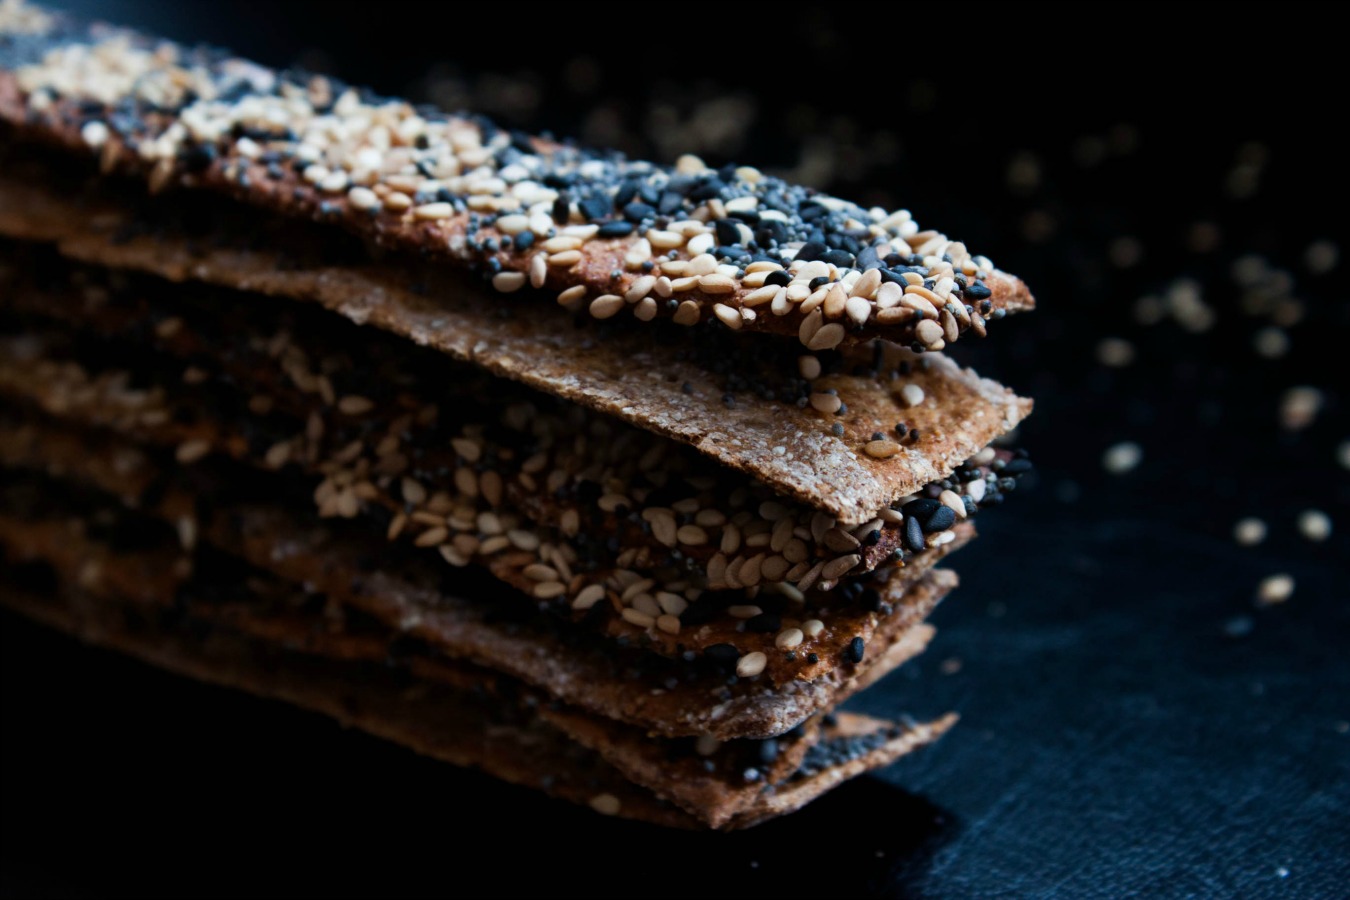
This slightly luxurious seed crispbread pairs especially well with cheese and a glass of full-bodied red wine...the kind of winter night I like the most.


Sesame² & Poppy Seed Crispbread

dough slightly adapted from Elle Mat och Vin 1/2014, p. 90

3 dl (1 ¼ cups) lukewarm milk
25 g (1 oz) fresh yeast [OR 8 g / 0.3 oz instant active dry yeast]
1 tsp fine sea salt
165 g (6 oz; 3 dl; 1 ¼ cups) all-purpose flour
245 g (8.6 oz; 3 ½ dl; 1 ½ cups) coarse wholegrain rye flour

1 egg white
1 tbsp cold water
white & black sesame seeds + poppy seeds

In a medium-sized bowl, combine the lukewarm milk and crumbled yeast. Stir with a spoon until the yeast is completely dissolved. [note: if you use instant active dry yeast, mix it with the dry ingredients and heat the milk to about 45°C / 115°F} Gradually add the dry ingredients until the dough comes together enough for you to start kneading it. Knead until it comes clean off the sides of the bowl. Add more all-purpose flour if it sticks to your hands. Shape into a ball and cover with a kitchen towel. Let the dough rise in a warm place for 30 minutes.

Preheat the oven to 250°C (475°F). Line 2 baking sheets with parchment paper.

Take about a third of the dough and roll it into a very thin rectangle. The thinner you roll it, the crispier it becomes. With a knife, cut the rolled out dough into about 21x2,5cm (8x1") strips. You can also cut it into different shapes, like triangles (mine were about 6,5 cm / 2.5") or rounds. Transfer to a baking sheet.

Prick each piece all over with a fork. This will keep the crispbread from puffing up in the oven. In a glass, whisk together the egg white and water. Brush each piece of crispbread with the mixture and sprinkle generously with the seeds.

Bake for about 6 minutes. The crispbread will be crisp and start to brown at the edges. Let cool on a wire rack. Continue to prepare the rest of the dough but remember to keep an eye on those in the oven.

Once cool, store in an airtight container. They will keep for a couple of weeks, even for several months.


Hope you all have a great start to the first week of February which, by the way, is my favorite winter month!

>>>•••••••••<<<

Let's get connected!

Coldness – Arugula salad with pears, feta & pecans

I can hear the snow crunching under my feet. I breathe out and white mist forms before my face. I smile and my heart jumps in the air. Finally, it's winter again. For a moment I feel like a child wanting to make snow angels in the shallow snow – lie on my back and vigorously move my arms up and down and my legs from side to side. Honestly, when was the last time I made one?

my blue&white kitchen

But then the cold arctic wind hits me. Hard and freezing cold. I'm talking about -20°C (-4°F) cold. So yes, really cold. Soon I can't feel my nose anymore. Cheeks? Nope. And my ears? Well, I should have put a woolen hat on... By the time I'm back home they might have fallen off. Maybe not really likely but the thought alone makes me panic a little so I rub them with my hands. Thank God I'm wearing mittens. Then I look down. My favorite ankle boots and bare legs. Well, they're not really bare. I wear thick(ish) tights. However, this isn't quite what one could call cold weather clothing. Women! What was I thinking?

Oh winter. I think we do have a stormy love-hate relationship.

my blue&white kitchen

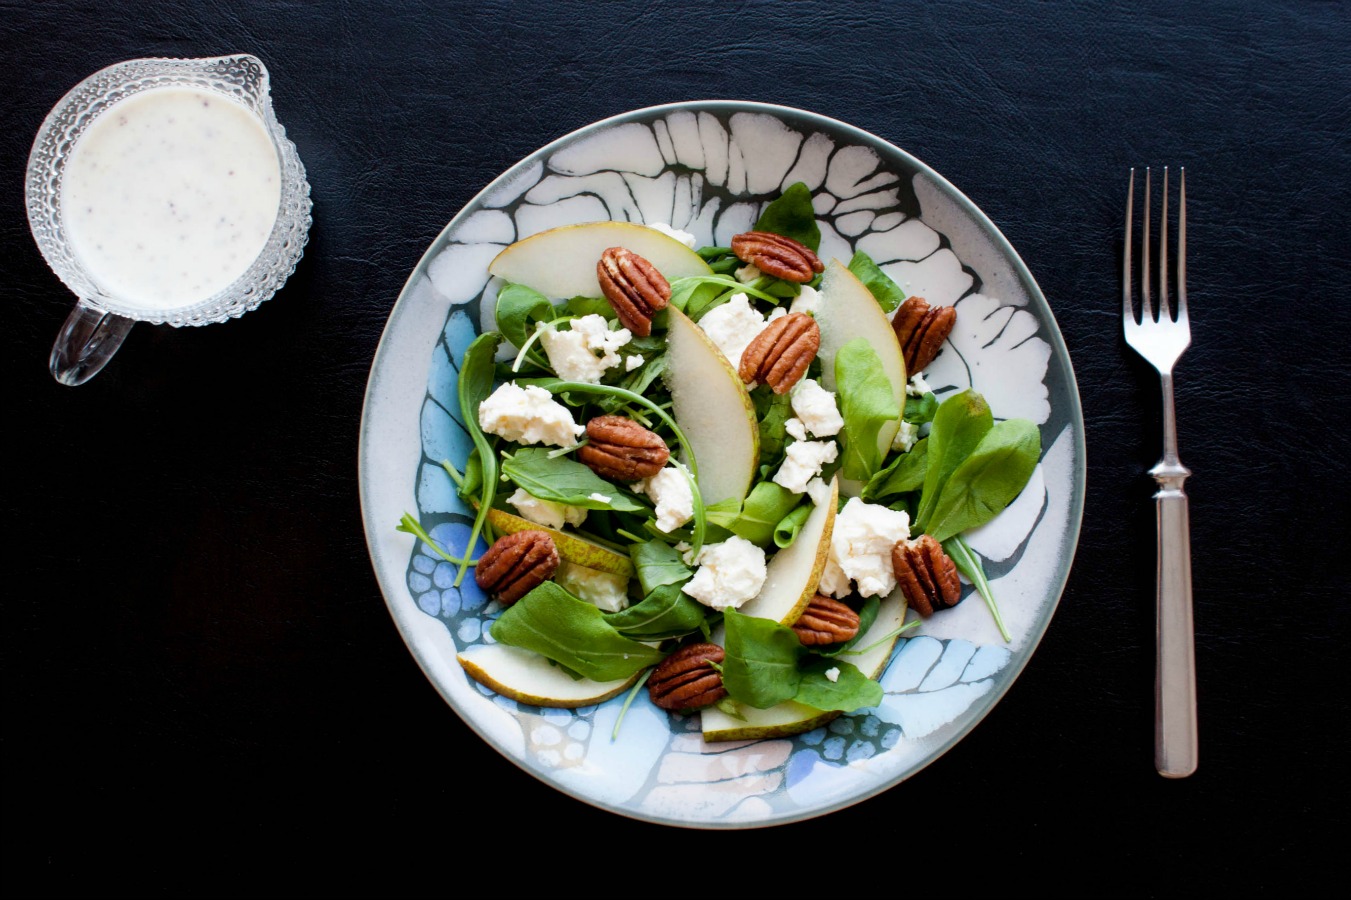
But hey, let's talk about today's recipe...cause there's so much more than coldness and maybe it's 40°C in your corner of the world (hello Oz!). I'm not going to share a recipe for a warming soup or comforting stew. No, today we're having a simple, quick-to-make salad. And I don't post this recipe because I'm on a post-Christmas diet spree. I post it just because it's delicious.

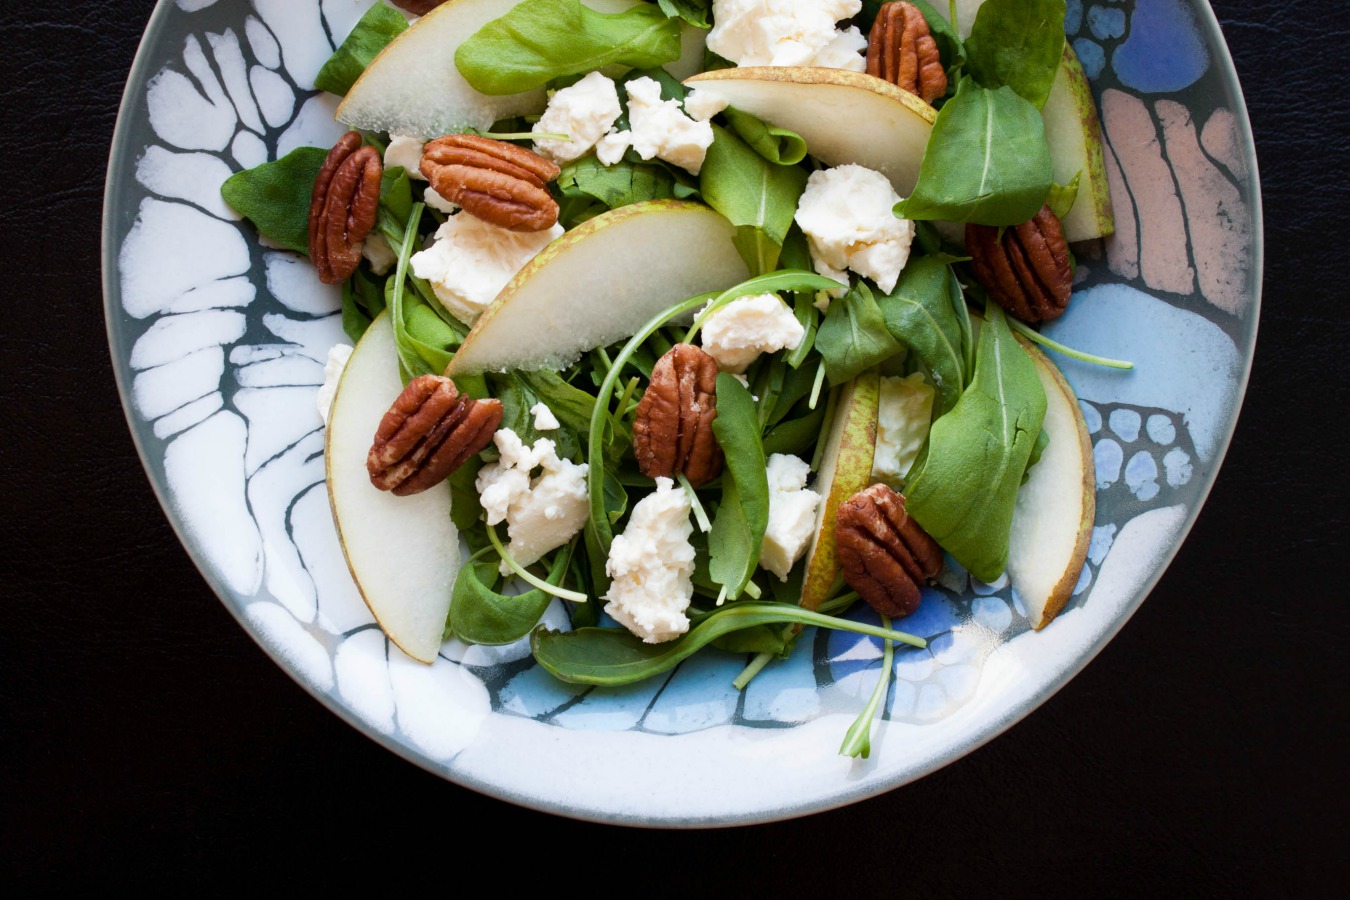
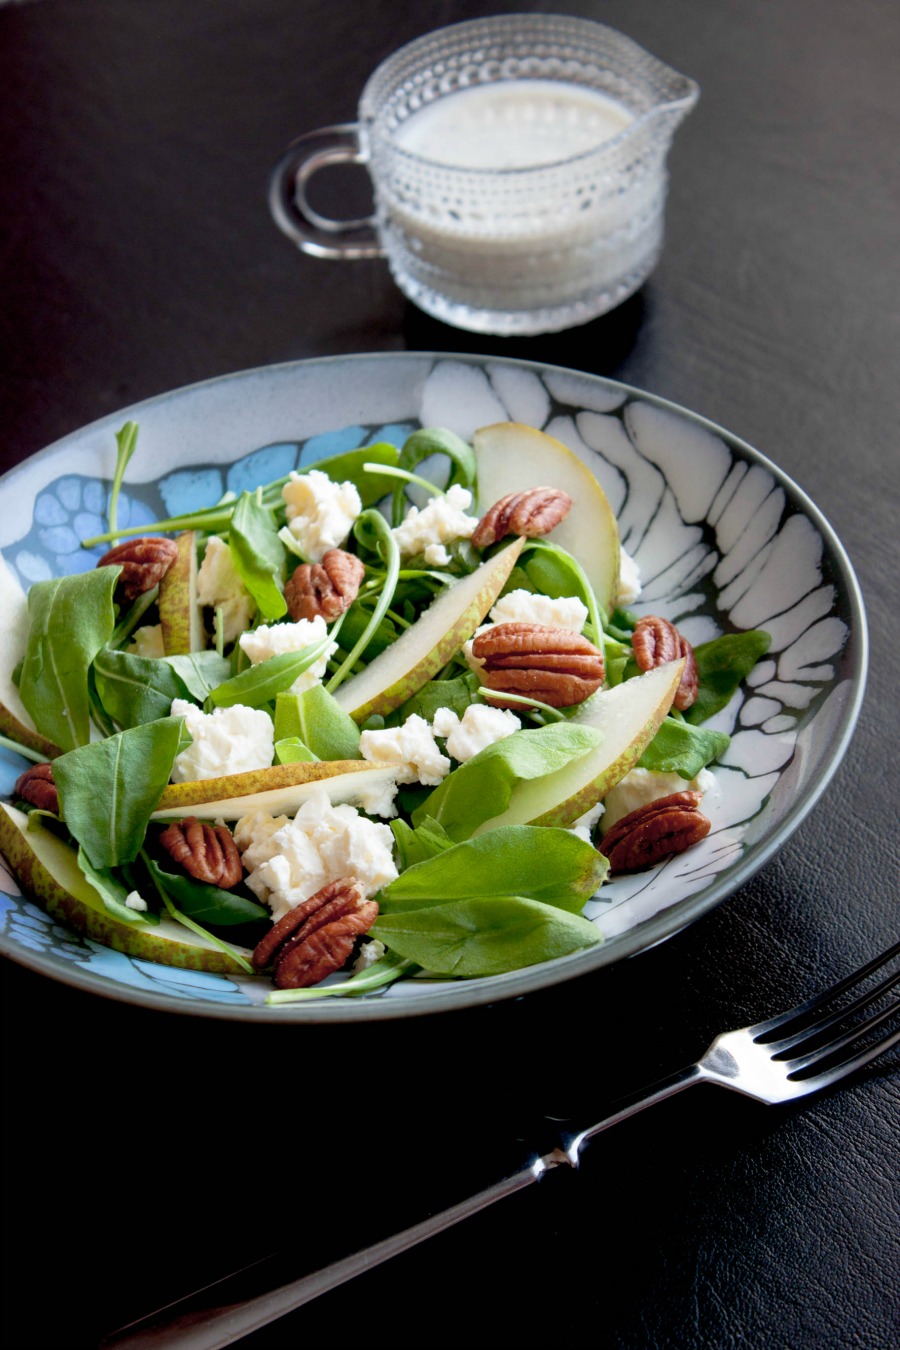
This is a variation of a salad we often make at a get-together with friends (thanks to my friend M.). The "original" version calls for blue cheese and walnuts. I, however, used feta and pecans instead. If you want to have a more filling salad, you can pimp it up with red quinoa. I should also tell you that after I took these shots I remembered that I still had a pomegranate sitting on my countertop. The pom seeds were really lovely sprinkled on top! 

Arugula Salad with Pears, Feta & Pecans

serves 2

You'll end with more dressing than you need but it'll keep in the fridge for a couple of days.


2 large handfuls of arugula, washed & dried
2 pears, thinly sliced
100 g (3.5 oz) feta, crumbled
handful of pecans

for the dressing
3 tbsp full fat plain yogurt
½ tbsp whole grain mustard
½ tbsp white balsamic vinegar
a drizzle of honey
salt & freshly ground pepper, to season

For the dressing, combine yogurt, mustard, vinegar, and honey. Season with salt and pepper. Set aside.

In a large bowl, toss together arugula, pears, and feta. At this point you can either mix in the dressing or, like I do, serve it separately. Sprinkle the salad with pecans to make it look even prettier.

arugula salad with pears, feta & pecans :: my blue&white kitchen

>>>•••••••••<<<

Let's get connected!

Welcoming a New Year – No-Knead Country Loaf

no-knead country loaf :: my blue&white kitchen

I don't make New Year's resolutions. I haven't made them for years. Of course I could say I'll work out more, learn to make croissants, travel to unknown places, and aim to live in the moment. Partly, I don't make any resolutions because I don't want to make promises I most probably won't keep. Let's be honest, most resolutions are forgotten by February anyway. Do I really have to make them only to be disappointed in myself later?

no-knead country loaf :: my blue&white kitchen

Partly I don't make New Year's resolutions because I don't believe that New Year is the time when change needs and will happen. Mostly it's like any other night of the year. Nothing special except that people gather with friends, light sparklers (they're so pretty!), and find a reason to drink champagne straight from the bottle (it happens). It's not a make-a-decision-to-change-or-be-doomed-forever moment.

So as the year 2014 kicks off, I think the same as on the 364 other days of the year. Yes, we need to strive to be the very best version of ourselves. But we also need to get lost, take the wrong turn at the crossroad. We need to aim high, move out of our comfort zone, and take big leaps no matter the risk of falling down on our knees. We need to make mistakes because through mistakes we learn.

Every mistake, every crossroad, pretty much every moment, is an opportunity for change.

no-knead country loaf :: my blue&white kitchen

No-Knead Country Loaf

recipe slightly adapted from NYT, November 8, 2006; original recipe from Jim Lahey's book "My Bread"
yields 1 loaf

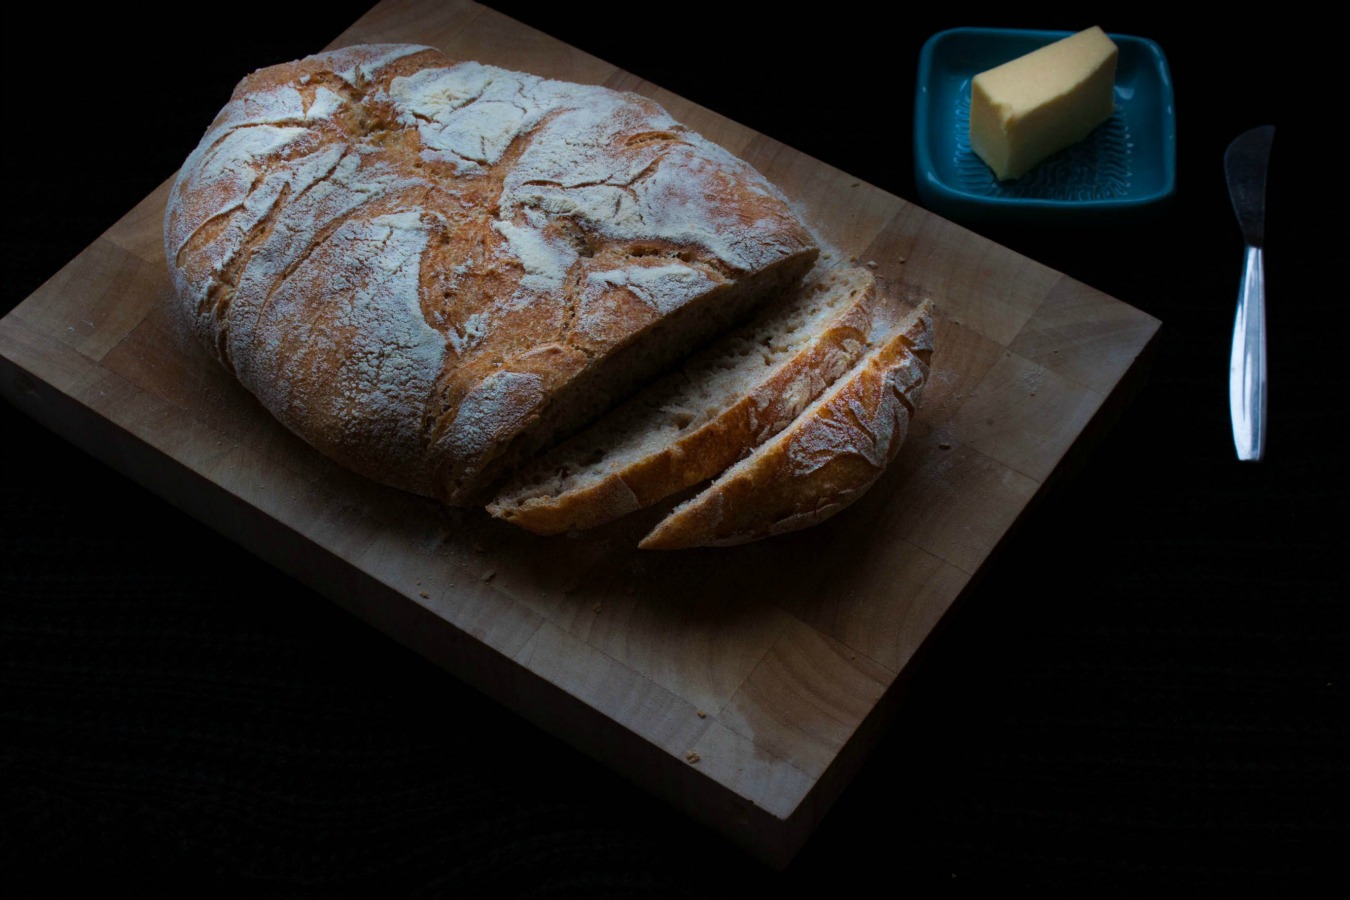
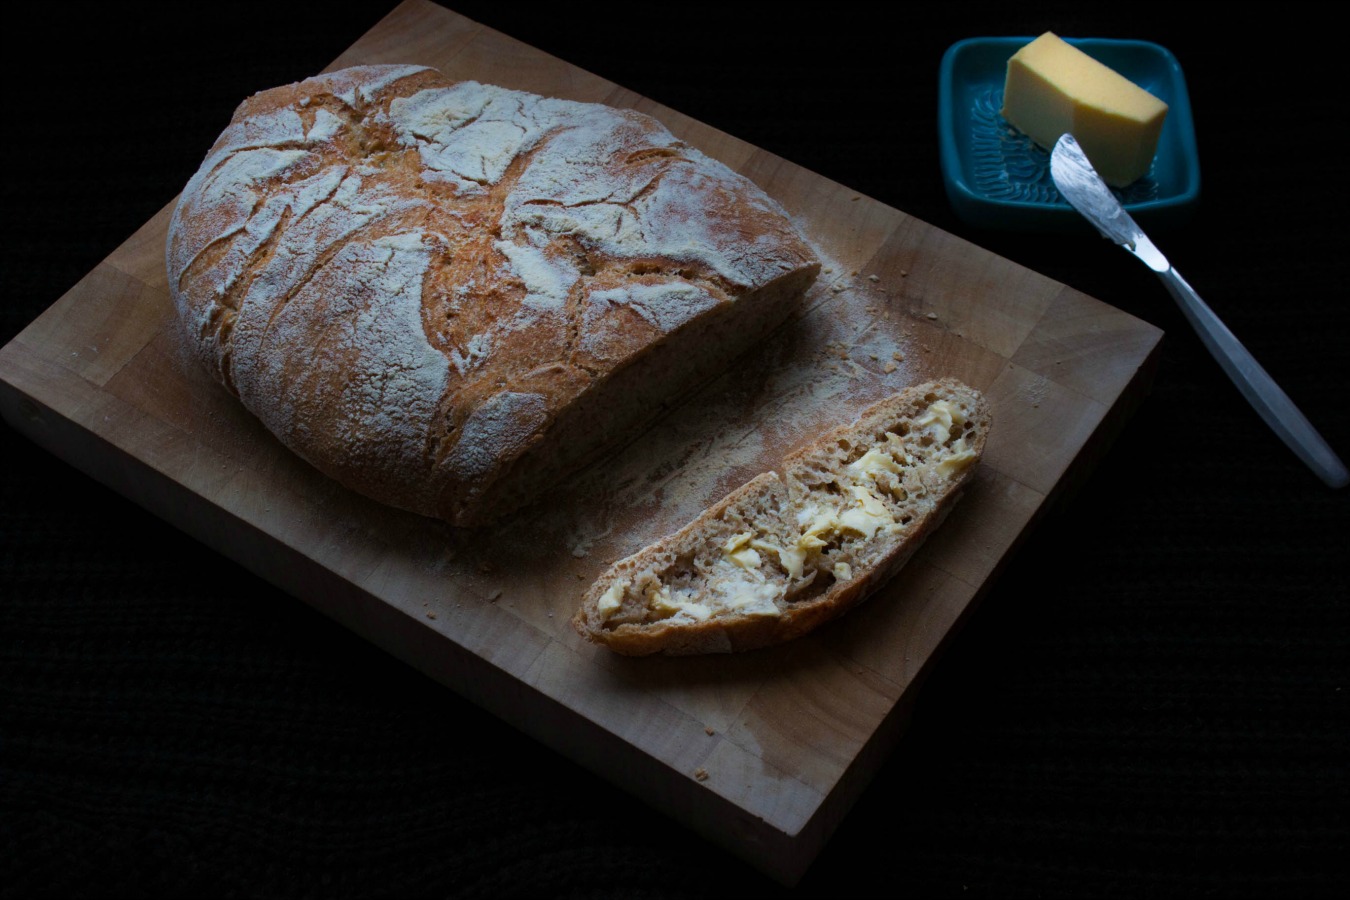
This is a great and easy method to create an irresistible loaf of bread. I warn you, this recipe is addictive! There's no need to knead the dough which means little to no work. The only thing you need is time. The long rising time, also called fermentation, ensures a delicious flavor. The baking method, on the other hand, is the key to the crackling crust. The no-knead method most probably isn't what you're used to – the long fermentation time and the wet dough that's almost impossible to handle. However, it's dead simple and the result is incredible. I still can't believe that I used this method from Jim Lahey, the owner of the Sullivan Street Bakery in New York, for the very first time last week! I've made three different versions so far, playing around with different flours – spelt, like in this recipe, einkorn, and rye. Next time I'm going to sprinkle sesame seeds on top of the loaf. You could even fold in some nuts, seeds, herbs, cheese, or olives. This is also what I want you to do. Play around! Get creative! Just remember that substituting works by weight not volume. Basically, there are three reasons why I prefer to use the scale instead of measuring cups. The first one is accuracy and the second fewer dishes. The third one is that by baking by weight it leaves me the freedom to play around with the ingredients. So get that scale.


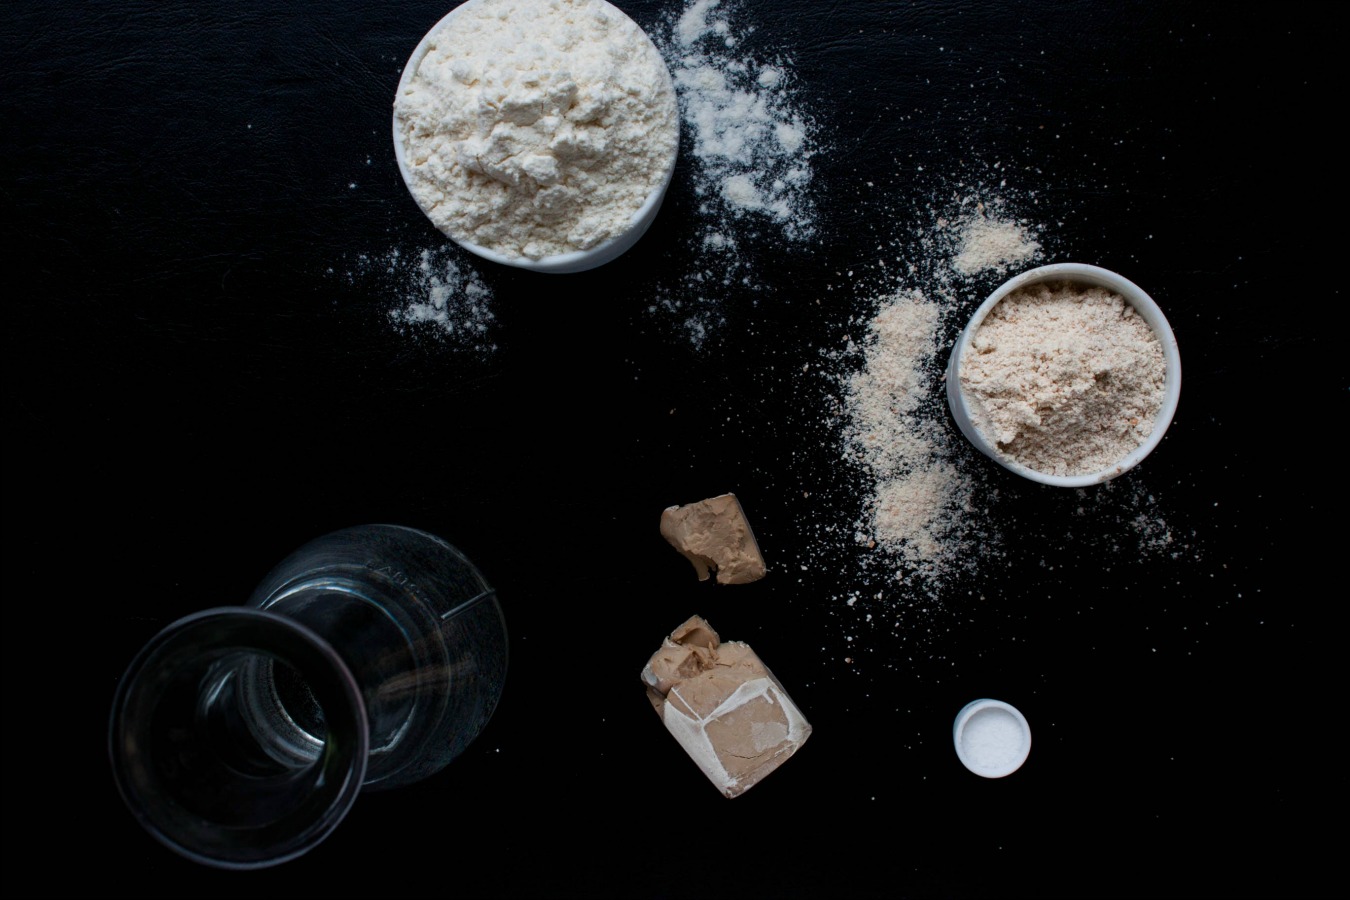
300 g (4 ¼ dl; 2 ¼ cups) bread flour
100 g (2 dl; ½ +  cup) whole wheat spelt flour
1 ¼ tsp (8 g) fine sea salt
3 g fresh yeast (or alternatively 1 g / ¼ tsp instant active dry yeast)
1 ½ cups cool water (about 13–18°C / 55–65°F)

more flour for dusting (I used durum flour but bread flour is okay as well)


In a large bowl, combine both flours and salt. Dissolve the fresh yeast in the water (if you're using instant active dry yeast skip this step and add the yeast straight to the other dry ingredients – there's no need to dissolve it in water first). Add the yeast water to the dry ingredients. Using a bowl scraper or a wooden spoon, stir until blended. The dough will be quite wet and very sticky. If it's not tacky, add a little more water. Cover with a kitchen towel and let rise for 12 to 18 hours at room temperature. The dough is ready when it's more than double in size and the surface is dotted with bubbles.

With the help of a bowl scraper, pull the dough onto a generously dusted work surface. Dust the dough with a little flour, cover with a kitchen towel, and let rest for further 15 minutes.

With lightly floured hands, pull the edges of the dough into the centre to form it into a round or oval shape (depending on the shape of the pot you're using). Wrap the shaped dough, seam side down, in a generously dusted kitchen towel (no terry cloth). Let the dough rise for 1 to 2 hours. It's ready when it's more than double in size and will not spring back when poked with a finger.

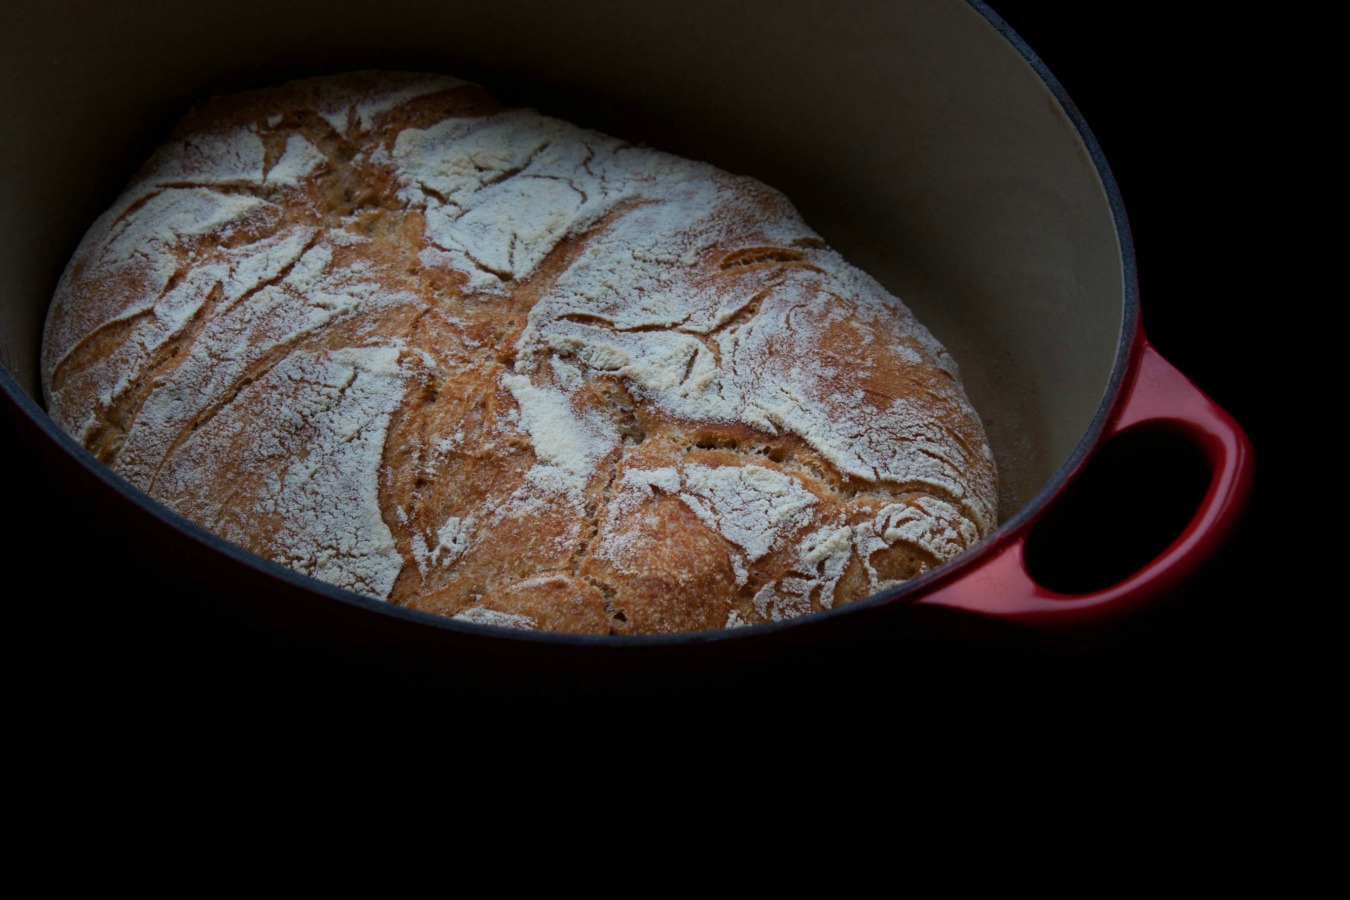
At least half an hour before the end of the second rise, preheat the oven to 225°C (450°F) and place a heavy covered pot, like cast iron, enamel, or ceramic, on a rack in the lower third position. When the dough is ready to be baked, remove it from the oven. Lightly dust the bottom of the pot with flour. Gently turn the dough over into the pot, seam side up (this will ensure beautiful cracks). Shake the pan a couple of times if the dough is unevenly distributed. Bake for 30 minutes covered and for further 15 to 30 minutes uncovered until the crust is deep golden. Cool on a rack or rip it into pieces while steaming hot (probably my favorite part of bread baking).


>>>•••••••••<<<

Let's get connected!