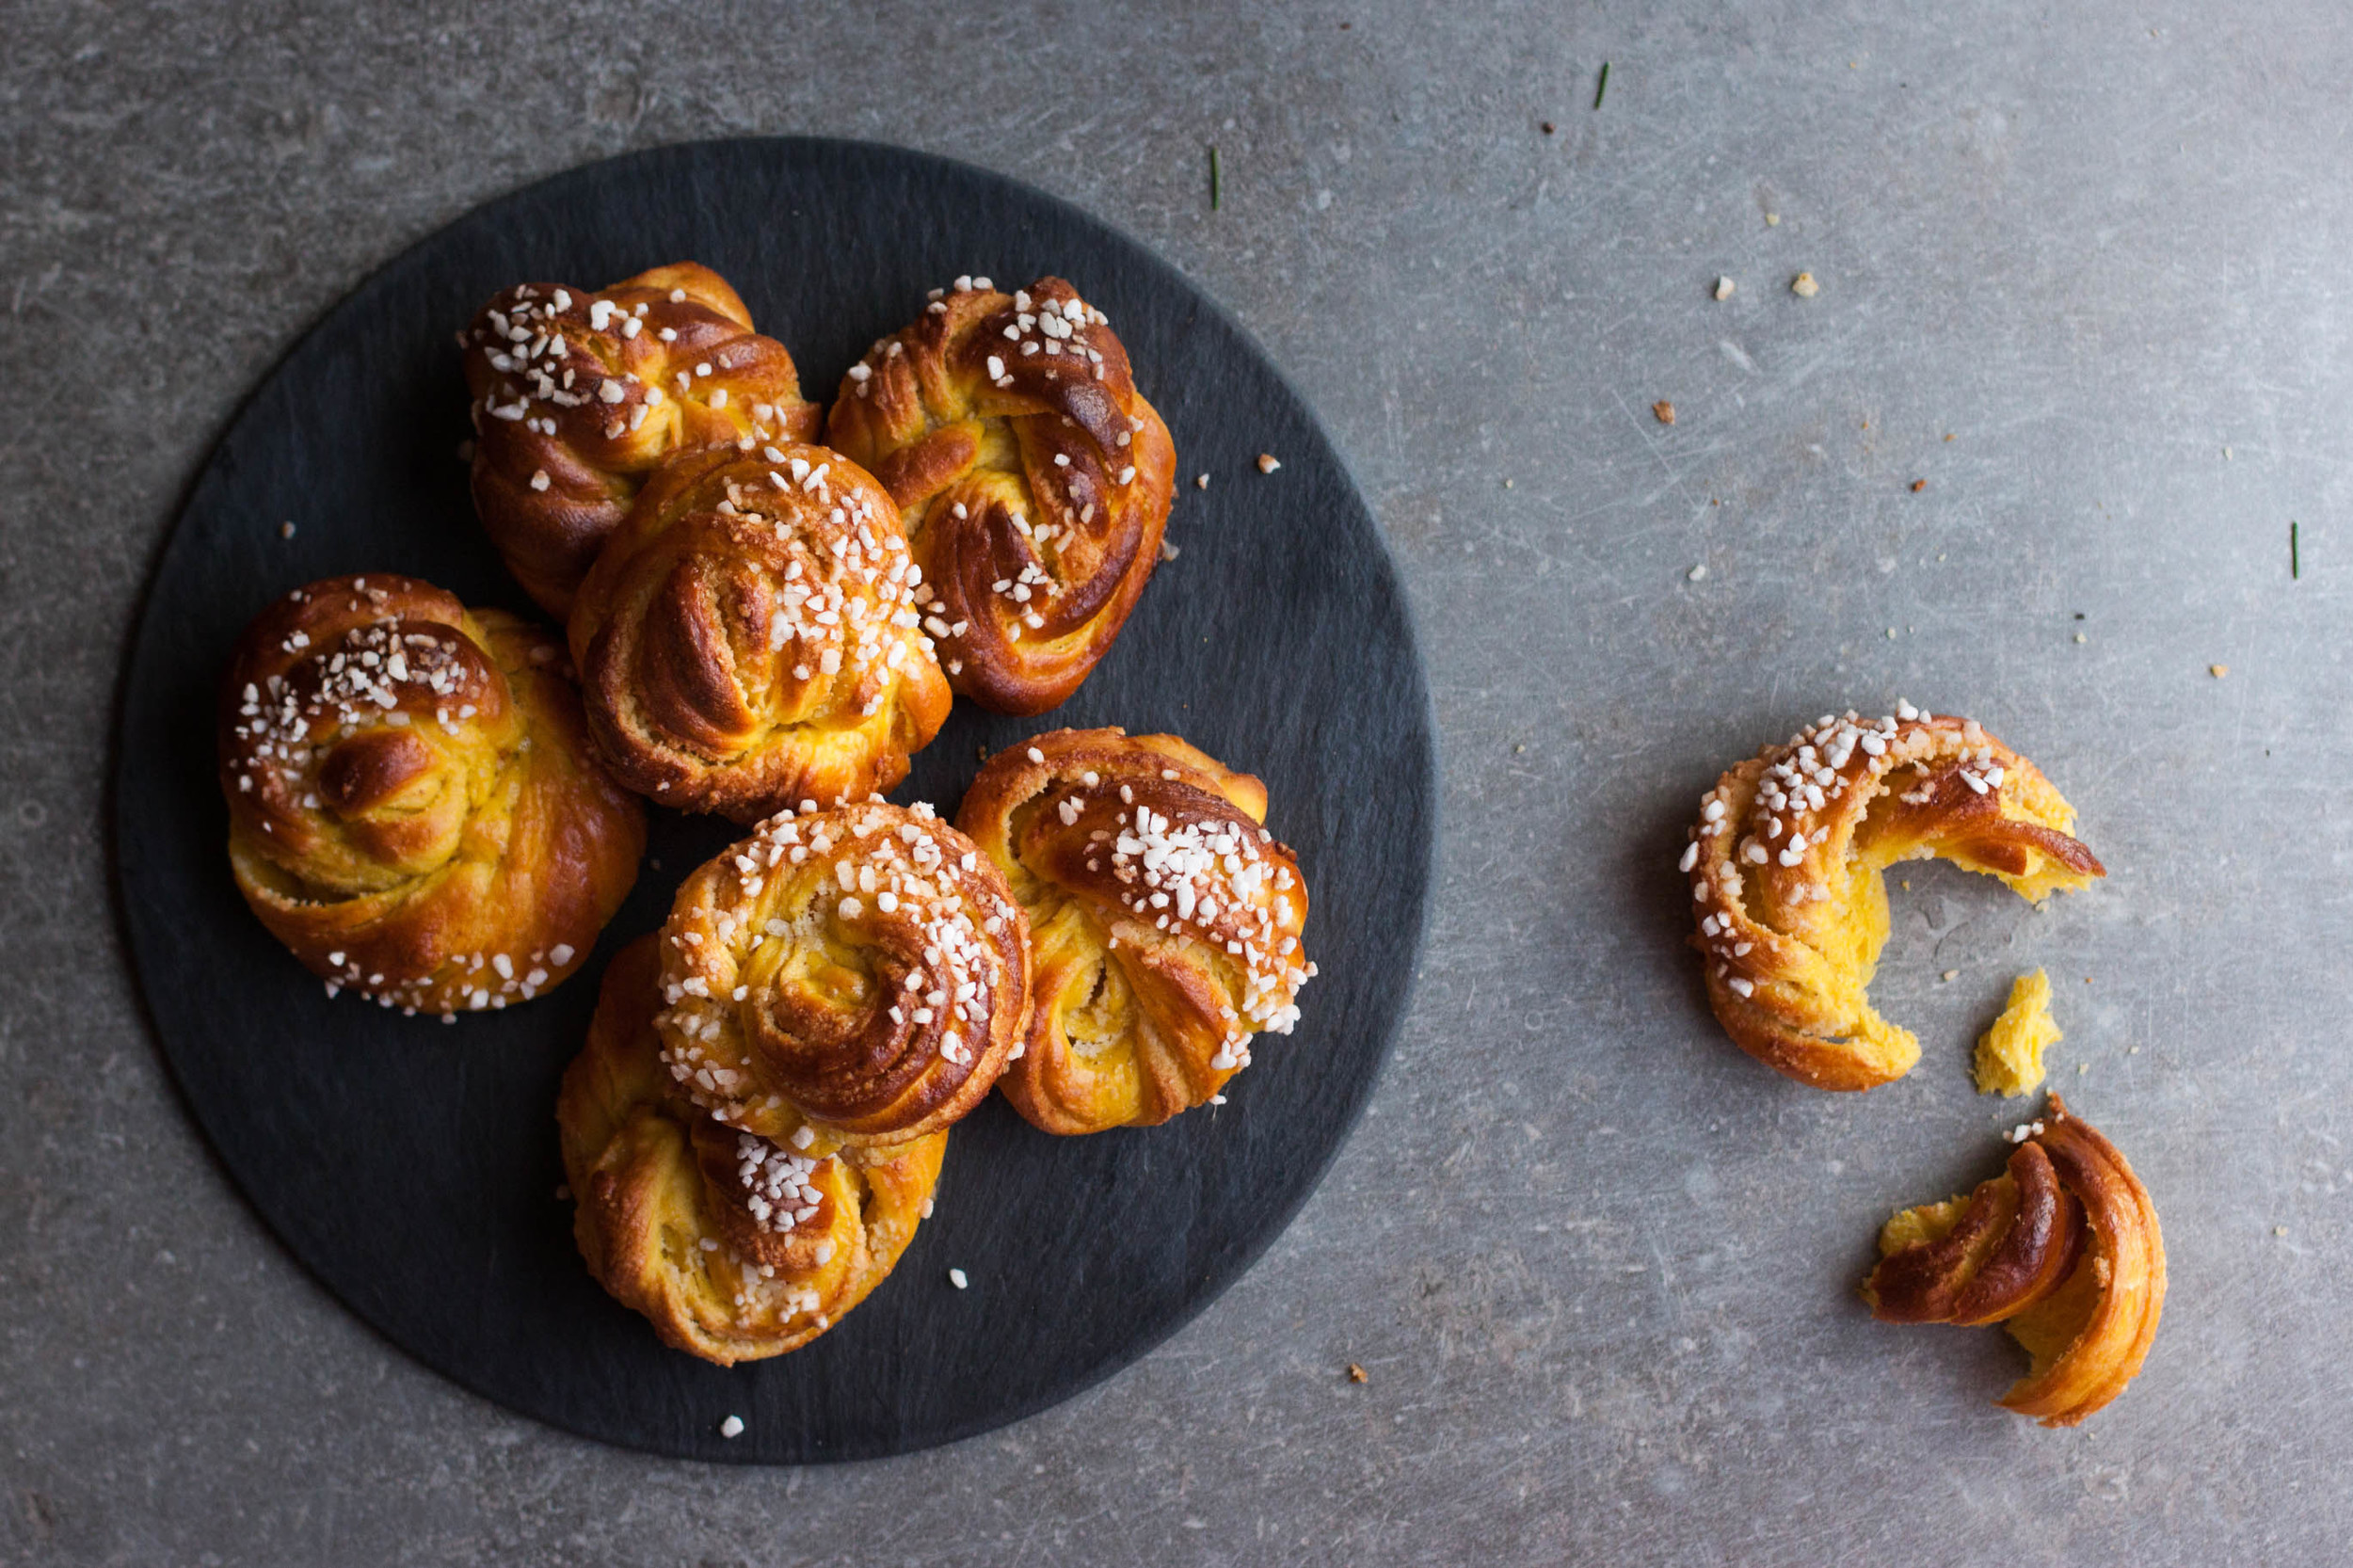
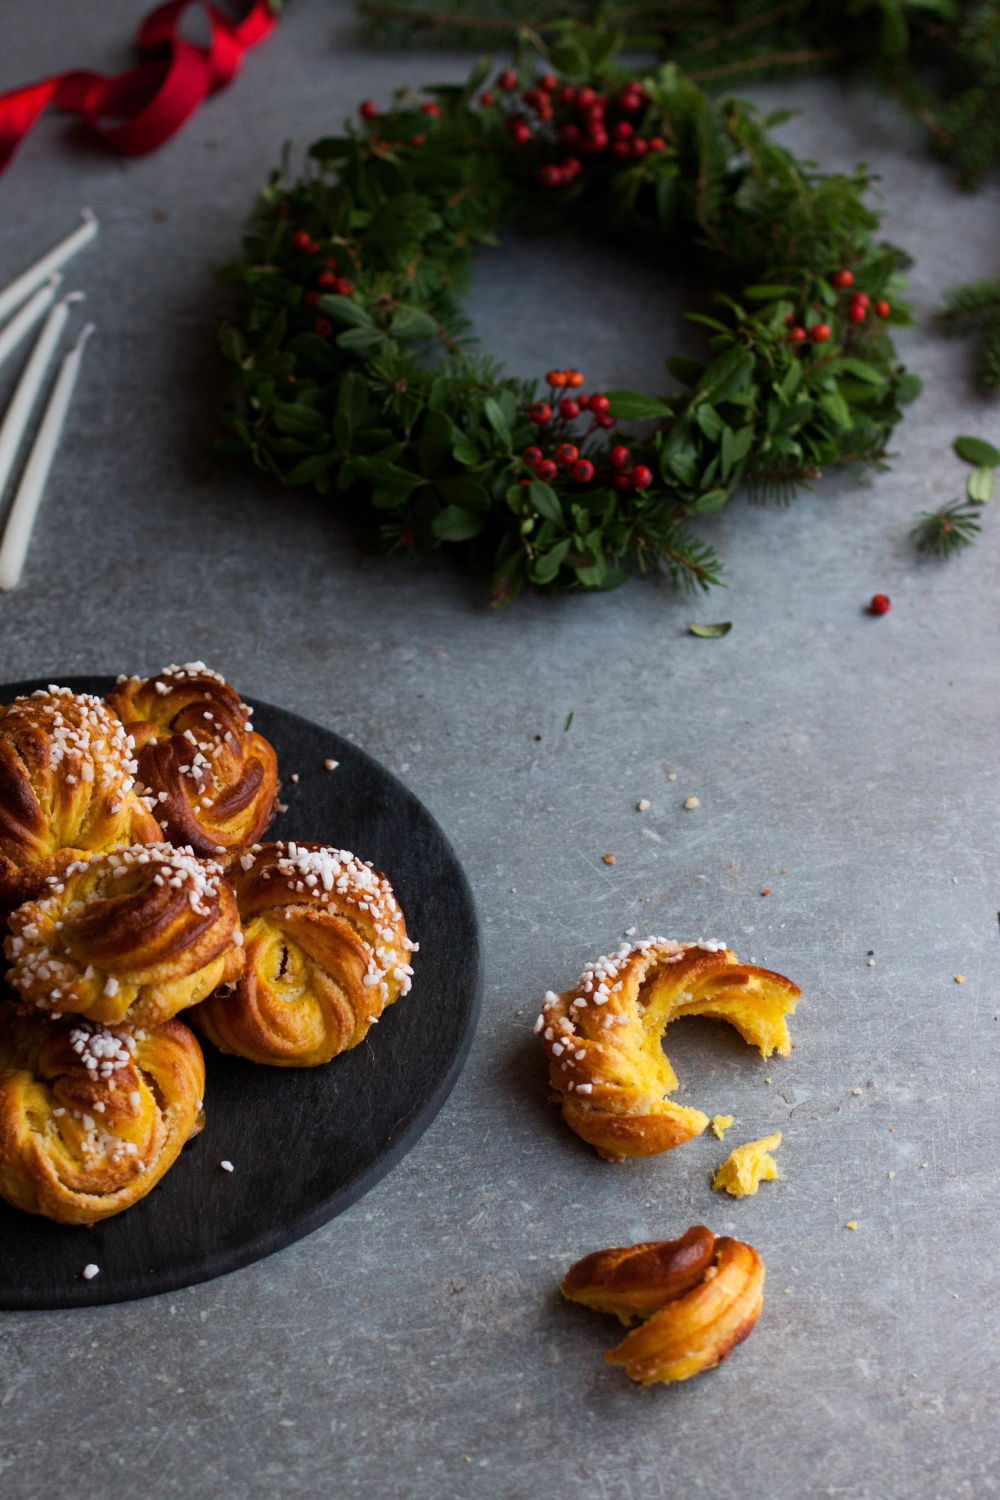
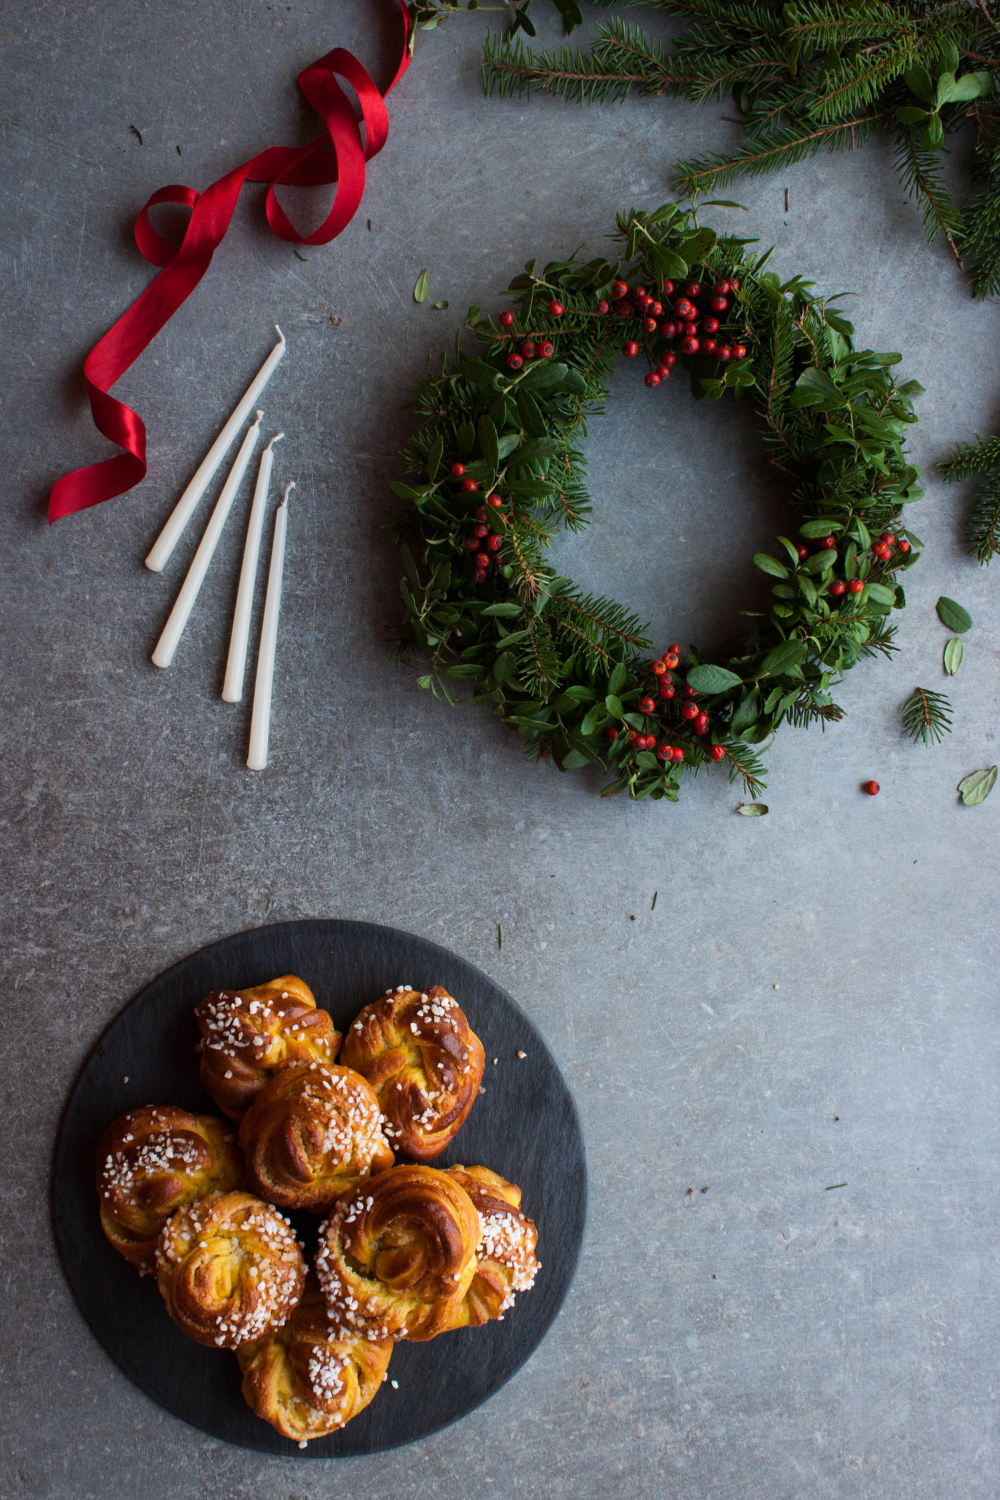
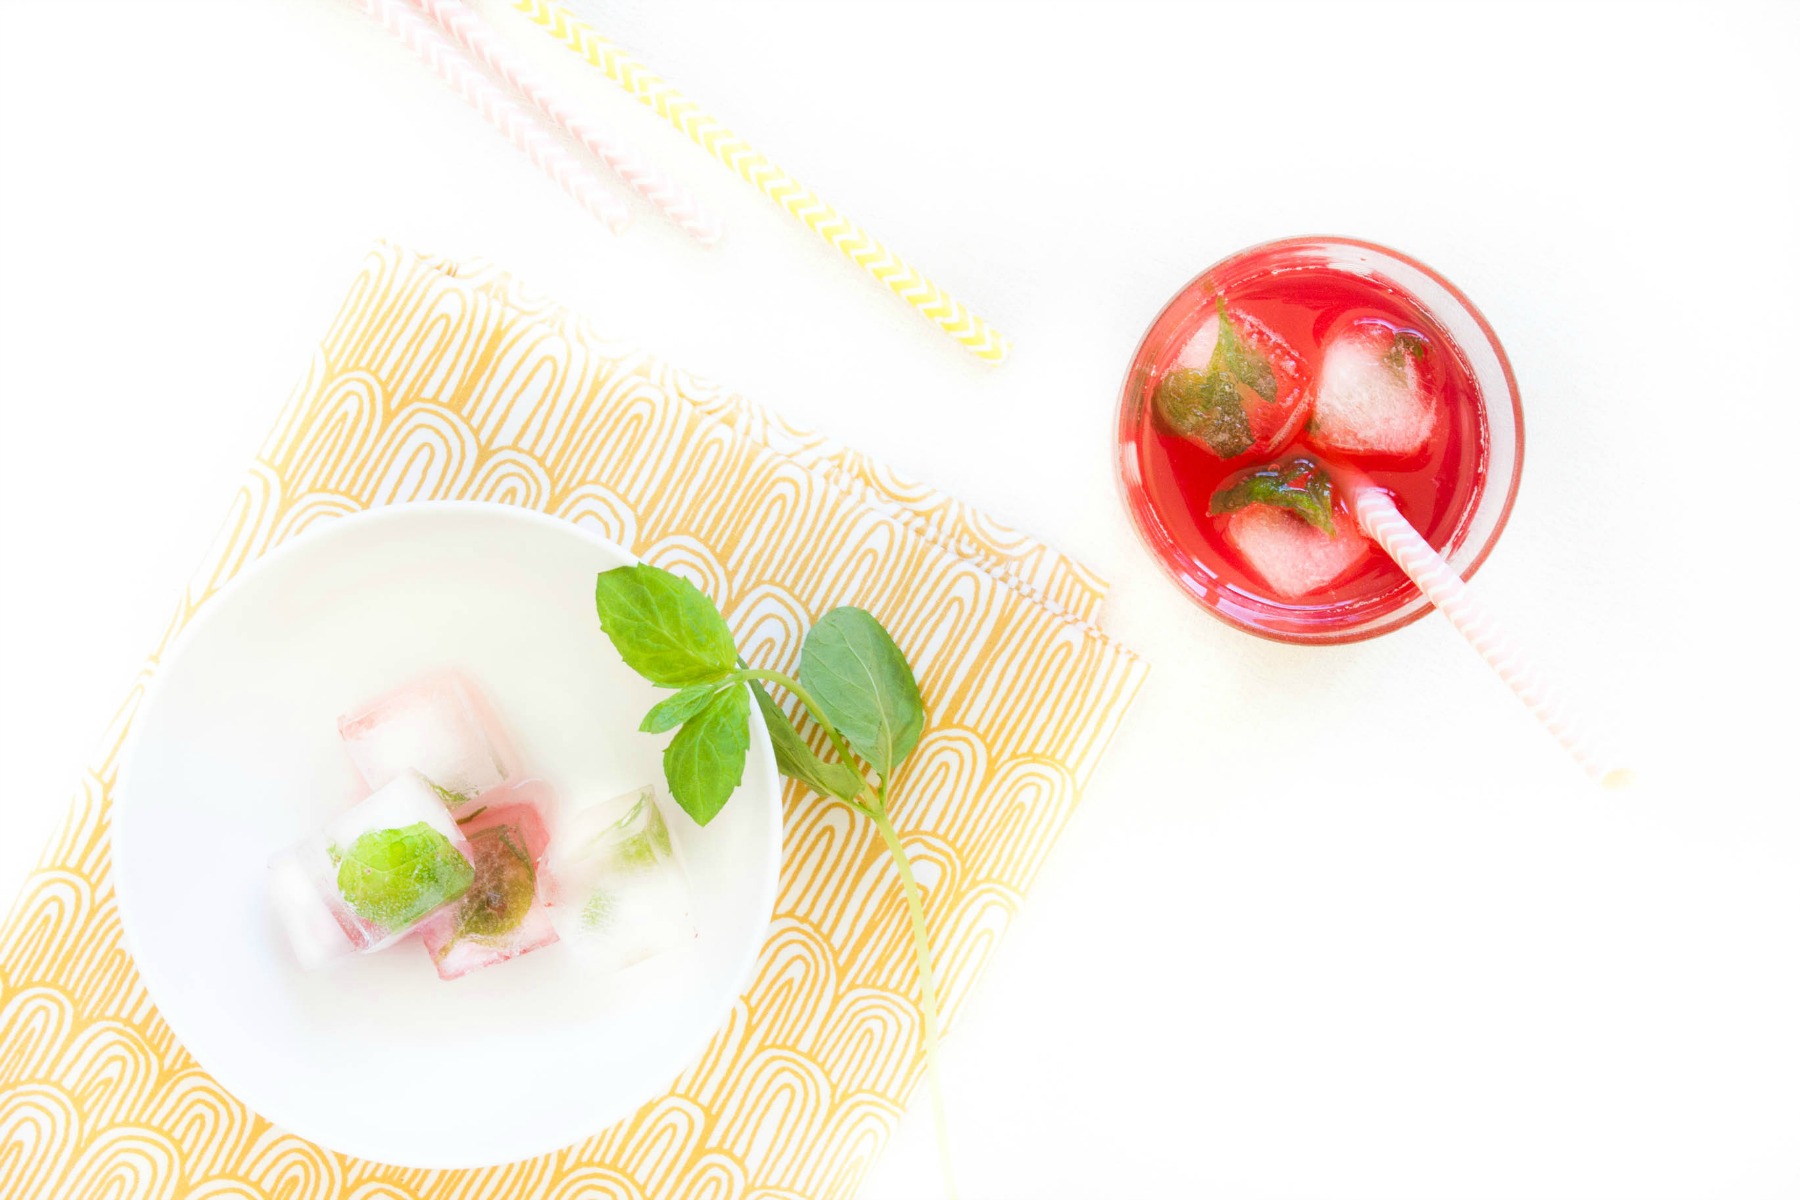
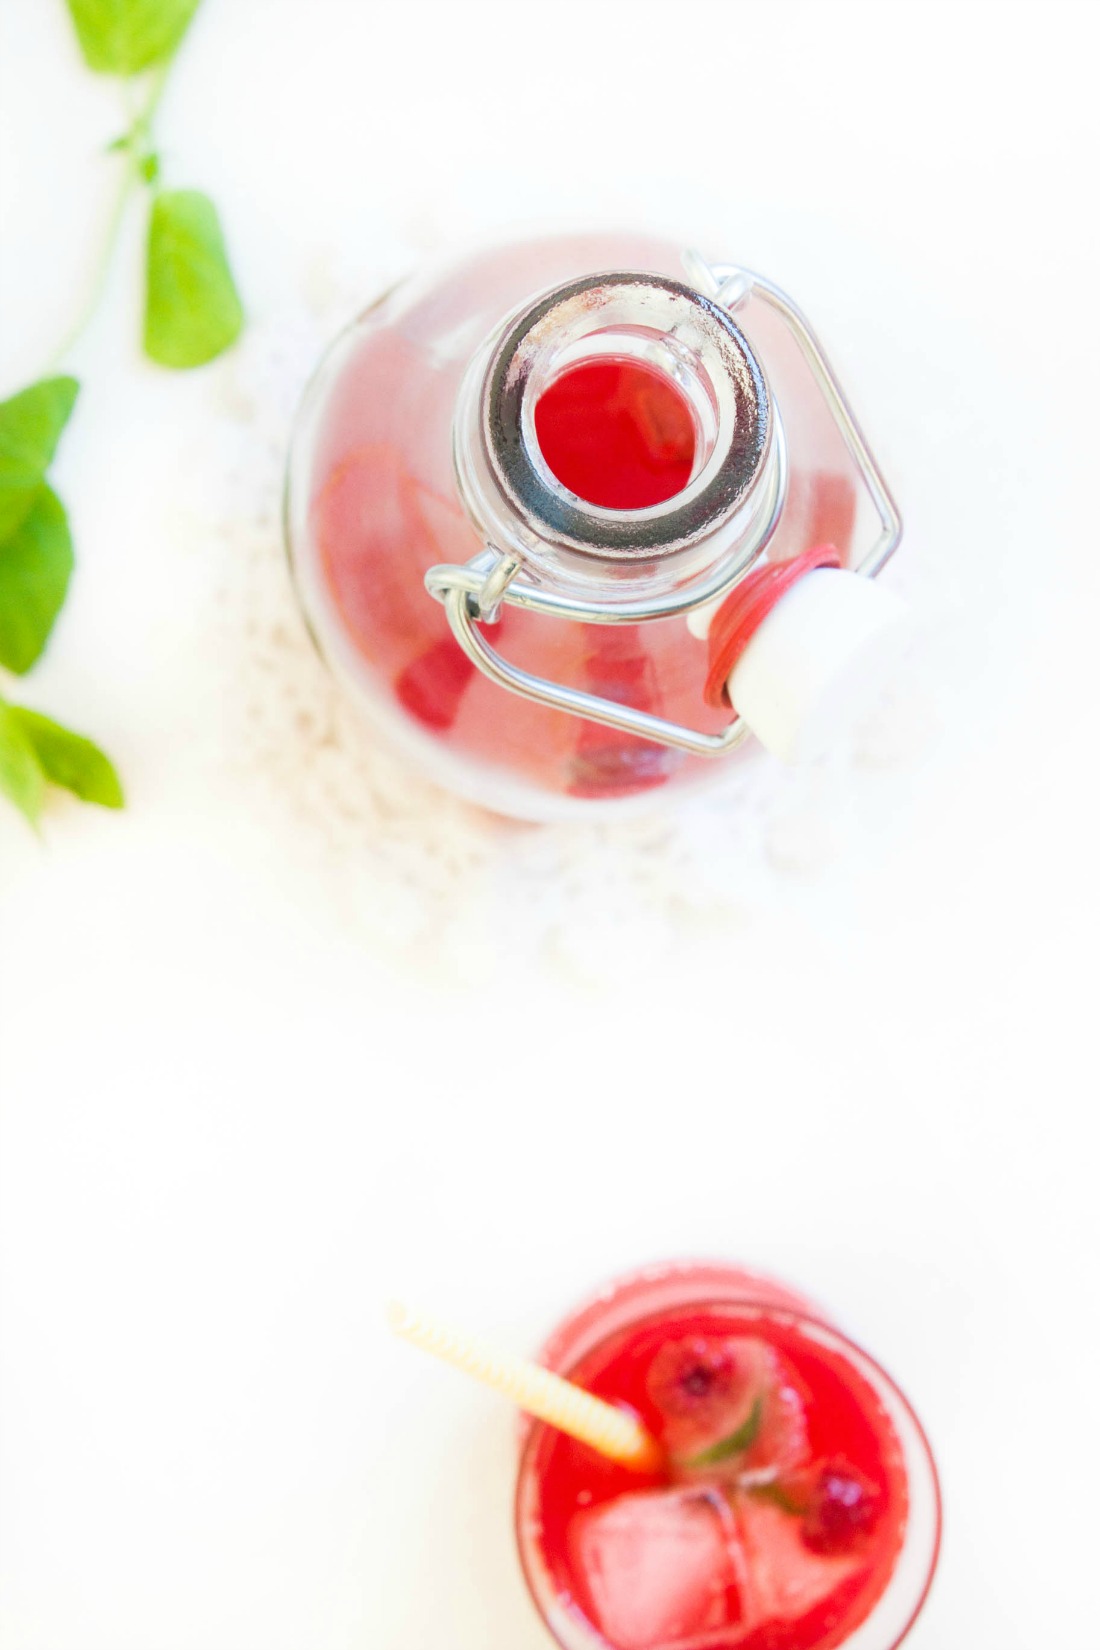
Saint Lucia's Day – Saffron Knots with Orange Almond Filling for Life & Thyme

Saffron Knots with Orange Almond Filling | My Blue&White Kitchen

December is a month packed full with holidays and traditions, especially in the Nordic countries. Last Saturday, we celebrated Finland's Independence Day, one of the most festive days of the year. I made rack of lamb with roasted Provençal vegetables (haha, totally neither Finnish nor Nordic but delicious). For dessert, I made a vanilla parfait with roasted cinnamon plum sauce and gingerbread. The parfait was really nice but a tad too sweet for my taste; it need a few tweaks before it's ready to be shared.

Next Saturday, December 13, is Saint Lucia's Day. It's mainly celebrated by the Swedish-speaking community but few can escape the lovely sound of the Lucia song or the luscious saffron buns. And let's be honest: every occasion that brings some joy and light into these dark Nordic winter days is more than welcome. Saint Lucia's Day is the very essence of that; according to the Julian calendar it was the longest night of the year. Lucia, the girl wearing a white cotton gown with a red sash tied around her waist and a crown made of lingonberry twigs, was believed to bring the light into the winter darkness.


"The night treads heavily
around yards and dwellings
In places unreached by sun,
the shadows brood
Into our dark house she comes,
bearing lighted candles,
Saint Lucia, Saint Lucia."
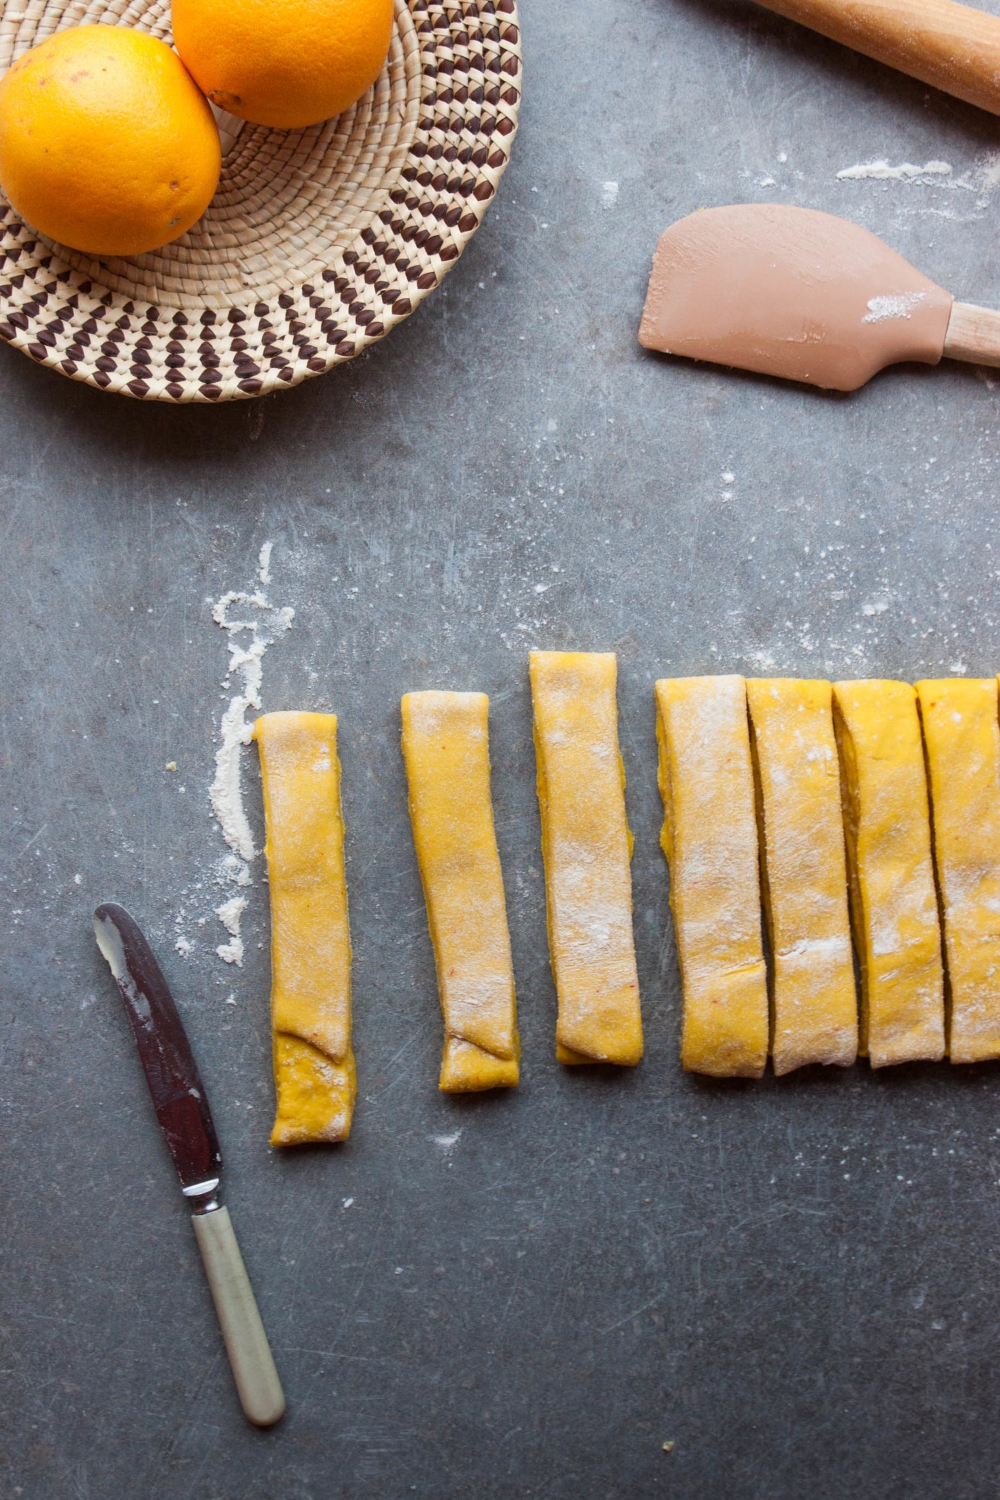
 

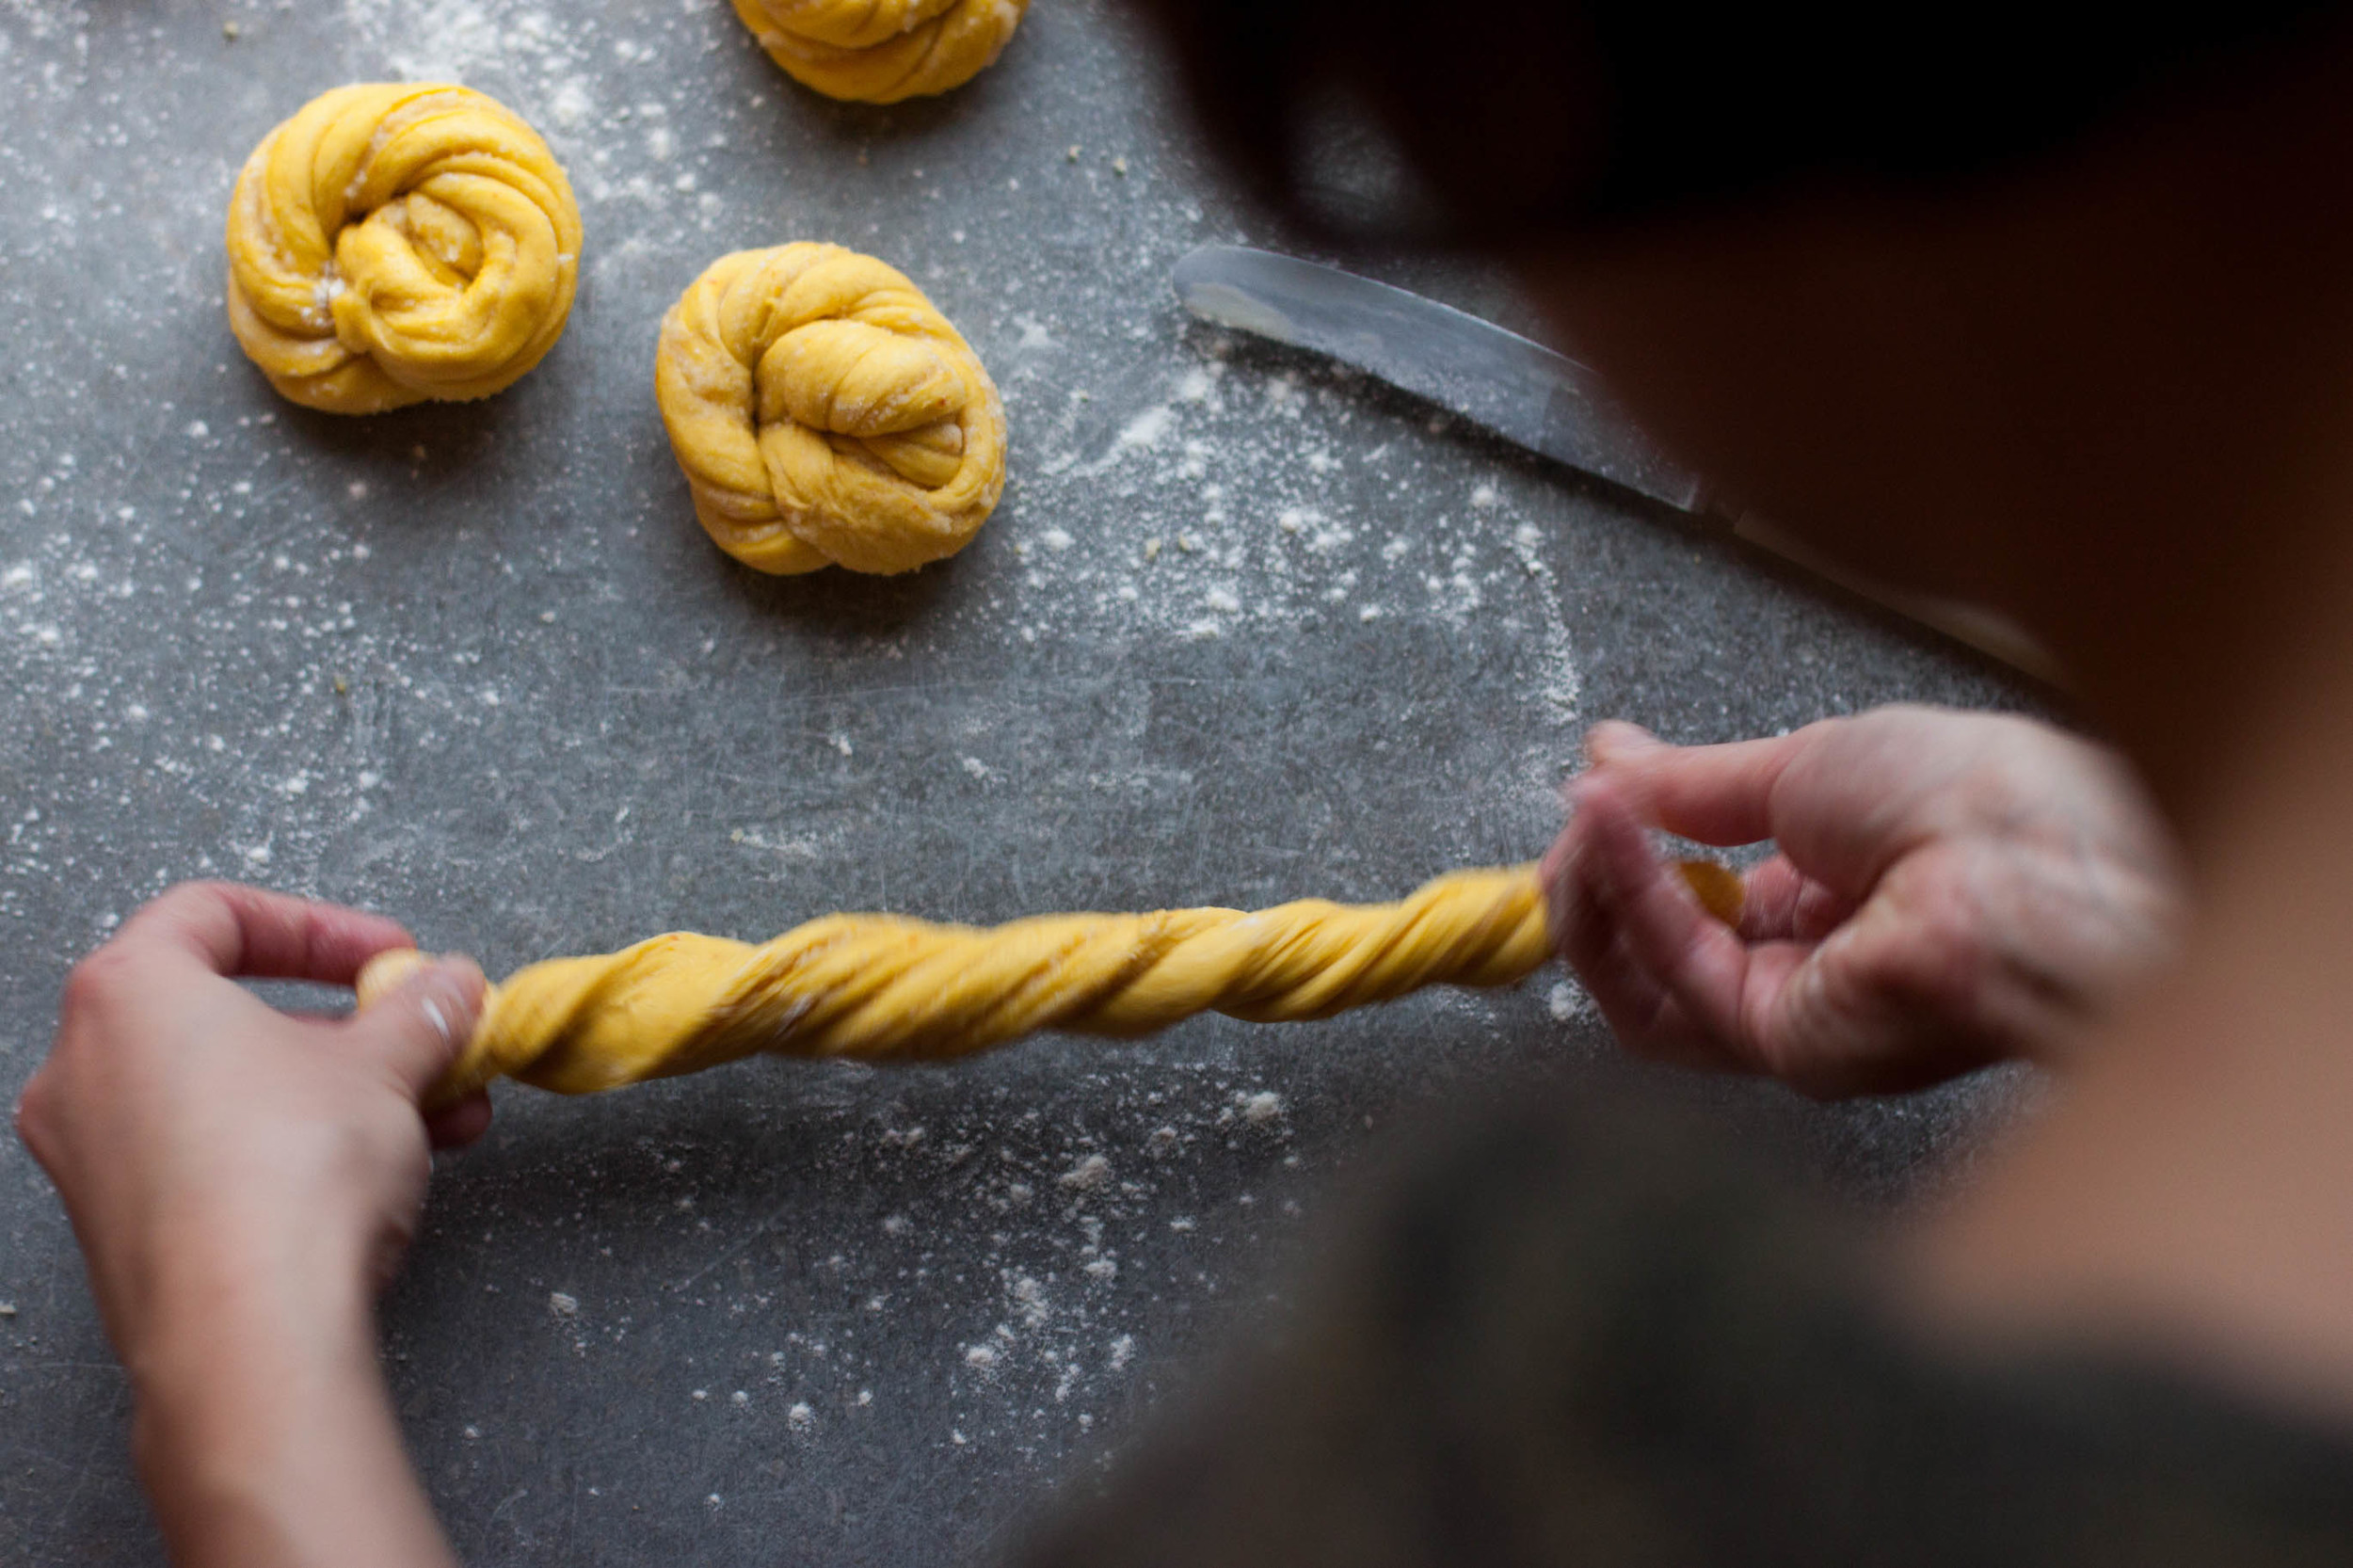
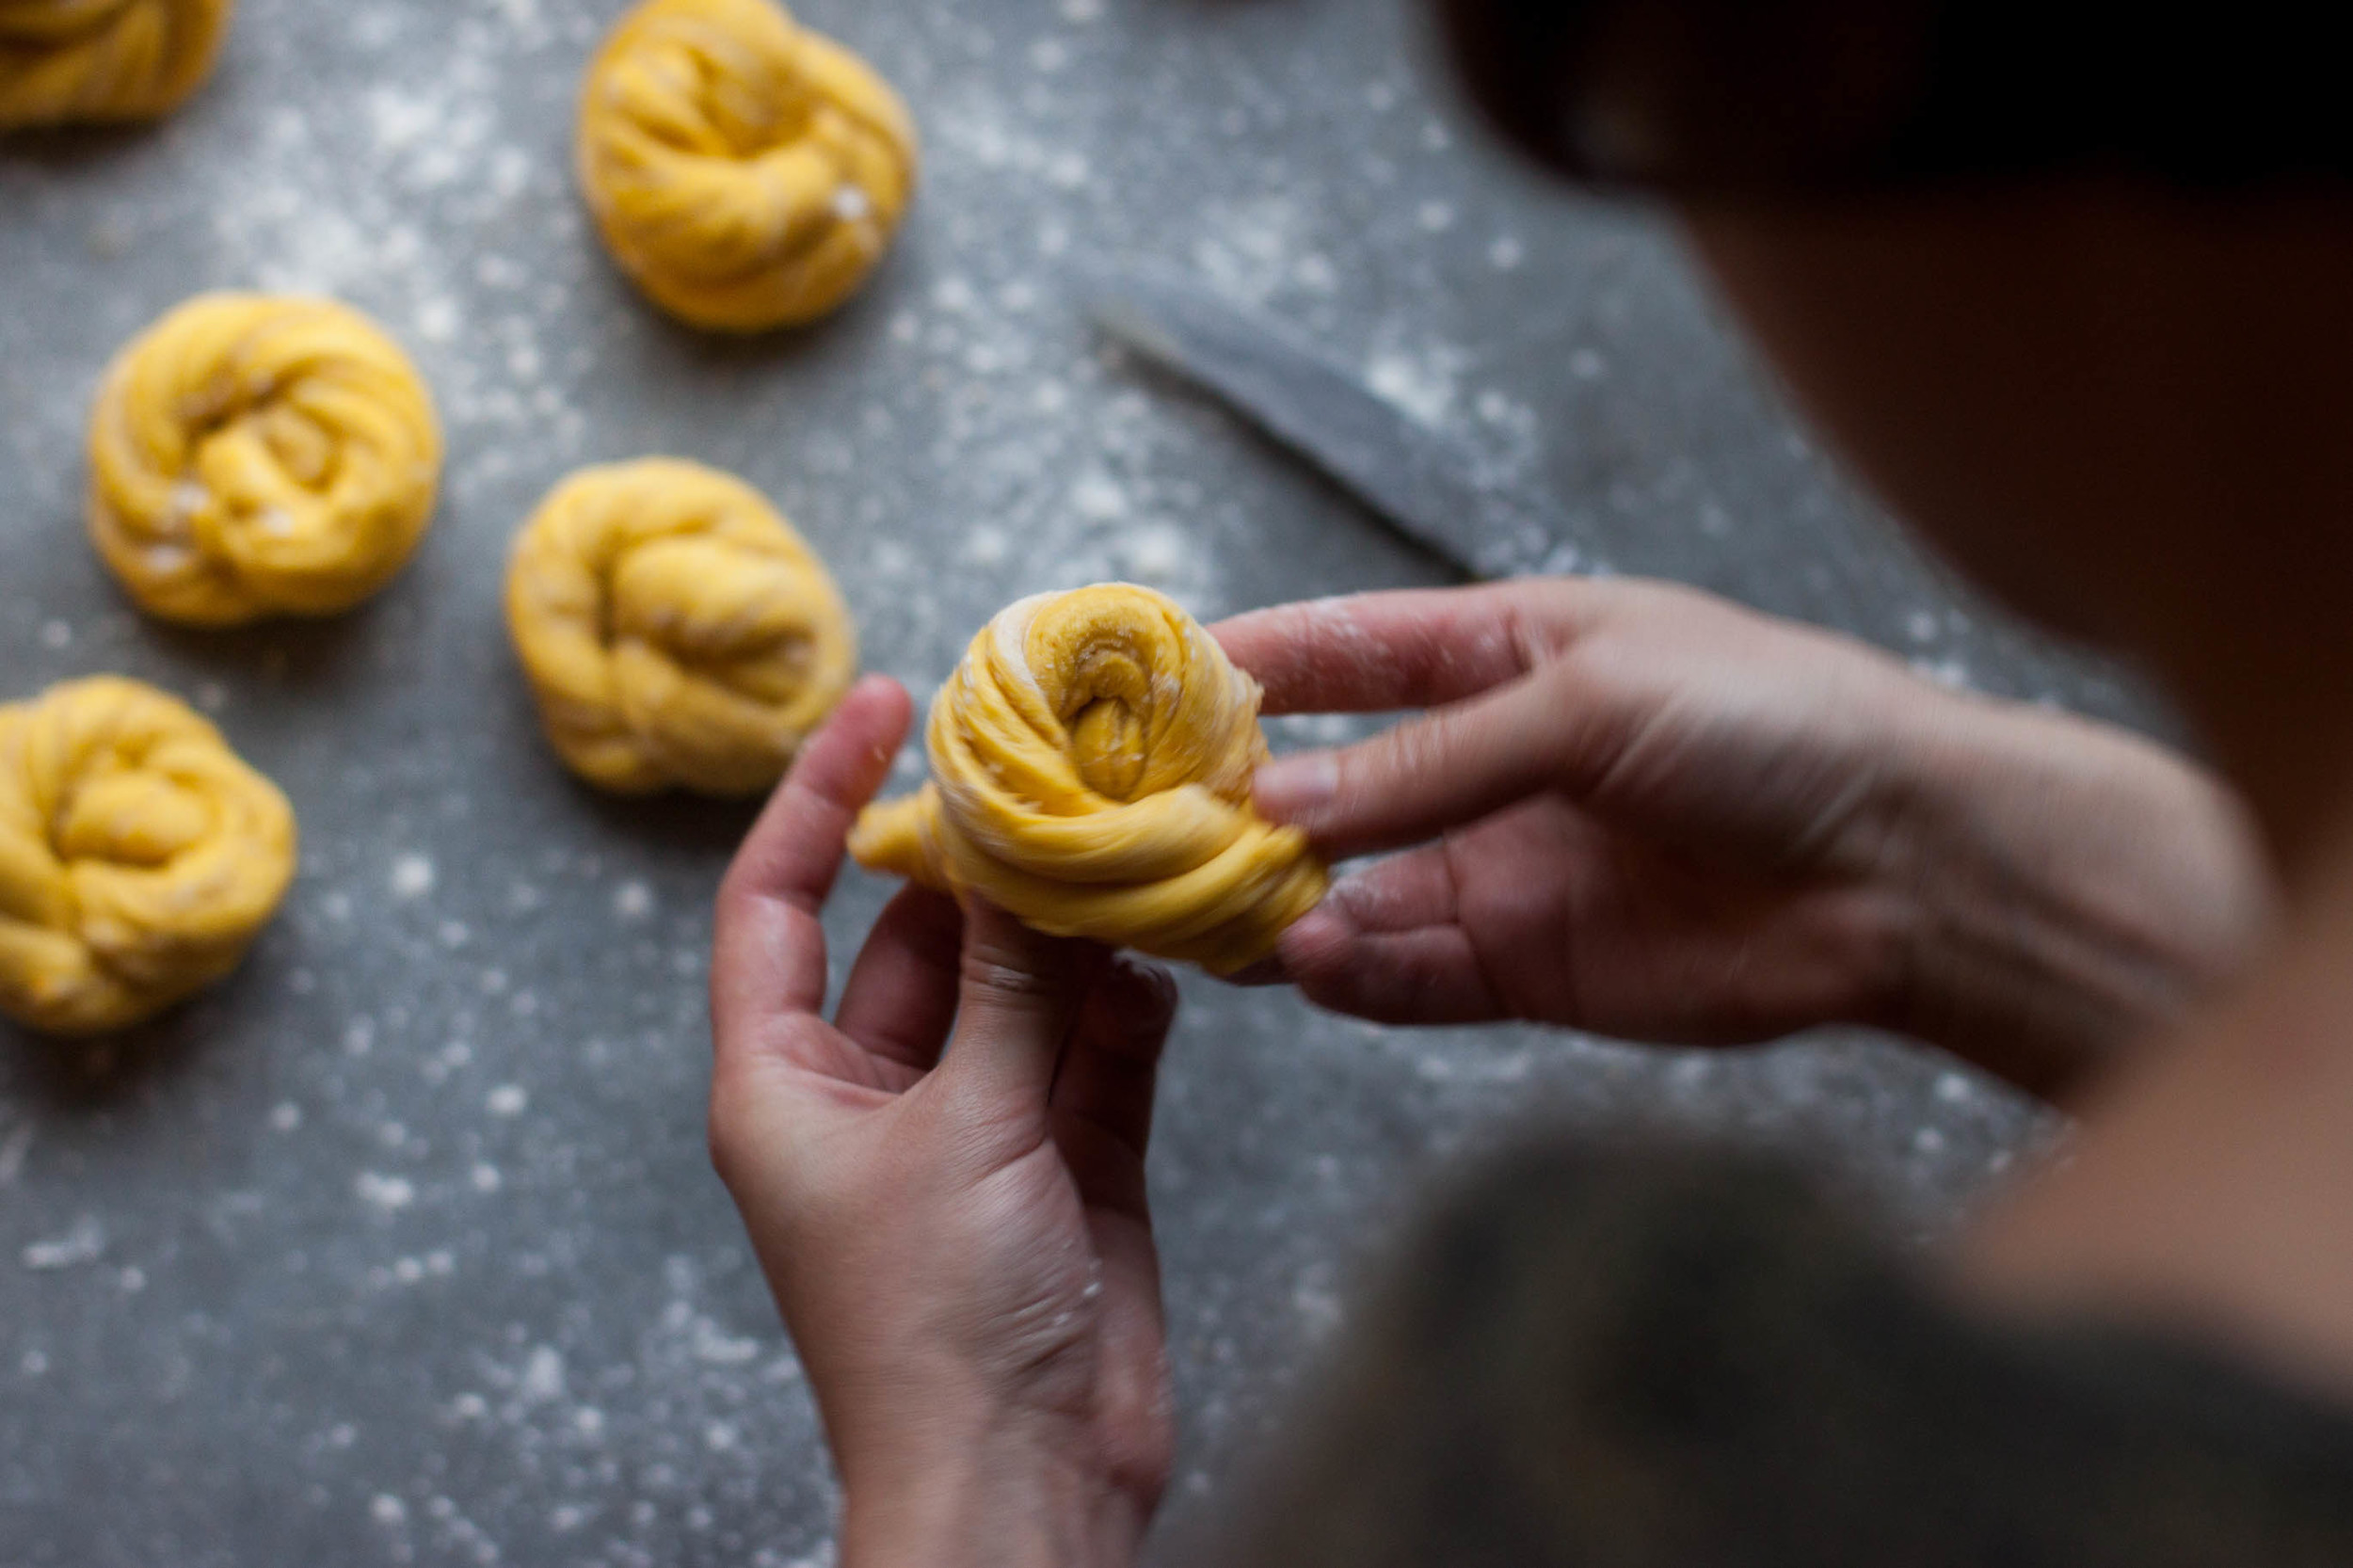
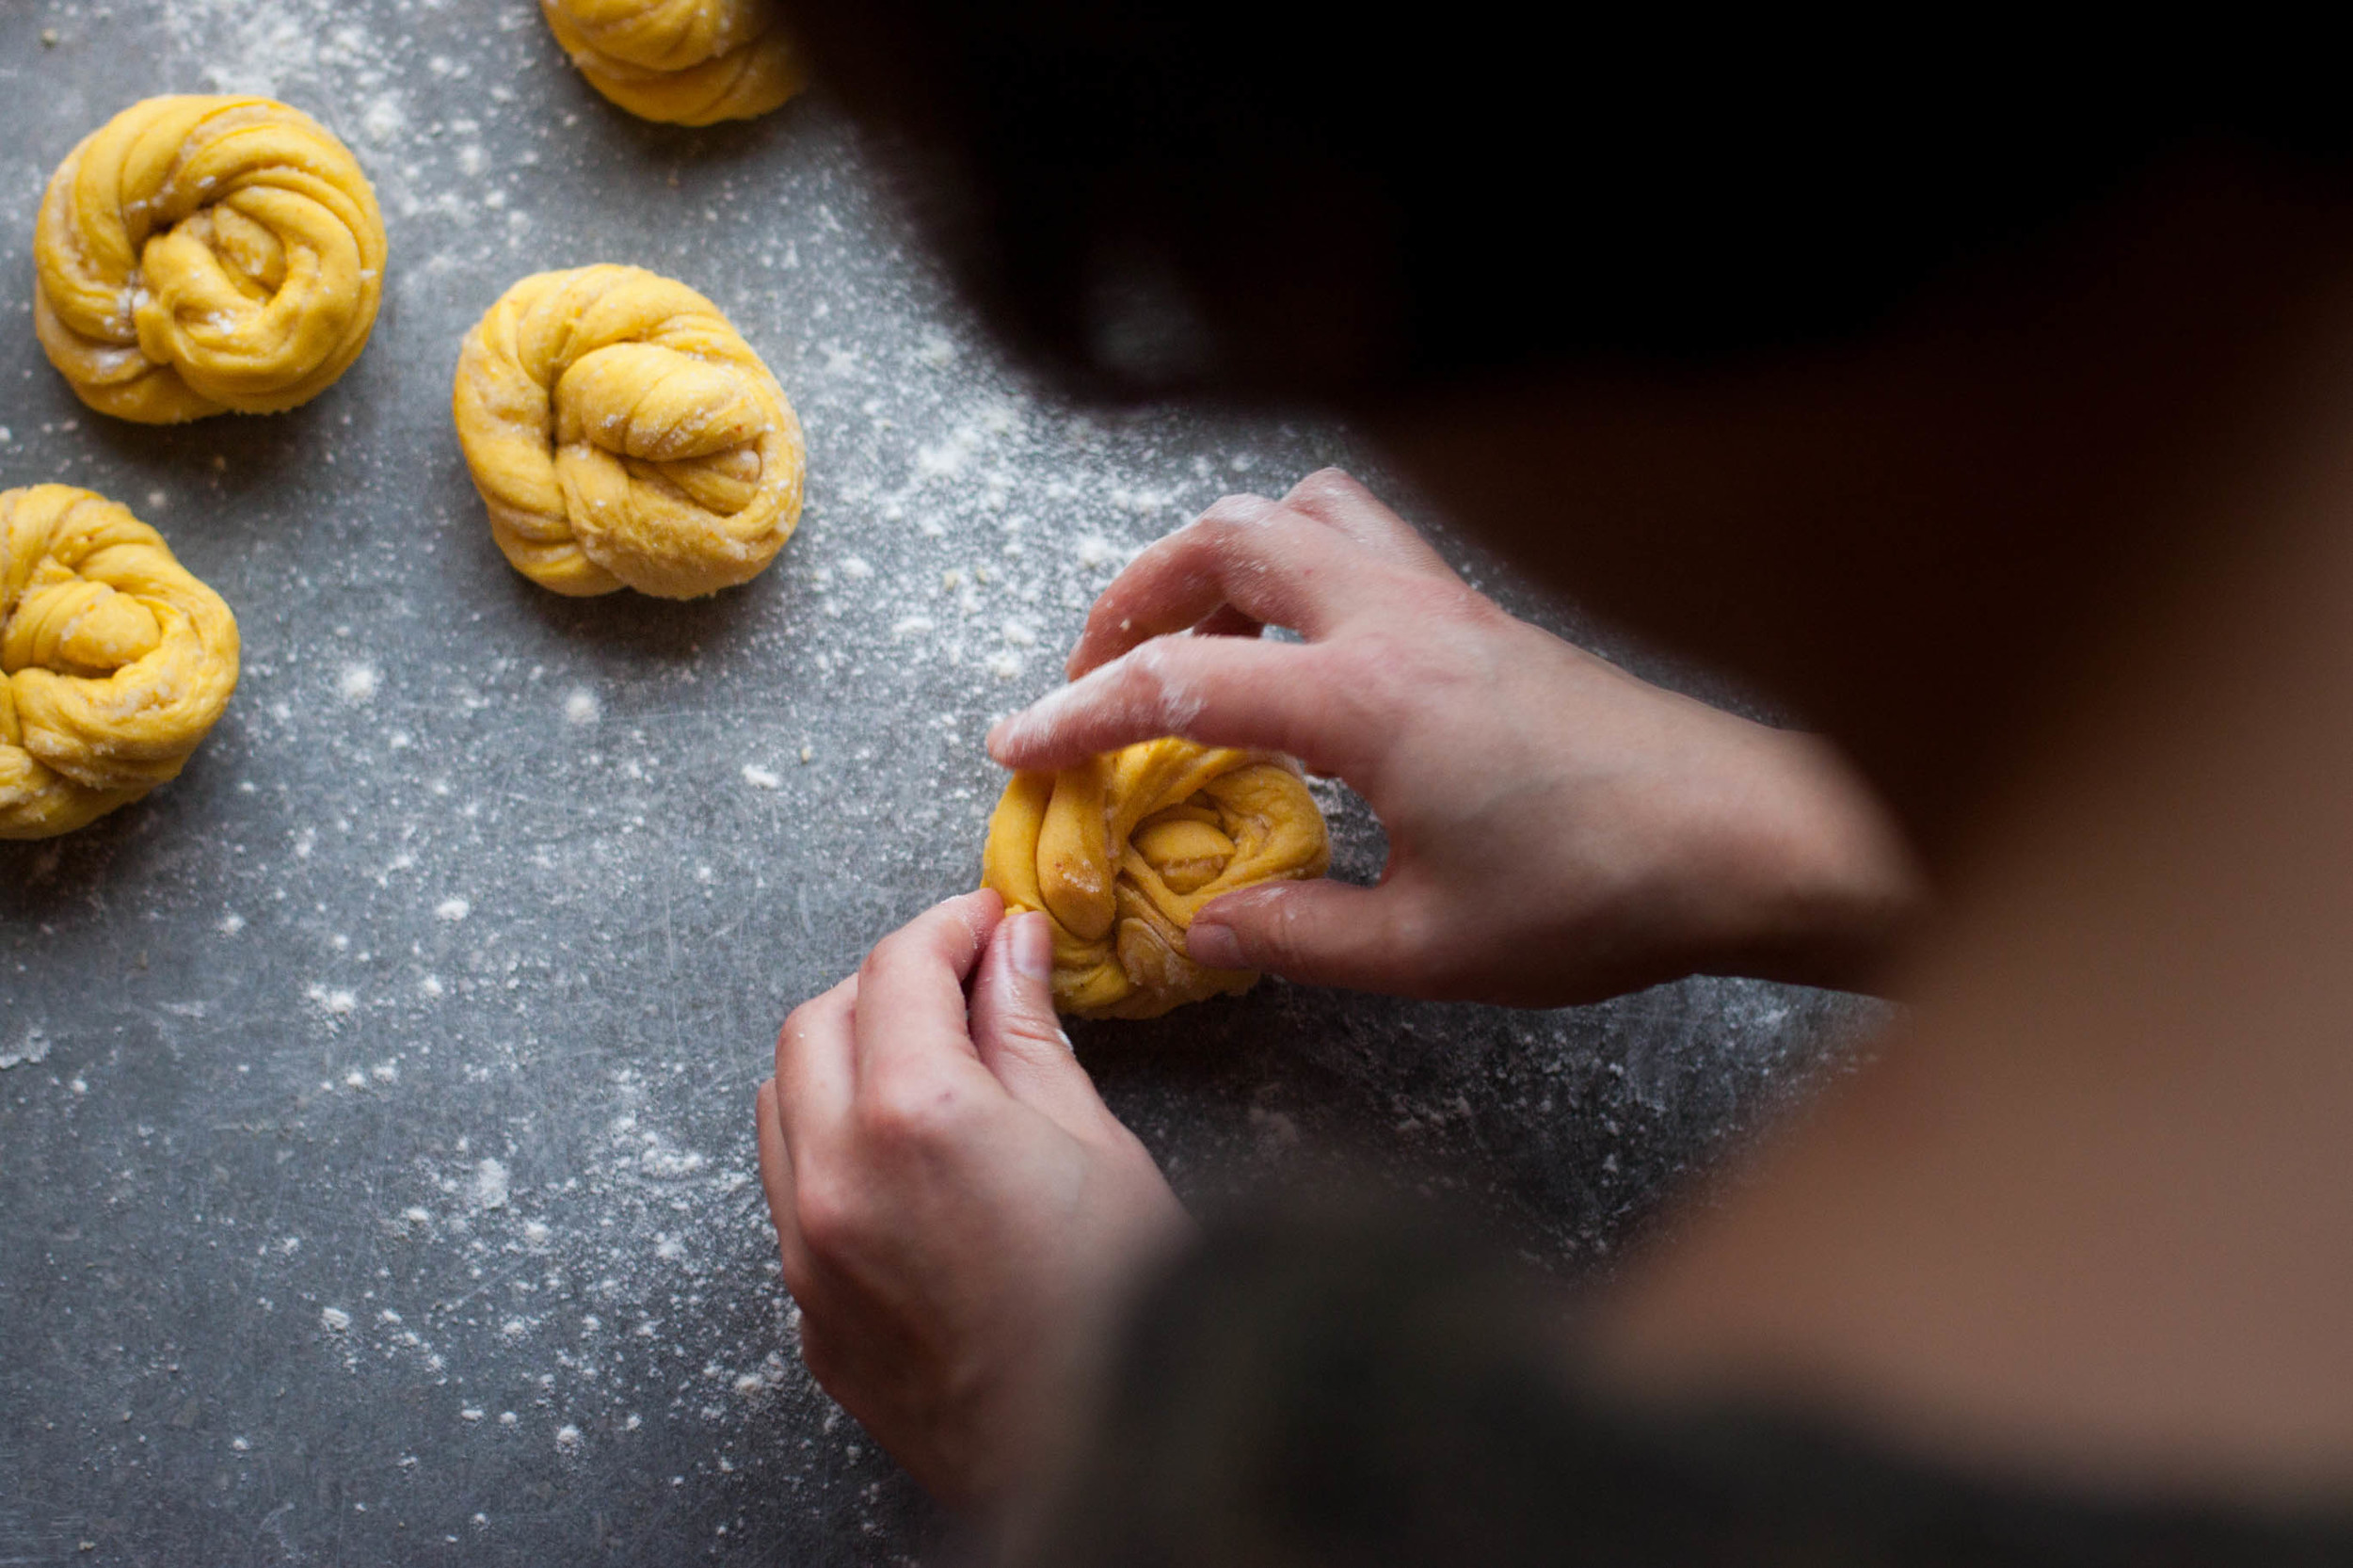
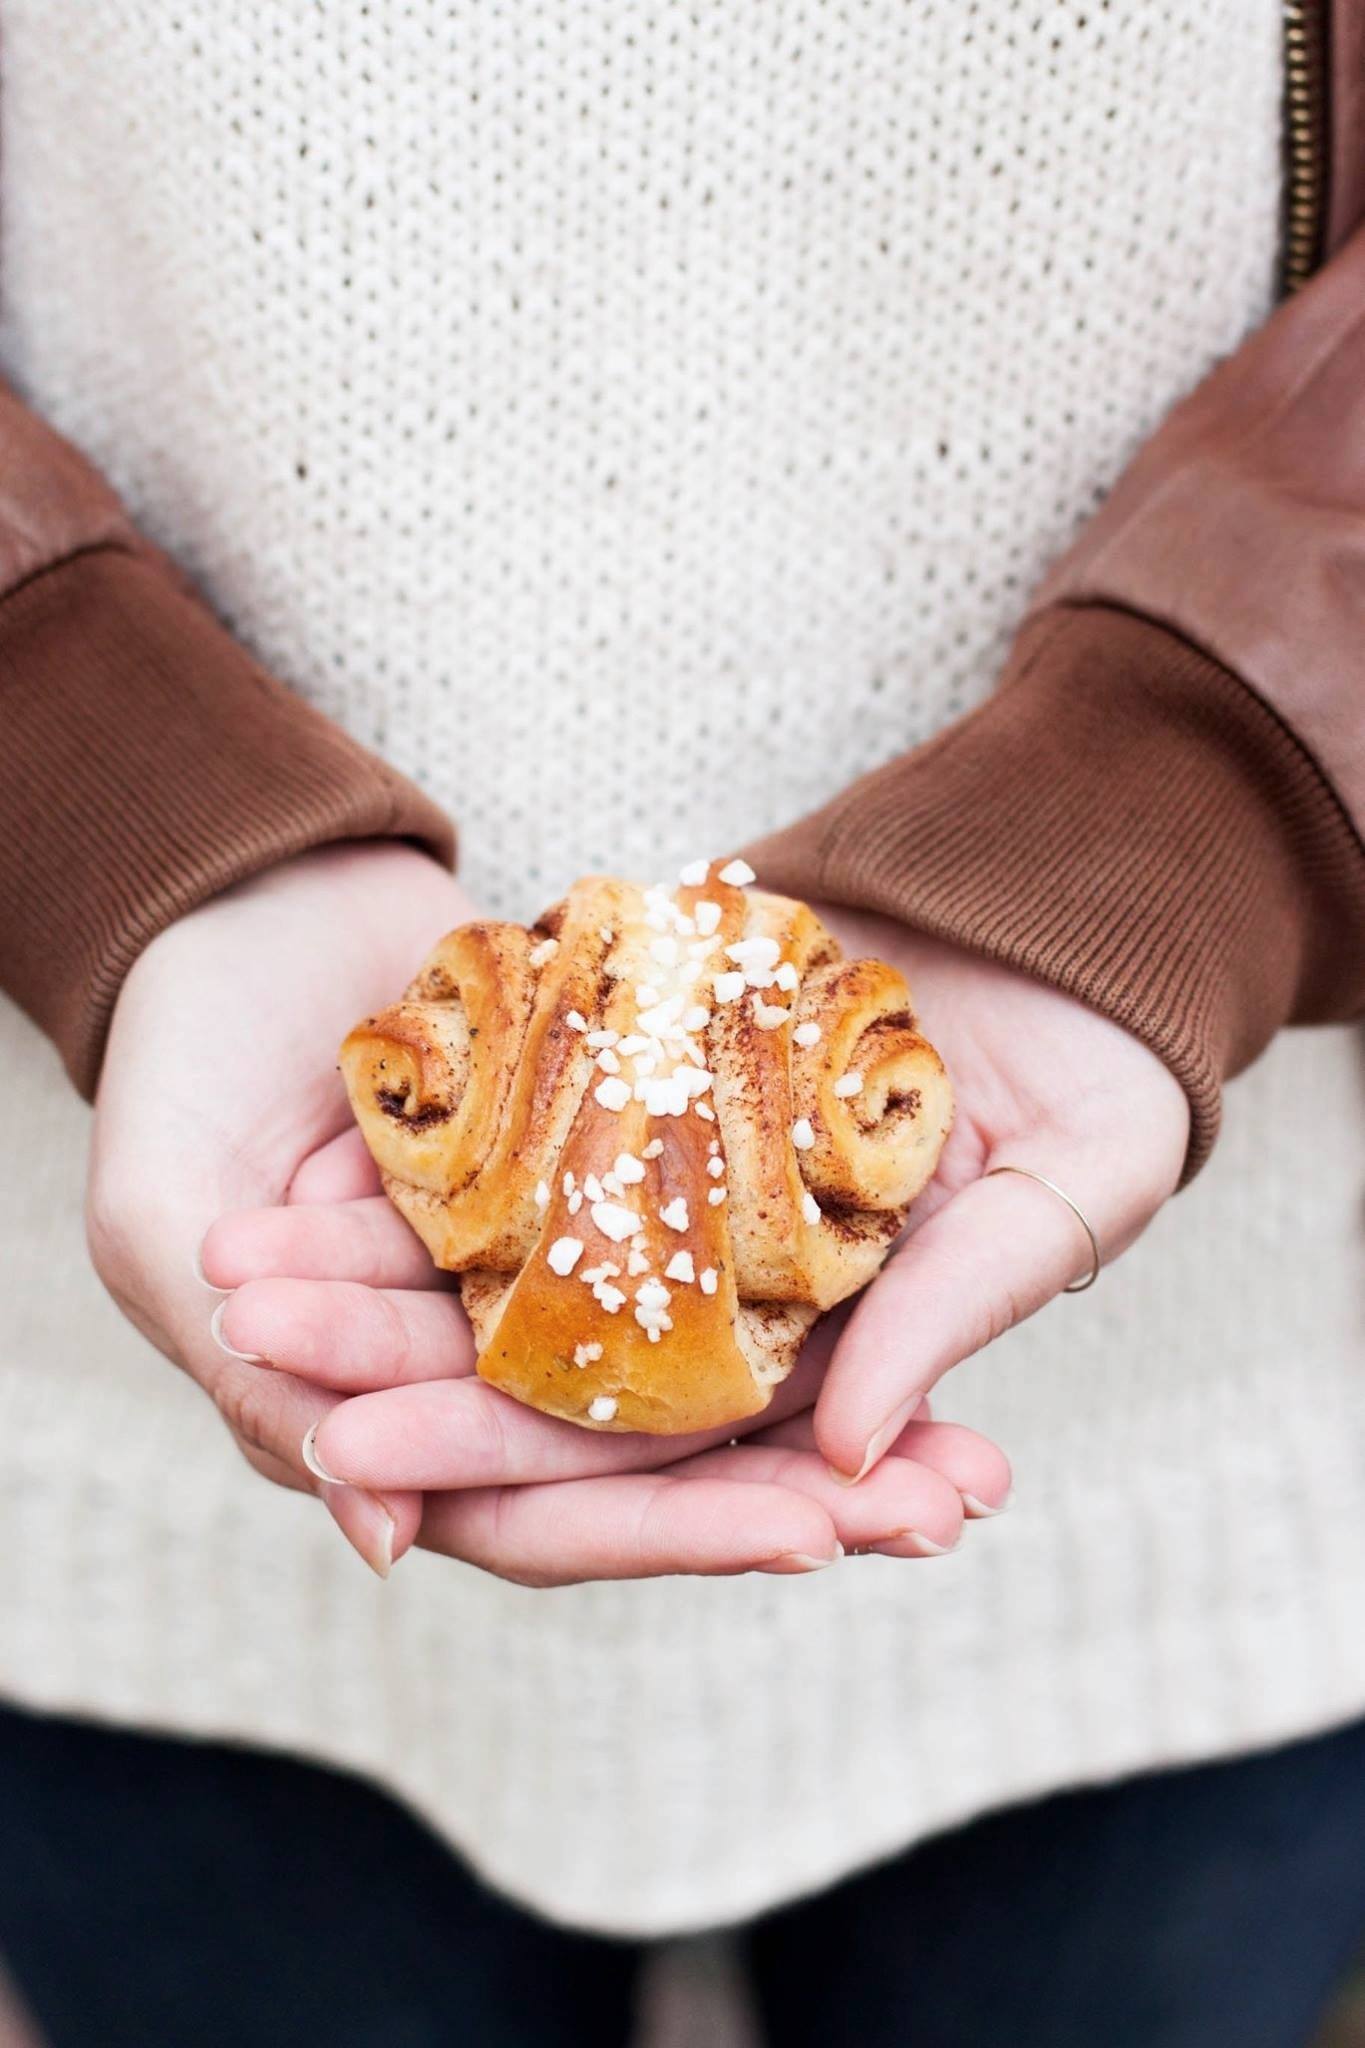
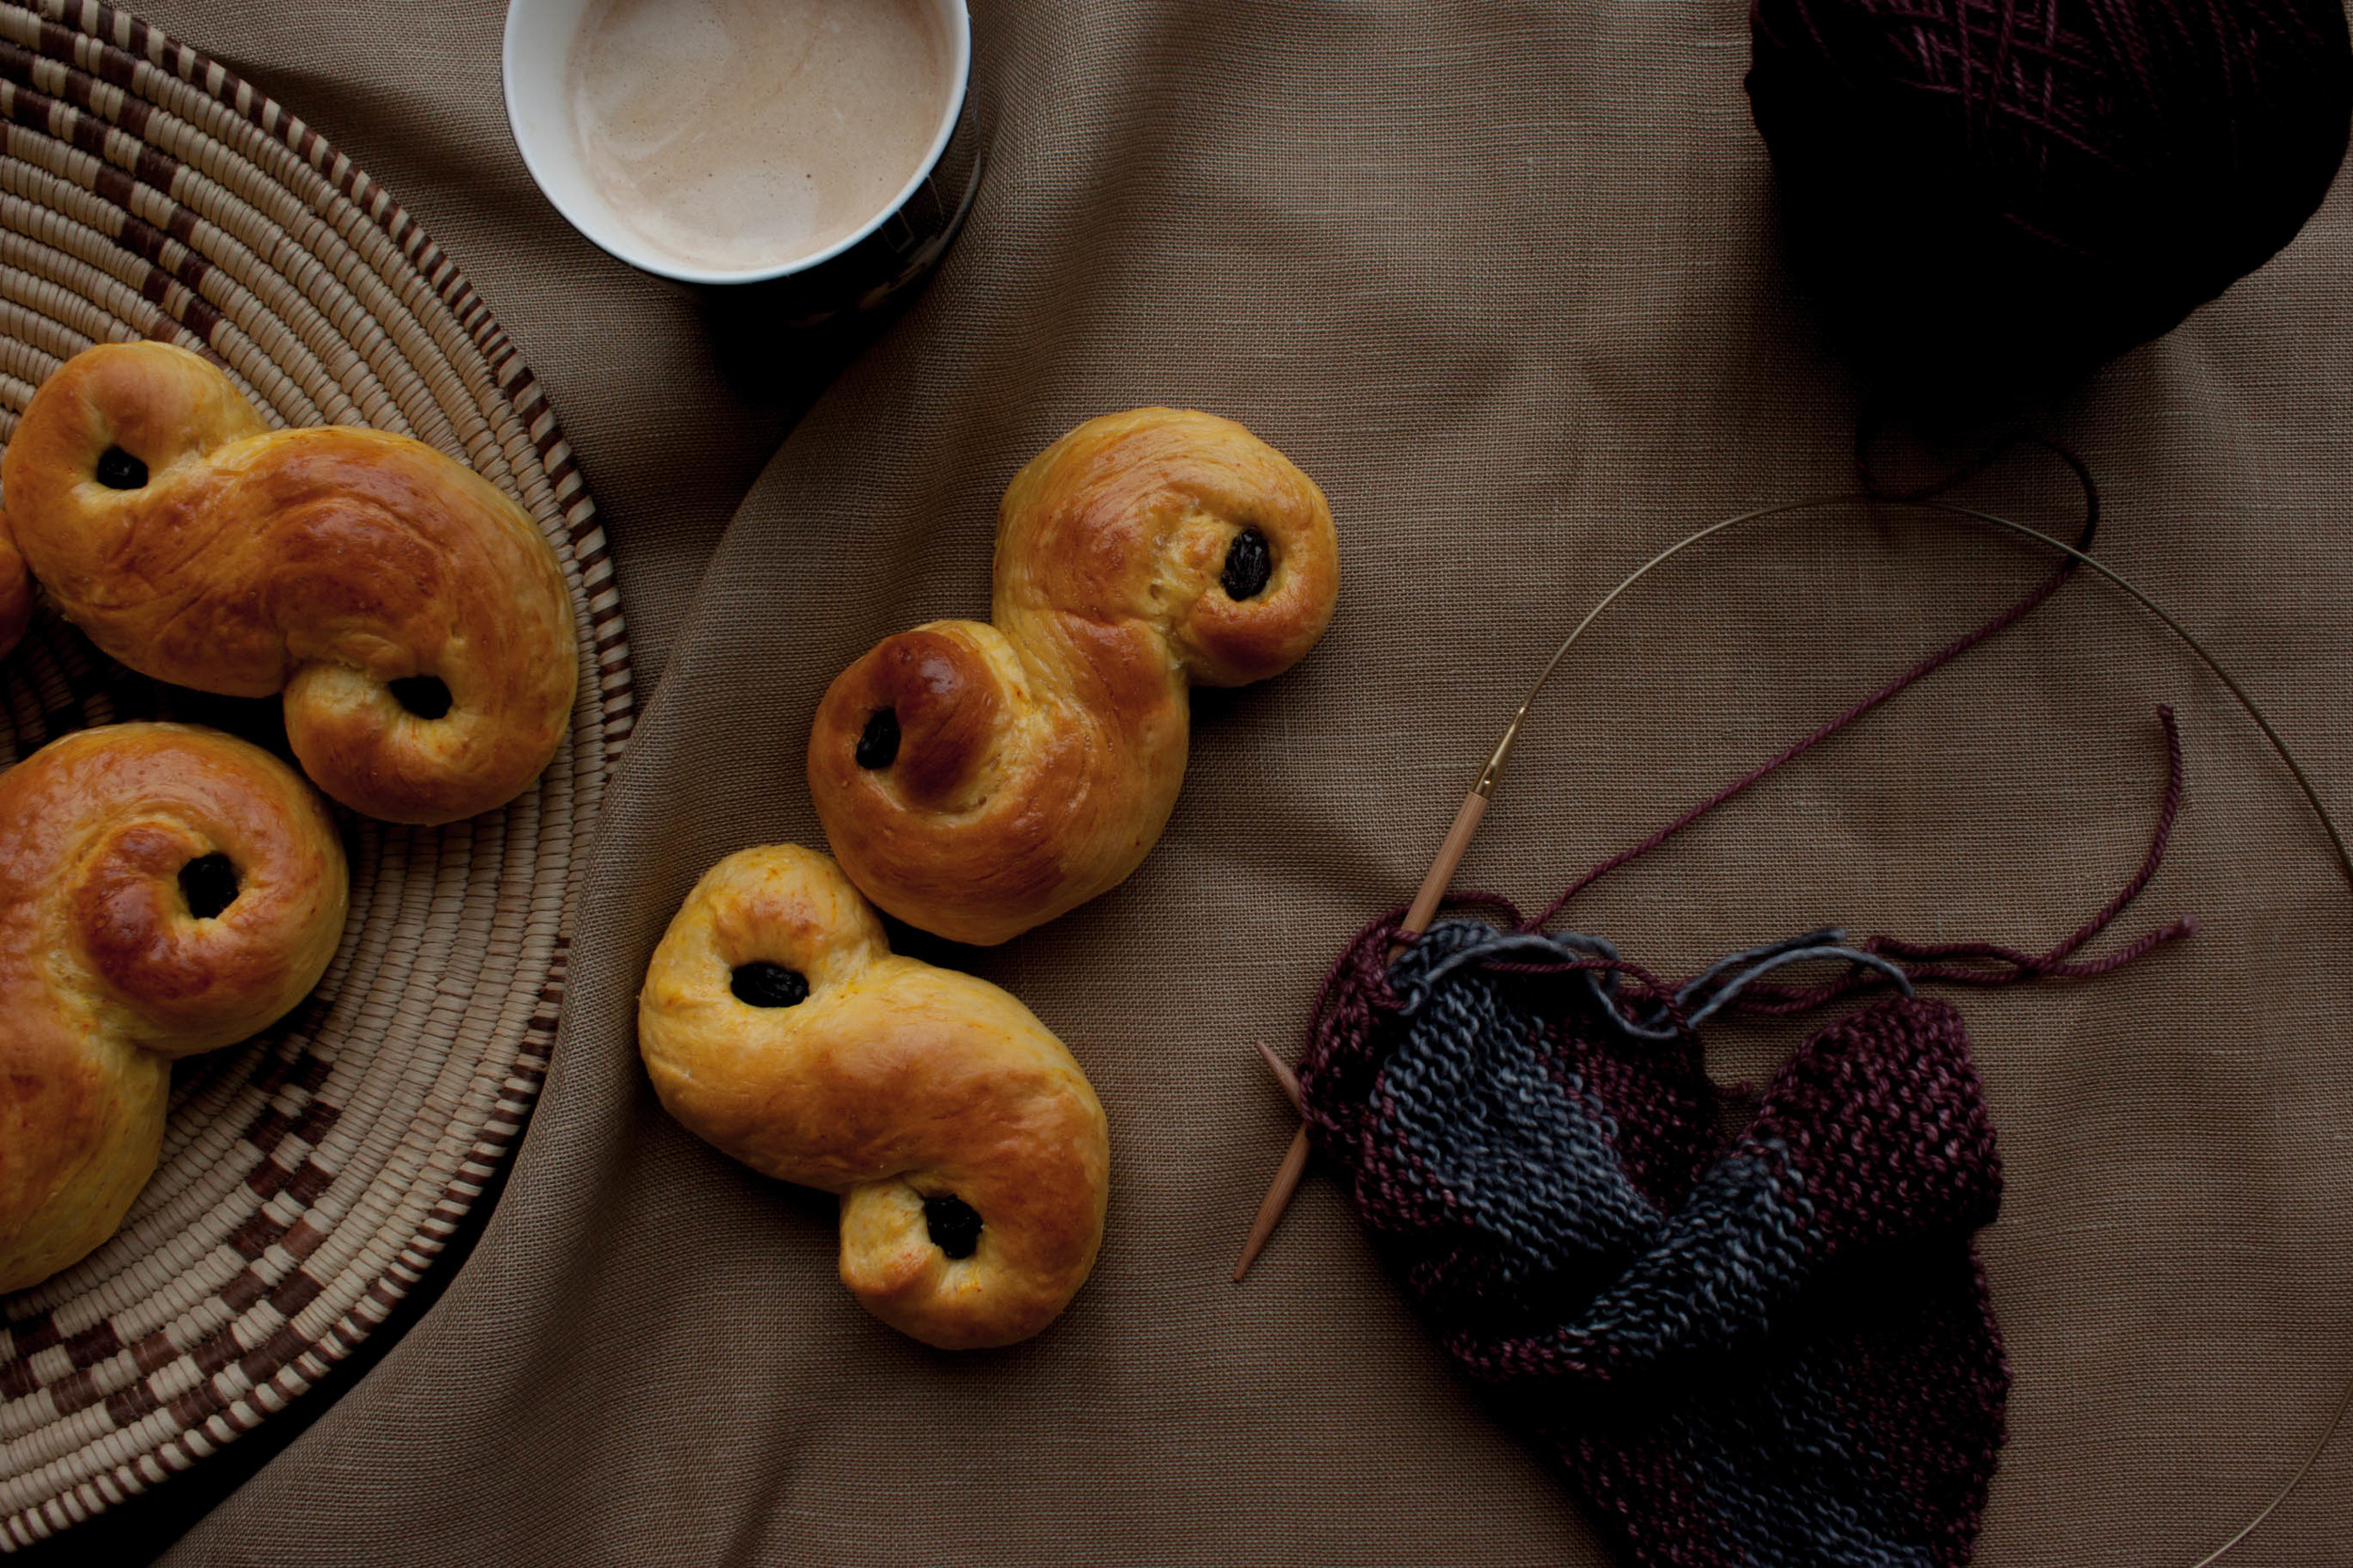
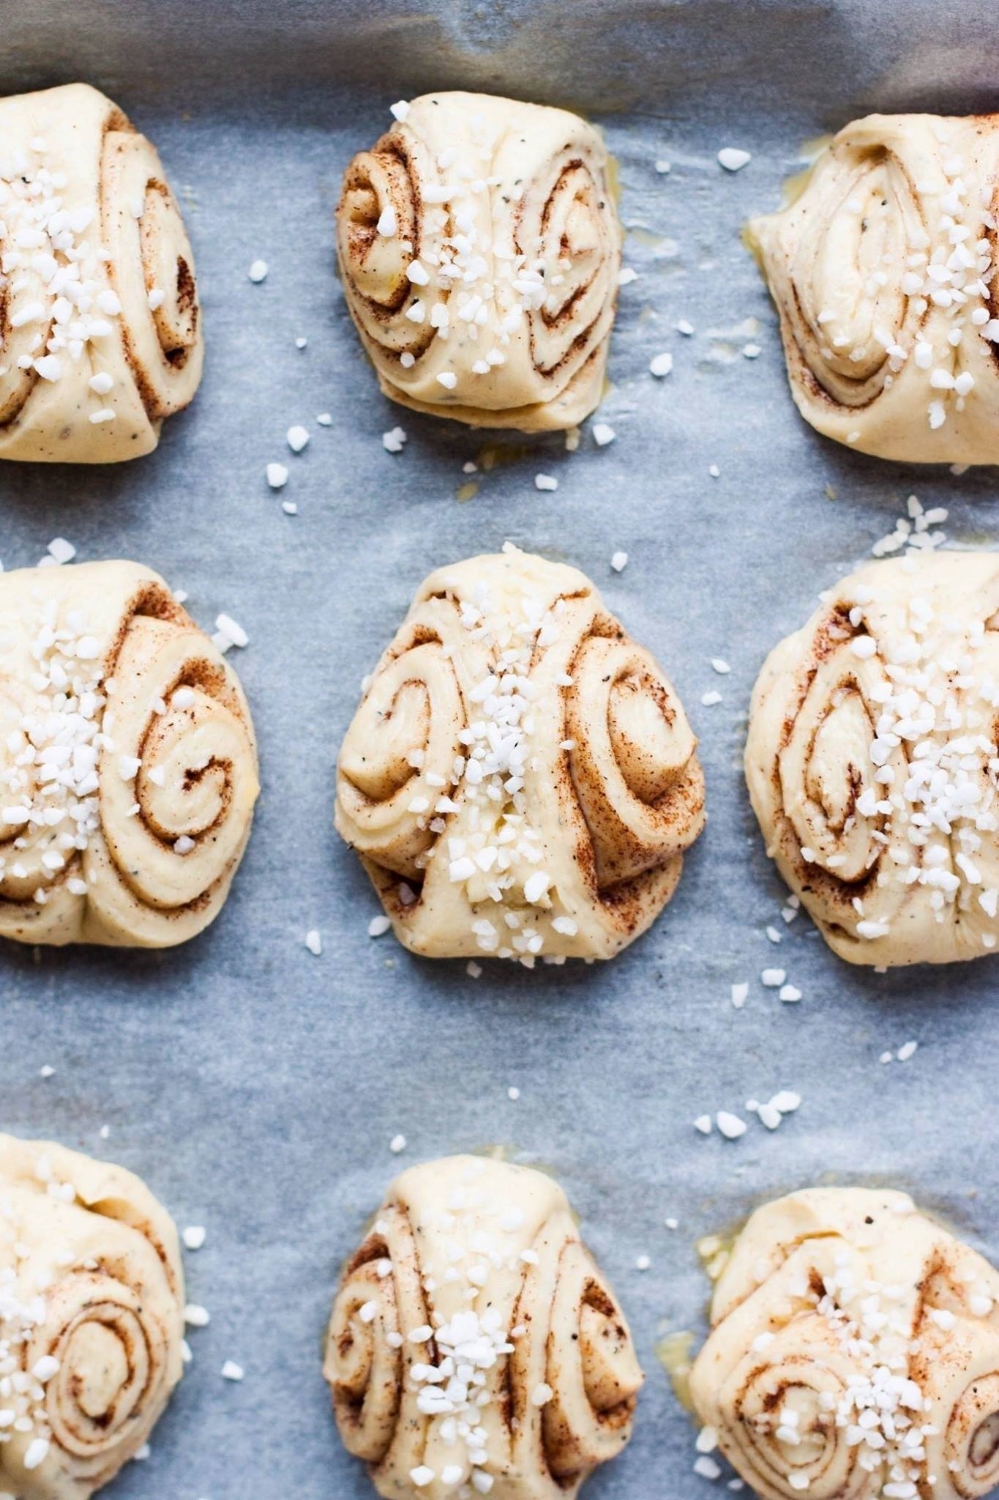
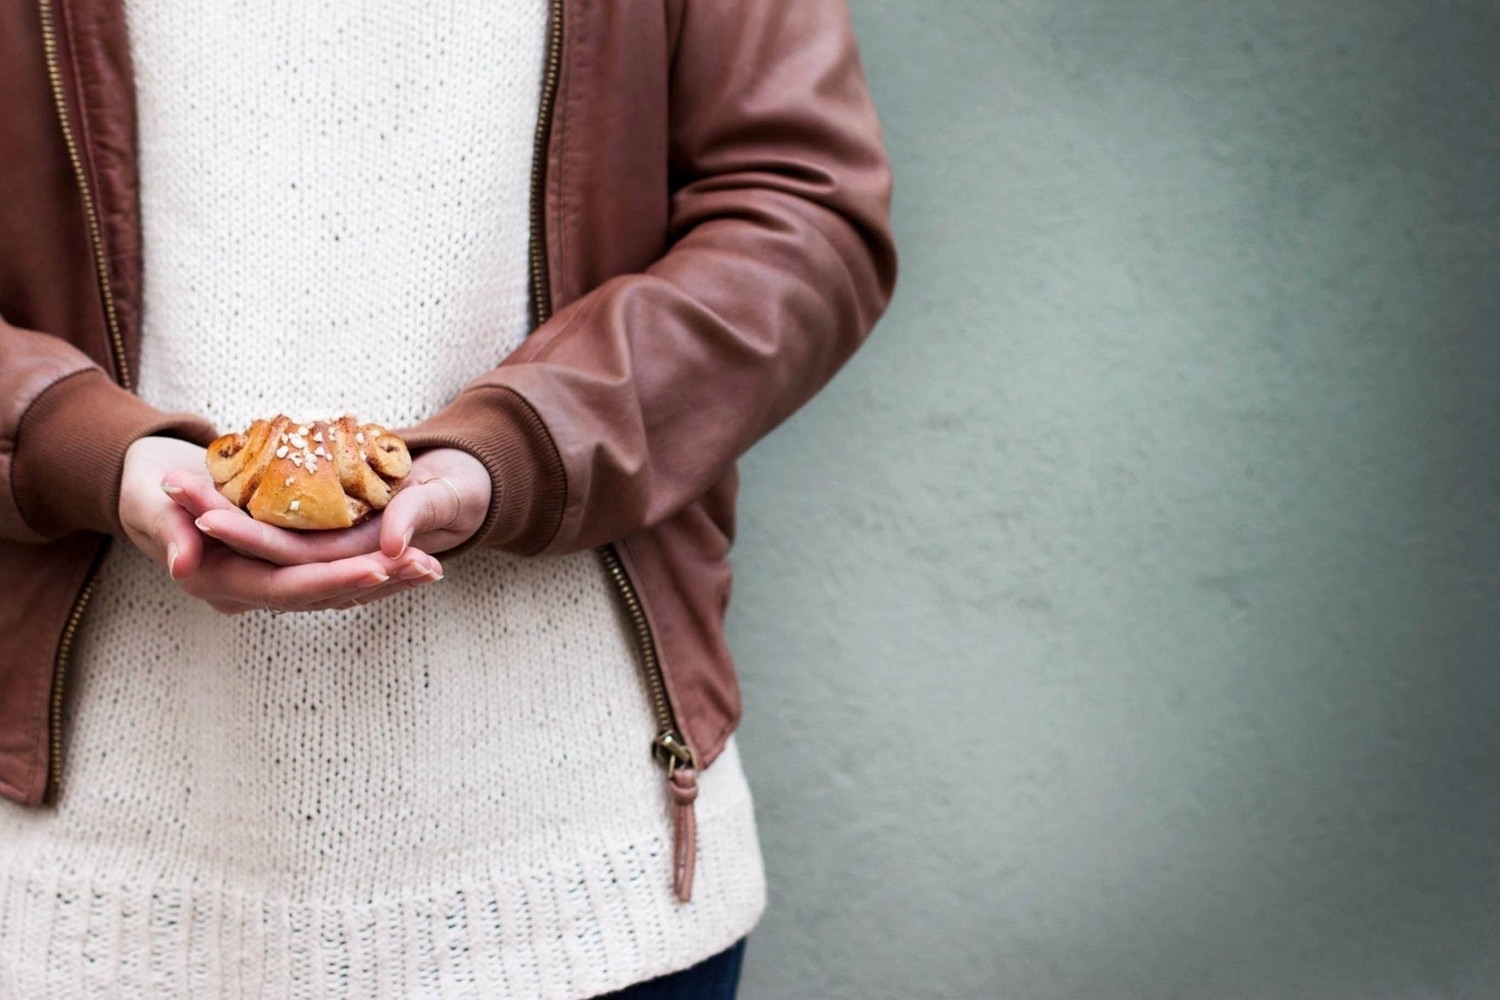
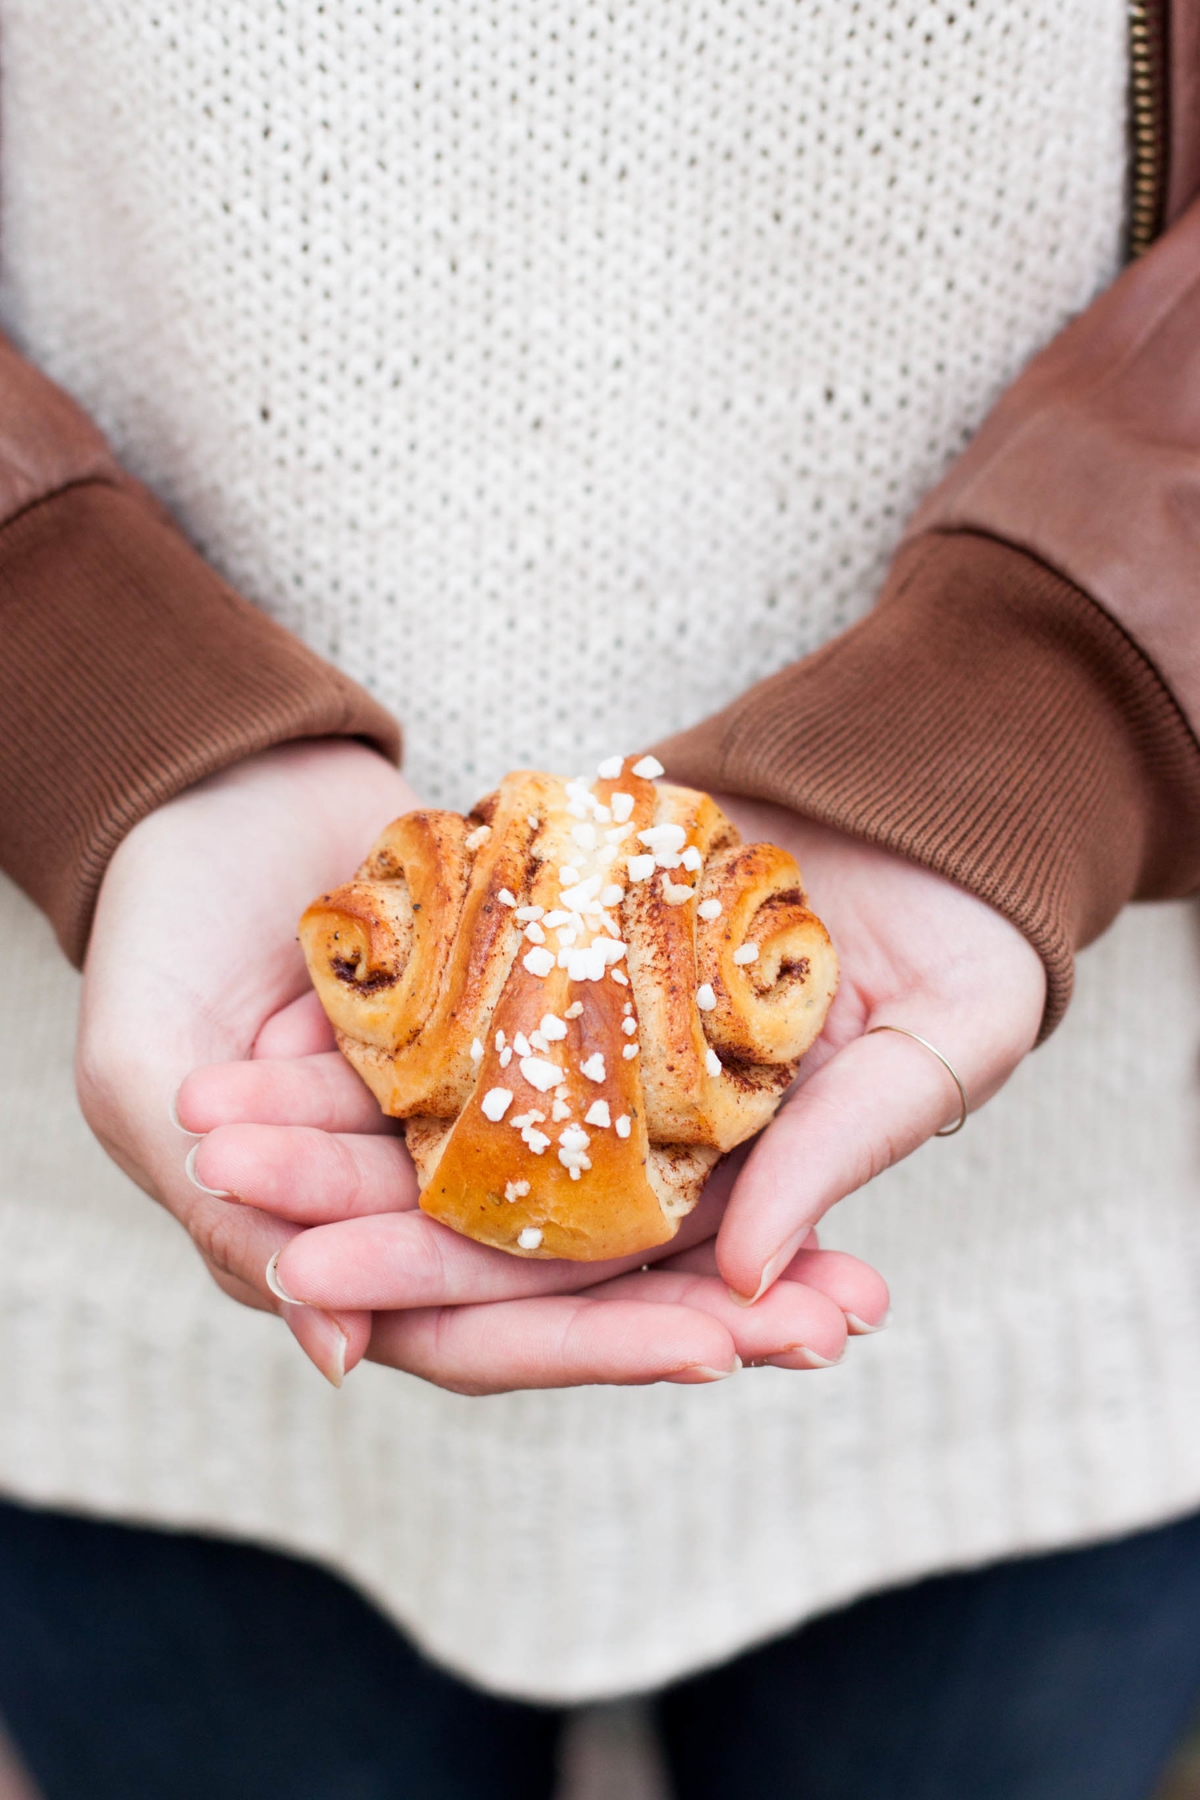
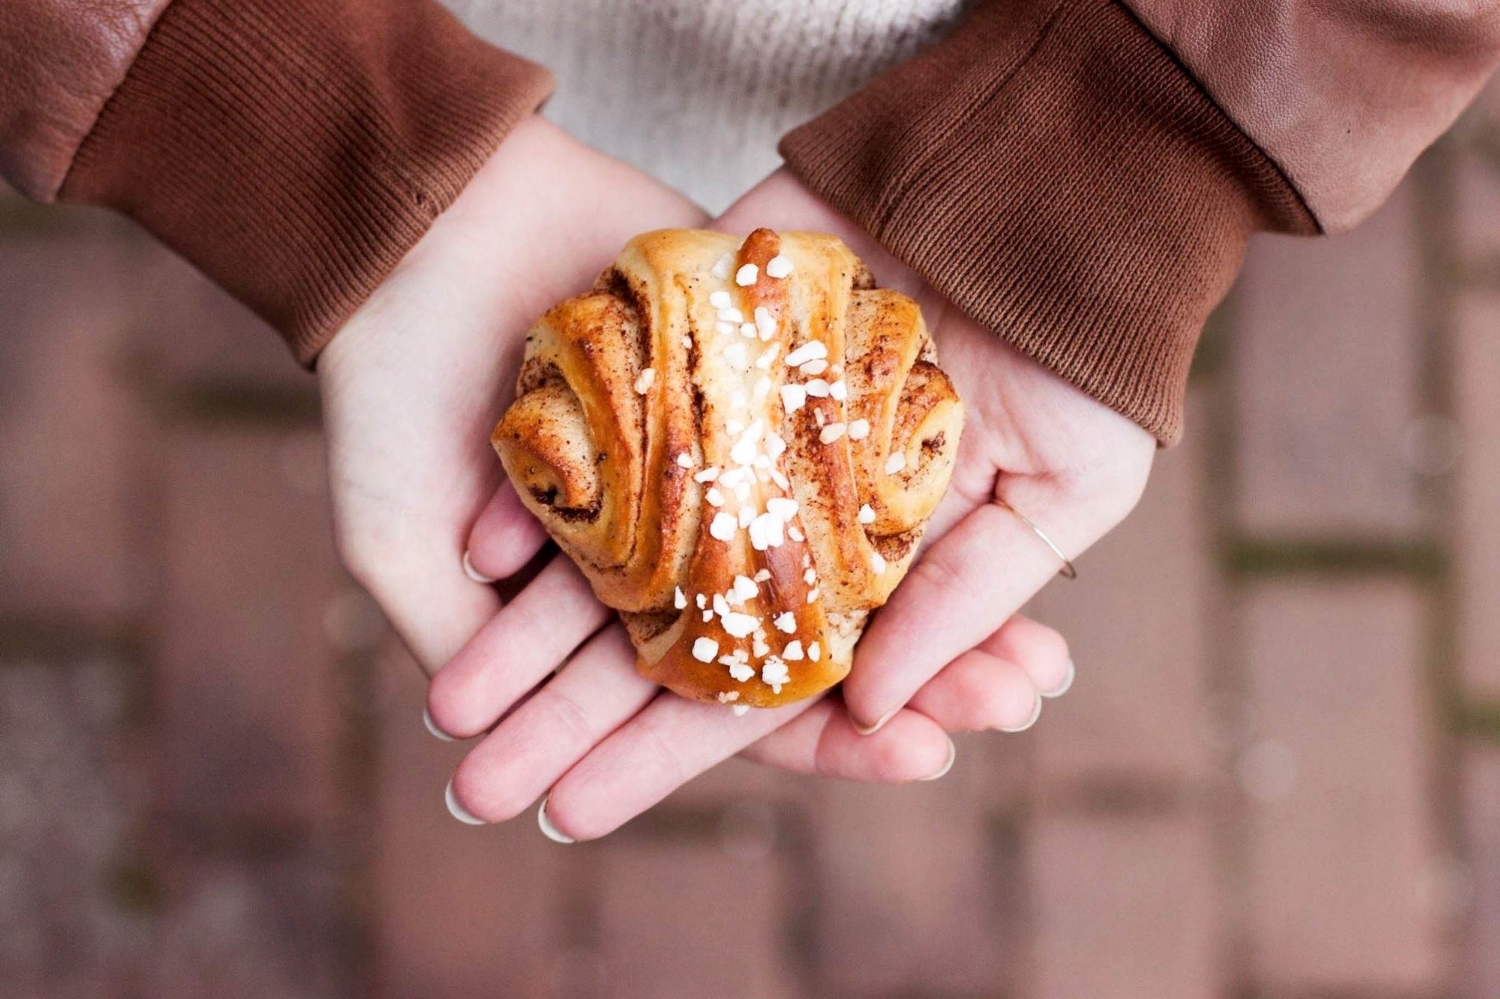
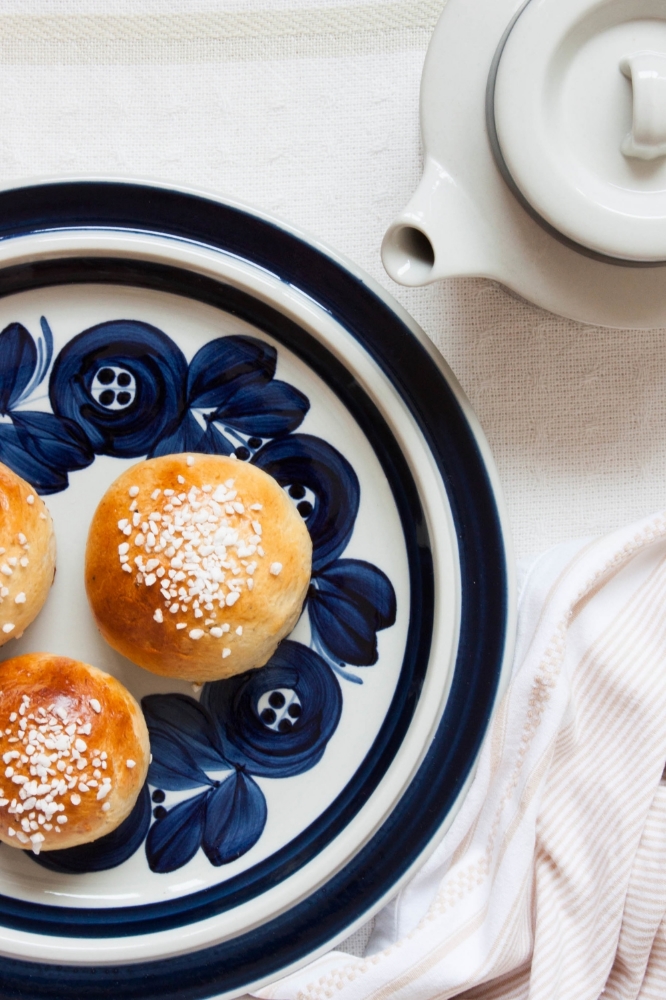
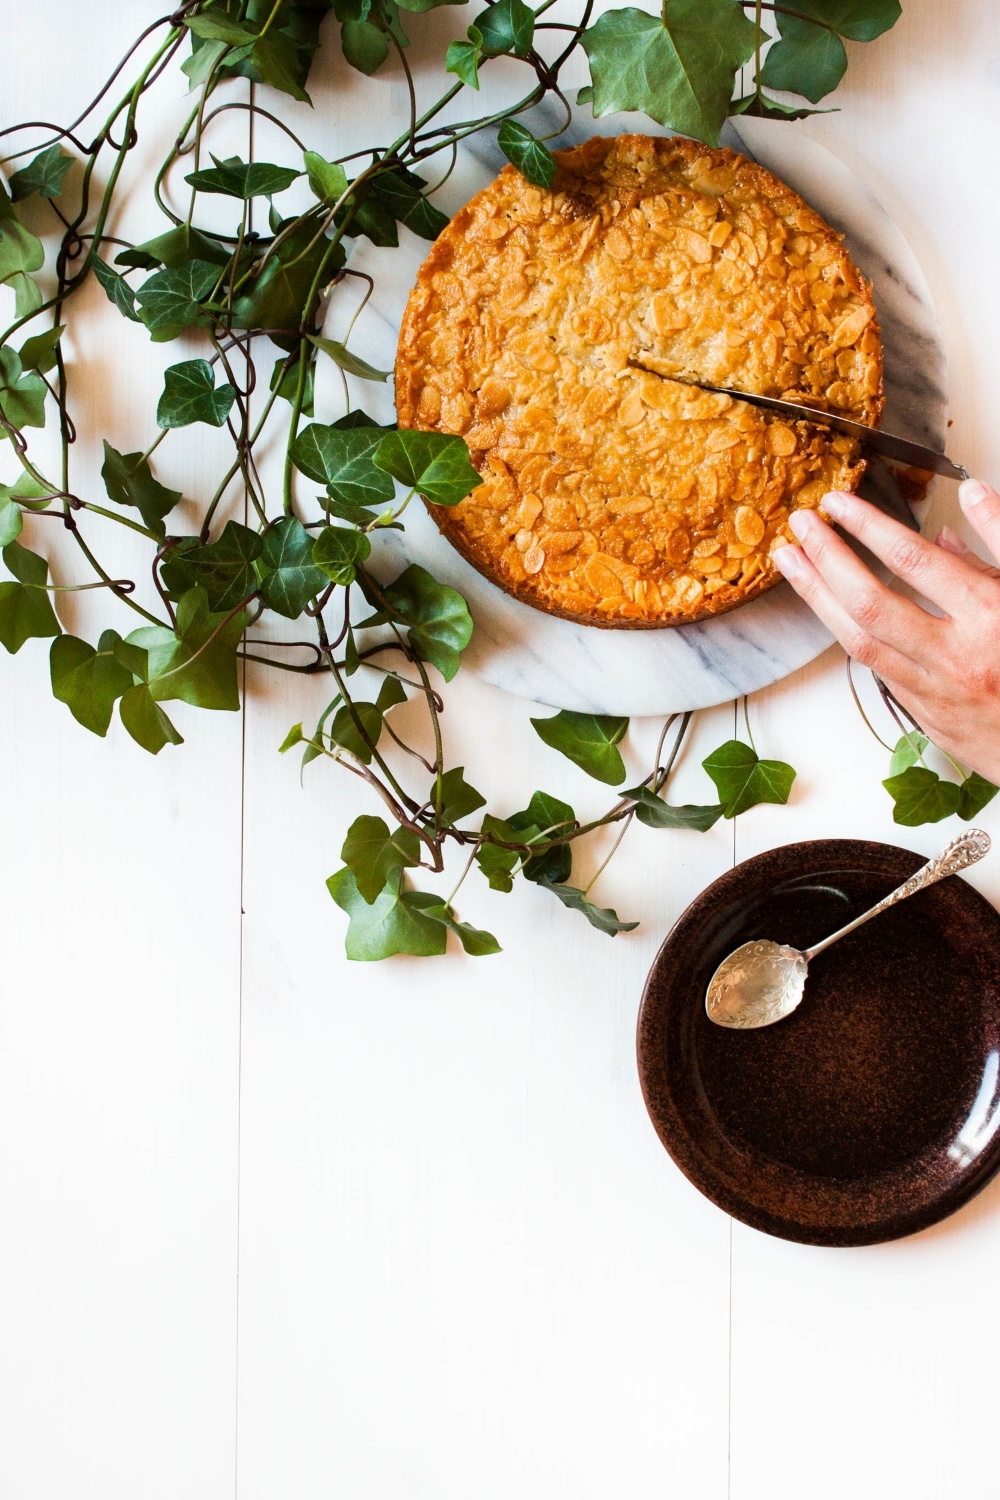
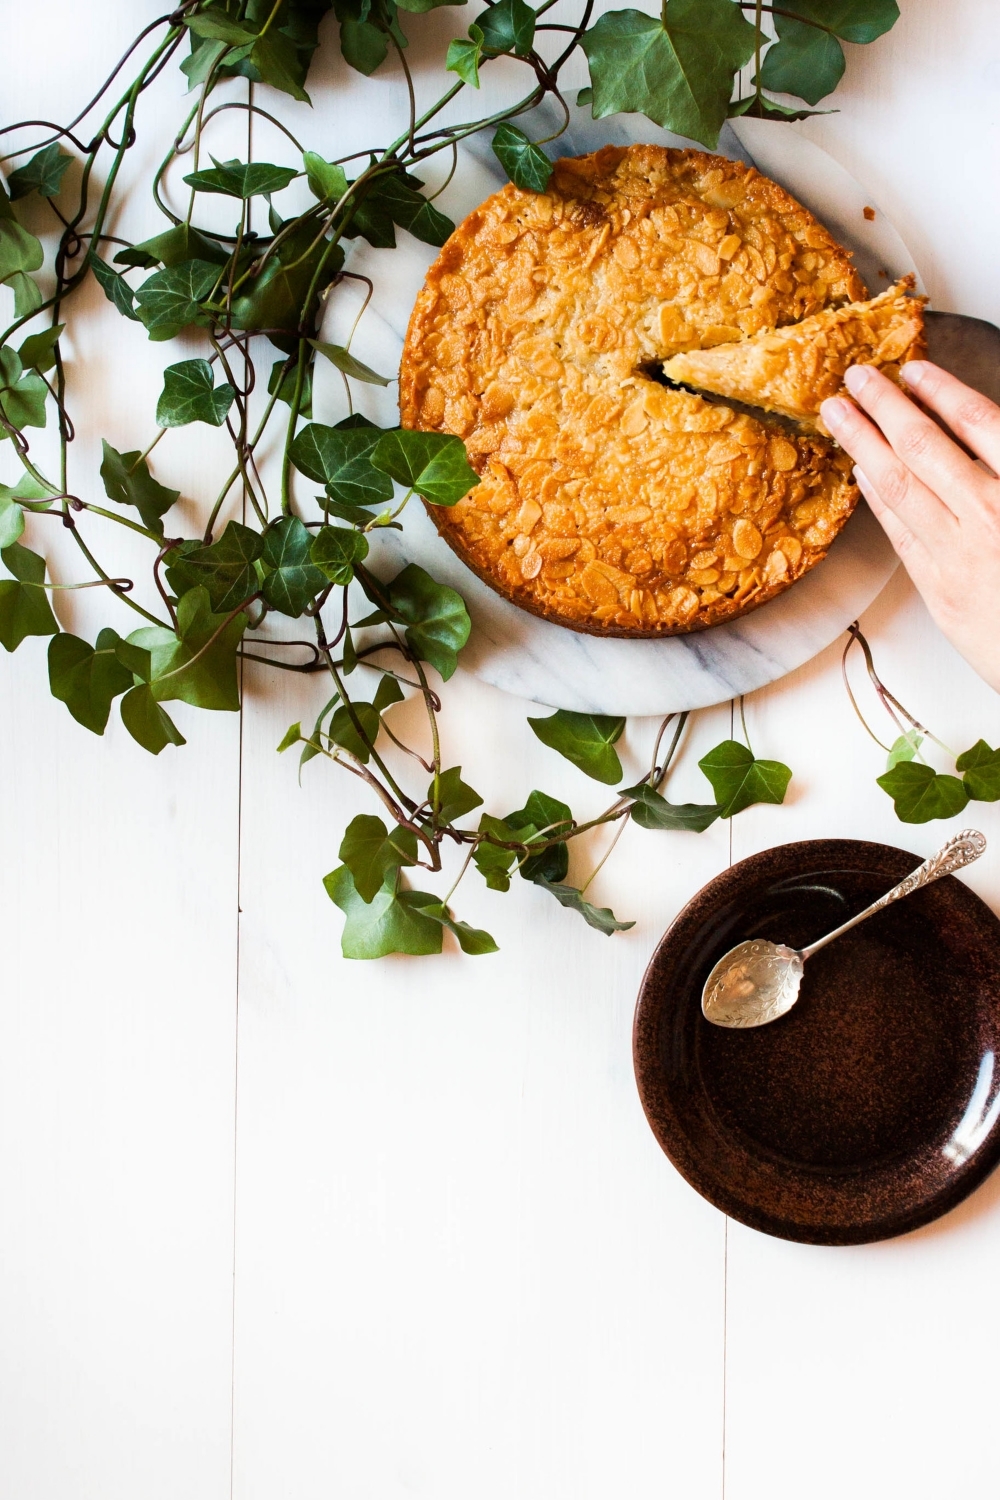
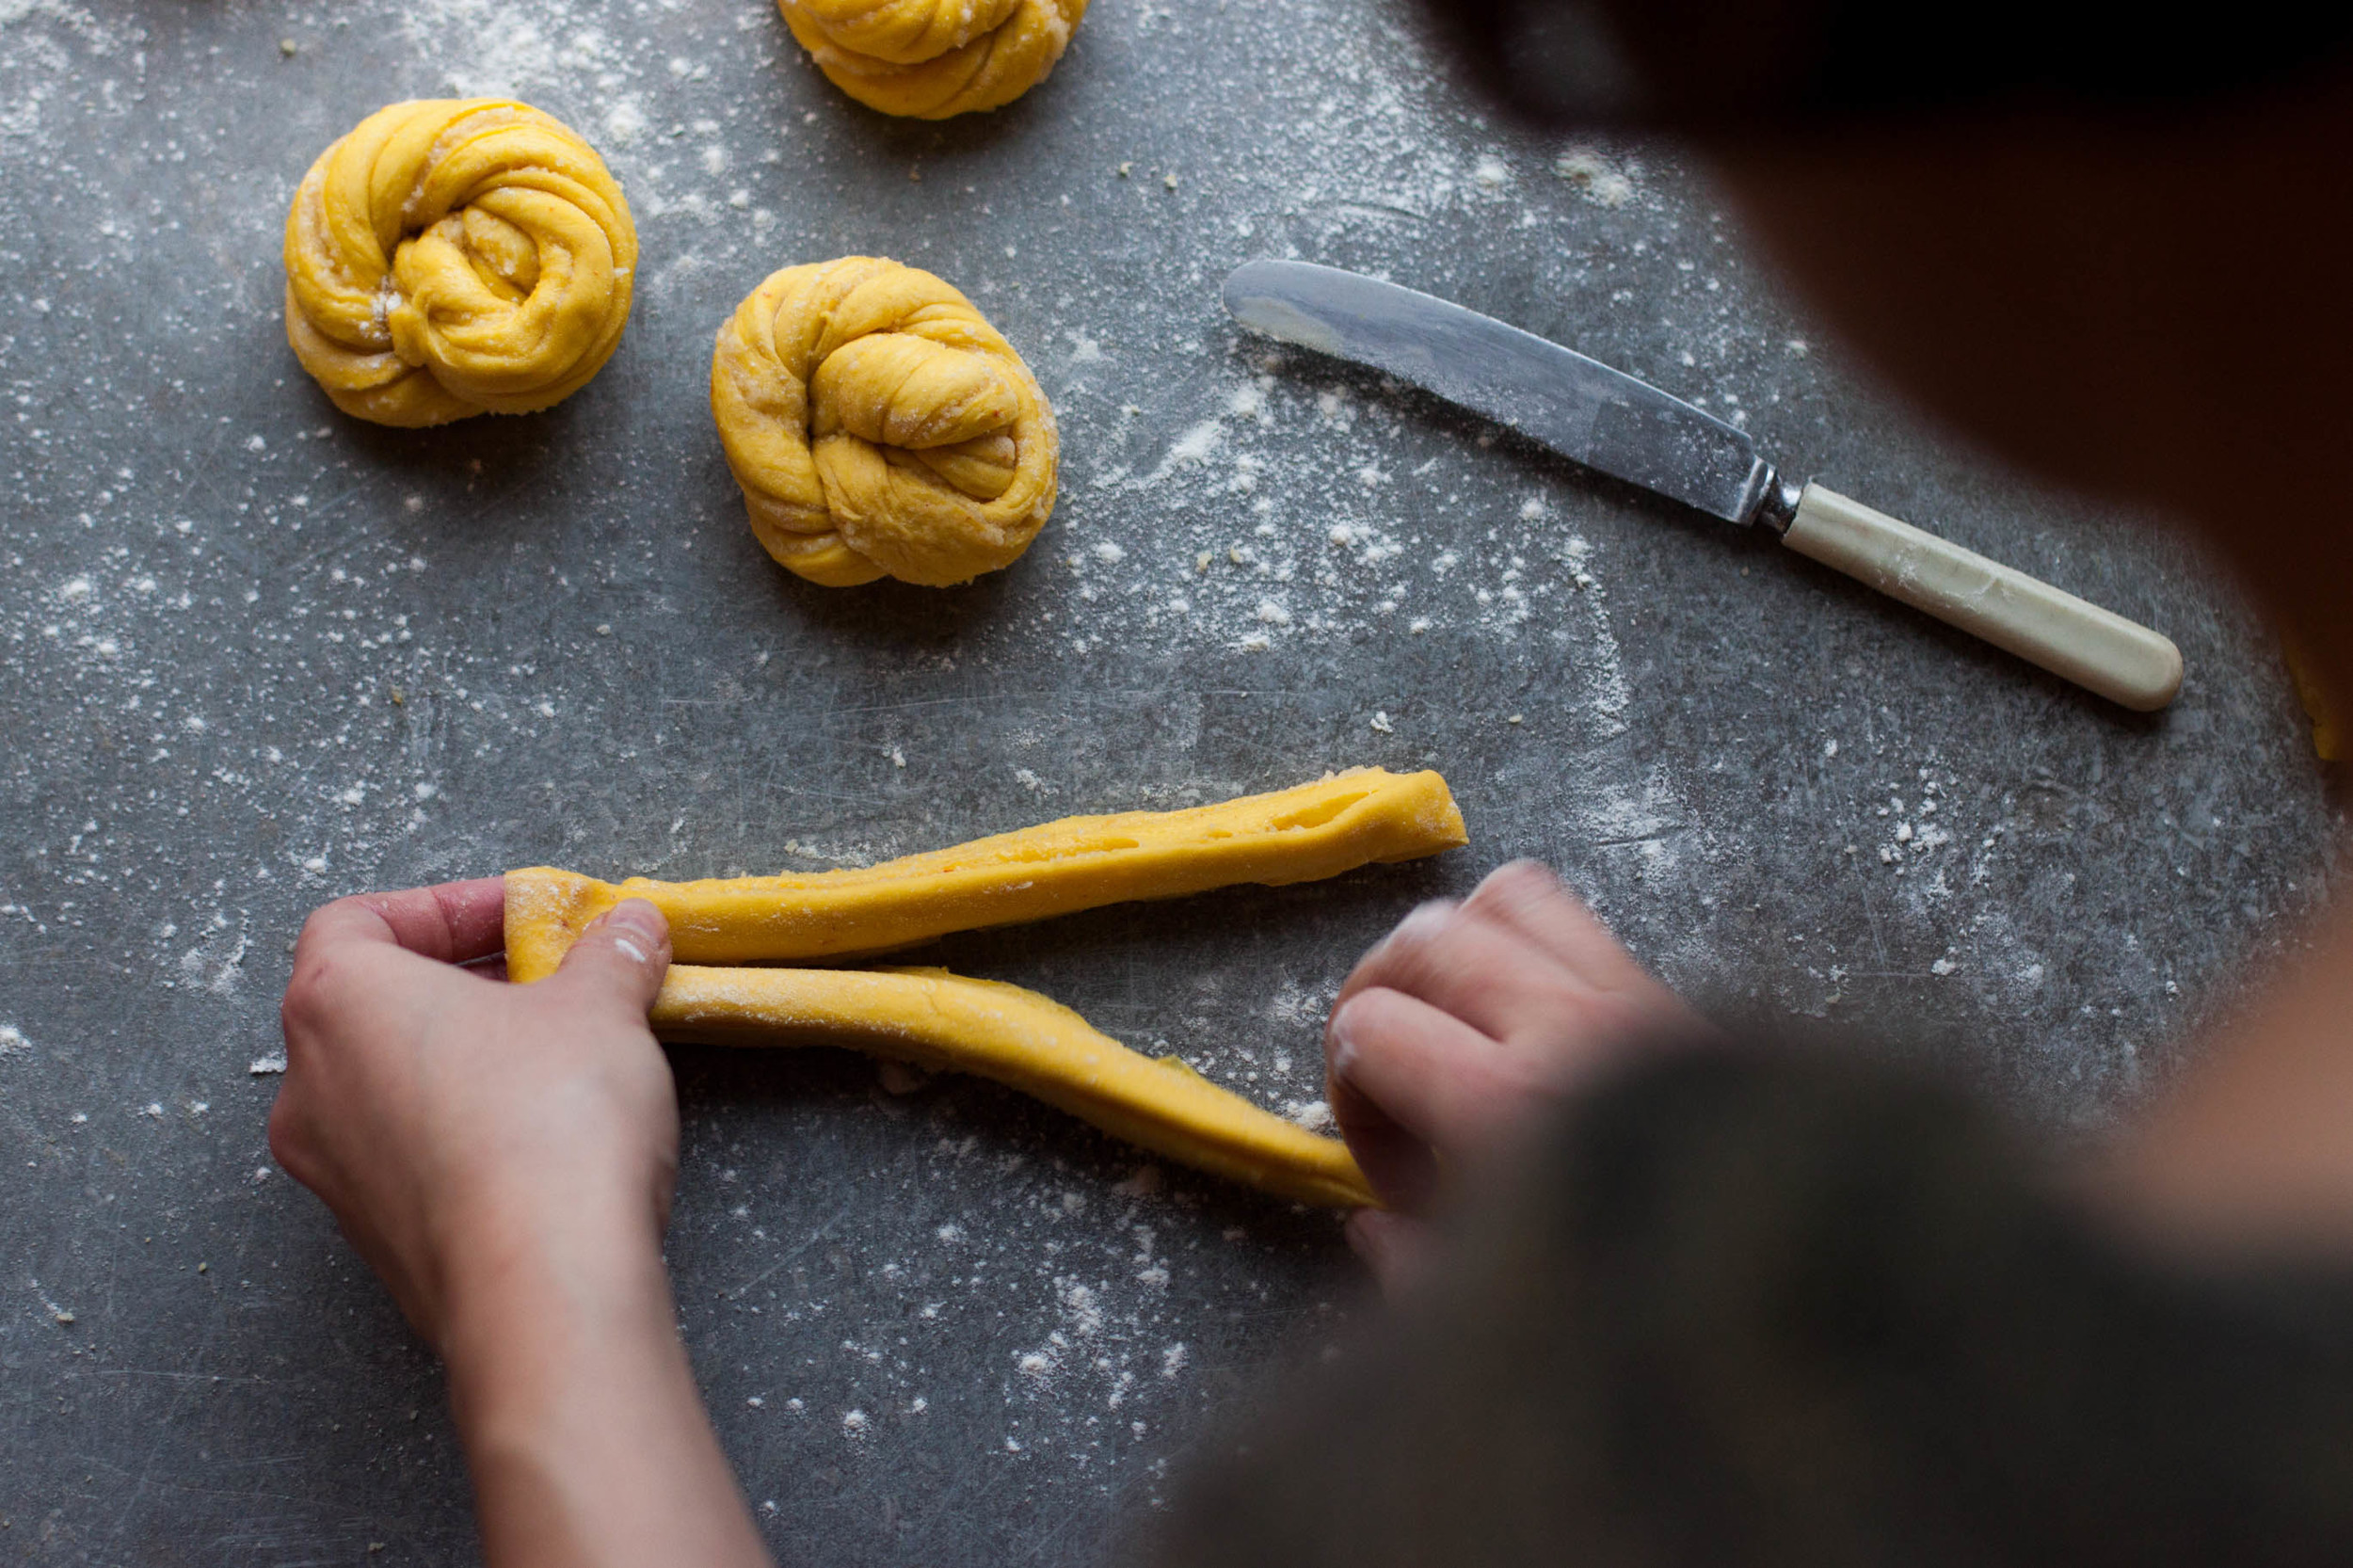
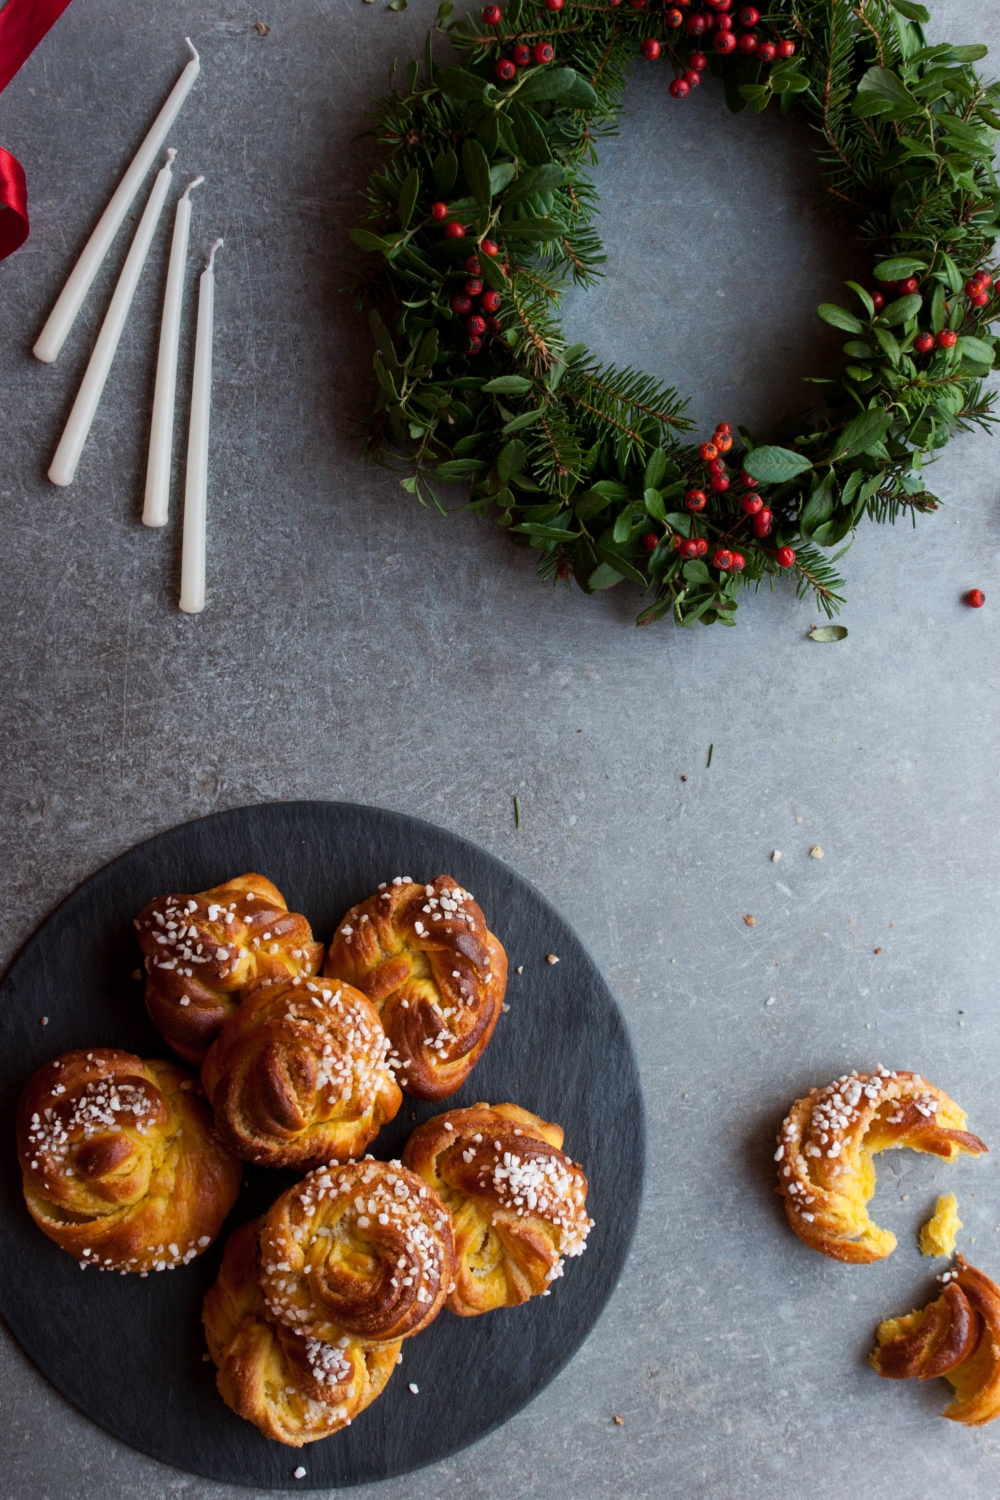
So when I was asked to contribute a holiday recipe to Life & Thyme, I knew I had to share a Saint Lucia's Day treat. As I already shared the traditional saffron buns last year, I decided to create a new version of the old classic. I used the basic Nordic cardamom-spiced bun dough but used saffron instead of cardamom. I decided to fill the saffron buns with a delicious orange almond filling and shape them into knots. The result was everything I could have asked for, or to be honest, it was even better. The orange flavor works wonderfully with the saffron and the filling makes these knots a treat made in the Nordic winter heaven.
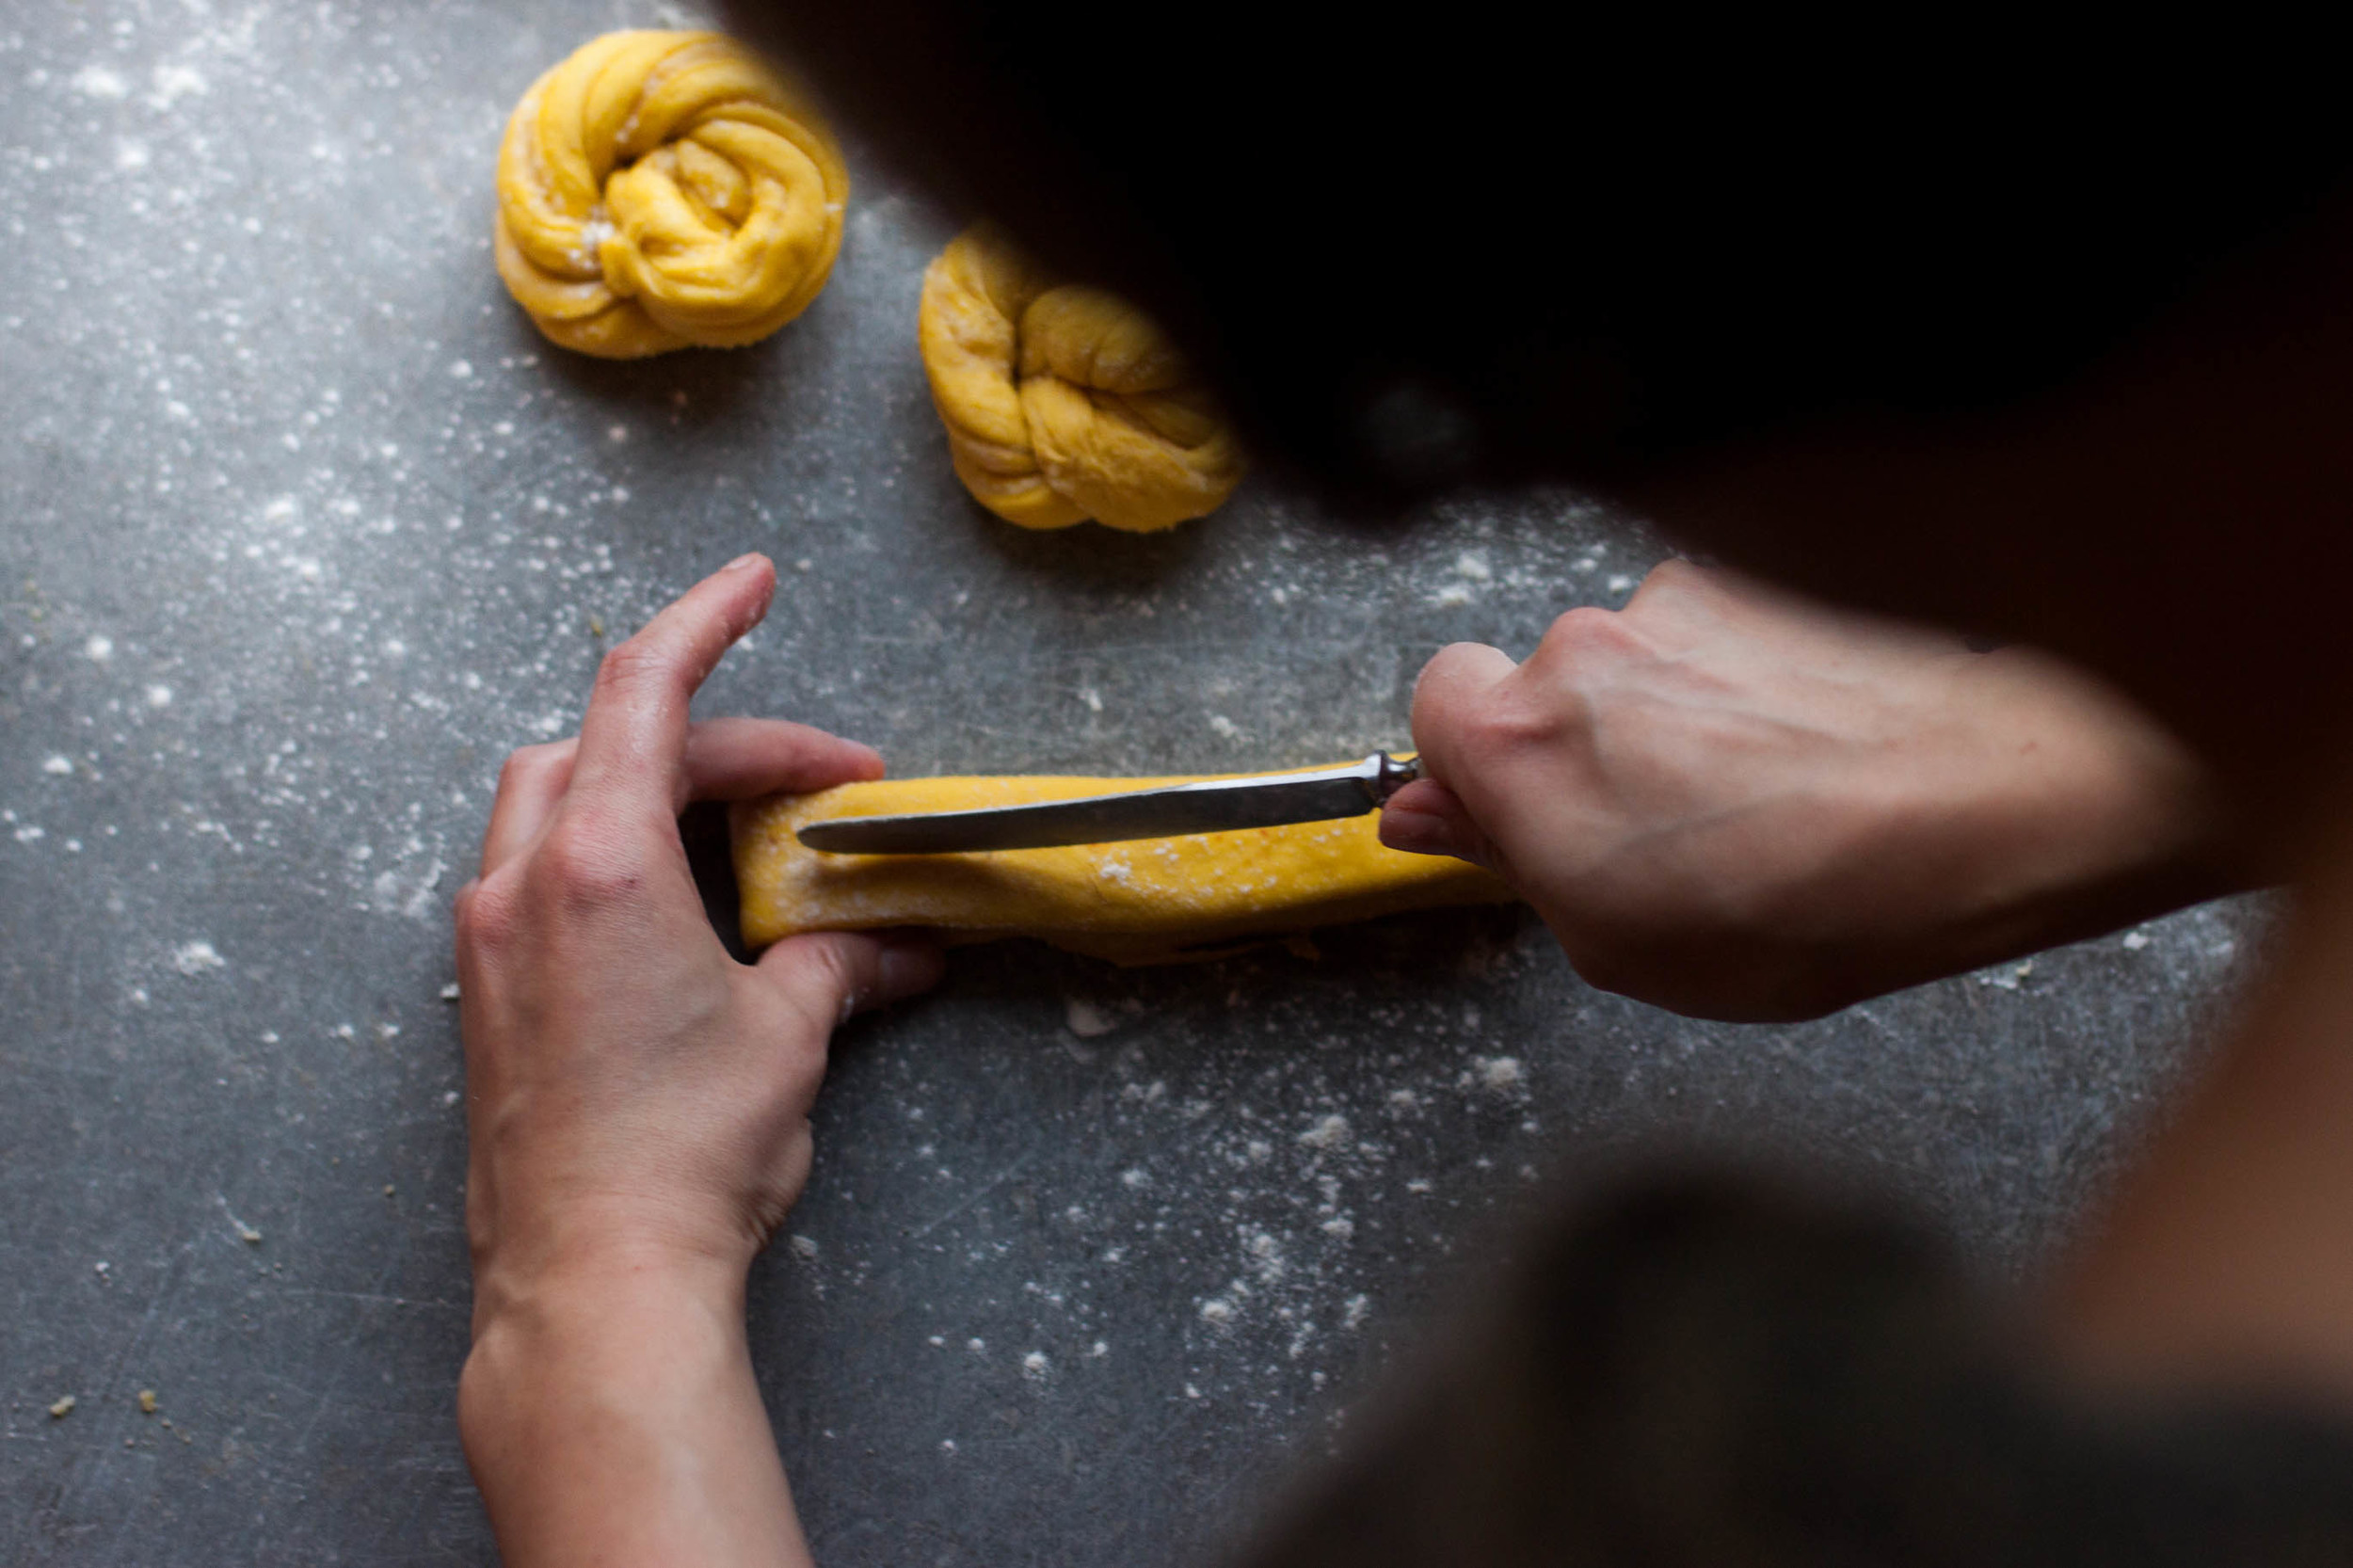
You can read the recipe on Life & Thyme where I also share how I'm spending my Christmas. One word: unplug.

Should you be interested in Saint Lucia's Day and how it's celebrated here in the Nordic countries, I recommend watching the fun and informative video on the official sites of Sweden.

Happy baking!

Related Posts

Korvapuusti – Finnish Cinnamon Rolls

My Blue&White Kitchen | Finnish Cinnamon Rolls

Last Saturday, I woke up realizing it was National Cinnamon Roll Day, and I didn't have anything planned. "Oh crap", I repeated to myself like some sort of mantra. As I had to go to work that day, I decided to devote the next day to baking those traditional sweet treats. They're the ultimate Nordic baked good, and our love for them is deep and true, endless like the Nordic winter nights. Or winters in general.

We all know that the days are getting colder now. First comes the rain, then the snow. Therefore, we all need some cinnamon rolls in our lives. They make it all so much more bearable.

I think cinnamon rolls are not without reason one of the most loved baked goods in the world. While they're topped with icing all over North America, here in Scandinavia we skip the icing and sprinkle pearl sugar on top. Lots of it. Furthermore, we use the traditional cardamom-spiced yeast dough that is also used to make pulla, as we call them in Finland, or bulle, as they're called in Sweden. Here in the north, cinnamon rolls are the ultimate baked good that can be found at every café. That's also how you're supposed to eat them; alongside a big cup of coffee. However, I think they're also great with a glass of cold milk, especially when they're still warm. You can, of course, also enjoy them with a cup of tea; after all, it's your choice, your moment of comfort.

Cinnamon rolls are actually called korvapuusti here in Finland which can be translated as slapped ears. I have no idea where this slightly violent name comes from; I tried to do some research on it but without success. However, the name has been around since the late 1800's. Very mysterious indeed. But I like it; I like food with funny names.

Although the dough and filling are the same in both Finland and Sweden, the shape is unique to Finland. For me, this is the one and only cinnamon roll shape. It's a bit like with pasta; theoretically they all should taste the same no matter the shape but in reality, well, they definitely don't.

I even made a GIF (my very first one!) to show you how to shape proper korvapuustis. See? Easy! And it's definitely lots of fun to poke once finger into dough. Truth.

My Blue&White Kitchen | Finnish Cinnamon Rolls

A few notes on the recipe: For the best result, make sure that all your ingredients are at room temperature. I recommend using bread flour, but this recipe will work with all-purpose flour as well. Just substitute the flour by weight, not volume (although, you'll notice when the dough is ready as it'll come clean off the sides of the bowl). Pearl sugar is obligatory; remember to be generous with it. You can certainly adapt the filling to your liking by adding more or less sugar. I like mine not overly sweet, but I've seen recipes that use up to 2 ½ dl / 1 cup of granulated sugar (basically almost three times as much as my recipe calls for) for the same amount of rolls. You can leave the egg out and, furthermore, substitute the milk with water should you follow a special diet. However, as you can imagine, the most delicious and flavorful result is made with eggs and milk.

So next time you plan to make cinnamon rolls, why not try this Nordic variety? I hope you do.


Korvapuusti – Finnish Cinnamon Rolls

makes around 30 rolls
 

5 dl (2 cups + 2 tbsp) lukewarm milk (preferably whole milk)
50 g fresh yeast (or alternatively 16 g / 1 tbsp + 2 tsp instant active dry yeast)
180 g (2 dl; ¾ cup + 2 tbsp) granulated sugar
1 ½ tsp fine sea salt
1 tbsp + 1 tsp ground cardamom (preferably freshly ground)
1 egg
about 1 kg (15 dl; 6 ½ cups) bread flour
170 g (1 ½ sticks) unsalted butter, at room temperature

for the filling
150 g (1  sticks) soft butter
6 tbsp granulated sugar
1 tbsp + 2 tsp cinnamon

for the egg wash
1 egg

pearl sugar, to sprinkle
 

To make the dough
In a large mixing bowl (you can make the dough by hand, like me, or in a stand mixer), combine the lukewarm milk and crumbled yeast. [If using instant active dry yeast, skip this step. Combine the yeast with some flour and add to the warm, 42°C / 108°F, milk mixture before adding the rest of the flour.] Stir with a spoon until the yeast is completely dissolved. Add sugar, salt, cardamom, and egg and mix until combined. Gradually add about two thirds of the flour and knead. Add butter and knead until well combined. Continue to knead the dough, and gradually add just enough flour so the dough comes clean off the sides of the bowl and doesn't stick to your hand.

Don't overwork the dough or you'll end up with hard rolls, not soft as we want them to be. Shape into a ball and cover with a clean kitchen towel. Let the dough rise in a warm, draft-free place for about 1 hour, or until double in size.

Meanwhile, mix together the butter, sugar, and cinnamon for the filling. Set aside.


To shape and bake the rolls
Line four baking sheets with parchment paper.

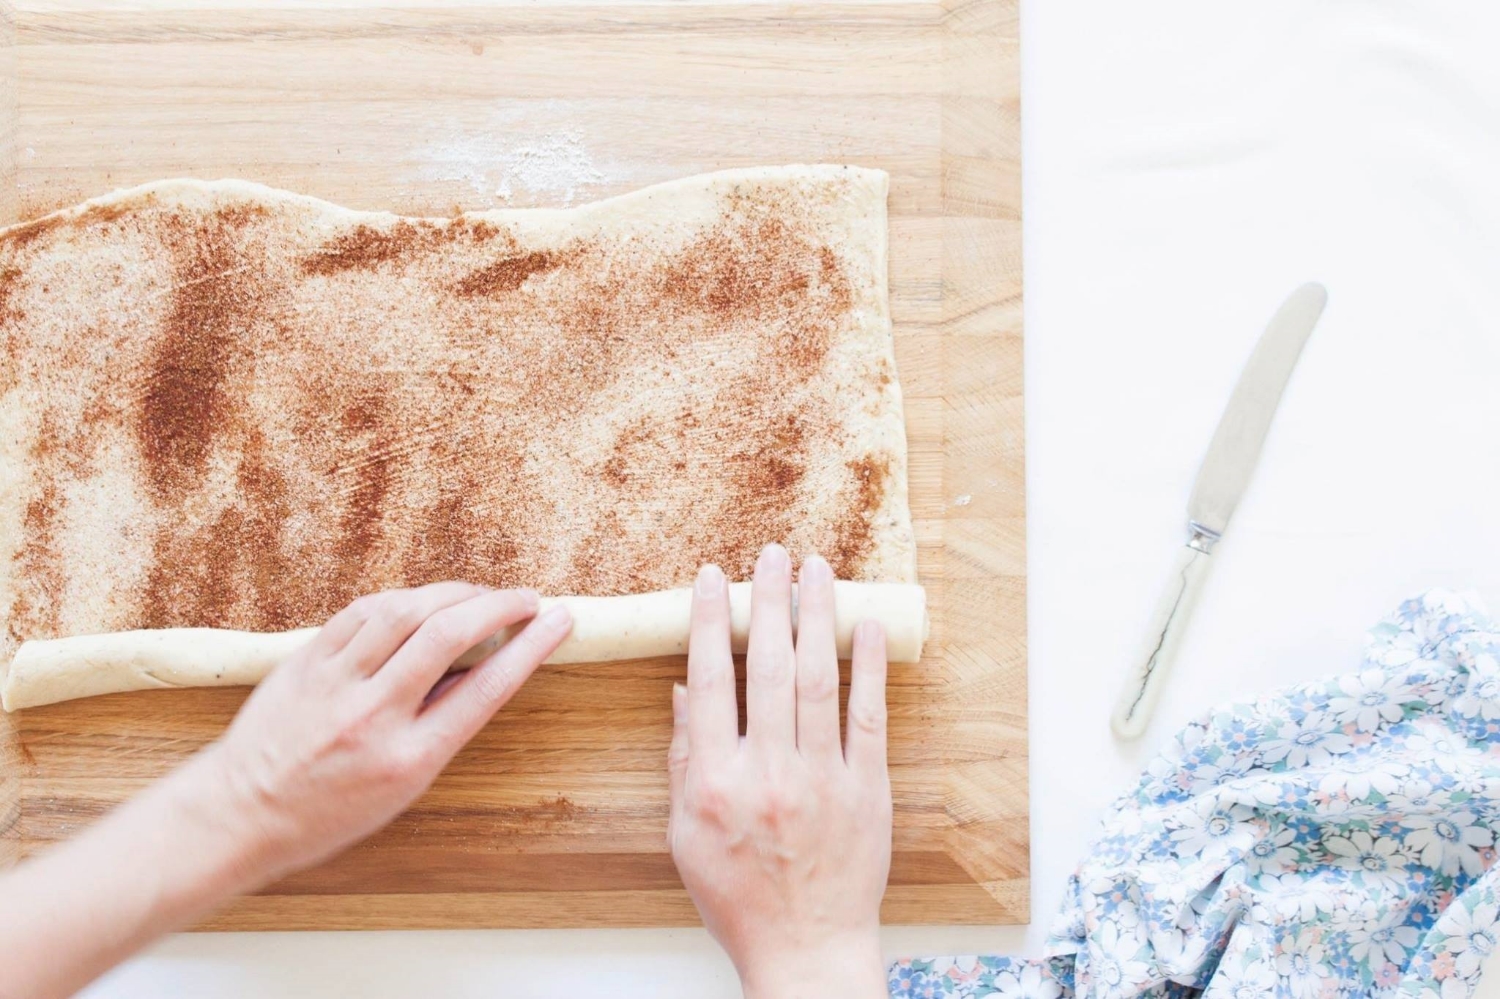
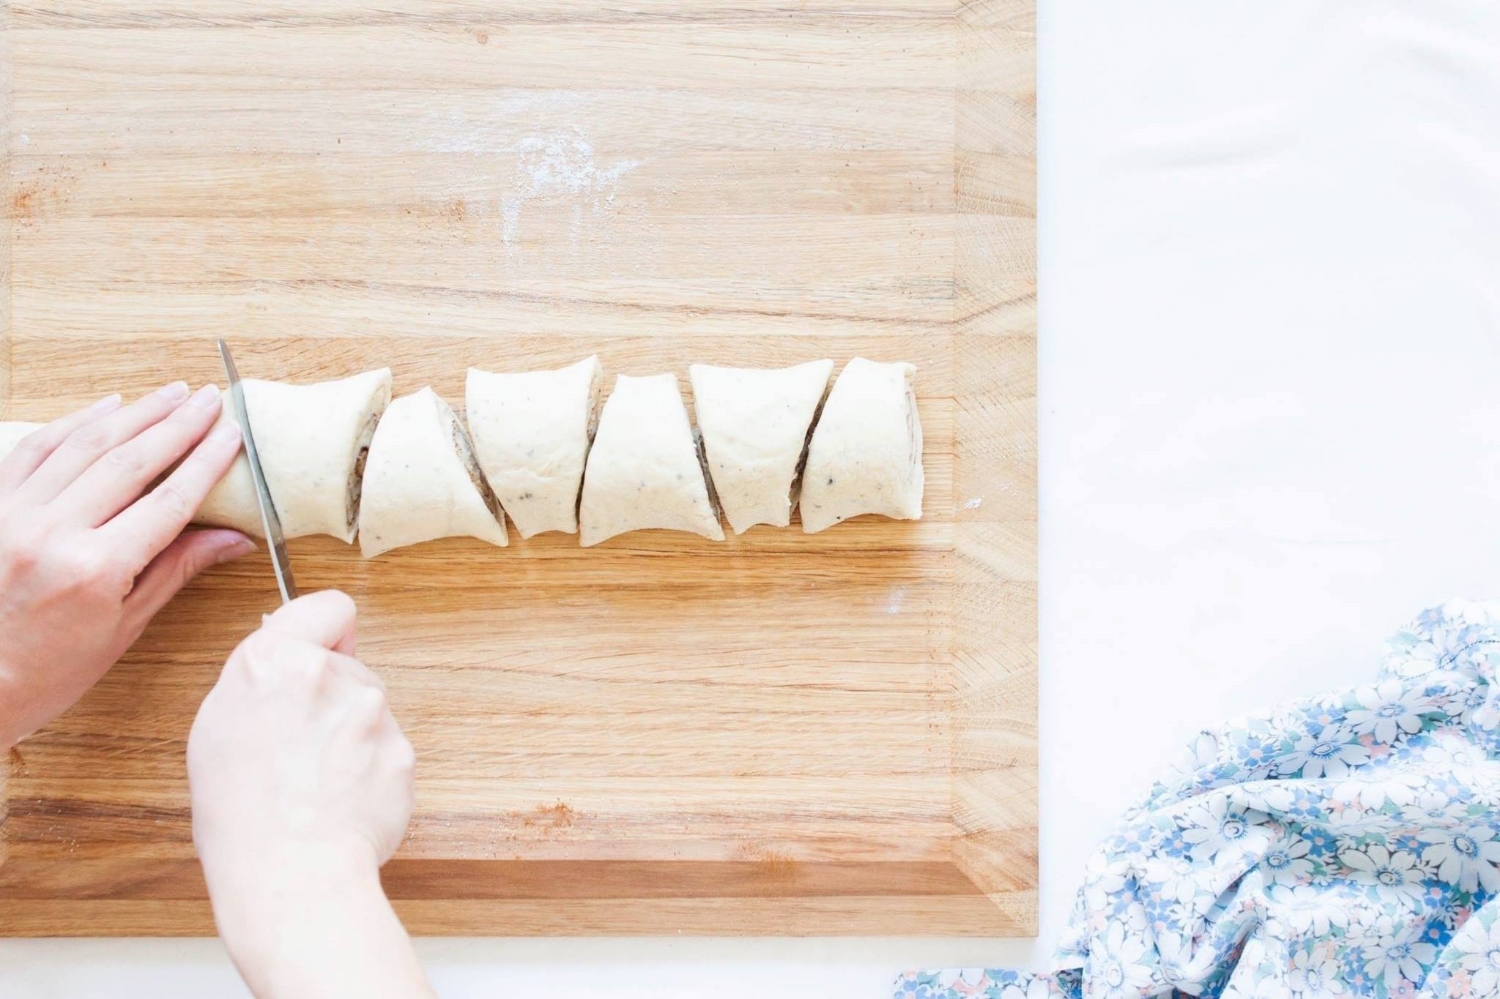
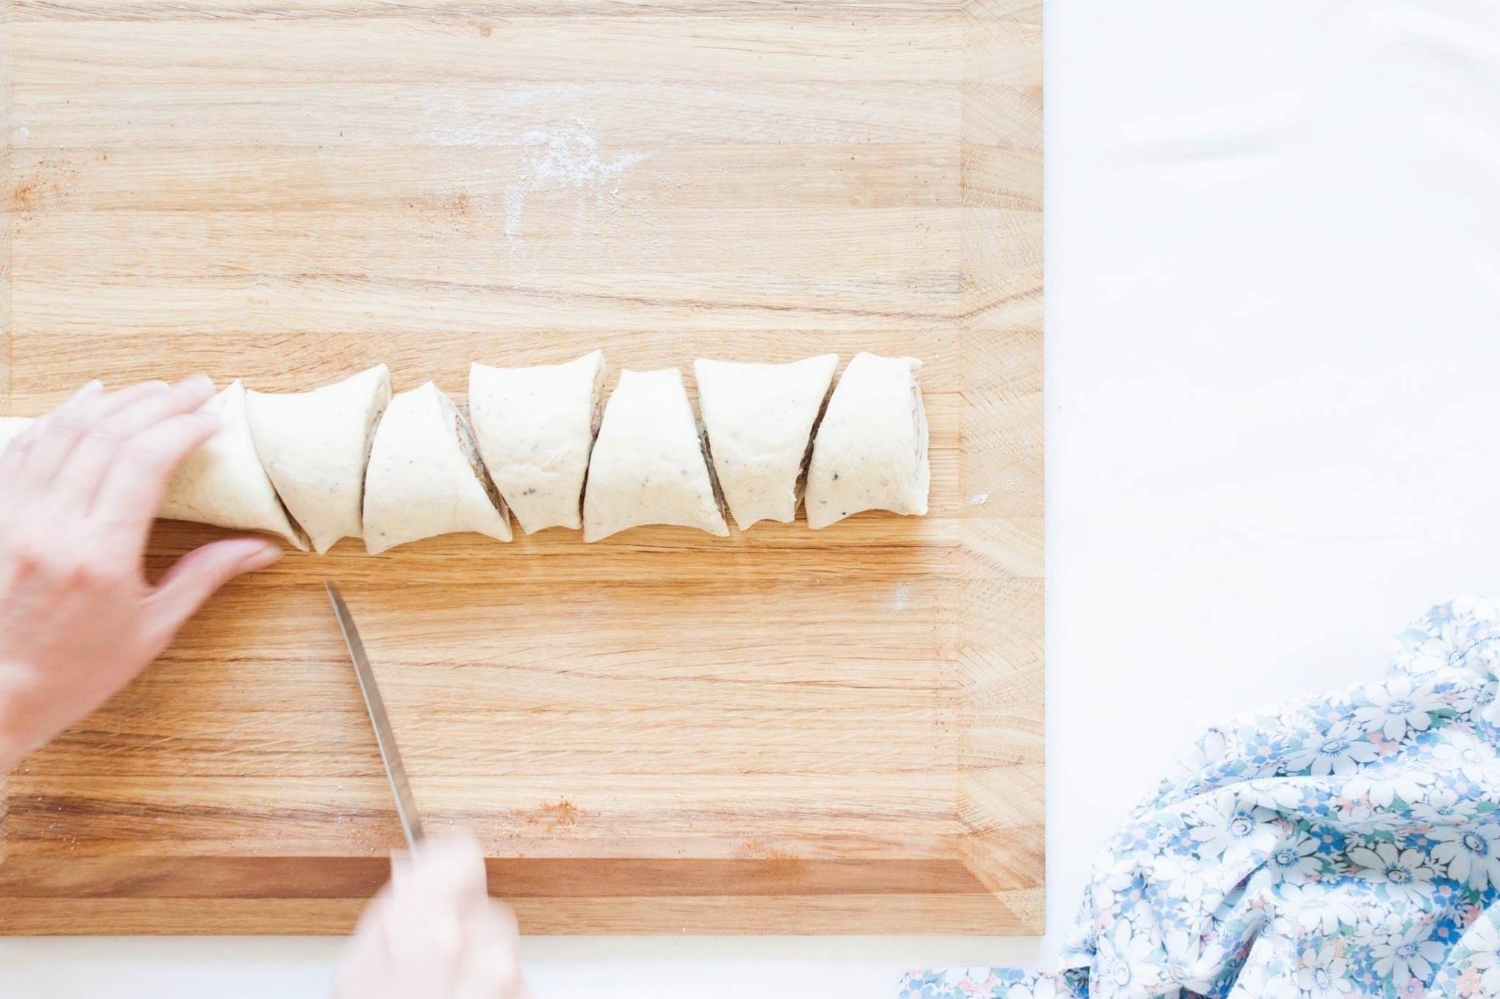
Punch down the dough and divide into two equally sized portions. Lightly dust a clean work surface with flour. Roll out the first portion of dough into a large, about 60-by-40-centimeter / 23-by-16-inch rectangle. Spread half of the filling evenly on top. Beginning with the long side, roll the dough into a tight tube shape, seam side down. Cut into 15 cylinders and press each point tightly into the center with your index finger. 

Place the shaped cinnamon rolls on the baking sheets, spacing them about 5 cm / 2" apart. Cover with a clean kitchen towel and let rise for further 30 minutes, or until they're double in size. Repeat with the second batch.

Meanwhile, preheat the oven to 225°C (435°F).

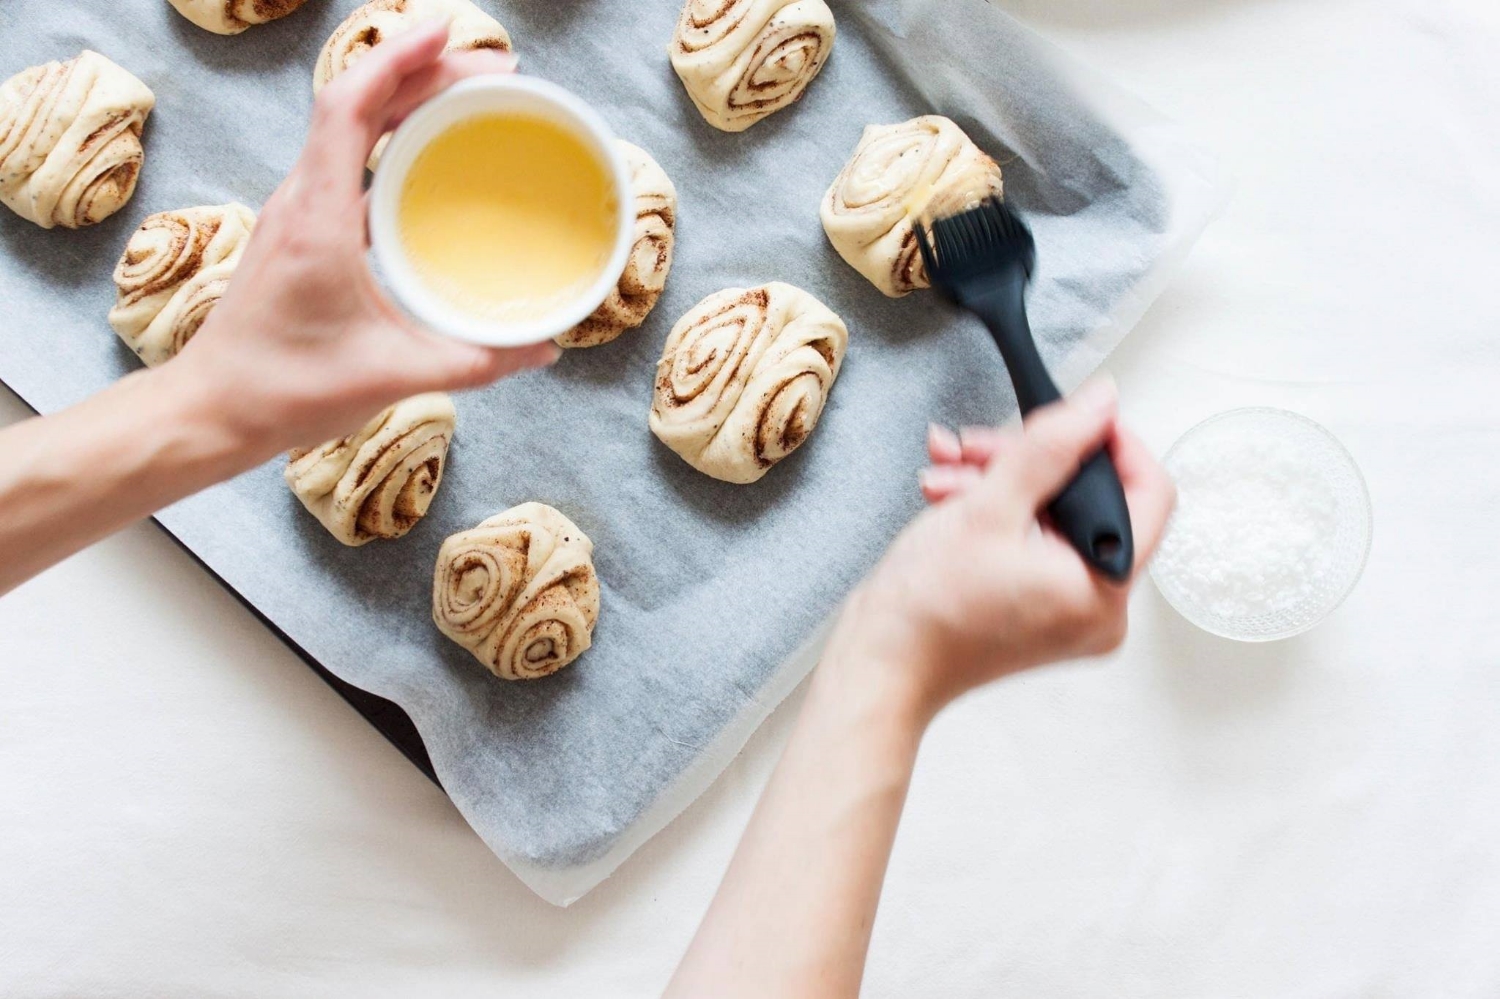
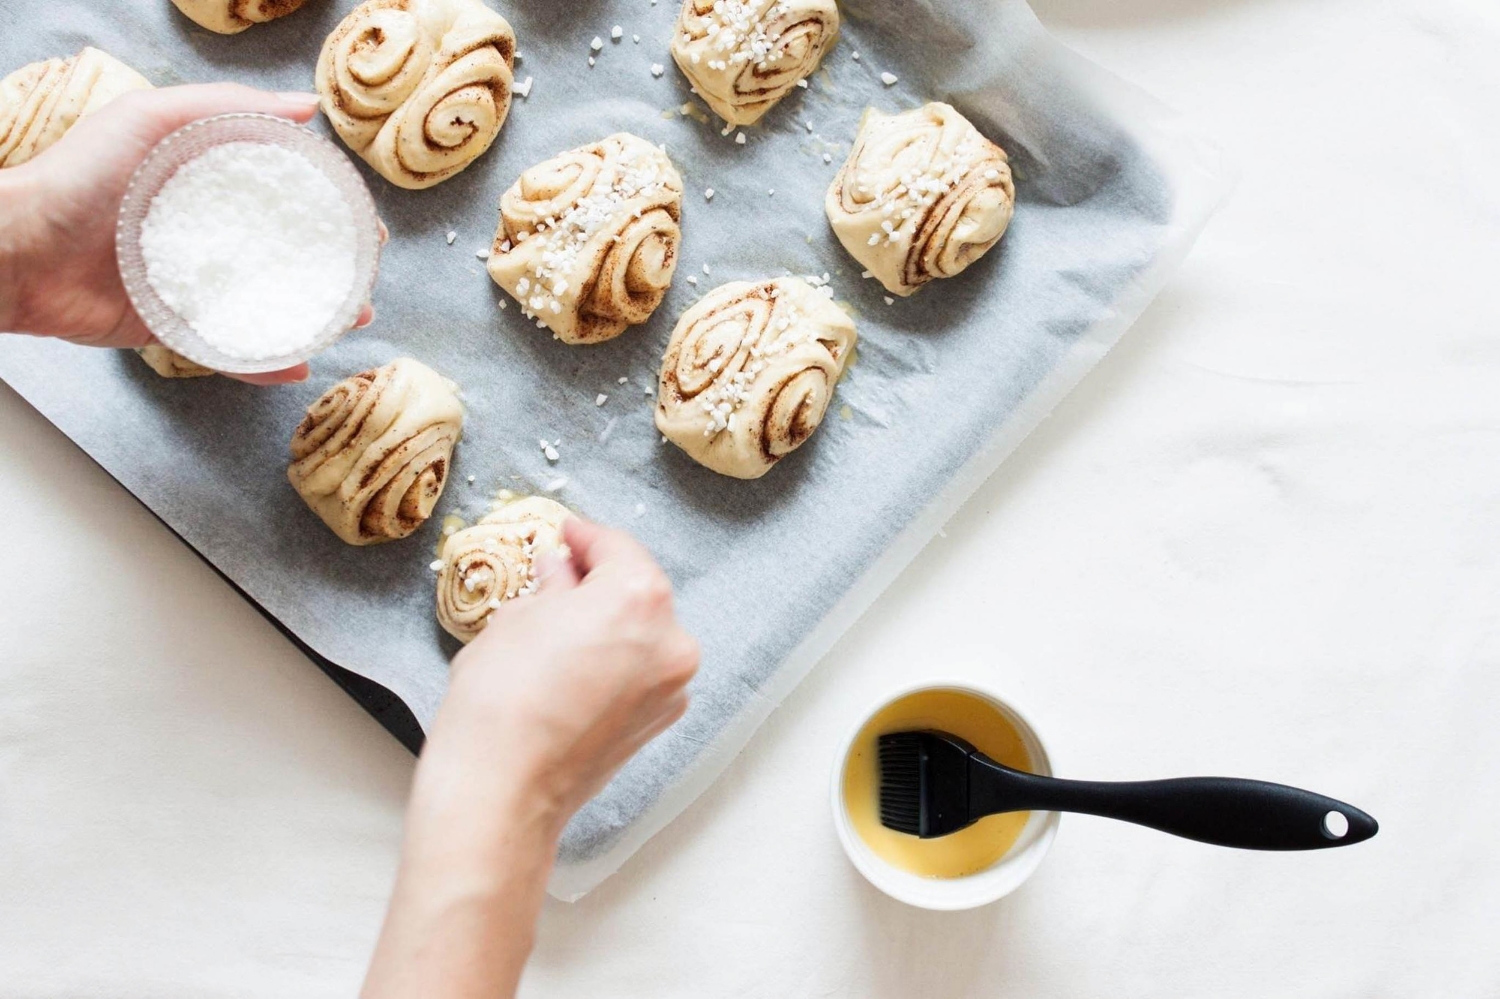
For the egg wash, lightly whisk the egg. Before baking, brush each roll with the egg wash and sprinkle generously with pearl sugar. Bake the rolls on the middle rack for 10 – 15 minutes, or until golden to dark brown in color. When the rolls are done, the bottoms will most probably be dark brown in color; this is totally normal and typical for Nordic cardamom-spiced sweetbread. Repeat with the other sheets of rolls.

The cinnamon rolls are best eaten while still slightly warm or on the same day. However, you can freeze them once baked and warm them up when ready to serve.


My Blue&White Kitchen | Finnish Cinnamon Rolls

Related Posts

A Thunderstorm & Redcurrant Buttermilk Cake

You know when you laugh so hard that you eventually can't breathe anymore and every single muscle in your body seems to hurt? Yes, that happened multiple times during last weekend. I don't think I've laughed so much and wholeheartedly in a while. I think I've never stared at the night sky for several hours in a row. Seriously, when was the last time you gazed at bright stars and spotted shooting stars and satellites? Promise me you'll do that. It's epic.

I spent last weekend in the Finnish archipelago where we threw a bachelorette party for my dear friend. I was so exhausted after those three days...okay, a total understatement. I actually think that my IQ was below zero for several days after I came back home. Not because of alcohol but simply due to emotional and physical exhaustion. Maybe I still haven't fully recovered, so I'll just start talking about today's recipe which is one I connect many childhood memories with.

Redcurrant Buttermilk Cake | My Blue&White Kitchen

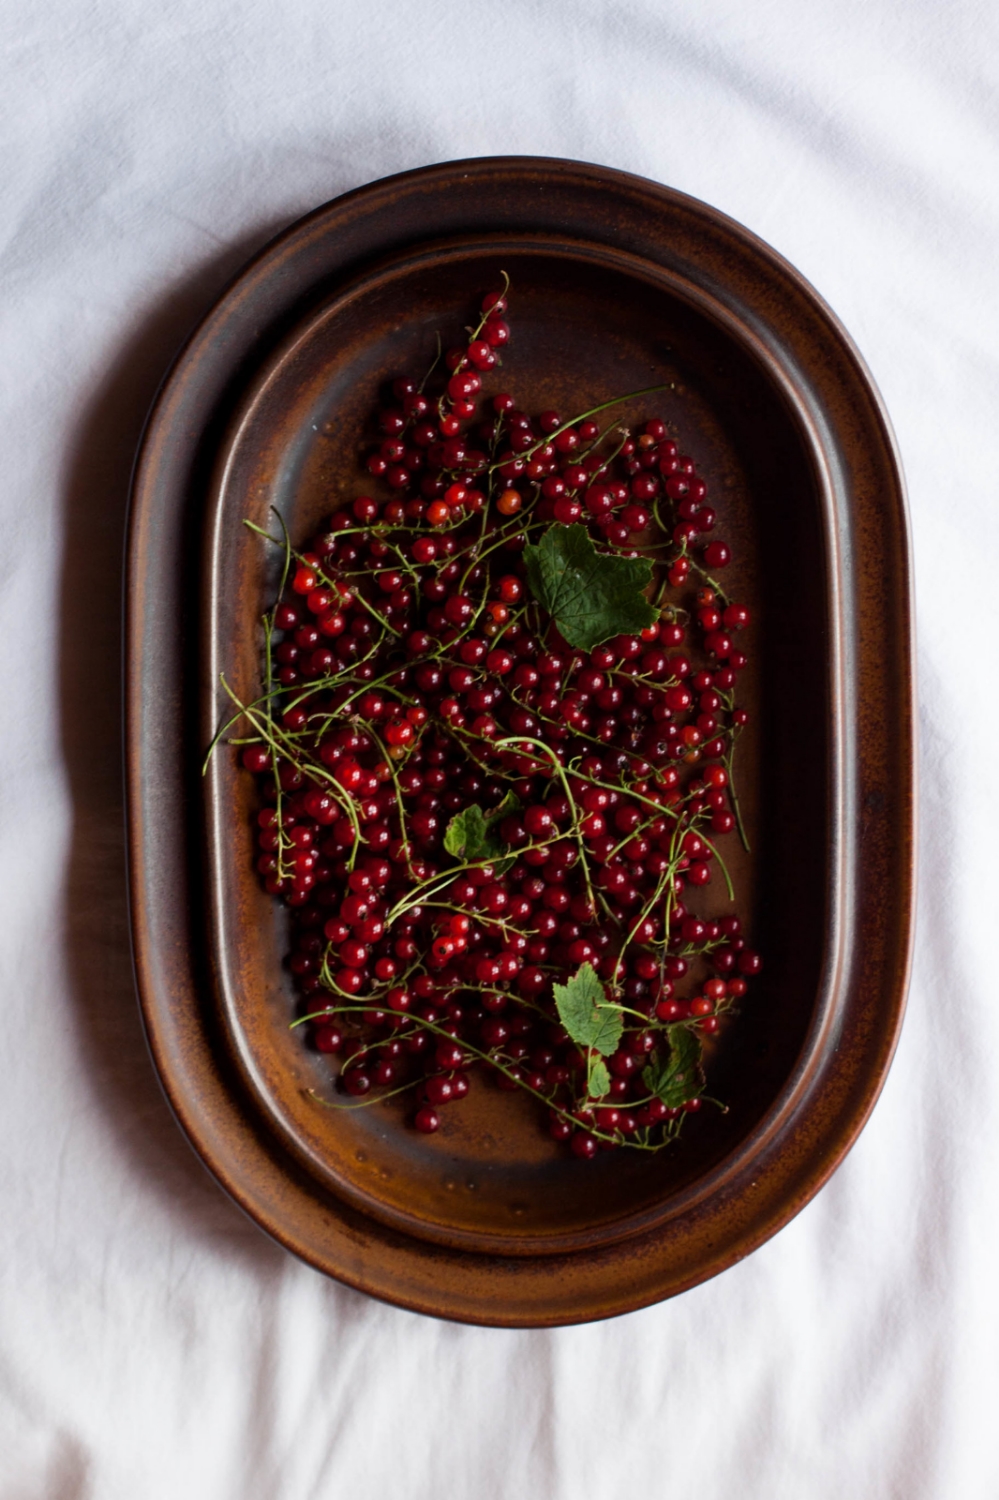
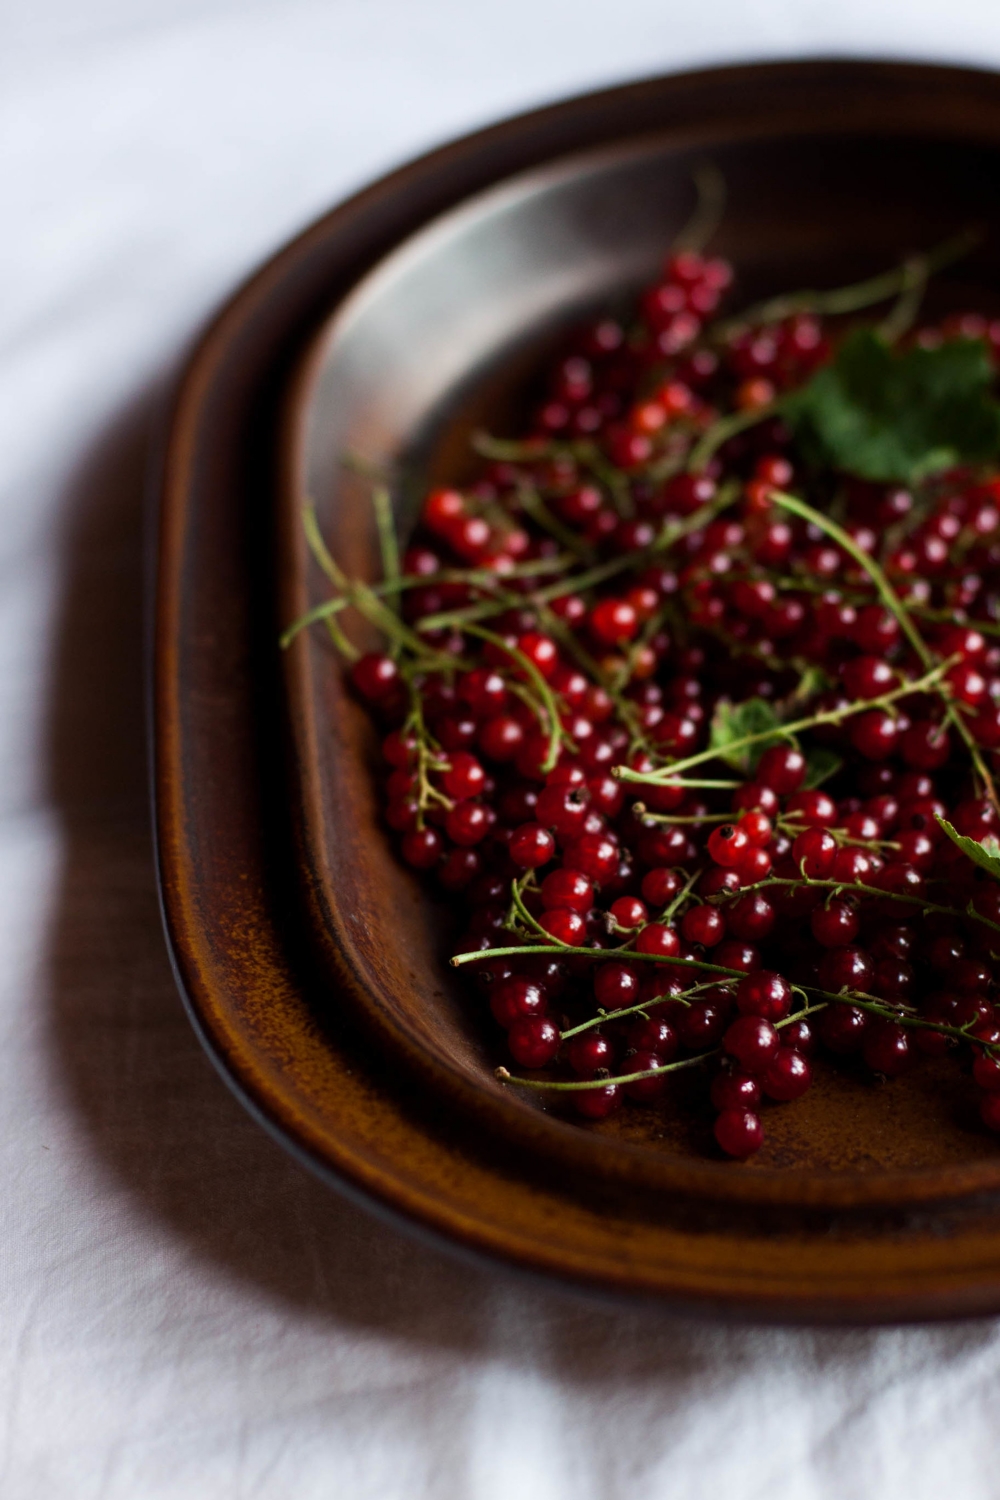
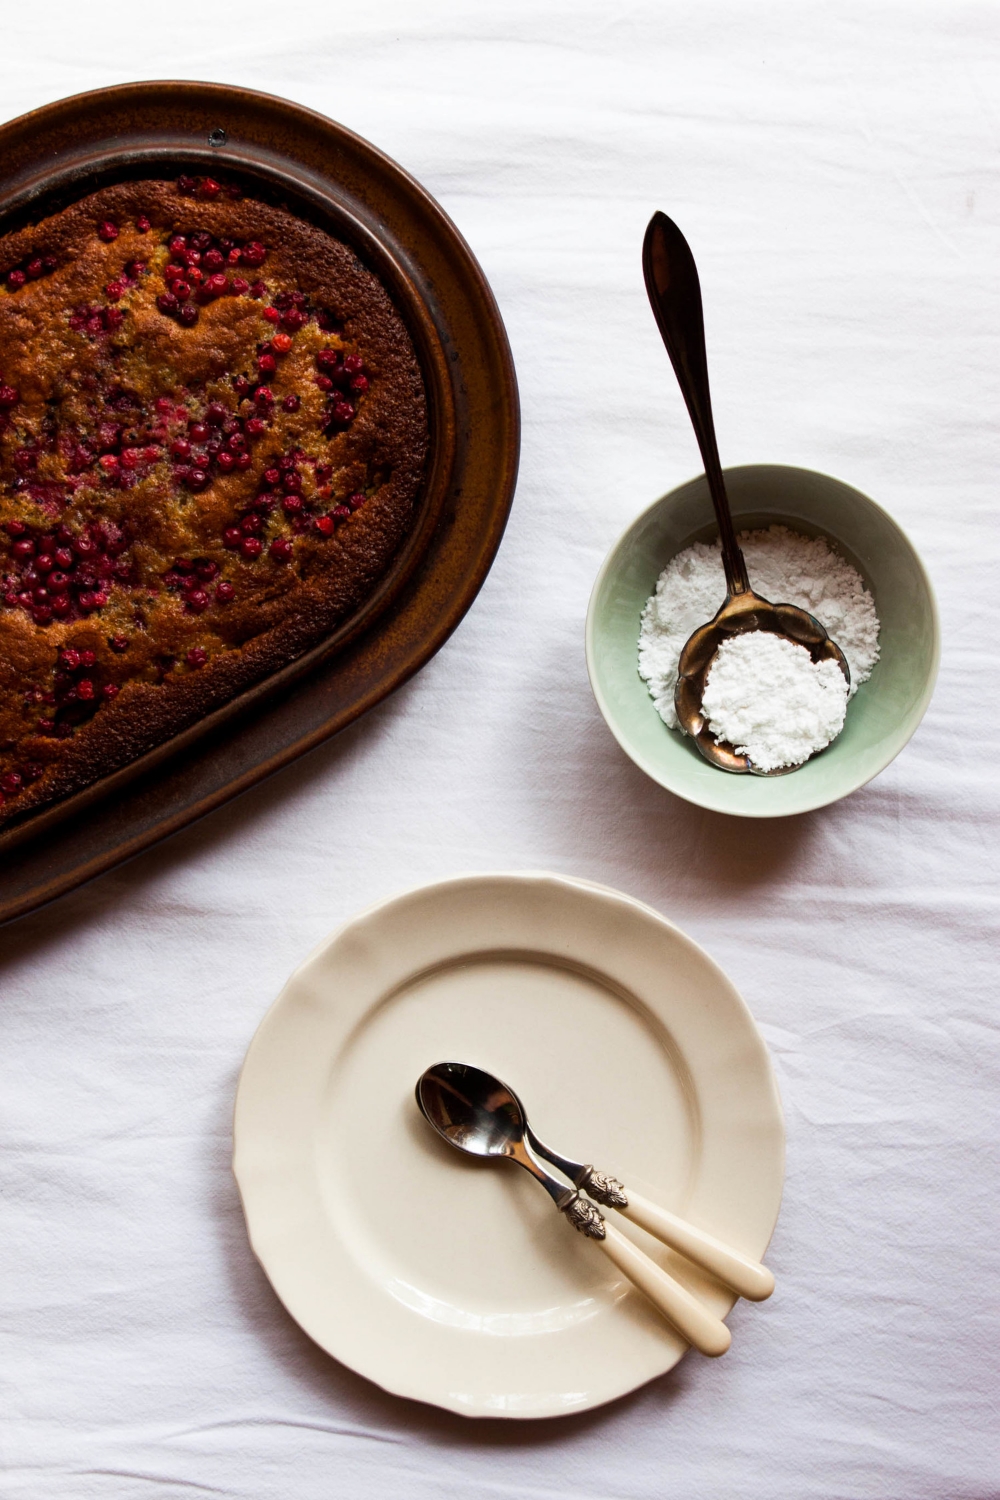
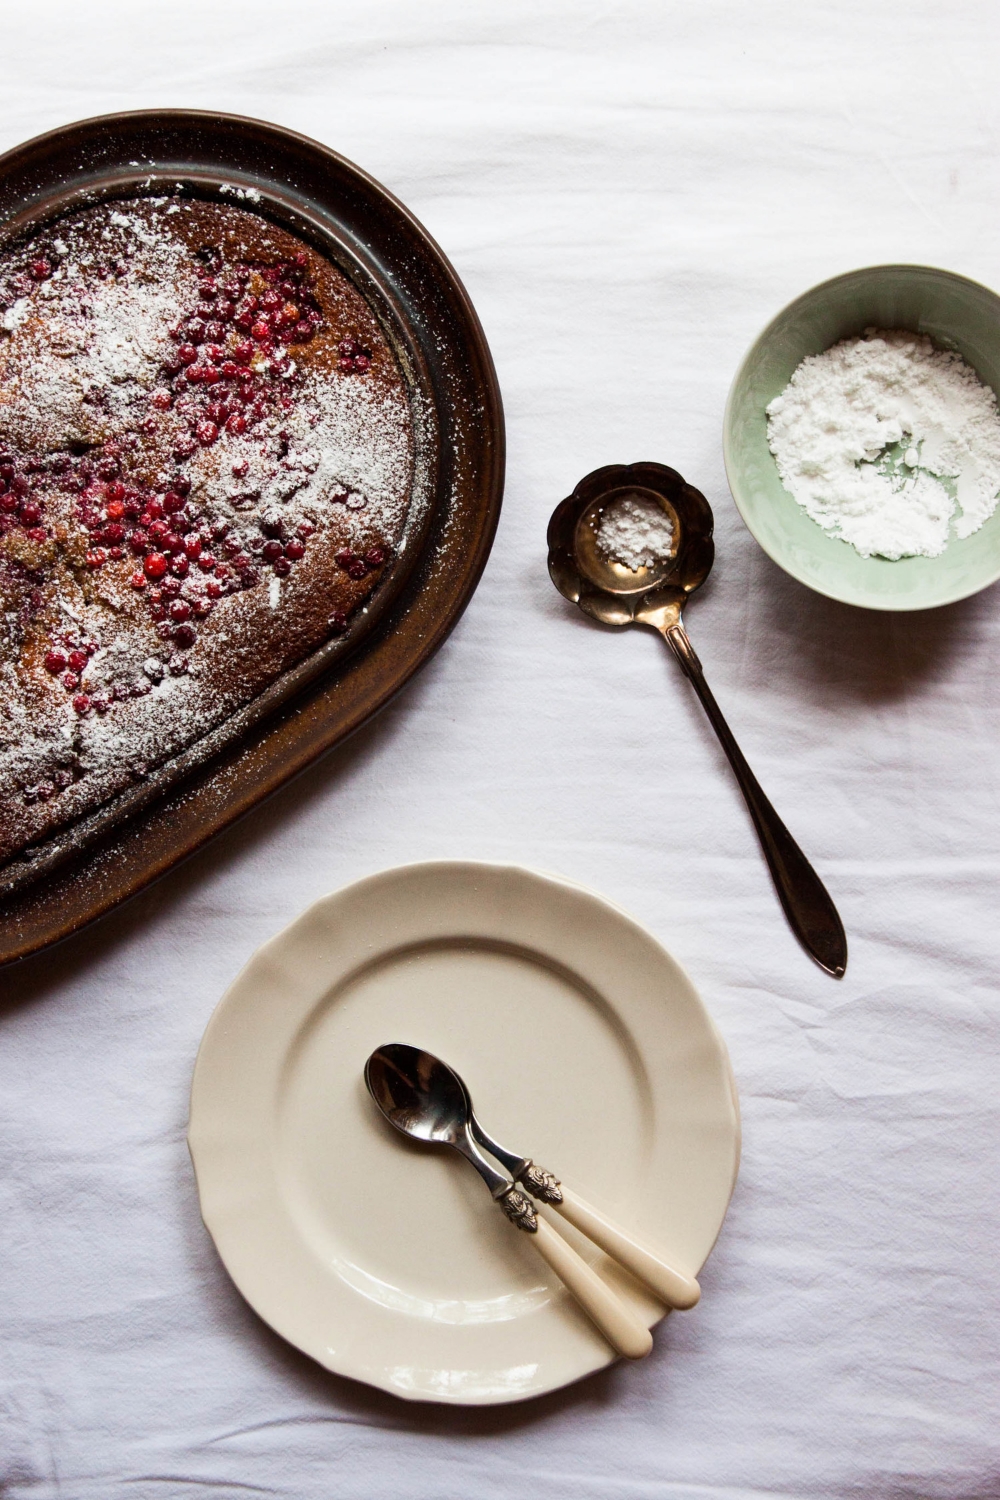
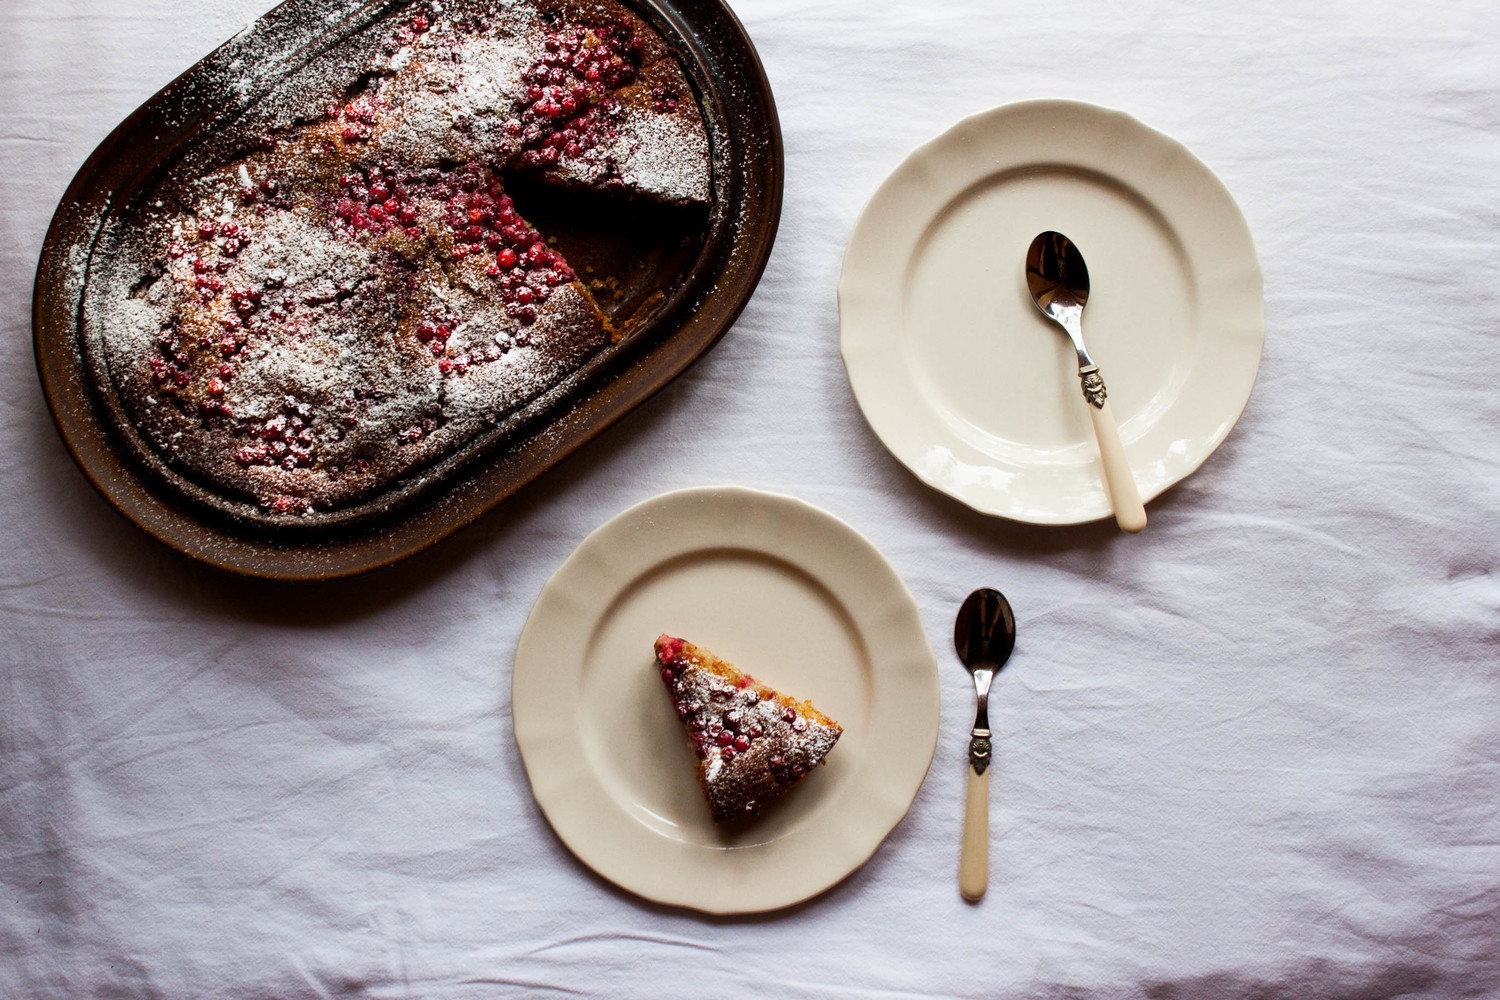
The cake I share with you today is one my mom used to make when I was a kid. It's actually one of the most traditional berry cakes here in Finland. I made it with redcurrants because I had a bunch of them at hand after a recent berry picking trip. Also, I think that this batter works best with tart berries or fruit due to its relative sweetness. You could, however, substitute currants with blueberries or other fruit of your choice. The cake is moist and sweet, the currants add a wonderful tartness to it, and as it bakes, a lovely dark crust forms thanks to the buttermilk. The cake is a real no-brainer and I'm pretty confident you could even make this with an IQ below zero. Just mix everything together (according to my mom it's irrelevant in which order; just make sure everything is incorporated) and scatter the berries over, bake, done.

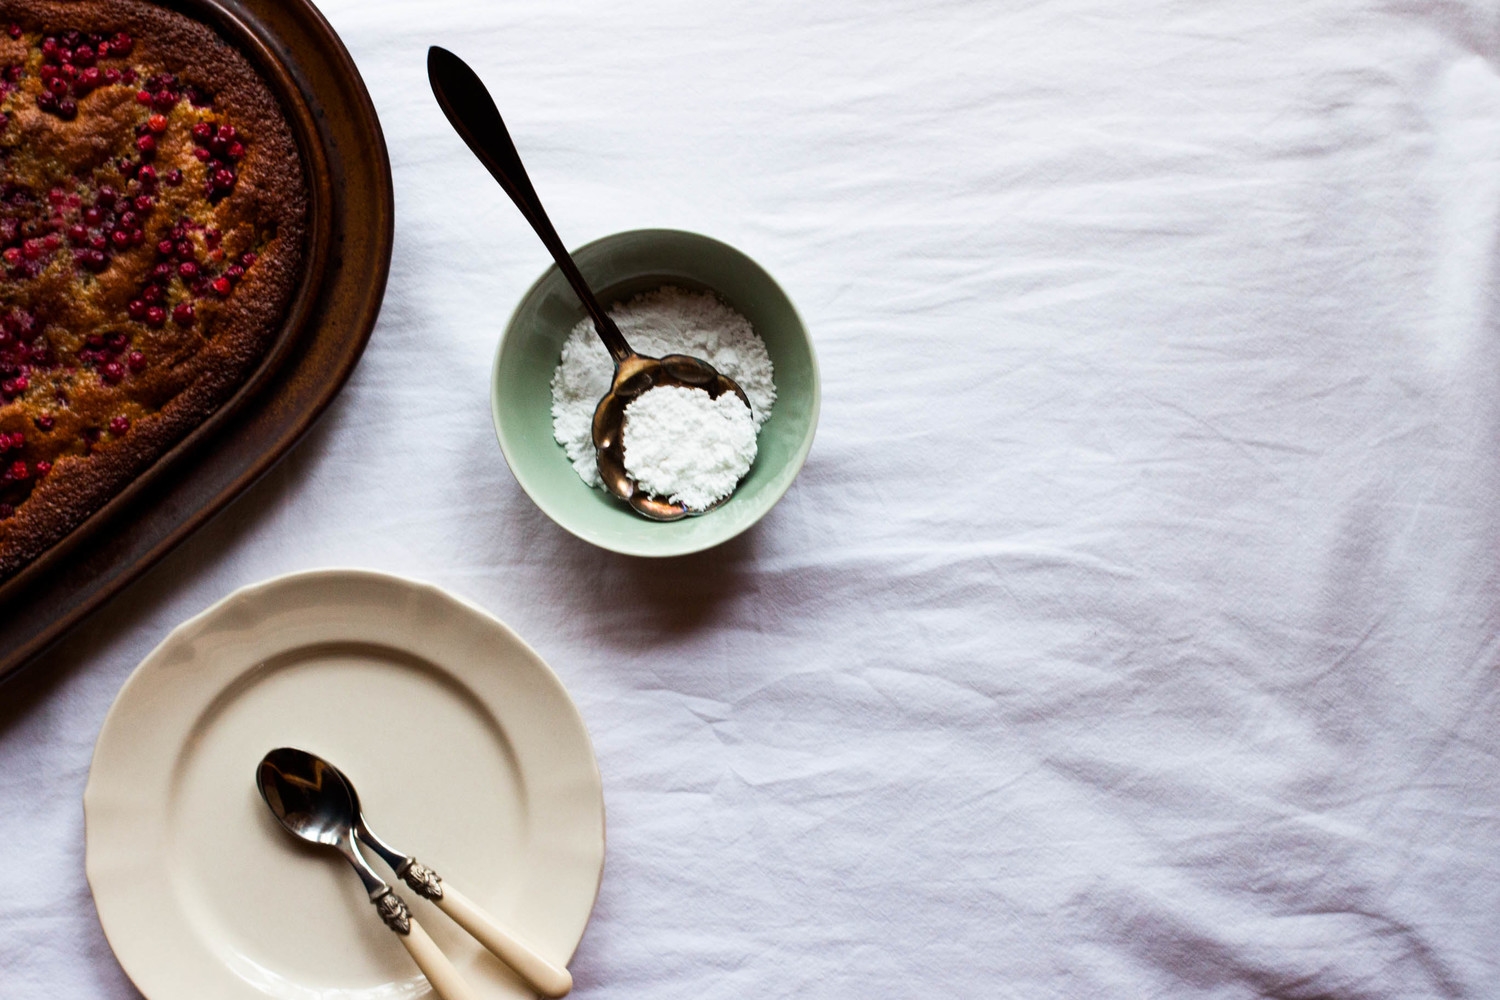
I shot these pics right before this summer's worst thunderstorm. It was a stormy day, and I actually thought twice before I found the courage to bake the cake despite the weather forecast. The worst scenario in my head: thunderstorm hitting, power cut, and the cake still baking in the oven = disaster. However, I succeeded to bake the cake (while constantly tracking weather forecasts) and shot it in the doorway cause that basically was the place with the best light source. So there I stood with a camera in my hands and the door wide open while the storm was building up outside. I really had not much styling in my head; I just wanted to get some shots before the skies opened up. These may not be the best pictures but I like them anyway simply because I'll always recognize the moment they were taken in.

The thunderstorm eventually hit, but luckily we (including the cake) were all doing fine. I sat in the dark cottage with all lights and electrical devices turned off and silently ate my cake while gazing out the window. Happy face.


Redcurrant Buttermilk Cake

makes 1 sheet cake

The cake is usually made as a sheet cake, but to make a cake as seen in the pictures just halve the recipe and bake in a cake pan (I used a shallow 28 cm / 11" to 17 cm / 7" pan). Note that the berries must be dried carefully to prevent them from sinking to the bottom while baking. If your berries are really juicy and you feel nervous about them, simply toss the berries in some flour or potato starch to give them a light coating before sprinkling them on top of the cake. The flour/starch will absorb the potential liquid and keep the berries from sinking.

100 g (1 ½ dl; cup) graham flour
290 g (5 dl + 2 tbsp; 2 cups + 4 tbsp) all-purpose flour
2 tsp baking powder
1 tsp baking soda
pinch of salt
4 ½ dl (1 ¾ cups + 2 ⅓ tbsp) buttermilk (if you are in Scandinavia, you can use filmjölk instead or make your own buttermilk)
150 g unsalted butter, melted
350 g (4 dl; 1 ⅔ cups) granulated sugar
1 tsp vanilla paste (or 1 vanilla bean, split open & seeds scraped out)
2 eggs (M)

~ 600 g (~ 1 ½ lb) redcurrants, cleaned & dried carefully

powdered sugar, to dust

optional: vanilla ice cream, to serve


Preheat the oven to 250°C (475°F). Line a deep baking sheet with parchment paper.

In a small bowl, combine the flours, baking powder, baking soda, and salt. Set aside. In a medium-sized bowl mix together the buttermilk, melted butter, sugar, vanilla paste, and eggs. Add the dry ingredients and whisk until combined. Let the batter sit for about 5 minutes.

Pour the batter into the baking dish and top with the redcurrants. Bake on the middle rack for 20 to 30 minutes, or until deep brown in color. Let cool a bit and dust with powdered sugar. Enjoy warm or at room temperature plain or with a scoop of vanilla ice cream. The cake will keep for up to two days.


Redcurrant Buttermilk Cake | My Blue&White Kitchen

Related posts

Toscakaka – Nordic Caramel Almond Cake

Toscakaka − Nordic Caramel Almond Cake | my blue&white kitchen

Drumroll, please... My summer vacation started this week! Wohooo! I still can't get my head around the fact that someone is actually paying me for doing nothing. So for the next 4 weeks I get paid for sleeping in, eating strawberries and fresh peas by the handful, hanging out with friends and family, spending way too much time watching music videos like this one, staining my hands with the sweet juices of cherries, chatting with the lovely lady at the farmers' market, sitting on the porch enjoying a glass of chilled rosé, and watching the World Cup every single night. Absolutely no complaints.

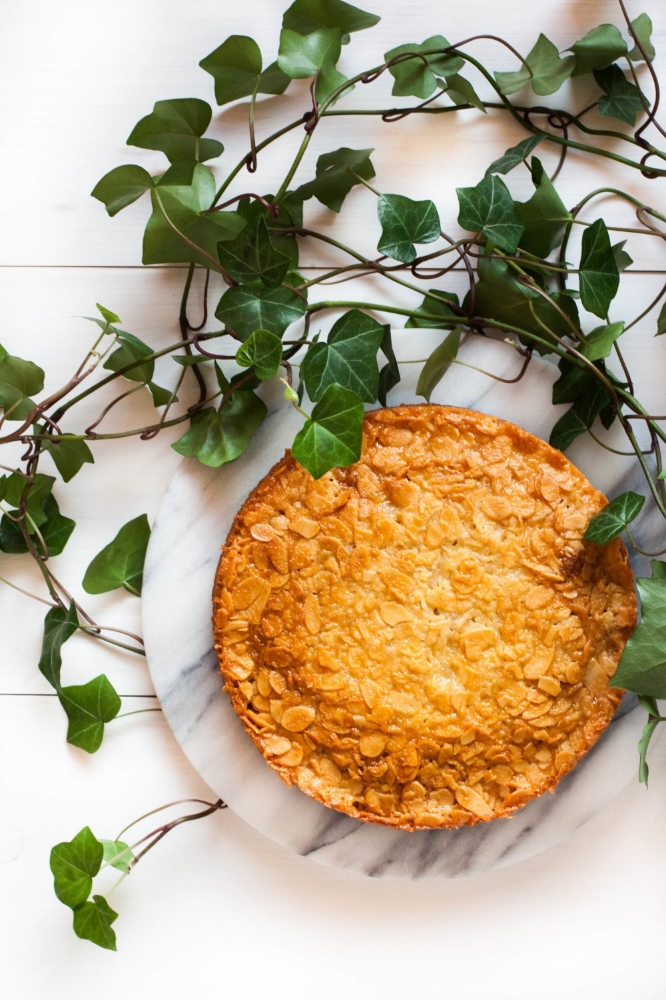
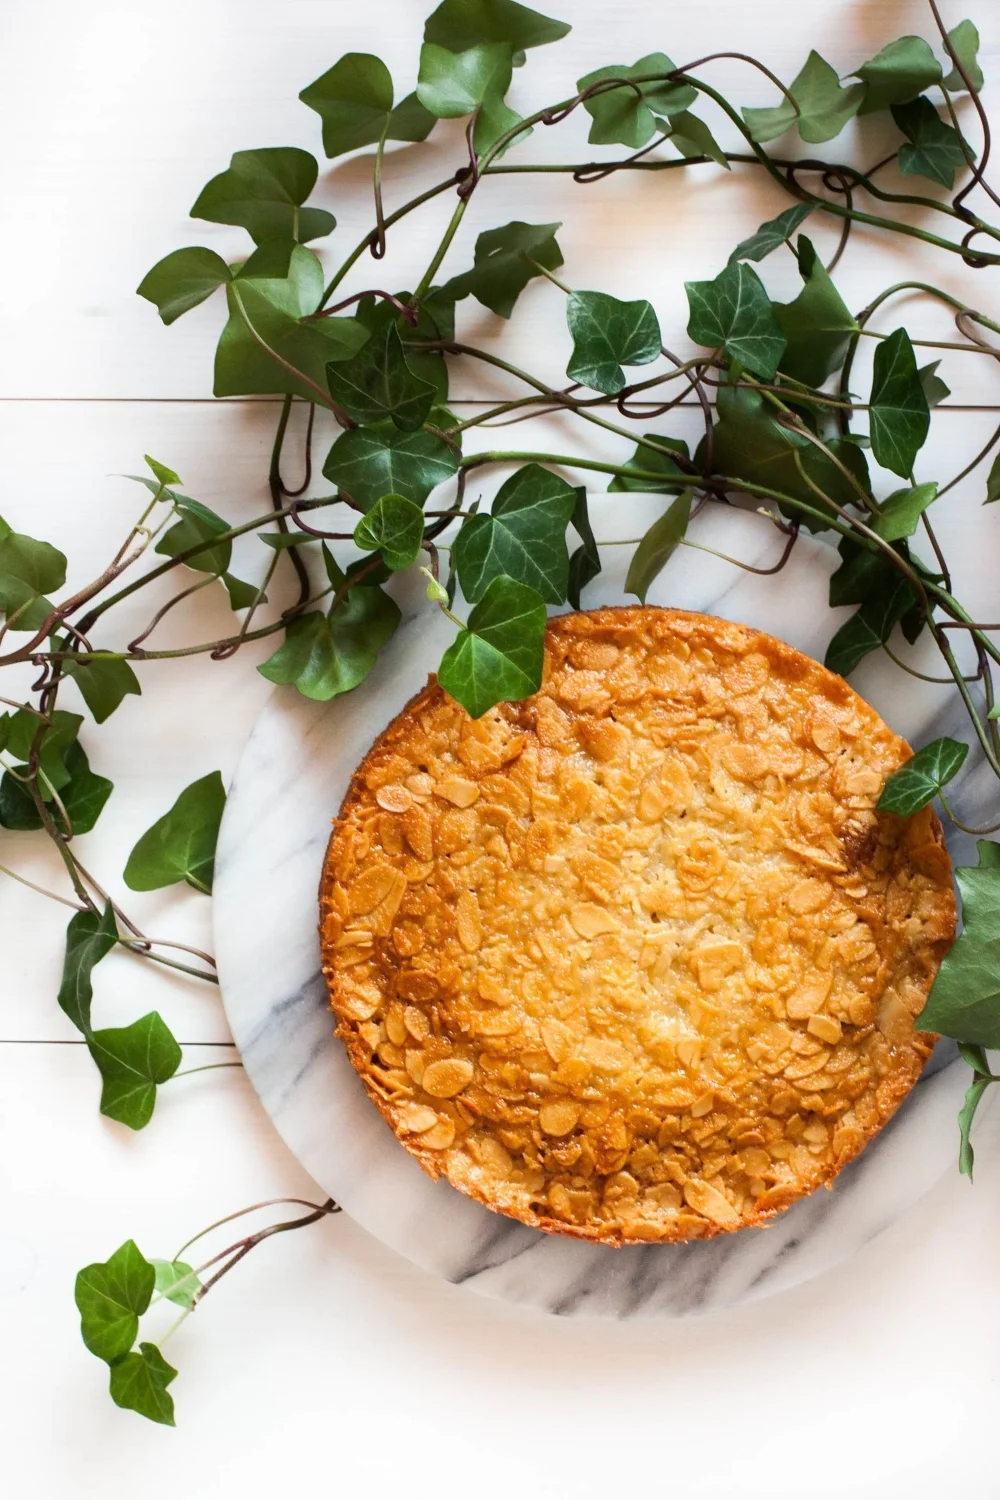
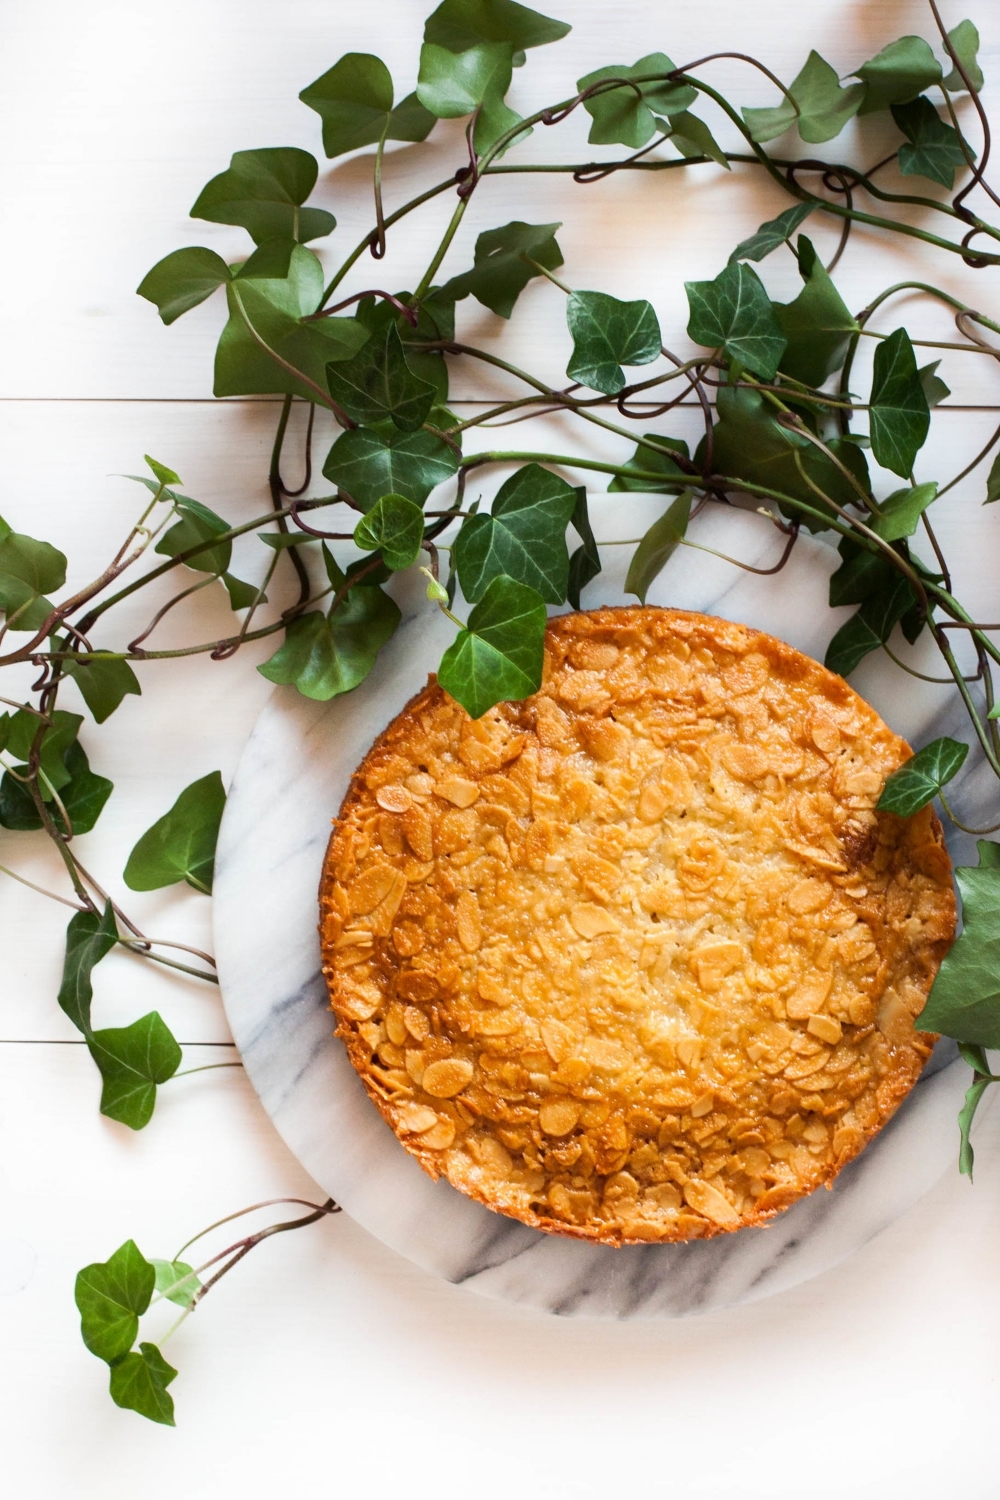
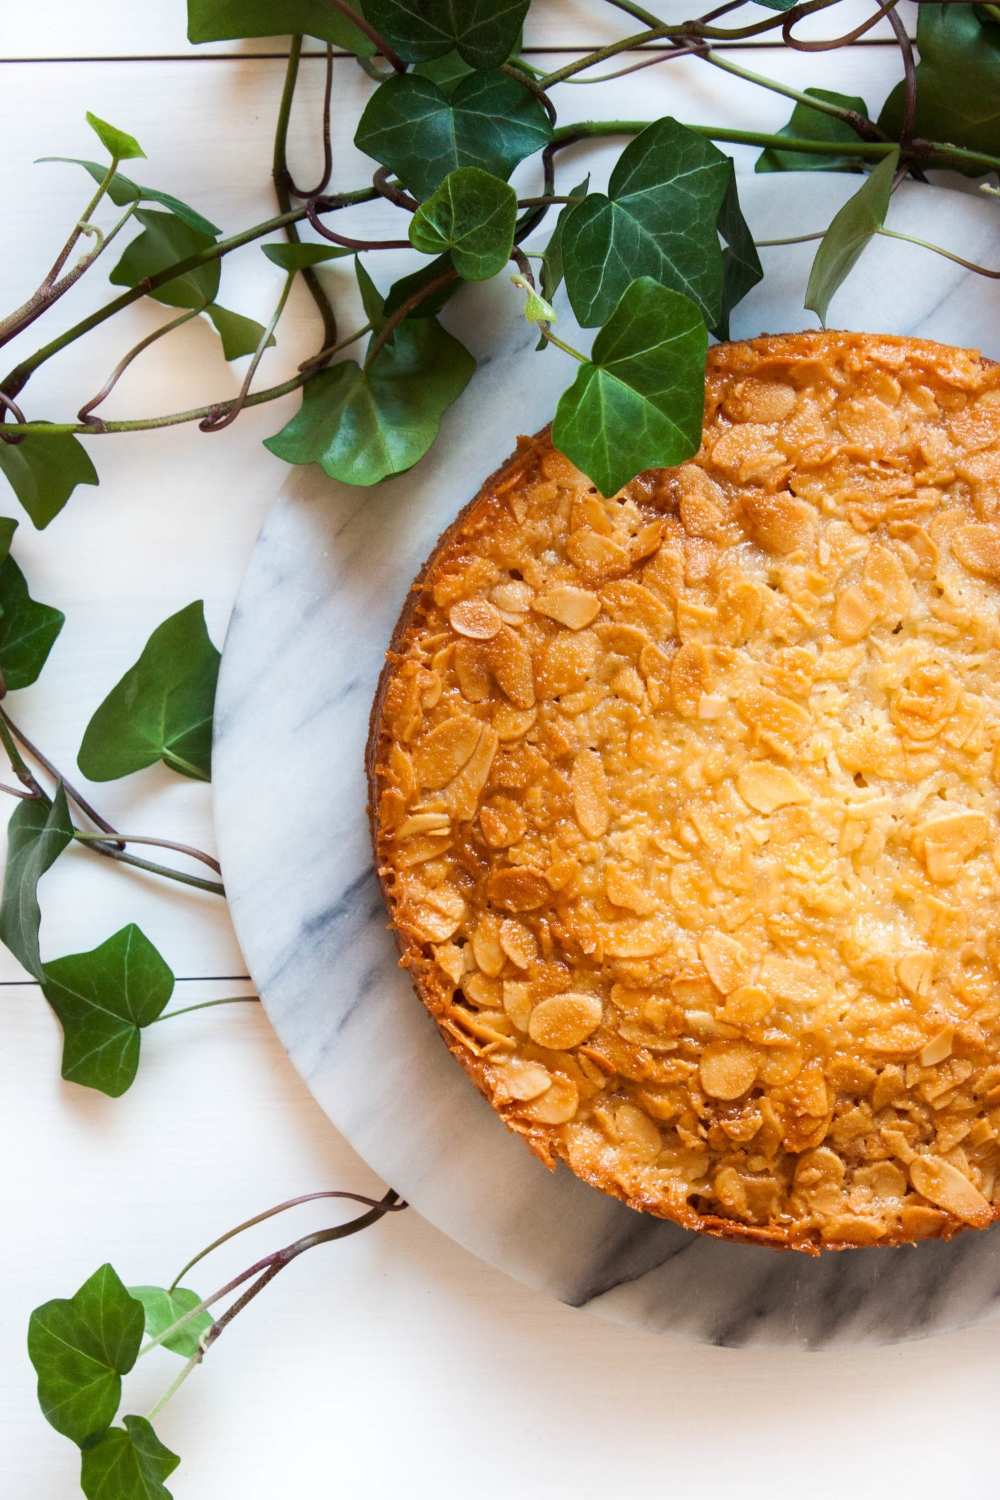
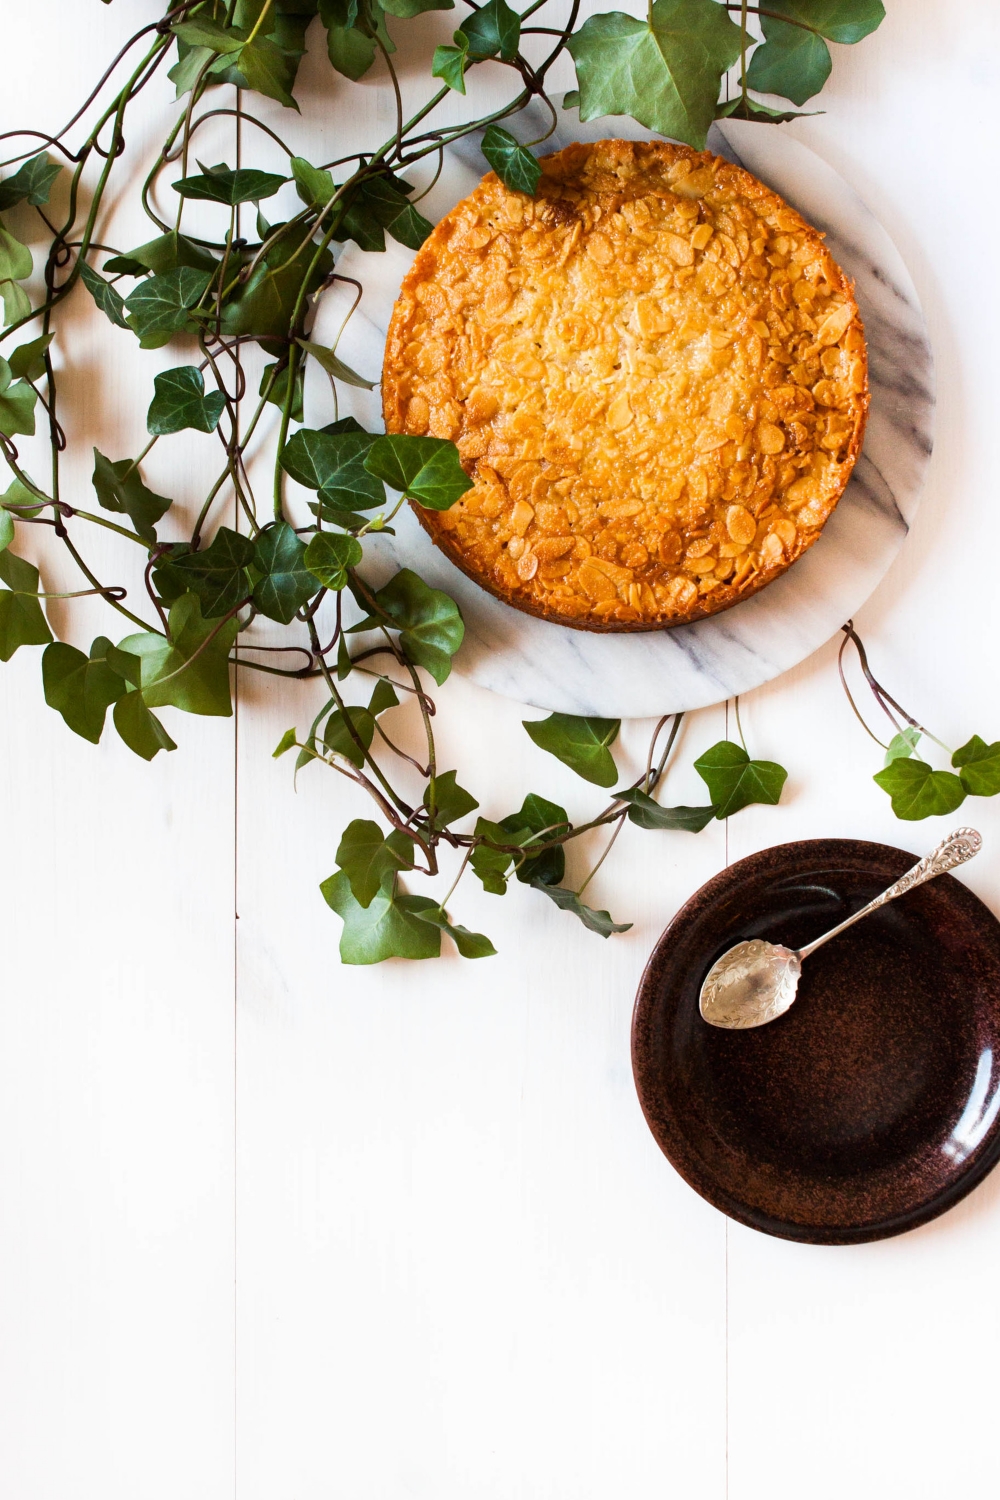
This occasion definitely calls for cake. So how about toscakaka? It's basically a classic pound cake topped with one giant Florentine. Pretty damn genius if you ask me. Not without reason is it one of the most loved cakes in Scandinavian baking. I'm not sure of its origin but already my great-great-grandmother, a known cook, baker, and author, baked this cake. The ingredients must have been rather expensive at that time so I guess it has been a treat reserved solely for the upper class.

This cake is baked according to a family recipe. Toscakaka was my late great-grandfather's signature cake, and luckily he left a small note with the ingredients needed to recreate this treat. I've kept that small piece of paper like a gem for several years now, but somehow I've never actually made the cake. Maybe I feared screwing it up? Would I be able to make the cake taste as good as he did? Last week, I finally overcame my fear of failing. The cake came out perfect. I don't know if it tasted as good as the ones my great-grandfather baked but it was everything I could have asked for. A moist cake base and a crunchy caramel almond crust. I was proud of myself, and I'm sure he would have been too.

This cake is highly addictive. I've made three cakes in one week. Yeah. Let it be summer vacation.


Toscakaka – Nordic Caramel Almond Cake

makes one 20 cm / 8" cake

I made a few small adaptions to the original recipe like adding lemon zest to the batter. I think it was lovely but feel free to omit it if you wish to. Also, my great-grandfather was known to always double the caramel almond topping. It appears, however, that he must have been using a larger cake pan. I was baking this cake again last Sunday and decided to double the topping cause HOW CAN ONE NOT WANT MORE OF THAT CRUNCHY GOODNESS!?! Well, I ended up creating a mess as the topping overflew in the oven. So that definitely lacks some more recipe testing...
 

For the dough
125 g (4.4 oz) unsalted butter, at room temperature
135 g (4.8 oz; 1 ½ dl; ⅔ cup) caster sugar
3 eggs (M), at room temperature
zest of 1 lemon
140 g (4.9 oz; 2 ½ dl; 1 cup) all-purpose flour
pinch of fine sea salt
1 ½ tsp baking powder
2 tbsp milk, at room temperature

For the topping
55 g (2 oz) unsalted butter
55 g (2 oz; 1 ¼ dl; ½ cup) sliced almonds
3 tbsp granulated sugar
1 tbsp all-purpose flour
2 tbsp heavy cream

optional: fresh strawberries (or other berries) and Greek yogurt or lightly whipped cream, to serve
 

To make the cake
Preheat oven to 175°C (350°F).

Grease the cake pan (preferably springform). In a small bowl, mix the flour, salt, and baking powder. Set aside. In a bowl of a standing mixer, cream the butter and sugar together until light and fluffy. Add the eggs one at a time and beat until well incorporated. (If your batter breaks at this step, your eggs have probably not been at room temperature or you've added the eggs too quickly. Don't worry. The dough should come together once the flour is added.) Add lemon zest and about half of the flour mixture and mix until smooth. Gradually add the milk and finally the rest of the flour mixture and mix until you have a smooth batter. Pour into the prepared cake pan. Bake on the middle rack for 25–30 minutes or until risen, golden brown in color, and almost done (the cake will continue to bake once the topping is added but needs to be enough cooked to support the topping).


To make the topping
Add the butter, almonds, sugar, flour, and heavy cream to a medium-sized heavy-bottomed pot. Keep your eyes on the cake. When the cake starts to look ready for the topping, start cooking the caramel almond topping (the topping comes together in less than 5 minutes). Over medium-high heat, stir until the mixture starts to bubble and thicken slightly. Remove from heat and pour over the pre-baked cake making sure that it's evenly distributed. I think it's easiest to pour the topping in the middle of the cake and, with the help of a spatula, gently spread into an even layer. Bake for further 10–15 minutes or until the crust is golden brown and bubbles.

Cool for about 10 minutes, and run a knife around the edge of the pan to release the cake. Let cool on a wire rack. The caramel will harden as the cake cools down.

Enjoy at room temperature plain or with fresh berries and some Greek yogurt or lightly whipped cream.


Toscakaka − Nordic Caramel Almond Cake | my blue&white kitchen

Side note: I shot this cake at 9pm. Talking about nightless nights and all that amazingness...

A Toast To Spring: Vadelmasima – Finnish Raspberry Mead

Sima – Finnish Raspberry Mead | my blue&white kitchen

I want to feel both the beauty and the pain of the age we are living in.
I want to survive my life without becoming numb.
I want to speak and comprehend words of wounding without having these words become the landscape where I dwell.
I want to possess a light touch that can elevate darkness to the realm of stars.

― Terry Tempest WilliamsWhen Women Were Birds

I still remember my mom standing in the kitchen squeezing lemons over a white plastic bucket where the first fermentation would take place. The next day, the pre-fermented Sima was bottled into brown glass bottles with lightning stoppers. Full of excitement, I watched how the raisins slowly rose to the top because that indicated that the Sima was ready to be enjoyed...

Sima – Finnish Raspberry Mead | my blue&white kitchen

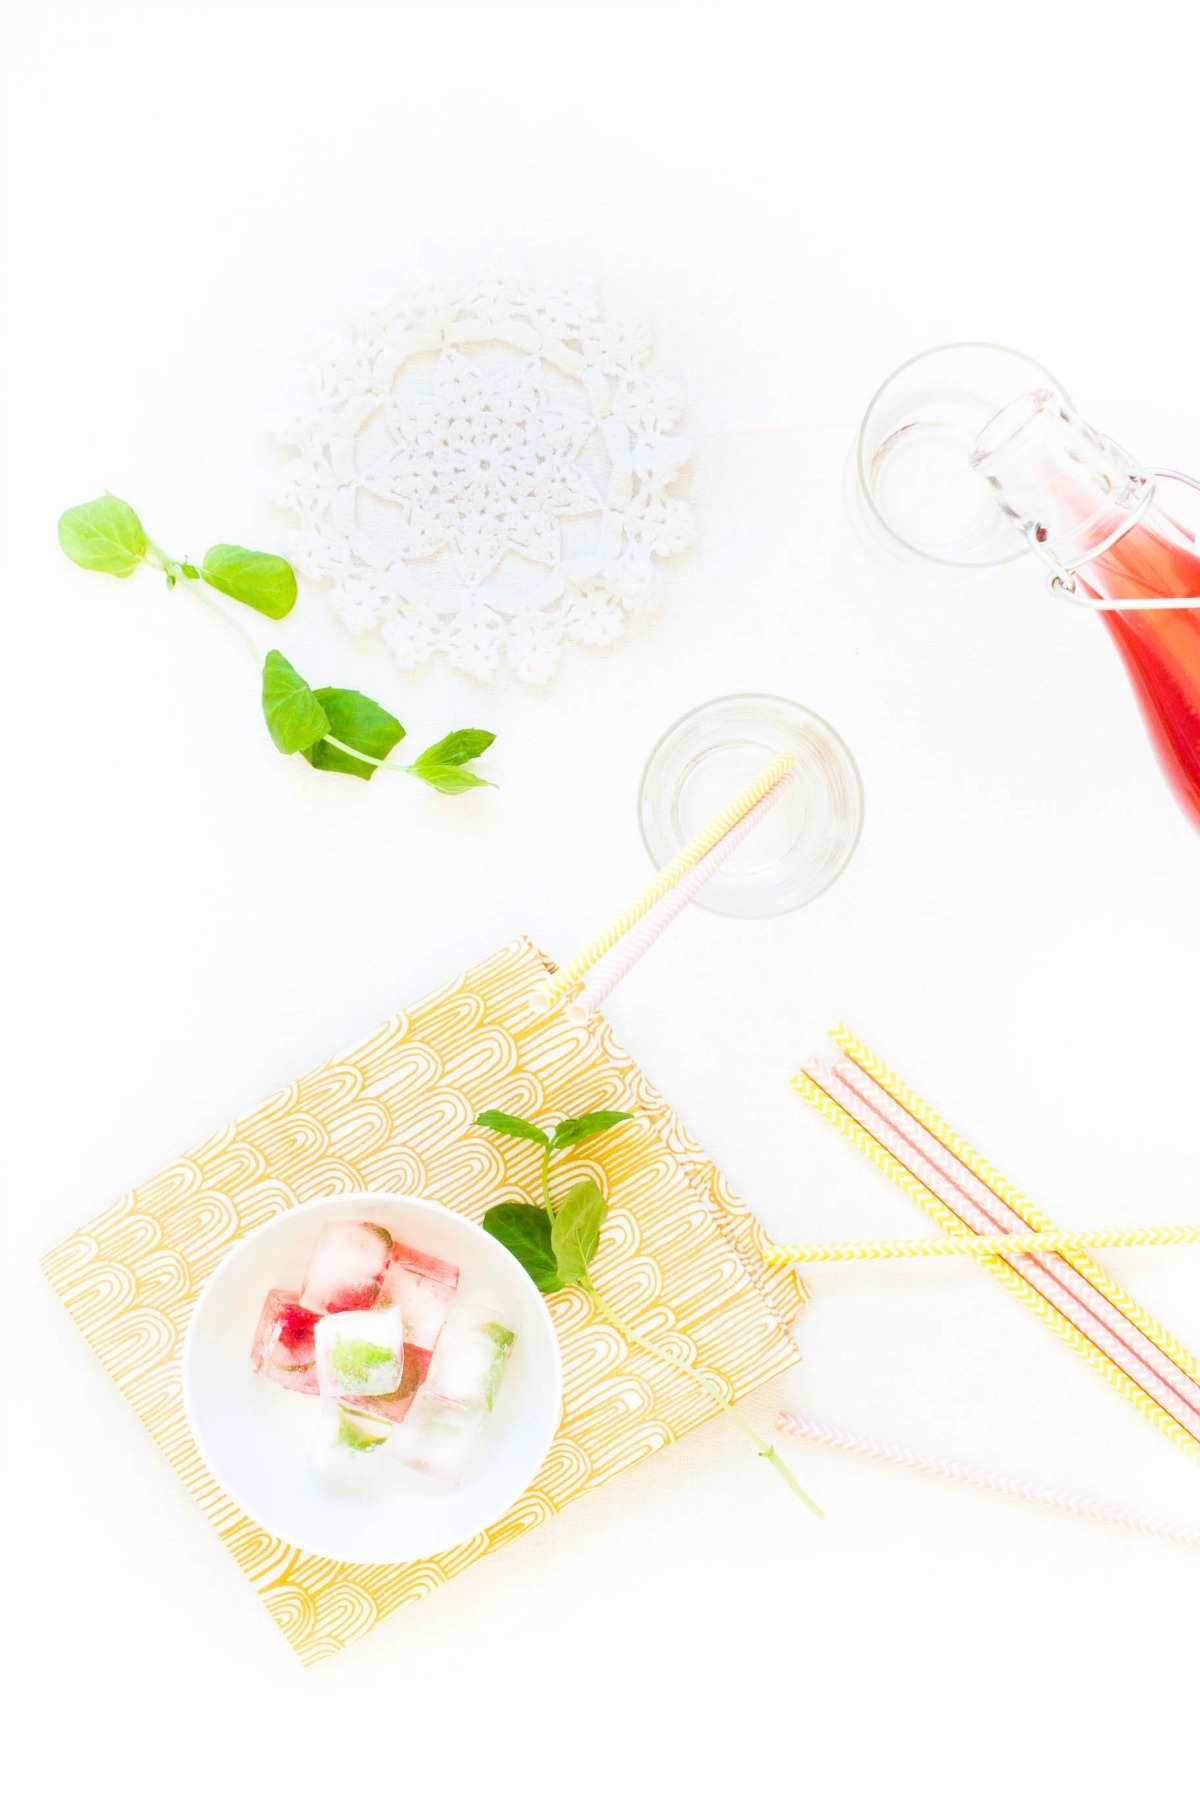
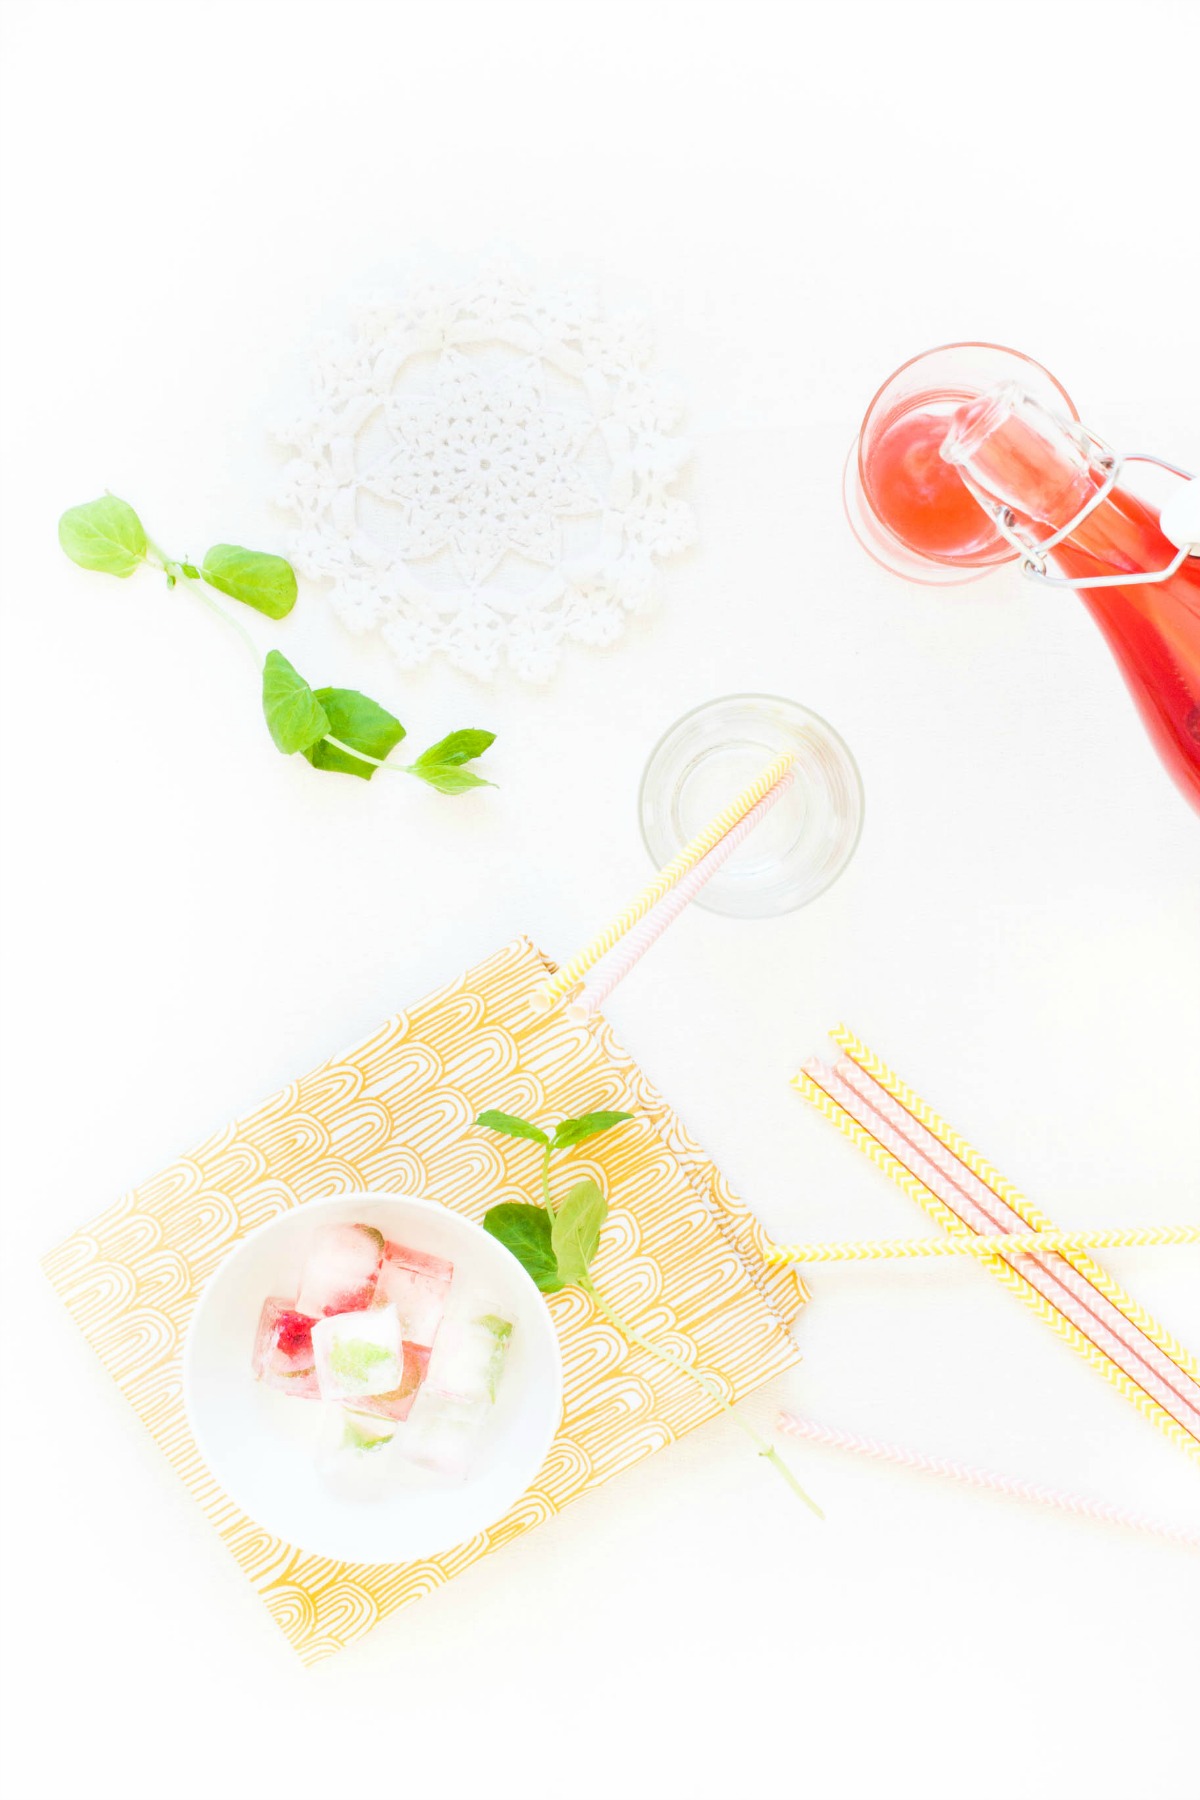
Today, I have a recipe for Sima, Finland's most popular spring drink, for you. This sweet sparkling mead is typically enjoyed on Vappu (May Day), which is one of the four biggest holidays along with Midsummer, Christmas, and New Year. Vappu is all about cherishing spring and all that magical Nordic light after the long, dark winter. It's typically celebrated with the first picnic of the year; good company, balloons & paper streamers, plentiful to eat, something bubbly to drink, and smiling faces. Doesn't sound bad, does it?

Sima is traditionally made with lemons. However, I made a raspberry version with a friend of mine last year, and it turned out to be a real crowd-pleaser. Although Sima is a May Day drink, I don't see a reason why it couldn't be enjoyed on any other day of the year as well. It's just too delicious to be abandoned for a whole year! I've drunk it on 5 nights out of 5 now, and my dad described it as being süffig, meaning as much as "I can't get enough of it". Oh yes, it sure is addictive. And because of that, I'm definitely going to make a new batch soon. Very soon.


Cheers to spring!


Sima – Finnish Raspberry Mead | my blue&white kitchen

Vadelmasima – Finnish Raspberry Mead

Recipe adapted from Dansukker
Makes about 2 l / 9 cups of Sima, can easily be doubled or tripled

Note 1: Sima has a very low alcohol content, and homemade Sima has such a low alcohol content that it's considered safe for children to consume.

Note 2: Fresh yeast is widely available in Finland (you can buy it in 2 oz packages at almost any store), and it's the type of yeast I'm most used to work with. I'm, however, aware of the fact that fresh yeast can be hard to find in many other countries. You can make Sima with (instant) active dry yeast as well. I did some research, and it seems like fresh yeast can be substituted with ¼ tsp (instant) active dry yeast. However, be sure that your liquid has the right temperature when adding the (instant) active dry yeast: a temperature of about 4245°C / 108113°F is needed. If the liquid is too cold, the yeast will not activate properly, and if it's too warm (50°C / 122°F), you'll end up killing it.


2 l (9 cups) water
200 g (7 oz) raspberries (fresh or frozen)
juice of 1 lemon
250 g (9 oz) granulated sugar
a piece of fresh yeas, the size of half a pea [for (instant) active dry yeast, see the note above]

for bottling:
dried cranberries (or raisins)
granulated sugar

to serve:
ice cubes (I made some with mint and raspberries)


In a medium-sized pot, bring water to a boil. Add raspberries, lemon juice, and sugar. Stir to dissolve the sugar. Let simmer for 3 minutes. Turn off the heat.

Let cool until lukewarm (about 36°C / 97°F). Add yeast and stir until the yeast is completely dissolved. Cover with a lid and let ferment at room temperature for about 24 hours.

Strain the fermented lemonade into clean bottles. Add 1 teaspoon of granulated as well as a couple of dried cranberries into each bottle. Close tightly.

The dried cranberries will act as an indicator of readiness for consumption (so clever!). The Sima is ready when all the cranberries have risen to the top of the liquid. This will typically take 2 to 3 days. Furthermore, as it ferments, the yeast will sink, and the Sima will start to clear. Sima will keep in the fridge for about a week. Just be careful when opening the bottles.... I nearly blew off one of my eyes. True story.

Serve chilled over ice cubes. Discard any cranberries as we don't want to actually drink them. 

[You could definitely serve it with some booze, such as vodka, and call it a cocktail.]