Into The Woods – Crostini with Wild Mushrooms & Ricotta

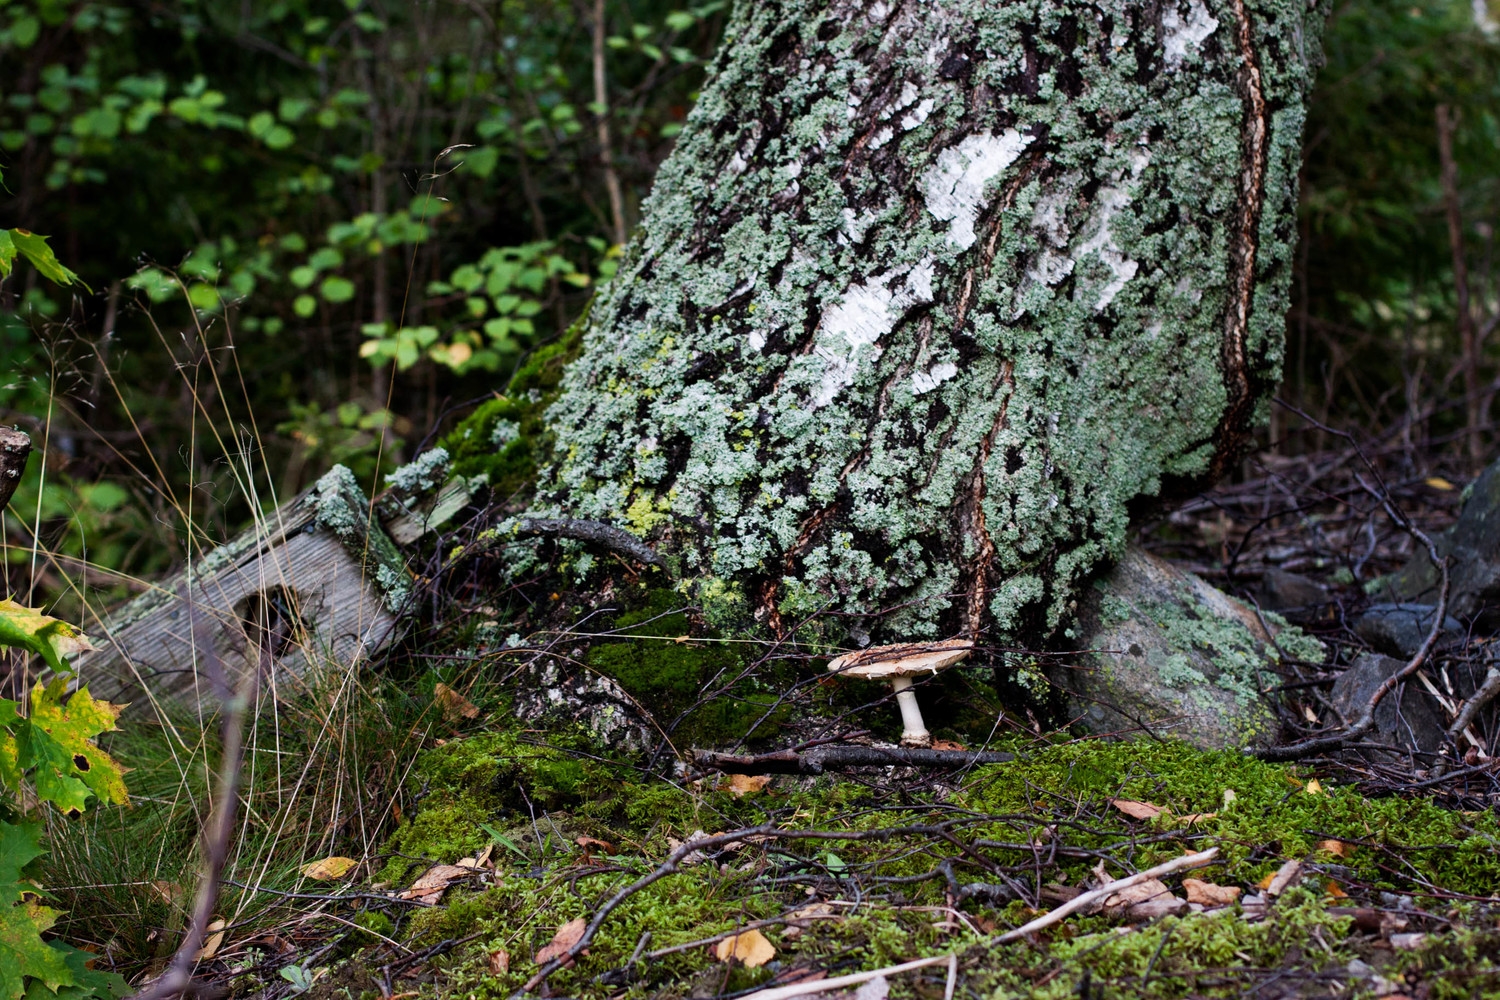
One of the biggest reasons why I love fall so much is because it's the season of numerous mushroom foraging trips. As I see the leaves slowly burst into vibrant colors and watch mist linger on the fields, my mind starts to wander in those deep forests; the forests that are not only a home to rich and diverse wildlife but also to edible berries, herbs, and mushrooms. As I've mentioned before, foraging is one of the greatest things that defines the Nordic kitchen and way of life. It's one of the most wonderful ways of living in harmony with the surrounding nature. It's a feeling of deep gratitude for those thick forests, blue lakes, and fresh air in our lungs.
We have a thing called every man's rights aka freedom to roam here in the north. This basically means that the nature is something that is to be shared with everyone. Everyone has the right to enjoy the wilderness amidst we live. As long as you don't harm nature or disturb other people's privacy, you're free to forage berries, plants, and mushrooms as well as walk, ski, cycle, and camp. It's a downright wonderful thing.

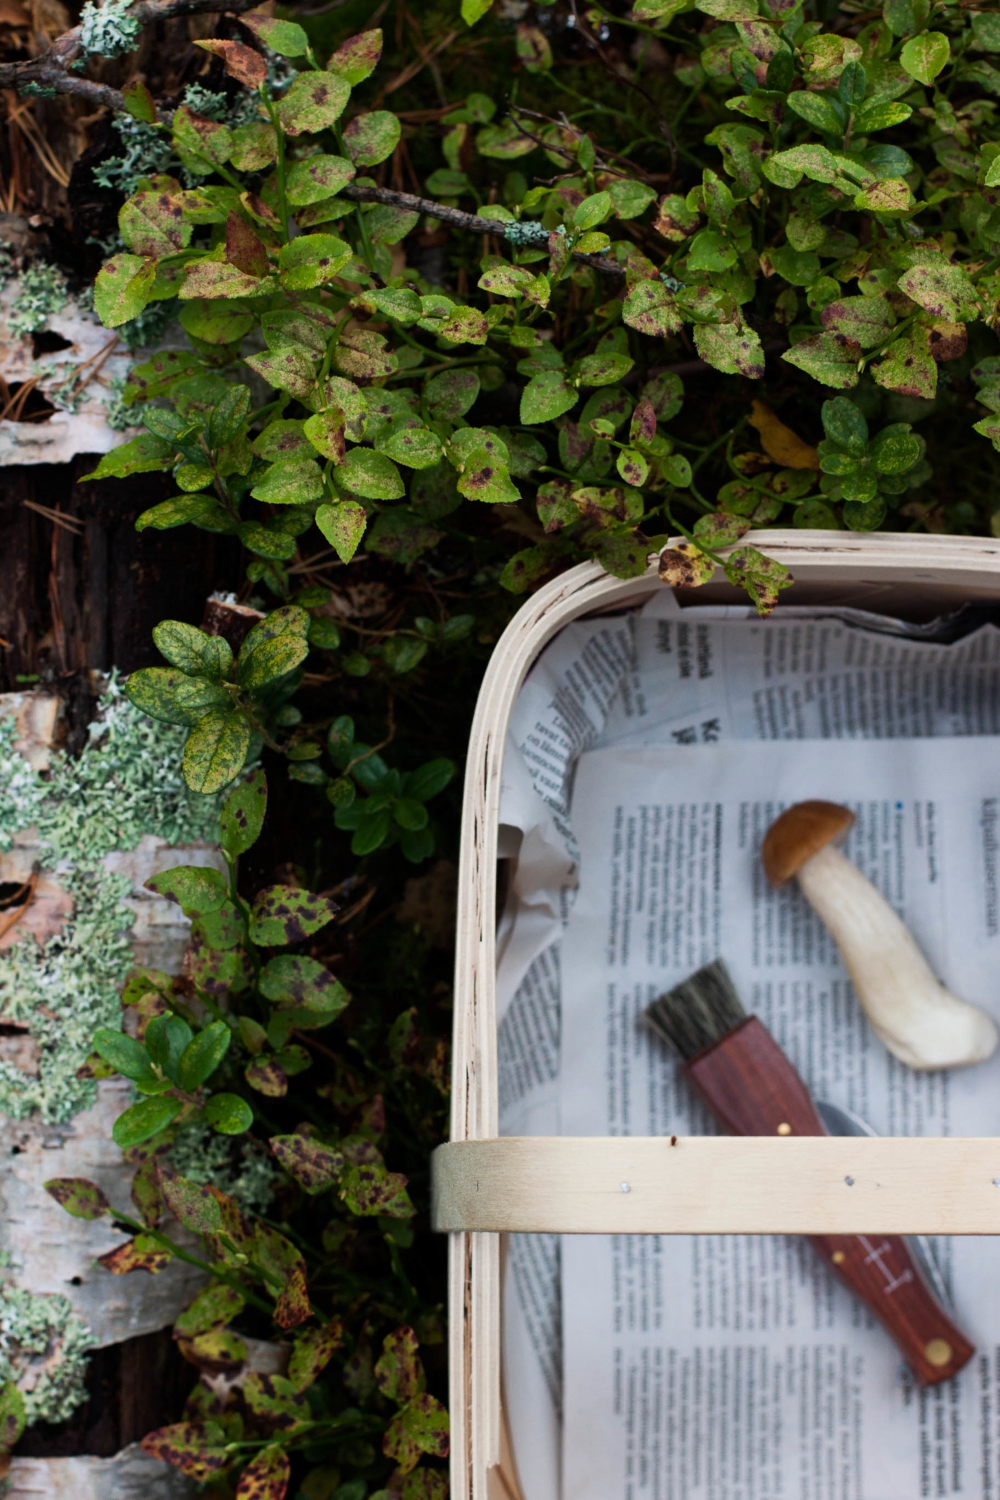
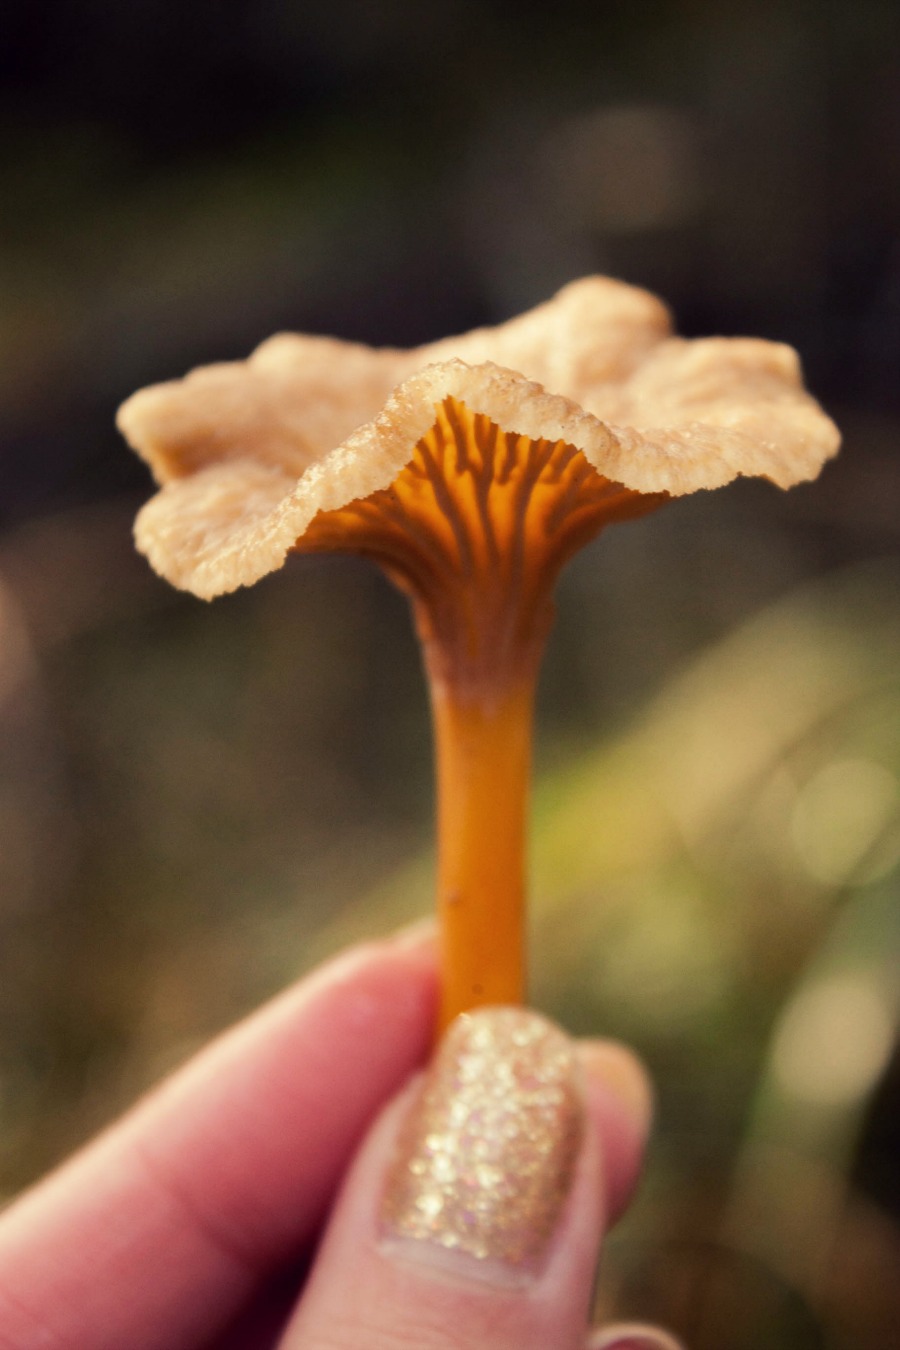
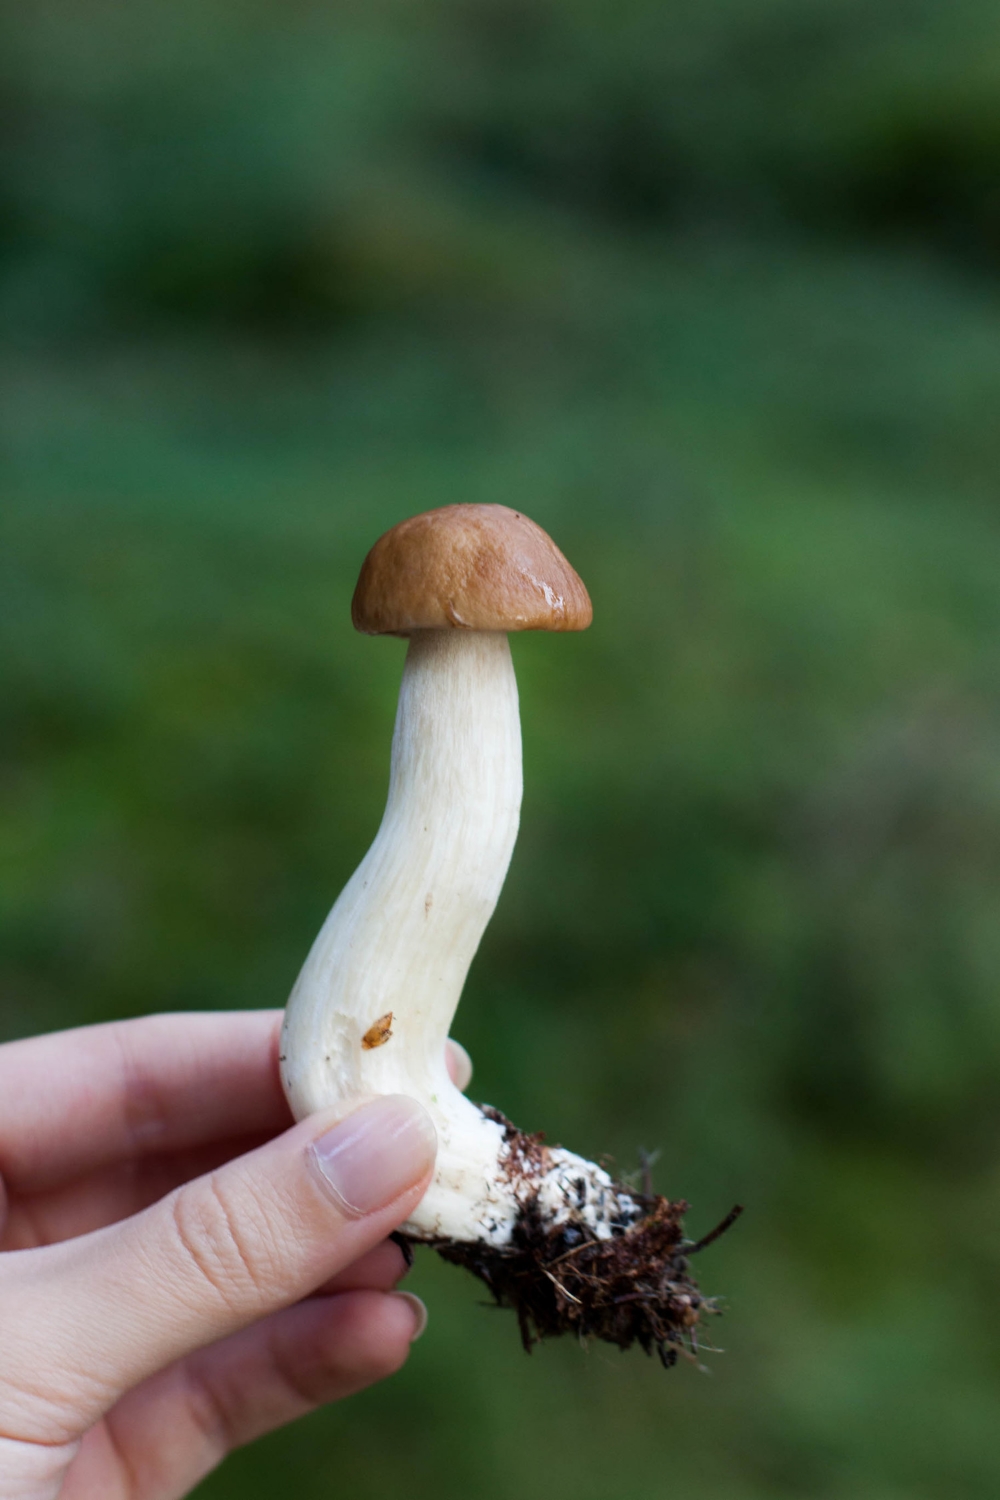
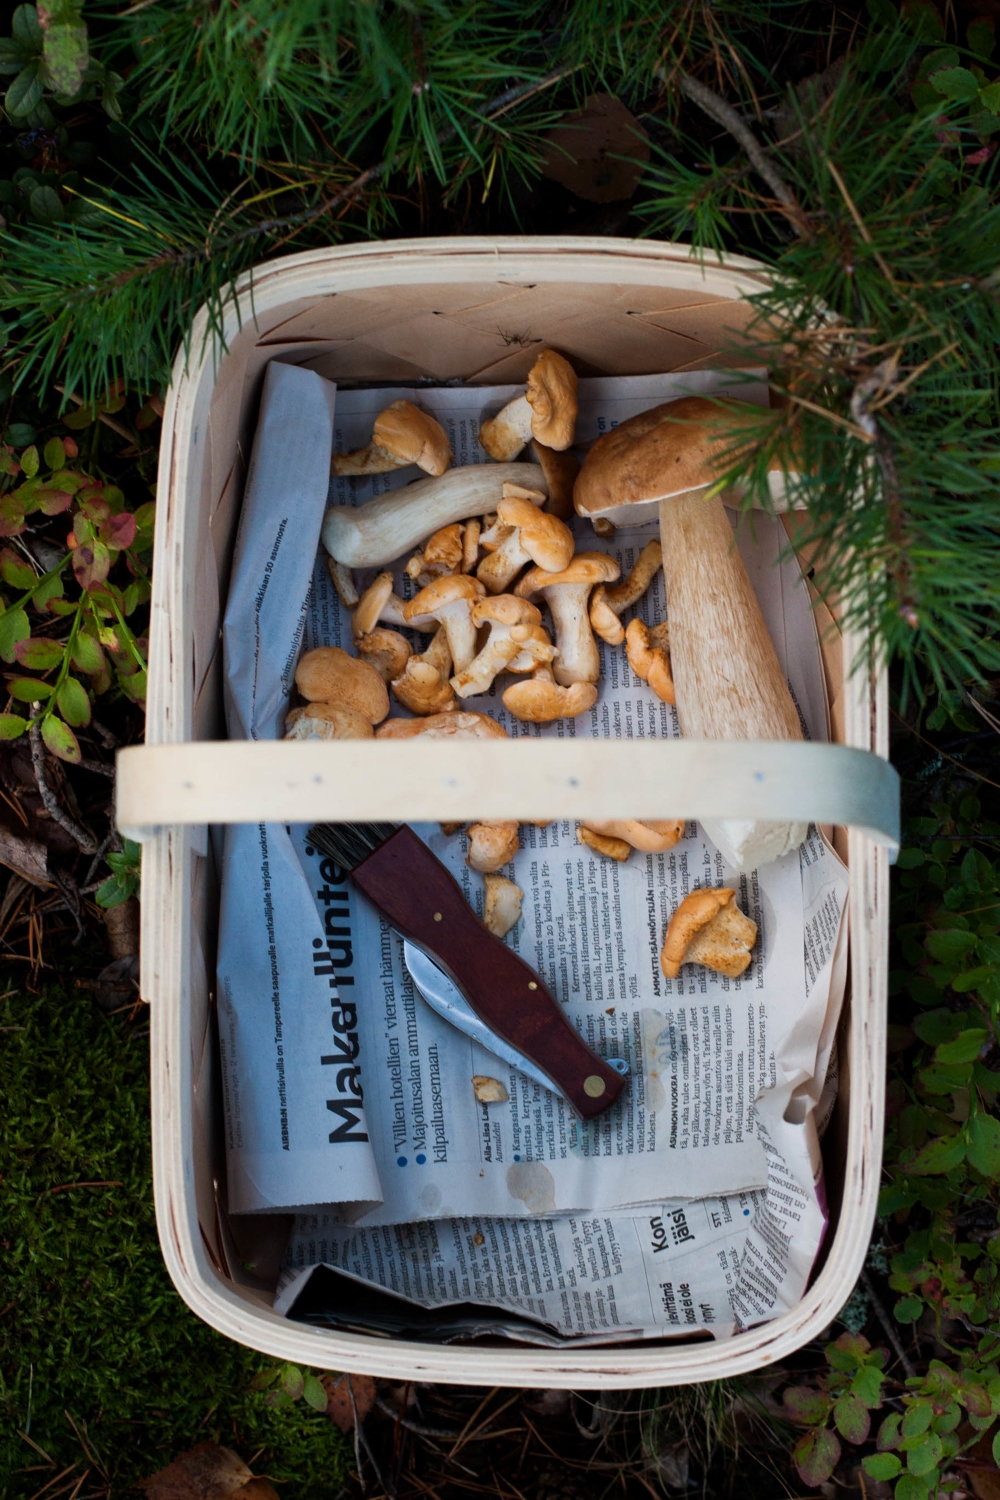
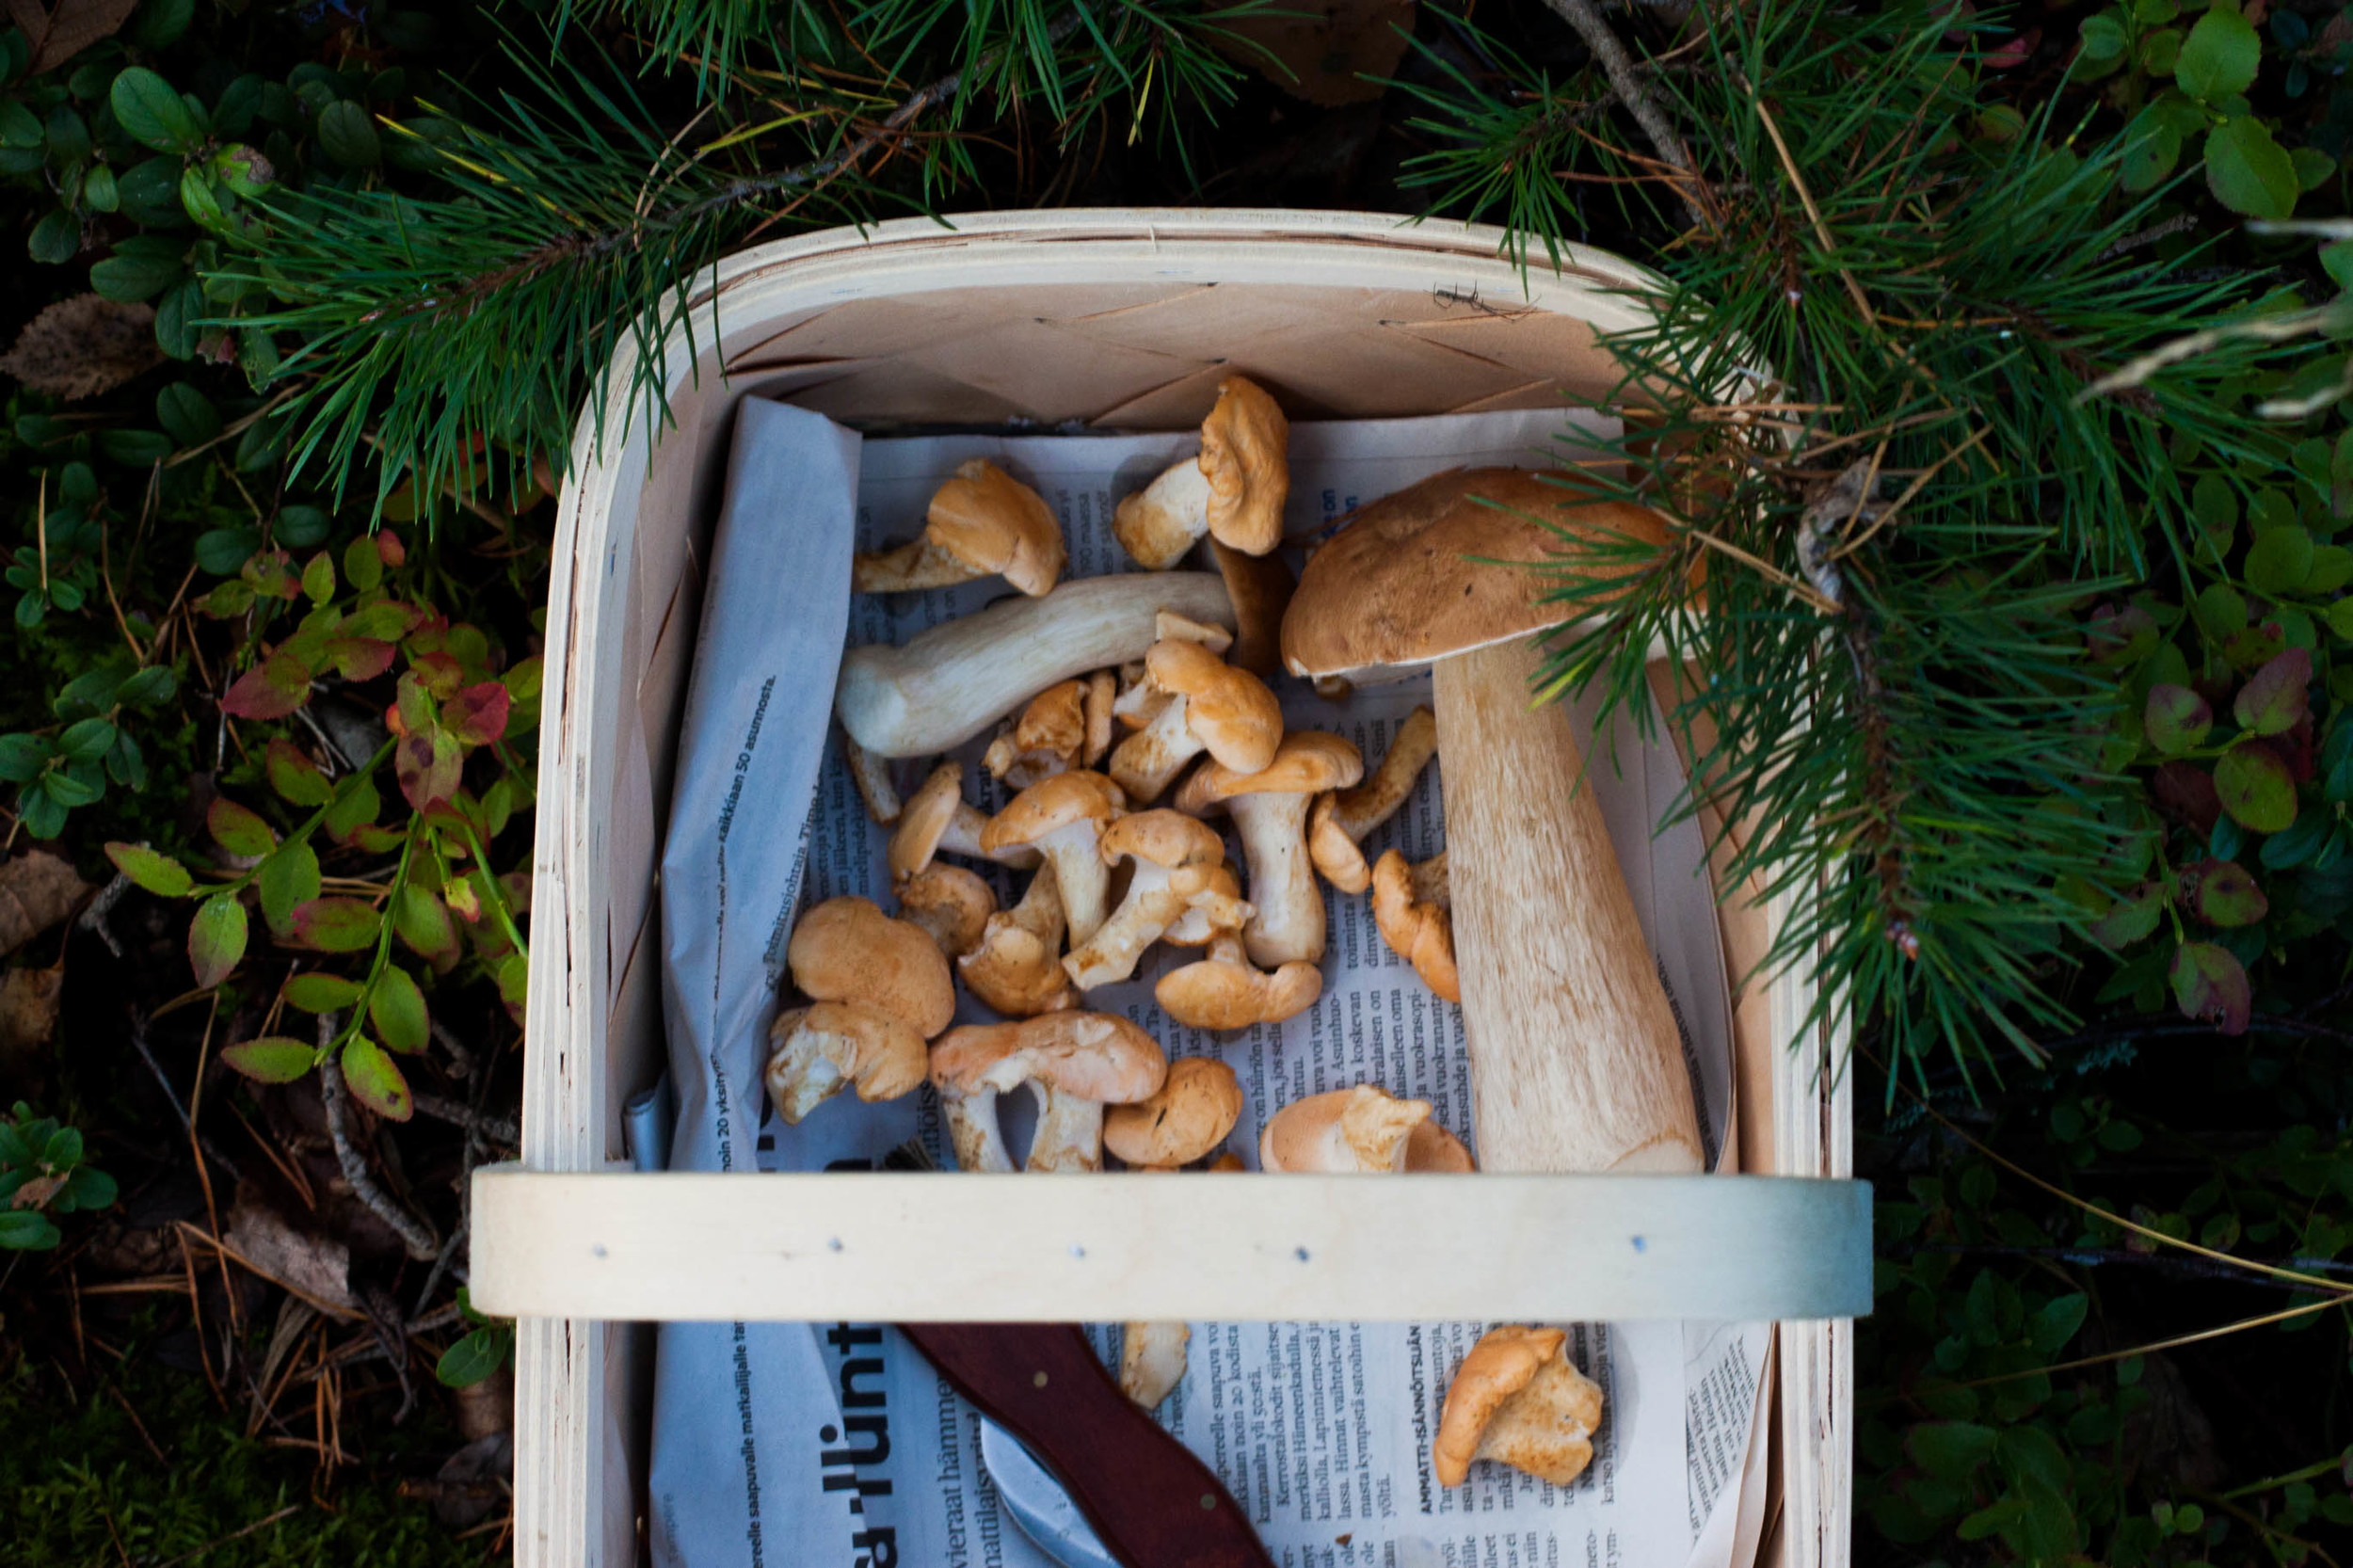
So last week I picked up my wooden basket and mushroom knife and headed into the woods to forage mushrooms. It's a brilliant mushroom year, they say. Porcini, one of the most delicious mushrooms, are growing like mad ones. It's such a good porcini year that even commercial exporters (every year we export large amounts primarily to Italy) have a hard time figuring out how to get the most of this unexpectedly phenomenal harvest. I too wasn't disappointed and returned home with a lovely harvest of porcini, hedgehog mushrooms, and something I've never foraged before, amazing parasol mushrooms. I had a basket full of possibilities.
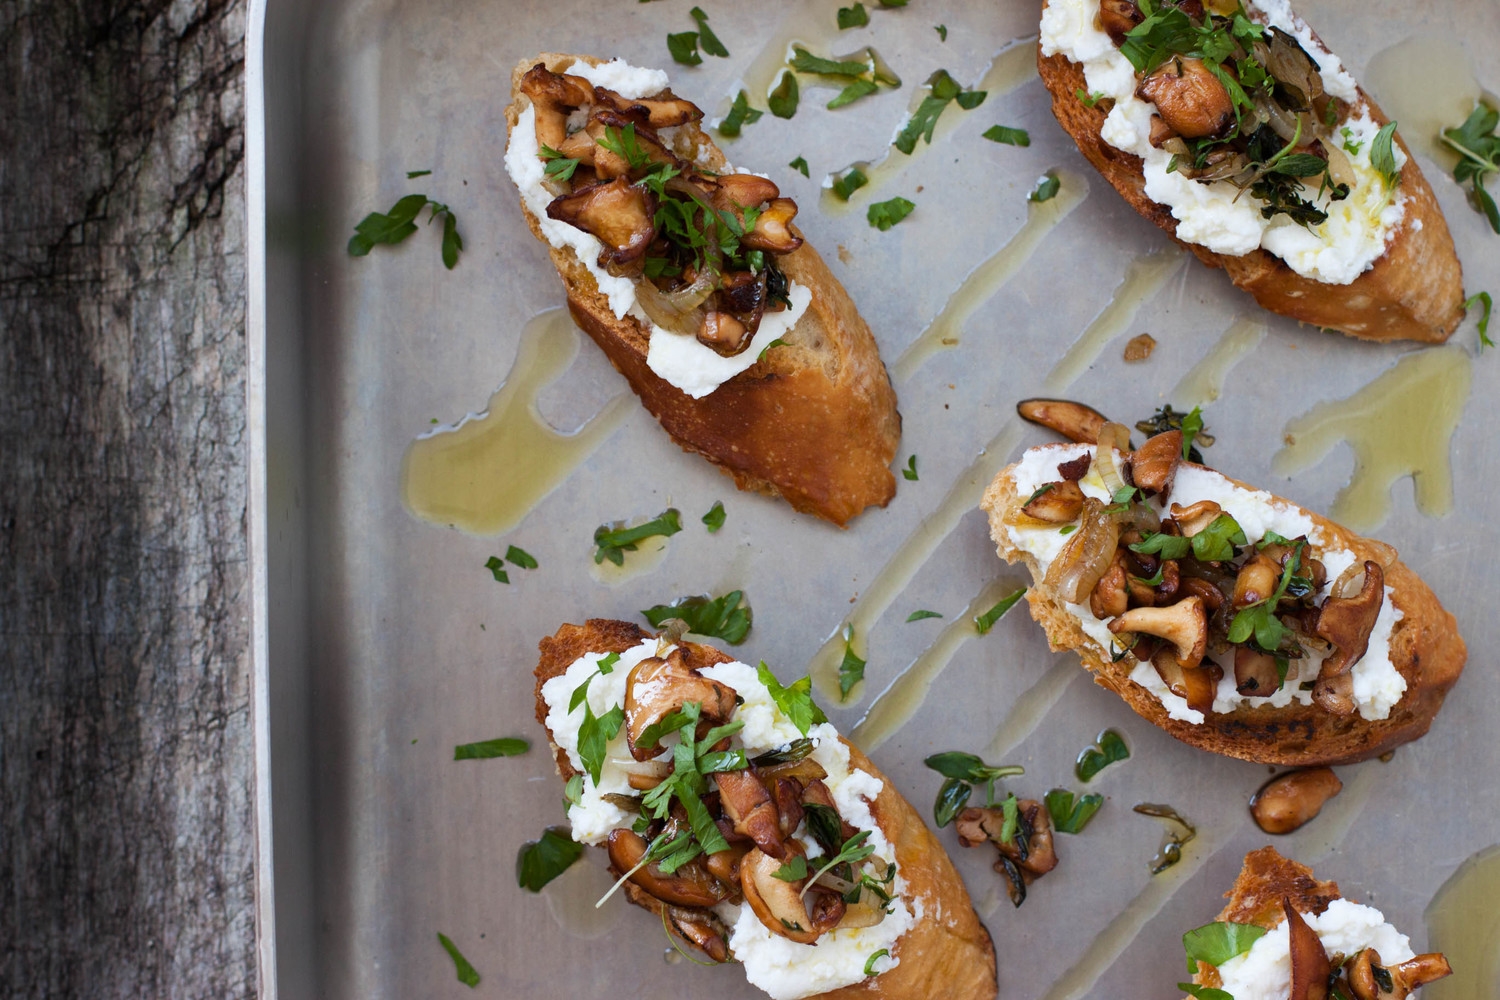
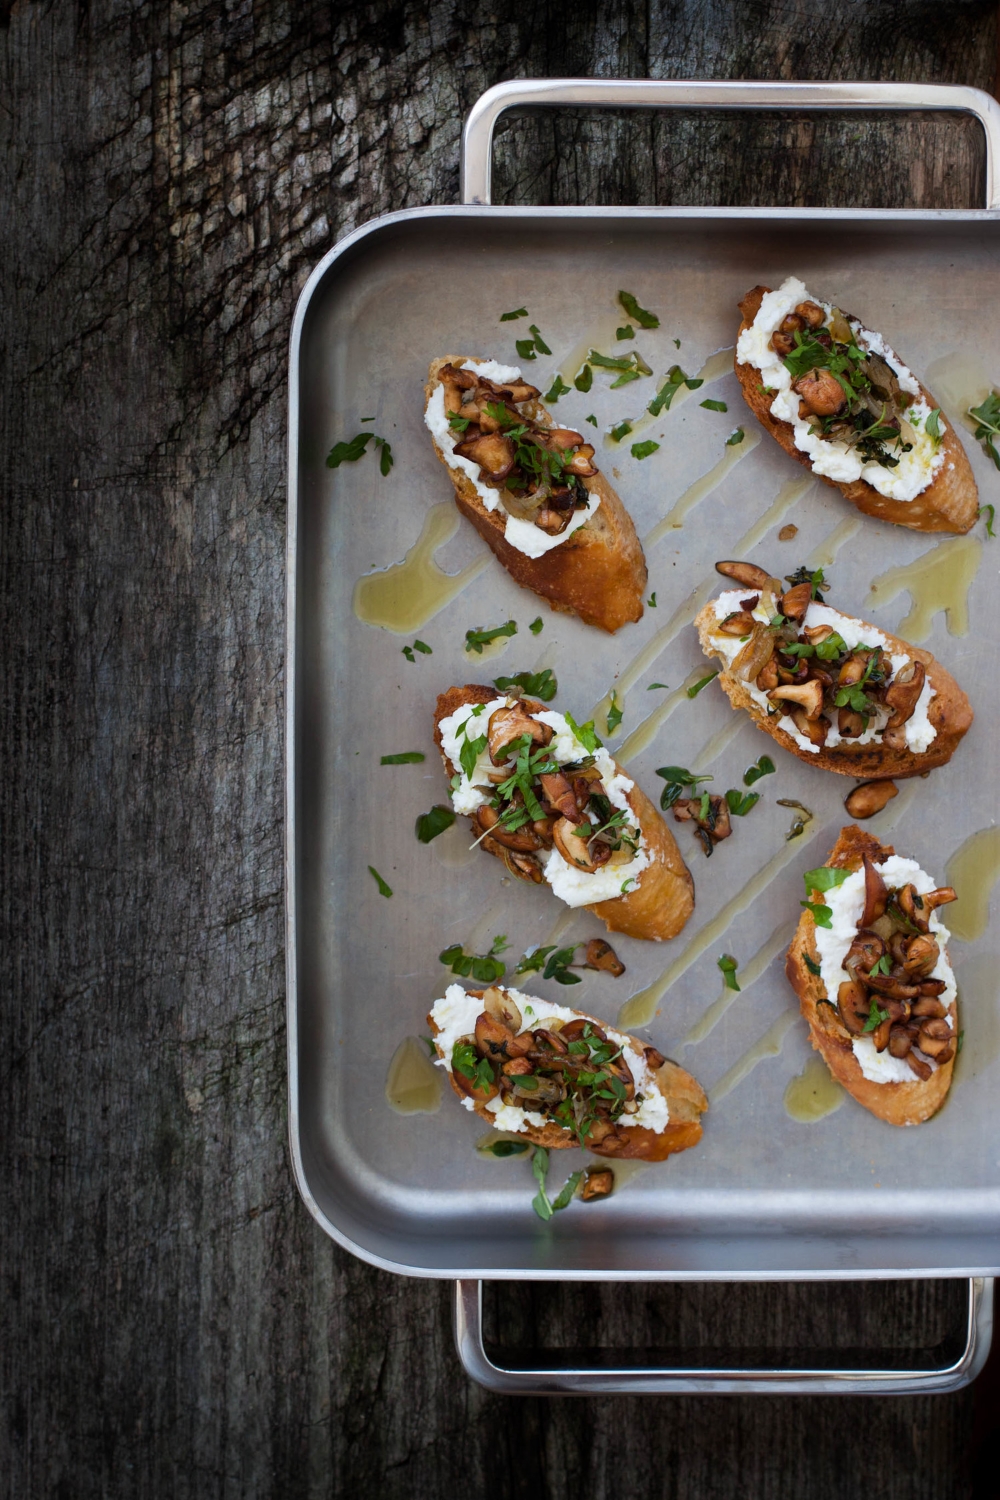
Quite quickly I decided to make crostini. I wanted to highlight the flavors of the wonderful wild mushrooms and felt that these appetizers would truly do them justice. I toasted slices of homemade Bread in 5 baguette, rubbed them with garlic, topped them with creamy and oh-so-luscious ricotta as well as herby panfried wild mushrooms. To finish, I drizzled some high quality extra virgin olive oil on top.

Quick to make, simple, and delicious. In other words, a perfect fall appetizer.
A few weeks ago, I received a sample of Feel IT extra virgin olive oils to test: Casaliva from Lombardy, in the north of Italy, Dolce Agogia from the north of Umbria, a region in central Italy, and Cerasuola from the northern parts of the lovely island of Sicily. Before tasting the Feel IT extra virgin olive oils I just thought that an olive oil was either good or bad. Never did I sample it like wine; tasting all those different nuances, noticing the differences, and wondering with what kind of food it would pair perfectly. What I had on hand were three very different extra virgin olive oils made of three different olive varieties harvested in three different parts of Italy. I truly did feel it.

Feel IT was created out of a passion for high quality, truly Italian extra virgin olive oils. Their oils are monocultivar meaning that they are pressed from a single type of olive, whereas, most olive oils are made of blends. Feel IT not only praises family owned local olive farms but also the unique flavors of different olive types. These olive oils are like a love letter from Veronica Motto, the 26-year-old Milan-based founder, to her country. And I love it.

I tried all three oils with these crostini and found Casaliva to be my favorite. Casaliva from Lombardy with the mighty Alps, the fertile Po Valley plain, and the great Lombard lakes, such as Lake Garda.

Update: Feel IT is now available through My Fabulous Collection!

Feel IT High Quality Extra Virgin Olive Oils | My blue&White Kitchen

On another note, I'll be traveling for the rest of the month which basically means I'm going to put on my dirndl and raise a Maß or two. I haven't planned any posts for my absence so it may be a bit quieter around here. However, I do have my camera and laptop with me so in case inspiration hits and I'm not too busy stuffing my face with Zwetschgendatschi,
SpätzleGrießnockerlBrezn (aka soft Pretzels)SauerkrautLeberkäse, and other deliciousness, I may surprise you with something Bavarian inspired.

But for now I'm leaving you with these absolutely delicious fall crostini. Enjoy!


Crostini with Wild Mushrooms & Ricotta

This is not really a recipe as I'm not going to give you exact amounts of what you need. Why? Because you don't really need to. Cook with your senses; use your eyes, your nose, and taste as you go. For 6 crostini I used around 1 cup of roughly chopped wild mushrooms and 2 small shallots. I prefer to use a mix of different mushroom varieties to keep things more interesting. The mushroom mixture can be prepared beforehand; just reheat it before assembling.
 

baguette or ciabatta-style bread, sliced
1 garlic clove, halved lengthwise

wild mushrooms, roughly chopped (remember that they'll shrink considerably as they cook)
butter
fresh thyme leaves
salt & freshly ground black pepper, to season
shallots, finely sliced
dry white wine
more fresh thyme leaves & finely chopped parsley

high quality ricotta

high quality extra virgin olive oil, such as Casaliva


Toast the bread slices on a dry frying pan until golden brown in color. You can also grill them for even more flavor. Rub the fried bread slices with garlic on both sides.

In a frying pan, melt the butter on high heat. Once the butter has melted and stopped to bubble, add the mushrooms and thyme. The mushrooms will first release quite a bit of moisture but as it evaporates, the mushrooms will start to get color. Season with salt and pepper. When the mushrooms are golden brown in color, lower the temperature to medium-low and add the shallots. Cook until the shallots have softened. Add a splash of white wine and let it evaporate. Add more thyme and parsley. Taste and season (or even add more wine) if necessary. Set aside.

To arrange, top each bread slice with ricotta, mushroom mixture, and more herbs. To finish, drizzle extra virgin olive oil over the crostini. Serve!


Crostini with Wild Mushrooms & Ricotta | My Blue&White Kitchen

Disclaimer: This post was sponsored by Feel IT. However, all opinions are my own.


Related Posts

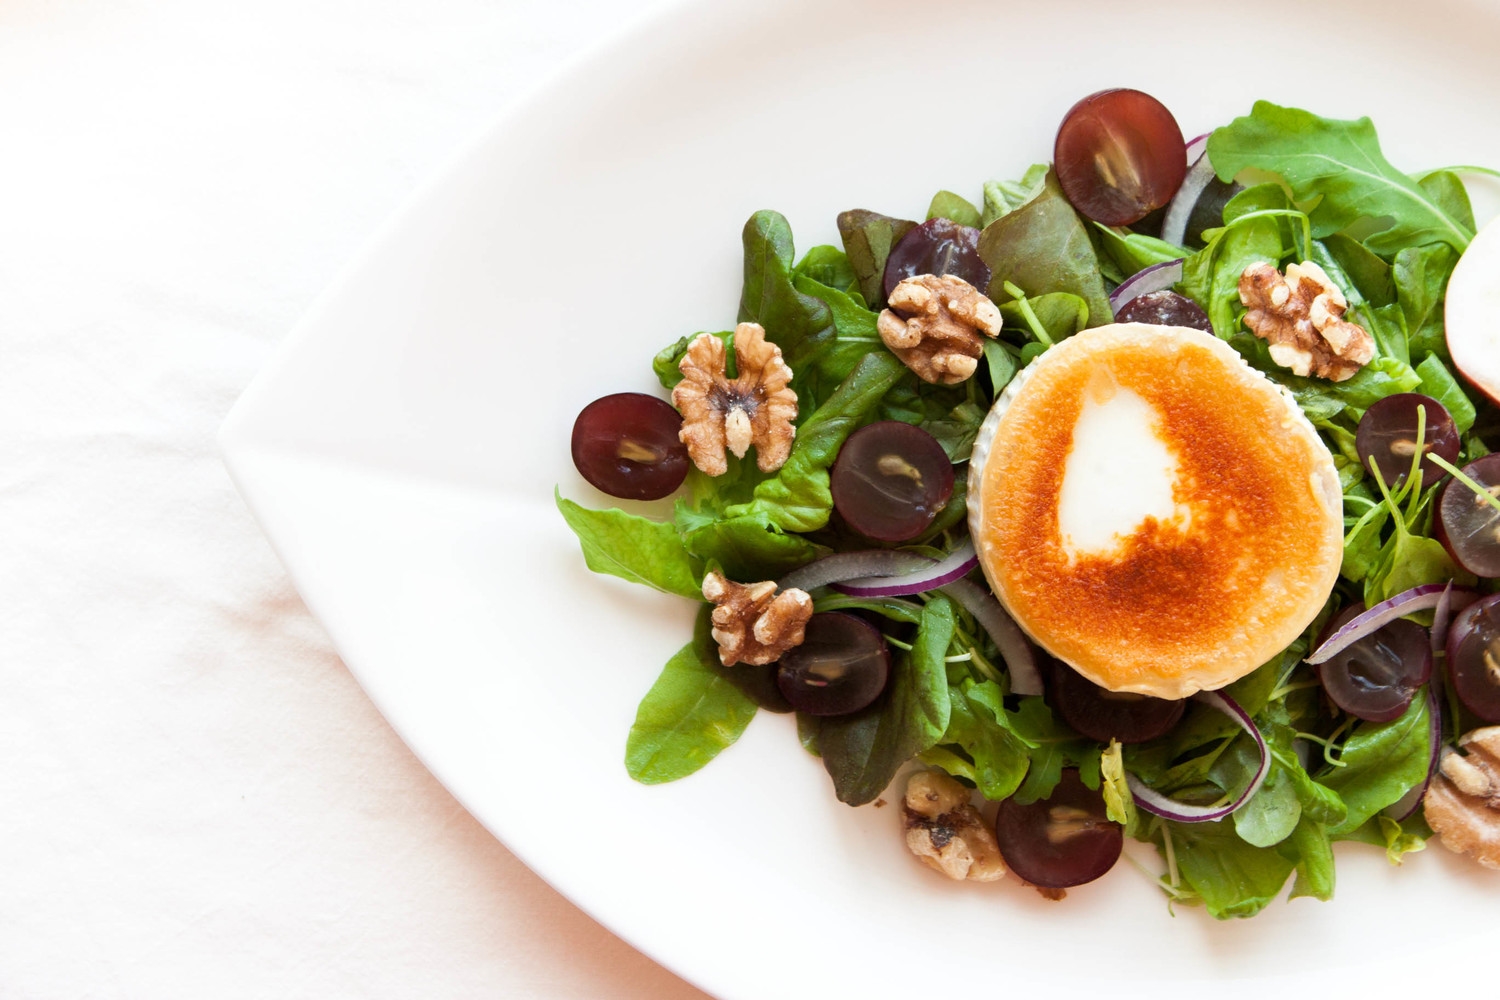
Welcoming Fall – Warm Chèvre Salad with Grapes, Heirloom Apples, & Walnuts

It can't be denied anymore; fall came here to stay. Fallen leaves mark my way home from farmers' markets where apples appear in all kinds of colors and shapes. Apples truly are the heroes of fall: local, tasty, and immensely versatile. 

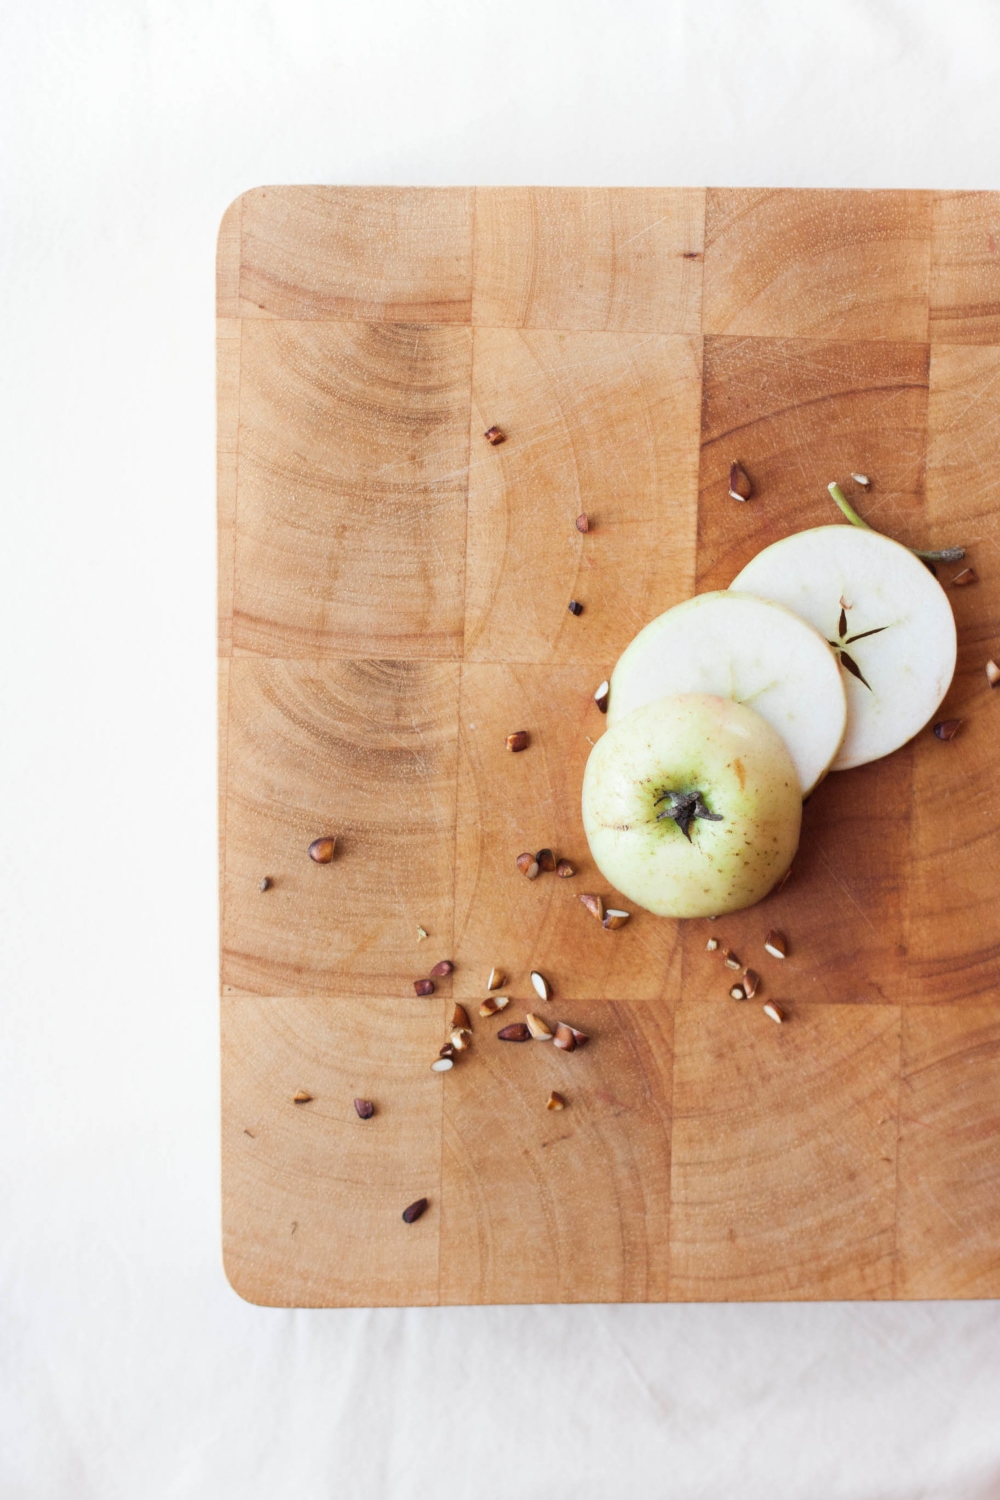
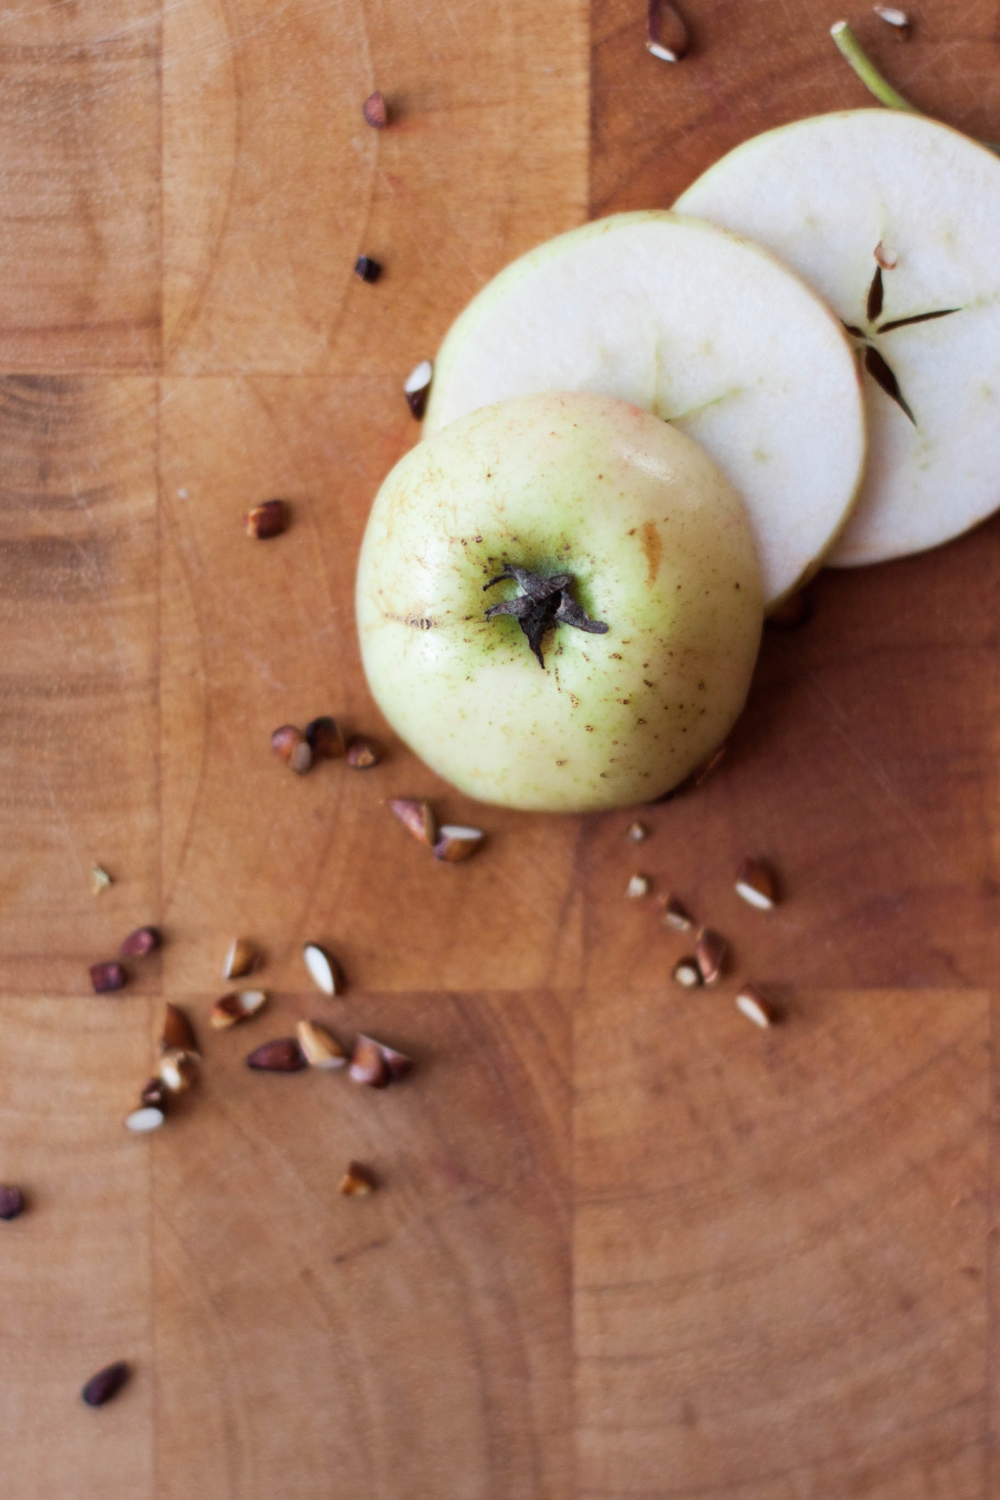
Pink Lady, Golden Delicious, Gala – do yourself a favor and leave those ones at the store. There are so many local heirloom apples to discover! They burst with flavor and are often fierier than their highly commercial counterparts that often are downright boring. My granny used to have apple trees growing in her backyard. I loved to harvest the different varieties and discover their unique flavors; my favorite always was a variety called cinnamon apple which had not only a perfect balance of sweet and sour but, as its name says, a delicate cinnamon flavor. Nowadays I either head to a friend's backyard (like last Sunday and again today) or buy apples at one of those farmers' market stalls that sell apples till it gets too cold to stand outside all day long.

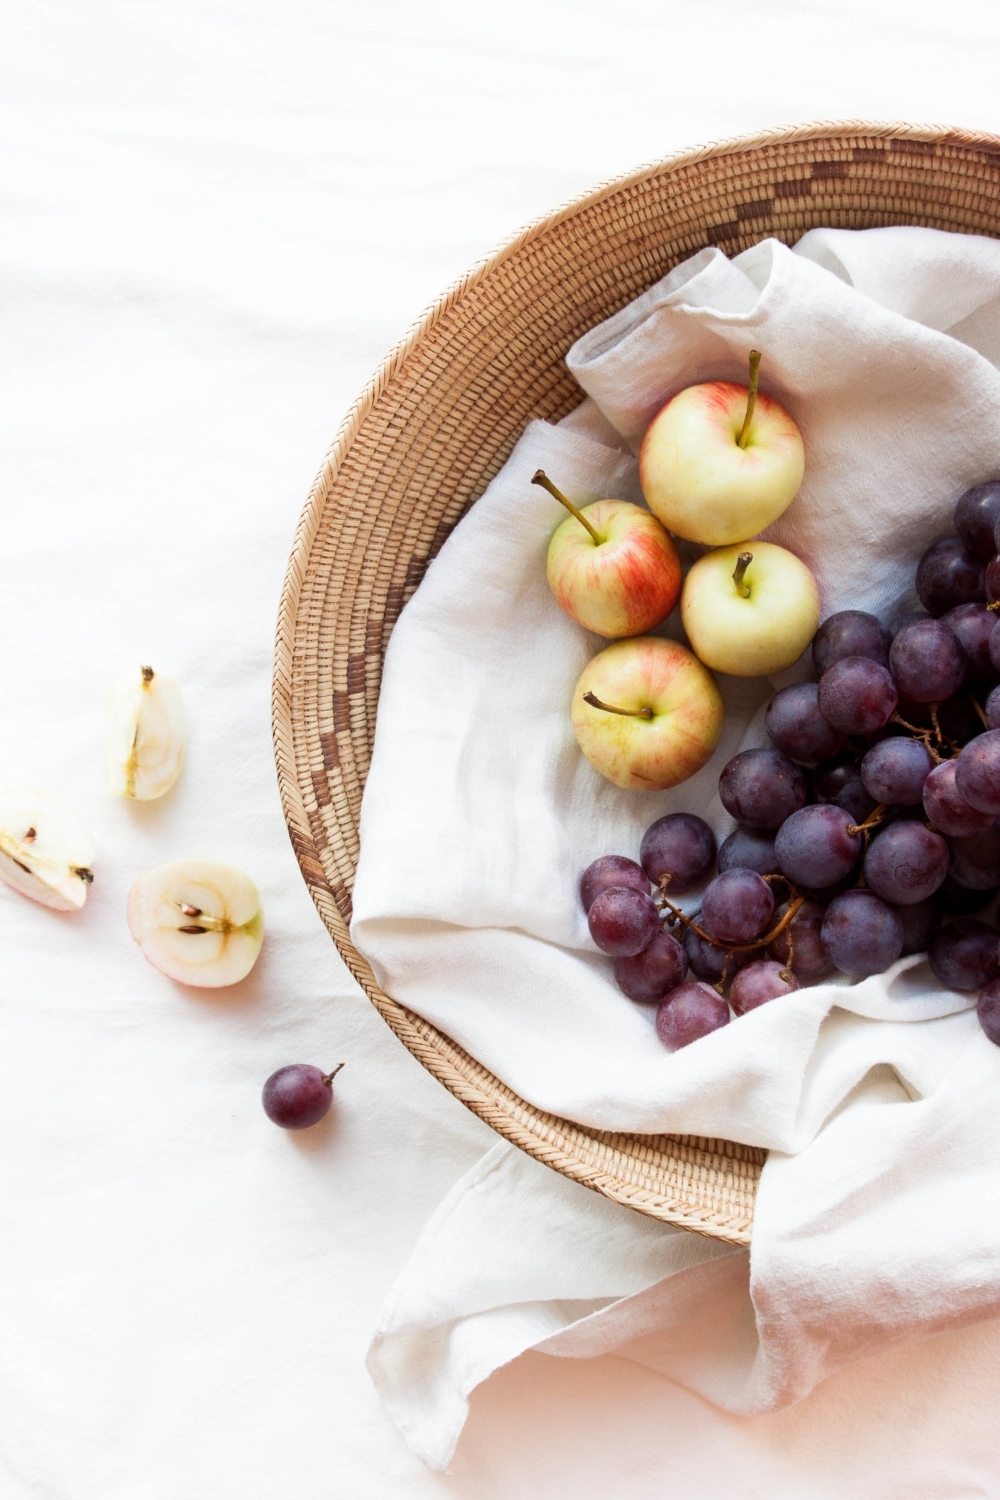
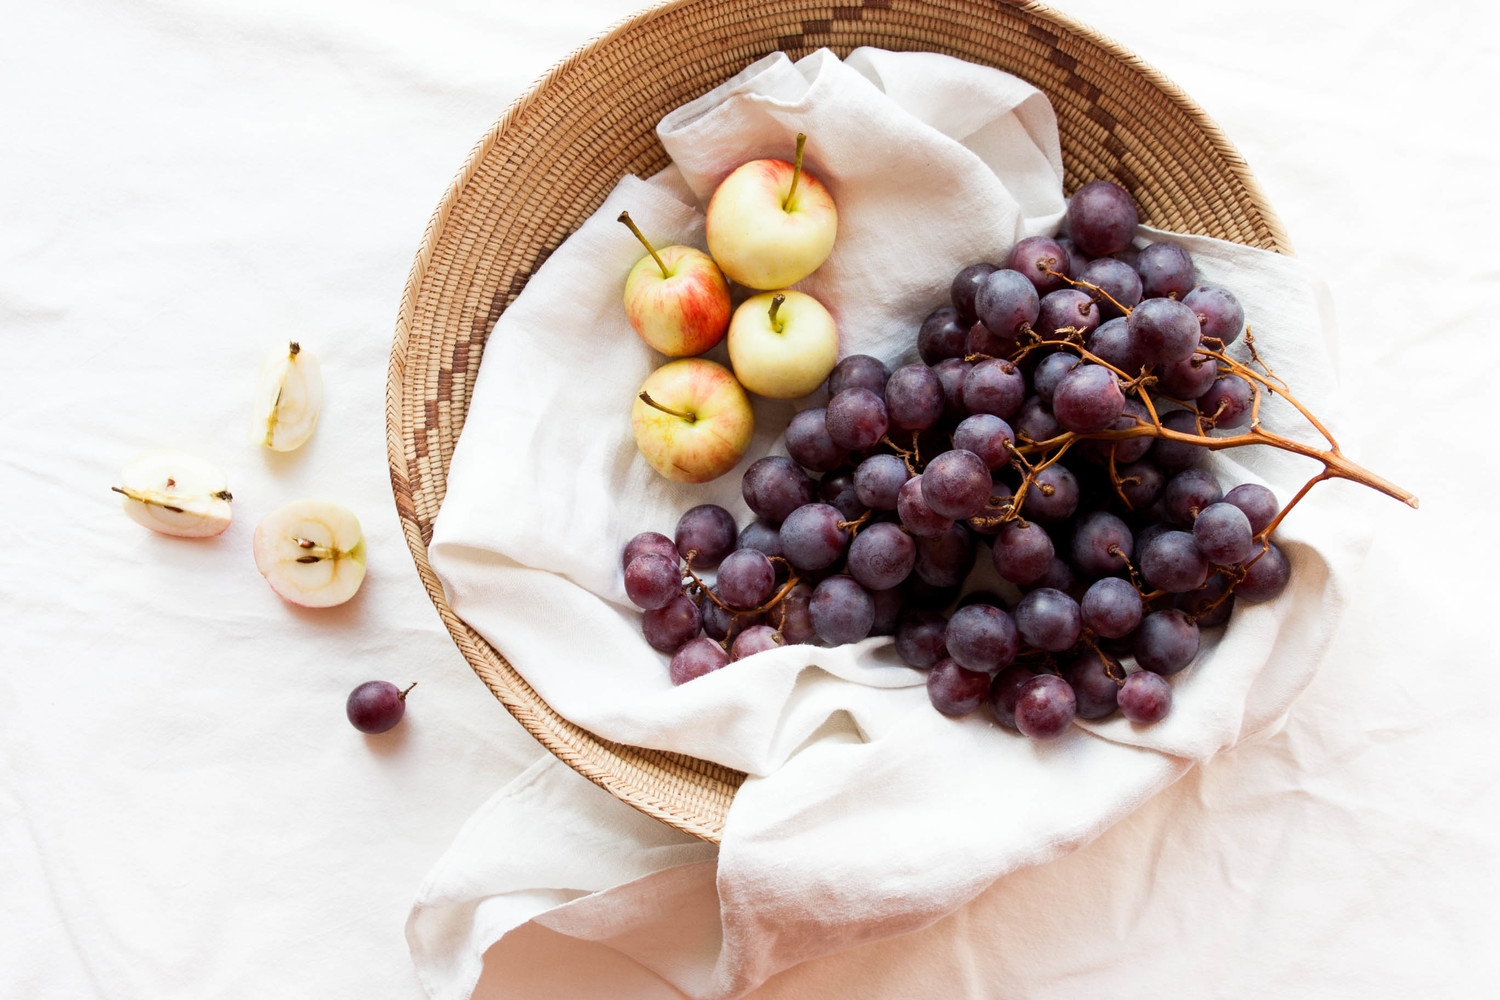
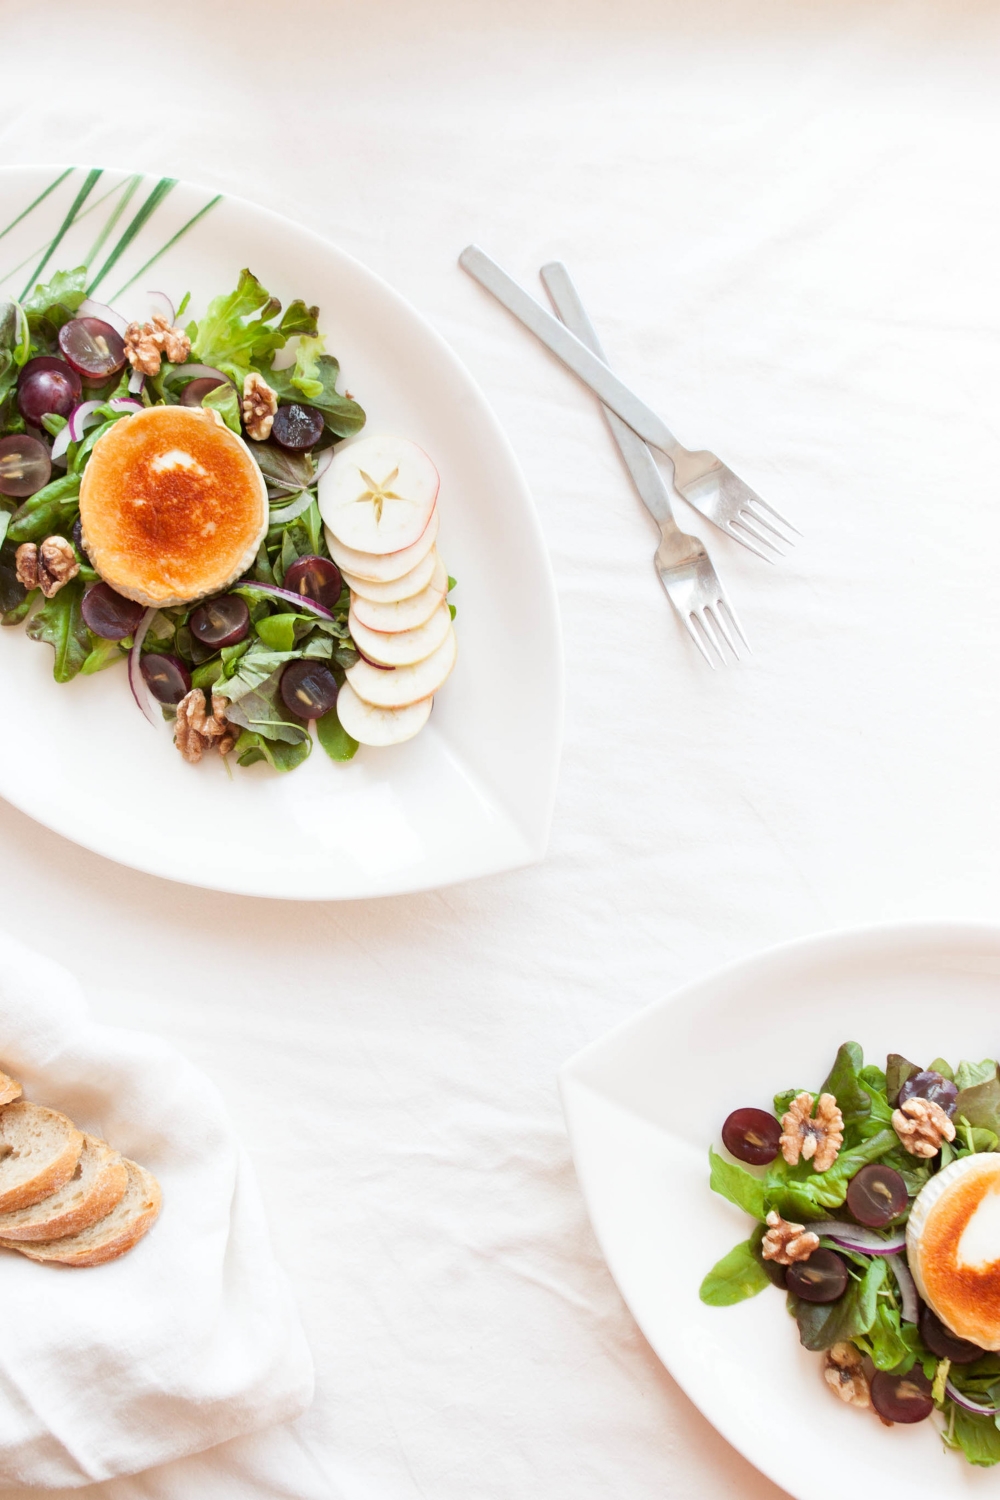
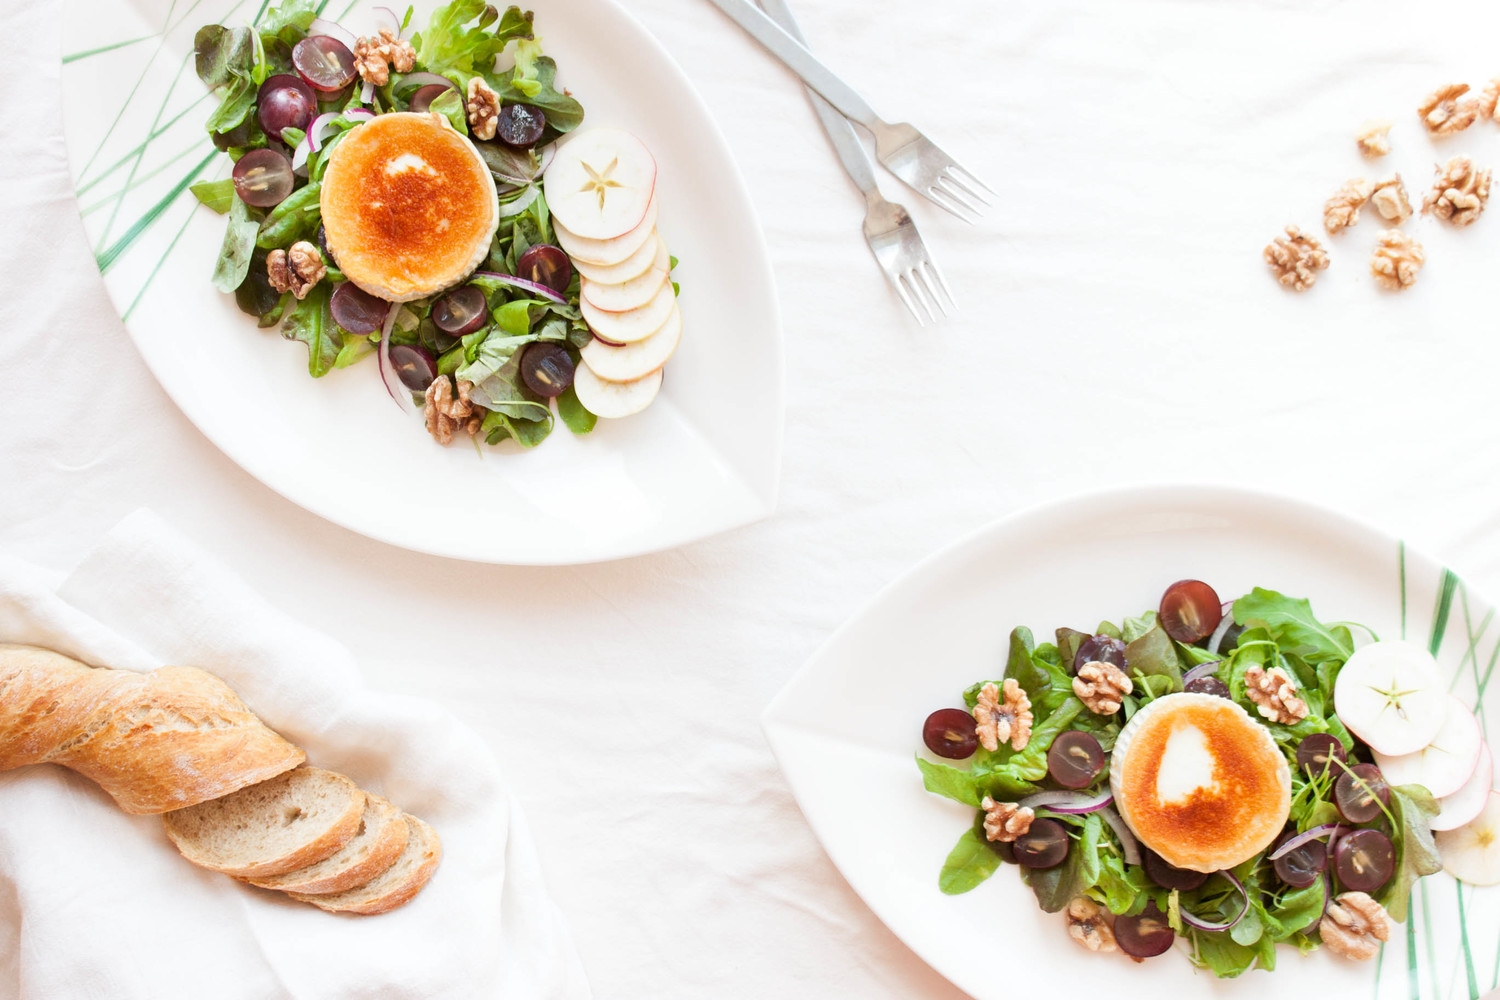
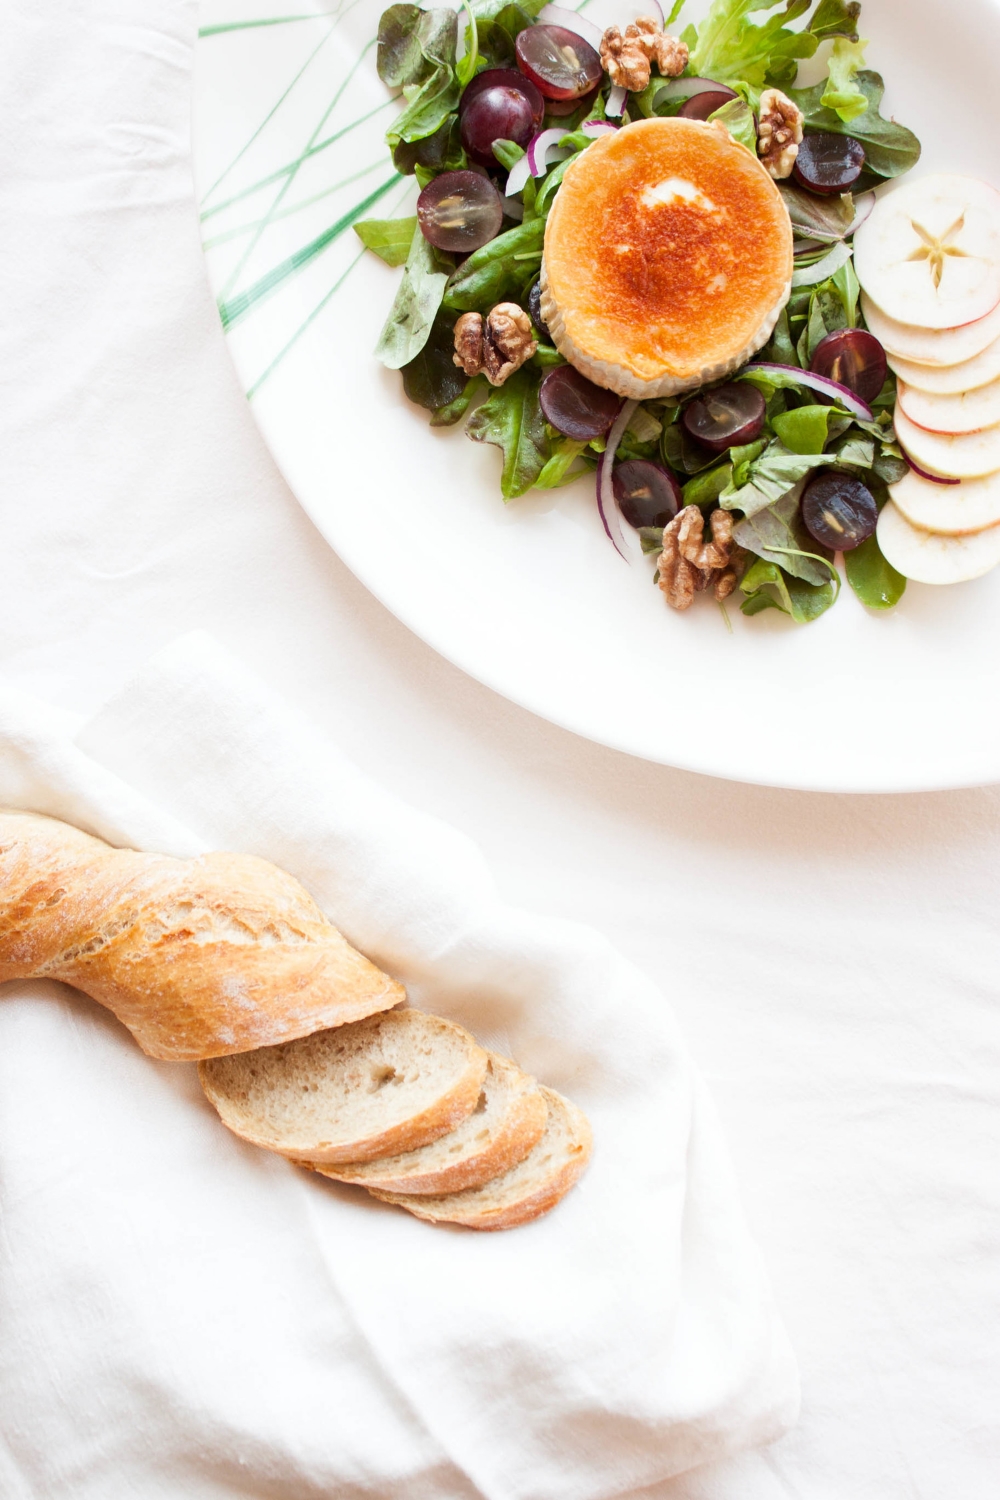
Apple pie may be the first thing that pops into your mind when spotting an apple tree heavy with fruit but they're also lovely in savory dishes, such as with pork. Salads are ridiculously easy to adapt according to the season. Therefore, I often start the shift in seasons on my plate with a seasonal salad. Here I combined crisp apples with the earthy flavors of walnuts, sweet red grapes, and creamy goat cheese and finished it with a walnut vinaigrette. This salad stays interesting till the very last bite.

The perfect way to welcome fall.

P.S. As the vibrant fall colors and apple galore always reminds me of Canada, its lovely people, and all the delicious food I've enjoyed there, I have to mention you the new Canadian group baking blog BAKED. The forces working behind this space are some of the most creative and inspiring ones that the food blogging world has to offer: Laura, Kelly, Gabriel, Kris, and Ashley. Yay!


Warm Chèvre Salad with Grapes, Heirloom Apples, and Walnuts

serves 2
 

4 handfuls of mixed green salads (I used bloody dock & arugula), washed & dried
¼ red onion, thinly sliced
2 handfuls of walnuts
2 handfuls of red grapes (preferably seedless), halved
2 small apples, thinly sliced and seeds removed (I usually don't core small heirloom apples)
5 cm / 2" log of goat cheese, cut into two disks
olive oil, for frying

for the vinaigrette
3 tbsp walnut oil
1 tbsp dark balsamic vinegar
1 tsp dijon mustard
a drizzle of agave nectar or honey
fine sea salt & freshly ground black pepper

optional: bread, to serve


Toast the walnuts in a dry frying pan over medium-high heat stirring regularly until the nuts start to get fragrant. Be careful not to burn them as this can happen quite quickly. Set aside.

To make the vinaigrette, whisk together the oil, balsamic vinegar, dijon mustard, and agave nectar. Season with salt and pepper. Set aside.

In a non-stick frying pan, fry the goat cheese disks for about 3 minutes per side or until golden brown in color. While the cheese is frying, assemble the salad on plates and drizzle with some vinaigrette. Top with the warm goat cheese and serve immediately.


Warm Chèvre Salad with Grapes, Heirloom Apples, & Walnuts | My Blue&White Kitchen

Related Posts

A New Summer Favorite – Grilled Watermelon Salad

Grilled Watermelon Salad | my blue&white kitchen

I love borders. August is the border between summer and autumn; it is the most beautiful month I know.

Twilight is the border between day and night, and the shore is the border between sea and land.
The border is longing: when both have fallen in love but still haven't said anything.
The border is to be on the way. It is the way that is the most important thing.

– Tove Jansson

Grilled Watermelon Salad | my blue&white kitchen

I can feel it; I can see it with my own eyes. The days are getting shorter and the nights cover the sky with a dark cloak. Only the moon and bright stars shed some light on the serene midnight lake scenery. But as much as I love the Nordic summers and the nightless nights, this shift of seasons feels good. It feels right and I welcome it with open arms. To be honest with you, it would be very hard for me to live in a place without four distinct seasons. I think I would get bored. And as much as I hate to admit it, I think I would miss the snow and darkness as well.

There's certainly something utterly comforting in these dark, warm summer nights. They invite you to light a candle and read a good book. They make a tremendous backdrop for a crayfish party. They call you into the kitchen to bake a loaf of bread or even a cake.

Grilled Watermelon Salad | my blue&white kitchen

Although kids are returning to school after their 10-week-long summer vacation and life is slowly shifting from simple, slow-paced summer cottage life to the usual urban routines, summer isn't over yet. We've had a very unusually long and warm weather during the last couple of weeks with temperatures around 30°C (85°F). It's not quite the weather I fancy to spend much time in the kitchen, so I've been grilling a lot. Grilled vegetables are a staple, and I've particularly fallen in love with the taste of grilled fennel (Haven't tried it? You must!). I often add grilled vegetables to my salads. The smoky flavor is very welcome and I like to combine different flavors and textures to make my salads more interesting and complete. 

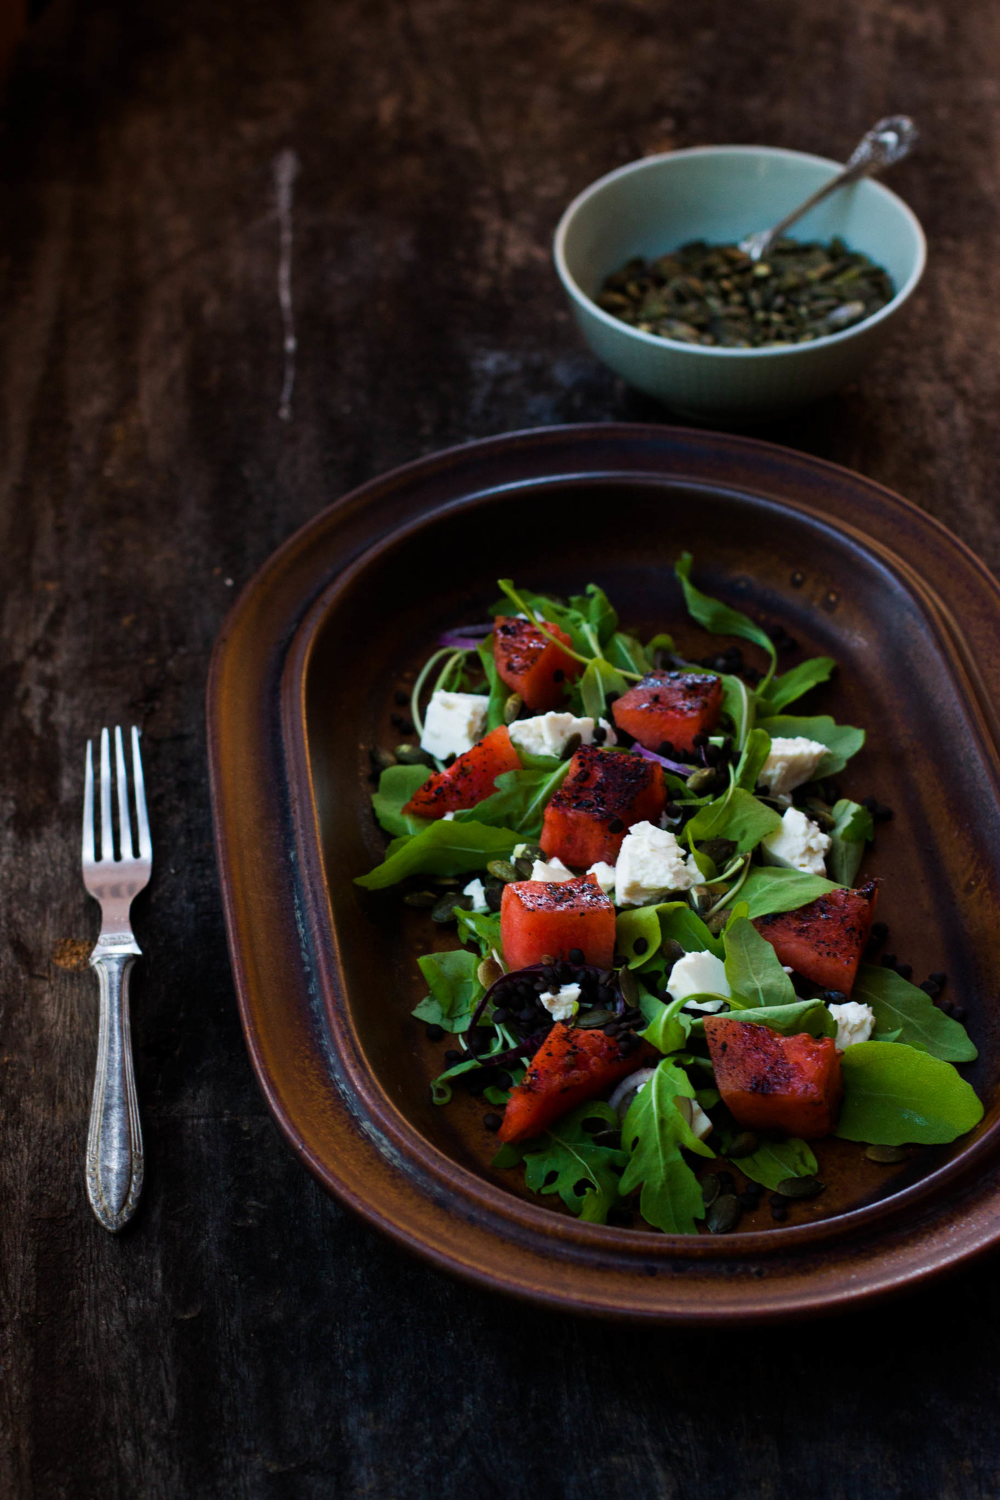
This grilled watermelon salad is a new summer favorite. I got a few skeptical looks when I told what I was planning to make for dinner. "You're going to grill that watermelon? How? Are you sure? Is this your own idea?"  I replied that no, this wasn't my idea, and that I had come across it every now and then but had never got the chance to try it myself, and that I was quite sure that I had something absolutely delicious in the making. "Trust me", I said. The first bite convinced even the most skeptical ones. The whole table came to the conclusion that this salad was a winner; the peppery arugula, the saltiness of feta cheese, the crunchy pumpkin seeds, the protein rich beluga lentils, and the juicy, sweet watermelon pieces with a wonderful smokiness. Furthermore, it looks gorgeous and is quick and easy to make. The prefect summer salad, so to speak.

Grilled Watermelon Salad | my blue&white kitchen

Grilled Watermelon Salad

serves 4

This salad can easily be prepared in advance and assembled just before serving. If you want to serve the watermelon so that it's still hot, grill it just before ready to serve.

130 g (1 heaping dl; ½ cup) beluga lentils, rinsed & picked over
90 g (1 heaping dl; ½ cup) pumpkin seeds
200 g (7 oz) feta cheese, drained & broken into chunks
2 red scallions, sliced
2 large bunches of arugula, washed & dried
half a small watermelon (mine was about 1300 g / 3 lb), cut into 2,5cm (1") thick slices
olive oil

For the vinaigrette
5 tbsp extra-virgin olive oil
3 tbsp white balsamic vinegar
a drizzle of honey or agave nectar
fine sea salt & freshly ground black pepper, to taste

Cook the beluga lentils al dente according to packet instructions. Toast the pumpkin seeds in a dry frying pan over medium-high heat stirring regularly until they start to brown slightly, pop open, and are fragrant. Be careful not to burn them as this happens rather quickly. Add a pinch of salt and set aside.

To make the vinaigrette, whisk together the olive oil, balsamic vinegar, and honey. Season with salt and pepper. Set aside until ready to assemble.

To grill the watermelon, heat your grill on medium-high heat. Lightly brush the watermelon slices with olive oil. Grill for 2 to 3 minutes per side, or until charred. Remove from heat and dice. Set aside.

To assemble, put the lentils, about two-thirds of the pumpkin seeds, feta, scallions, arugula, and dressing into a large bowl. Toss to combine. Assemble the watermelon cubes on top of the salad and sprinkle the remaining pumpkin seeds on top. Serve and receive rave reviews.


Grilled Watermelon Salad | my blue&white kitchen

Related posts

Farmers' Market Glory – Summer Potato Salad

Summer Potato Salad | my blue&white kitchen

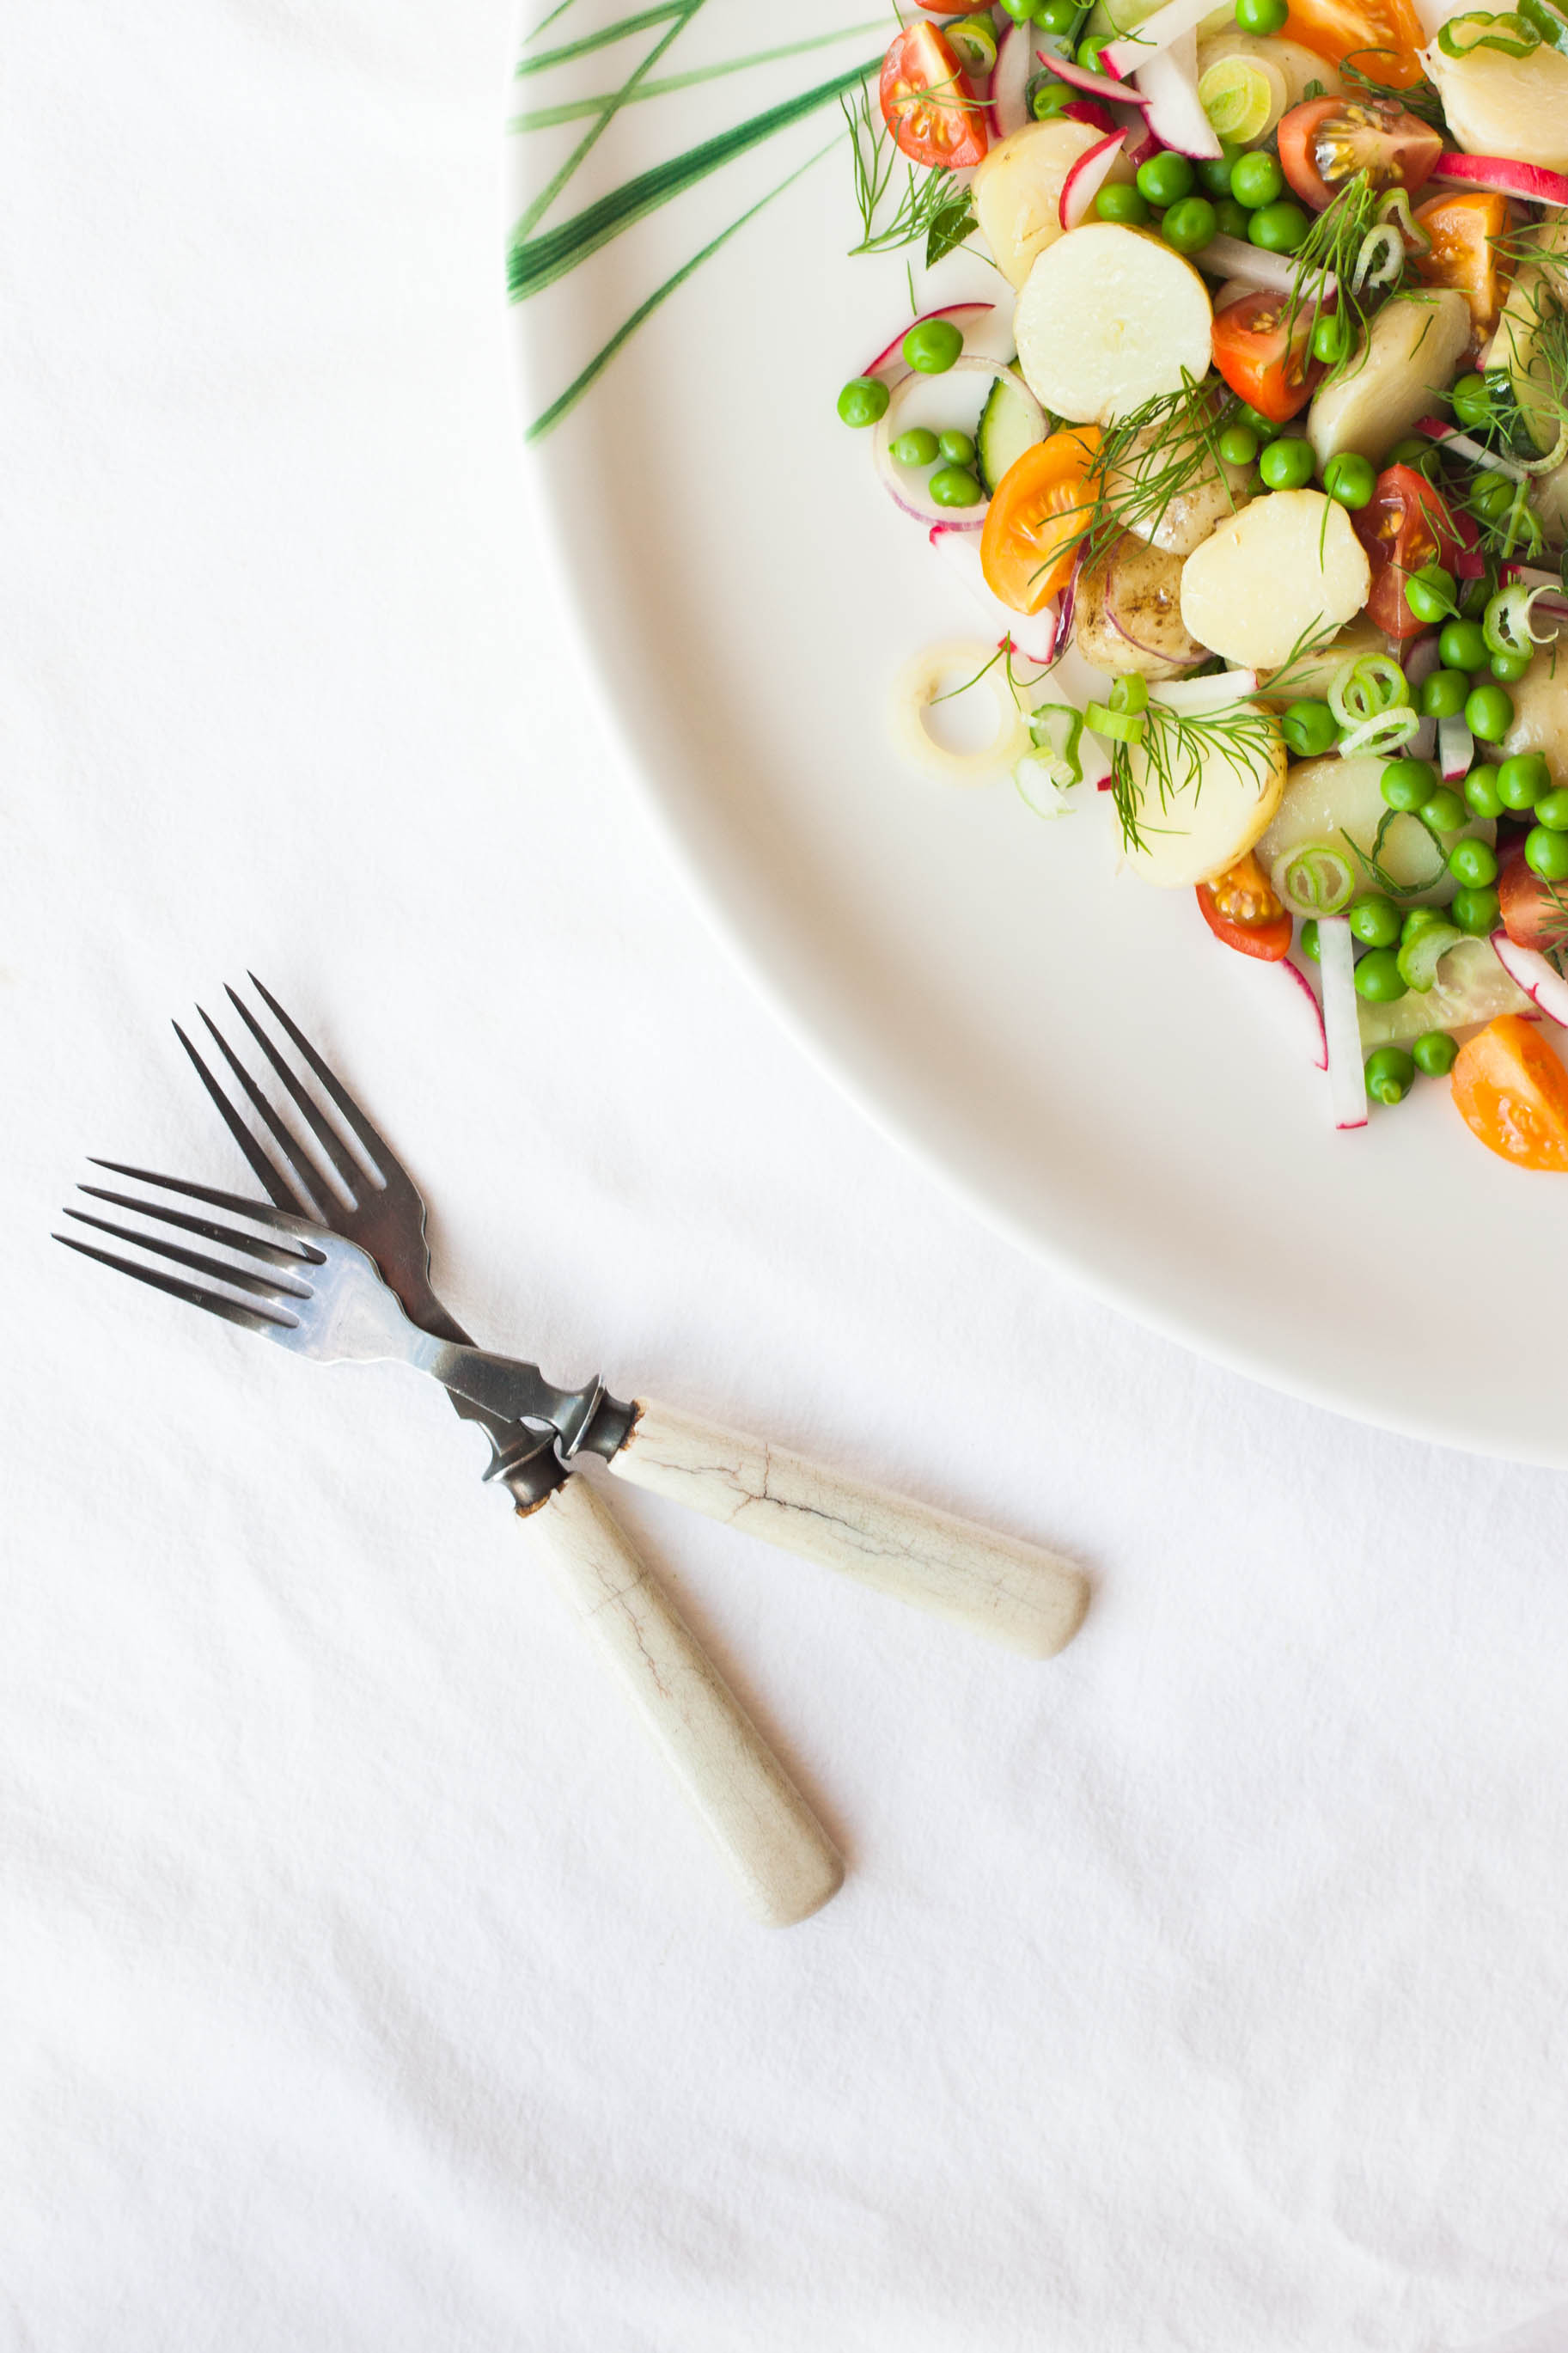
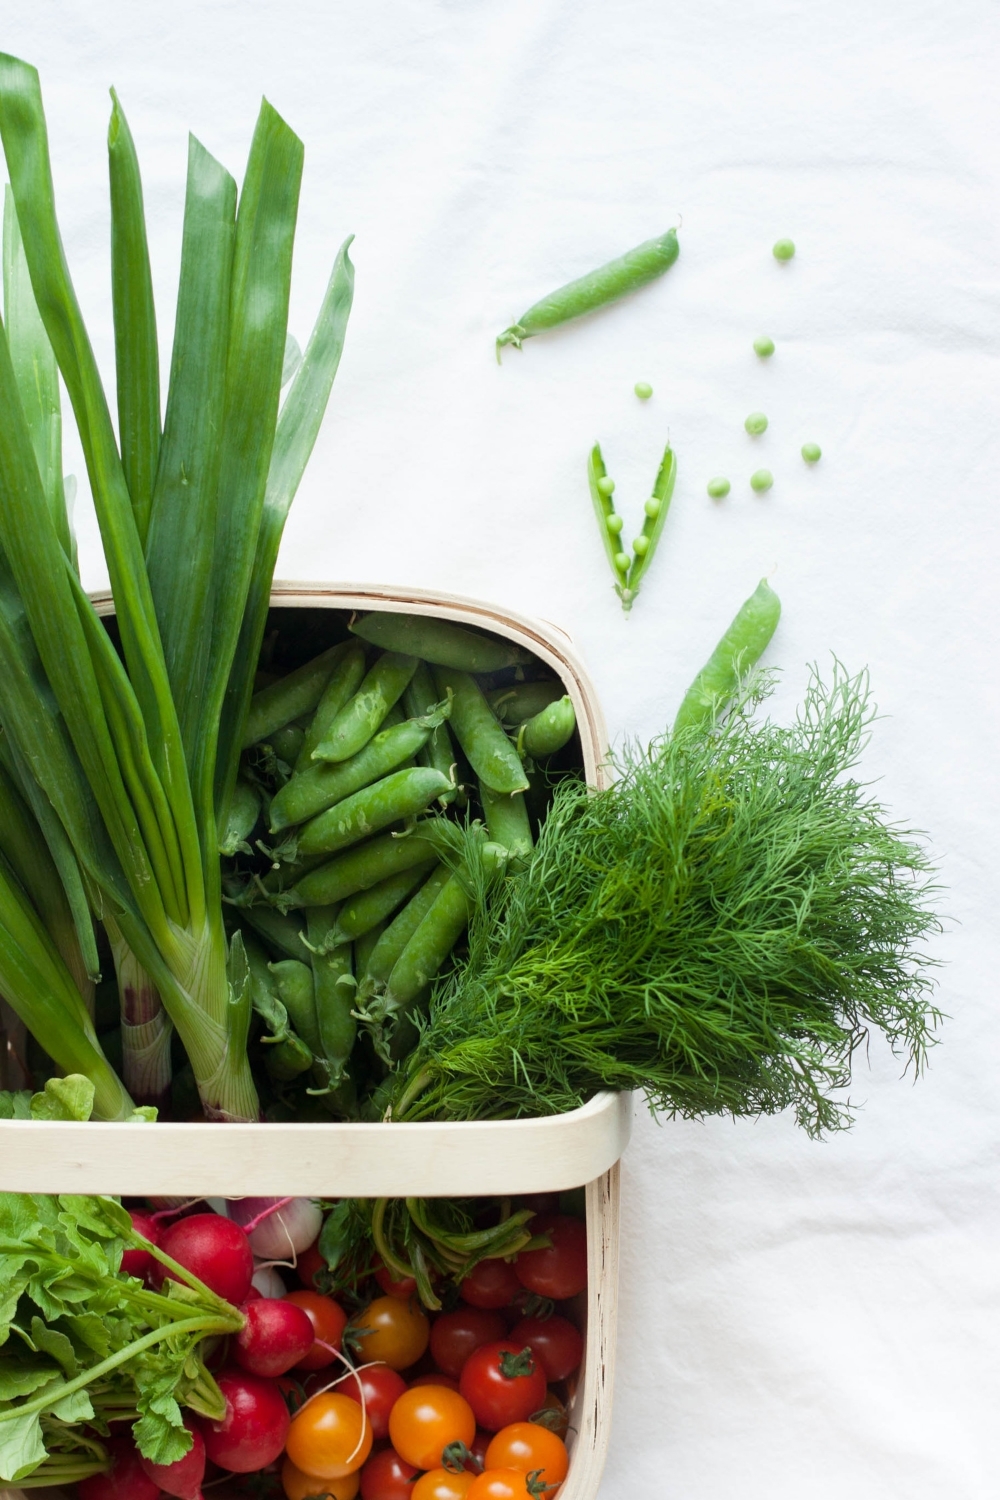
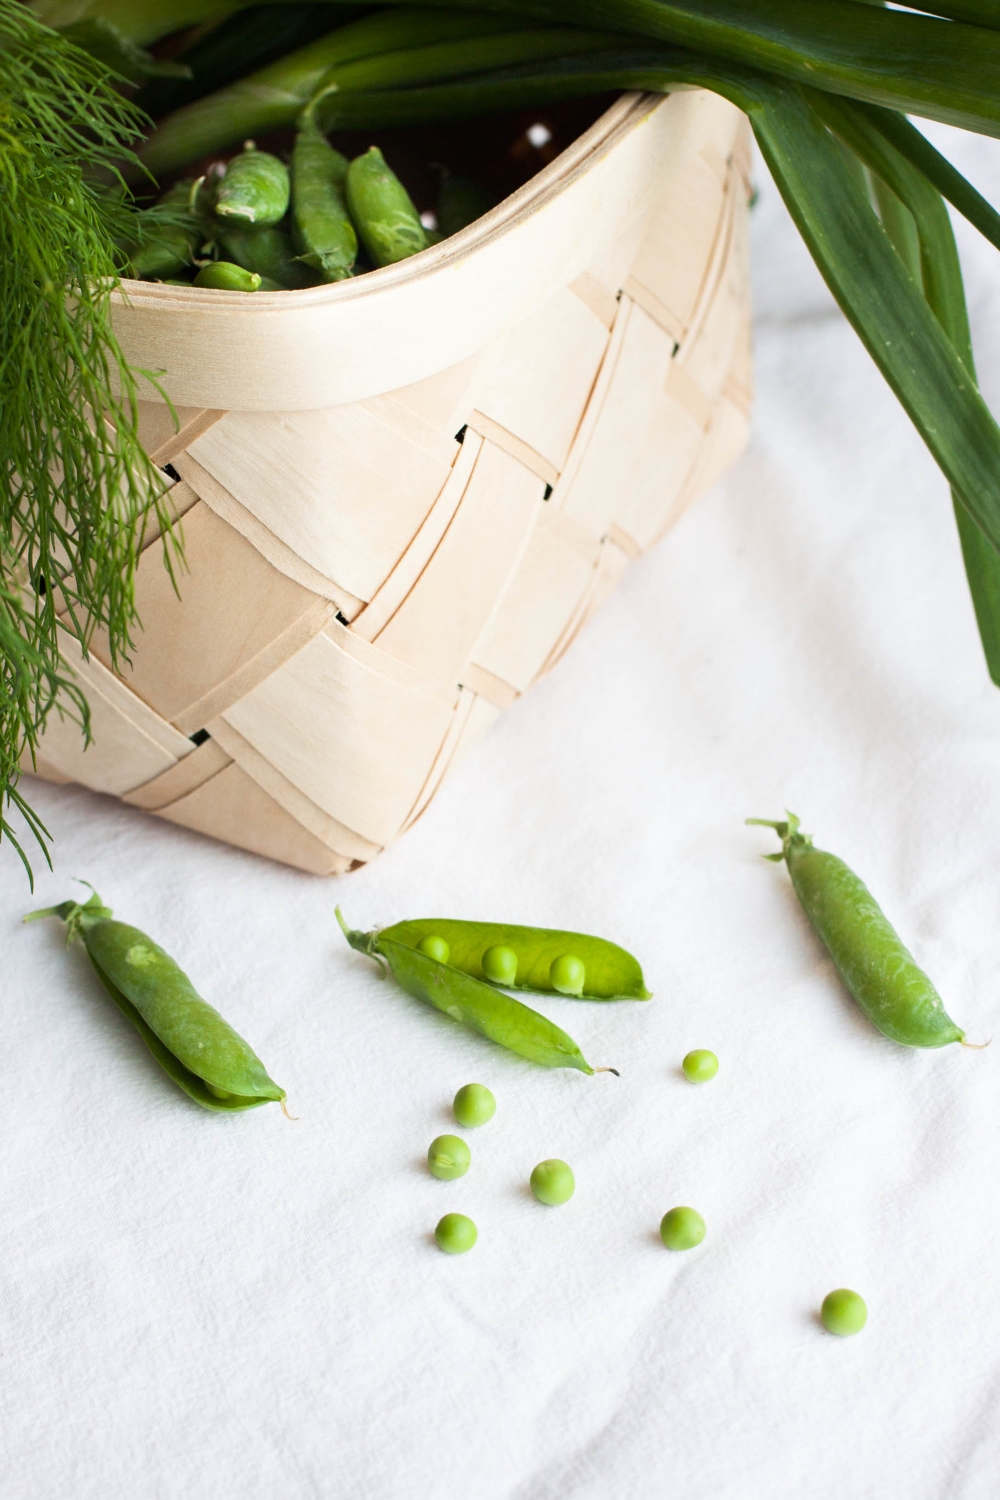
How can one not be inspired by summer’s bounty? I’m like a kid in a candy shop whenever I visit a farmers’ market these days as I easily get overwhelmed by all the fresh produce: berries, fruit, vegetables, herbs... So much goodness! I’m lucky to live within a short walking distance of not only one but two farmers’ markets, so I try to find my way to them several times a week. You almost never see me leaving without a bagful of green peas (I eat them raw – one of the best things I know), some local strawberries while still in season (they're amazing at the moment), and new potatoes (cause I just can't get enough of their lovely, delicate flavor). Also, I’m addicted to the sweet-like-candy cherry tomatoes that an old lady sells at her stall every summer. They are the best tomatoes I’ve ever tasted, and I never miss the chance to tell her that.

I buy what looks fresh and vibrant, what inspires me the most. When you have great produce at hand, you don’t need to do much to them anymore. Rather, let the textures, flavors, and colors speak their own language. That's my summer cooking philosophy.

Potato salad has always been a summer staple out our home. It's the perfect side dish to accompany grilled meat or fish without having to spend too much time in the kitchen. To be honest, I often make salads on the porch. That way I don't have the feeling I'm trapped inside missing all the fun. Potato salad is also what I most often get asked to bring with me to a summer potluck with friends or family. It's a crowd-pleaser and we rarely end up having leftovers. You would never see mayonnaise in my potato salads as I like to prepare them the way it's done back home in southern Germany with a simple vinaigrette. In this recipe, I added some dijon mustard to the vinaigrette as well as honey which may not be traditional but definitely delicious. Feel free to play around with different vegetables and herbs; use what's in season, what inspires you, or what simply make your mouth water.

Summer Potato Salad | my blue&white kitchen

I’m keeping it short today as the sun is shining so brightly outside and it would be a waste to spend more time sitting here in front of the laptop telling you how wonderful summer evenings are. Go outside, soak up the sun while it's still shining so gleefully! That's exactly what I'm going to do right now.

Summer Potato Salad | my blue&white kitchen

Summer Potato Salad

serves 6 as a side

This salad can be prepared in advance. If doing so, add the radishes, peas, and herbs just before serving or they'll lose their color and/or wilt. You may also need to add some more vinaigrette before serving as the potatoes will probably soak up most of it. Furthermore, if you decide to make the salad in advance, I would let the potatoes cool completely before adding the other vegetables and herbs; you can, however, add the vinaigrette while the potatoes are still warm.
 

1 kg (2 lb) new potatoes (preferably small ones), scrubbed
2 small cucumbers (I love to use Kirby cucumbers), sliced
1 red scallion, sliced
1 small bunch of pink radishes, cut into sticks
a couple of handfuls of cherry tomatoes, preferably in several colors, cut into wedges
2 ½ dl (1 cup) shelled green peas
a bunch of fresh herbs, such as dill, chive, or parsley, roughly chopped

For the vinaigrette
5 tbsp extra-virgin olive oil
2 tbsp white wine vinegar
1 tsp dijon mustard
a drizzle of honey or agave nectar
fine sea salt & freshly ground black pepper


Boil the potatoes in salted water until tender. Drain and return the potatoes to the pot. Put the pot back to the stove top and let sit for a while to absorb any water that may still cling to the potatoes and potentially make them soggy. Let the potatoes cool a bit. Halve or slice the potatoes, depending on their size. [note: New potatoes usually have only a very thin skin. Therefore, I prefer them unpeeled.] Add to a big bowl.

To make the vinaigrette, whisk together the olive oil, vinegar, mustard, and honey. Season with salt and pepper. Add to the still warm potatoes and mix to combine.

Boil the green peas in salted water for 3 minutes. Drain and rinse under ice cold water to stop them from cooking further as well as to help them keep their bright color.

Add everything to the dressed potatoes and toss gently. Serve with grilled fish or meat.


Summer Potato Salad | my blue&white kitchen

Wild Plant Foraging – Nettle Flatbread

For centuries, foraging has played an important role in Nordic culture. In the former days, it basically was a necessity for survival; you had to know which plants were edible and how to best use and preserve them in a way that most of the nutritional values stayed intact.

Foraging had never been forgotten or gone, but it definitely lost popularity and its focused narrowed substantially in the 20th century. People still foraged but mainly berries, like bilberries, raspberries, lingonberries, and cloudberries, and mushrooms, like chanterelles and porcini. Wild plants were, however, mostly left without attention. People probably lost interest because wild plants weren't a crucial part of their diet anymore. Markets were full of vegetables, fruit, and other products from all over the world.

Who needs fireweed or wood sorrel when you can basically have anything you want.

nettle1.jpg

In the last years, however, one could observe a wind of change. A storm, really. The rising popularity of foraging is part of the New Nordic Cuisine, a movement that not only embraces farm-to-table cooking but focuses on seasonal, locally foraged ingredients. Back to the roots. 

Internationally, René Redzepi, one of the founders of the New Nordic Cuisine as well as the chef and co-founder of the world's best restaurant, noma, has shared his love for Nordic cuisine making it popular world wide. In Finland, one of the brightest voices of this movement has been Sami Tallberg. He has written several successful books about foraging wild plants and how to use them in the kitchen, has talked about them in magazines and on television, and holds wild plant foraging and cooking workshops on a regular basis.

Nettle Flatbread | my blue&white kitchen

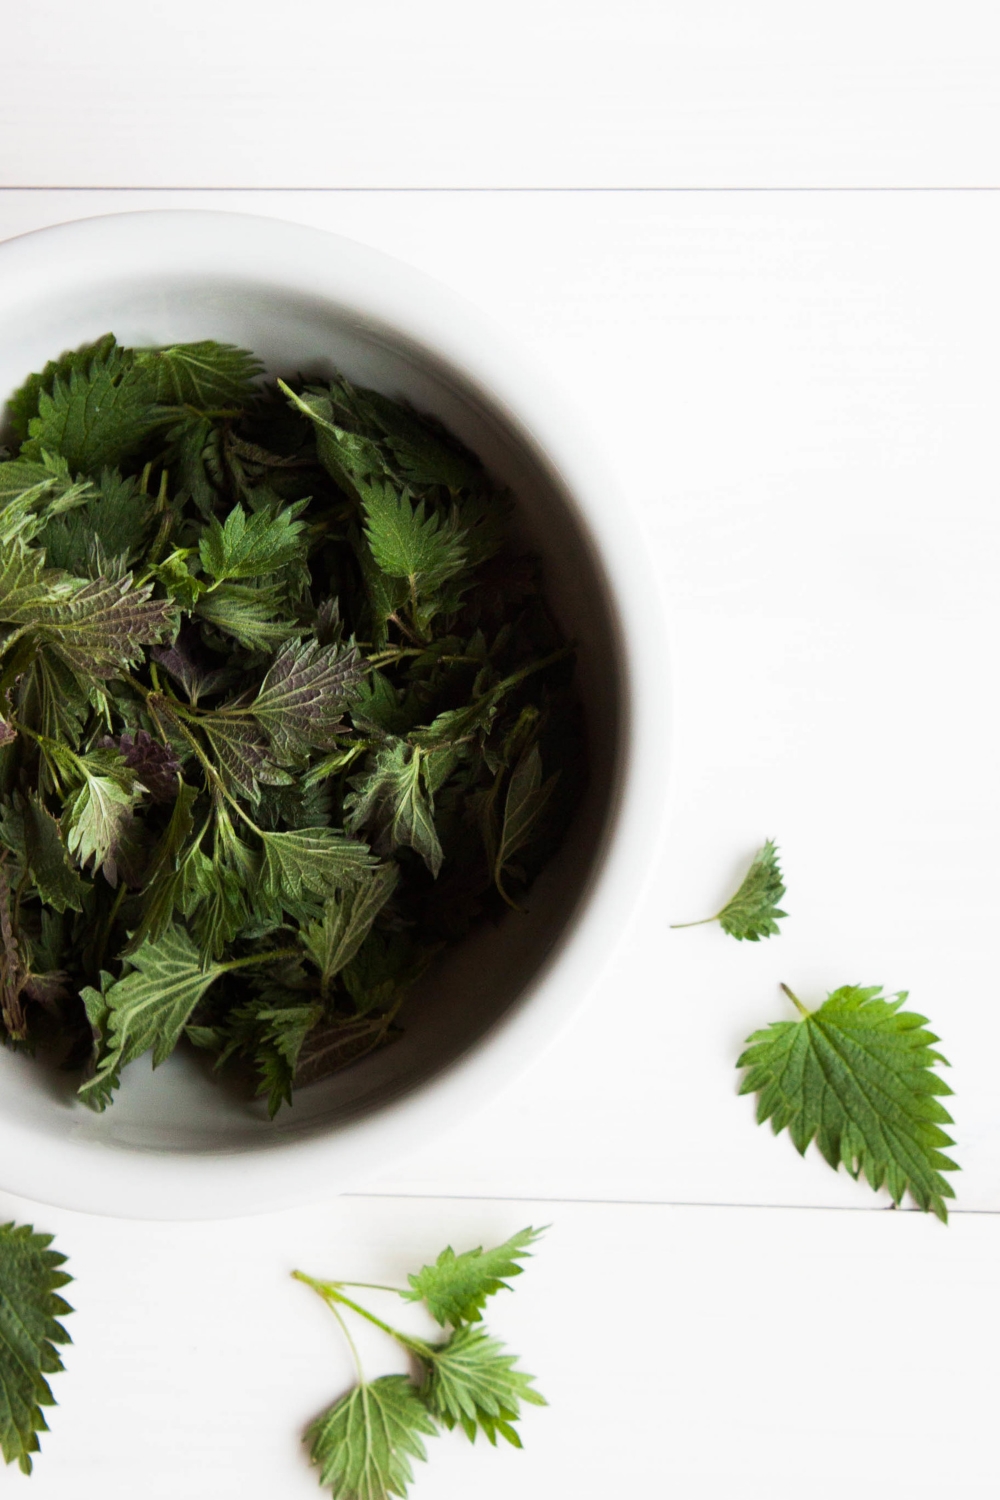
To be honest, I too am quite new to wild plant foraging. Although, I grew up in a family of enthusiastic foragers, foraging mainly focused on berries in summer and mushrooms in fall. Plants were not paid much attention to. Nettles were, however, a bit of an exception. I don't remember foraging them as a kid but I always knew they were edible. I knew that they could be used much like spinach; you could use them in soups, salad, pesto, and bread, to name a few. I was also aware of their high nutritional value, packed with vitamins, iron, potassium, manganese, and calcium, making them real superfood.

Nettle Flatbread | my blue&white kitchen

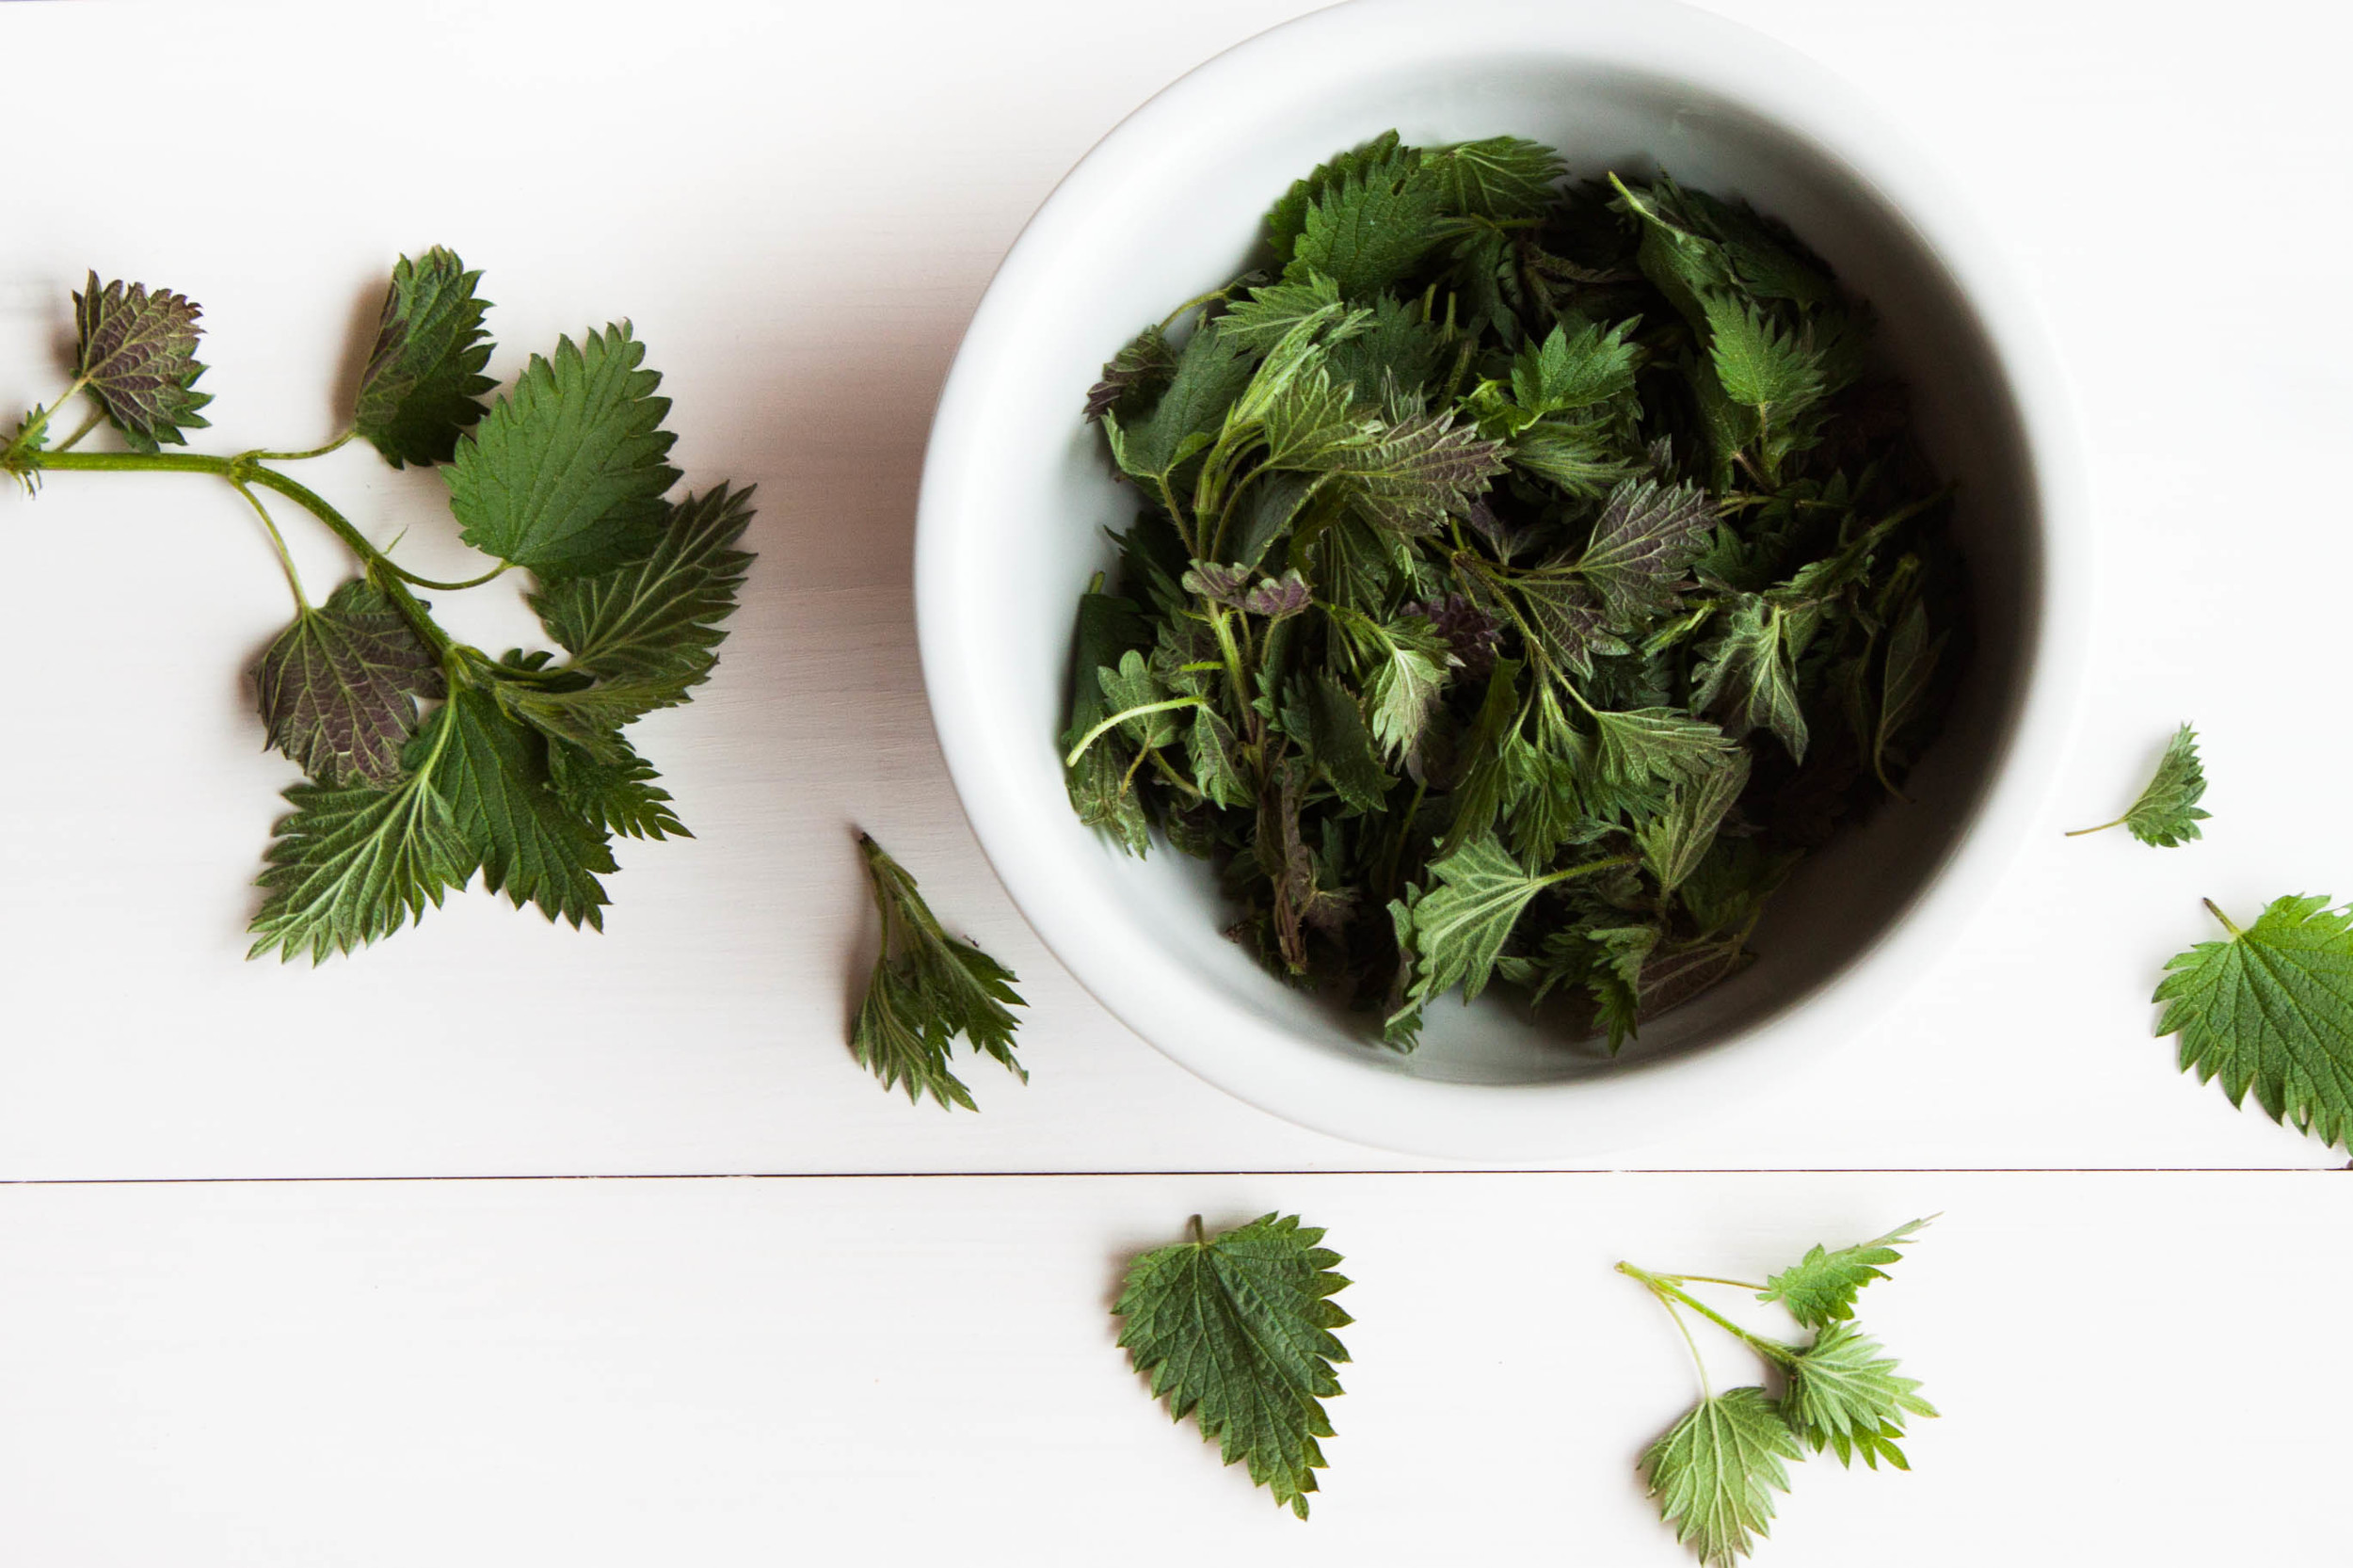
A few notes on foraging and handling nettles. First of all, always wear gloves when foraging nettles and tongs when handling them in the kitchen. The leaves and stems have stinging hairs which cause a painful rash on contact. But don't worry, they lose their sting when crushed or cooked.

If you aren't very familiar with wild plant foraging, nettles are, in my opinion, the perfect plant to start with. Nettles are widely distributed which makes them quite easy to find. This ensures that you'll come back home from a foraging trip feeling like the queen or king of nettle kingdom.

Nettle Flatbread | my blue&white kitchen

As with all foraging, identify every plant with 100 percent certainty before foraging it. If in doubt, just grab them with your bare hands and...KIDDING!! Don't do it. Just don't. It will hurt. Fortunately, you will find many good guides on wild plants on the Internet and at your library.

The best time to forage nettles is spring and early summer before they start to bloom. Look out for young, about 5–10 cm (2–4") high, plants. If the nettles are already bigger, only forage the tops and leaves. Lastly, try to avoid urban areas as those nettles are packed with harmful nitrogen.

Do you forage plants?

Nettle Flatbread | my blue&white kitchen

Nettle Flatbread

recipe inspired by Tartine Bread; crust slightly adapted from delicious:days by Nicole Stich
makes 10 small flatbreads or 2 big ones

It took me a couple of trials to optimize the baking. My first flatbread batch came out with burned nettles. Damn. I figured out that I probably should toss the nettles in some liquid to keep them from burning. In Tartine Bread, Chad Robertson coats his nettles with heavy cream. I decided to try his method myself. The result was better than with my first batch but I wasn't totally satisfied. So I tried one flatbread with coating the nettles with some olive oil. To my slight frustration, the nettles were still getting too brown. Adding the nettles after about half the baking time, provided the best result: the crust was perfectly brown and the nettles were cooked down and crisp without being burned. Therefore, it's also the method I'm describing in the recipe below.

250 g (9 oz; about 4 ½ dl; 2 heaping cups) all-purpose flour (or bread flour, substitute by weight)
50 g (2 oz; 1 dl; ⅓ heaping cup) rye flour
½ tsp fine sea salt
175 ml (¾ cup) lukewarm water
15 g (0.5 oz) fresh yeast
[OR alternatively 5 g / 1 ½ tsp instant or other active dry yeast, used according to packet instructions]
1 tbsp olive oil

100 g (3.5 oz; 1 dl; ⅓ heaping cup) crème fraîche
1 tbsp heavy cream
fine sea salt & freshly ground black pepper
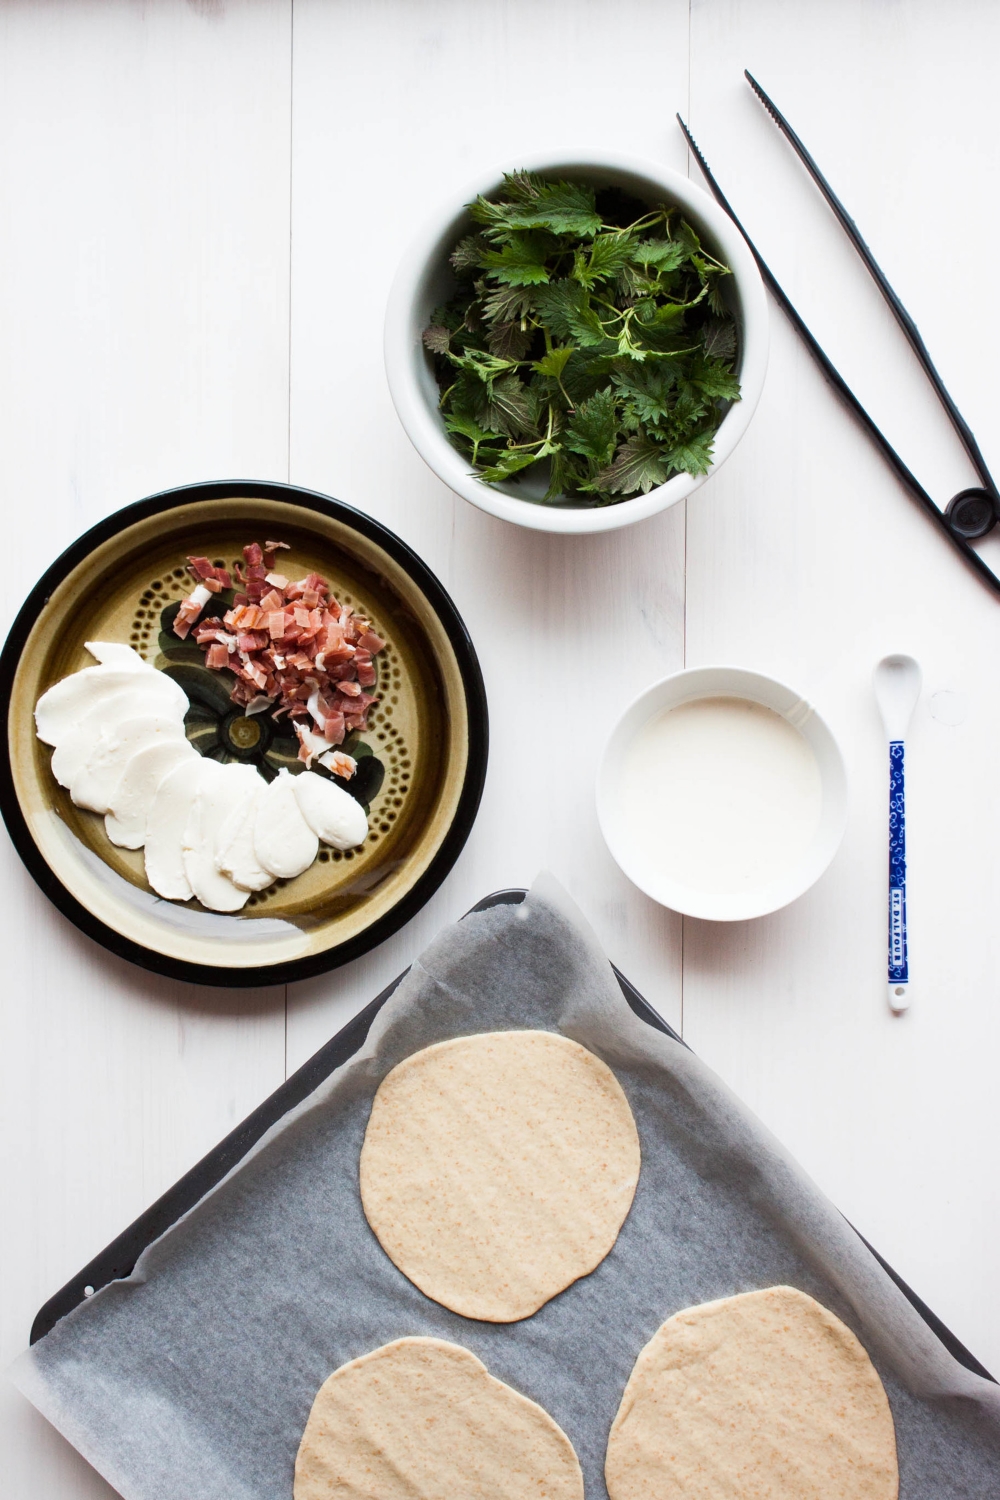
250 g (9 oz) mozzarella, very thinly sliced
100 g (3.5 oz; about 8 dl; 3,5 cups) nettles, washed & dried
a couple of tablespoons olive oil
pinch of salt
optional: 100 g (3.5 oz) Black Forest Ham or pancetta, chopped


To make the dough
In a medium-sized bowl, combine both flours and salt. Set aside. In a bowl of a standing mixer, combine the water and crumbled yeast. [If using instant active dry yeast, skip this step. Combine yeast with some flour and add to warm, about 42°C / 108°F, water mixture just before adding the rest of the flour.] Stir until the yeast is completely dissolved. Add the olive oil. Gradually add the dry ingredients, while kneading. Knead for 3–5 minutes at medium speed. If the dough feels too dry, add a bit more water; if it feels too sticky, add a bit more flour. The dough is ready when it's elastic and comes clean off the sides of the bowl.

Shape into a ball and cover with a kitchen towel. Let the dough rise in a warm place for 45 minutes. After the dough has risen, punch it down, divide into 10 equal portions and shape them into balls. Cover with a kitchen towel and let rise for further 30 minutes.

Preheat the oven to 250°C (480°F) or as hot as your oven gets. You can place a baking sheet at the bottom level so it gets preheated. It works like a pizza stone and ensures a perfect crust!
 

To make the topping
Combine the crème fraîche and heavy cream. Season with salt and pepper. Set aside. Now get your tongs ready. In a large bowl, toss the nettles with just enough olive oil to thinly coat them and season with a pinch of salt.
 

To assemble
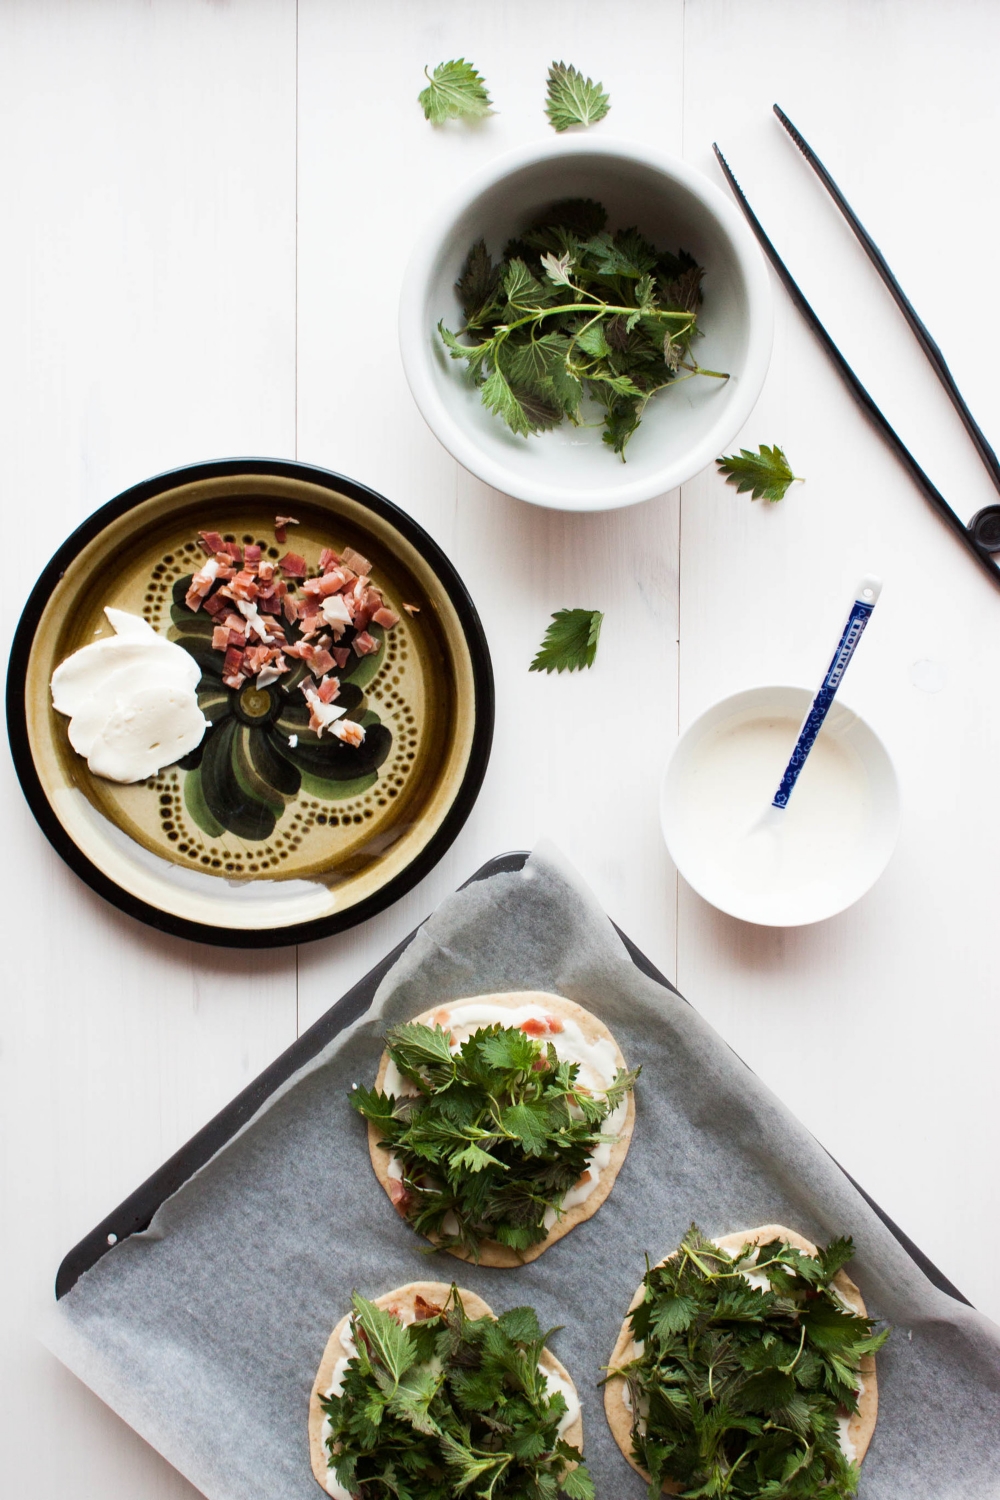
Take a dough portion and flatten it with your hands. Using a rolling pin, roll out thinly on a lightly floured surface. Transfer to a parchment-lined baking sheet. Evenly spread a thin sheet of the crème fraîche mixture on top and top with some mozzarella and pancetta.

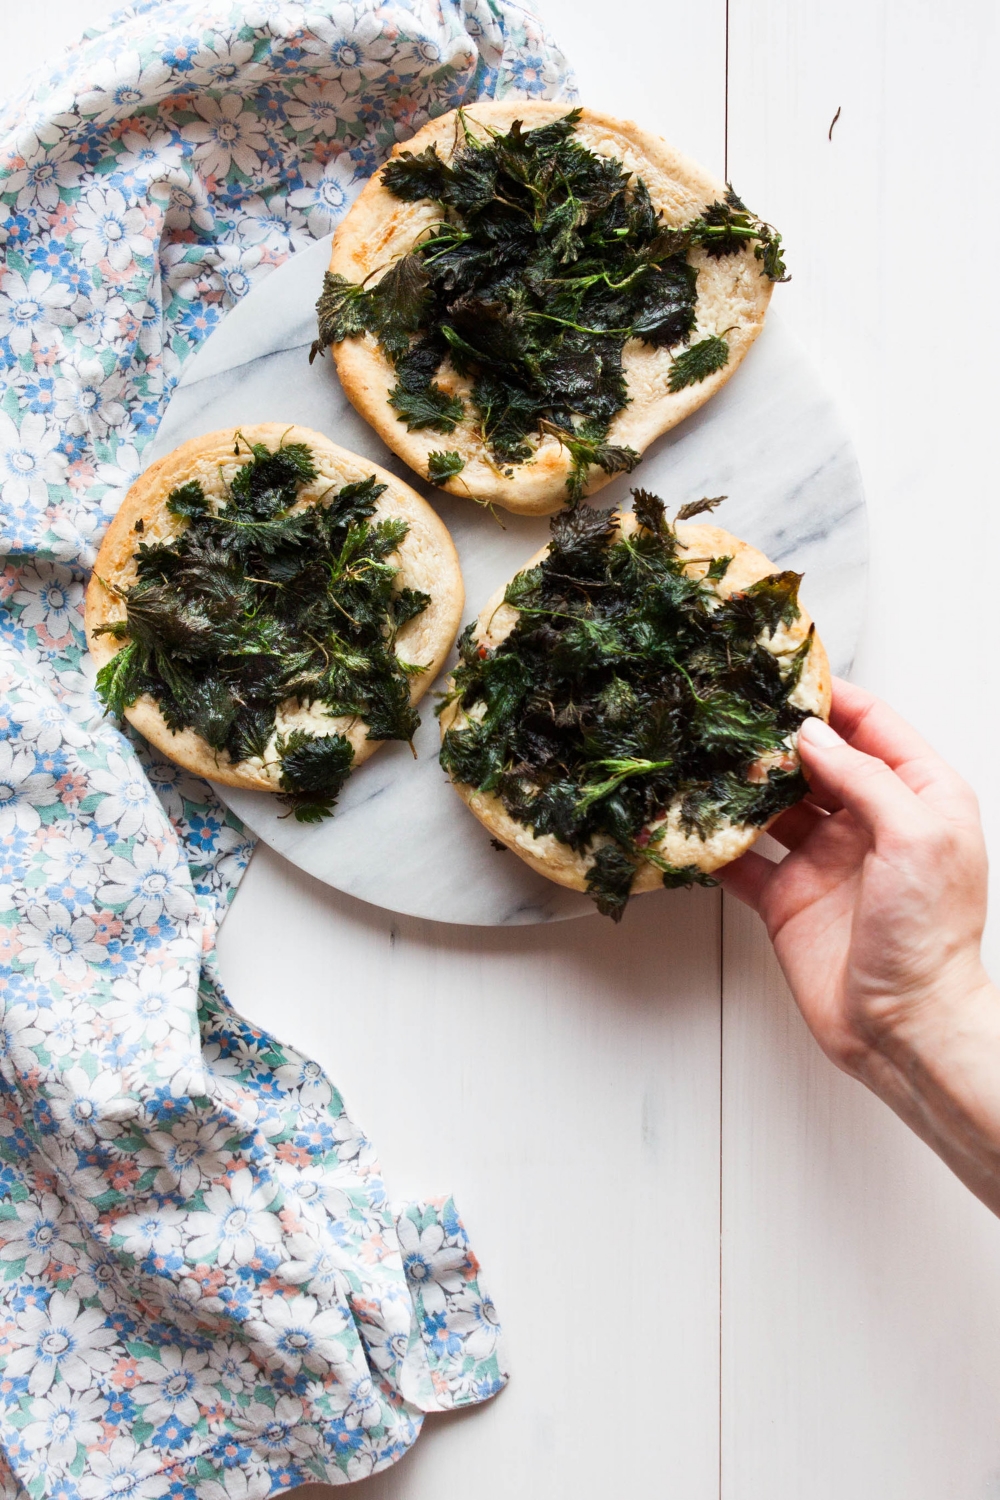
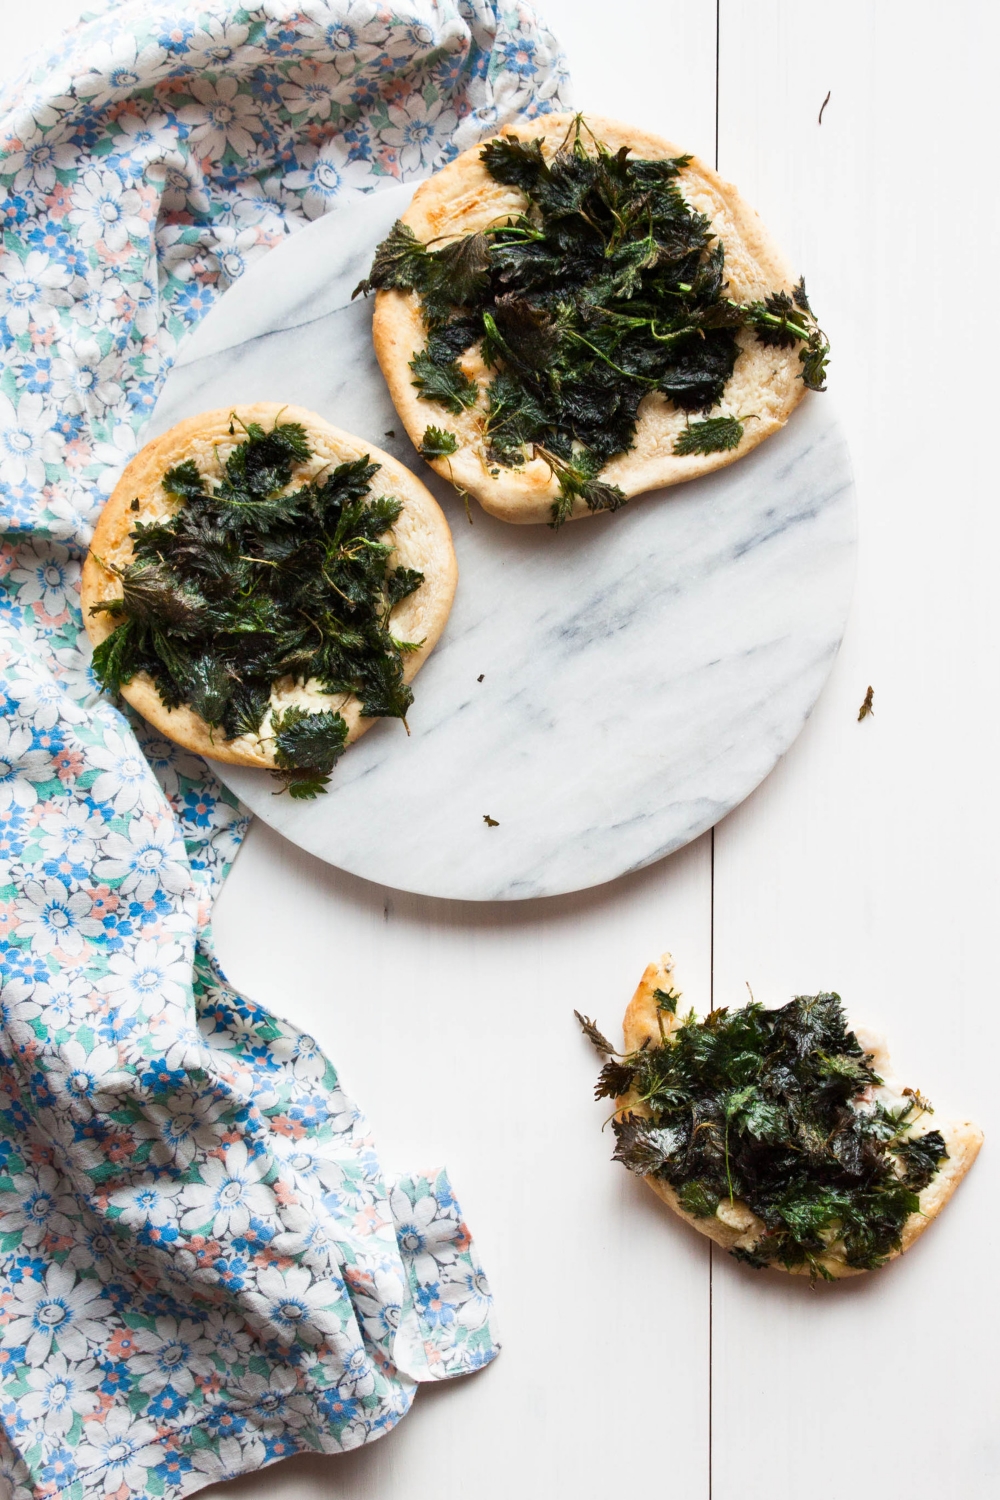
Bake the flatbreads on the bottom rack for 5 minutes. Mound nettles on top of each flatbread. By adding the nettles at a later stage, we can ensure that they don't burn while baking. Bake the flatbreads for a total of about 10 minutes, or until the crust has gained a golden brown color. While the first batch is baking, you can assemble the second sheetful.

Serve hot.