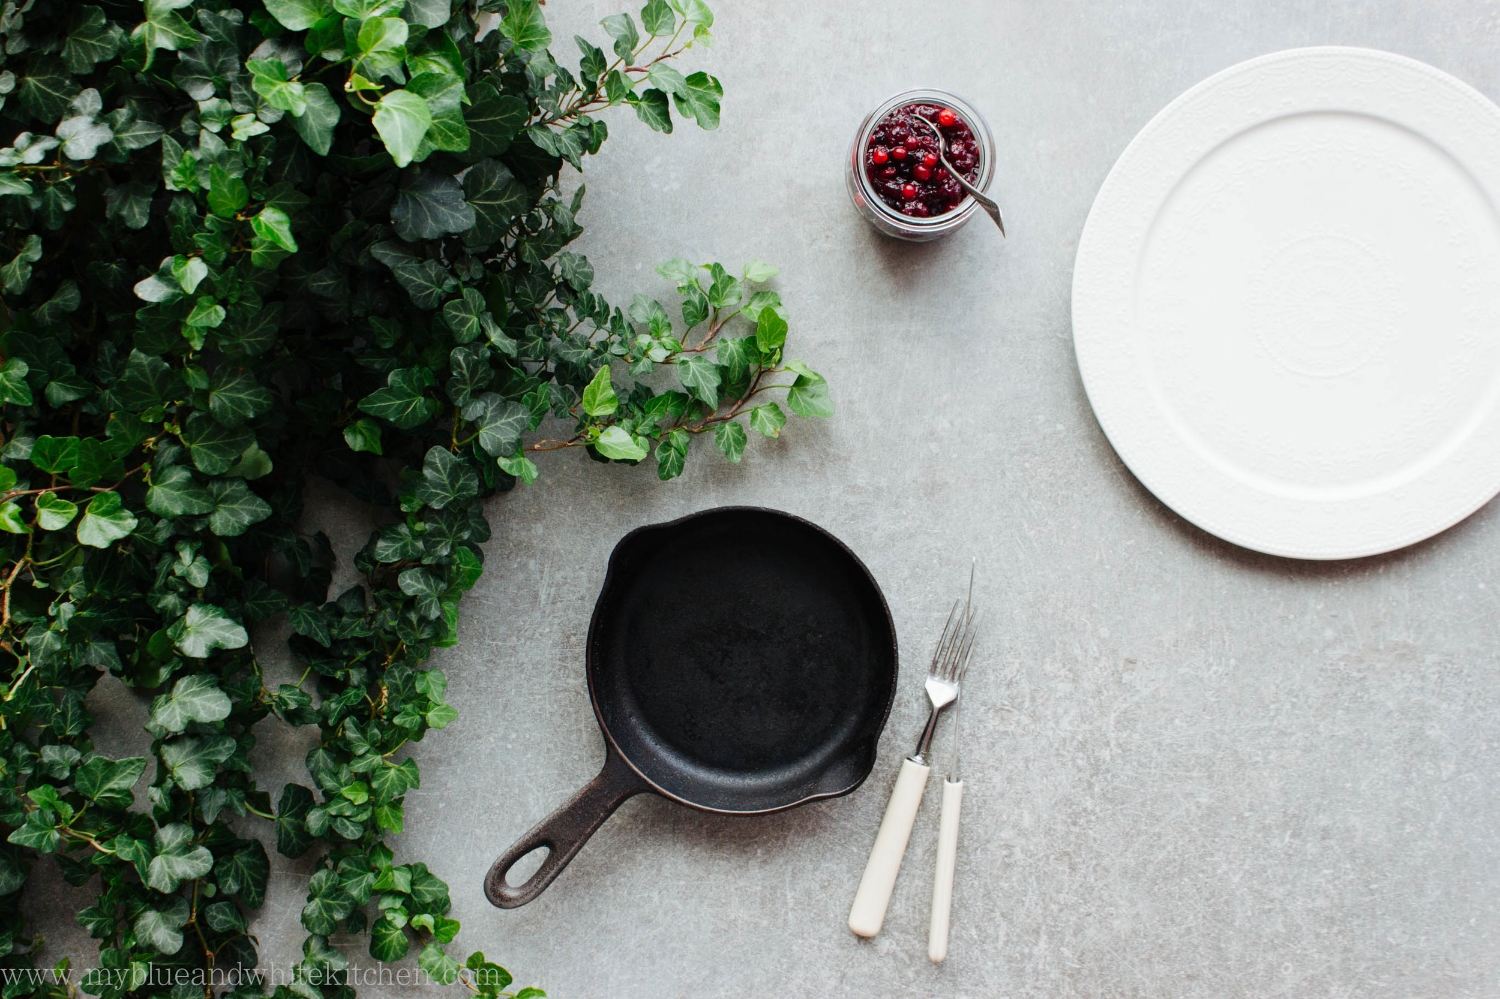
I'm Back – Stinging Nettle Pancakes

Stinging Nettle Pancakes | My Blue&White Kitchen

I'm back.

I've probably written this post in my head a thousand times already. There's so much I would like to say but I'm lost for words. To be fully honest with you, although I feel glad to be back, I'm also nervous and anxious. What if someone mirrors my blog again? I'll probably never be free of that fear but I can't let it keep me away from what I love; from this space and community, styling and shooting food, developing recipes and sharing them with you. So here I am. Hi, folks!

Before I start to talk about food, I really have to thank you first. I was really touched by your response to my Facebook update 3 months ago where I explained why I had to take down the blog for the time being. Your support has been amazing. Your comments, emails, DMs, and tweets have shown once more what an incredible community this is. A fellow blogger once said to me in an email that our community is widespread but tight knit and I couldn't agree more. So thank you.

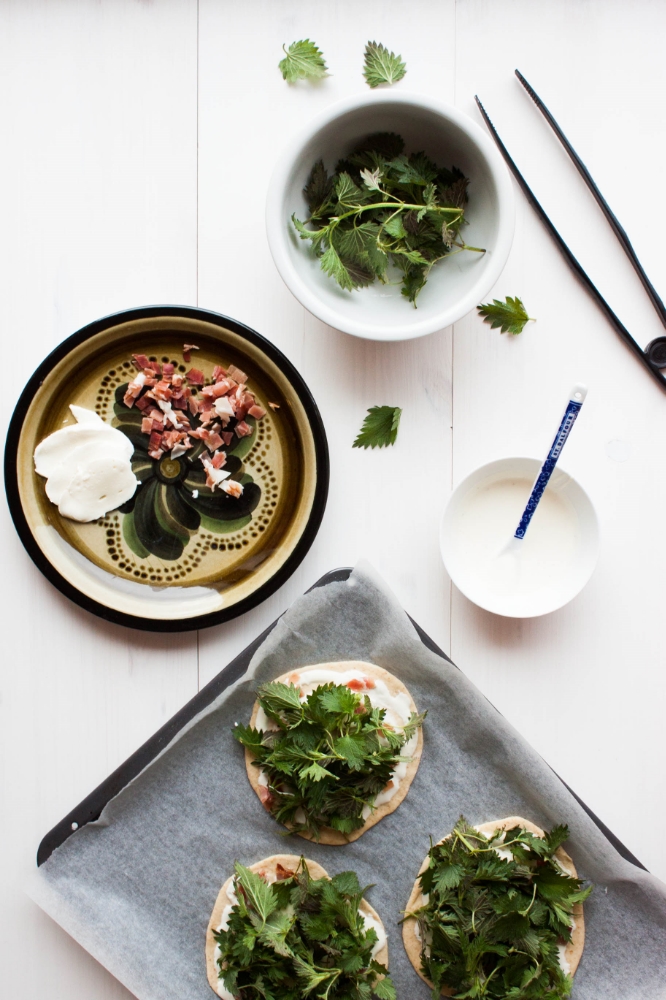
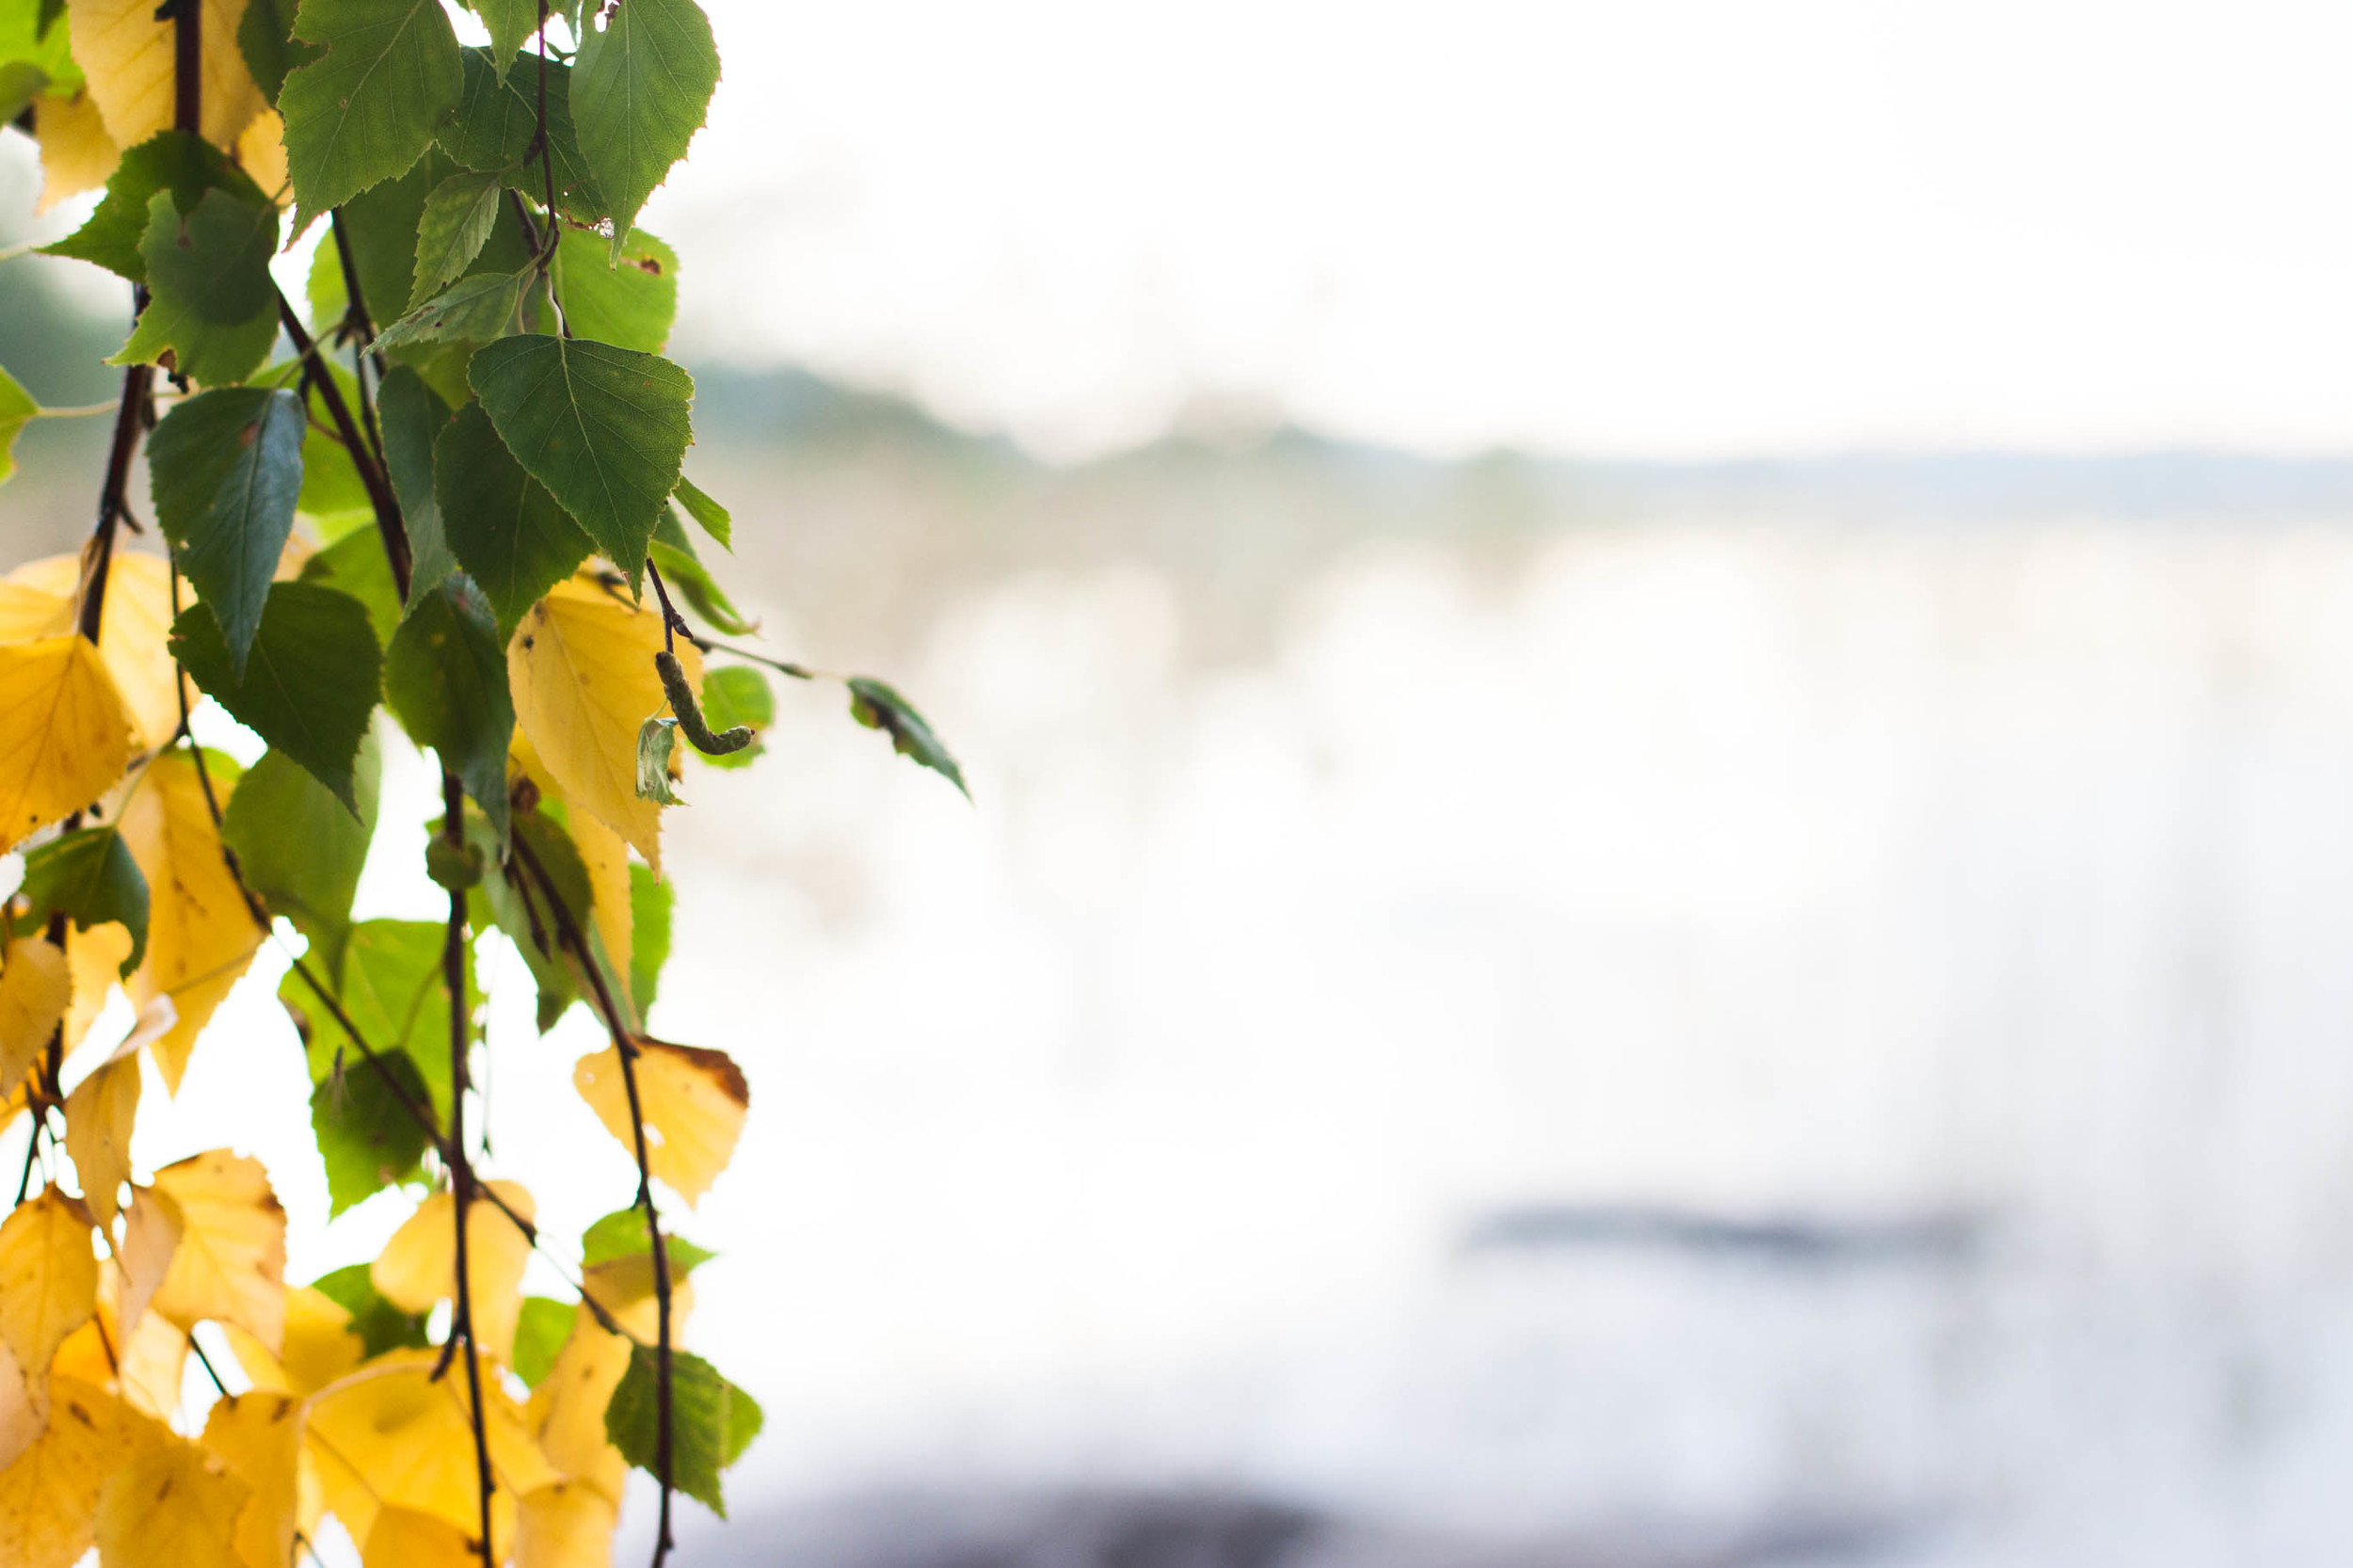
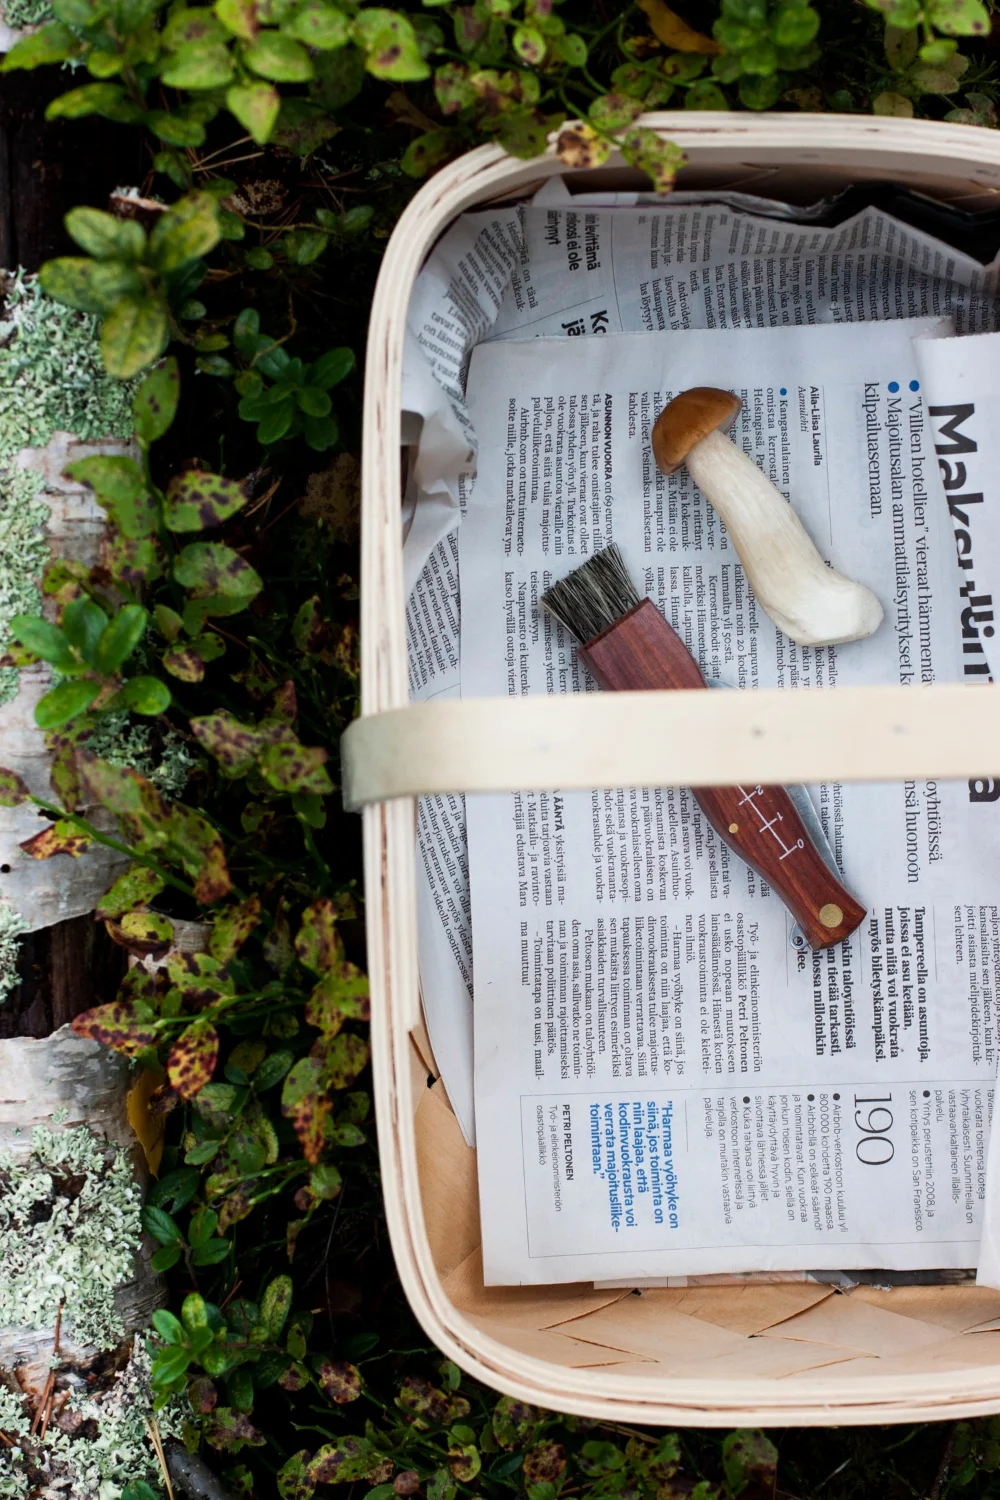
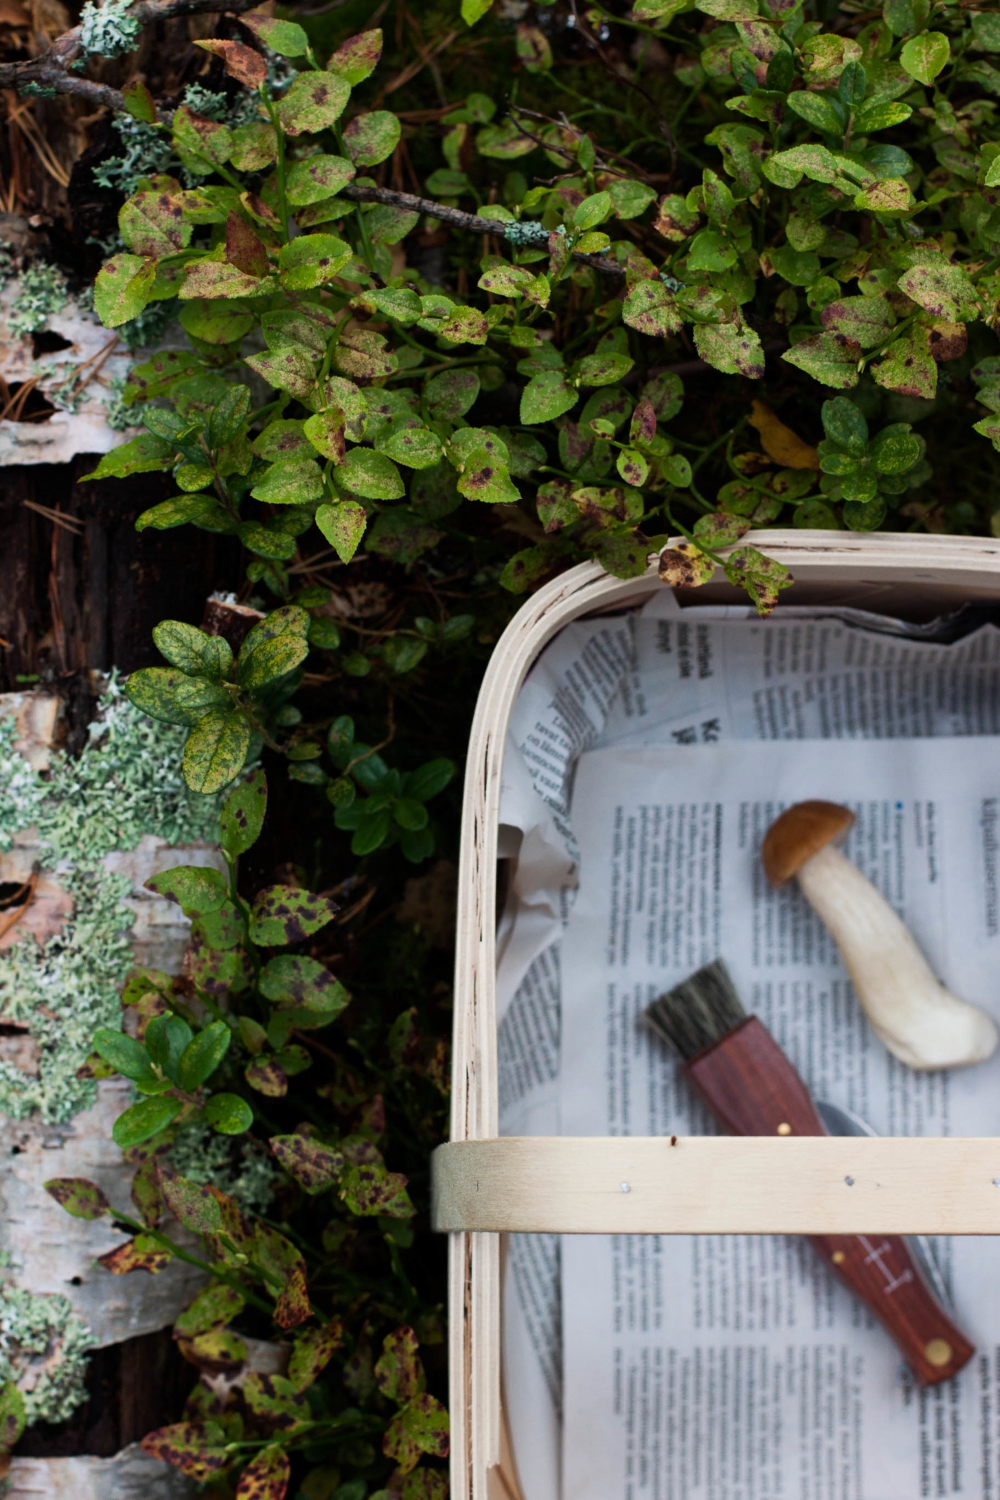
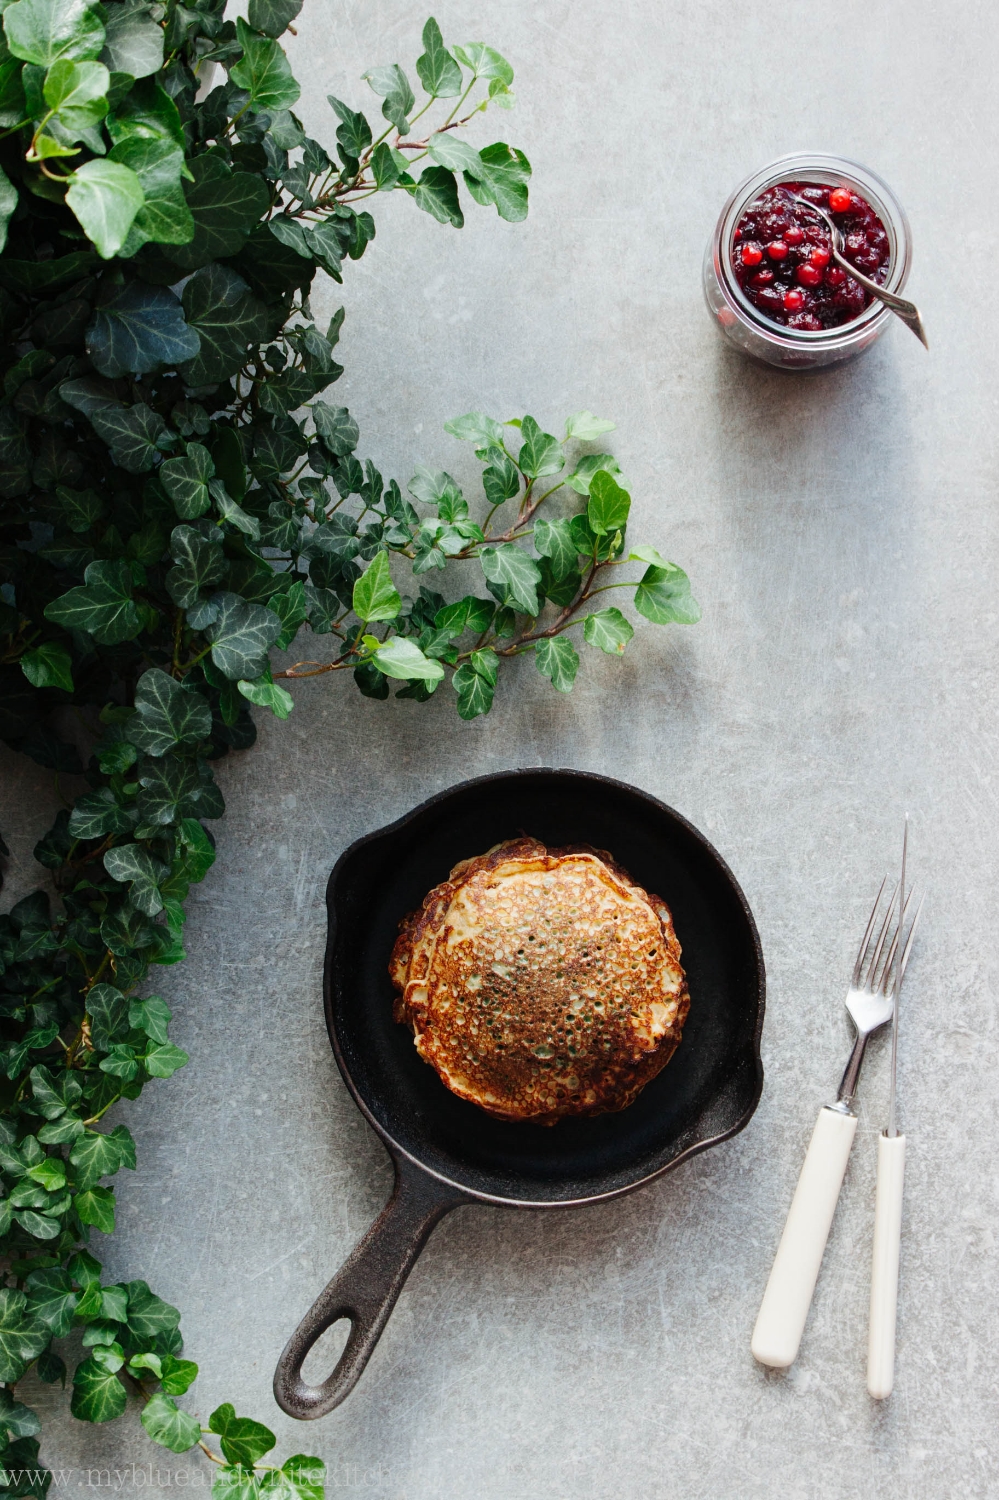
The last couple of weeks, I've been waiting for the perfect recipe to share with you but none felt right. Well, until last week when I made these pancakes after a foraging trip to the woods. I knew this would be a recipe I wanted to share with you.

Stinging nettles are great in things like pesto or paired with butter and cream. I also want to make some nettle gnocchi soon. That said, one of my absolute favorite ways to enjoy this wild plant is in pancakes. Spinach pancakes are popular in the Nordic countries, so it comes naturally to adapt that classic dish and use wild nettles instead of spinach; a perfect dish for lunch or dinner. Nordic pancakes are related to French crêpes in size (although we sometimes make small ones too) and texture. However, we like to fry our pancakes until brown in color. A perfect Nordic pancake should have a lacy, crispy edge.

Spring is the perfect time to forage stinging nettles. If you're new to foraging wild plants, stinging nettles are the perfect plant to begin with; they're easy to identify and grow in abundance. There are a couple of things to keep in mind though. Wear gloves when you pick nettles as they sting when touched. Pick the top four to six leaves of each plant; this way the nettles will regrow all summer long. Don't forage stinging nettles near roads, composts, or possibly polluted areas, as the plants absorb harmful nitrogen from soil and air. Remember to use gloves or tongs when you're handling stinging nettles. You can get rid of the sting by boiling or crushing the plants after which they can be handled without the fear of getting that nasty stinging sensation.

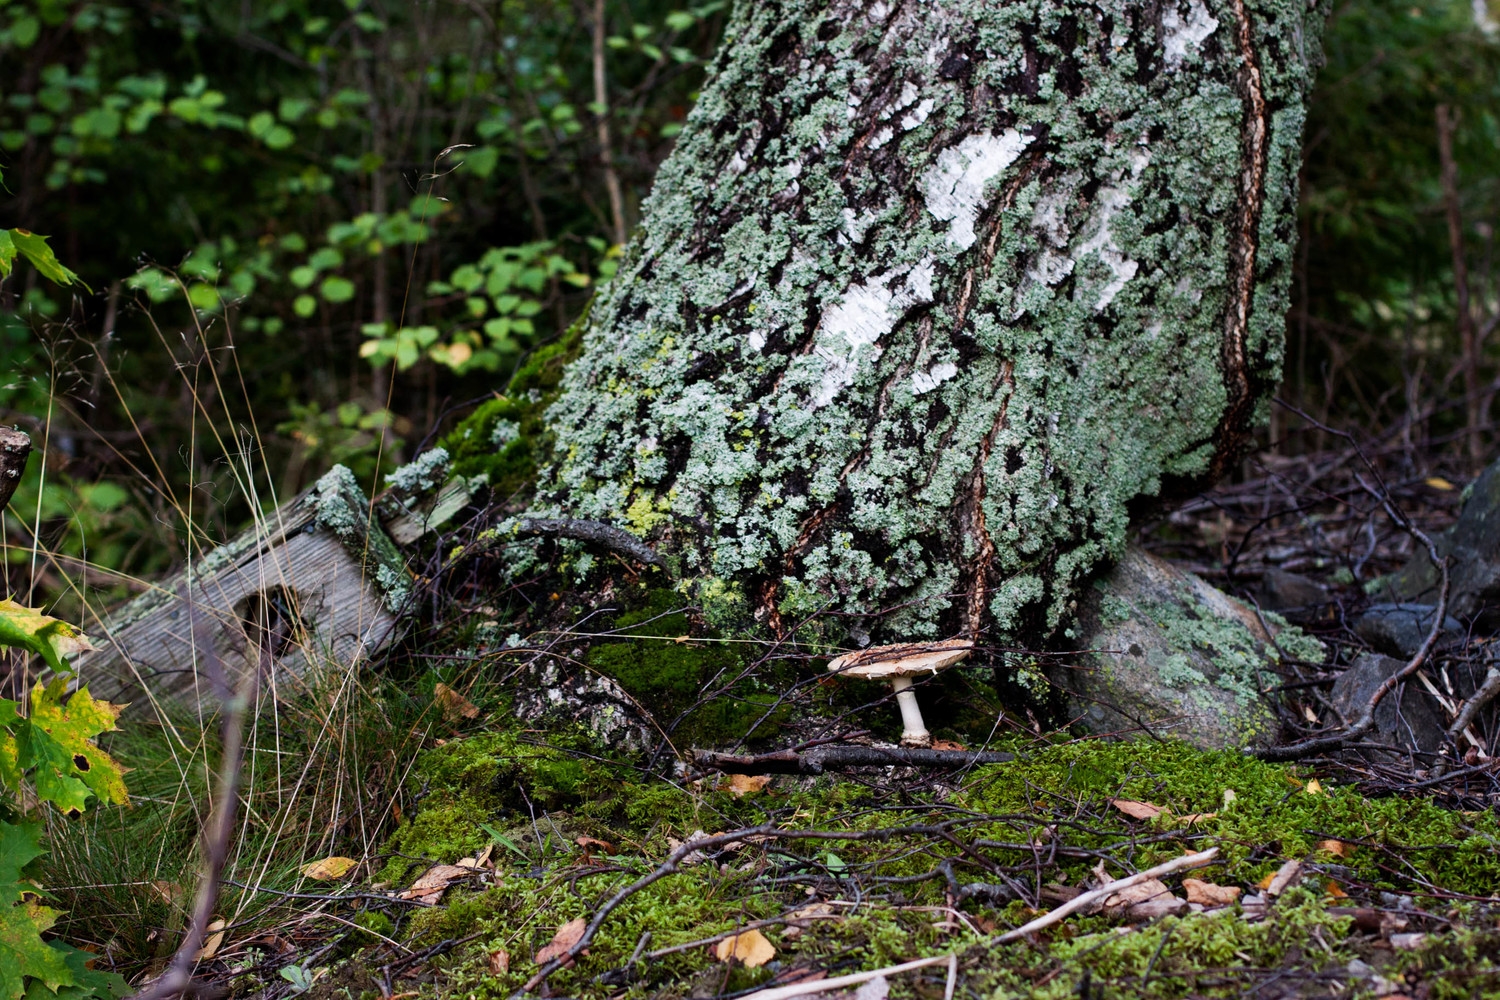
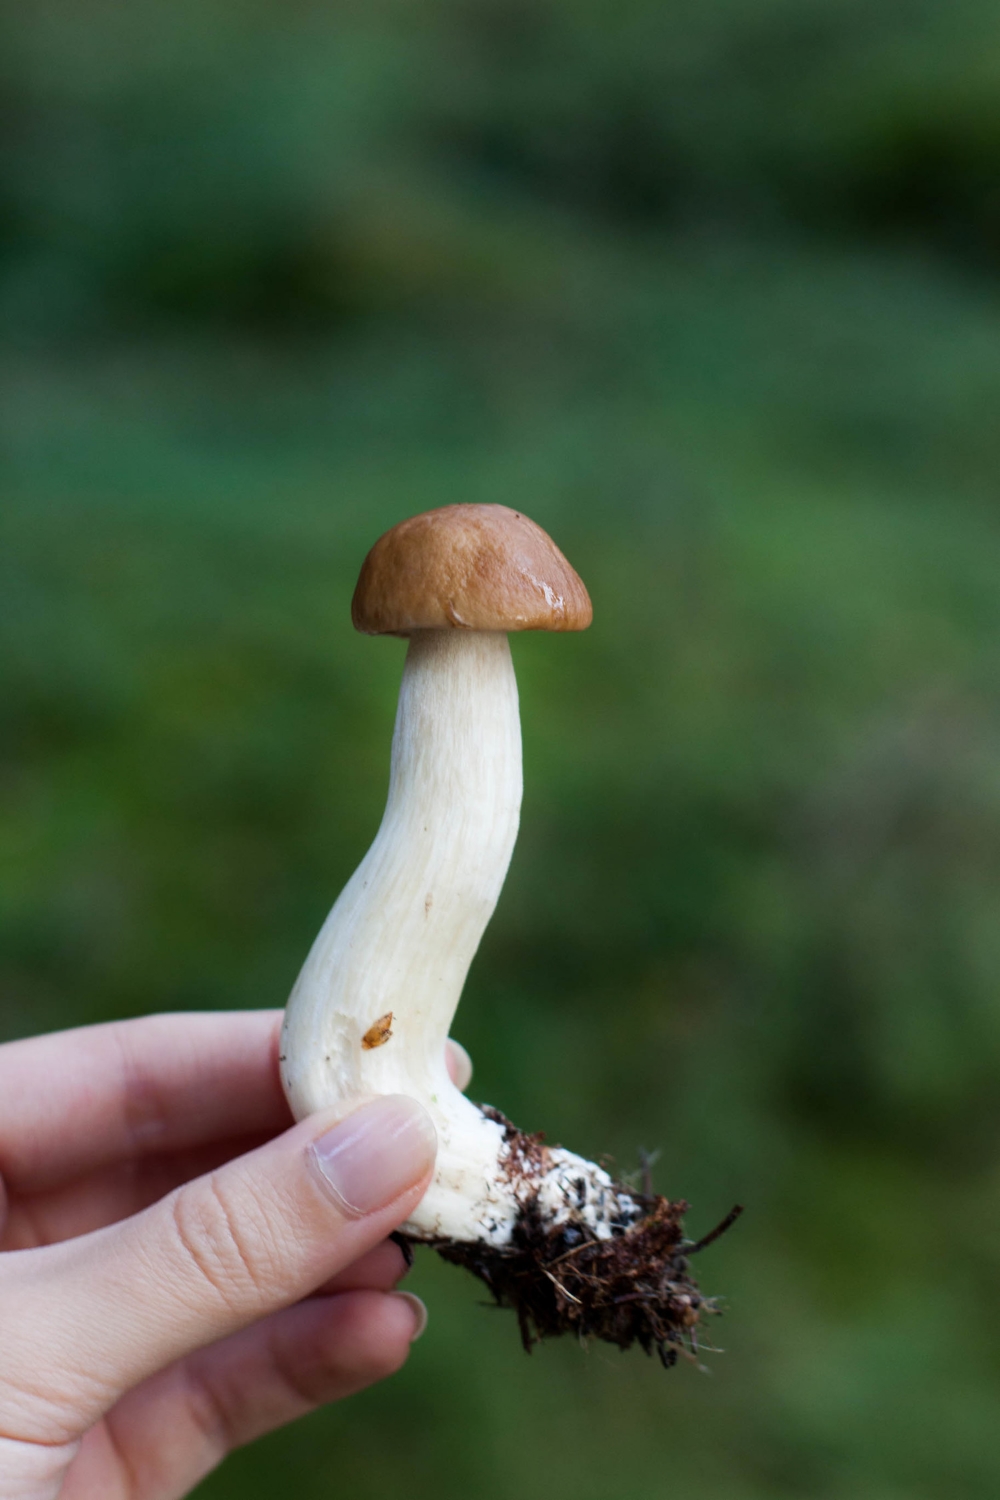
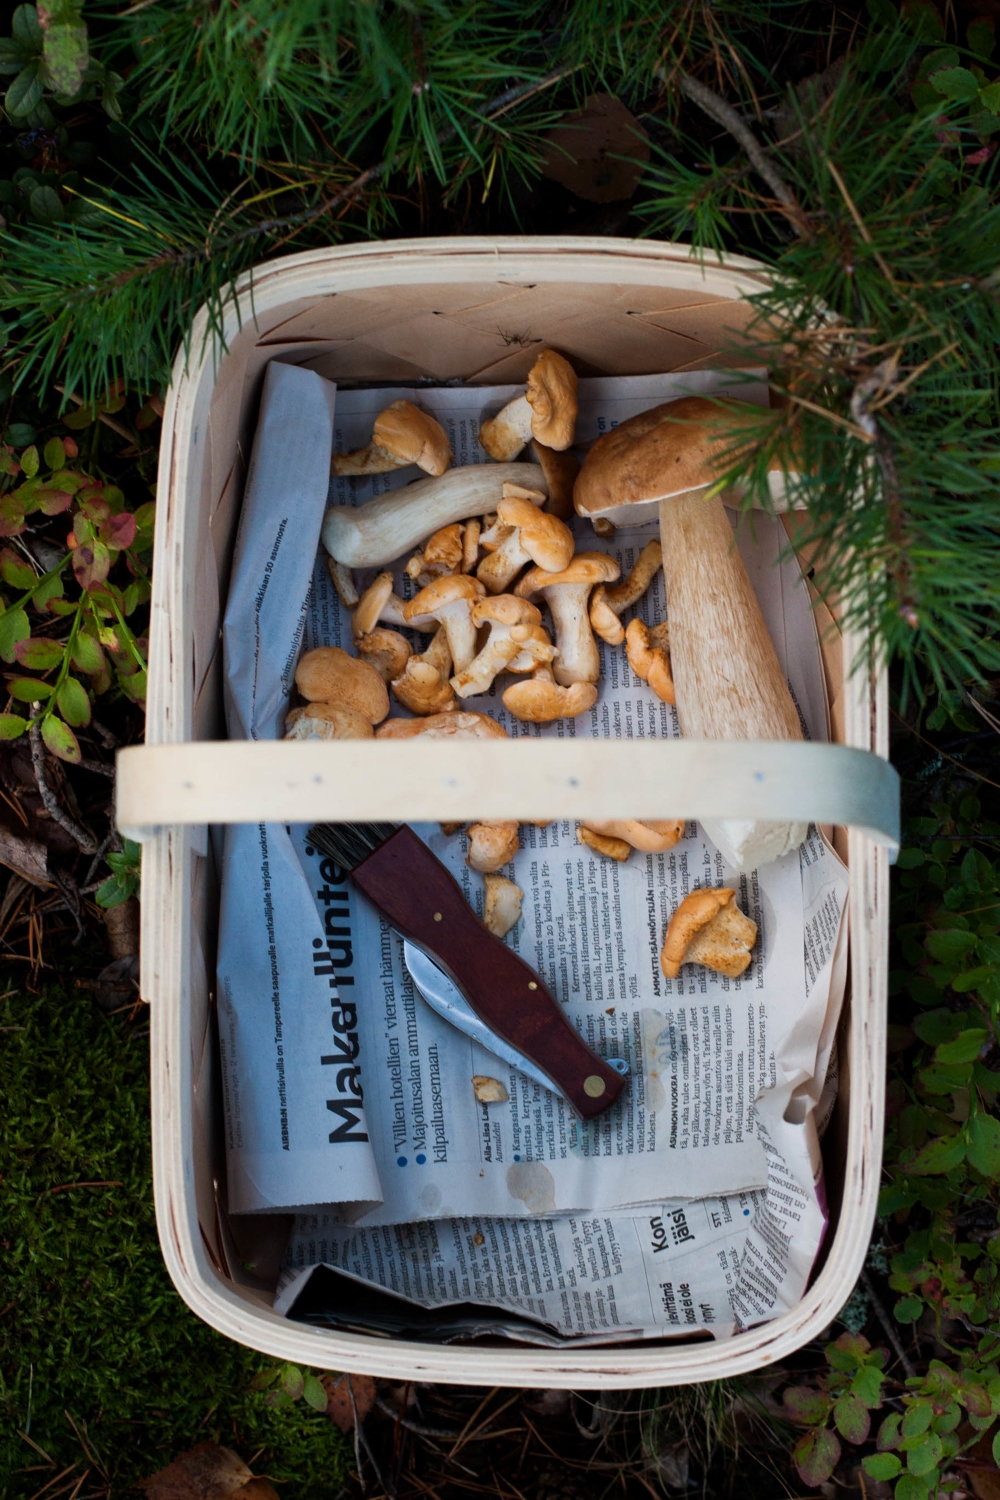
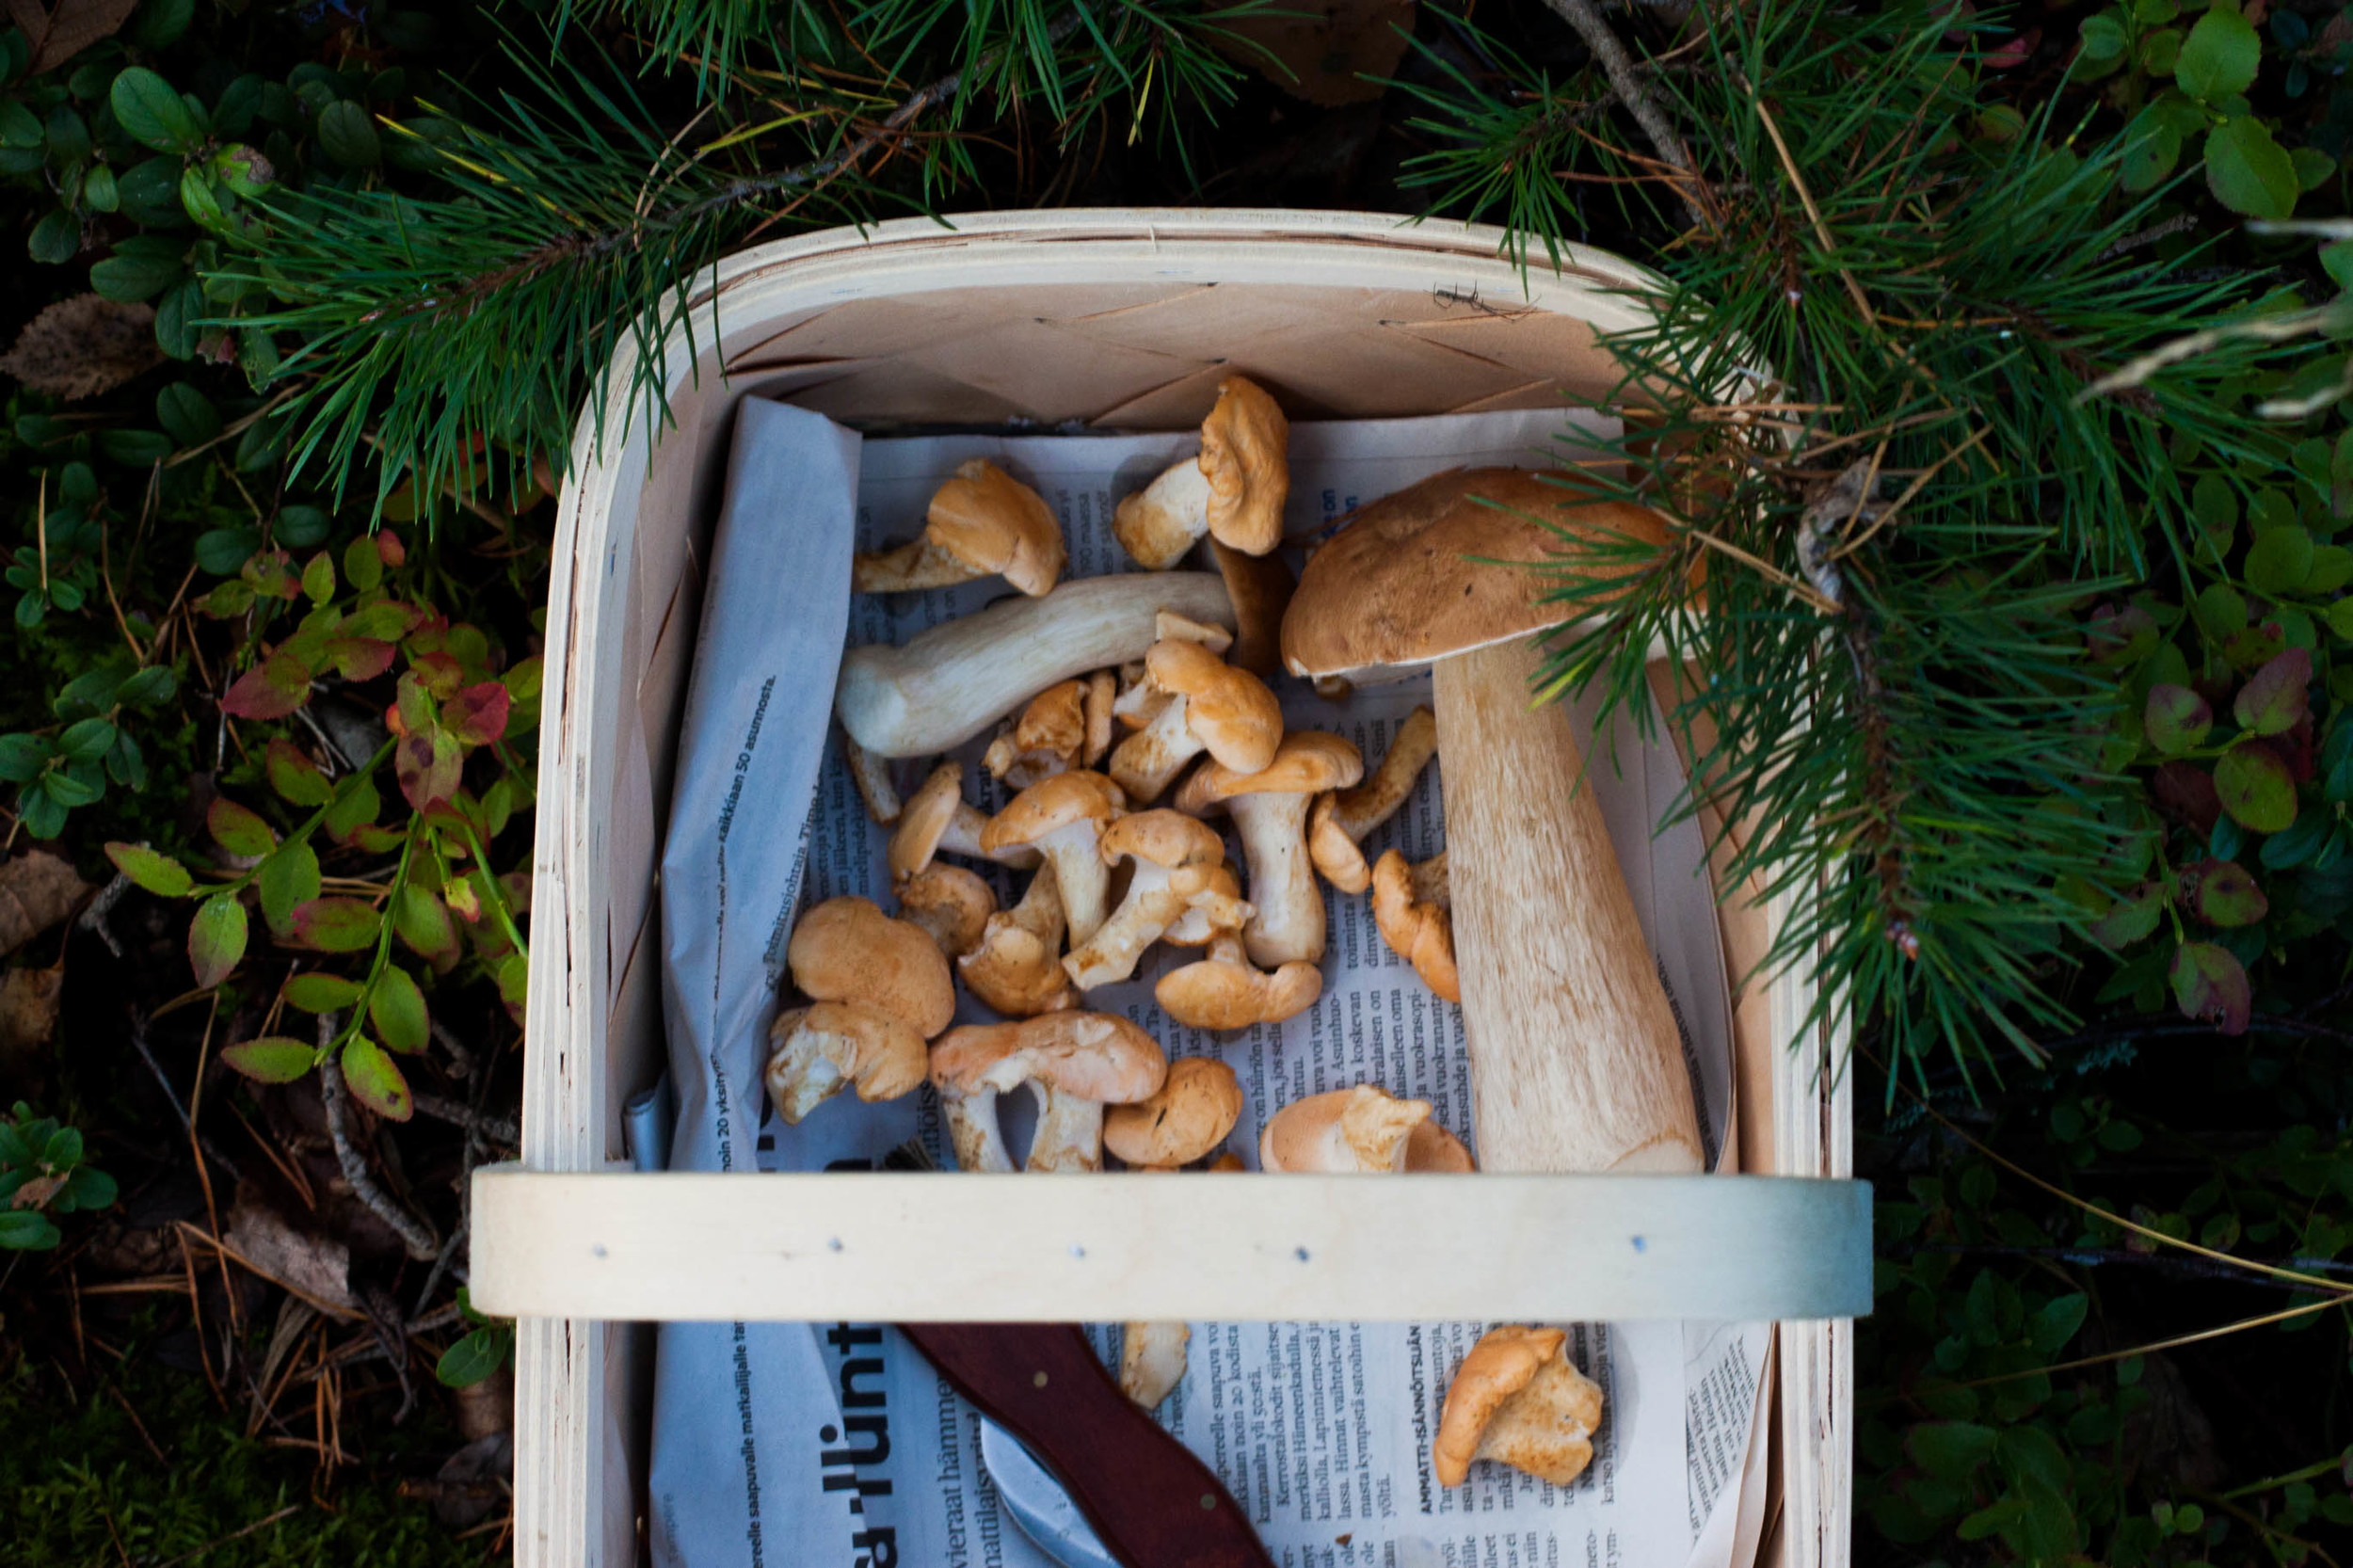
As always when I'm talking about foraging, don't forage or eat any plants, mushrooms, or berries that you can't identify with 100% certainty. This is not the time to experiment as the results may in the worst case be fatal.


Stinging Nettle Pancakes

serves 3 to 4

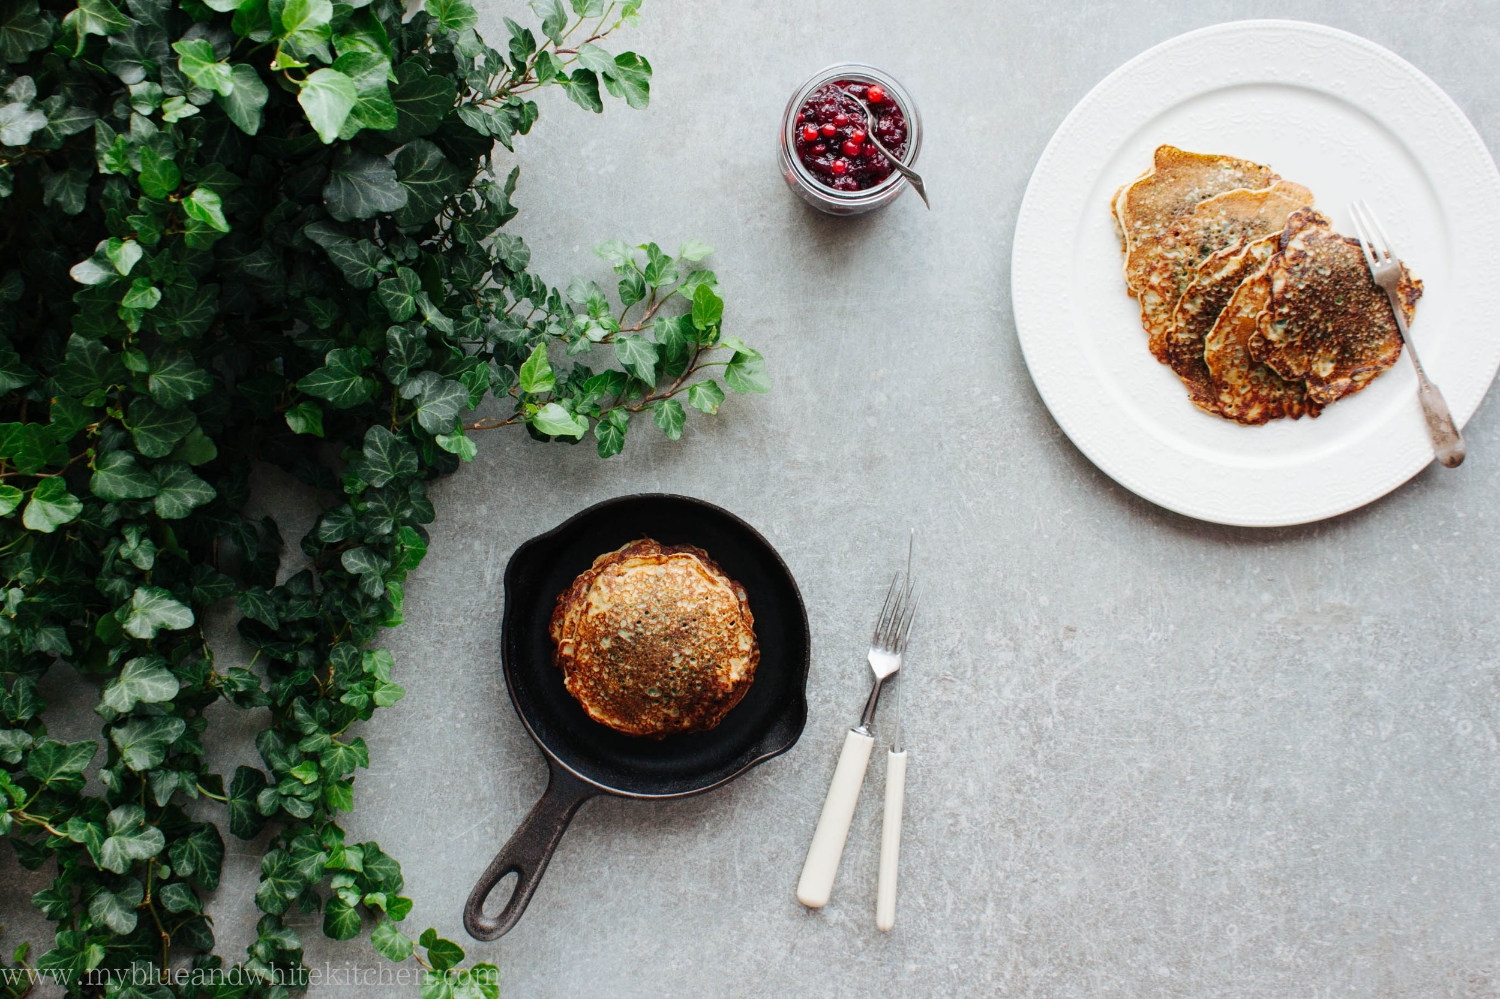
You can make small or big pancakes; mine were around 10 cm (4") in diameter. If you're using a large frying pan, you can fry several small pancakes at the same time. I like to serve these pancakes with lingonberry or cranberry jam but the topping options are endless; I tried these with sour cream and smoked salmon as well as sprinkled with nothing but sugar and both versions were delicious.

6 dl (2 ½ cups) milk
3 eggs
1 tsp fine sea salt
165 g (3 dl; 1 ¼ cups) all-purpose flour
3 tbsp melted butter
about 1 liter (4 ½ cups) loosely packed stinging nettles, cleaned

butter, for frying

lingonberry or cranberry jam (or any other topping of your choice), to serve


In a medium-sized bowl, combine the milk, eggs, and salt. Whisk to combine. Gradually, add the flour followed by the melted butter. Whisk until the batter is smooth. Let rest at room temperature for half an hour. As the batter rests, bits of butter may rise to the surface. Don't worry; just give the batter a good mix before frying.

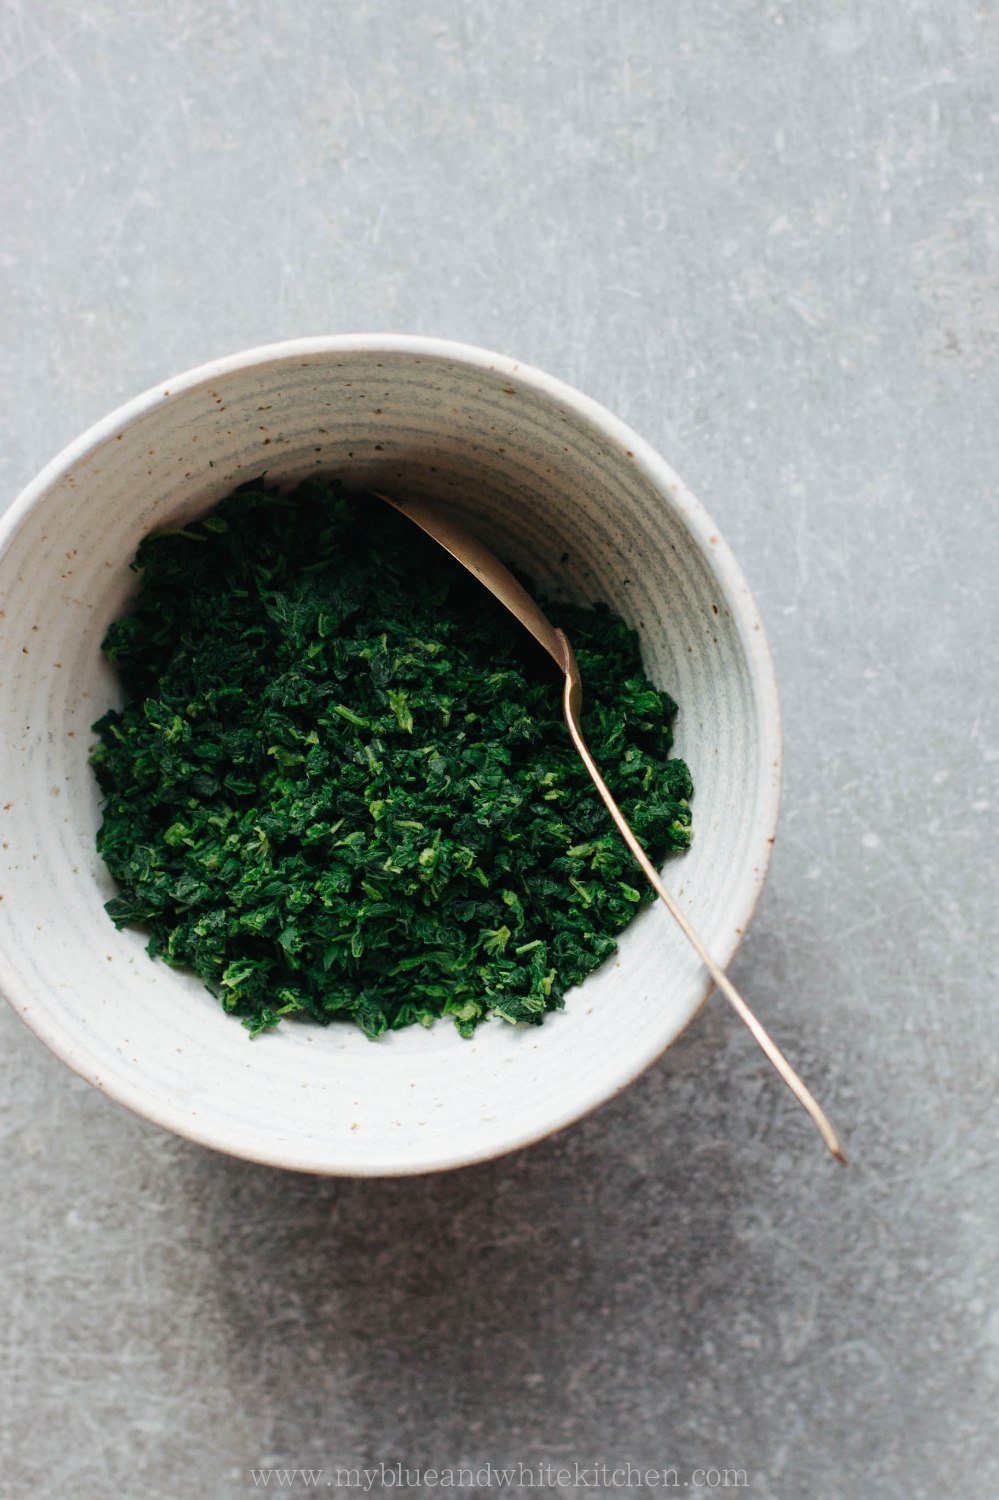
Meanwhile, quickly blanch the stinging nettles: bring a large pot of water to a boil, add the stinging nettles, and let boil for 10 to 30 seconds. Remove the stinging nettles and place under cold running water or plunge into ice water. Drain and squeeze the blanched stinging nettles to remove as much water as possible. Chop finely and add to the pancake batter.

To fry the pancakes, heat a frying pan over medium-high heat. Add a knob of butter and a ladle of the batter; we're looking for a relatively thin pancake, about 2 mm in thickness. Fry until set and browned. Flip and fry until the other side is brown as well. Transfer fried pancakes to a plate and continue with the remaining batter. Add a small knob of butter between each pancake.

Serve warm with lingonberry or cranberry jam or toppings of your choice.


Stinging Nettle Pancakes | My Blue&White Kitchen

Related Posts

This Season's Last Wild Mushrooms – Funnel Chanterelle Tartlets with Herbed Crust

Funnel Chanterelle Tartlets | My Blue&White Kitchen

Guys, this is probably going to be this season's last mushroom post and recipe. At least when it comes to fresh wild mushrooms... To be honest, I'm already planning to make a risotto with the funnel chanterelles I dehydrated, so I'm not ready to give up on mushrooms for good. I hope you're okay with that.

Last week, I spent a couple of days at out summer cottage enjoying the silence, fresh air, and woods. I knitted (currently working on this project using this wonderful yarn), read (finally finished the heart-breaking The Fault in Our Stars), and sat by the fireplace; watching the burning logs and listening to the crackling fire. The weather was rather nasty: rainy, cold, and windy. Typical fall days one might say. Even stormy. On the first night I actually was terrified of trees falling down on our house which, of course, didn't happen. 

Thursday turned out to be a great day; the rain had stopped and the wind wasn't that fierce anymore. Perfect weather to go mushroom foraging. Most often, I do have a certain mushroom variety in my mind when I head into the woods. This is mostly because different varieties grow in different environments and during different times of the year. To know where and when to look, you have to know what you're looking for. Pretty logic, right?

Funnel chanterelles (Craterellus tubaeformis / yellowfoot) can be found in great numbers here in the Nordic woods until late fall; basically until they get buried under snow so that you're unable to spot them. It's one of my most favorite mushrooms to forage as one often gets rewarded with a phenomenal catch – we came home with around 15 liters / 4 US gallons. Did we spent much time in the woods you might ask. No, a bit more than two hours. That's it. 15 liters of mushrooms for 2 hours wandering in a forest isn't that bad a reward, don't you agree?

It's quite obvious that there's no way I could consume such an amount within a few days. Luckily, funnel chanterelles are perfect for dehydrating so that's what I've done with most of them. They'll keep well for years when fully dried and are wonderful in risottos and in soups. Actually, I prefer a mushroom risotto made with dried mushrooms as the mushroom aroma is more intense. That's also why I've decided to share a mushroom risotto recipe at another time.

But of course I also use some of them fresh, such as in these lovely tartlets. I made them not only once but twice, both on Saturday and Sunday; they make a great lunch when served with a simple, fresh green salad. Truth to be told, I already tried to photograph these tartlets on Saturday without much success. I'm still trying to get used to these short days. I stood there,  watched the sun beginning to set, my tartlets still in the oven...at 3pm! Yes, these are the downsides of living here in the north. On Sunday, I was better prepared, and caught the perfect light. It was a gray, rainy day, and the light was lovely and soft. Hope you like these pics as much as I do. It's like I got rewarded for all the frustration I experienced the day before.

A few notes on blind baking:

  • Blind baking is the process of pre-baking a crust without the filling. It prevents the crust from becoming soggy due to the (usually wet) filling. A recipe usually clearly states should a crust be blind baked. Don't skip this step! It's not as intimidating as it may sound but actually quite quick and easy to follow.
  • Always use pie-weights, such as ceramic baking beans, when blind baking your pie or pastry to prevent it from losing its shape. If you don't have ceramic baking beans in your pantry, you can use dried lentils, peas, beans, or rice instead. 
  • Refrigerating the lined molds will keep the crust from shrinking during the blind baking. Therefore, lined molds should be refrigerated for at least half an hour before you blind bake them. [Give these pics a close look and you'll notice that I didn't have the patience to chill the crusts for long enough – the sides have shrunk a little.]
  • Remember to prick the base of the crust with a fork before baking! It will prevent the crust from bubbling up and the slides to slouch.

A few notes on storing & preparing mushrooms:

  • Wild mushrooms should be cleaned directly in the woods as it's much more difficult to remove the dirt afterwards.
  • Foraged mushrooms will keep well in the fridge for 2 to 7 days, depending on the variety. Don't cover the mushrooms and avoid storing them in plastic as they need to breath. I usually store them in the refrigerator's veggie compartment that I line with newspaper. If the mushrooms are really moist, I make sure to change the newspaper every few days. A paper bag would be perfect as well!
  • Never ever wash your mushrooms! I see this all the time, but it's really the worst idea one can have. Mushrooms are like sponges, soaking up all the water. It's bad both for texture and taste. Don't spoil your gorgeous mushrooms!
  • Instead, simply brush the mushrooms or wipe with a damp cloth. That's really all you need to do.

Funnel Chanterelle Tartlets with Herbed Crust

makes eight 10 cm (4") tarts OR one 22 cm (9") tart

for the crust
300 g (5 ½ dl; 2 ⅓ cups) all-purpose flour
155 g (1 stick) cold, unsalted butter, cut into cubes
1 ½ tsp finely chopped rosemary
1 ½ tsp thyme leaves
½ tsp fine sea salt
4 – 6 tbsp ice cold water

for the filling
2 tbsp olive oil
15 cm piece of leek (white and light green parts only), finely sliced (you should end up with about 3 dl / 1 ⅓ cups sliced leek)
2 garlic cloves, thinly sliced
225 g funnel chanterelles or other (preferably wild) mushrooms
1 ½ tsp finely chopped rosemary
1 ½ tsp thyme leaves
¾ tsp fine sea salt
freshly ground black pepper
60 ml (¼ cup) dry white wine
1 tbsp finely chopped parsley

150 ml (⅔ cup) single cream
3 eggs (M)
40 g grated Västerbotten cheese or other flavorful, firm cheese, such as Comté or Gruyère


To make the crust
In a medium-sized bowl, combine the flour, butter, herbs, and salt. With your fingers, quickly rub the butter into the dry ingredients until well incorporated and crumbly. The dough should now resemble coarse bread crumbs with plenty of pea-sized pieces of butter remaining. Add water gradually just until the dough holds together when pinched. Try to work as fast as possible to avoid over-working the dough. Alternatively, you can use a pastry cutting tool or a food processor to make the dough. 

Form the dough into a disk and wrap in plastic. Refrigerate for half an hour or until ready to roll.

Grease the molds. Remove the dough from the refrigerator. Lightly dust a clean work surface with flour. Alternatively, you can roll out the dough between a piece of parchment paper. Roll out the dough into eight 3 mm (1/8") thick circles. Line the molds with the dough. Refrigerate for half an our.

Preheat the oven to 200°C (400°F).

Prick the crust bases with a fork. Place a piece of parchment paper into each mold and fill with ceramic baking beans (or alternative baking weights). Prebake for 15 minutes, remove the baking beans and parchment paper and bake for further 5–10 minutes, or until the crust is light brown in color. Reduce the temperature to 180°C (355°F).
 

To make the filling
While prebaking the crust, prepare the filling. In a medium-sized pan, heat the olive oil over medium heat. Add the leeks and cook for about 3 minutes, or until soft but not brown. Add the garlic, mushrooms, rosemary, thyme, salt, and pepper. Cook for 5 minutes, or until tender. Add the white wine and let cook for about 1 minute. Add the parsley. Set aside and let cool slightly.

In a medium-sized bowl, whisk together the single cream, eggs, and cheese until smooth. Set aside.
 

To arrange and bake the tartlets
Fill the prebaked tart shells with the mushroom filling. Pour the egg mixture over the filling making sure to spread it evenly. Bake the tartlets for 20–25 minutes, or until golden brown. Let the tartlets cool for around 10 minutes before serving. Enjoy!


Note: If you decide to make one 22 cm (9") tart, you need to adapt the recipe a little: Roll the dough to 4 mm (1/6") thickness. Blind bake the crust for 15 minutes, remove the baking beans, and bake for further 10–15 minutes, or until light brown. Bake the tart with the filling for 25–30 minutes, or until golden brown.


Funnel Chanterelle Tartlets | My Blue&White Kitchen

Related Posts

Into The Woods – Crostini with Wild Mushrooms & Ricotta

One of the biggest reasons why I love fall so much is because it's the season of numerous mushroom foraging trips. As I see the leaves slowly burst into vibrant colors and watch mist linger on the fields, my mind starts to wander in those deep forests; the forests that are not only a home to rich and diverse wildlife but also to edible berries, herbs, and mushrooms. As I've mentioned before, foraging is one of the greatest things that defines the Nordic kitchen and way of life. It's one of the most wonderful ways of living in harmony with the surrounding nature. It's a feeling of deep gratitude for those thick forests, blue lakes, and fresh air in our lungs.

We have a thing called every man's rights aka freedom to roam here in the north. This basically means that the nature is something that is to be shared with everyone. Everyone has the right to enjoy the wilderness amidst we live. As long as you don't harm nature or disturb other people's privacy, you're free to forage berries, plants, and mushrooms as well as walk, ski, cycle, and camp. It's a downright wonderful thing.

So last week I picked up my wooden basket and mushroom knife and headed into the woods to forage mushrooms. It's a brilliant mushroom year, they say. Porcini, one of the most delicious mushrooms, are growing like mad ones. It's such a good porcini year that even commercial exporters (every year we export large amounts primarily to Italy) have a hard time figuring out how to get the most of this unexpectedly phenomenal harvest. I too wasn't disappointed and returned home with a lovely harvest of porcini, hedgehog mushrooms, and something I've never foraged before, amazing parasol mushrooms. I had a basket full of possibilities.

Quite quickly I decided to make crostini. I wanted to highlight the flavors of the wonderful wild mushrooms and felt that these appetizers would truly do them justice. I toasted slices of homemade Bread in 5 baguette, rubbed them with garlic, topped them with creamy and oh-so-luscious ricotta as well as herby panfried wild mushrooms. To finish, I drizzled some high quality extra virgin olive oil on top.

Quick to make, simple, and delicious. In other words, a perfect fall appetizer.

A few weeks ago, I received a sample of Feel IT extra virgin olive oils to test: Casaliva from Lombardy, in the north of Italy, Dolce Agogia from the north of Umbria, a region in central Italy, and Cerasuola from the northern parts of the lovely island of Sicily. Before tasting the Feel IT extra virgin olive oils I just thought that an olive oil was either good or bad. Never did I sample it like wine; tasting all those different nuances, noticing the differences, and wondering with what kind of food it would pair perfectly. What I had on hand were three very different extra virgin olive oils made of three different olive varieties harvested in three different parts of Italy. I truly did feel it.

Feel IT was created out of a passion for high quality, truly Italian extra virgin olive oils. Their oils are monocultivar meaning that they are pressed from a single type of olive, whereas, most olive oils are made of blends. Feel IT not only praises family owned local olive farms but also the unique flavors of different olive types. These olive oils are like a love letter from Veronica Motto, the 26-year-old Milan-based founder, to her country. And I love it.

I tried all three oils with these crostini and found Casaliva to be my favorite. Casaliva from Lombardy with the mighty Alps, the fertile Po Valley plain, and the great Lombard lakes, such as Lake Garda.

Update: Feel IT is now available through My Fabulous Collection!

Feel IT High Quality Extra Virgin Olive Oils | My blue&White Kitchen

On another note, I'll be traveling for the rest of the month which basically means I'm going to put on my dirndl and raise a Maß or two. I haven't planned any posts for my absence so it may be a bit quieter around here. However, I do have my camera and laptop with me so in case inspiration hits and I'm not too busy stuffing my face with Zwetschgendatschi,
SpätzleGrießnockerlBrezn (aka soft Pretzels)SauerkrautLeberkäse, and other deliciousness, I may surprise you with something Bavarian inspired.

But for now I'm leaving you with these absolutely delicious fall crostini. Enjoy!


Crostini with Wild Mushrooms & Ricotta

This is not really a recipe as I'm not going to give you exact amounts of what you need. Why? Because you don't really need to. Cook with your senses; use your eyes, your nose, and taste as you go. For 6 crostini I used around 1 cup of roughly chopped wild mushrooms and 2 small shallots. I prefer to use a mix of different mushroom varieties to keep things more interesting. The mushroom mixture can be prepared beforehand; just reheat it before assembling.
 

baguette or ciabatta-style bread, sliced
1 garlic clove, halved lengthwise

wild mushrooms, roughly chopped (remember that they'll shrink considerably as they cook)
butter
fresh thyme leaves
salt & freshly ground black pepper, to season
shallots, finely sliced
dry white wine
more fresh thyme leaves & finely chopped parsley

high quality ricotta

high quality extra virgin olive oil, such as Casaliva


Toast the bread slices on a dry frying pan until golden brown in color. You can also grill them for even more flavor. Rub the fried bread slices with garlic on both sides.

In a frying pan, melt the butter on high heat. Once the butter has melted and stopped to bubble, add the mushrooms and thyme. The mushrooms will first release quite a bit of moisture but as it evaporates, the mushrooms will start to get color. Season with salt and pepper. When the mushrooms are golden brown in color, lower the temperature to medium-low and add the shallots. Cook until the shallots have softened. Add a splash of white wine and let it evaporate. Add more thyme and parsley. Taste and season (or even add more wine) if necessary. Set aside.

To arrange, top each bread slice with ricotta, mushroom mixture, and more herbs. To finish, drizzle extra virgin olive oil over the crostini. Serve!


Crostini with Wild Mushrooms & Ricotta | My Blue&White Kitchen

Disclaimer: This post was sponsored by Feel IT. However, all opinions are my own.


Related Posts

The Very Essence – Gooseberry Clafoutis

Gooseberry Clafoutis | My Blue&White Kitchen

As I mentioned in my last post, I spent a weekend in the Finnish archipelago. We were staying at my friend's summer cottage – a wooden red house by the sea. So cliché but, at the same time, so perfect. All kind of berry bushes were growing around the house: bilberries, redcurrants, blackcurrants, raspberries, rose hips (unfortunately they weren't ripe yet), and red gooseberries. Every morning we went outside with our breakfast bowls, picked our berries of choice, and enjoyed them with plain yogurt and the granola I made for us. It can't get more seasonal, local, and sustainable than this, right? The very essence of Nordic summer life.

Actually, it's the very essence of the Nordic cuisine. Yesterday, I read a column in the Swedish Gourmet magazine that wondered what's really new about the so-called New Nordic Cuisine. After all, as René Redzepi has stated "In Scandinavia, we've always foraged, wandered in the forests and searched for food, long before the term even existed". And we still do.

I don't know why but it's quite hard to come by gooseberries in grocery stores and at farmers' markets these days. Are they 'out of fashion'? Can food get out of fashion? Well, I guess it can. [Apparently we aren't the only ones who have lost our love for these berries.] Furthermore, if you get lucky to find some, they most probably are the green ones. You should have seen my excitement when I saw those perfect, burgundy colored gooseberries grow in the backyard. The bushes were heavy with berries so I didn't even have to worry that there wouldn't be enough for everyone PLUS for me to take home.

On Sunday afternoon after most of the cleaning and packing was done, I took my pink bucket and started to pick those sweet gooseberries one after another always trying to be careful not to touch the sharp spines (with varying success though). I already had a specific use for them in mind: clafoutis should be their destiny.

Are you familiar with clafoutis, one of the most decadent yet simple desserts the French cuisine has to offer? Clafoutis is what would happen if pie and custard made love to each other. The custard melts in your mouth while the berries have their own dance party. It's not a treat I grew up with. I stumbled upon it years ago on Béa's blog La Tartine Gourmande and immediately fell in love with this French classic. It's versatile, simple, relatively quick to make, and a decadent treat even for special occasions. I particularly love clafoutis made with plums, peaches, or berries and always add some nut flour to the batter.

Go get some berries, or even better forage if you're lucky, and make your Wednesday brighter with a lovely clafoutis on your table!


Gooseberry Clafoutis

makes one 18 cm / 7" clafoutis

In this recipe, I use gooseberries, but you can definitely use whatever fruit or berries you have around. After enjoying a gooseberries only version, I made one with a mix of gooseberries and blackcurrants which I found to be exquisite as well. As I mentioned above, I like some nut flour in my custard batter but it can be substituted with all-purpose flour if you aren't into nuts or simply can't tolerate them.

1 ½ dl (⅔ cup) whole milk
1 dl (½ cup minus 1 ½ tbsp) heavy cream or full-fat coconut milk
zest of ½ an organic lemon
1 vanilla bean, split open & seeds scraped out
45 g (¾ dl; ⅓ cup) all-purpose flour
20 g (3 tbsp) almond flour
66 g (¾ dl; ⅓ cup) granulated sugar
pinch of salt
3 eggs (M)
30 g (2 tbsp) unsalted butter, melted

400 g gooseberries, cleaned

powdered sugar, to dust


Preheat the oven to 180°C (350°F). Butter a 18 cm / 7-inch pan. Set aside.

In a small pot, heat the milk, cream (or coconut milk), lemon zest, and vanilla seeds and bean. Take from heat, cover, and let infuse for 10 to 15 minutes. Strain and set aside.

In a small bowl, combine the dry ingredients. In another bowl, whisk the eggs and gradually add the dry ingredients. Stir in the melted butter and infused milk mixture.

Arrange the berries in the prepared pan and pour the custard on top. Bake the clafoutis on the middle rack for 35 to 40 minutes, or until the center has has set and is golden in color. Let cool and dust with powdered sugar. Serve slightly warm or at room temperature – the clafoutis will continue to set while cooling down.


Gooseberry Clafoutis | My Blue&White Kitchen

Related posts

A Thunderstorm & Redcurrant Buttermilk Cake

You know when you laugh so hard that you eventually can't breathe anymore and every single muscle in your body seems to hurt? Yes, that happened multiple times during last weekend. I don't think I've laughed so much and wholeheartedly in a while. I think I've never stared at the night sky for several hours in a row. Seriously, when was the last time you gazed at bright stars and spotted shooting stars and satellites? Promise me you'll do that. It's epic.

I spent last weekend in the Finnish archipelago where we threw a bachelorette party for my dear friend. I was so exhausted after those three days...okay, a total understatement. I actually think that my IQ was below zero for several days after I came back home. Not because of alcohol but simply due to emotional and physical exhaustion. Maybe I still haven't fully recovered, so I'll just start talking about today's recipe which is one I connect many childhood memories with.

Redcurrant Buttermilk Cake | My Blue&White Kitchen

The cake I share with you today is one my mom used to make when I was a kid. It's actually one of the most traditional berry cakes here in Finland. I made it with redcurrants because I had a bunch of them at hand after a recent berry picking trip. Also, I think that this batter works best with tart berries or fruit due to its relative sweetness. You could, however, substitute currants with blueberries or other fruit of your choice. The cake is moist and sweet, the currants add a wonderful tartness to it, and as it bakes, a lovely dark crust forms thanks to the buttermilk. The cake is a real no-brainer and I'm pretty confident you could even make this with an IQ below zero. Just mix everything together (according to my mom it's irrelevant in which order; just make sure everything is incorporated) and scatter the berries over, bake, done.

I shot these pics right before this summer's worst thunderstorm. It was a stormy day, and I actually thought twice before I found the courage to bake the cake despite the weather forecast. The worst scenario in my head: thunderstorm hitting, power cut, and the cake still baking in the oven = disaster. However, I succeeded to bake the cake (while constantly tracking weather forecasts) and shot it in the doorway cause that basically was the place with the best light source. So there I stood with a camera in my hands and the door wide open while the storm was building up outside. I really had not much styling in my head; I just wanted to get some shots before the skies opened up. These may not be the best pictures but I like them anyway simply because I'll always recognize the moment they were taken in.

The thunderstorm eventually hit, but luckily we (including the cake) were all doing fine. I sat in the dark cottage with all lights and electrical devices turned off and silently ate my cake while gazing out the window. Happy face.


Redcurrant Buttermilk Cake

makes 1 sheet cake

The cake is usually made as a sheet cake, but to make a cake as seen in the pictures just halve the recipe and bake in a cake pan (I used a shallow 28 cm / 11" to 17 cm / 7" pan). Note that the berries must be dried carefully to prevent them from sinking to the bottom while baking. If your berries are really juicy and you feel nervous about them, simply toss the berries in some flour or potato starch to give them a light coating before sprinkling them on top of the cake. The flour/starch will absorb the potential liquid and keep the berries from sinking.

100 g (1 ½ dl; cup) graham flour
290 g (5 dl + 2 tbsp; 2 cups + 4 tbsp) all-purpose flour
2 tsp baking powder
1 tsp baking soda
pinch of salt
4 ½ dl (1 ¾ cups + 2 ⅓ tbsp) buttermilk (if you are in Scandinavia, you can use filmjölk instead or make your own buttermilk)
150 g unsalted butter, melted
350 g (4 dl; 1 ⅔ cups) granulated sugar
1 tsp vanilla paste (or 1 vanilla bean, split open & seeds scraped out)
2 eggs (M)

~ 600 g (~ 1 ½ lb) redcurrants, cleaned & dried carefully

powdered sugar, to dust

optional: vanilla ice cream, to serve


Preheat the oven to 250°C (475°F). Line a deep baking sheet with parchment paper.

In a small bowl, combine the flours, baking powder, baking soda, and salt. Set aside. In a medium-sized bowl mix together the buttermilk, melted butter, sugar, vanilla paste, and eggs. Add the dry ingredients and whisk until combined. Let the batter sit for about 5 minutes.

Pour the batter into the baking dish and top with the redcurrants. Bake on the middle rack for 20 to 30 minutes, or until deep brown in color. Let cool a bit and dust with powdered sugar. Enjoy warm or at room temperature plain or with a scoop of vanilla ice cream. The cake will keep for up to two days.


Redcurrant Buttermilk Cake | My Blue&White Kitchen

Related posts