That boat thing - Whipped Lingonberry Porridge

my blue&white kitchen

For the last two weeks, the web has been full of all things pink. Cute cupcakes, satin ribbons, chocolate hearts, and gooey goodness. I guess you're expecting the same from me, from this small space I've created. But I'm afraid I have a confession to make. I don't celebrate Valentine's Day. I don't even like it. There's certainly nothing wrong with the message itself. Love and friendship. I'm all yours. However, I can't cope with the commerciality of February 14. It makes me feel anxious.

Somehow the day feels fake to me. Like I would appreciate the people I love only if I do something special on this specific day. I don't like that it's expected from me to do something special. I don't like "should-dos". Maybe I'm a bit of a rebel when it comes to things like this.

my blue&white kitchen

Love is less about showing and acting but more about being. Being there for each other, sitting in that same boat. Enduring the mighty storms when the waves crash against the sides of your boat, watching the light rain falling down on you both, and trying to find the right direction when the morning mist makes it hard to see. Enjoying the gorgeous dawn together and sunbathing in the bright sunshine. It also means being there when the time has come to raise the sails and travel to places yet unknown.

I hope you get what I mean.

my blue&white kitchen

I didn't plan to post a pink dish this week. It just happened. And well, I guess this would be the perfect Valentine's Day breakfast, right? You could totally serve it next Friday. Cause after all, although it isn't my kind of day it totally could be yours. But don't label this as a Valentine's Day porridge. It's so much more than that.

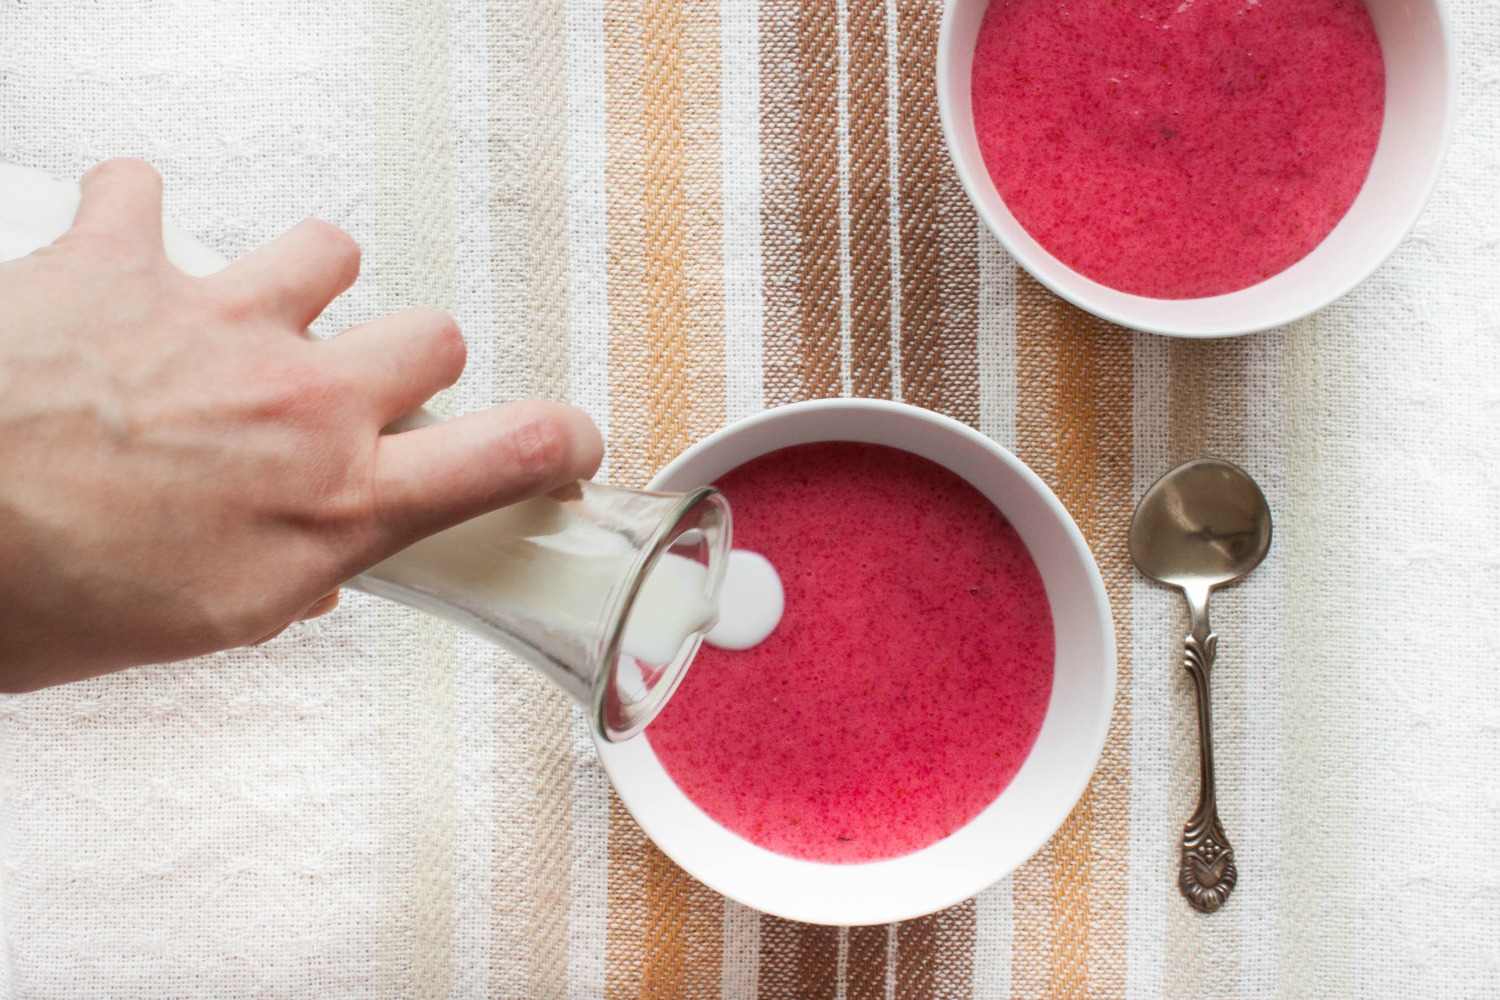
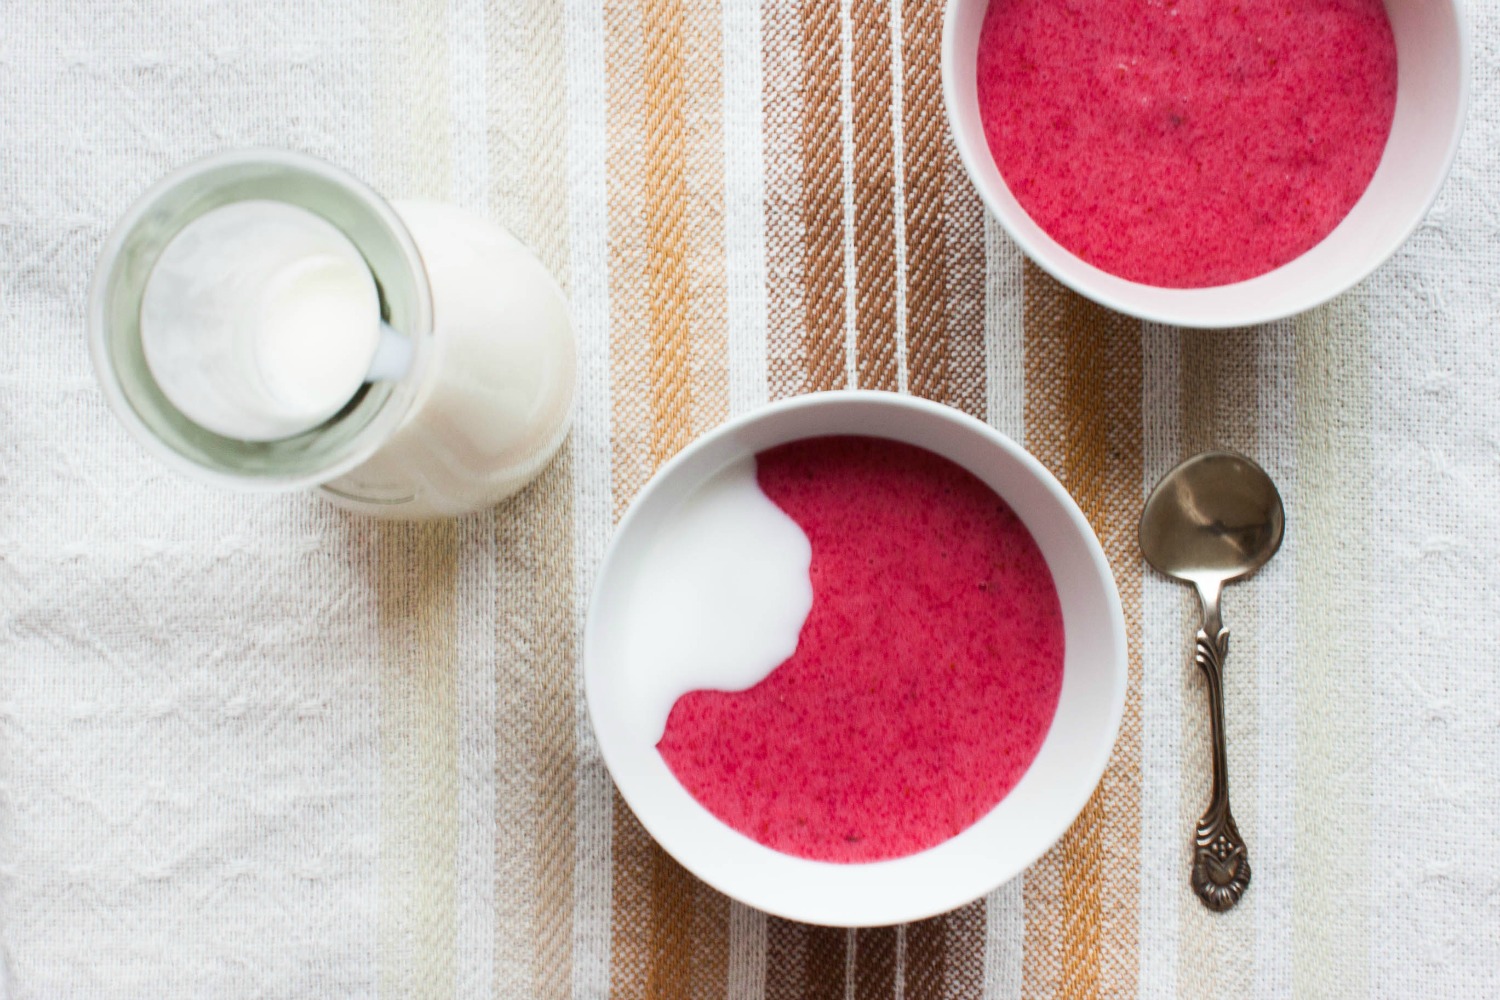
Whipped Lingonberry Porridge

serves 4–6

Sooo....you didn't know you can actually whip porridge? Well, here's the good news: yes you can. We people of the North do it all the time. It keeps us warm. Okay, just kidding. The reason we do it is because it gives you a bowl of fluffy goodness. Fluffy, pink porridge! That's what dreams are made of.

For most Scandinavians whipped porridge is a dessert. I however like the not so sweet version that can be enjoyed for breakfast or as a midday snack. So folks, you're welcome to add more sugar if you feel like it and call it a dessert. No one will judge you. You could also substitute regular wheat farina with whole wheat or spelt farina if you want to go an even healthier route. One more note: I made this with lingonberries which is the traditional take on it BUT you can totally use other berries if you want to. Black or red currants, sea buckthorns, blueberries, strawberries, raspberries... And if you can't decide, just mix them! I wonder if cranberries work as well. My guess is, yes. Just adjust the sugar amount according to the sweetness of the berries you use. Lingonberries are quite tart so I would use less sugar for a whipped strawberry porridge.

EDIT: Anita made a batch and served it with coconut milk. According to her, it "is terrific on top". So, by all means, do try it with coconut milk instead of regular milk.


8 dl (3 ¼ cups) water
250 g (8 oz; 4 ½ dl; 2 cups) lingonberries (fresh or frozen, no need to thaw)
pinch of fine sea salt
100 g (3 ½ oz; 1,2 dl; ½ cup) granulated sugar (+ more to taste)
120 g (4 oz; 1 ½ dl; ⅔ cups) farina (Cream-of-Wheat)

whole milk, to serve
 

In a medium-sized pot, combine the water and lingonberries. Bring to a boil and boil for 10–15 minutes.

Add the salt and granulated sugar. Gradually whisk in the farina, making sure there are no lumps. Let simmer for 5–10 minutes (depending on how long your farina needs to be cooked), stirring constantly. Taste and add sugar if you feel like it could be sweeter to your taste. Remove the pot from the heat and let the porridge cool to room temperature.

When the porridge has cooled, beat it with a whisk or a hand mixer, until light and fluffy.

Serve at room temperature or cold with milk.

The porridge can be stored, covered, in the fridge for a couple of days. Just beat it again before serving.


whipped lingonberry porridge :: my blue&white kitchen

P.S. Join me and other food bloggers and help to provide a nourishing school lunch for South African children. Read more about it here, here, & here (just to name a few contributing posts). You can donate here. Thank you for The Lunchbox Fund and The Giving Table for making this happen.
 

>>>•••••••••<<<
 

Let's get connected!

FOLLOW ME ON FACEBOOKTWITTER, & PINTEREST.


And did you notice that you can now also subscribe to my blue&white kitchen? Subscribe here if you never want to miss a post again.

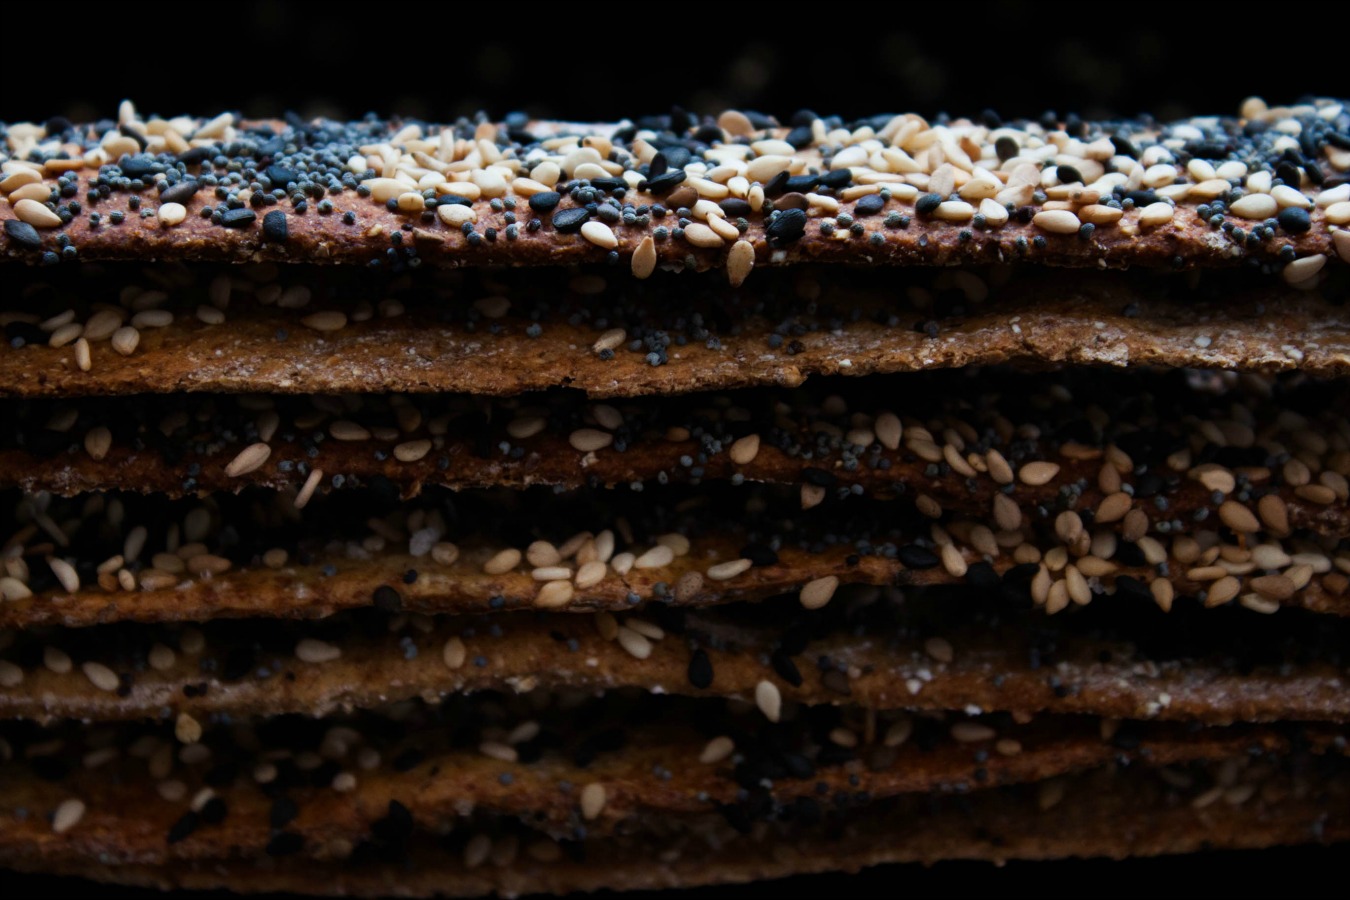
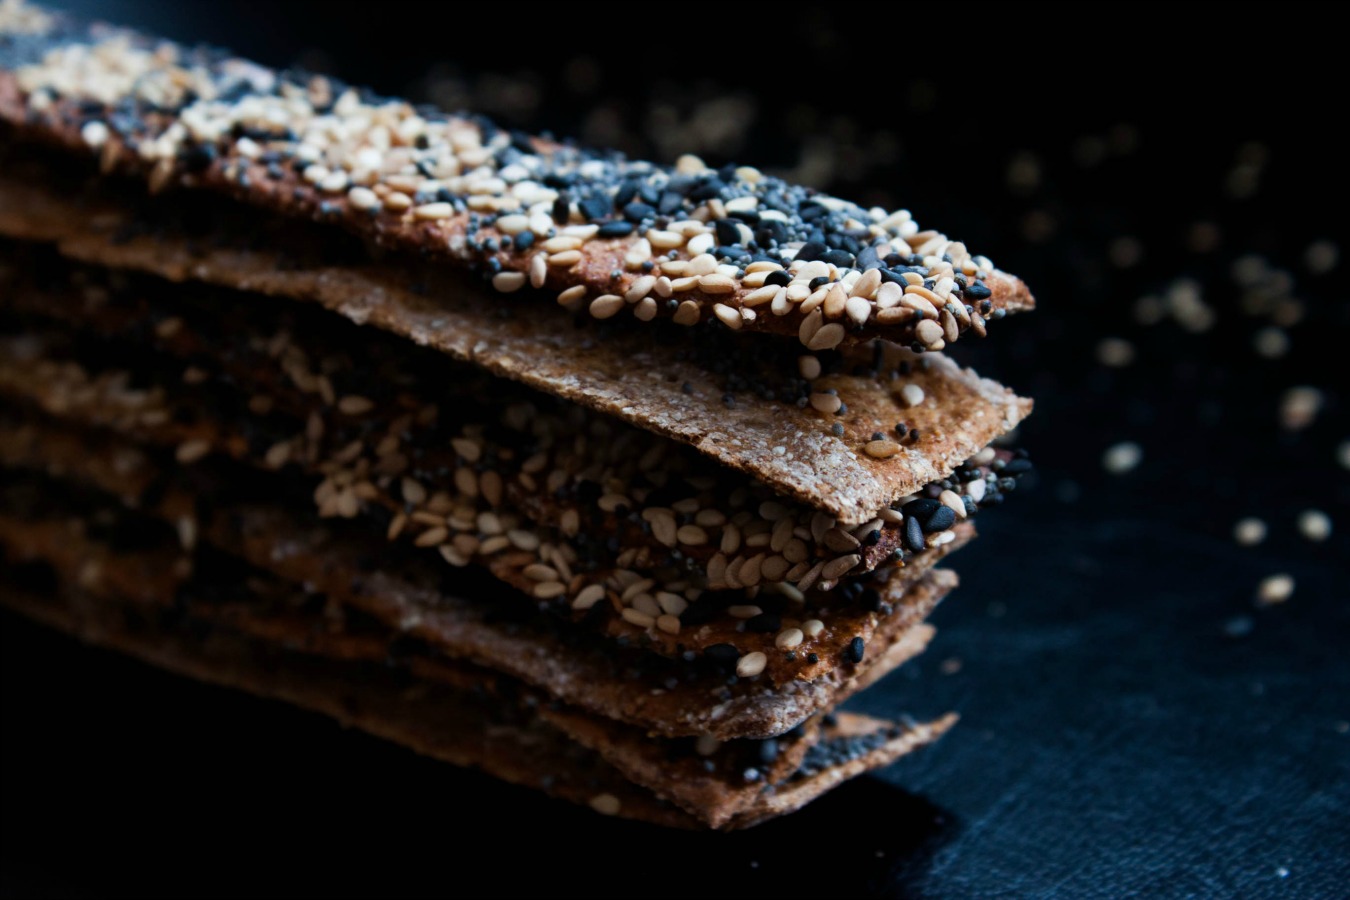
Sesame² & Poppy Seed Crispbread

seed crispbread :: my blue&white kitchen

“There are such a lot of things that have no place in summer and autumn and spring. Everything that’s a little shy and a little rum. Some kinds of night animals and people that don’t fit in with others and that nobody really believes in. They keep out of the way all the year. And then when everything’s quiet and white and the nights are long and most people are asleep
— then they appear.”

– Tove Jansson, Moominland Midwinter

seeds_small.jpg

Crispbread, the Scandinavian take on crackers, has been baked for centuries and can therefore be considered as a staple of Nordic cuisine. The most traditional version is shaped into a large round with a hole in the middle – this way the bread could be stored on long sticks under the roof. To sleep in an old log house under a crispbread sky...I definitely like the idea. And maybe, just maybe, one crispbread would have been offered to the shy creatures of winter.

You won't find many Scandinavian families who don't have a pack of crispbread at home at all times. It is one of the secrets of how we people of the North survive the long, dark winters. Forget its reputation as low-caloric diet food. It's so much more than that (and to be honest, I doubt any Scandinavian enjoys it because of it being "health food"). Crispbread is enjoyed as a midday snack simply buttered or with cheese and thin slices of cucumber. It's also great alongside a bowl of soup, like a hearty pea soup, or a green salad.

Nowadays, few people make homemade crispbread anymore. Maybe it's because you can find a ton of different varieties at your local grocery store. However, homemade crispbread is not only tastier but also easy and relatively quick to make. So why not make your own crispbread at home?

seed crispbread :: my blue&white kitchen

This slightly luxurious seed crispbread pairs especially well with cheese and a glass of full-bodied red wine...the kind of winter night I like the most.


Sesame² & Poppy Seed Crispbread

dough slightly adapted from Elle Mat och Vin 1/2014, p. 90

3 dl (1 ¼ cups) lukewarm milk
25 g (1 oz) fresh yeast [OR 8 g / 0.3 oz instant active dry yeast]
1 tsp fine sea salt
165 g (6 oz; 3 dl; 1 ¼ cups) all-purpose flour
245 g (8.6 oz; 3 ½ dl; 1 ½ cups) coarse wholegrain rye flour

1 egg white
1 tbsp cold water
white & black sesame seeds + poppy seeds

In a medium-sized bowl, combine the lukewarm milk and crumbled yeast. Stir with a spoon until the yeast is completely dissolved. [note: if you use instant active dry yeast, mix it with the dry ingredients and heat the milk to about 45°C / 115°F} Gradually add the dry ingredients until the dough comes together enough for you to start kneading it. Knead until it comes clean off the sides of the bowl. Add more all-purpose flour if it sticks to your hands. Shape into a ball and cover with a kitchen towel. Let the dough rise in a warm place for 30 minutes.

Preheat the oven to 250°C (475°F). Line 2 baking sheets with parchment paper.

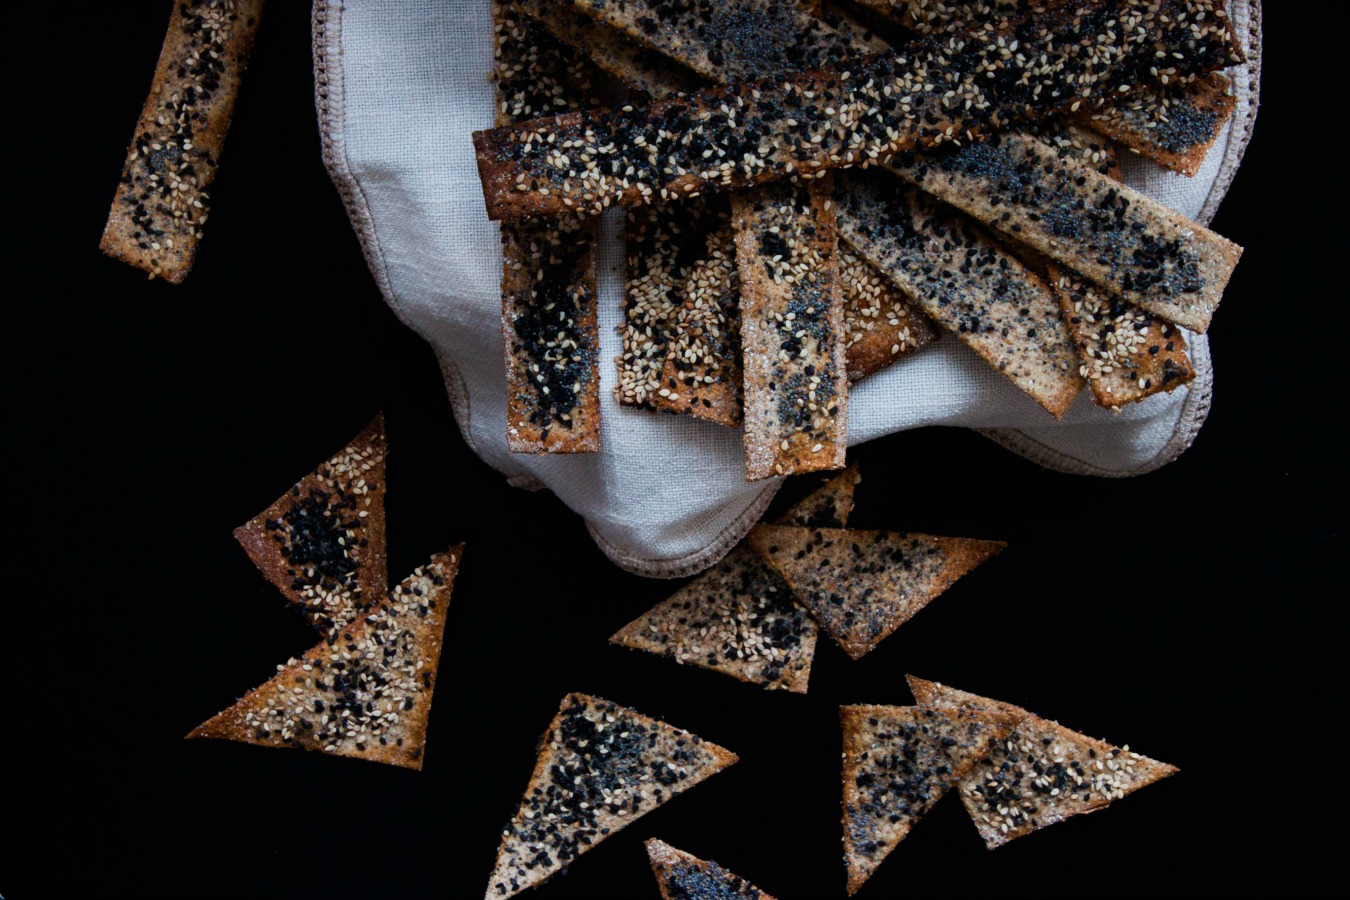
Take about a third of the dough and roll it into a very thin rectangle. The thinner you roll it, the crispier it becomes. With a knife, cut the rolled out dough into about 21x2,5cm (8x1") strips. You can also cut it into different shapes, like triangles (mine were about 6,5 cm / 2.5") or rounds. Transfer to a baking sheet.

Prick each piece all over with a fork. This will keep the crispbread from puffing up in the oven. In a glass, whisk together the egg white and water. Brush each piece of crispbread with the mixture and sprinkle generously with the seeds.

Bake for about 6 minutes. The crispbread will be crisp and start to brown at the edges. Let cool on a wire rack. Continue to prepare the rest of the dough but remember to keep an eye on those in the oven.

Once cool, store in an airtight container. They will keep for a couple of weeks, even for several months.


Hope you all have a great start to the first week of February which, by the way, is my favorite winter month!

>>>•••••••••<<<

Let's get connected!

Frosty Sunday Stroll


"I wonder if the snow loves the trees and fields, that it kisses them so gently? And then it covers them up snug, you know, with a white quilt; and perhaps it says "Go to sleep, darlings, till the summer comes again."

– Lewis Carroll, Alice's Adventures in
   Wonderland & Through the Looking-Glass


I took a Sunday stroll. -15°C and the majestic Nordic winter sun.

Just look at all those different blues.

my blue&white kitchen

How did your Sunday look like?

>>>•••••••••<<<

Let's get connected!

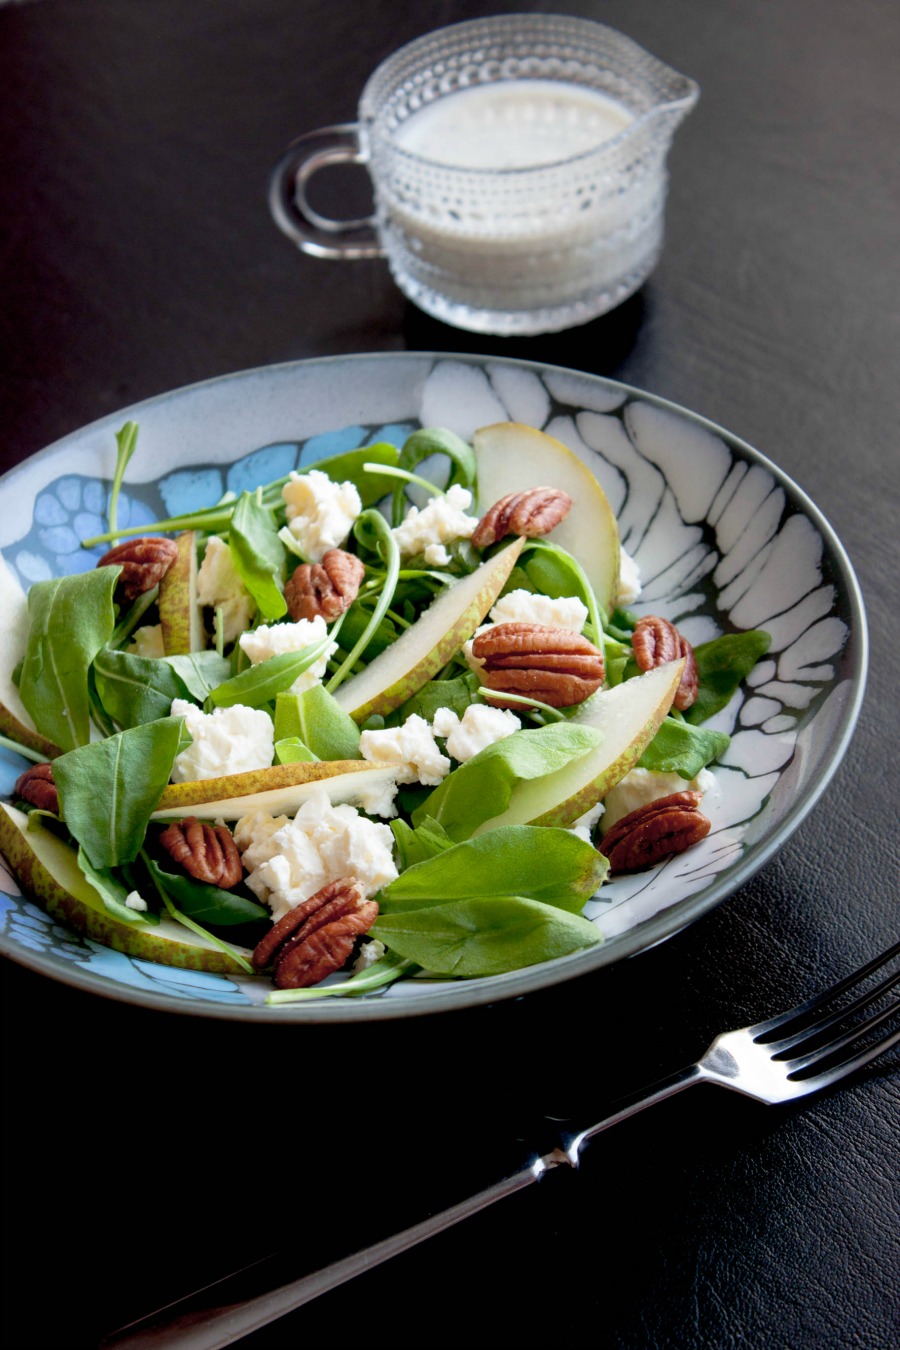
Coldness – Arugula salad with pears, feta & pecans

I can hear the snow crunching under my feet. I breathe out and white mist forms before my face. I smile and my heart jumps in the air. Finally, it's winter again. For a moment I feel like a child wanting to make snow angels in the shallow snow – lie on my back and vigorously move my arms up and down and my legs from side to side. Honestly, when was the last time I made one?

my blue&white kitchen

But then the cold arctic wind hits me. Hard and freezing cold. I'm talking about -20°C (-4°F) cold. So yes, really cold. Soon I can't feel my nose anymore. Cheeks? Nope. And my ears? Well, I should have put a woolen hat on... By the time I'm back home they might have fallen off. Maybe not really likely but the thought alone makes me panic a little so I rub them with my hands. Thank God I'm wearing mittens. Then I look down. My favorite ankle boots and bare legs. Well, they're not really bare. I wear thick(ish) tights. However, this isn't quite what one could call cold weather clothing. Women! What was I thinking?

Oh winter. I think we do have a stormy love-hate relationship.

my blue&white kitchen

But hey, let's talk about today's recipe...cause there's so much more than coldness and maybe it's 40°C in your corner of the world (hello Oz!). I'm not going to share a recipe for a warming soup or comforting stew. No, today we're having a simple, quick-to-make salad. And I don't post this recipe because I'm on a post-Christmas diet spree. I post it just because it's delicious.

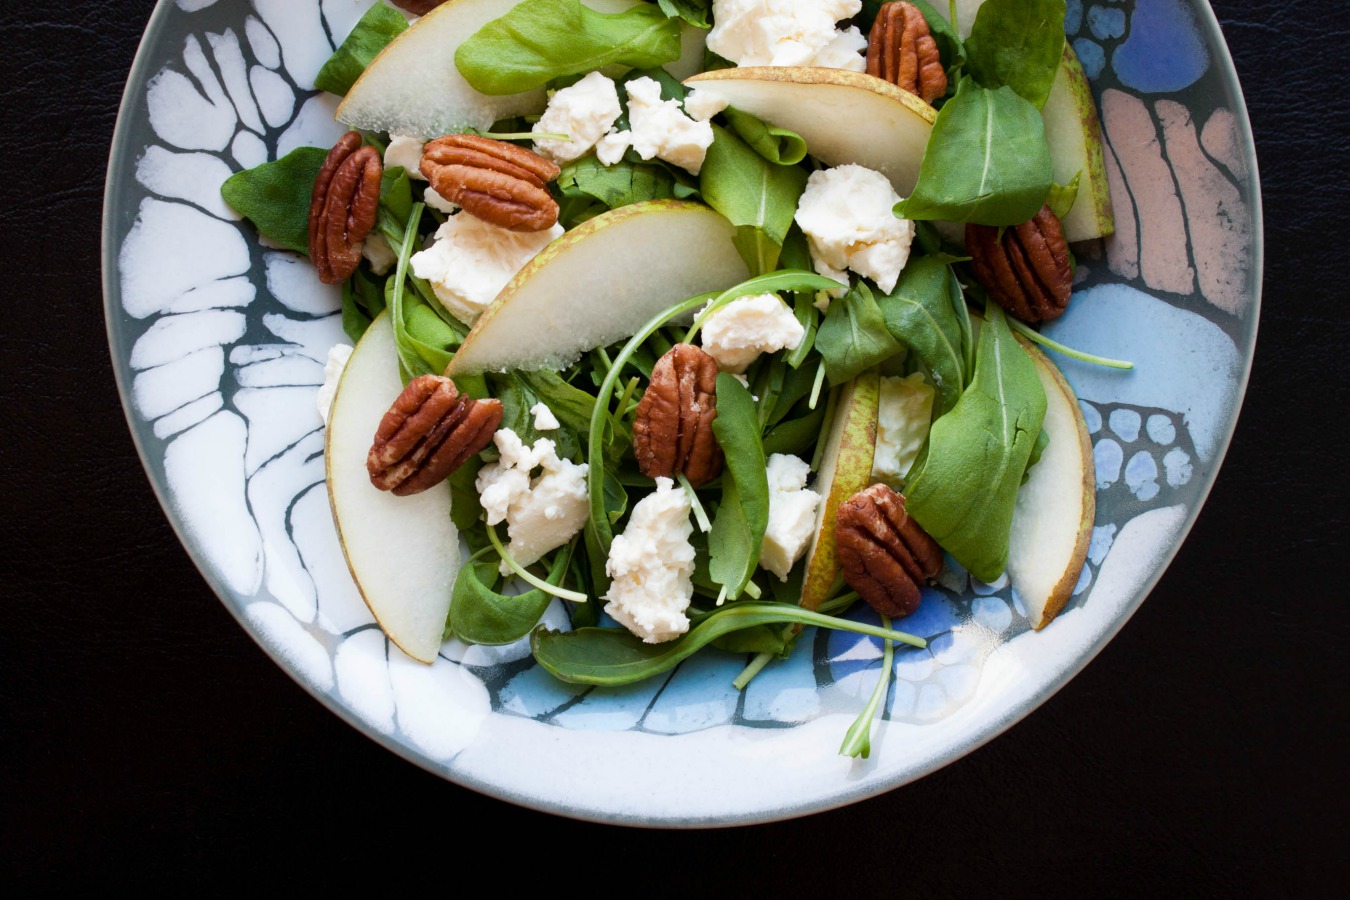
This is a variation of a salad we often make at a get-together with friends (thanks to my friend M.). The "original" version calls for blue cheese and walnuts. I, however, used feta and pecans instead. If you want to have a more filling salad, you can pimp it up with red quinoa. I should also tell you that after I took these shots I remembered that I still had a pomegranate sitting on my countertop. The pom seeds were really lovely sprinkled on top! 

Arugula Salad with Pears, Feta & Pecans

serves 2

You'll end with more dressing than you need but it'll keep in the fridge for a couple of days.


2 large handfuls of arugula, washed & dried
2 pears, thinly sliced
100 g (3.5 oz) feta, crumbled
handful of pecans

for the dressing
3 tbsp full fat plain yogurt
½ tbsp whole grain mustard
½ tbsp white balsamic vinegar
a drizzle of honey
salt & freshly ground pepper, to season

For the dressing, combine yogurt, mustard, vinegar, and honey. Season with salt and pepper. Set aside.

In a large bowl, toss together arugula, pears, and feta. At this point you can either mix in the dressing or, like I do, serve it separately. Sprinkle the salad with pecans to make it look even prettier.

arugula salad with pears, feta & pecans :: my blue&white kitchen

>>>•••••••••<<<

Let's get connected!

Welcoming a New Year – No-Knead Country Loaf

no-knead country loaf :: my blue&white kitchen

I don't make New Year's resolutions. I haven't made them for years. Of course I could say I'll work out more, learn to make croissants, travel to unknown places, and aim to live in the moment. Partly, I don't make any resolutions because I don't want to make promises I most probably won't keep. Let's be honest, most resolutions are forgotten by February anyway. Do I really have to make them only to be disappointed in myself later?

no-knead country loaf :: my blue&white kitchen

Partly I don't make New Year's resolutions because I don't believe that New Year is the time when change needs and will happen. Mostly it's like any other night of the year. Nothing special except that people gather with friends, light sparklers (they're so pretty!), and find a reason to drink champagne straight from the bottle (it happens). It's not a make-a-decision-to-change-or-be-doomed-forever moment.

So as the year 2014 kicks off, I think the same as on the 364 other days of the year. Yes, we need to strive to be the very best version of ourselves. But we also need to get lost, take the wrong turn at the crossroad. We need to aim high, move out of our comfort zone, and take big leaps no matter the risk of falling down on our knees. We need to make mistakes because through mistakes we learn.

Every mistake, every crossroad, pretty much every moment, is an opportunity for change.

no-knead country loaf :: my blue&white kitchen

No-Knead Country Loaf

recipe slightly adapted from NYT, November 8, 2006; original recipe from Jim Lahey's book "My Bread"
yields 1 loaf

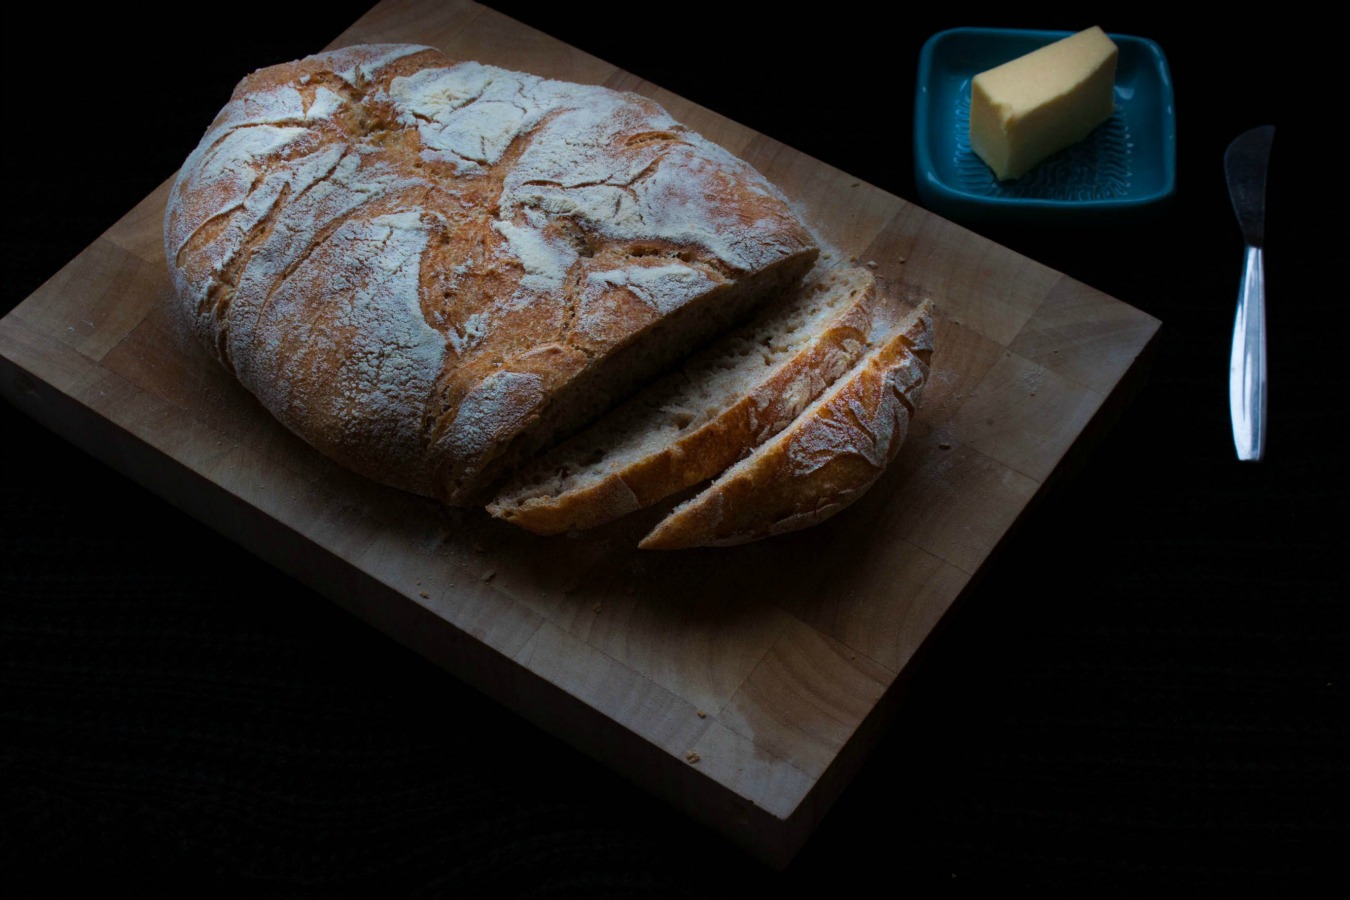
This is a great and easy method to create an irresistible loaf of bread. I warn you, this recipe is addictive! There's no need to knead the dough which means little to no work. The only thing you need is time. The long rising time, also called fermentation, ensures a delicious flavor. The baking method, on the other hand, is the key to the crackling crust. The no-knead method most probably isn't what you're used to – the long fermentation time and the wet dough that's almost impossible to handle. However, it's dead simple and the result is incredible. I still can't believe that I used this method from Jim Lahey, the owner of the Sullivan Street Bakery in New York, for the very first time last week! I've made three different versions so far, playing around with different flours – spelt, like in this recipe, einkorn, and rye. Next time I'm going to sprinkle sesame seeds on top of the loaf. You could even fold in some nuts, seeds, herbs, cheese, or olives. This is also what I want you to do. Play around! Get creative! Just remember that substituting works by weight not volume. Basically, there are three reasons why I prefer to use the scale instead of measuring cups. The first one is accuracy and the second fewer dishes. The third one is that by baking by weight it leaves me the freedom to play around with the ingredients. So get that scale.


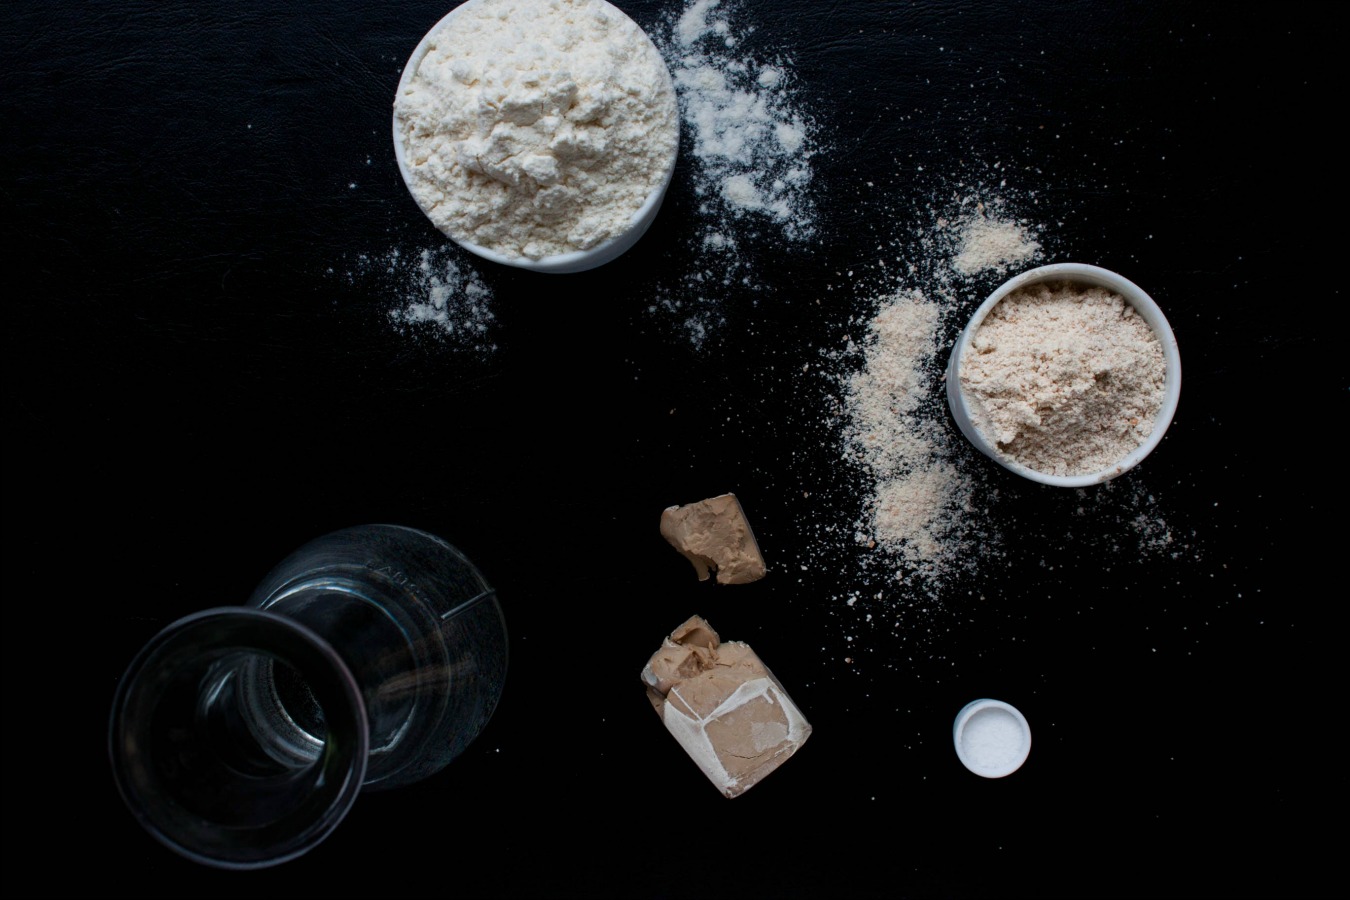
300 g (4 ¼ dl; 2 ¼ cups) bread flour
100 g (2 dl; ½ +  cup) whole wheat spelt flour
1 ¼ tsp (8 g) fine sea salt
3 g fresh yeast (or alternatively 1 g / ¼ tsp instant active dry yeast)
1 ½ cups cool water (about 13–18°C / 55–65°F)

more flour for dusting (I used durum flour but bread flour is okay as well)


In a large bowl, combine both flours and salt. Dissolve the fresh yeast in the water (if you're using instant active dry yeast skip this step and add the yeast straight to the other dry ingredients – there's no need to dissolve it in water first). Add the yeast water to the dry ingredients. Using a bowl scraper or a wooden spoon, stir until blended. The dough will be quite wet and very sticky. If it's not tacky, add a little more water. Cover with a kitchen towel and let rise for 12 to 18 hours at room temperature. The dough is ready when it's more than double in size and the surface is dotted with bubbles.

With the help of a bowl scraper, pull the dough onto a generously dusted work surface. Dust the dough with a little flour, cover with a kitchen towel, and let rest for further 15 minutes.

With lightly floured hands, pull the edges of the dough into the centre to form it into a round or oval shape (depending on the shape of the pot you're using). Wrap the shaped dough, seam side down, in a generously dusted kitchen towel (no terry cloth). Let the dough rise for 1 to 2 hours. It's ready when it's more than double in size and will not spring back when poked with a finger.

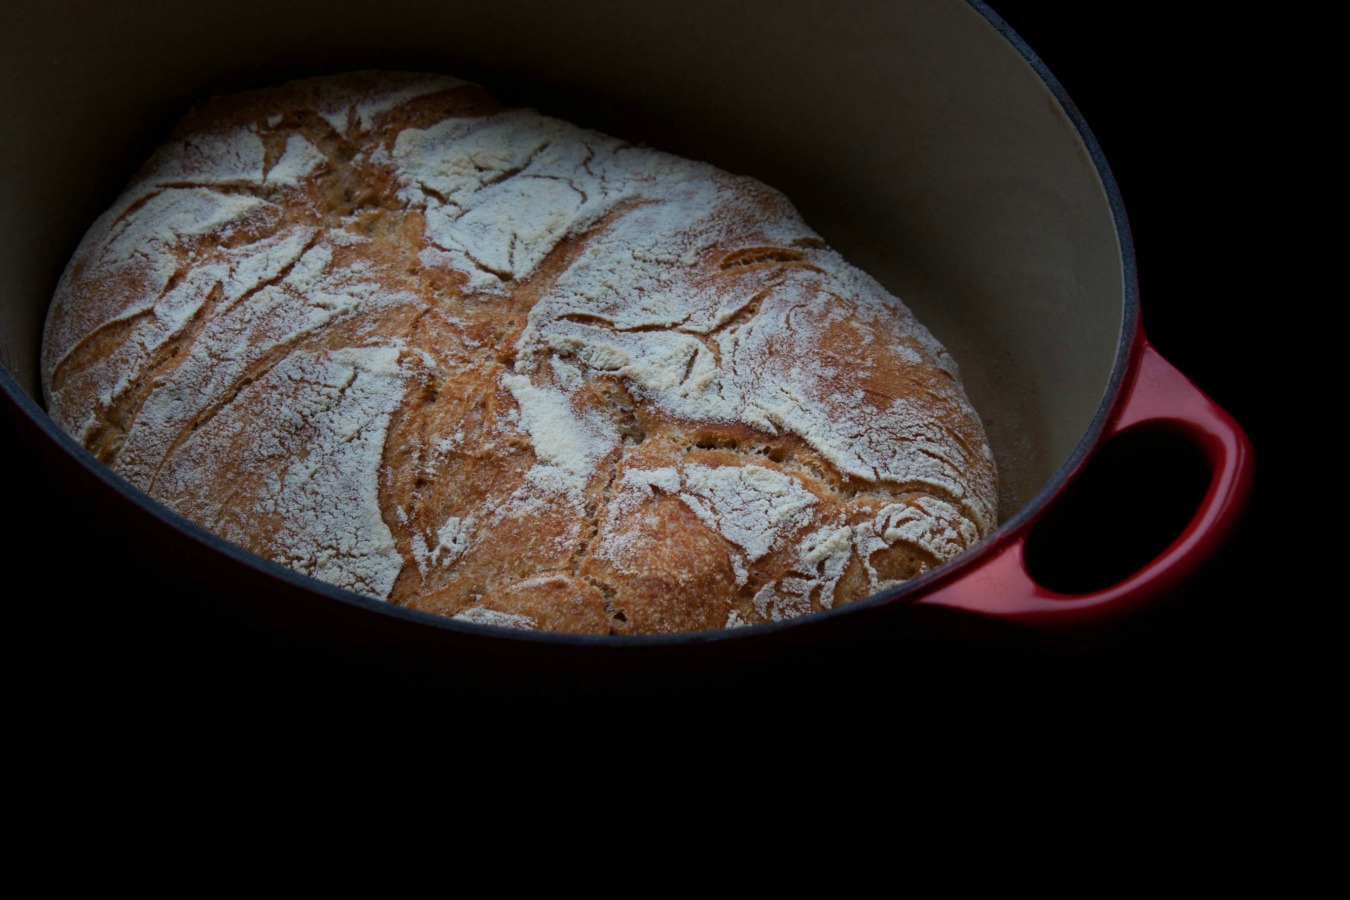
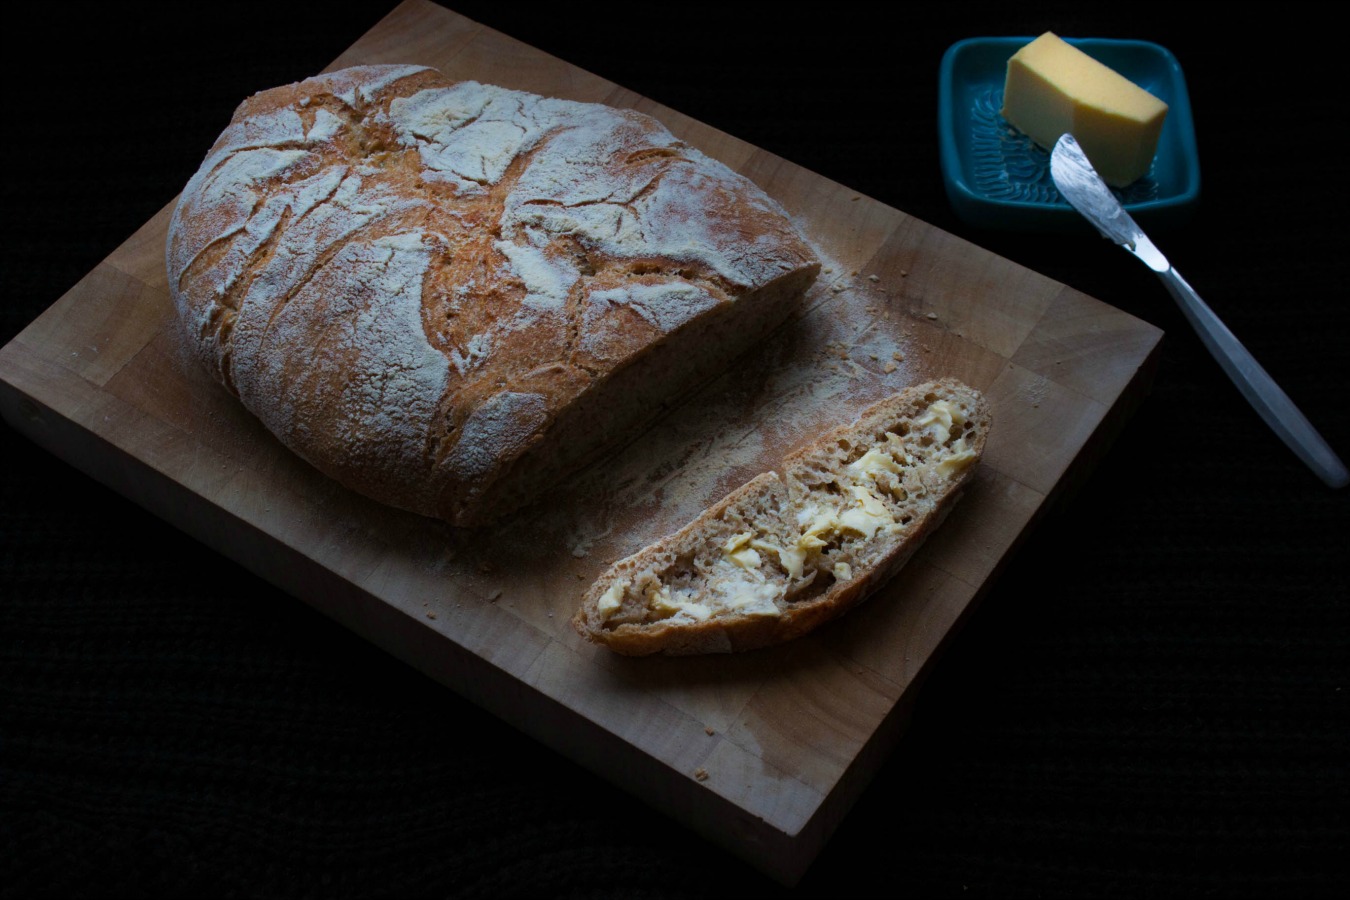
At least half an hour before the end of the second rise, preheat the oven to 225°C (450°F) and place a heavy covered pot, like cast iron, enamel, or ceramic, on a rack in the lower third position. When the dough is ready to be baked, remove it from the oven. Lightly dust the bottom of the pot with flour. Gently turn the dough over into the pot, seam side up (this will ensure beautiful cracks). Shake the pan a couple of times if the dough is unevenly distributed. Bake for 30 minutes covered and for further 15 to 30 minutes uncovered until the crust is deep golden. Cool on a rack or rip it into pieces while steaming hot (probably my favorite part of bread baking).


>>>•••••••••<<<
Let's get connected!