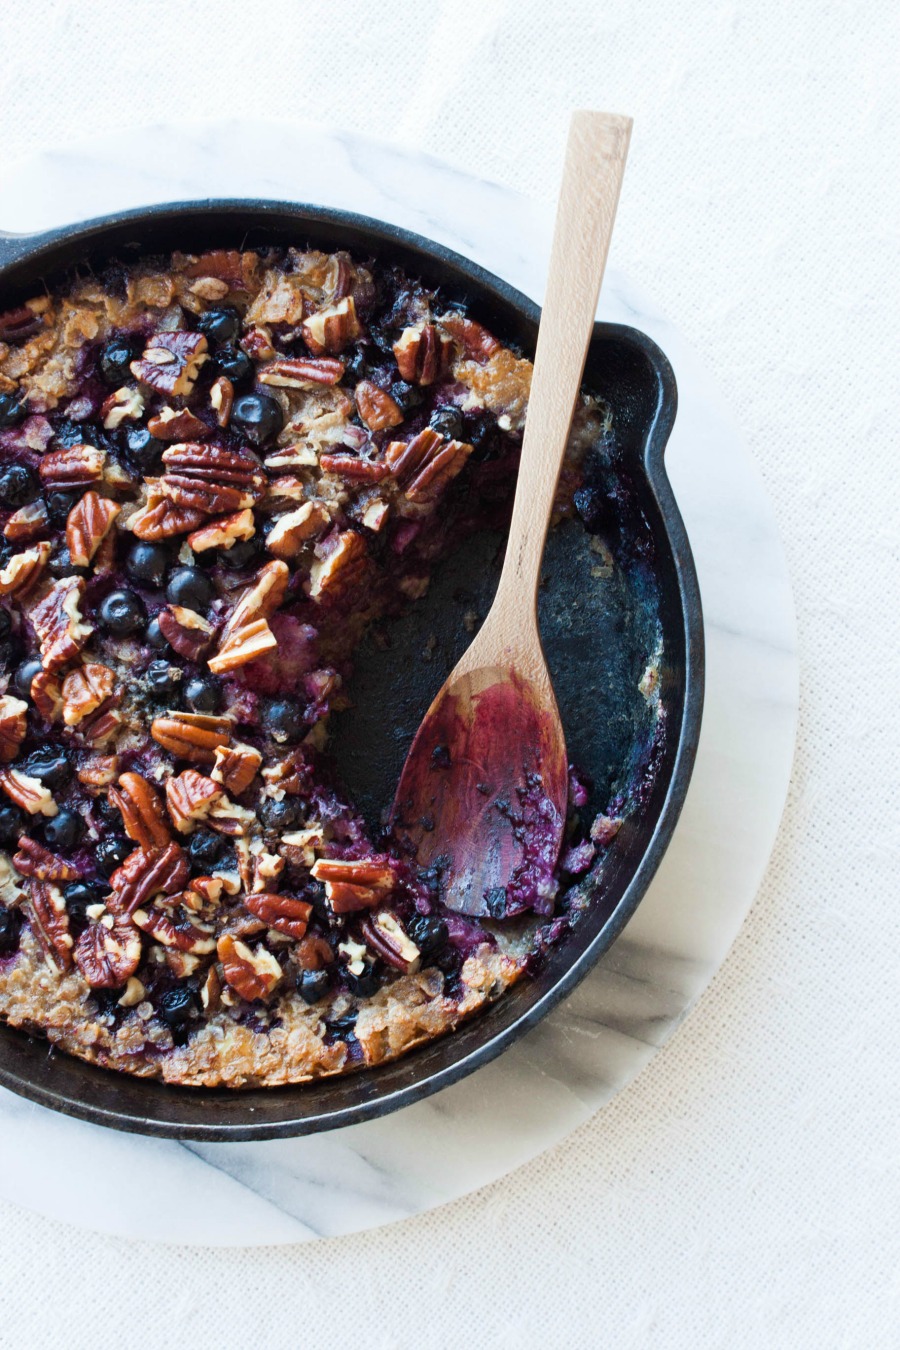
Nordic Oven Pancake with Wild Blueberries

Nordic Oven Pancake | My Blue&White Kitchen

The last couple of weeks have been busy. To be more exact, I've been busy with life trying to spend as much time outdoors and with friends as possible (now that the weather finally turned as it's supposed to be in summer) and avoiding spending time on the computer or the phone. Summer is prescious and short here, so it always feels like one must make the most of these long days - we'll all miss them once darkness returns.

Nordic Oven Pancake | My Blue&White Kitchen

Picking a highlight of my summer isn't easy, but as some of you may have seen on Instagram, I spent a week in Finnish Lapland and Norway in the end of July. We had planned to hike the 55-km-long Hetta-Pallas trail but the weather was forecasted to be extremely rainy, so that we changed our plans on the very last minute and decided to head further north. Yeah, if there's one thing that I (once again) learned from this trip, it's that things don't always go as planned. But why should they? Often unplanned stops in life are the very best ones. And let me tell you, this trip was no exception. So after spending a day in the Pallas' fells, we drove to Saana, a glorious fell located only a couple of kilometres from the Norwegian border. The hike to the top of the Saana fell wasn't an easy one but definitely worth it. And oh Norwegia - it left us speechless and thankful for all the moments we had there. I've been traveling the world for quite a lot and feel absolutely confident saying that the scenery in Norway is one of the most stunning I've ever seen. I can't wait to discover this country even more.

Nordic Oven Pancake | My Blue&White Kitchen

Another highlight of this summer (every summer to be more exact) have been the countless hours spent picking Nordic berries in the forest. Especially wild blueberries, called bilberries, have grown in abundance this year. I've freezed some for later use, made jam, used them in baked goods, and enjoyed them both plain and as toppings for yogurt, ice cream, etc. These blue fellas are full of flavor and one can get quite addicted to them.

Today, I want to share a true childhood favorite with you: Nordic Oven Pancake. It's basically our version of a Dutch baby, baked on a baking sheet instead of a pan. I like when the center is barely set and still custardy making it an unresistable treat. Oven pancake is perfect when you're too lazy to make crêpes that require much more effort and time; the oven pancake batter is super easy and quick to make and your oven does most of the work. As the pancake itself isn't very sweet, the toppings are what truly makes this dish shine. You can top your slice with whatever you like - fresh berries and/or homemade jam are always a good choice but I also love to enjoy a slice with nothing more than granulated sugar. If you want to get wild and deliscious, add some whipped cream or an ice cream scoop or two.

Wishing you all wonderful late summer days! Enjoy.


Nordic Oven Pancake

makes 1 sheet (size: 39x32,5cm / 15,4"x12,8", measured from the bottom of the pan, excluding rims)

This is a true summer favorite with a custardy center. Be super careful when placing the sheet in the oven making sure not to splash any batter!

1 liter (4 ¼ cups) whole milk
3 tbsp granulated sugar
¾ tsp fine sea salt
4 eggs (European M; U.S. L)
30 g (2 tbsp) butter, melted
250 g (4 ½ dl; 2 cups minus 1 ⅔ tbsp) all-purpose flour


Preheat oven to 200°C (400°F). Line a rimmed baking sheet (at least 2 cm / ¾" deep) with parchment paper.

In a medium-sized bowl, mix together the milk, sugar, salt, eggs, and melted butter until well combined. Gradually add flour and mix until smooth. Let rest for about 30 minutes.

Pour batter into prepared baking sheet. The sheet will be filled to the rim with batter, so be extra careful when placing the sheet in the oven. Bake on the middle rack for 30 to 40 minutes, or until the top is golden brown with darker spots here and there and the bottom is golden brown. The batter will rise in the oven (and look like the Ural Mountains) but falls quickly after being removed from the oven.

Let cool down before serving, so that the center sets proberly. Serve cold or at room temperature with toppings of your choice.


Nordic Oven Pancake | My Blue&White Kitchen

Related Posts

Whipped Cranberry Porridge (The Prettiest Porridge Ever) & A Guest Post For A Cup Of Jo

Whipped Cranberry Porridge | My Blue&White Kitchen

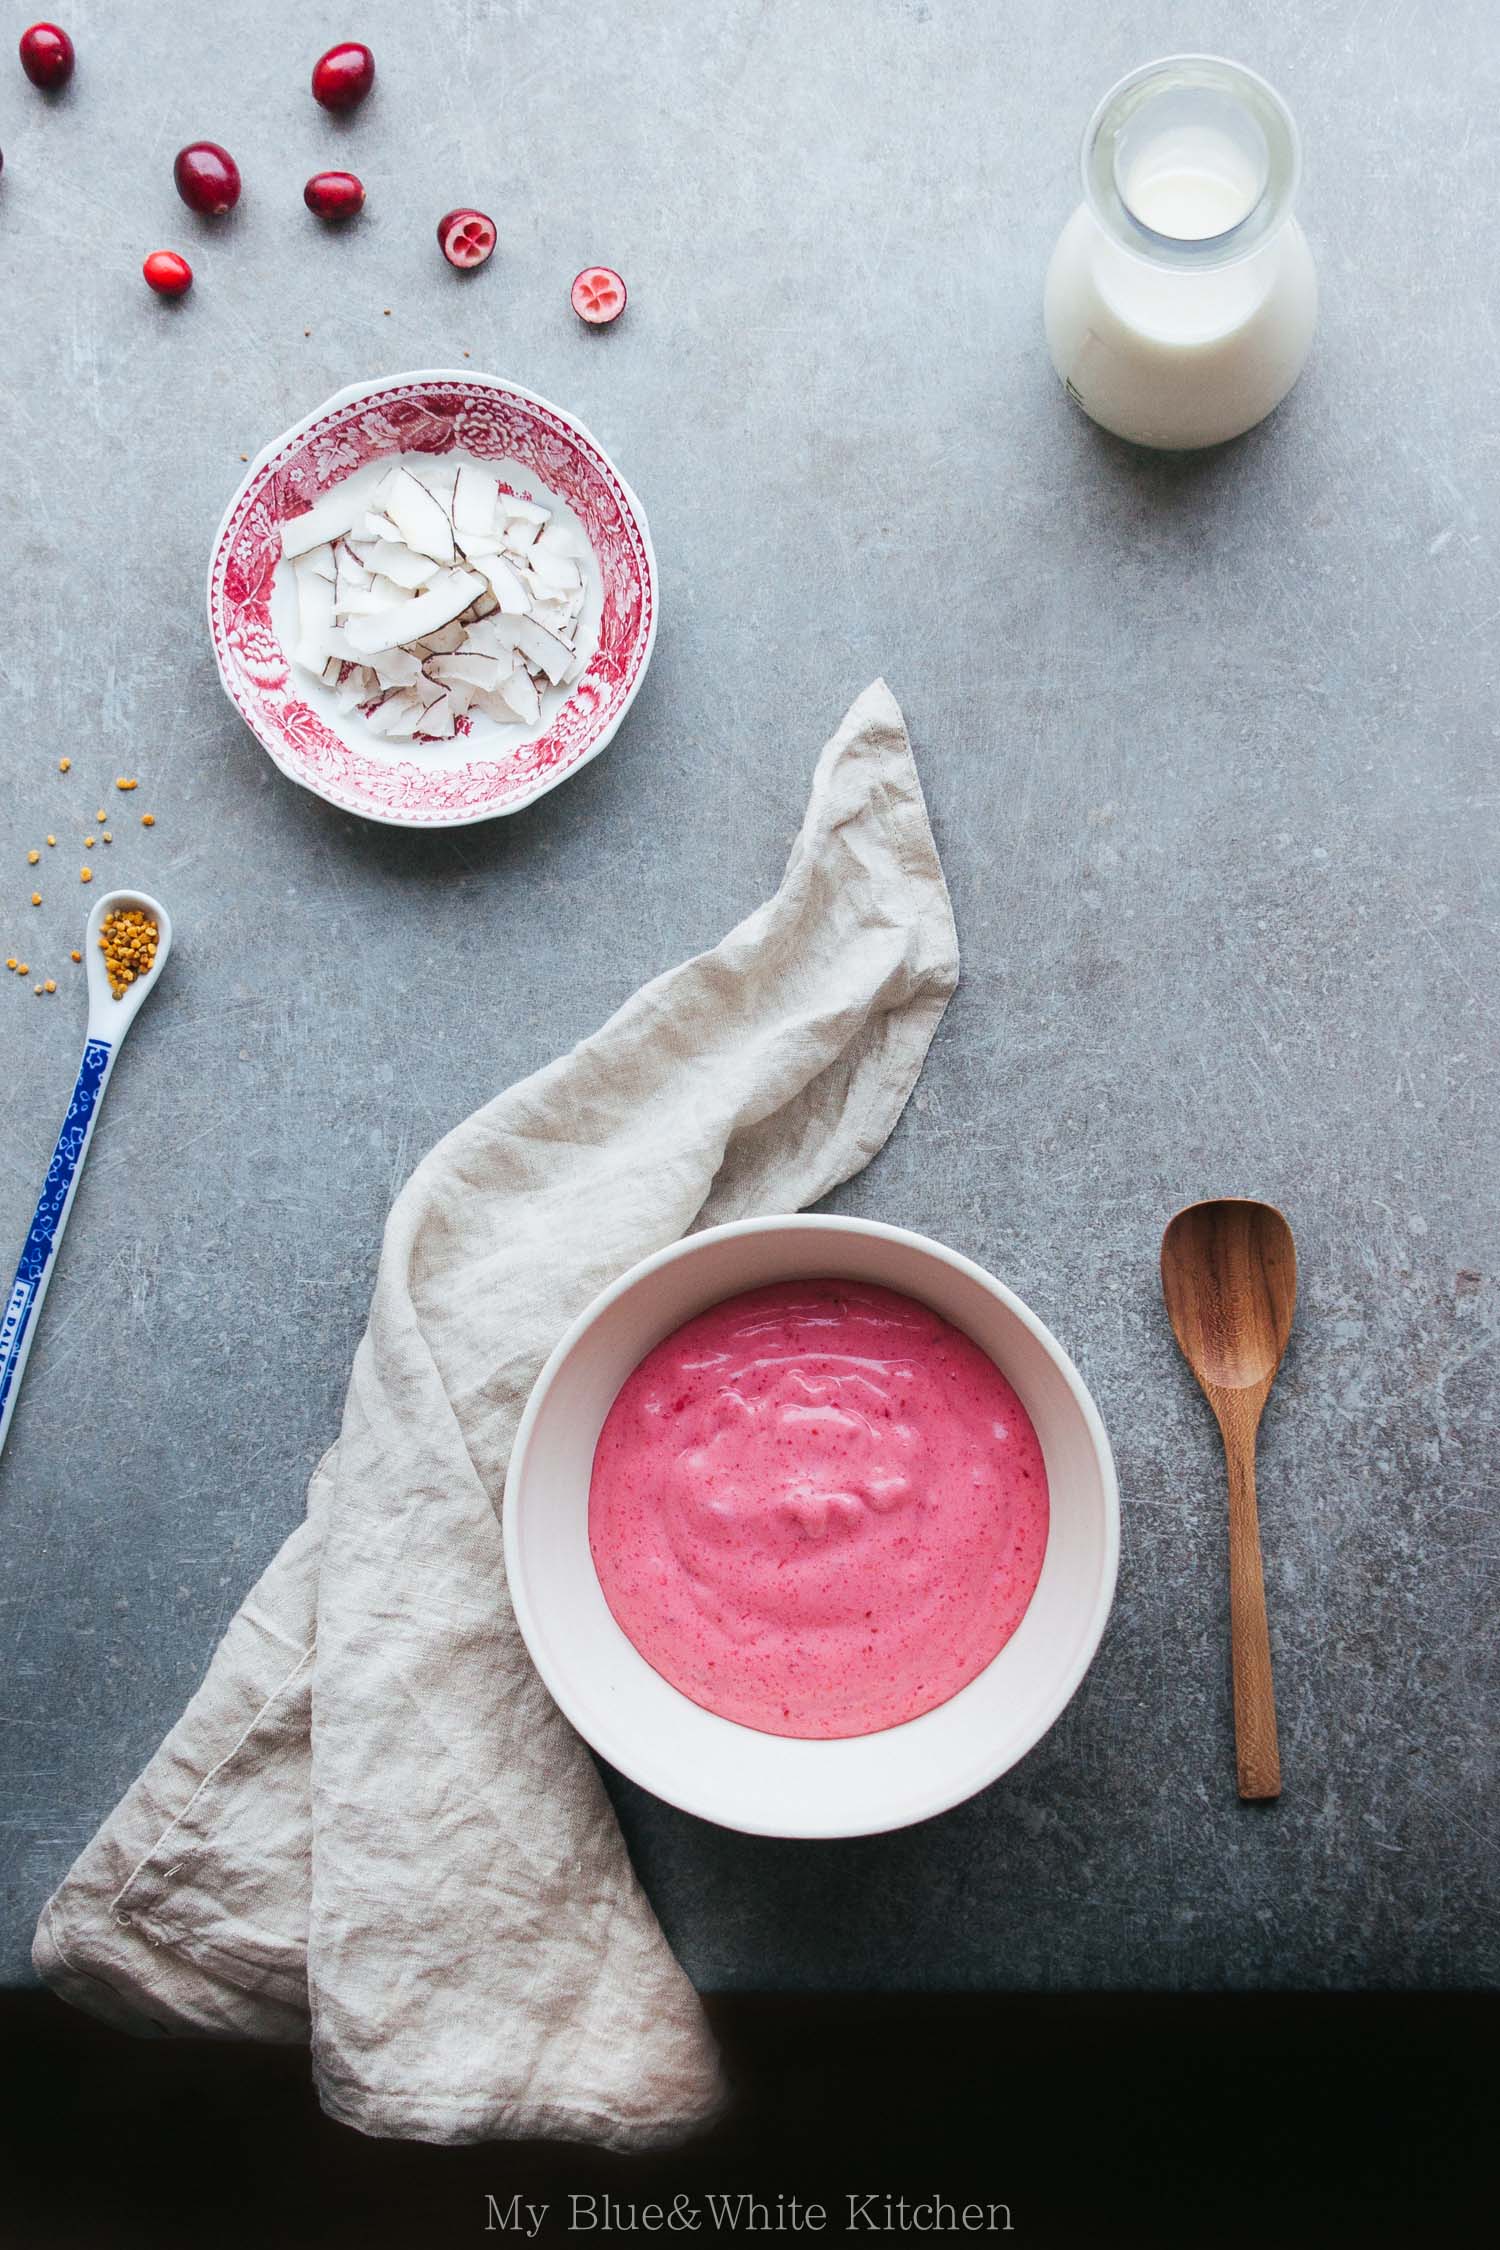
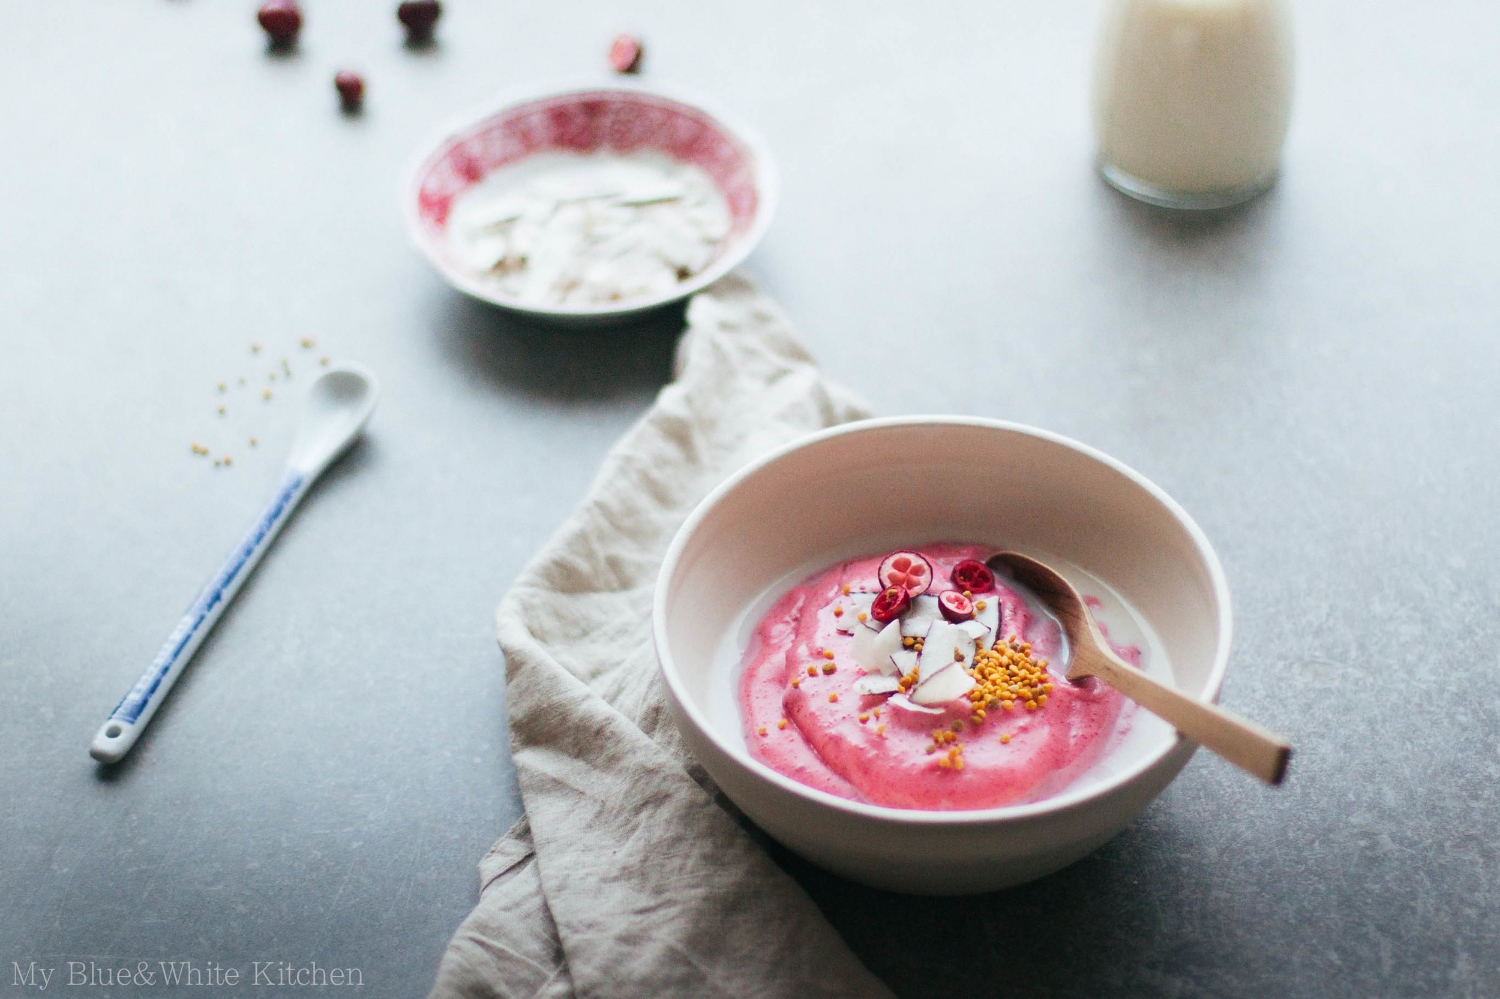
Maybe you have followed me for long enough that you remember my post about Whipped Lingonberry Porridge almost a year ago as a "this-is-not-a-Valentine's-Day-recipe-although-it's-pink" thing. This time, I'm following my traditions with not being into Valentine's Day and blaming coincidence (or faith?) for me sharing a pink dish only a week before that said lovers' day. But here I am. And here it is. Whipped berry porridge - one of my most favorite breakfasts/midday snacks/Nordic fairs/berry power bowls.

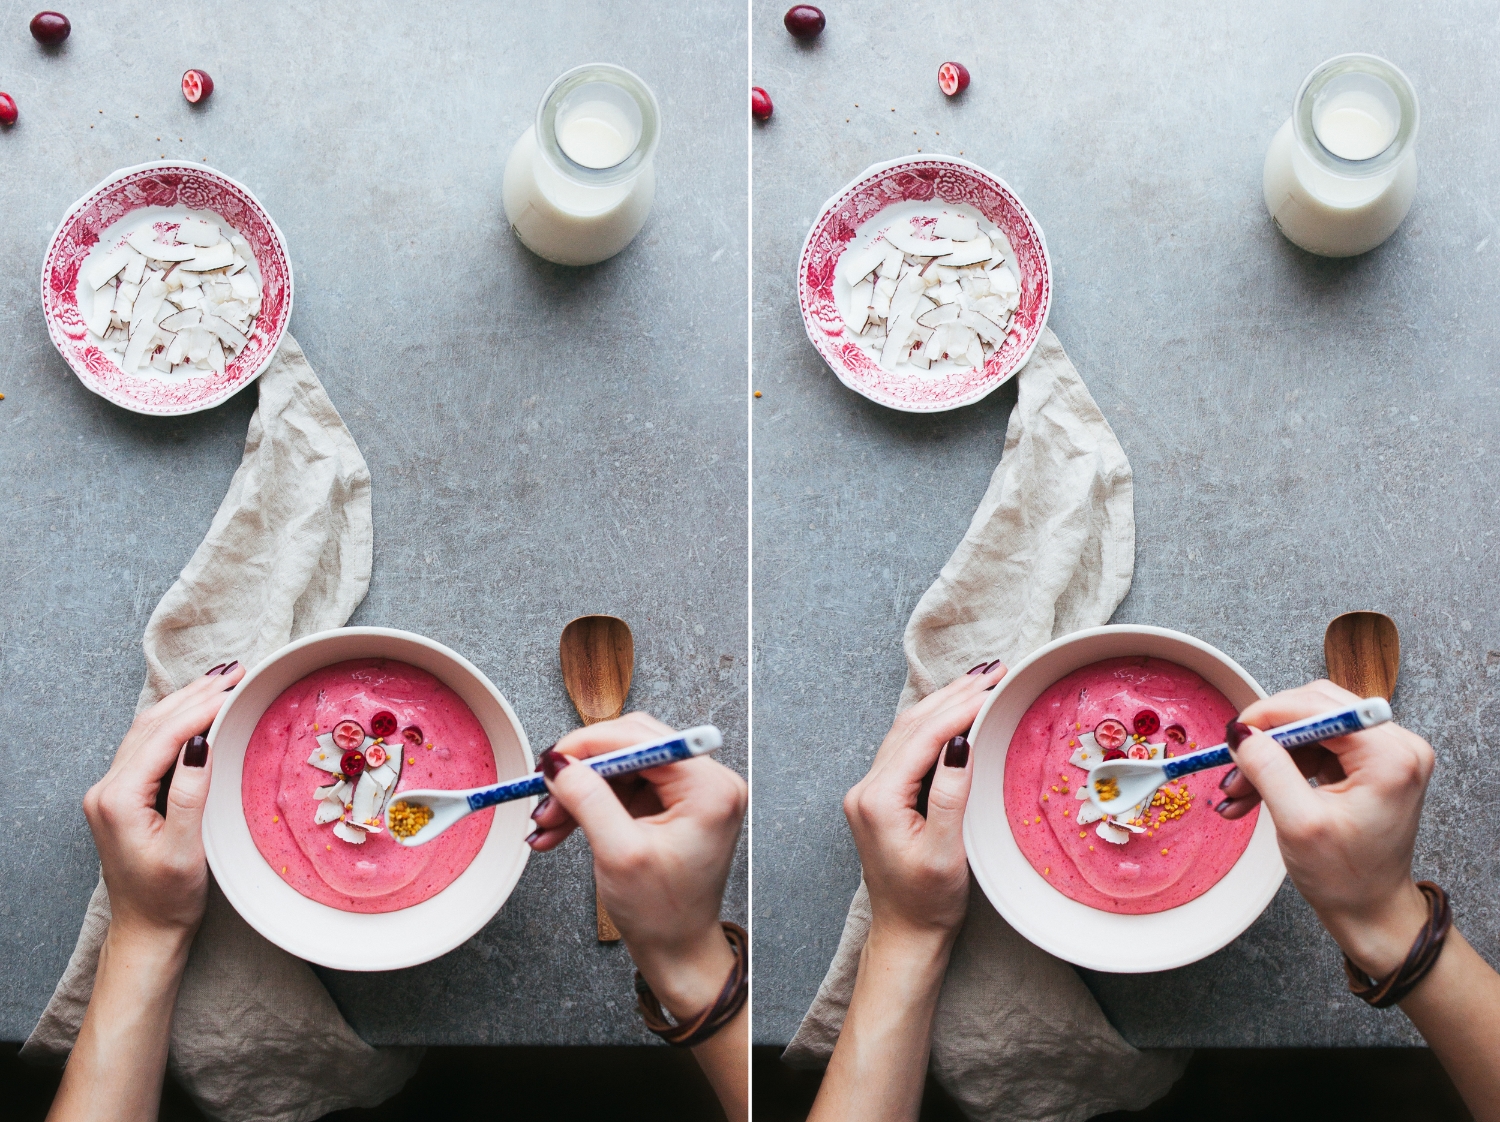
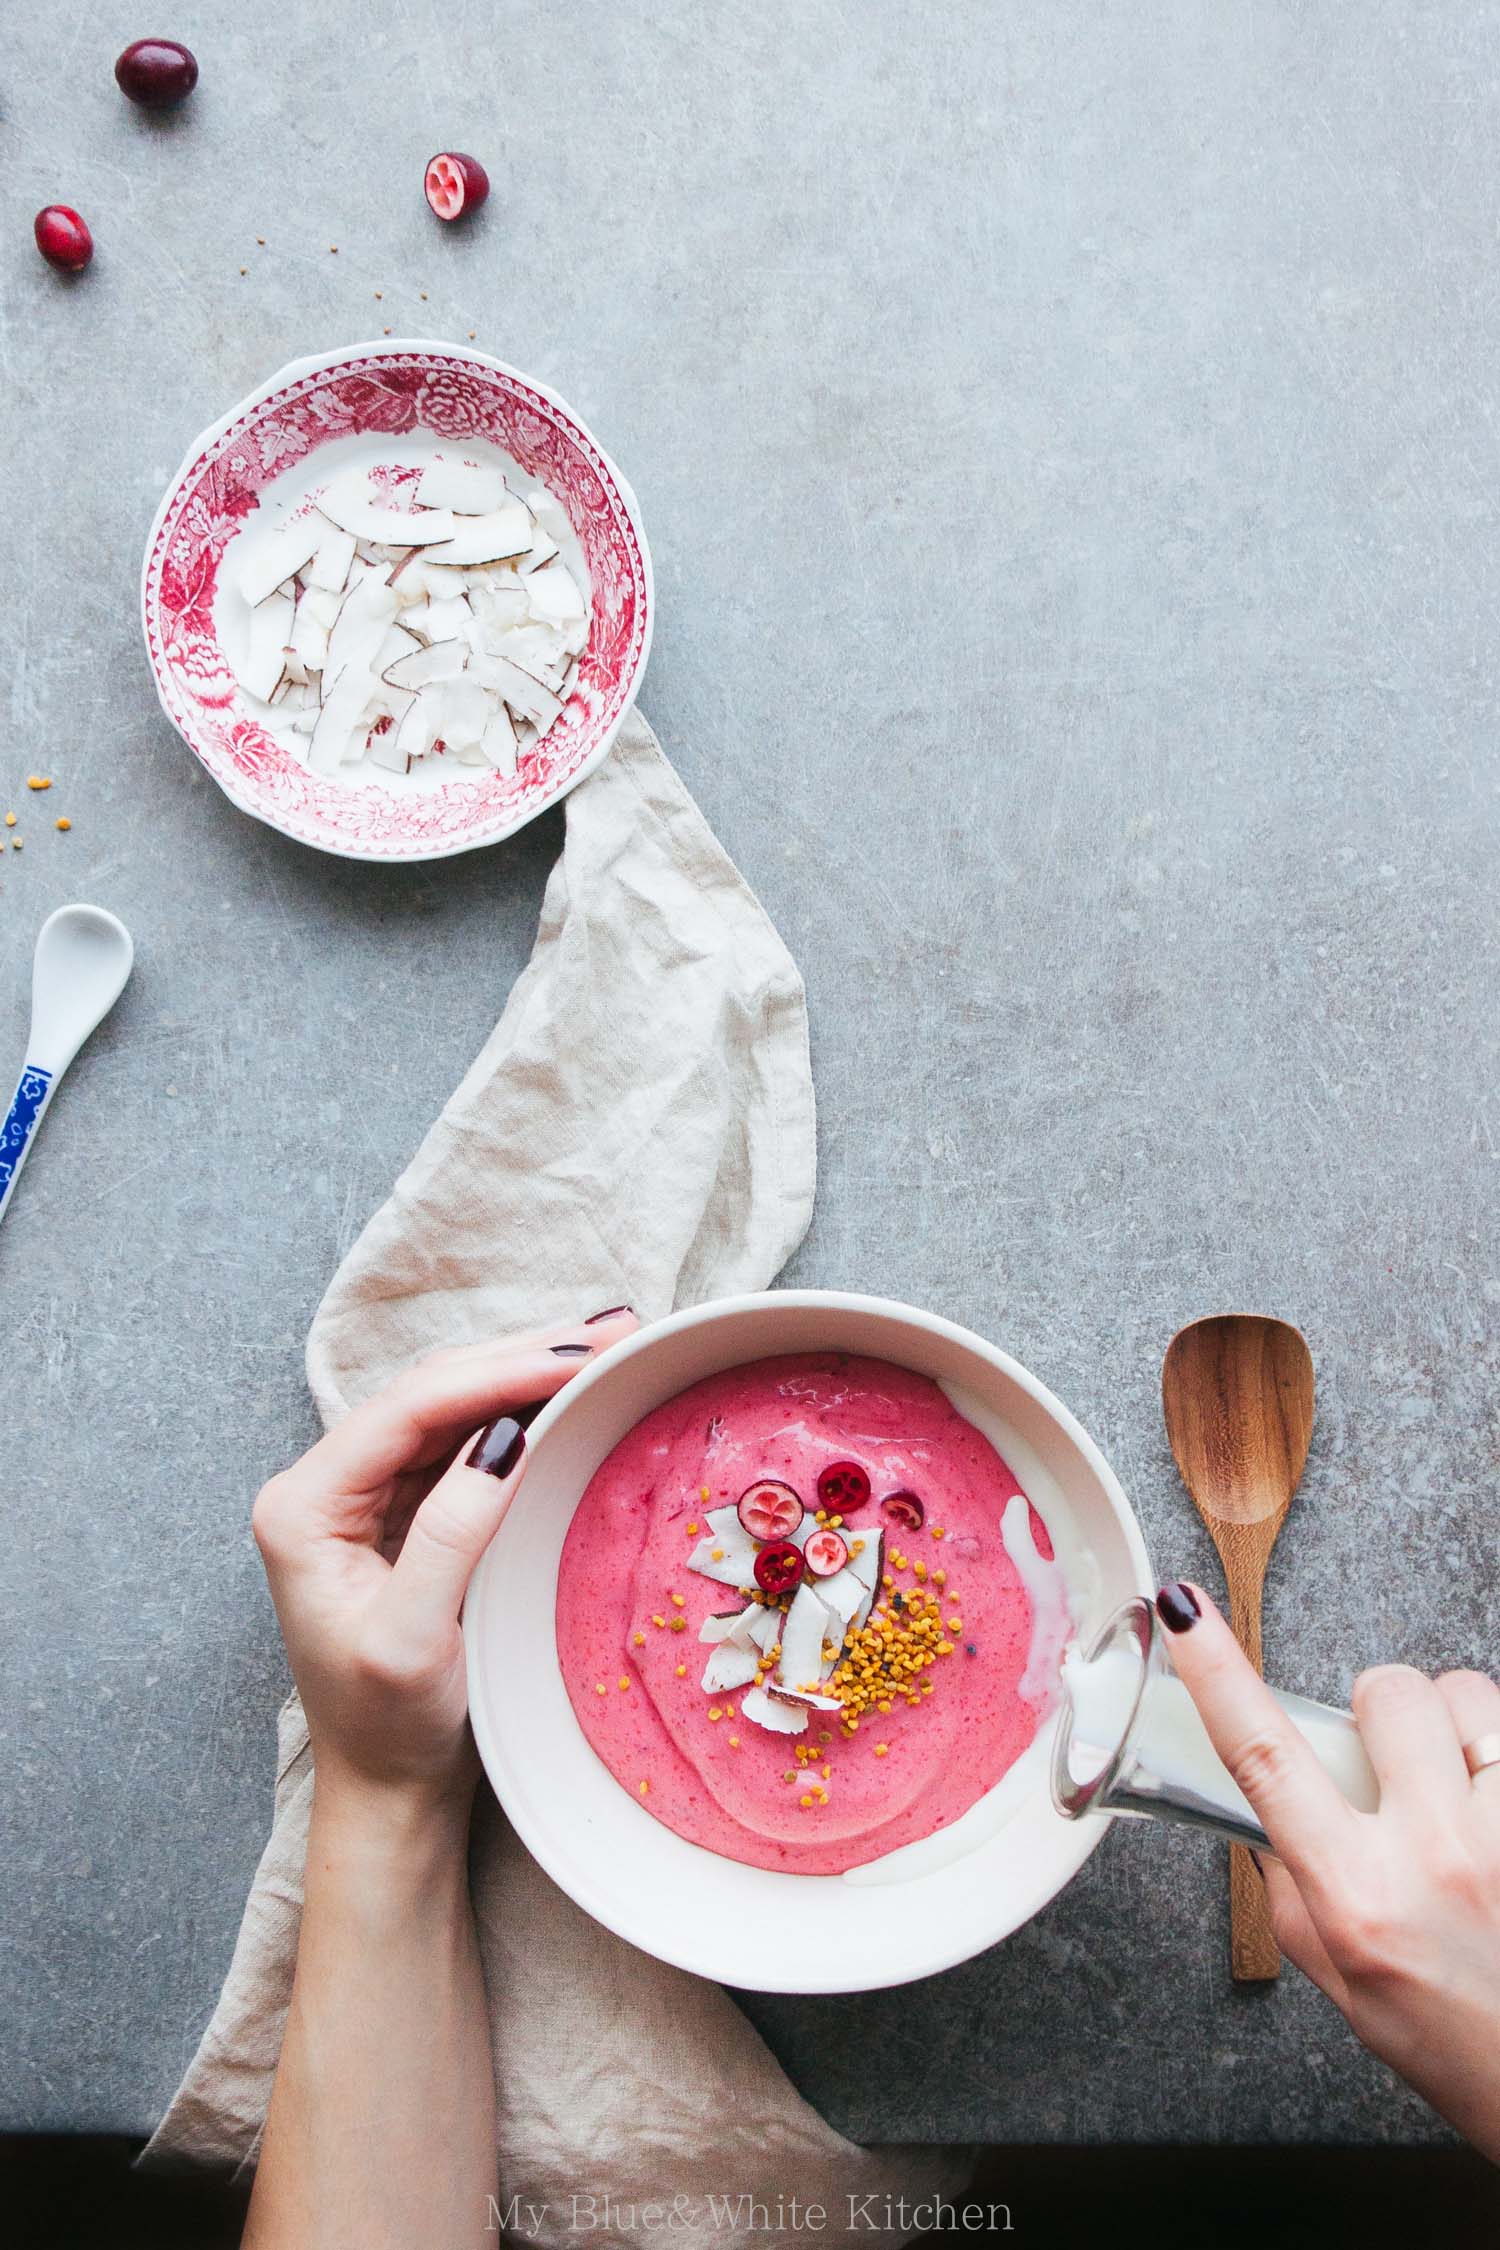
As I realize that lingonberries are a Nordic (hello there Ikea!) or at least European thing, I recreated this old favorite with cranberries. Both the taste and color are almost identical to the more traditional version, so this porridge could still be seen as being highly authentic. Well, at least sans the toppings. The toppings are a modern twist on the dish. I love toppings, so I really like to add some texture and flavor to this pink breakfast bowl.

I'm also on A Cup of Jo this week sharing this porridge as part of the weekly food series. I discovered Joanna's site a couple of years ago and have been a regular reader ever since. There are always so many exciting links and reads, and I always leave feeling inspired. I especially remember this hair tutorial post (when I still had long enough hair to do awesome things like that... now all I do is this), these cute faces, and how Molly's egg-in-a-hole was a life-changing discovery. So yeah, I'm pretty excited to contribute and maybe inspire others in the same way as I have been inspired.

Hop on over to A Cup of Jo to read more about the porridge!


Whipped Cranberry Porridge

serves 4 to 6

As I don't like to start my day with a breakfast loaded with sugar and as I want to keep some of that lovely tartness cranberries are known for, this porridge isn't very sweet. Feel free to add more sugar to taste. However, remember that the milk will balance out some of the tartness. Chilling the porridge is crucial – you won't be able to whip it probably if it's still warm. 

8 dl (3 ¼ cups) water
250 g (4 ½ dl; 2 cups) frozen (or fresh) cranberries
pinch of fine sea salt
100–150 g (1 ¼–1 ¾ dl; ½–¾ cup) granulated sugar, depending on your taste
120 g (1
½ dl; ⅔ cup) farina (Cream of Wheat)

milk of your choice, to serve
optional: toppings of your choice


In a medium pot, combine the water and cranberries. Bring to a boil and boil for 10 to 15 minutes.

Add the salt and sugar. Gradually whisk in the farina. Depending on how long your farina needs to be cooked, let simmer for 5 to 10 minutes stirring constantly. Taste and add more sugar if desired. Remove the pot from the heat and let the porridge cool to room temperature.

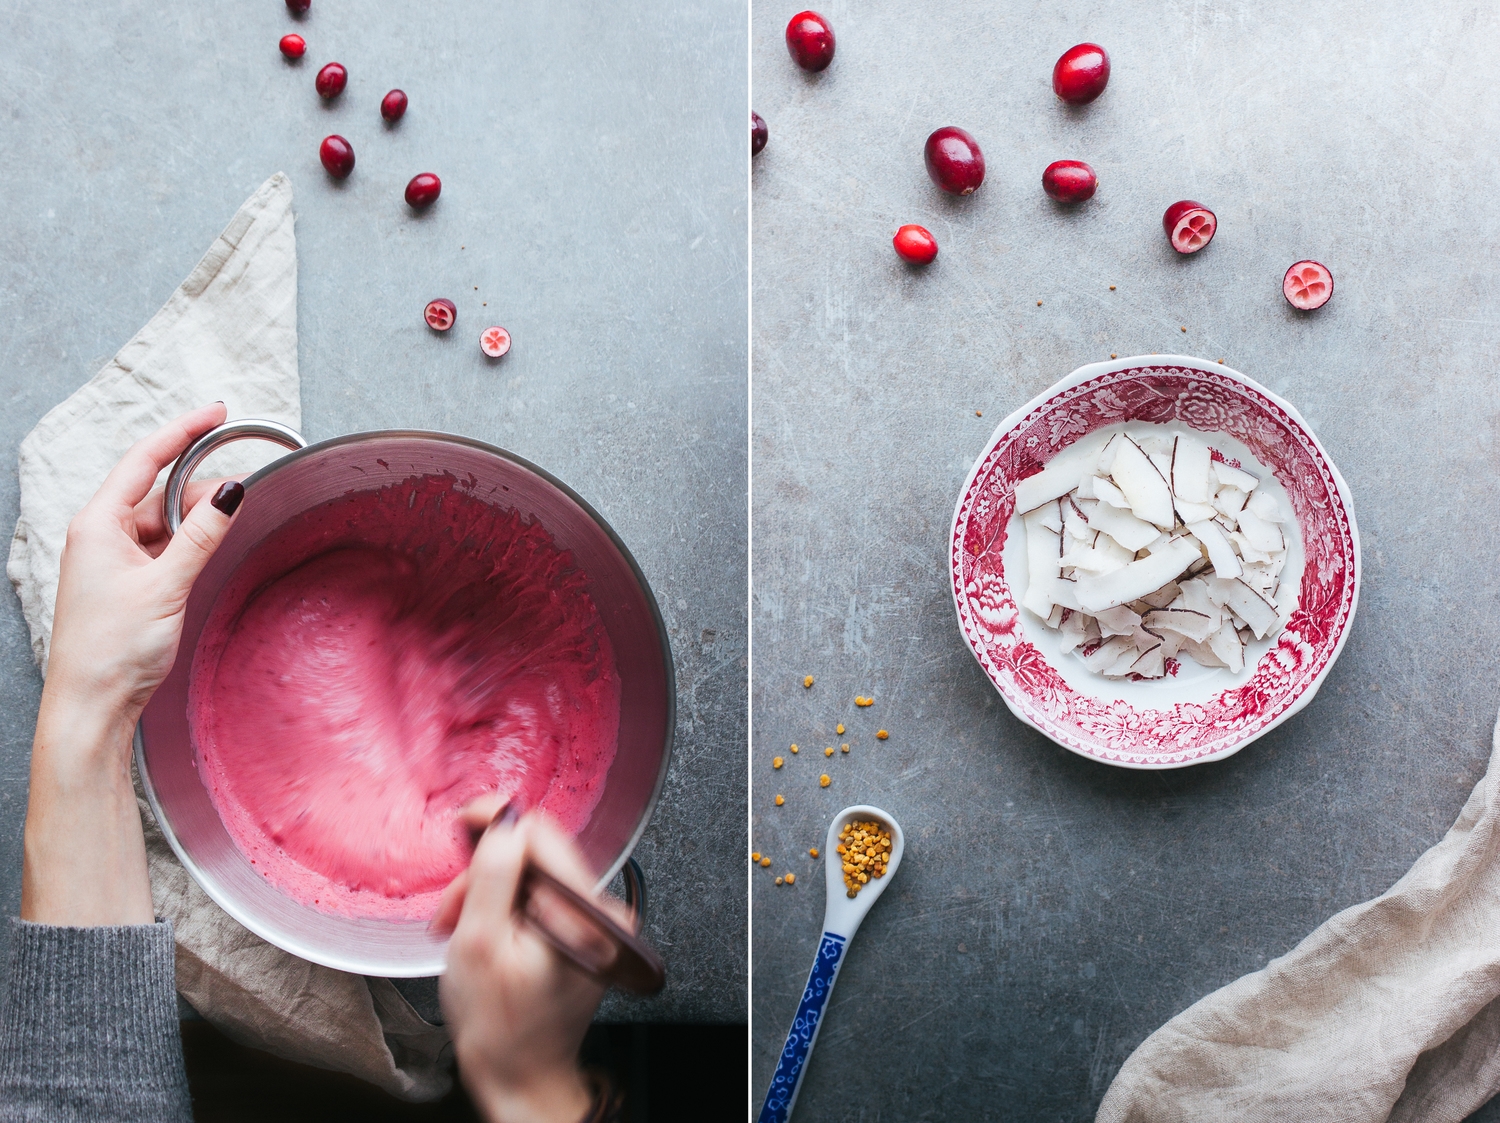
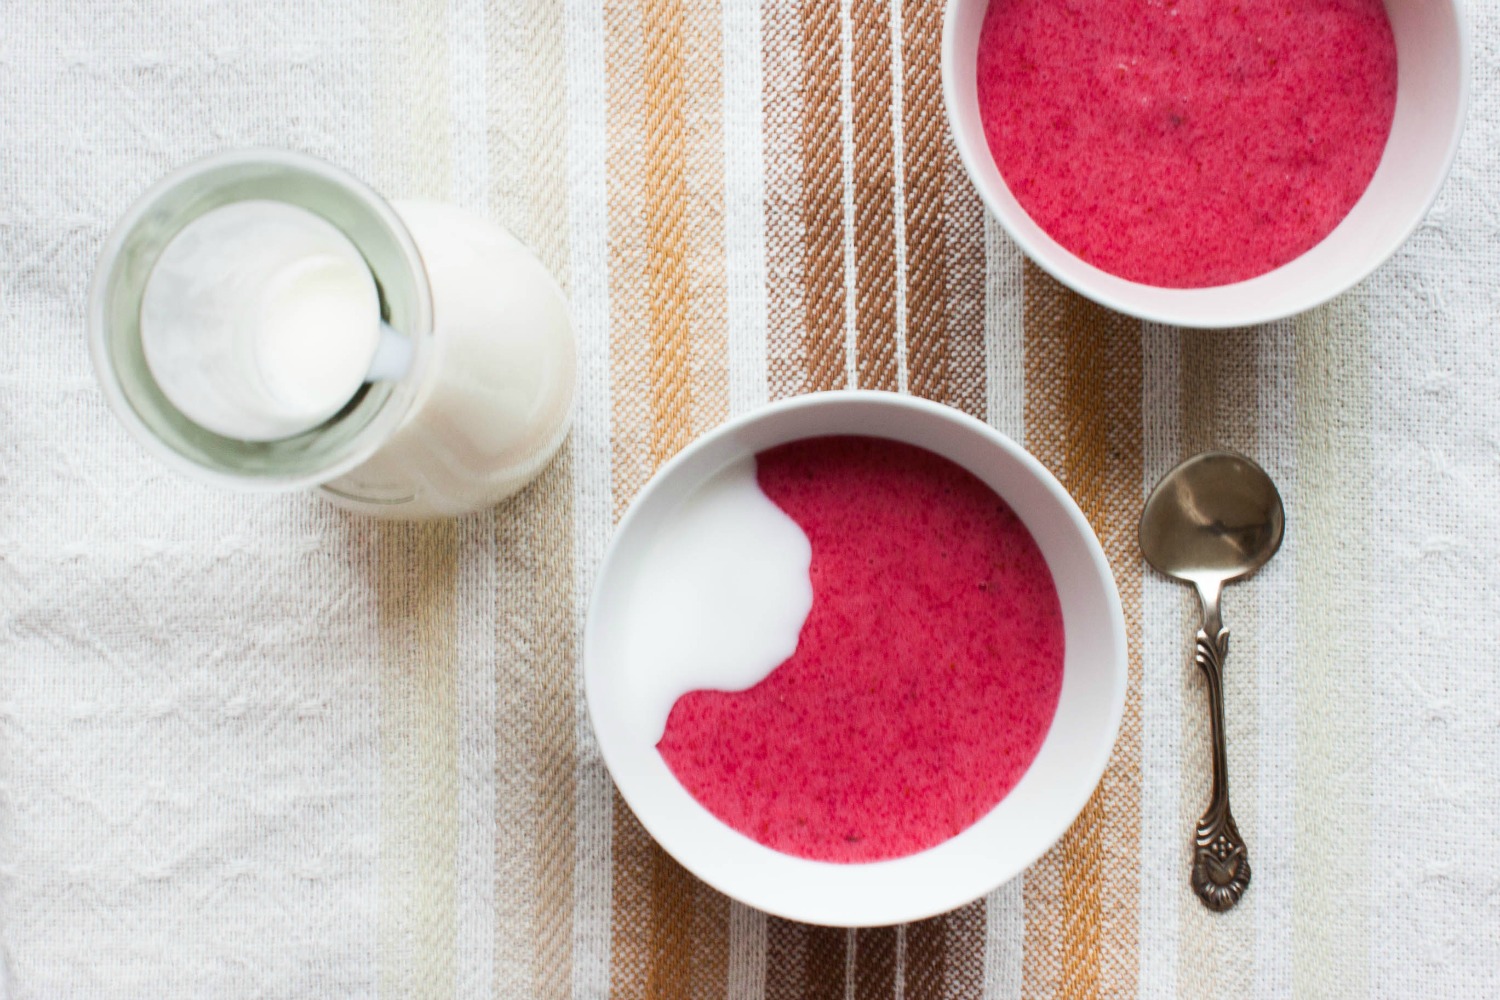
When the porridge has cooled to room temperature, whisk until light and fluffy. The color will turn from magenta to light pink.

Serve at room temperature or cold with milk and toppings of your choice.

The porridge can be stored in the fridge for a couple of days. For the perfect texture, whisk it again before serving.


Whipped Cranberry Porridge | My Blue&White Kitchen

Related posts

Overnight Oats + A Promo Code For Stitch Linens

Overnight Oats | My Blue&White Kitchen

Are you familiar with Marta Greber and her blog What Should I Eat For Breakfast Today? Well, I have to blame her and her gorgeous blog for having been madly obsessed with overnight oats for the last couple of months. It all started with this post last August. See how pretty and tempting that breakfast bowl is? I wanted that deliciousness in my life, made my first batch of overnight oats, and so the love story of me and overnight oats began.

Porridge is an institution here in the north. I think most people start their day with a bowl of warm and comforting porridge. There are even food trucks that sell nothing but porridge (!!). But, you know, I've never been a morning porridge person myself. Yes, I enjoy a bowl of rice porridge in winter (although, not for breakfast, except on Christmas Eve when it's an obligatory part of our Nordic Christmas traditions) as well as farina porridge a couple of times a year, but I've never been attracted to the regular cereal porridges that are all too often rather tasteless and bland. Oh and the consistency can certainly be an issue as well. I haven't grown up eating porridge every single morning, so it's nothing I have an emotional connection with. It's nothing I crave. Well, not until I saw that post about overnight oats that is.

What I love about overnight oats is that it a) can be, as it name already says, prepared on the night before and b) is ridiculously versatile and can be adapted according to the season as well as to one's preferences & diet. My first overnight oats was a combination of oats + apple juice + grated apples + yogurt + nuts + berries. I immediately fell in love with this breakfast and have enjoyed it in the early (and late) morning hours several times a week for the last couple of months. It makes a great breakfast to-go when made in a mason jar or can be enjoyed as a healthy and filling midday snack.

The overnight oats ratio is easy to remember: 1 part of oats to 1 part of liquid. As liquid, you can use juice, such as pure orange or apple juice, milk, plant milk, or even water. Furthermore, you can add some spices to the mix, such as cinnamon, vanilla, cardamom, or ginger. Or what about grated apples, pears, or carrots?

There are, of course, endless topping possibilities that I like to change according to the seasons. Some of my favorites are:

  • nuts (almonds, hazelnuts, walnuts, pistachios, pecans, cashews, etc.)
  • fruit & berries (apples, pears, plums, figs, berries of all kind, etc.)
  • dried berries (cranberries, raisins, figs, cherries, berry powder, etc.)
  • sweeteners (agave nectar & honey)
  • plain yogurt, nut butter, jam, etc.
  • toasted coconut flakes, seeds, bee pollen, cacao nibs, candied ginger, puffed amaranth, etc.

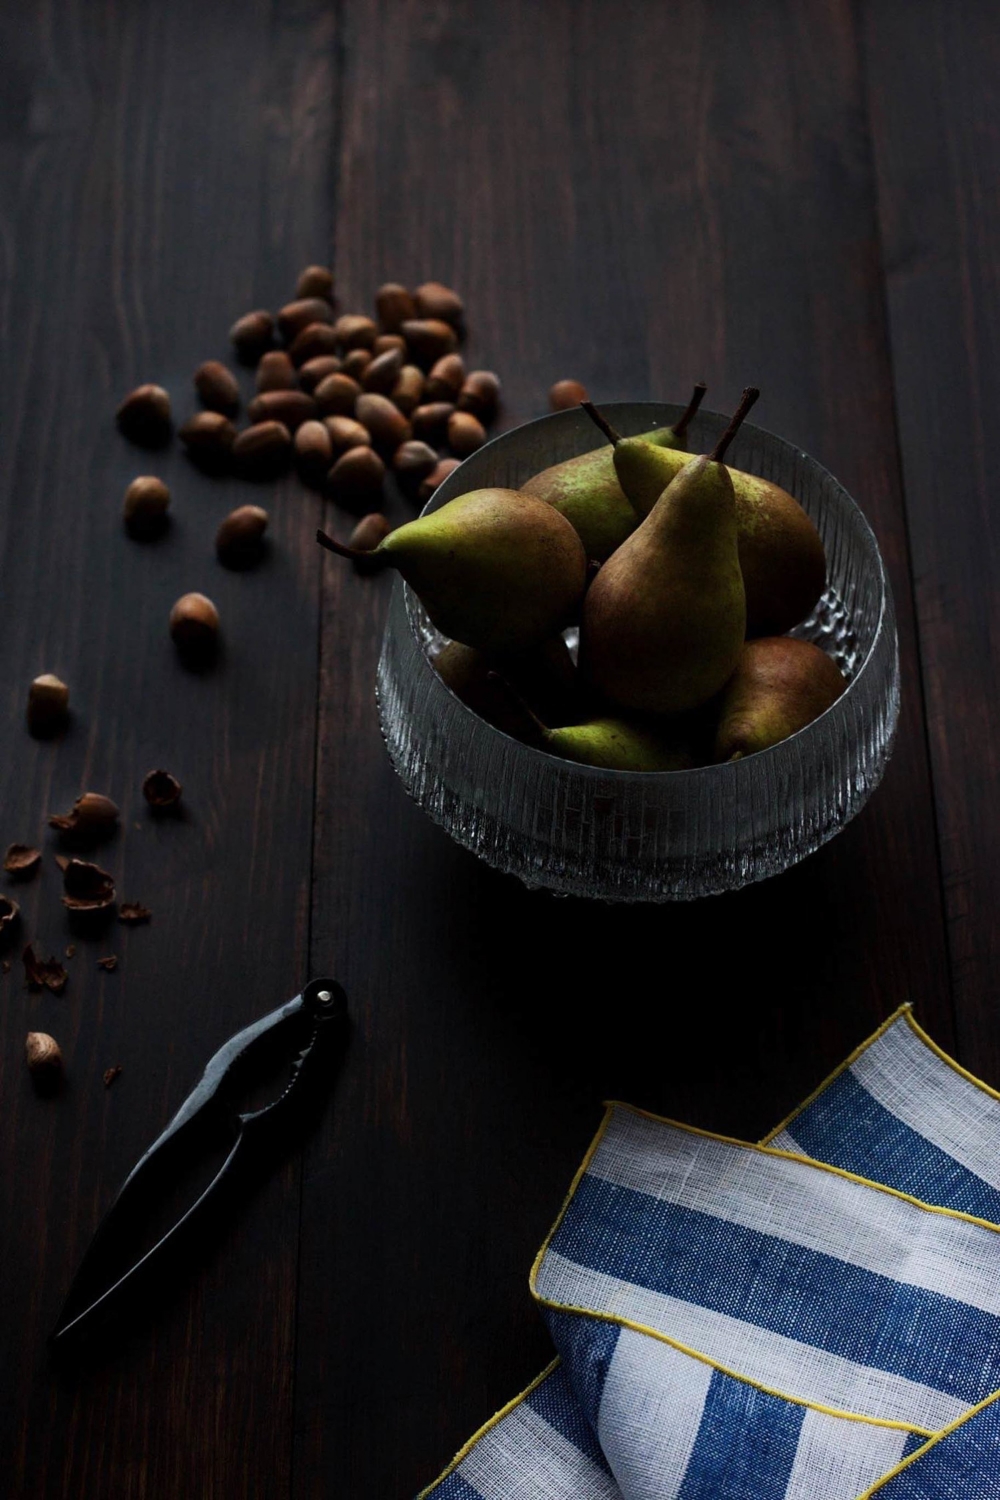
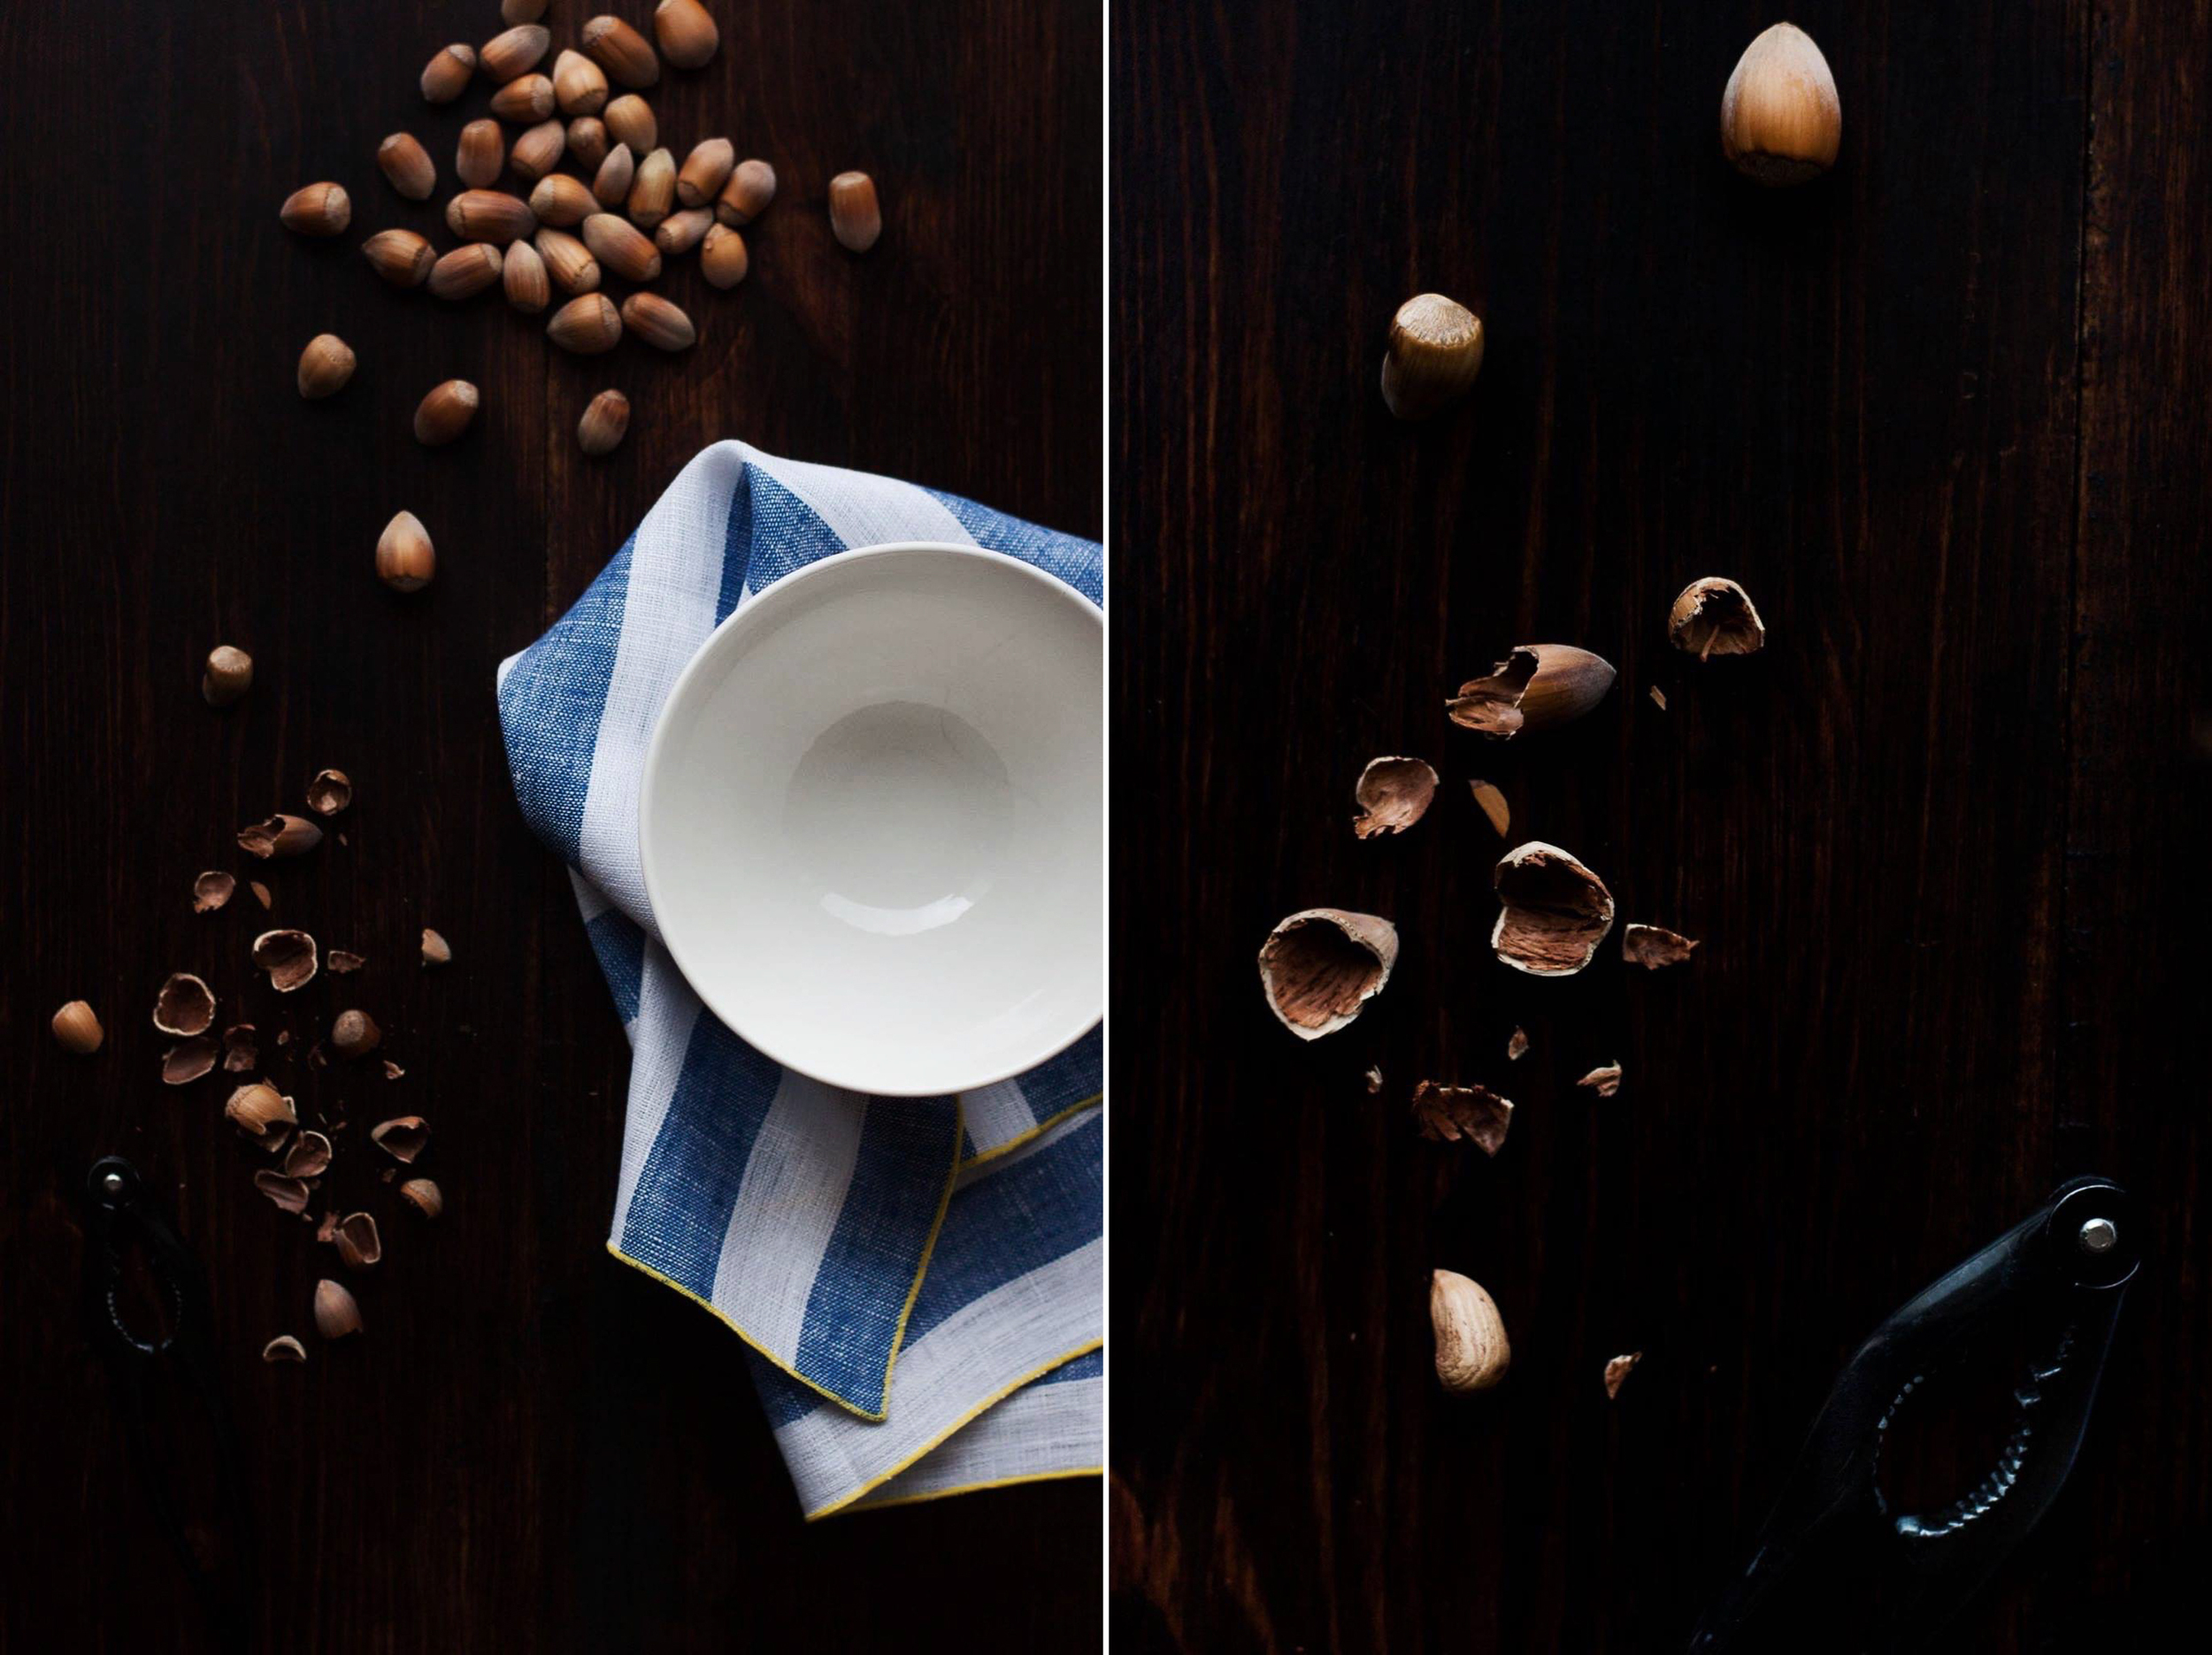
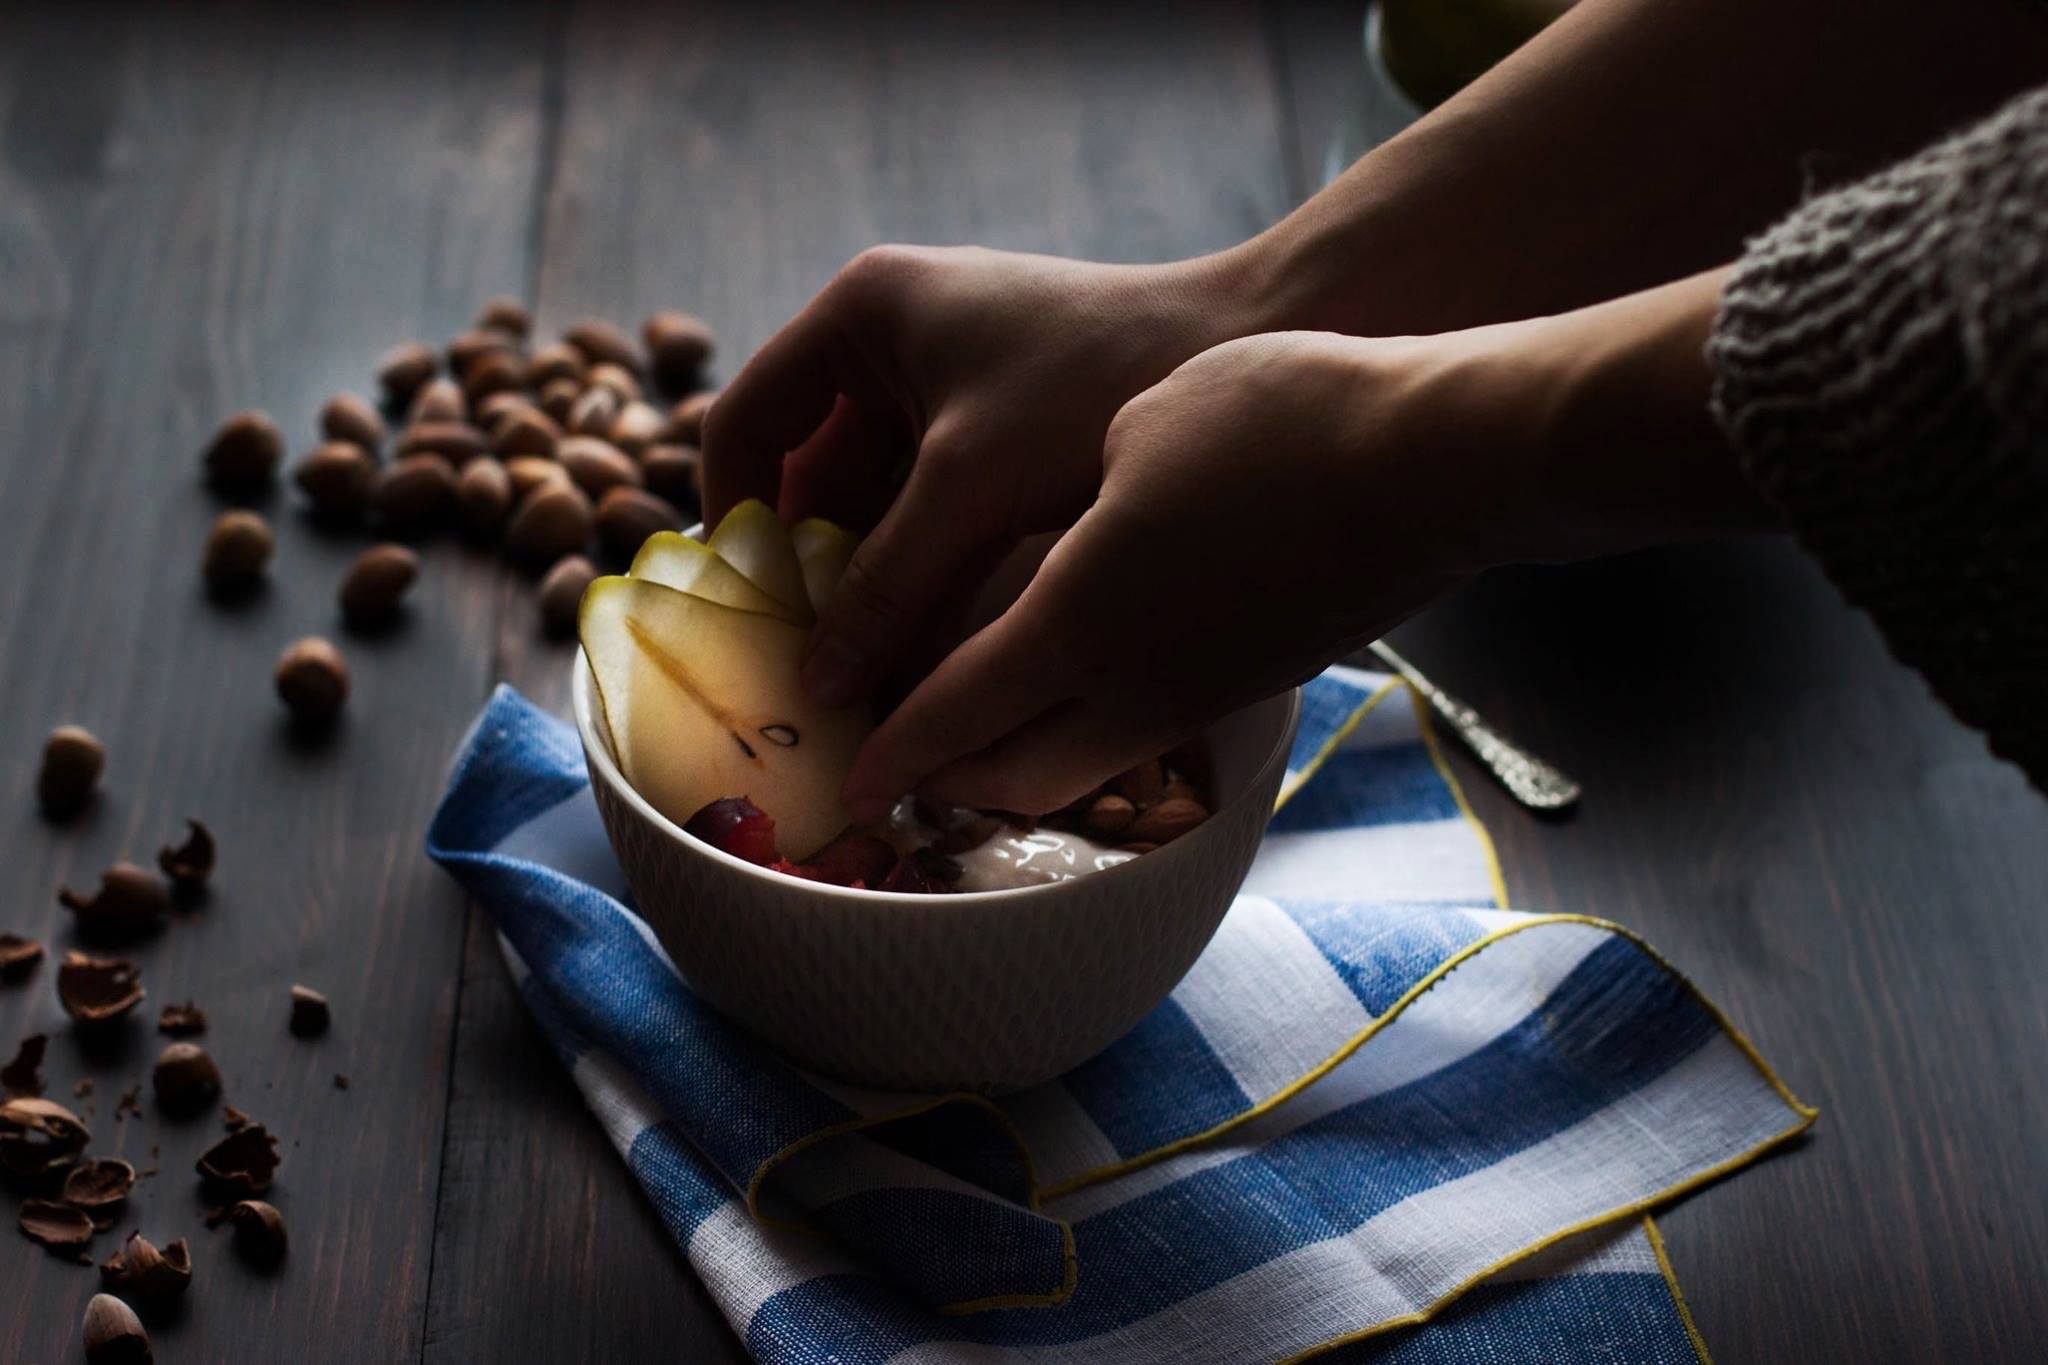
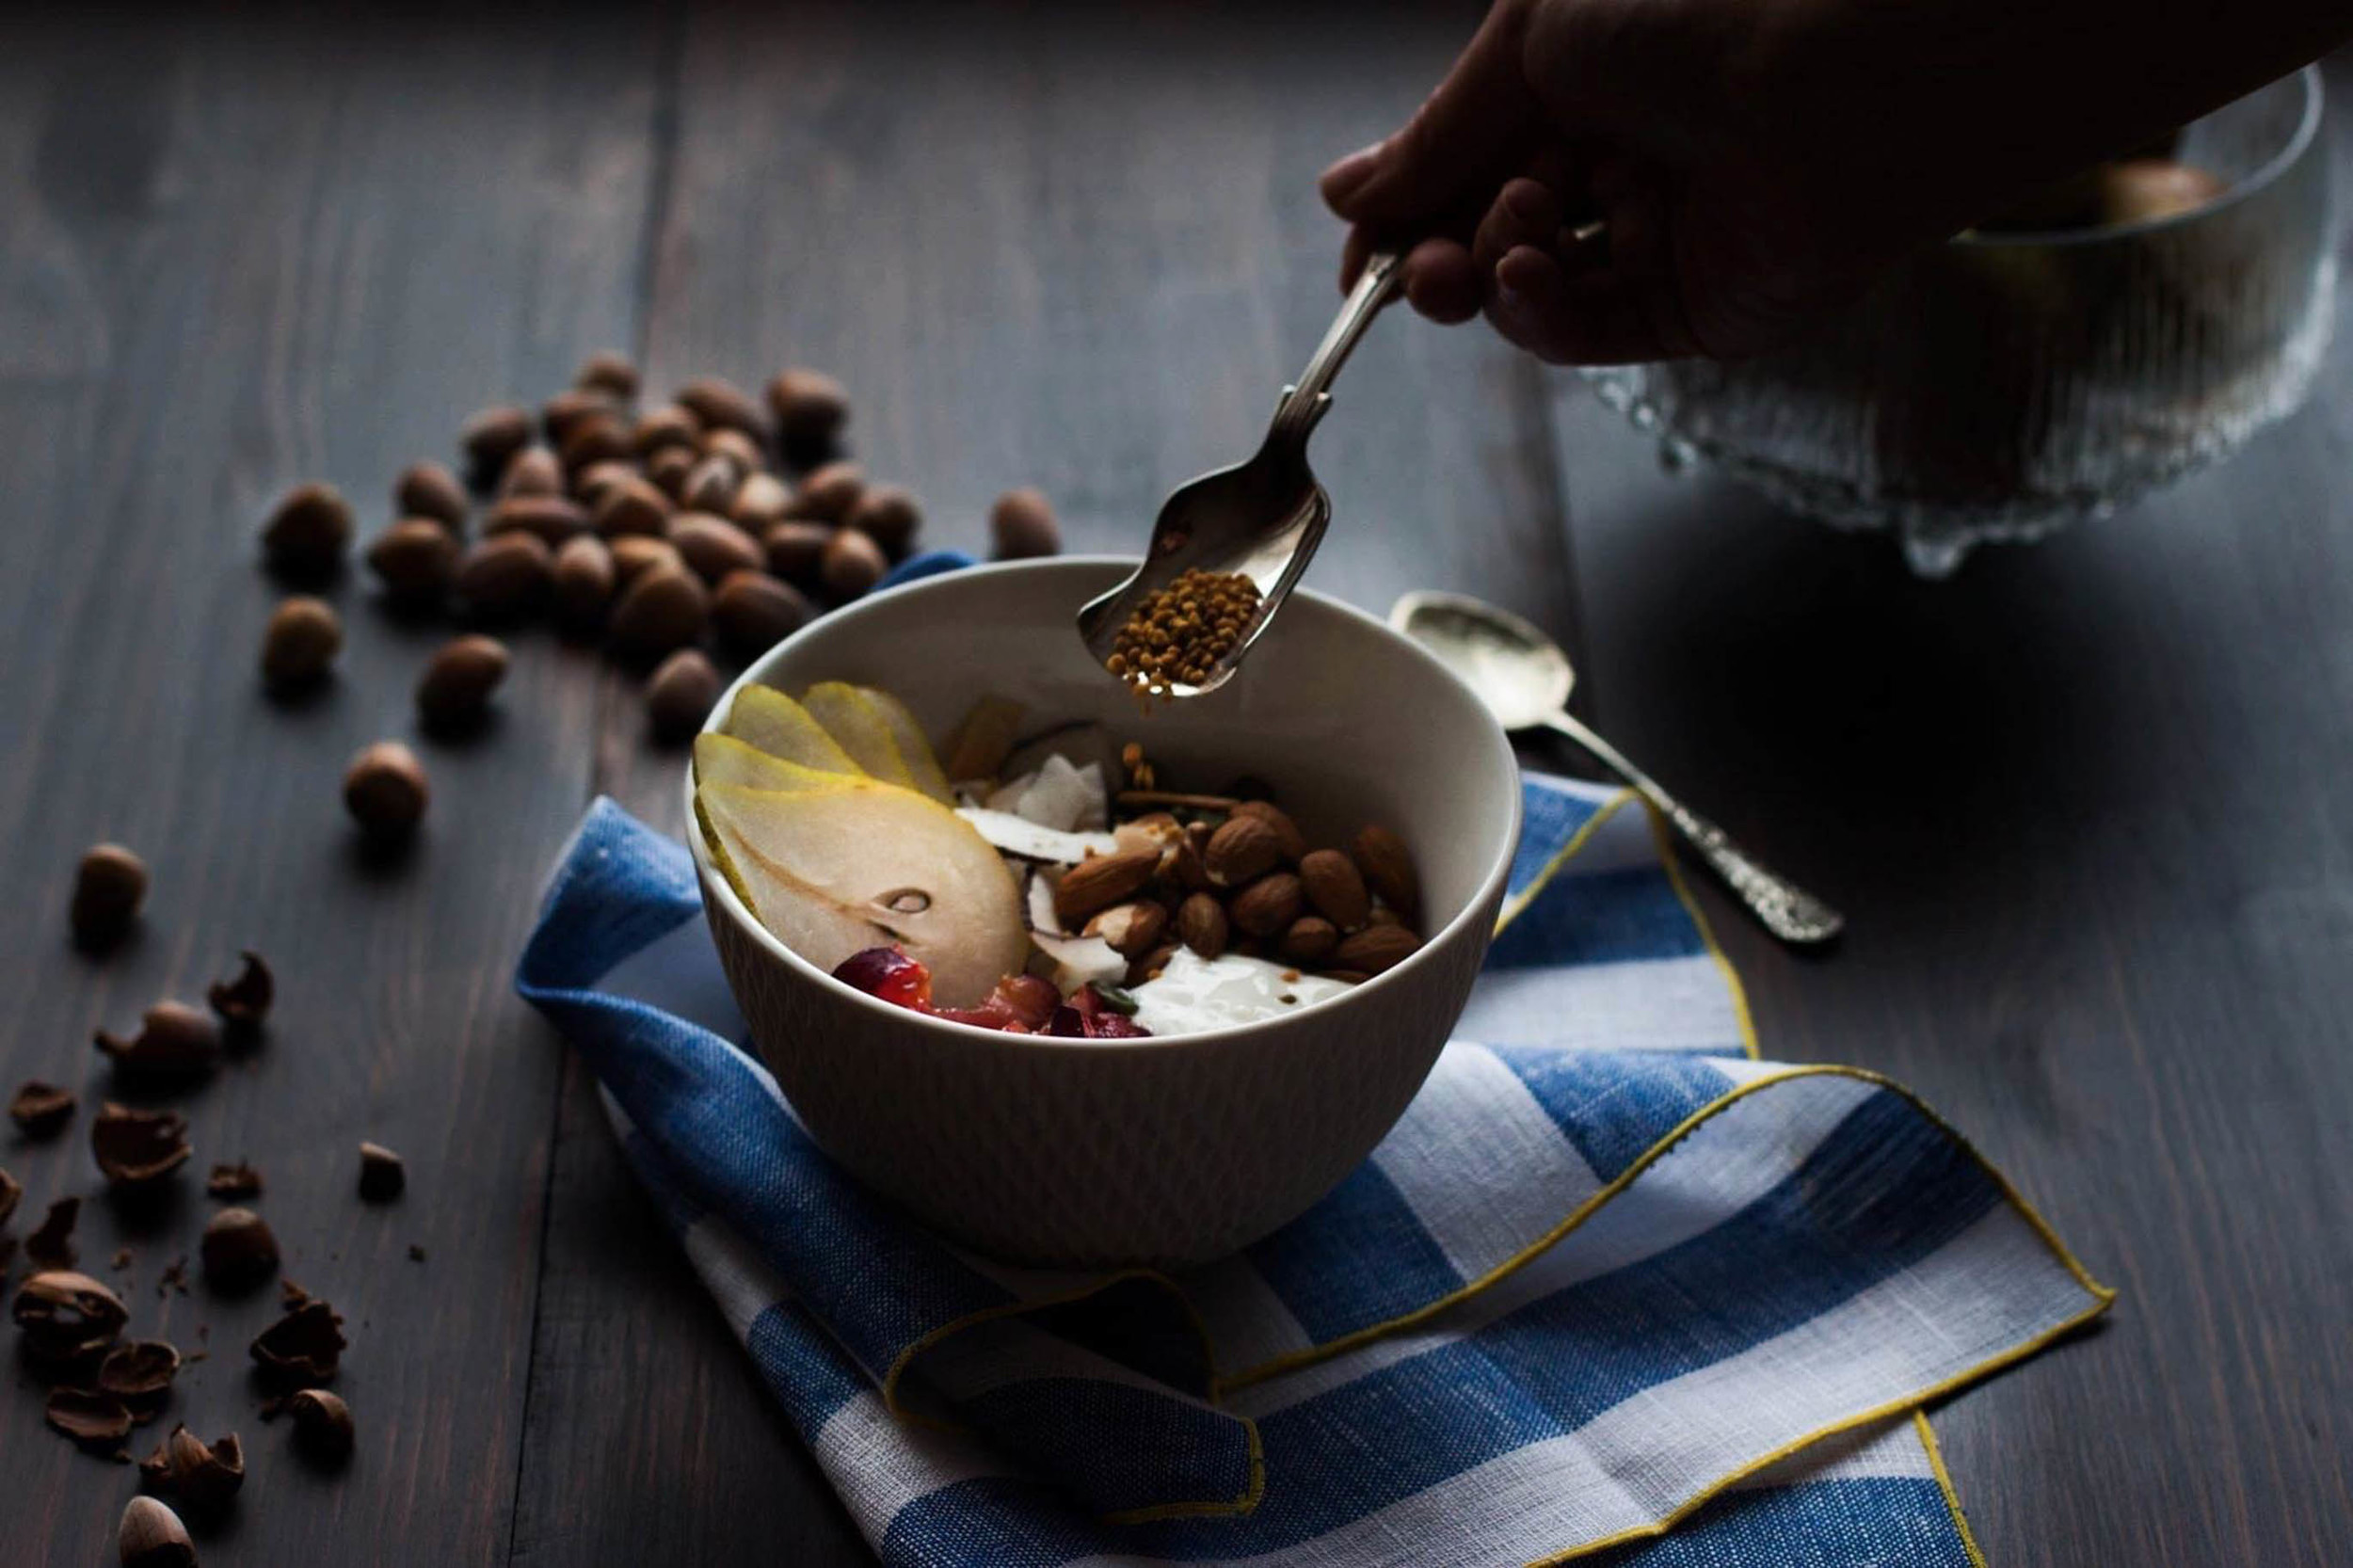
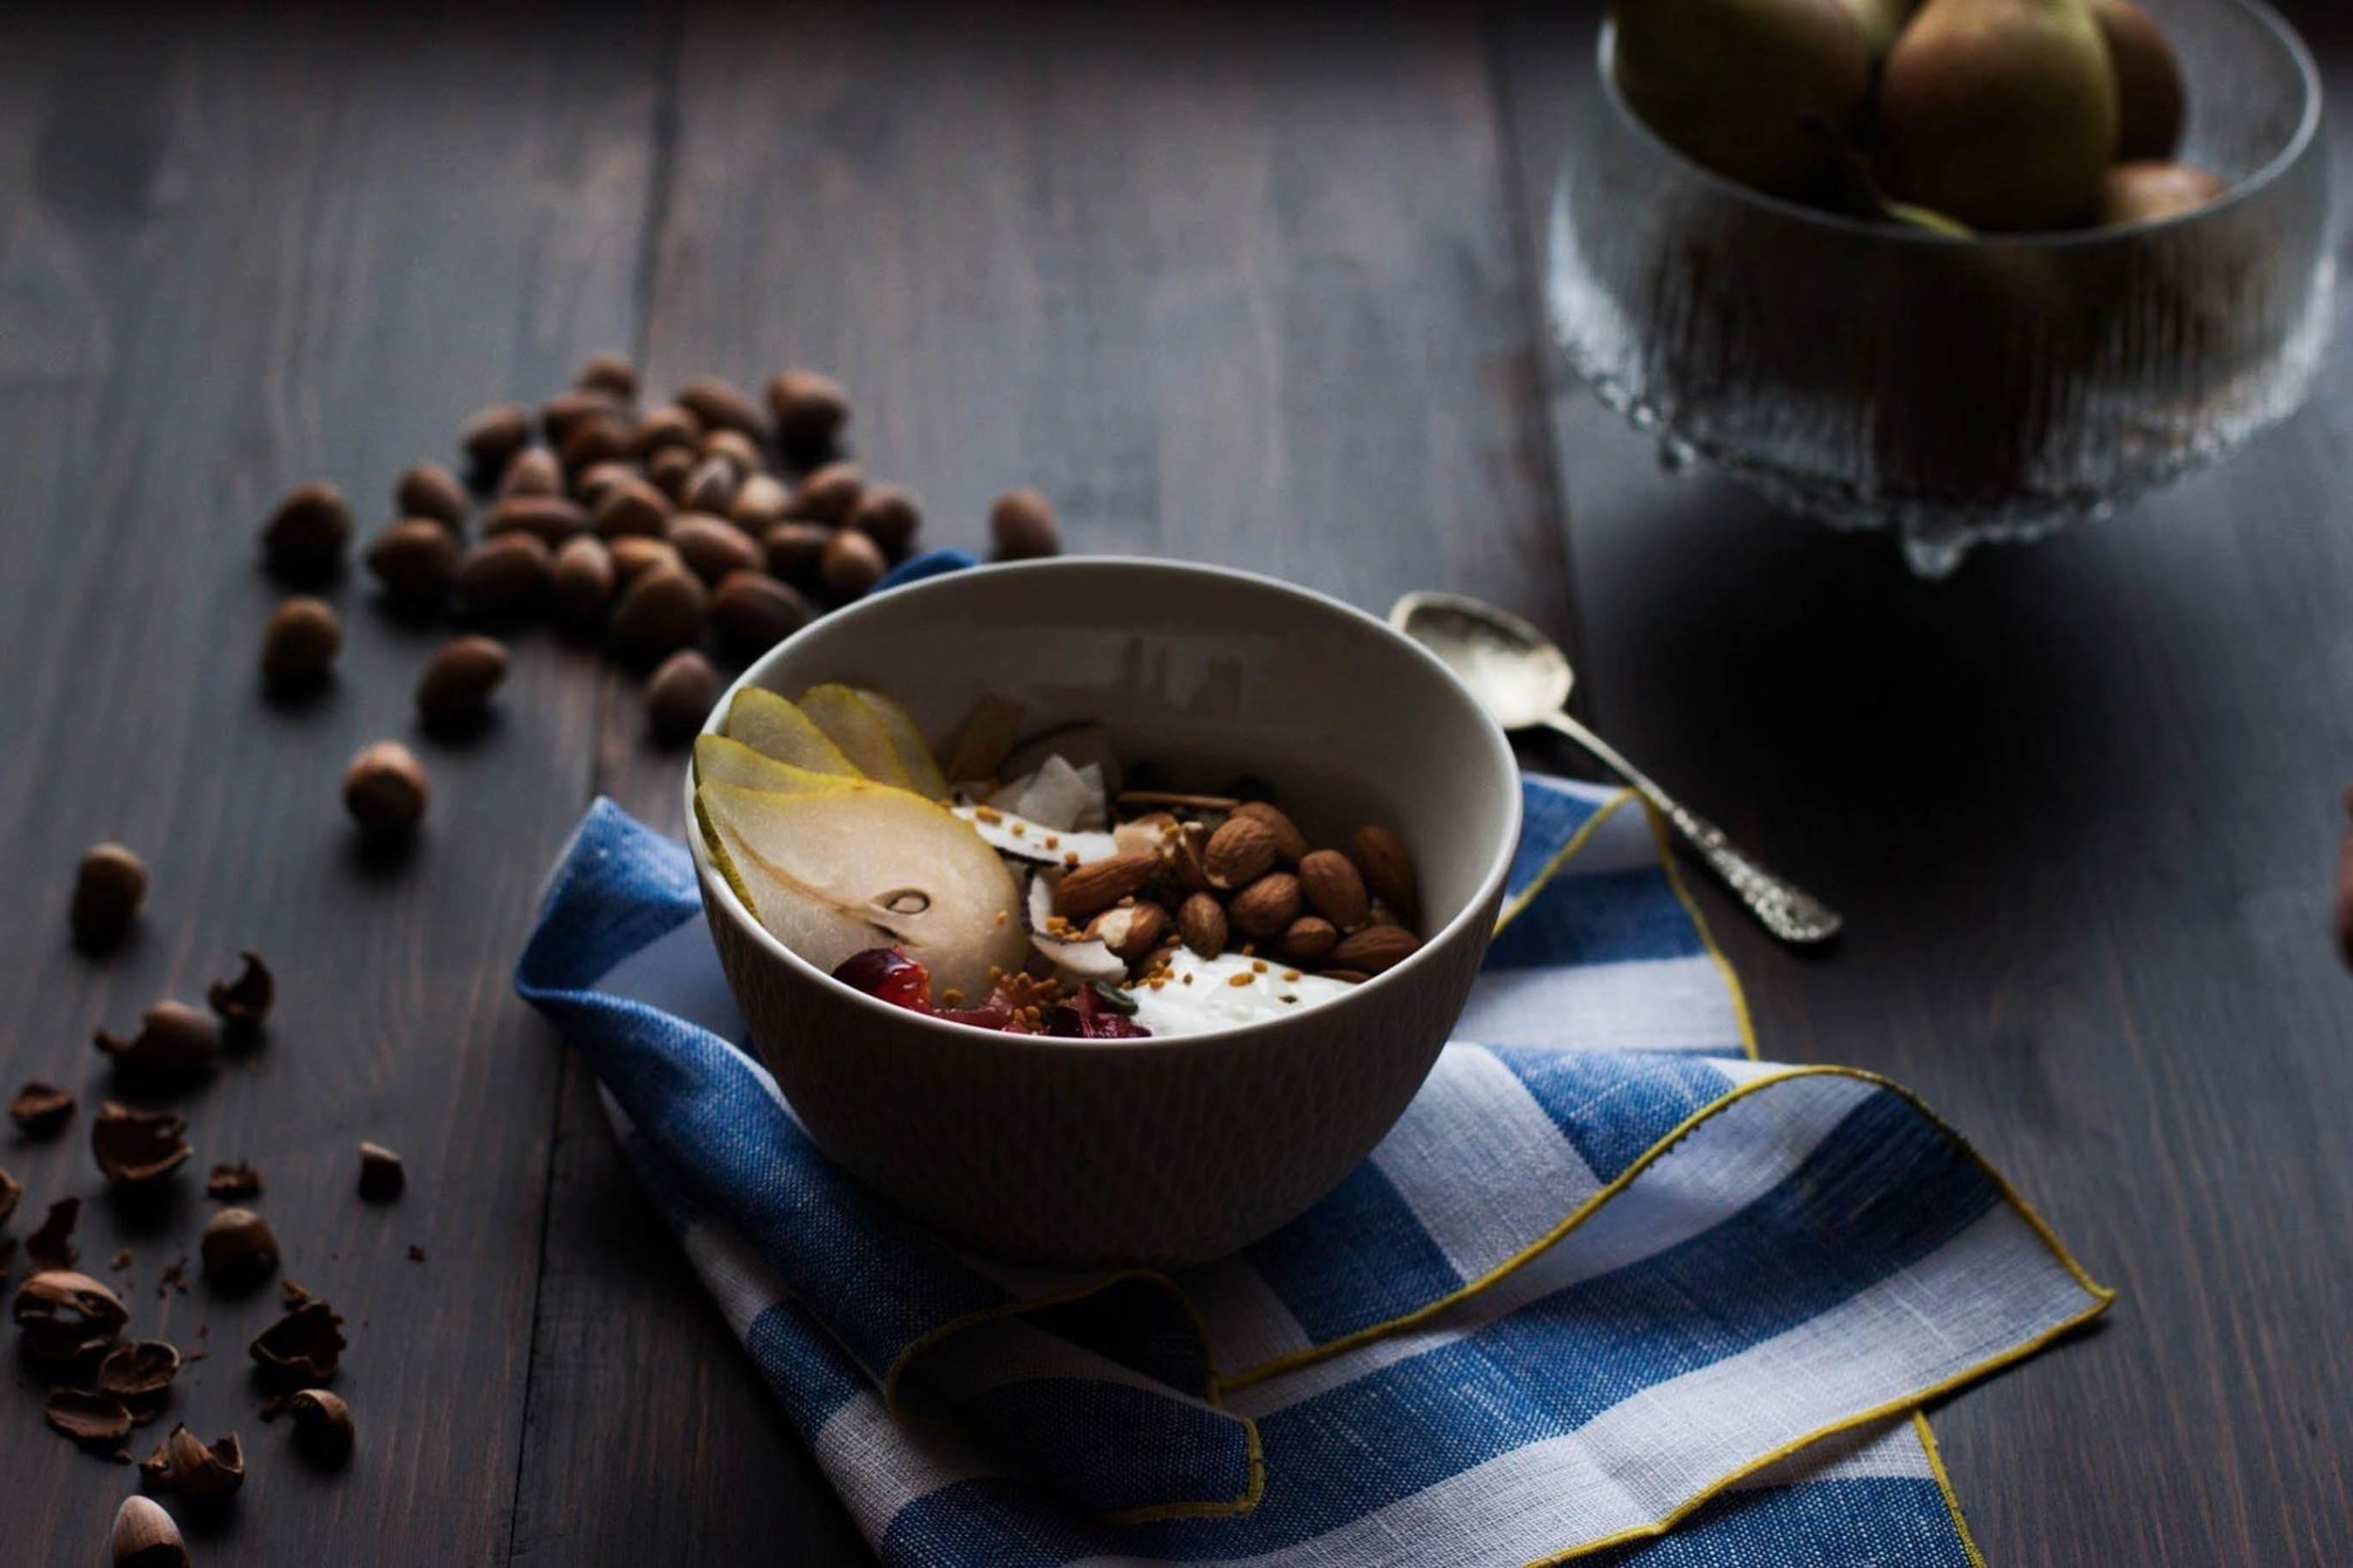
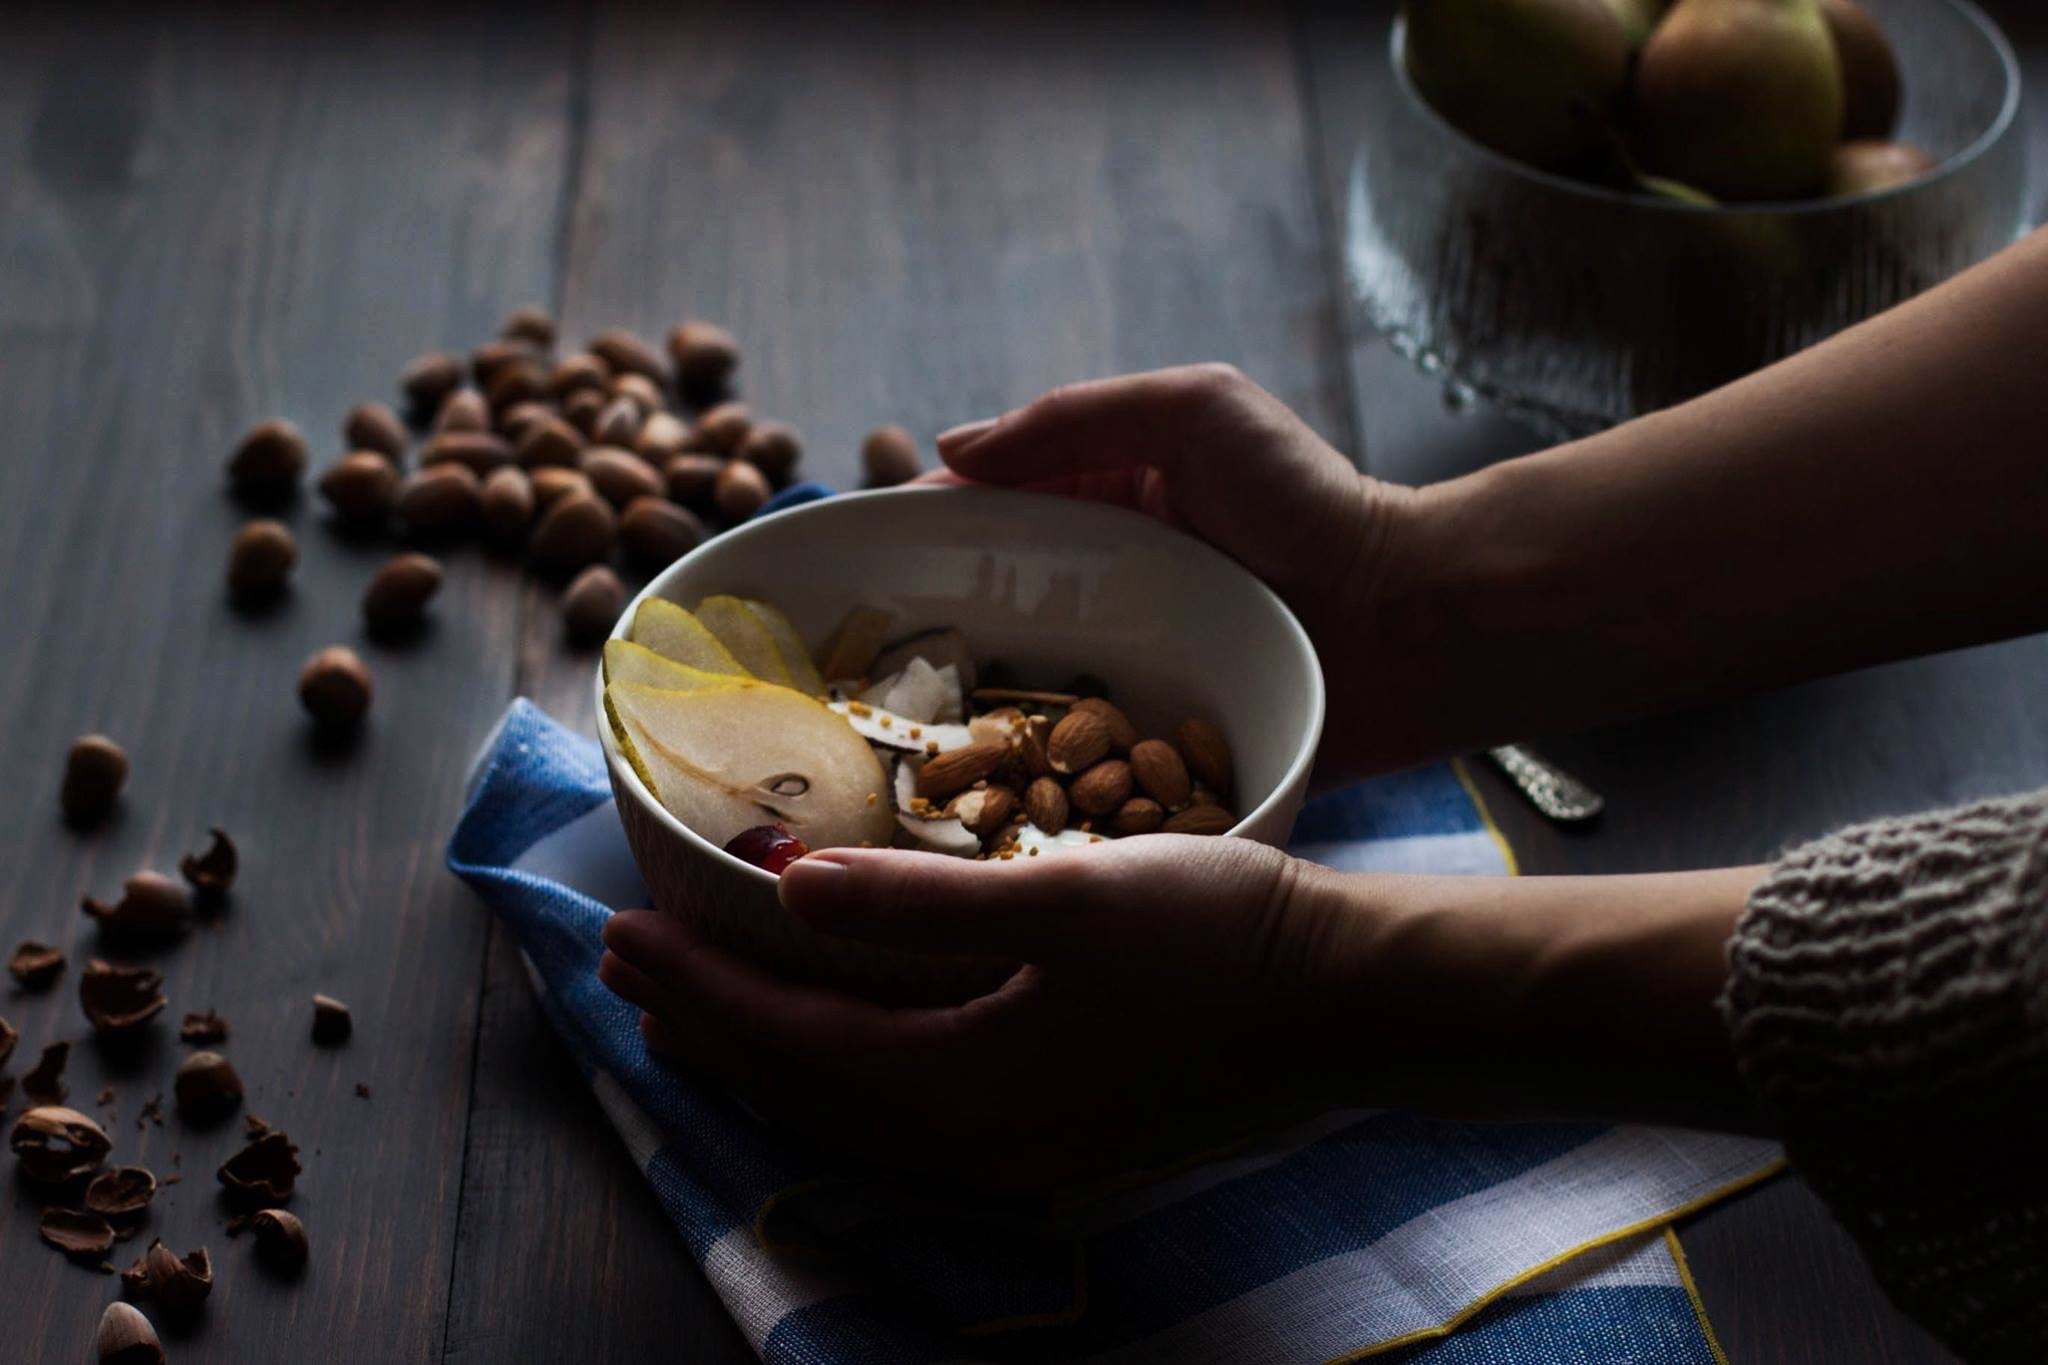
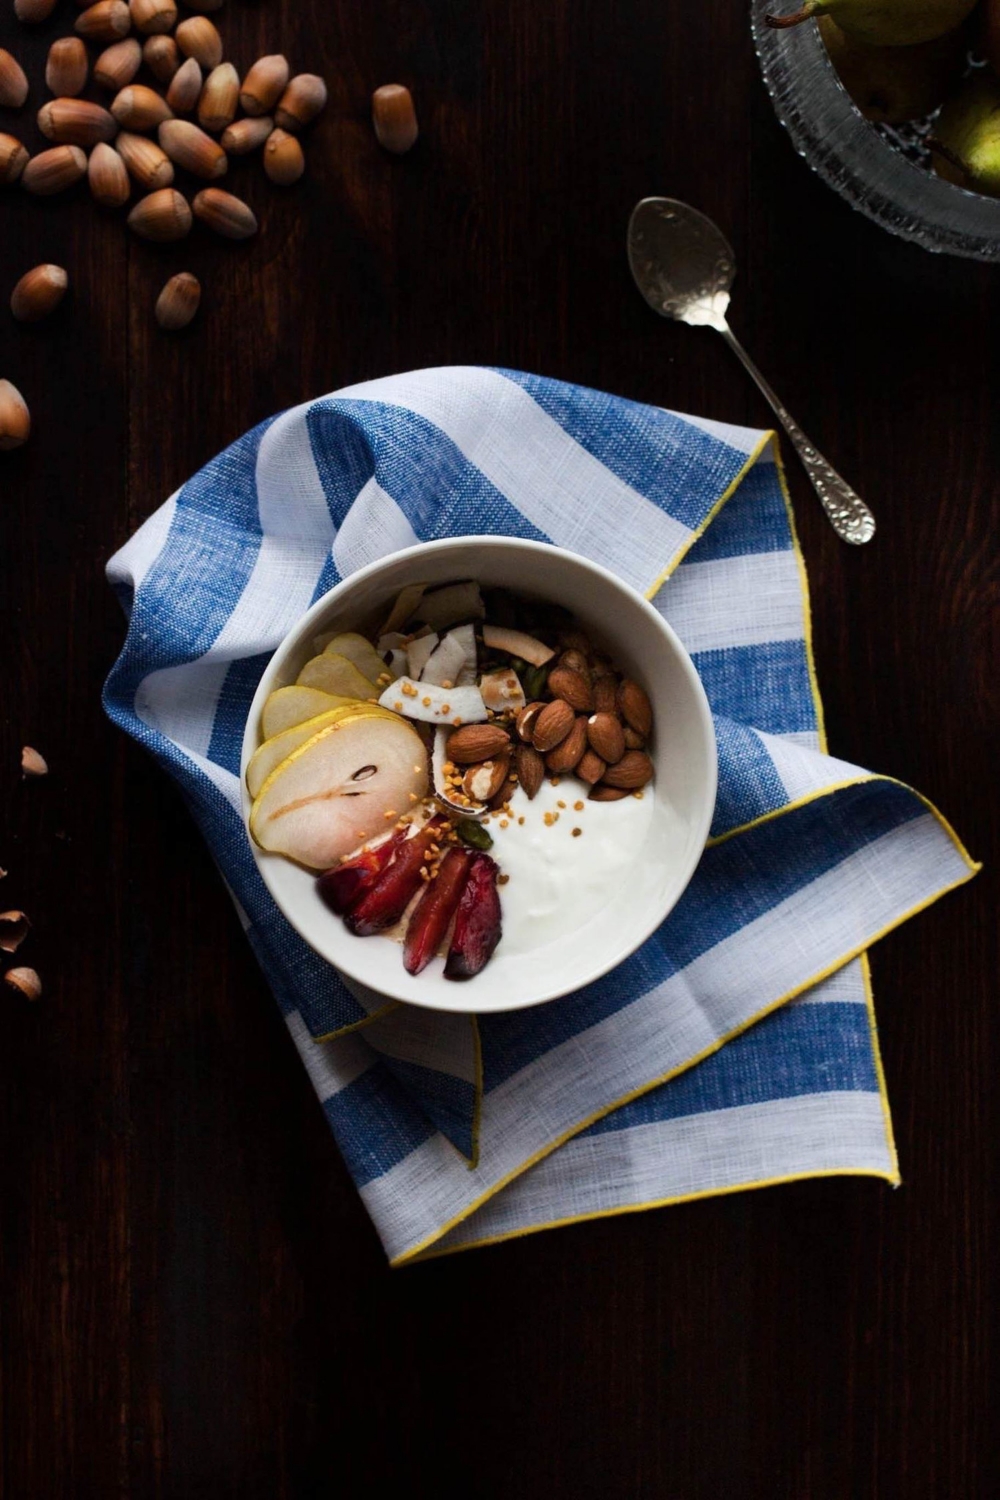
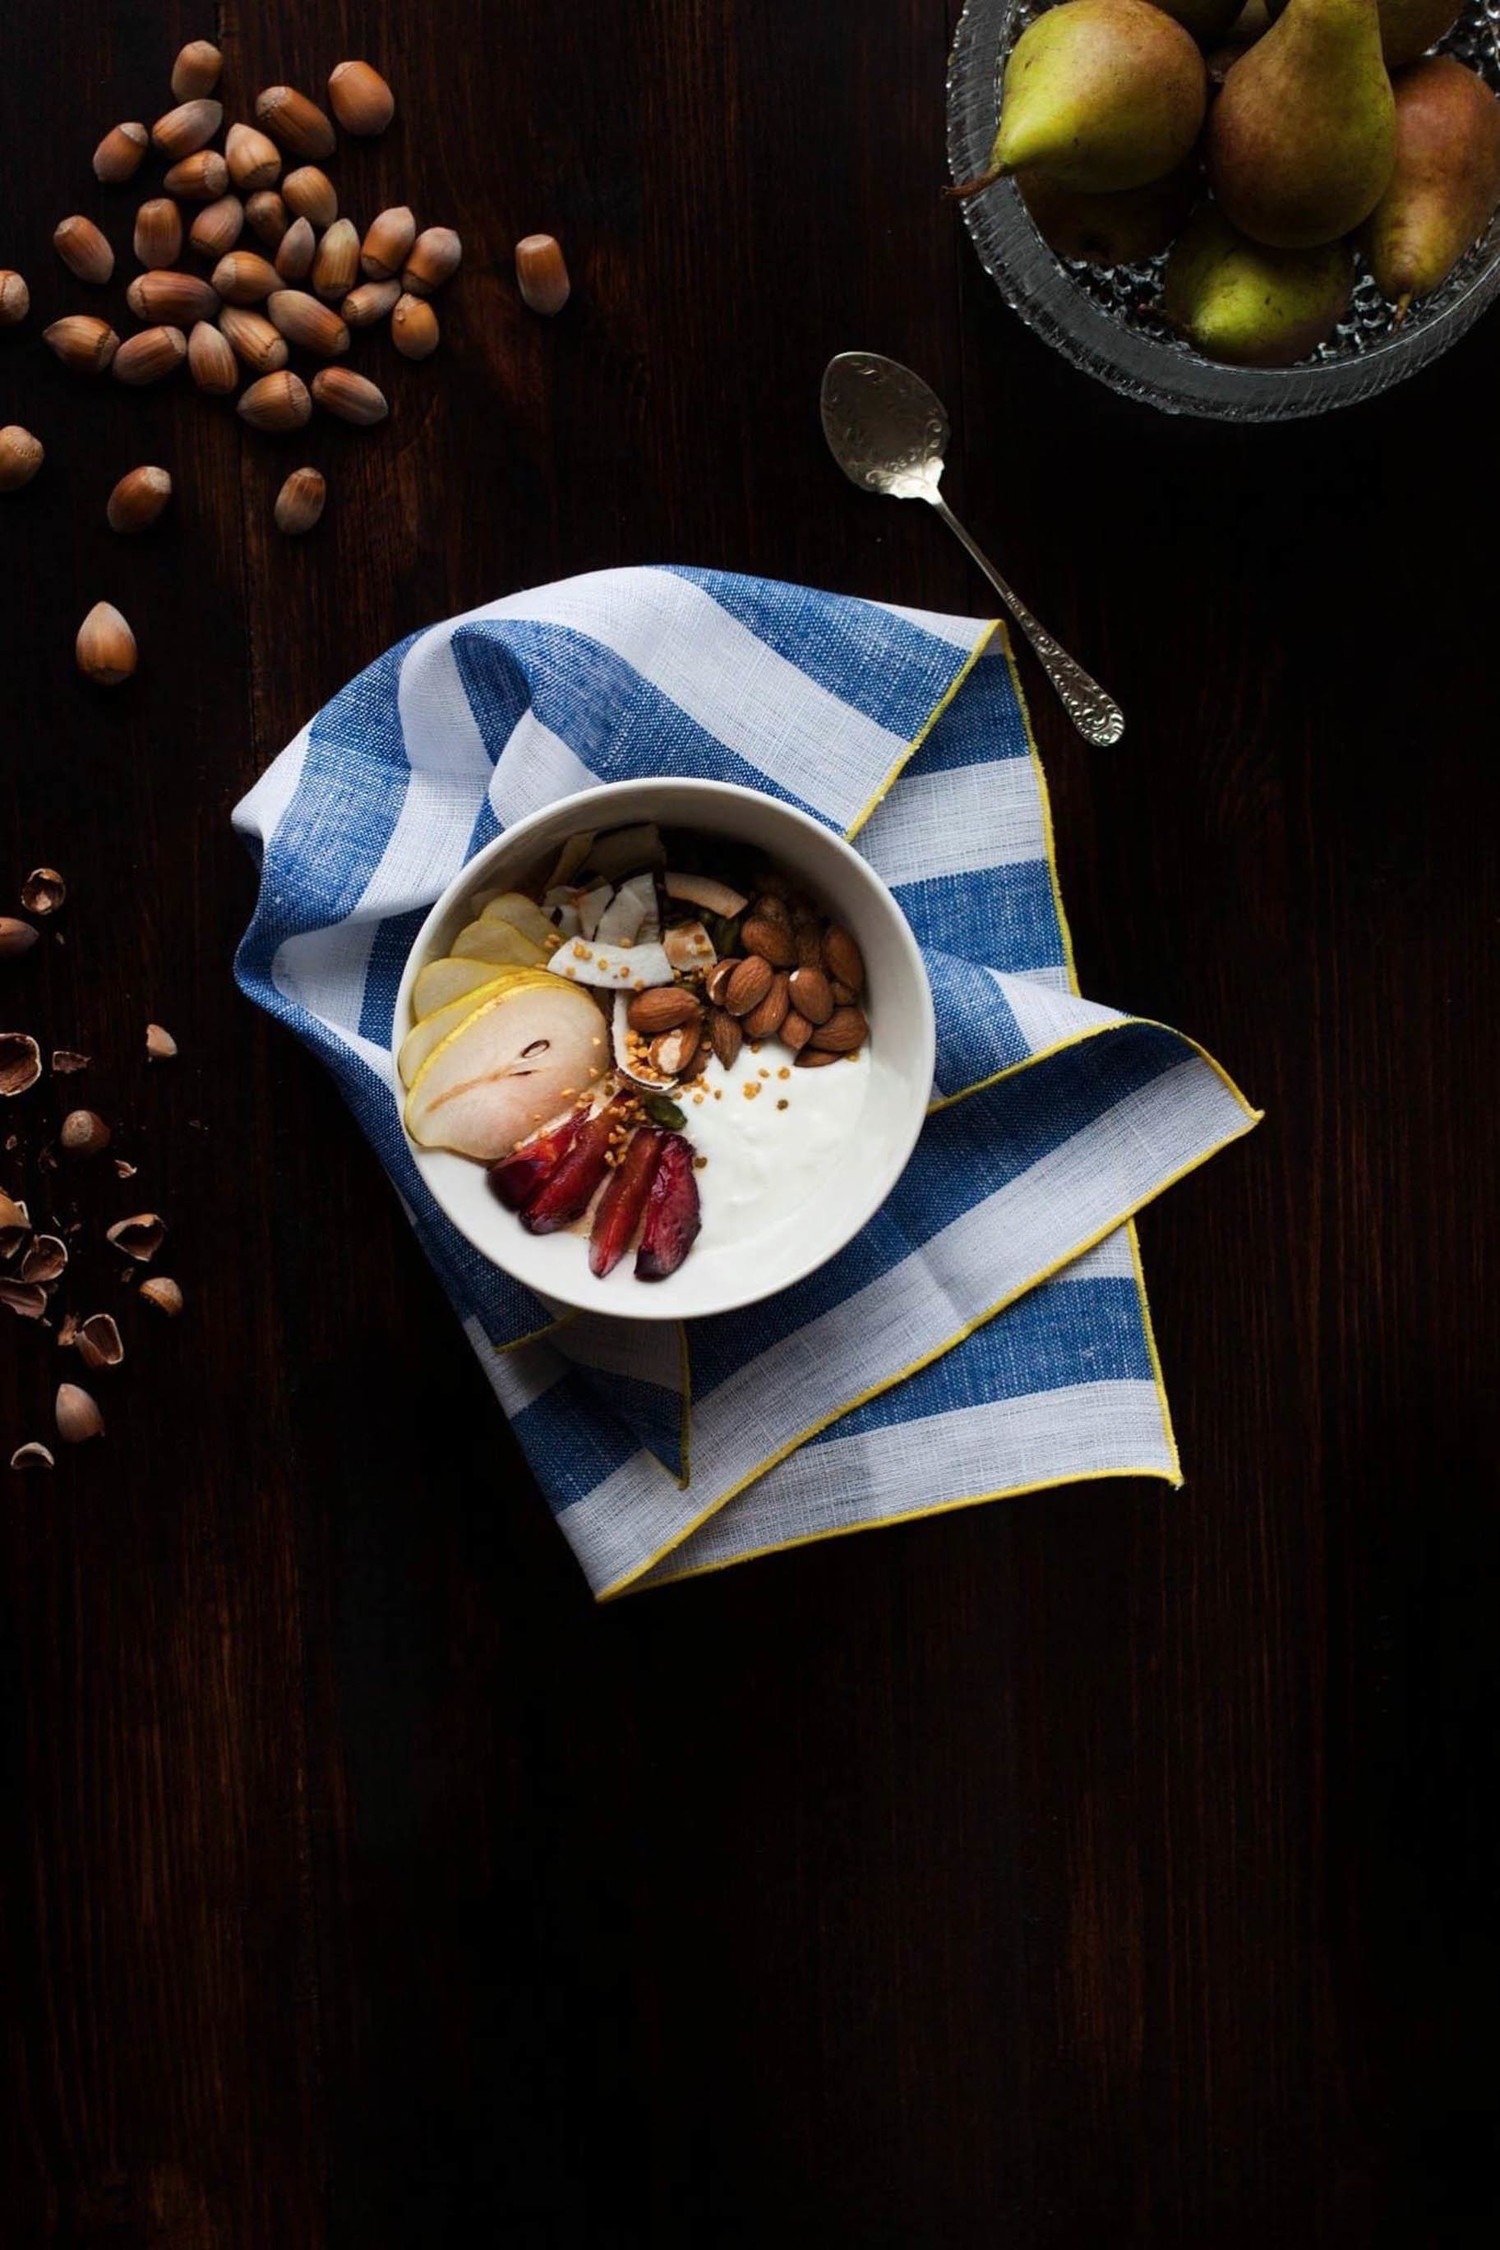
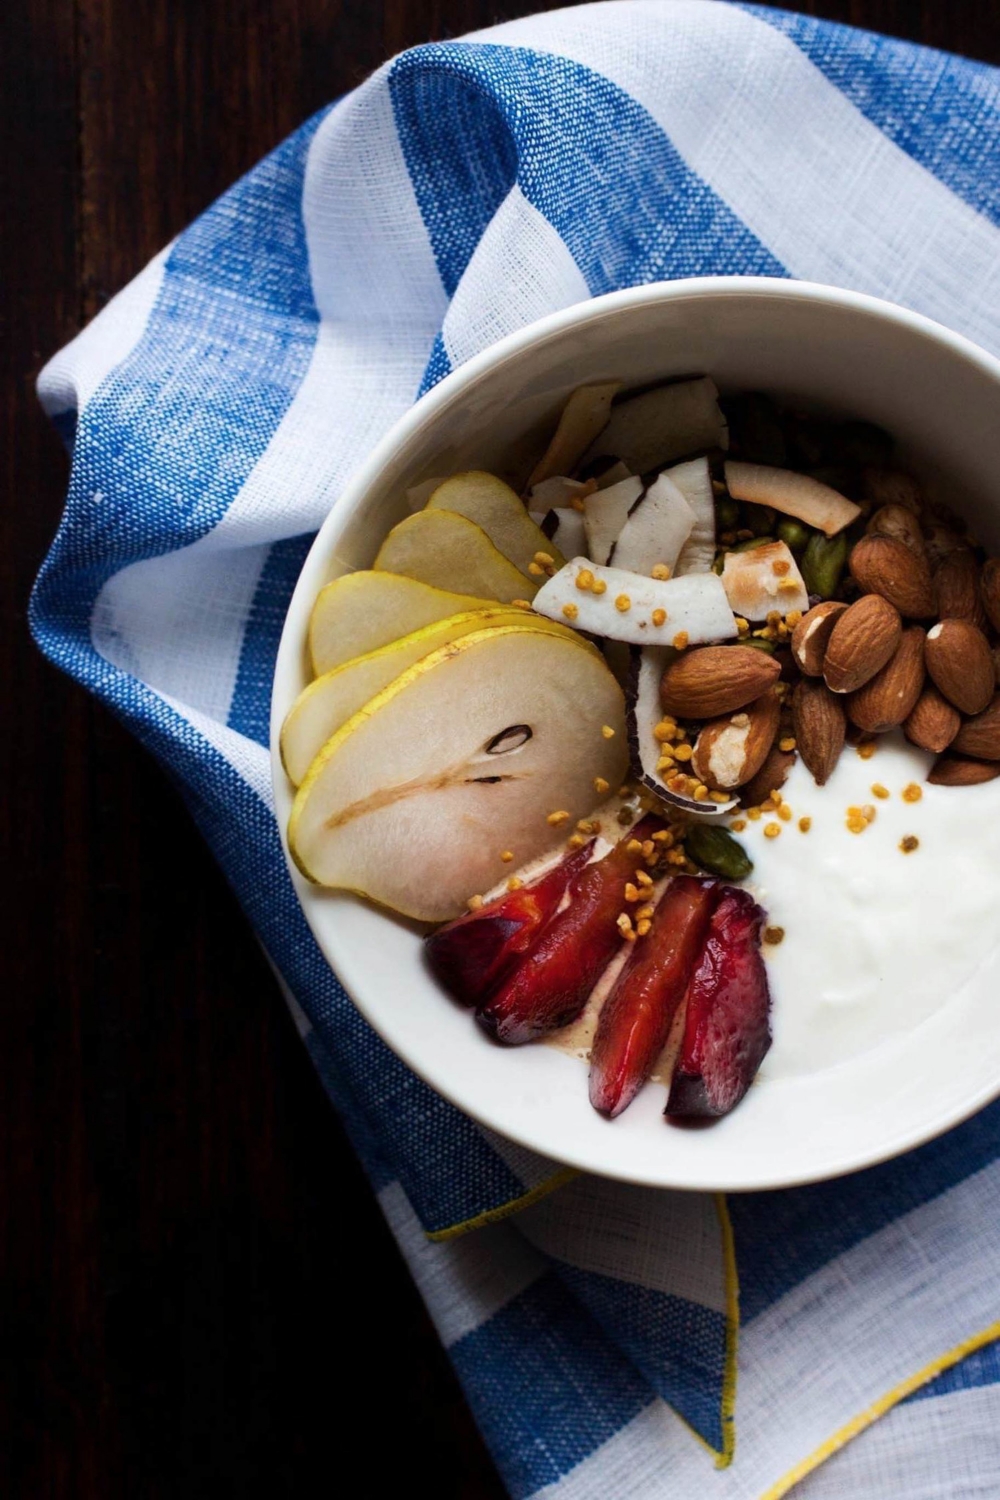
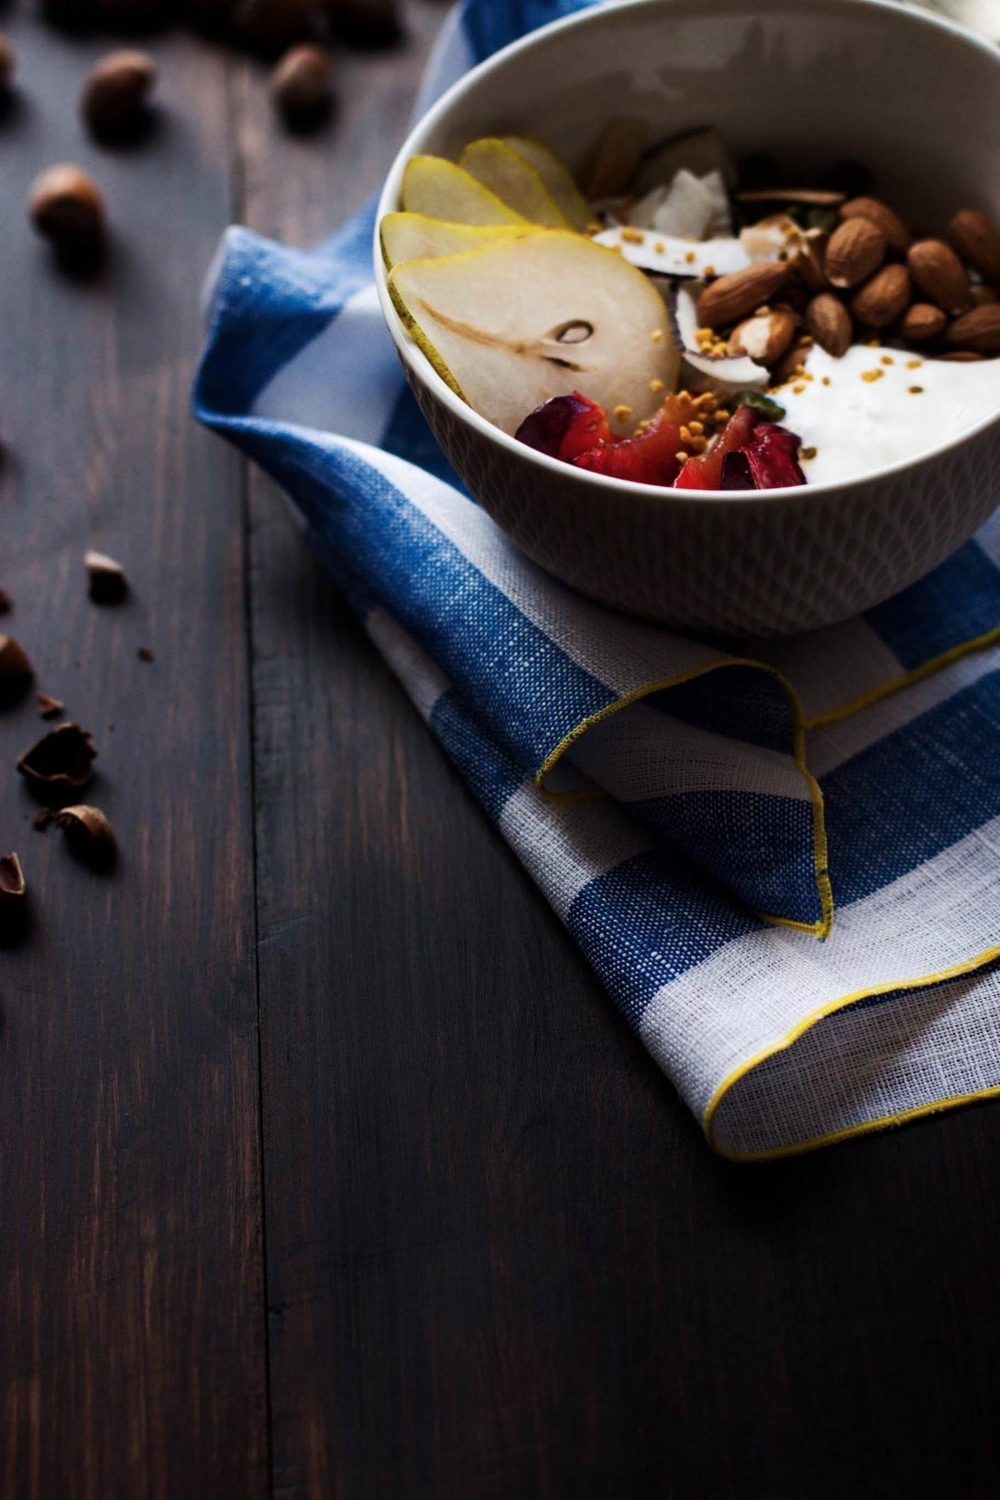
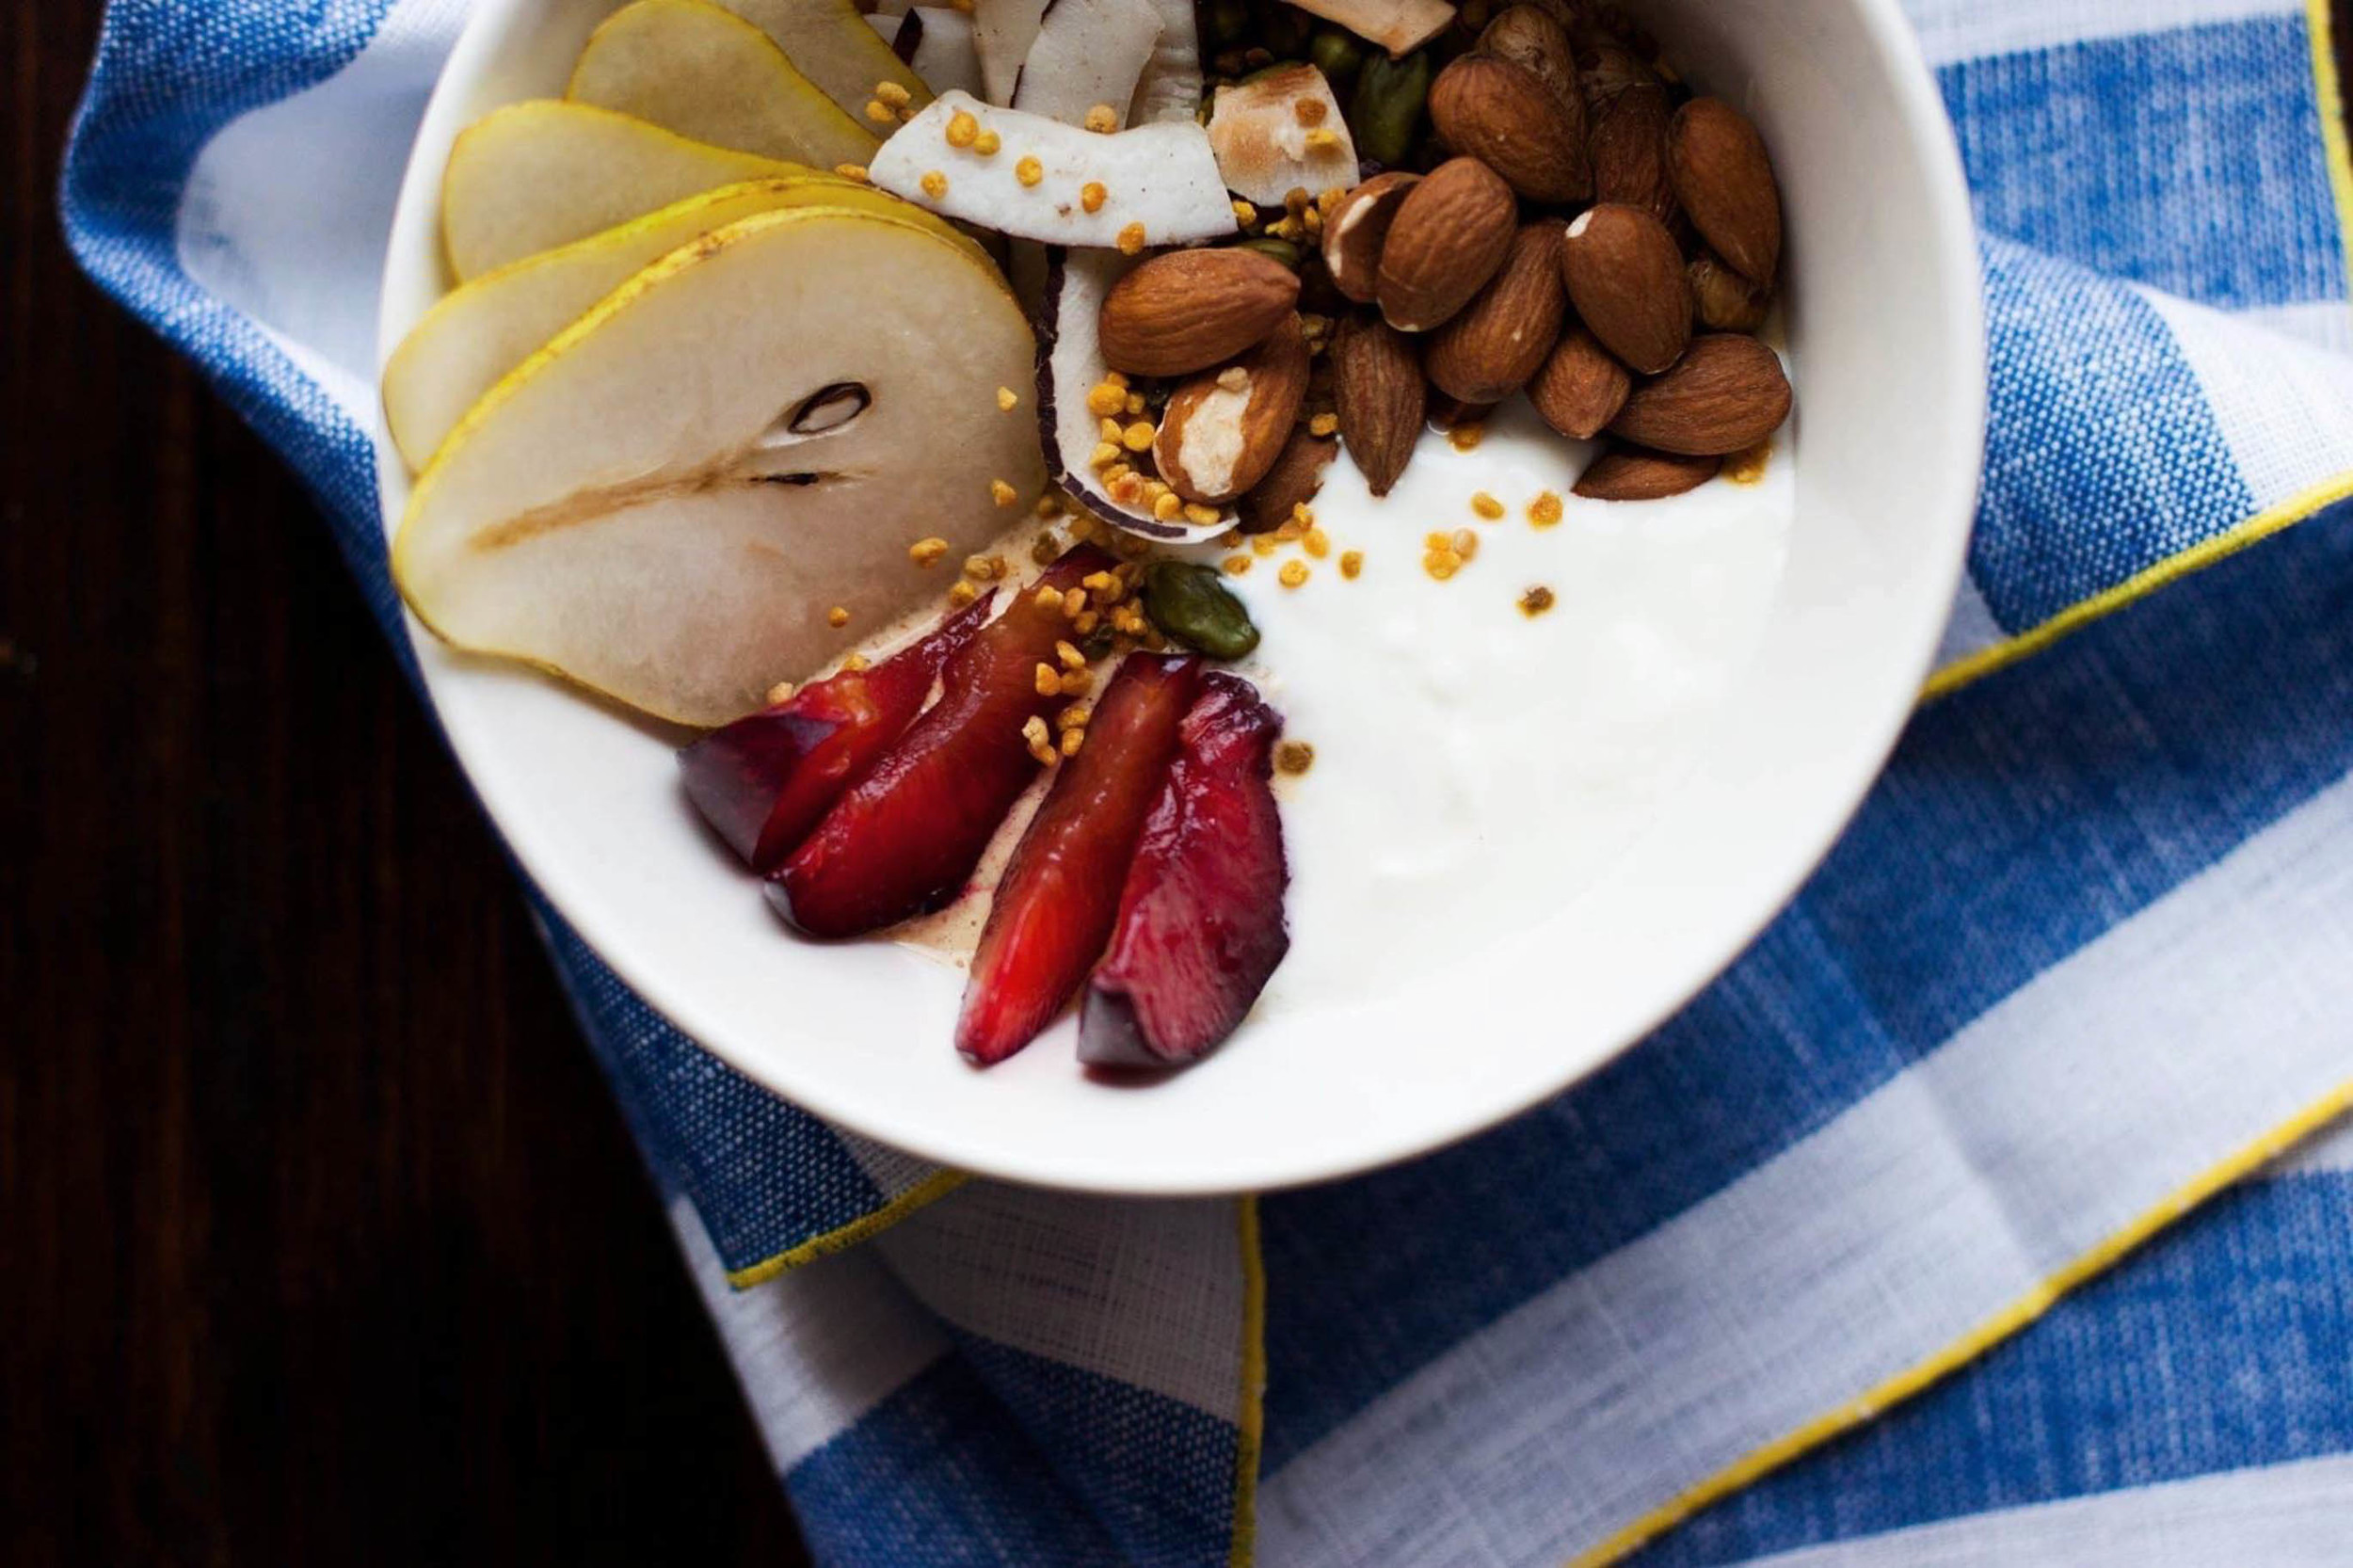
This week, I've been having my oatmeal with pure orange juice, cinnamon, plain yogurt, gorgeous, local pears (seriously, these are the best pears I've ever had), pluots (bought them for the first time last week and am obsessed by their beauty and sweet flavor), toasted coconut flakes, wild hazelnuts that I brought with me from Germany (they look like acorns, though), almonds, pistachios, and bee pollen (a new ingredient in my kitchen). Because of the sweetness of the pears and pluots, I don't even feel the need to add any sweetener.

Are you in the overnight oats game already? What's your favorite combination? I would love to hear!


Overnight Oats

for 1 hungry soul

This dish is gluten-free as long as you make sure your oats aren't contaminated with gluten. Oats are gluten-free themselves but are often manufactured in factories that also handle other, non-gluten-free grains. Check that your package specifies that the oats are gluten-free. To make this dairy-free, simply use plant-based dairy.

1 ½ dl (⅔ cup) rolled oats
1 ½ dl (⅔ cup) pure orange juice
½ tsp cinnamon

1 tbsp yogurt + more to serve

toppings of your choice (here I used pears, pluots, coconut flakes, hazelnuts, almonds, pistachios, & bee pollen)


Mix together the rolled oats, orange juice, and cinnamon. Cover and place in the fridge for a minimum of 2 hours or overnight.

If using coconut flakes, toast them in a dry pan on medium-high heat while stirring regularly until fragrant and light golden brown in color.

While I most often skip this step myself, note that soaking nuts increases their nutritional value and makes them easier to digest. Hazelnuts and Brazil nuts make an exception as they don't contain enzyme inhibitors and pistachios and macadamia nuts' taste may alter, so I don't soak them. To soak, simply place the nuts in a bowl, cover with twice as much water, and let soak for 6 to 12 hours or overnight. Rinse and use immediately or store in the fridge for up to a week.

In the morning, mix 1 tablespoon of yogurt with the soaked oats. Top with more yogurt, fruit, berries, nuts, or whatever your culinary heart longs for and enjoy!


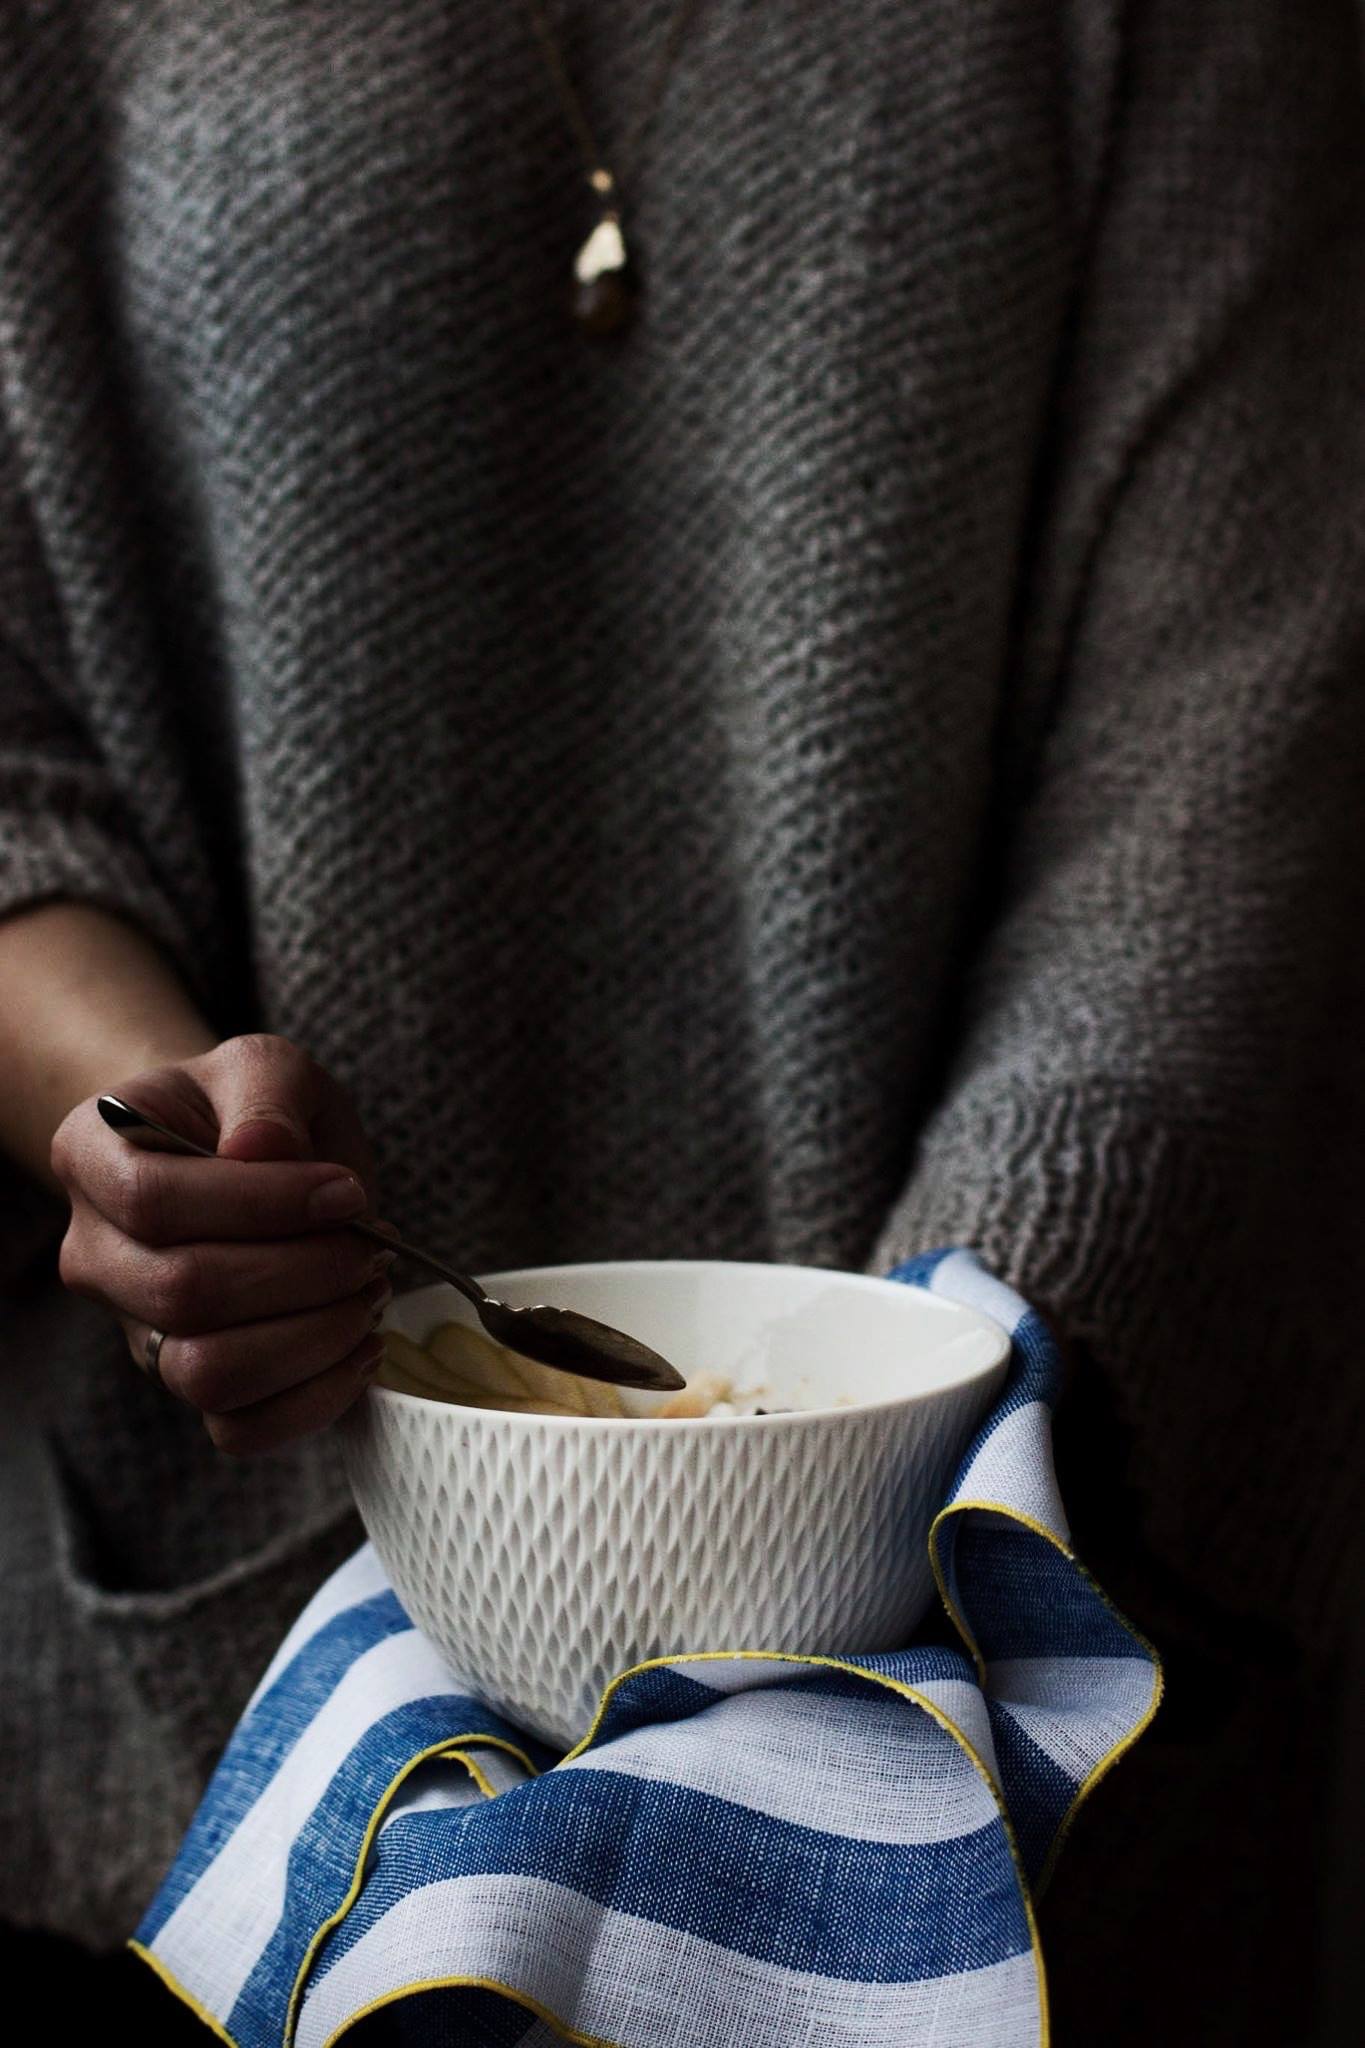
See those gorgeous blue & white linens I've used in these pics? They're from STITCH and are handmade by Blair, a design student (how cool is that??) in a tiny apartment in NYC (even cooler, right?). I have a special place in my heart for small, brilliant companies and artisan products and immediately fell in love with the look and feel of her high quality linens. Aside from these blue & white linens, my favorites probably are the French Green Dinner Napkins. That color is amazing!

Here's some awesome news: you get 15% off from all STITCH products from today until January 31th with the promo code LOVEBLUE&WHITE. They'll launch some brand-new fall & holiday colors in the coming days so stay tuned! This may be the perfect little something to get to your loved ones for Christmas. I mean, they even offer custom made linens soon.

Hop on over to stock up your collection of linens! Cause let's be honest: one can never own too many. Am I right or am I right?


Disclaimer: Linens provided by STITCH.


Related Posts

The Very Essence – Gooseberry Clafoutis

Gooseberry Clafoutis | My Blue&White Kitchen

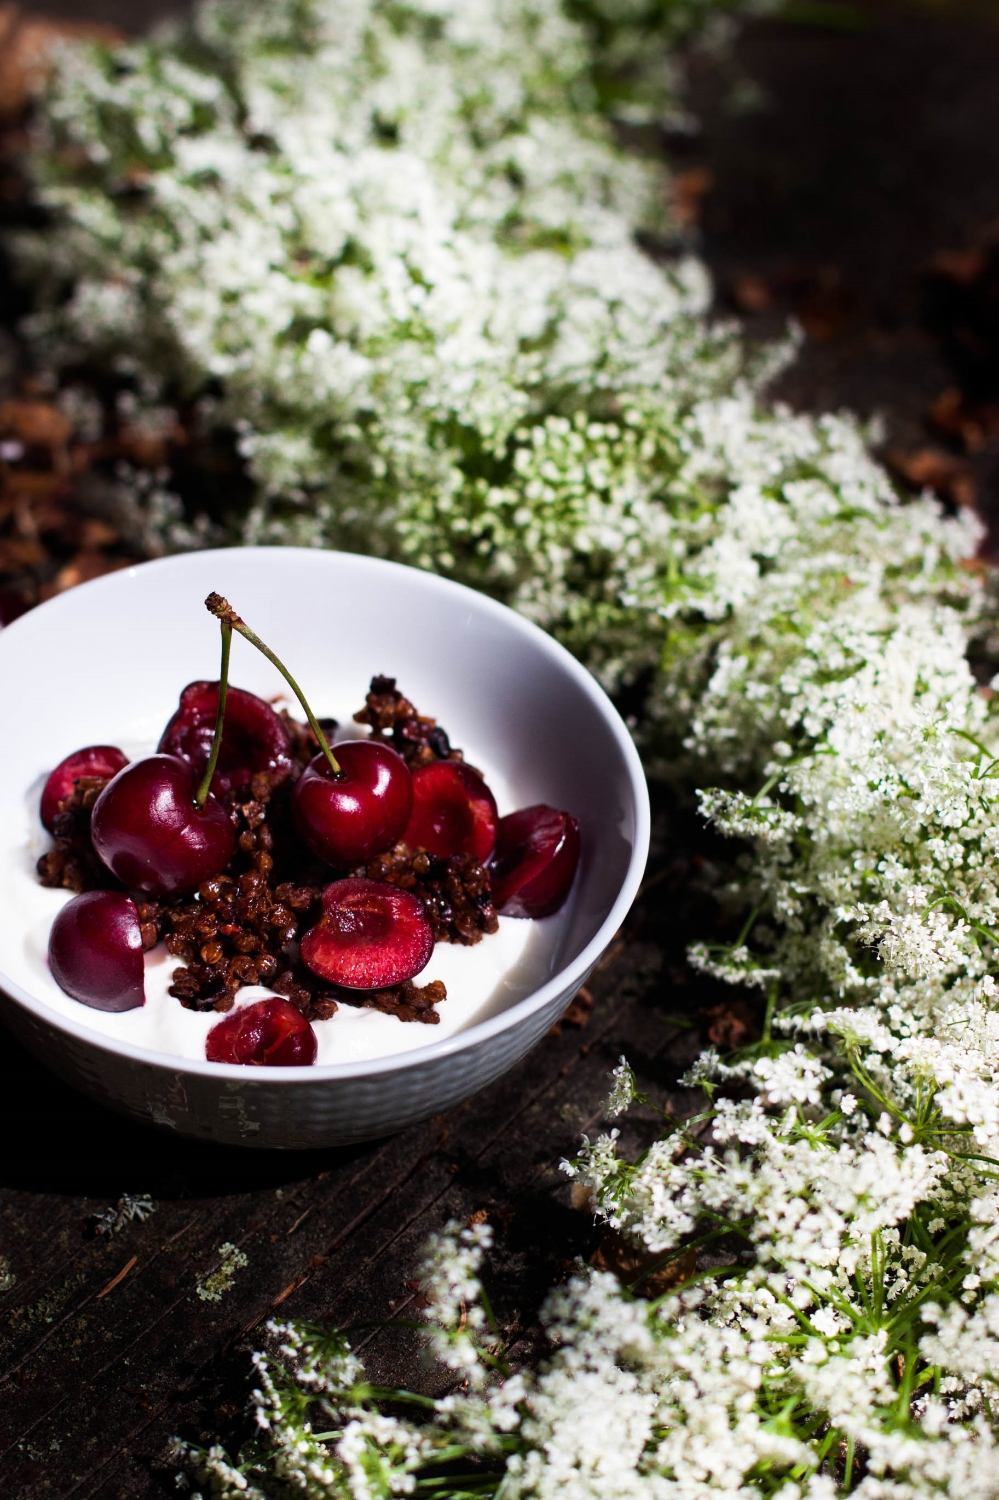
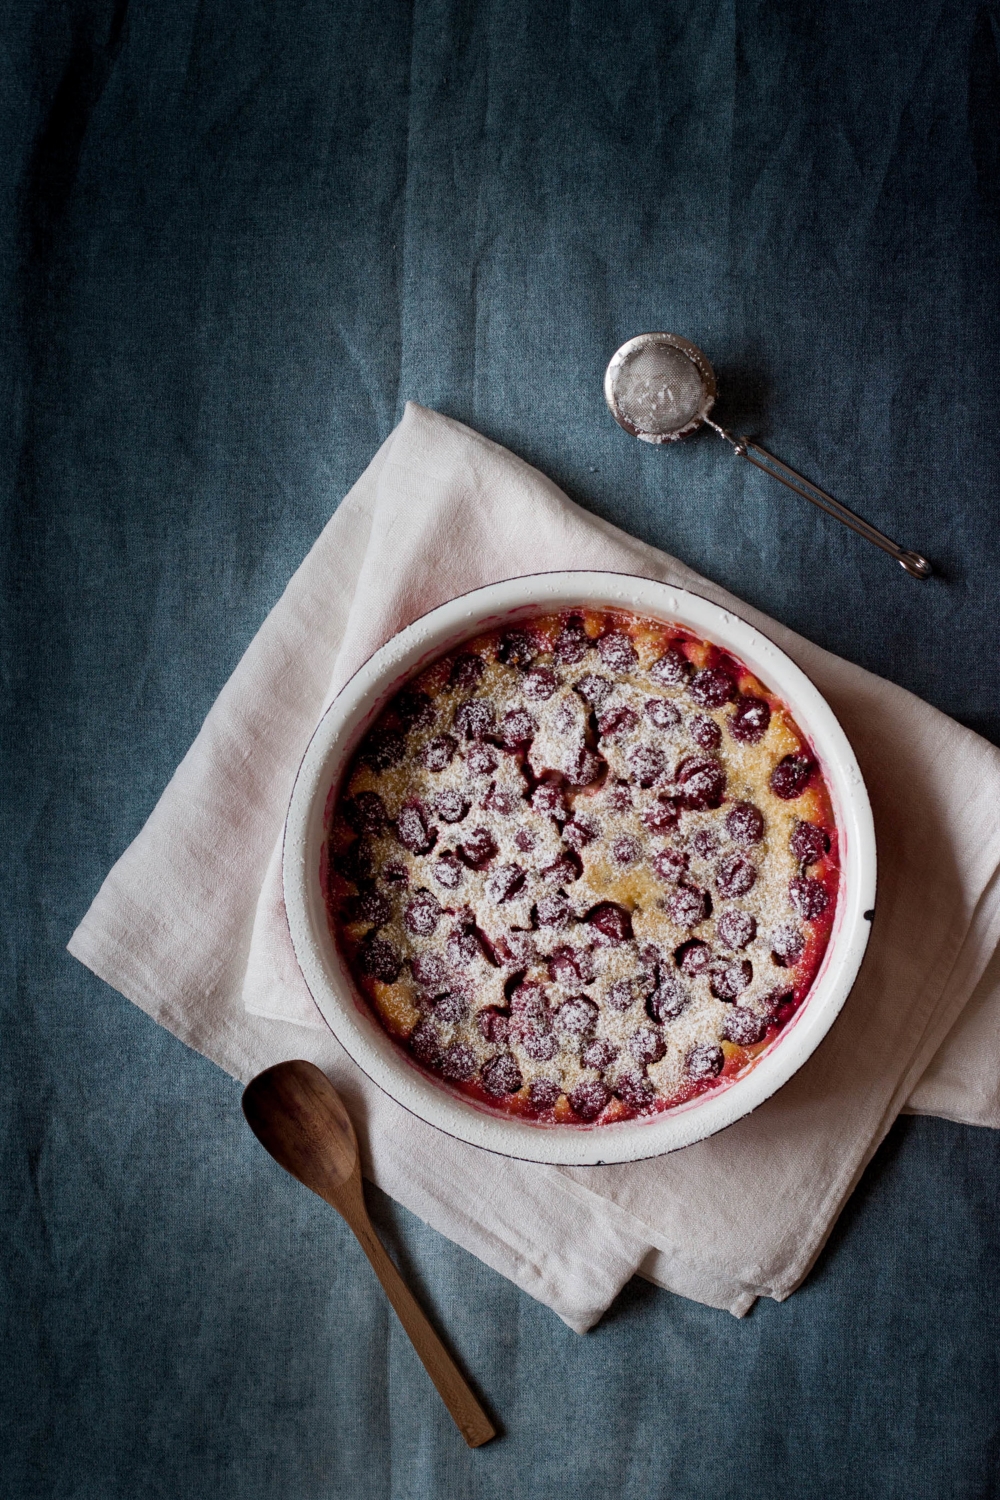
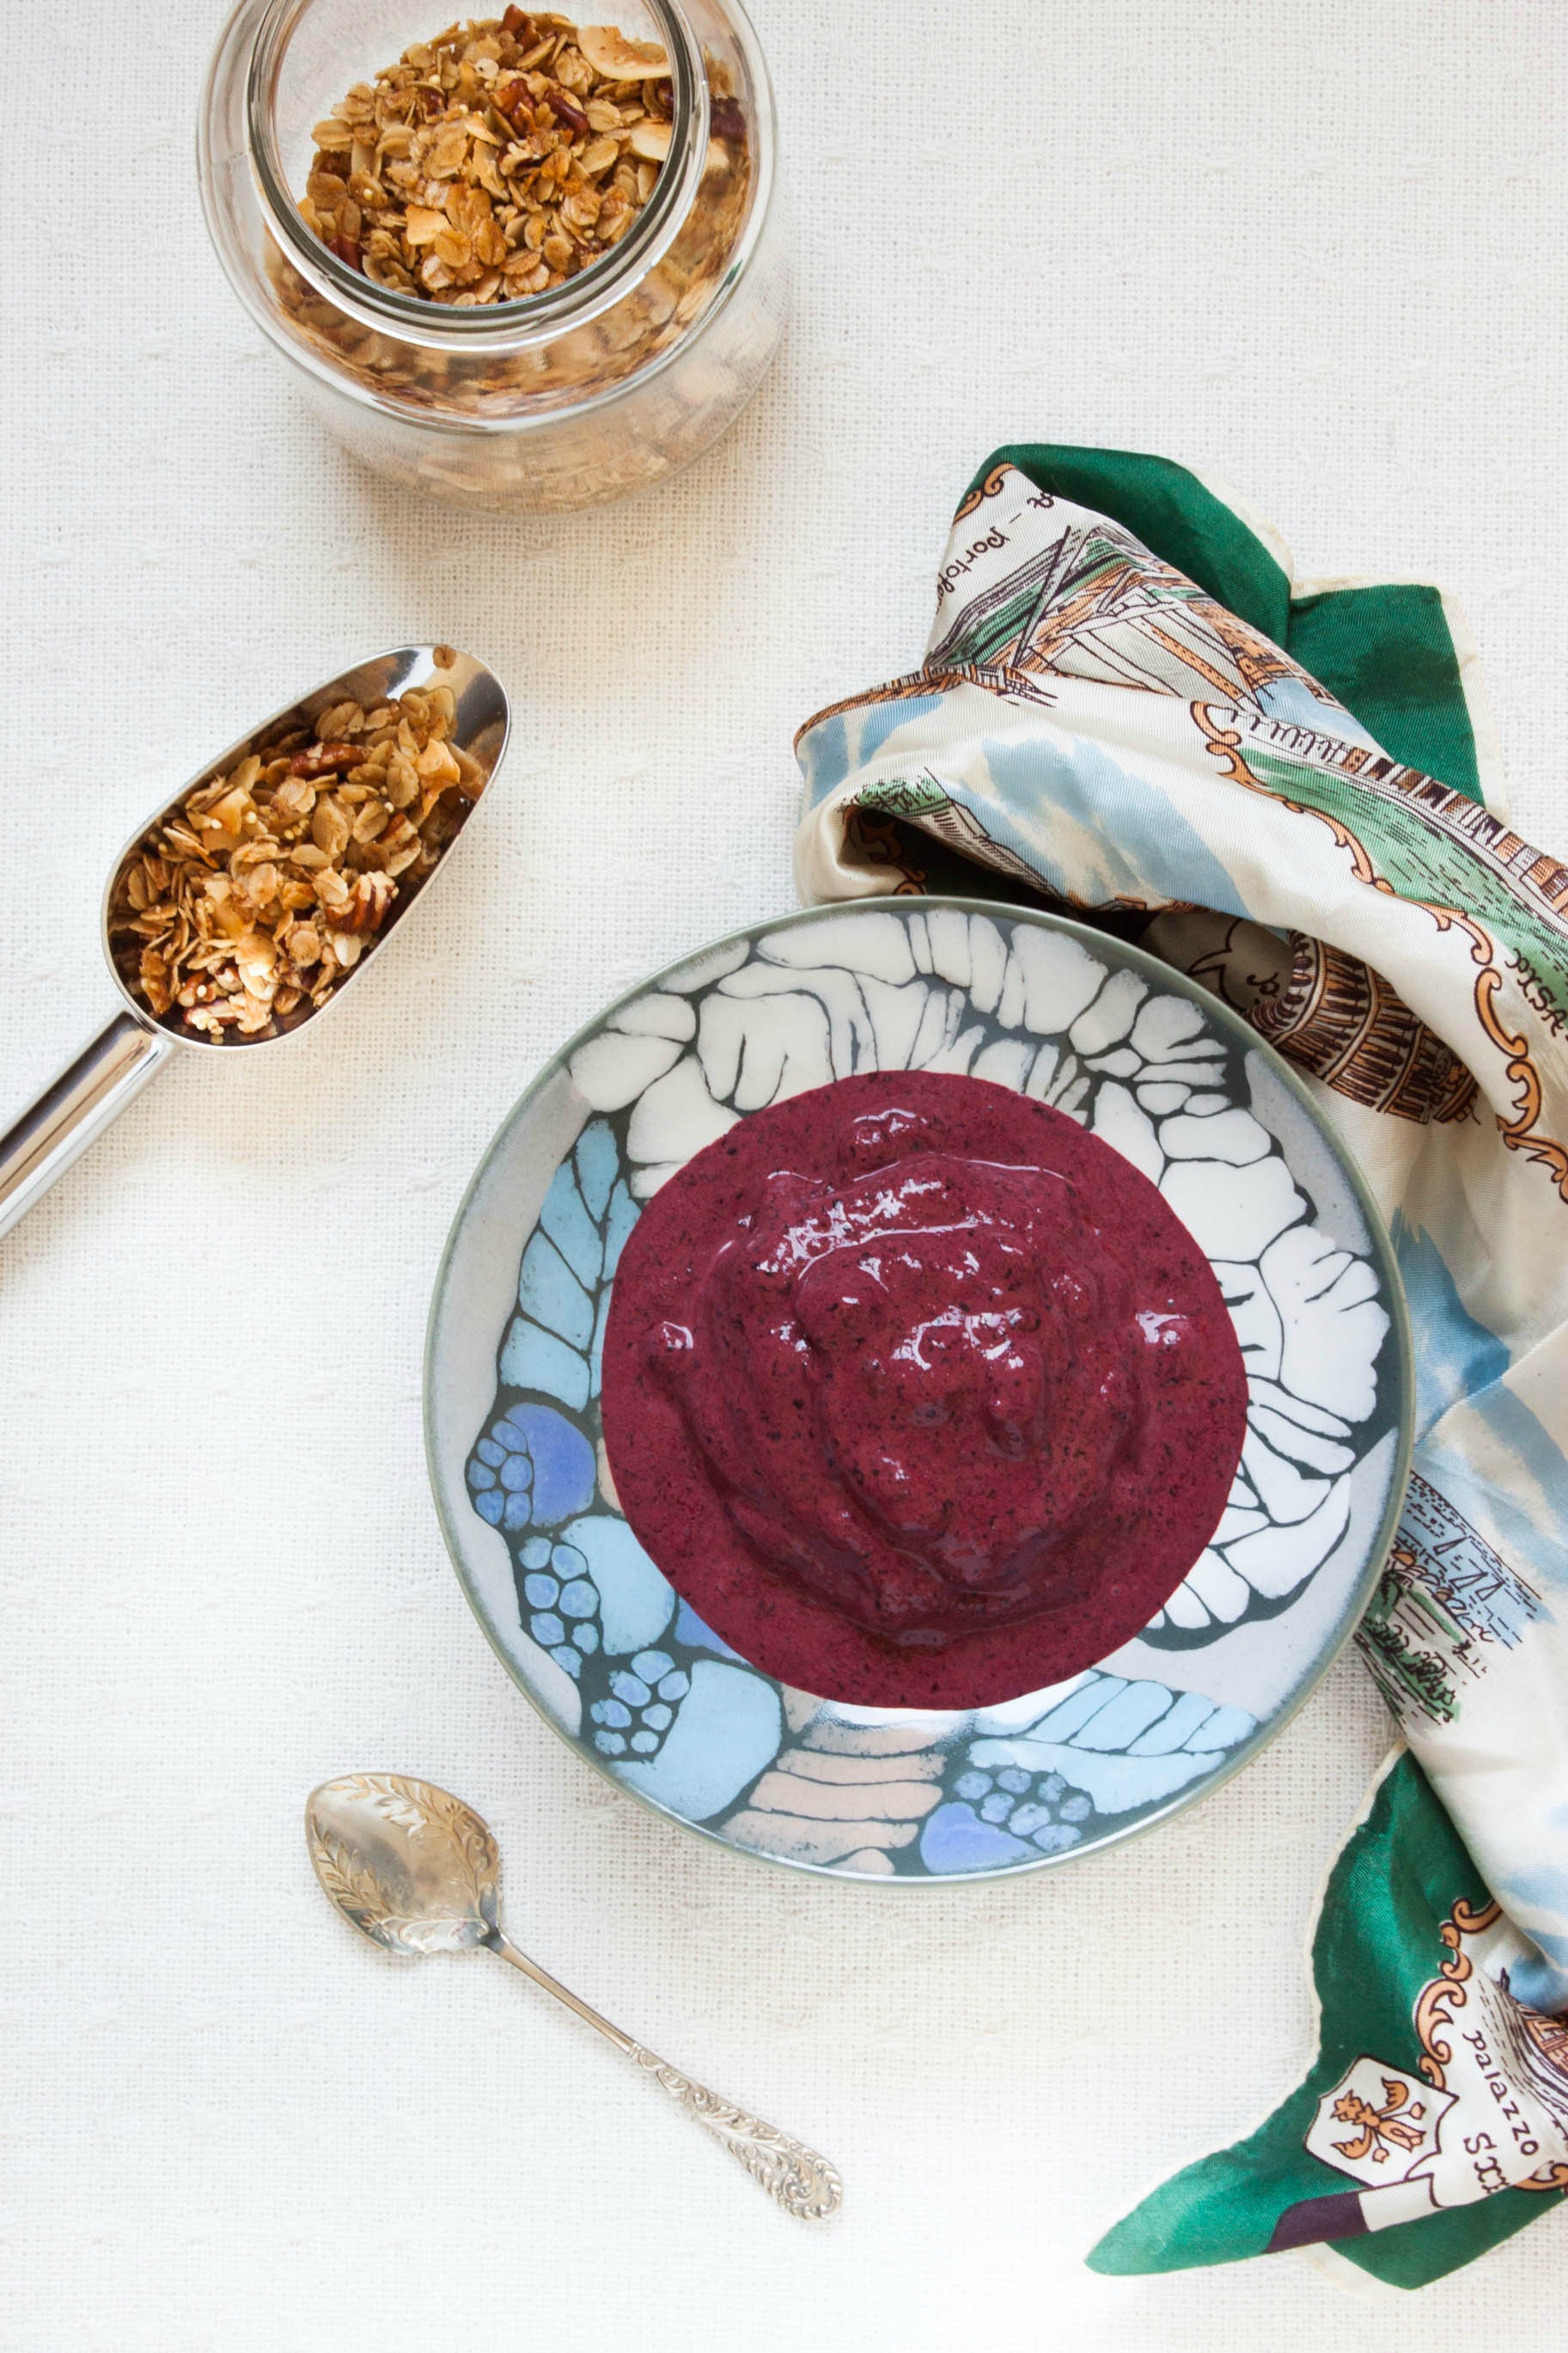
As I mentioned in my last post, I spent a weekend in the Finnish archipelago. We were staying at my friend's summer cottage – a wooden red house by the sea. So cliché but, at the same time, so perfect. All kind of berry bushes were growing around the house: bilberries, redcurrants, blackcurrants, raspberries, rose hips (unfortunately they weren't ripe yet), and red gooseberries. Every morning we went outside with our breakfast bowls, picked our berries of choice, and enjoyed them with plain yogurt and the granola I made for us. It can't get more seasonal, local, and sustainable than this, right? The very essence of Nordic summer life.

Actually, it's the very essence of the Nordic cuisine. Yesterday, I read a column in the Swedish Gourmet magazine that wondered what's really new about the so-called New Nordic Cuisine. After all, as René Redzepi has stated "In Scandinavia, we've always foraged, wandered in the forests and searched for food, long before the term even existed". And we still do.

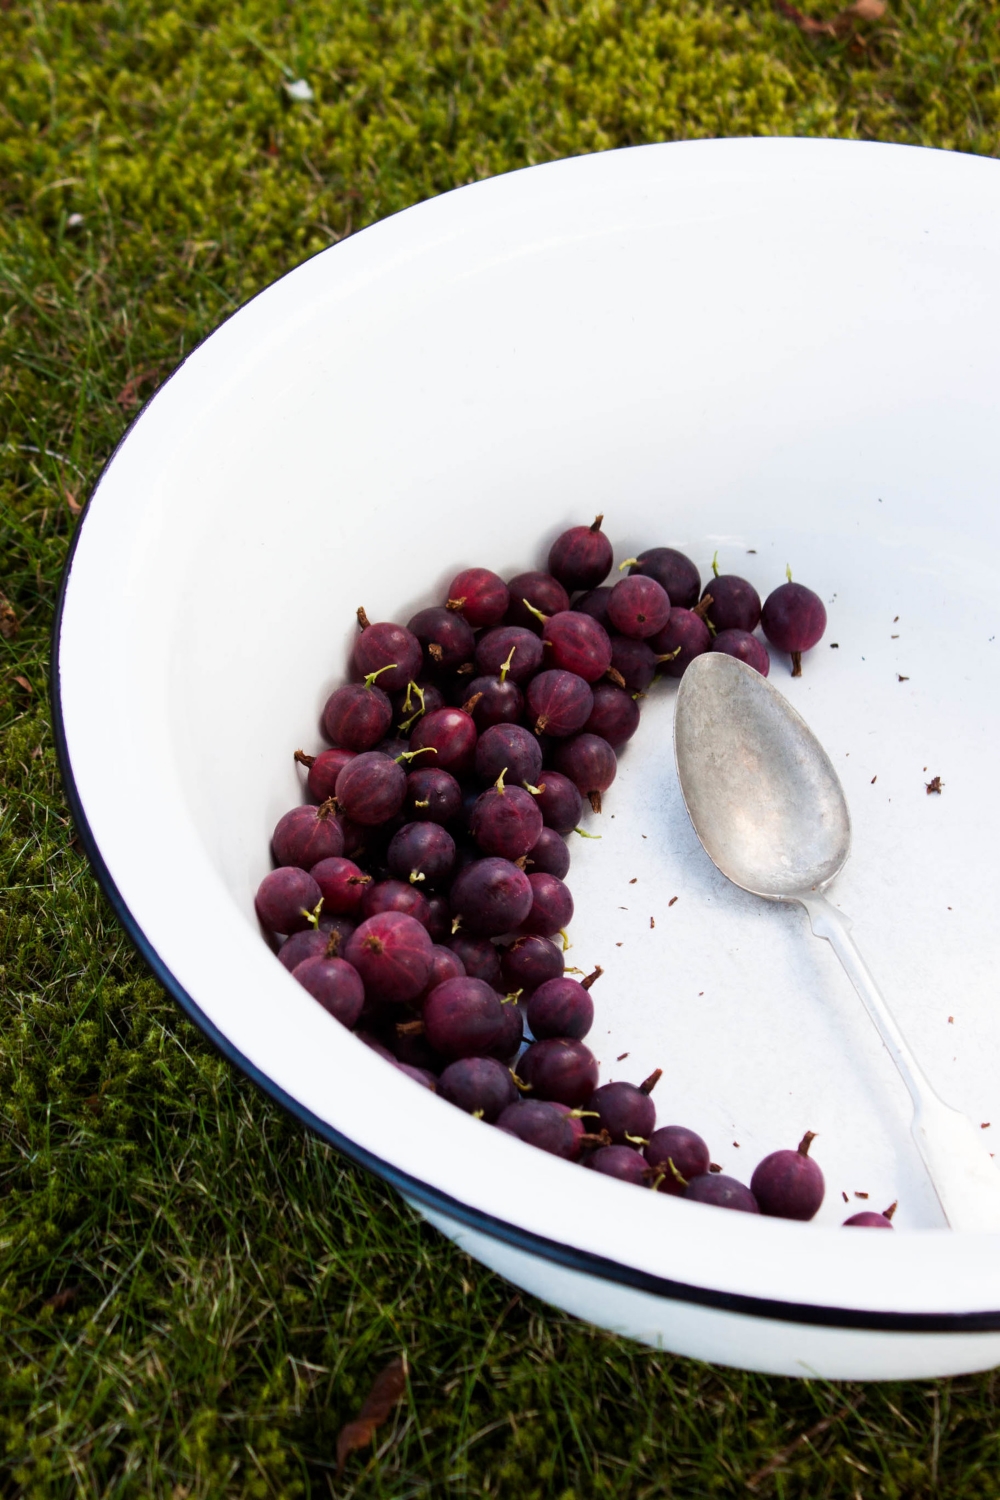
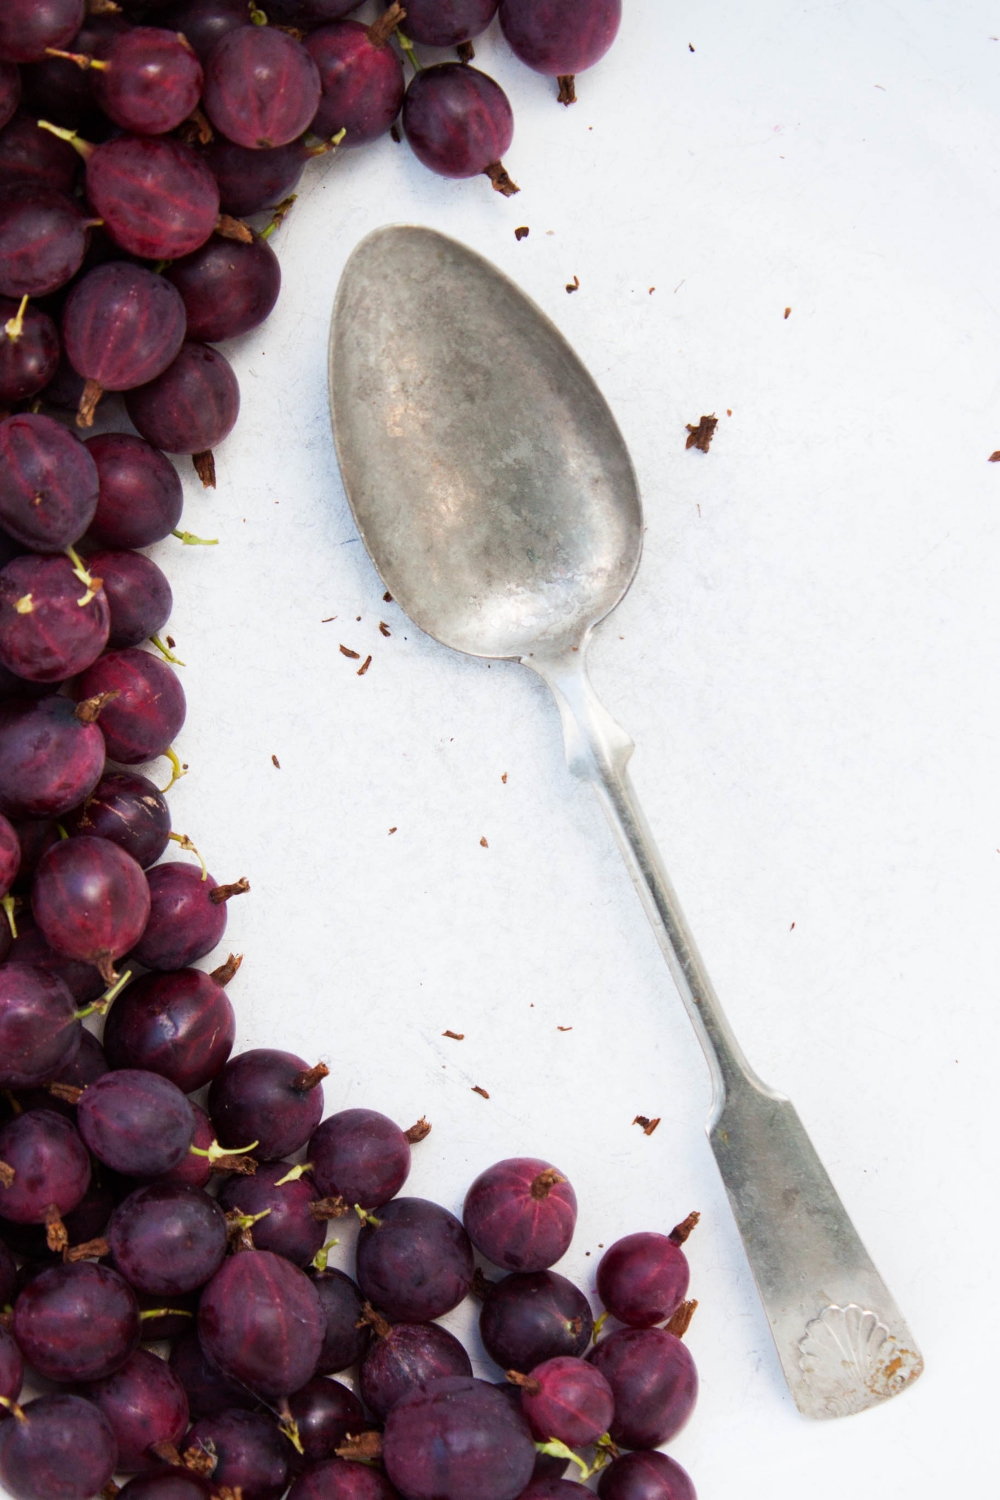
I don't know why but it's quite hard to come by gooseberries in grocery stores and at farmers' markets these days. Are they 'out of fashion'? Can food get out of fashion? Well, I guess it can. [Apparently we aren't the only ones who have lost our love for these berries.] Furthermore, if you get lucky to find some, they most probably are the green ones. You should have seen my excitement when I saw those perfect, burgundy colored gooseberries grow in the backyard. The bushes were heavy with berries so I didn't even have to worry that there wouldn't be enough for everyone PLUS for me to take home.

On Sunday afternoon after most of the cleaning and packing was done, I took my pink bucket and started to pick those sweet gooseberries one after another always trying to be careful not to touch the sharp spines (with varying success though). I already had a specific use for them in mind: clafoutis should be their destiny.

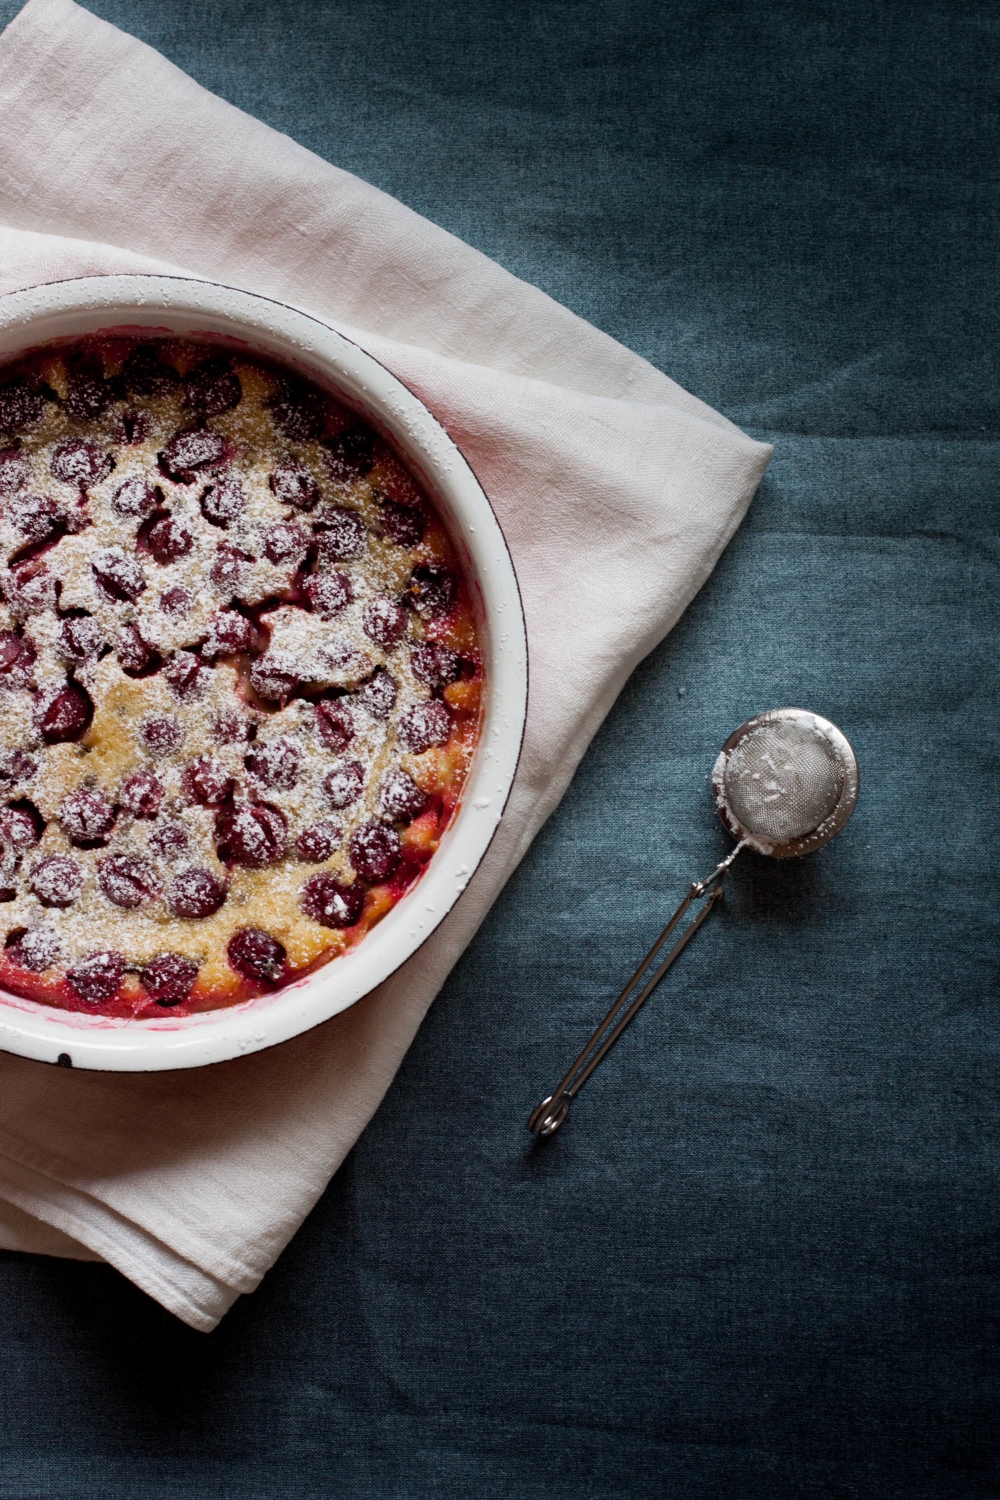
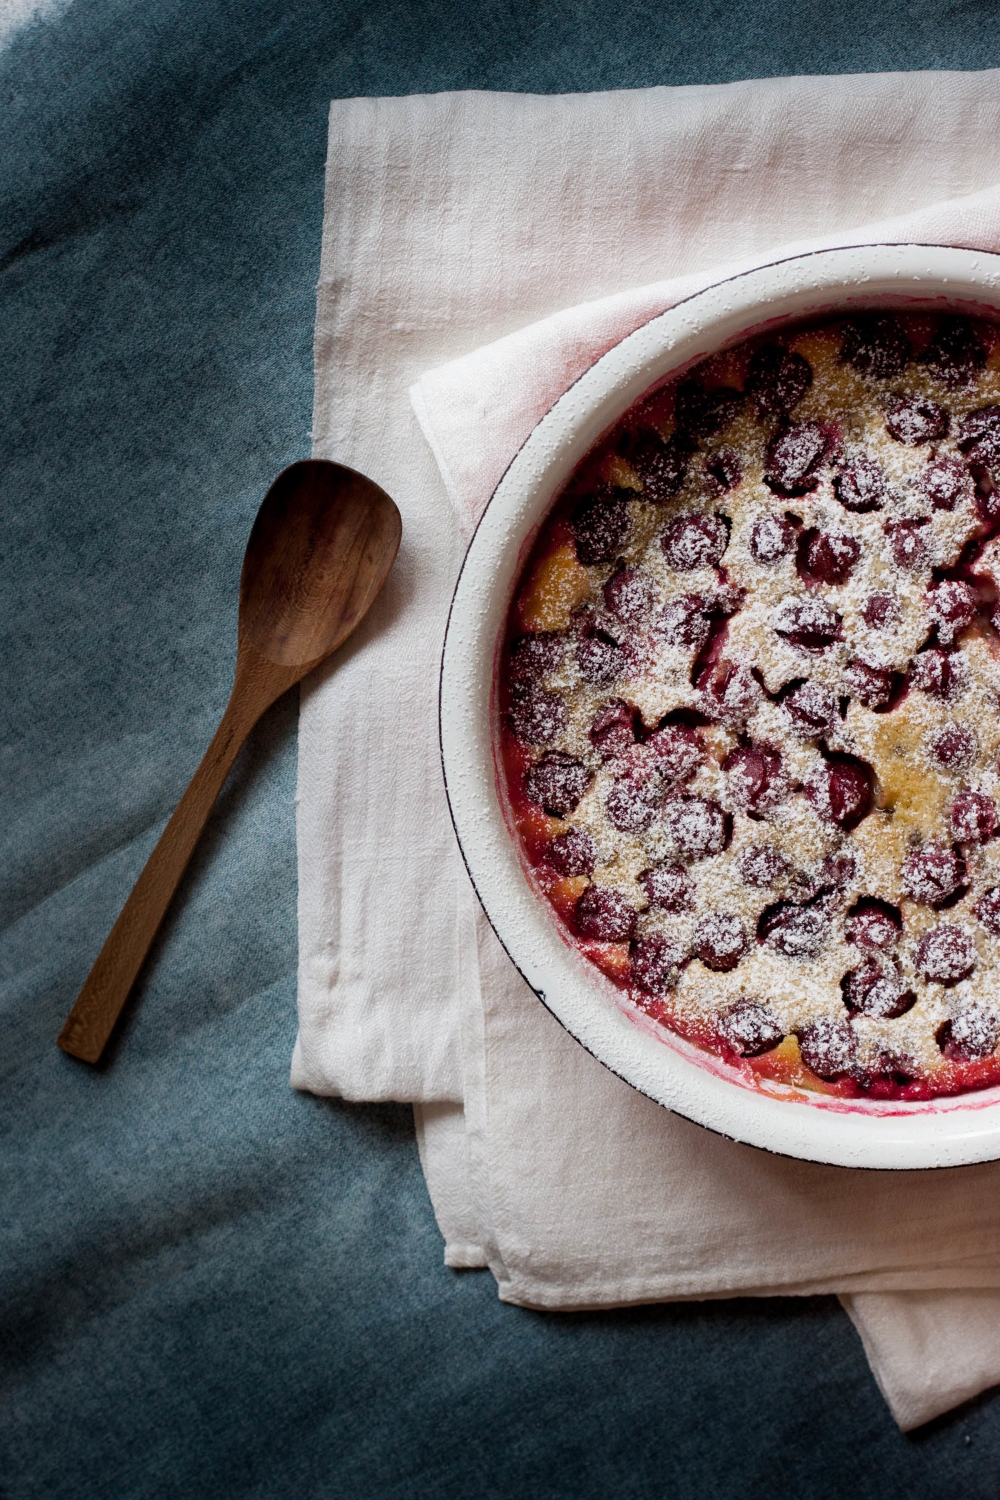
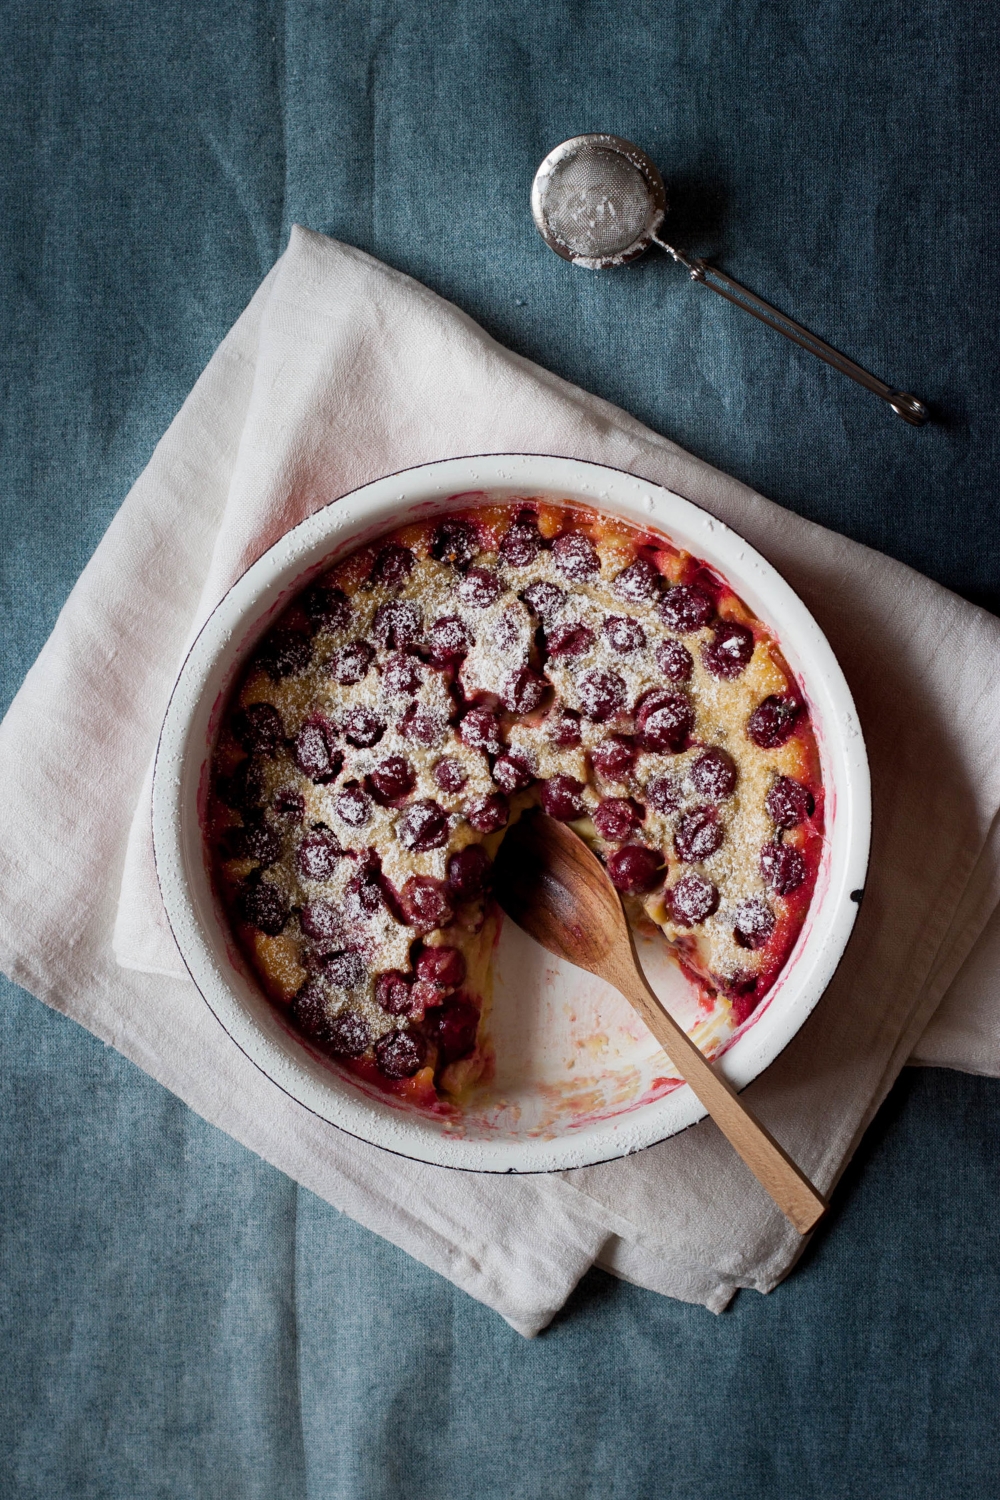
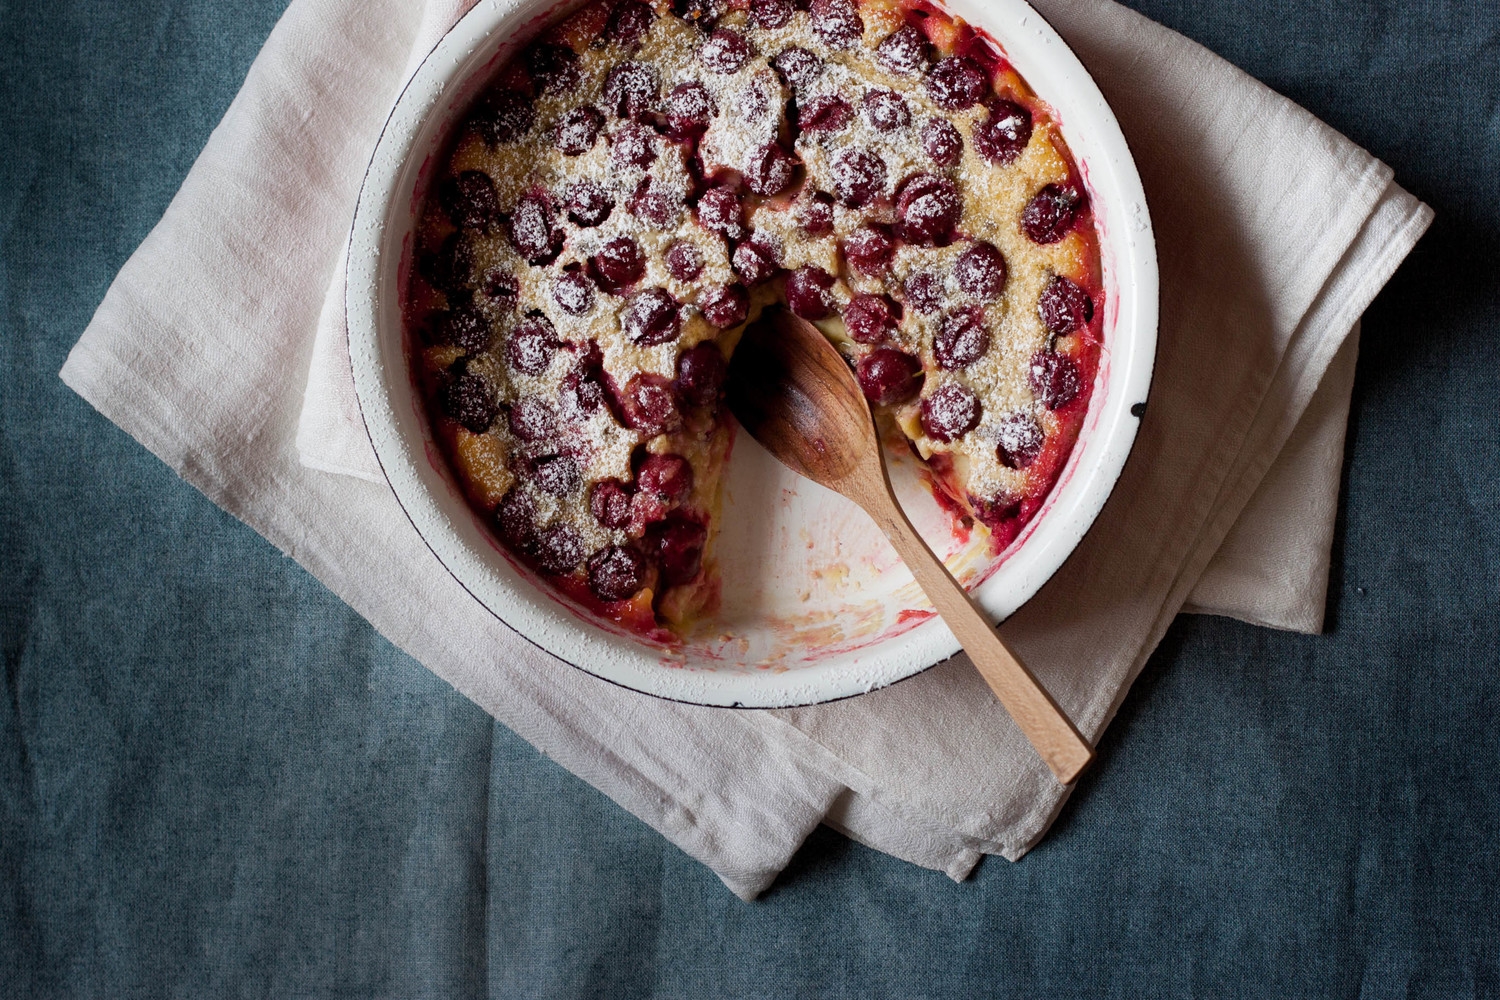
Are you familiar with clafoutis, one of the most decadent yet simple desserts the French cuisine has to offer? Clafoutis is what would happen if pie and custard made love to each other. The custard melts in your mouth while the berries have their own dance party. It's not a treat I grew up with. I stumbled upon it years ago on Béa's blog La Tartine Gourmande and immediately fell in love with this French classic. It's versatile, simple, relatively quick to make, and a decadent treat even for special occasions. I particularly love clafoutis made with plums, peaches, or berries and always add some nut flour to the batter.

Go get some berries, or even better forage if you're lucky, and make your Wednesday brighter with a lovely clafoutis on your table!


Gooseberry Clafoutis

makes one 18 cm / 7" clafoutis

In this recipe, I use gooseberries, but you can definitely use whatever fruit or berries you have around. After enjoying a gooseberries only version, I made one with a mix of gooseberries and blackcurrants which I found to be exquisite as well. As I mentioned above, I like some nut flour in my custard batter but it can be substituted with all-purpose flour if you aren't into nuts or simply can't tolerate them.

1 ½ dl (⅔ cup) whole milk
1 dl (½ cup minus 1 ½ tbsp) heavy cream or full-fat coconut milk
zest of ½ an organic lemon
1 vanilla bean, split open & seeds scraped out
45 g (¾ dl; ⅓ cup) all-purpose flour
20 g (3 tbsp) almond flour
66 g (¾ dl; ⅓ cup) granulated sugar
pinch of salt
3 eggs (M)
30 g (2 tbsp) unsalted butter, melted

400 g gooseberries, cleaned

powdered sugar, to dust


Preheat the oven to 180°C (350°F). Butter a 18 cm / 7-inch pan. Set aside.

In a small pot, heat the milk, cream (or coconut milk), lemon zest, and vanilla seeds and bean. Take from heat, cover, and let infuse for 10 to 15 minutes. Strain and set aside.

In a small bowl, combine the dry ingredients. In another bowl, whisk the eggs and gradually add the dry ingredients. Stir in the melted butter and infused milk mixture.

Arrange the berries in the prepared pan and pour the custard on top. Bake the clafoutis on the middle rack for 35 to 40 minutes, or until the center has has set and is golden in color. Let cool and dust with powdered sugar. Serve slightly warm or at room temperature – the clafoutis will continue to set while cooling down.


Gooseberry Clafoutis | My Blue&White Kitchen

Related posts

A Thunderstorm & Redcurrant Buttermilk Cake

You know when you laugh so hard that you eventually can't breathe anymore and every single muscle in your body seems to hurt? Yes, that happened multiple times during last weekend. I don't think I've laughed so much and wholeheartedly in a while. I think I've never stared at the night sky for several hours in a row. Seriously, when was the last time you gazed at bright stars and spotted shooting stars and satellites? Promise me you'll do that. It's epic.

I spent last weekend in the Finnish archipelago where we threw a bachelorette party for my dear friend. I was so exhausted after those three days...okay, a total understatement. I actually think that my IQ was below zero for several days after I came back home. Not because of alcohol but simply due to emotional and physical exhaustion. Maybe I still haven't fully recovered, so I'll just start talking about today's recipe which is one I connect many childhood memories with.

Redcurrant Buttermilk Cake | My Blue&White Kitchen

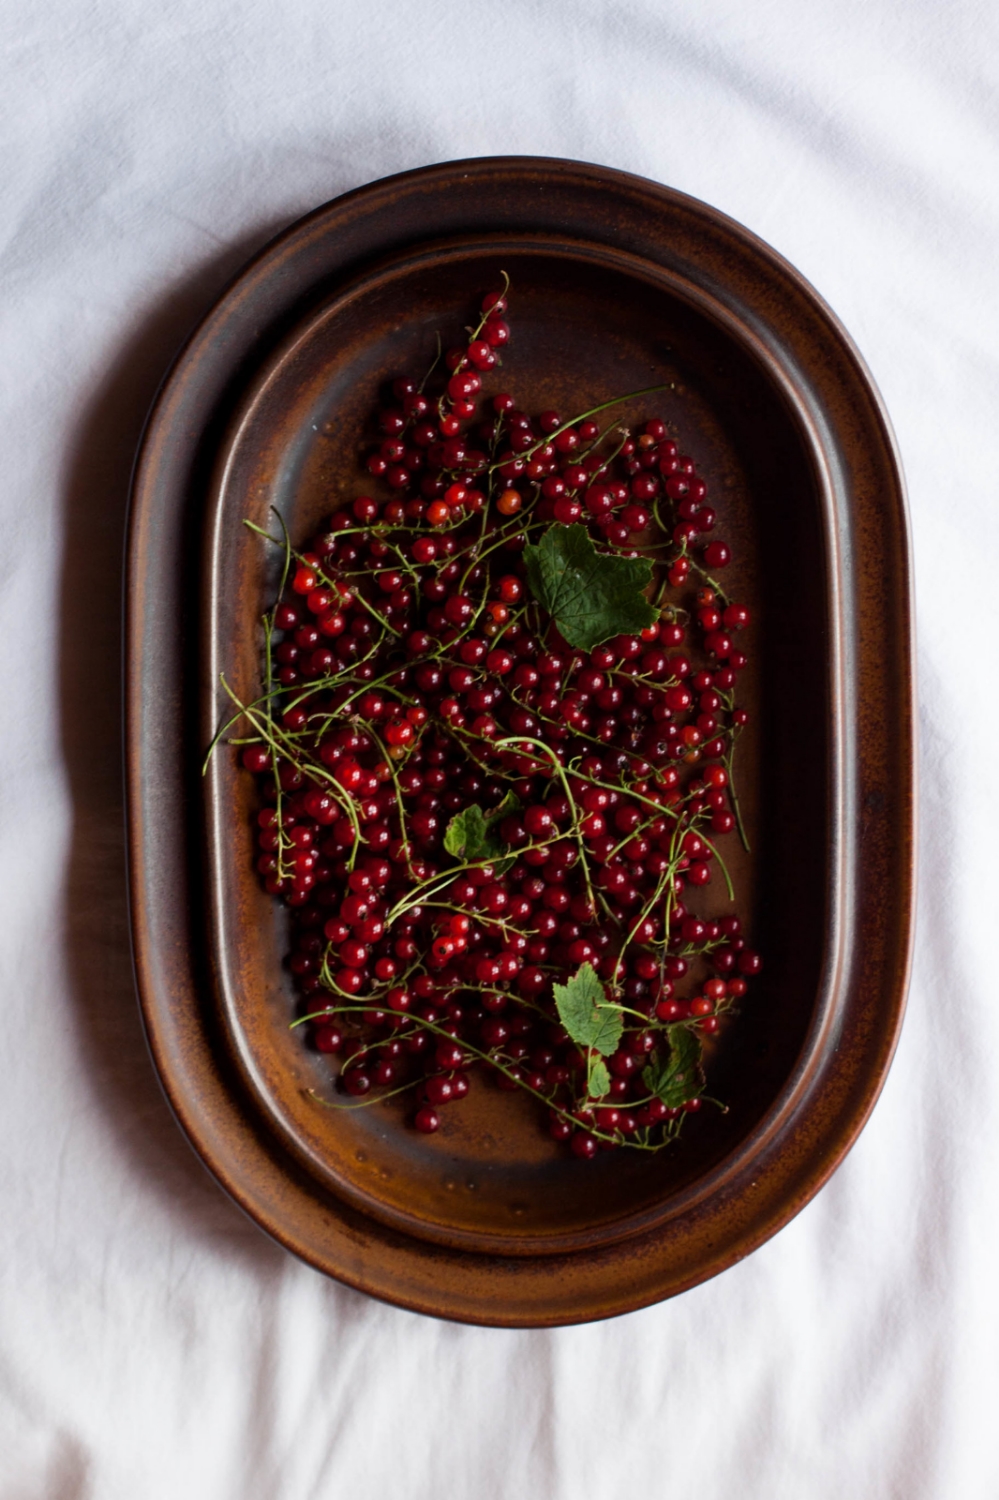
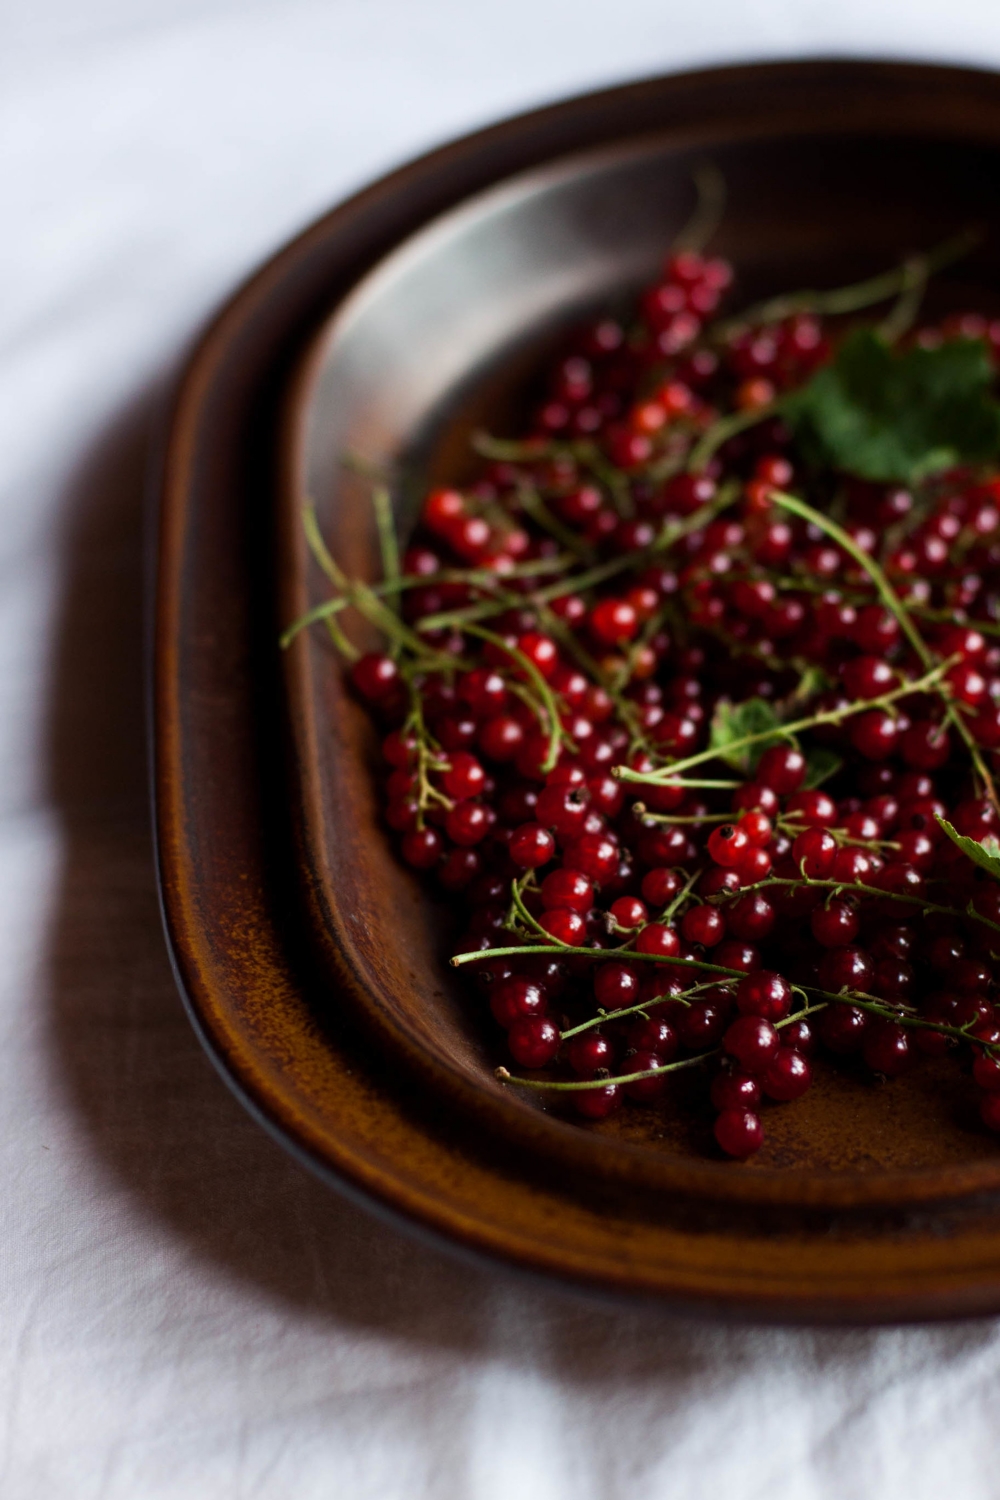
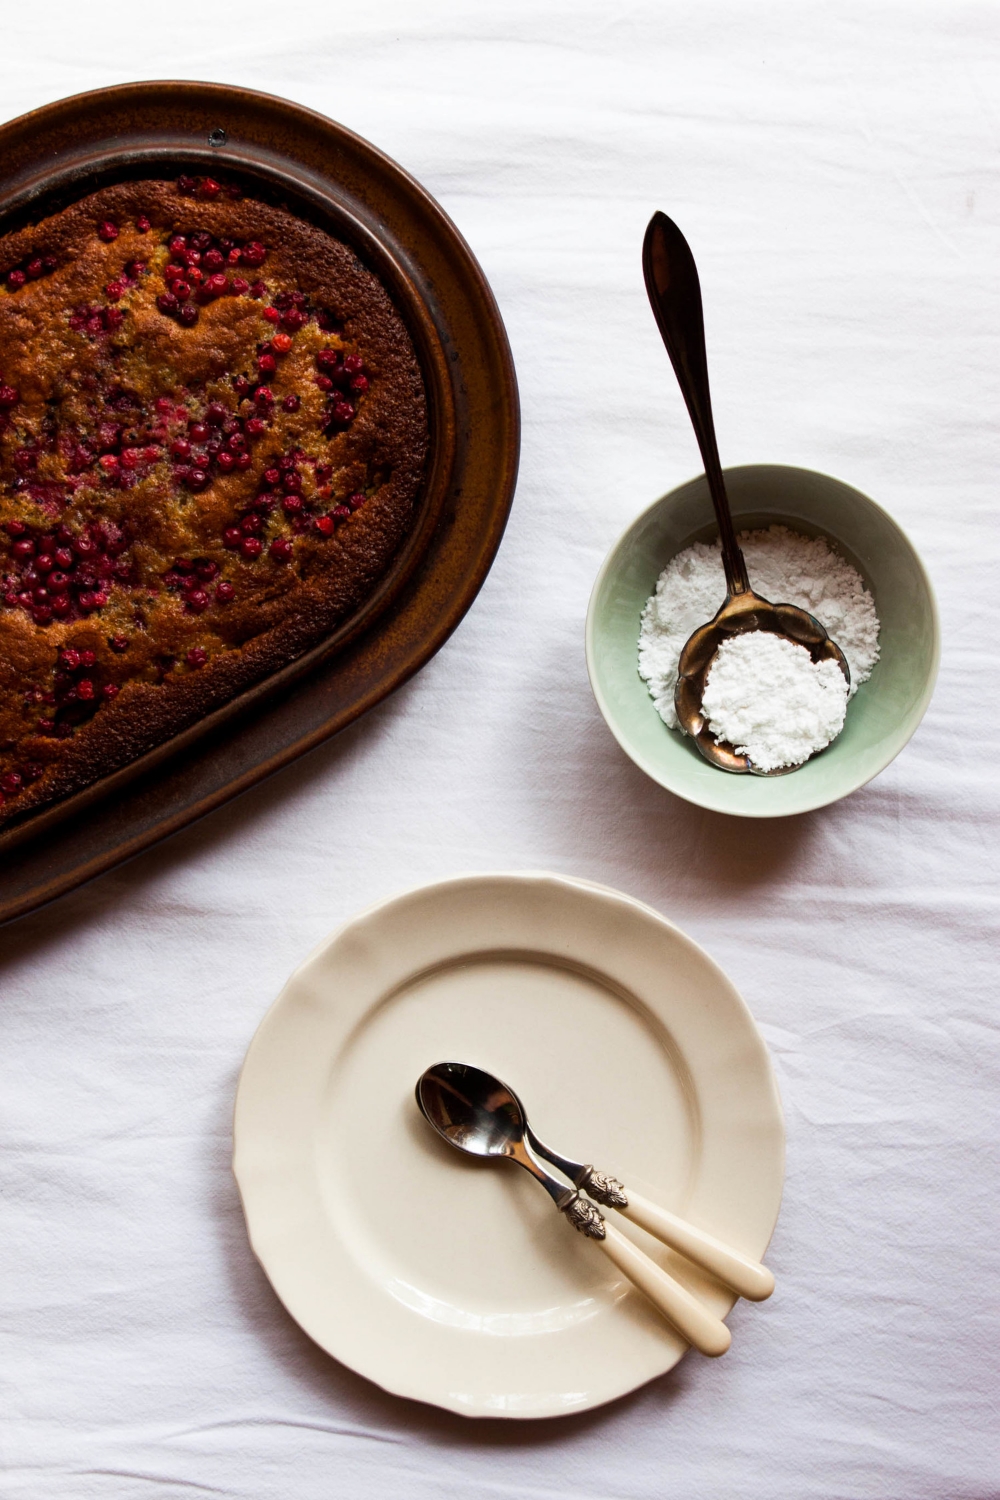
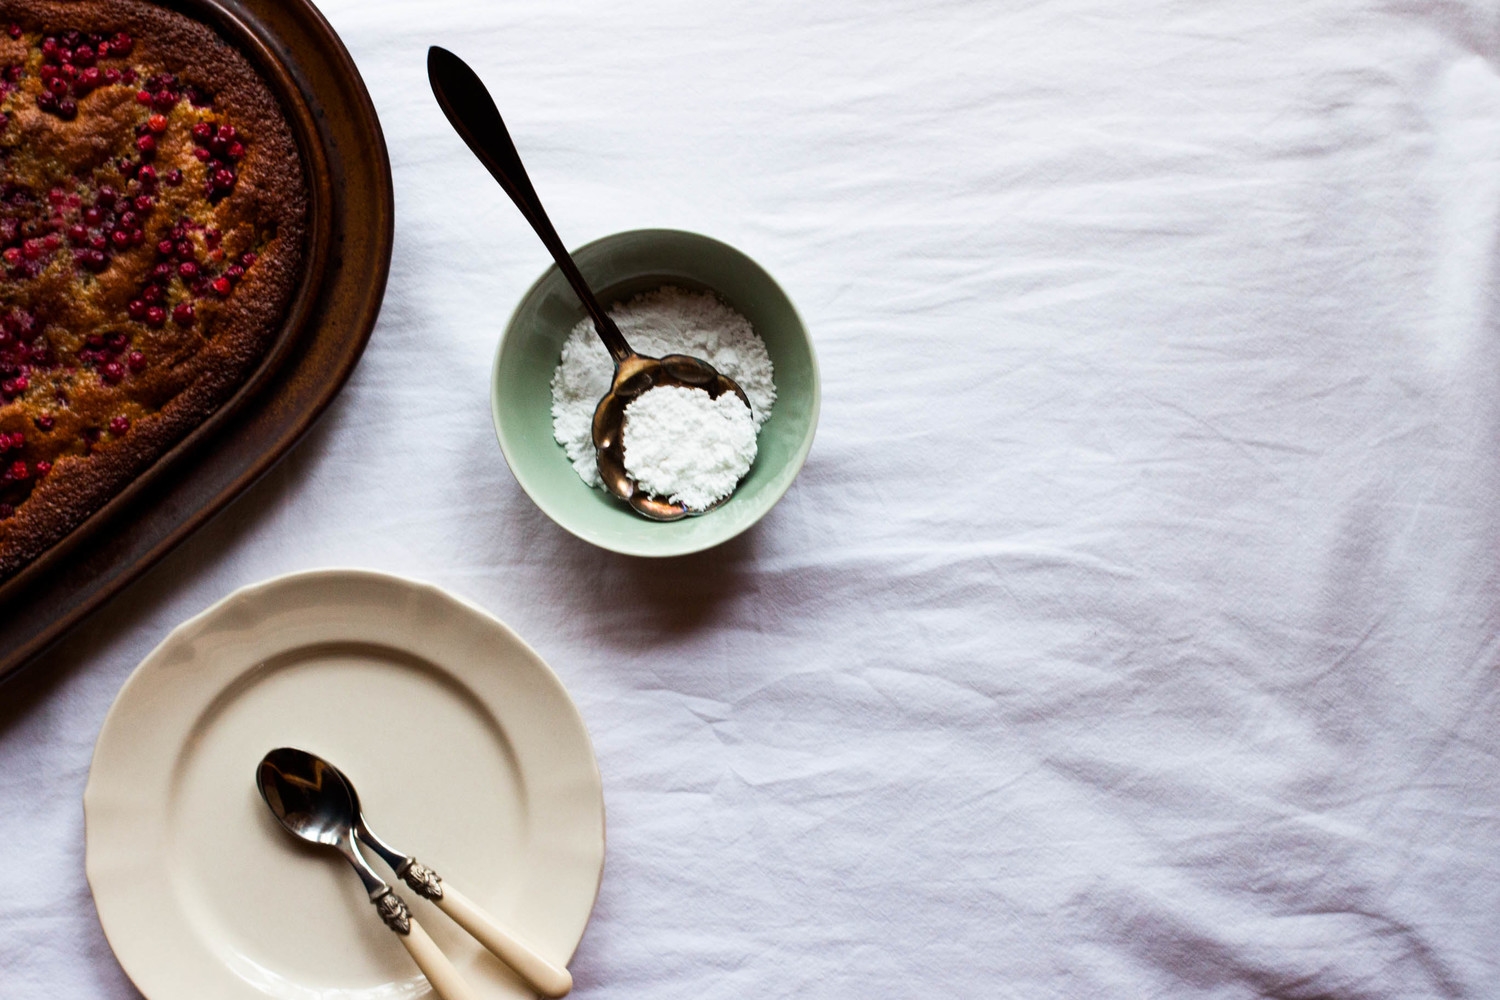
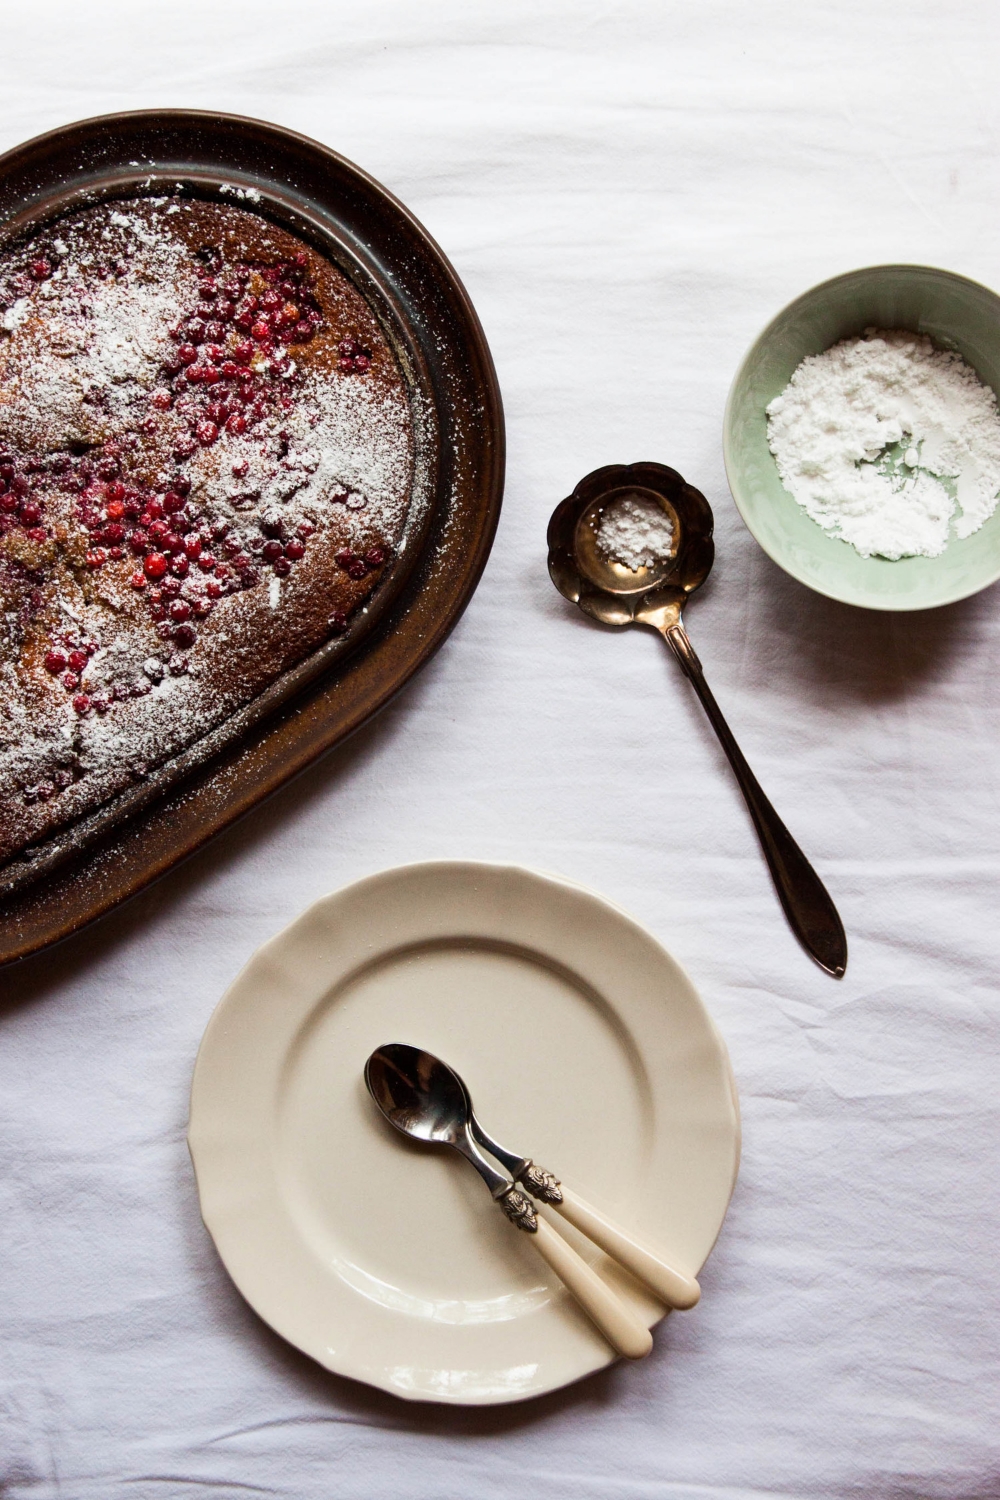
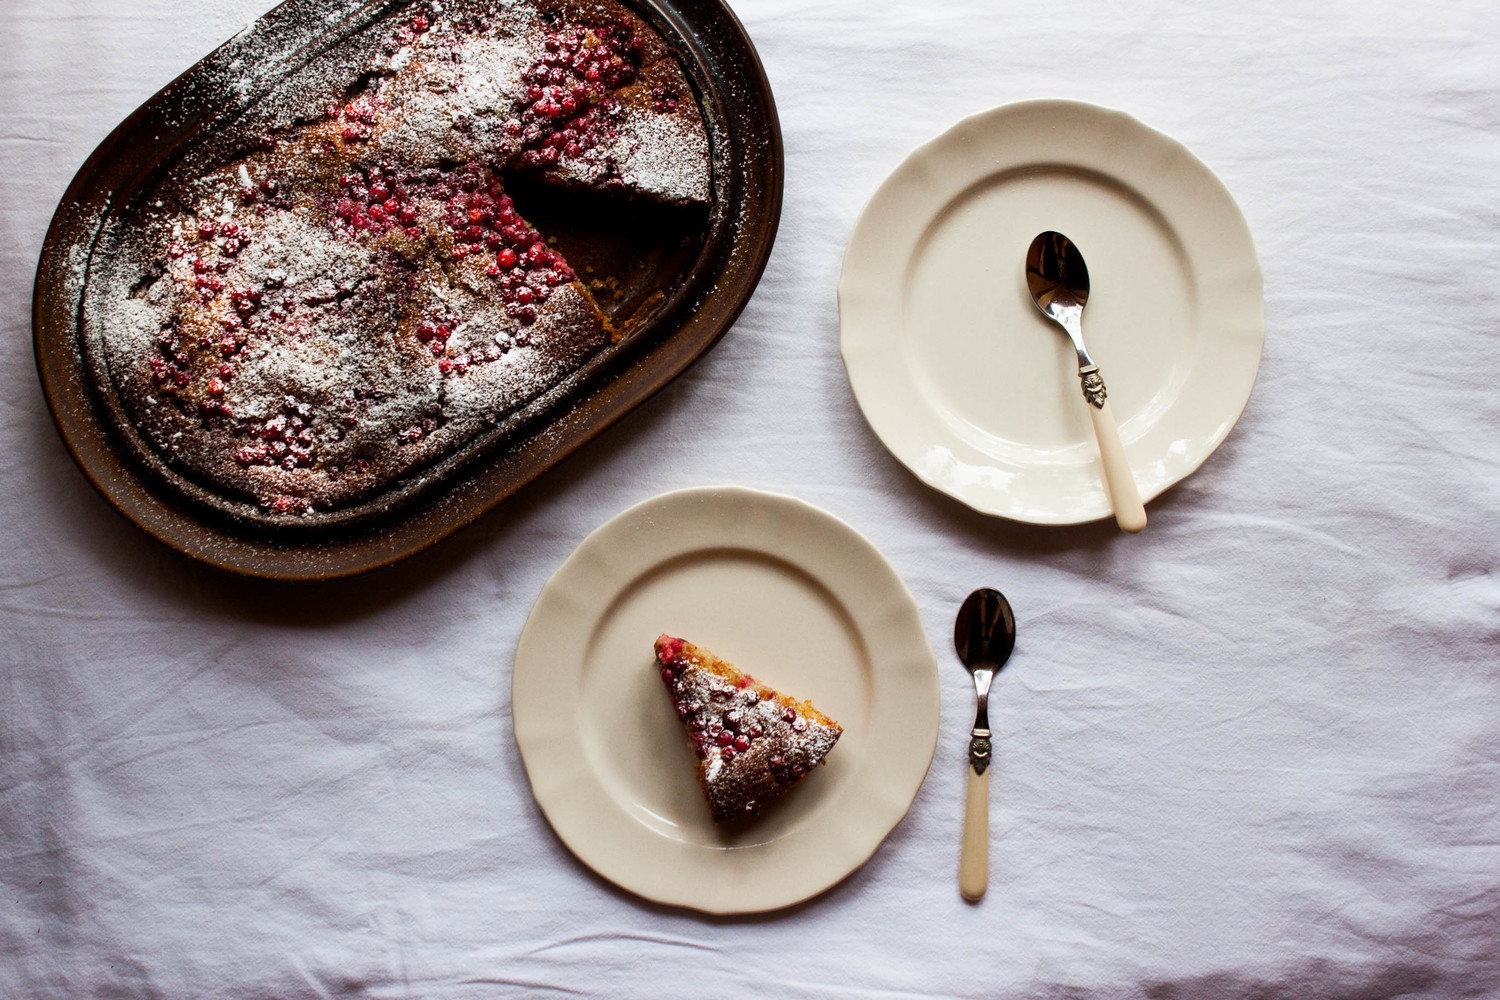
The cake I share with you today is one my mom used to make when I was a kid. It's actually one of the most traditional berry cakes here in Finland. I made it with redcurrants because I had a bunch of them at hand after a recent berry picking trip. Also, I think that this batter works best with tart berries or fruit due to its relative sweetness. You could, however, substitute currants with blueberries or other fruit of your choice. The cake is moist and sweet, the currants add a wonderful tartness to it, and as it bakes, a lovely dark crust forms thanks to the buttermilk. The cake is a real no-brainer and I'm pretty confident you could even make this with an IQ below zero. Just mix everything together (according to my mom it's irrelevant in which order; just make sure everything is incorporated) and scatter the berries over, bake, done.

I shot these pics right before this summer's worst thunderstorm. It was a stormy day, and I actually thought twice before I found the courage to bake the cake despite the weather forecast. The worst scenario in my head: thunderstorm hitting, power cut, and the cake still baking in the oven = disaster. However, I succeeded to bake the cake (while constantly tracking weather forecasts) and shot it in the doorway cause that basically was the place with the best light source. So there I stood with a camera in my hands and the door wide open while the storm was building up outside. I really had not much styling in my head; I just wanted to get some shots before the skies opened up. These may not be the best pictures but I like them anyway simply because I'll always recognize the moment they were taken in.
The thunderstorm eventually hit, but luckily we (including the cake) were all doing fine. I sat in the dark cottage with all lights and electrical devices turned off and silently ate my cake while gazing out the window. Happy face.


Redcurrant Buttermilk Cake

makes 1 sheet cake

The cake is usually made as a sheet cake, but to make a cake as seen in the pictures just halve the recipe and bake in a cake pan (I used a shallow 28 cm / 11" to 17 cm / 7" pan). Note that the berries must be dried carefully to prevent them from sinking to the bottom while baking. If your berries are really juicy and you feel nervous about them, simply toss the berries in some flour or potato starch to give them a light coating before sprinkling them on top of the cake. The flour/starch will absorb the potential liquid and keep the berries from sinking.

100 g (1 ½ dl; cup) graham flour
290 g (5 dl + 2 tbsp; 2 cups + 4 tbsp) all-purpose flour
2 tsp baking powder
1 tsp baking soda
pinch of salt
4 ½ dl (1 ¾ cups + 2 ⅓ tbsp) buttermilk (if you are in Scandinavia, you can use filmjölk instead or make your own buttermilk)
150 g unsalted butter, melted
350 g (4 dl; 1 ⅔ cups) granulated sugar
1 tsp vanilla paste (or 1 vanilla bean, split open & seeds scraped out)
2 eggs (M)

~ 600 g (~ 1 ½ lb) redcurrants, cleaned & dried carefully

powdered sugar, to dust

optional: vanilla ice cream, to serve


Preheat the oven to 250°C (475°F). Line a deep baking sheet with parchment paper.

In a small bowl, combine the flours, baking powder, baking soda, and salt. Set aside. In a medium-sized bowl mix together the buttermilk, melted butter, sugar, vanilla paste, and eggs. Add the dry ingredients and whisk until combined. Let the batter sit for about 5 minutes.

Pour the batter into the baking dish and top with the redcurrants. Bake on the middle rack for 20 to 30 minutes, or until deep brown in color. Let cool a bit and dust with powdered sugar. Enjoy warm or at room temperature plain or with a scoop of vanilla ice cream. The cake will keep for up to two days.


Redcurrant Buttermilk Cake | My Blue&White Kitchen

Related posts