A Quarter of a Century – Mini Almond Pavlovas with Forest Berries

Almond Pavlova with Forest Berries | my blue&white kitchen

In elementary school, we had to write an essay about how we pictured our lives as twentysomethings. I've tried to find that essay without any success but I'm pretty sure I know what that piece of paper contains. I probably dreamed of a life in a red cottage (so Scandinavian!) with a gorgeous husband and lovely children (so cliché!), as well as a cat, dog, and horse (cause I wasn't able to decide which one was cuter). Little did that brown eyed, open-minded, stubborn, and self-confident girl, who was born 200 years after 'Liberté, Égalité, Fraternité ou la Mort!' echoed inside the Bastille, know about where life would take her to in the coming years; that life doesn't always look like the ones in Astrid Lindgren's stories. But does it make it disappointing? Not at all. I've traveled the world and realized both how wonderful and cruel it is at the same time. I may have missed opportunities but I've also said 'yes' and 'no' at just the right moments. I am loved. I'm able to create a career path of my dreams. I can be creative and share it with others; with you. My life may not be perfect but it's good. It's more than good. And that I'm tremendously grateful for.

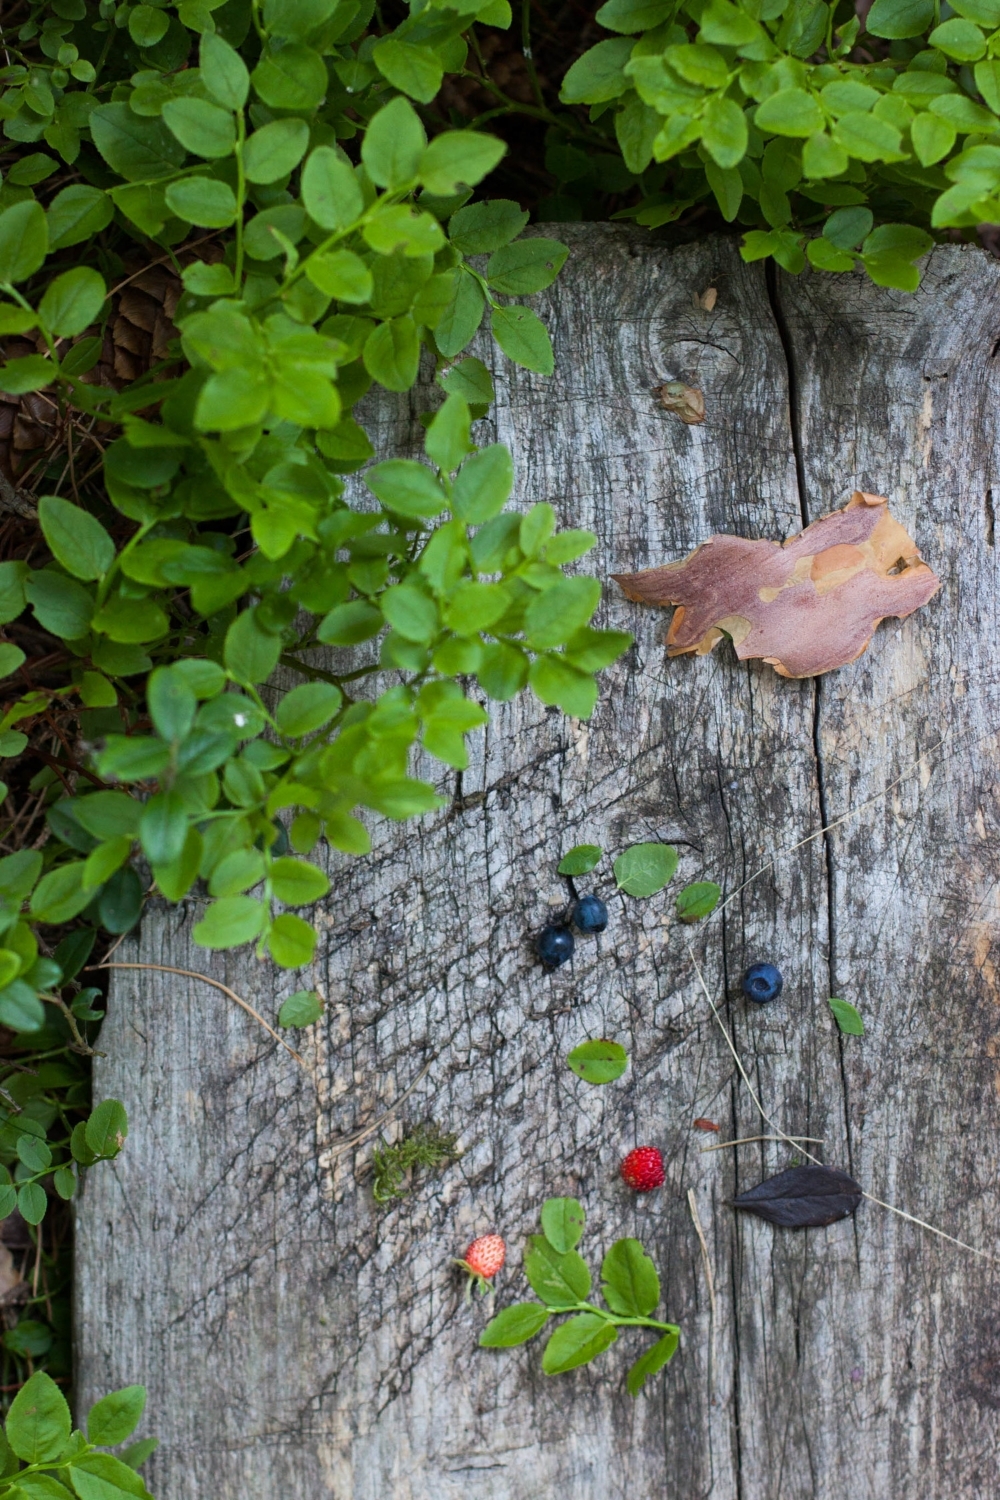
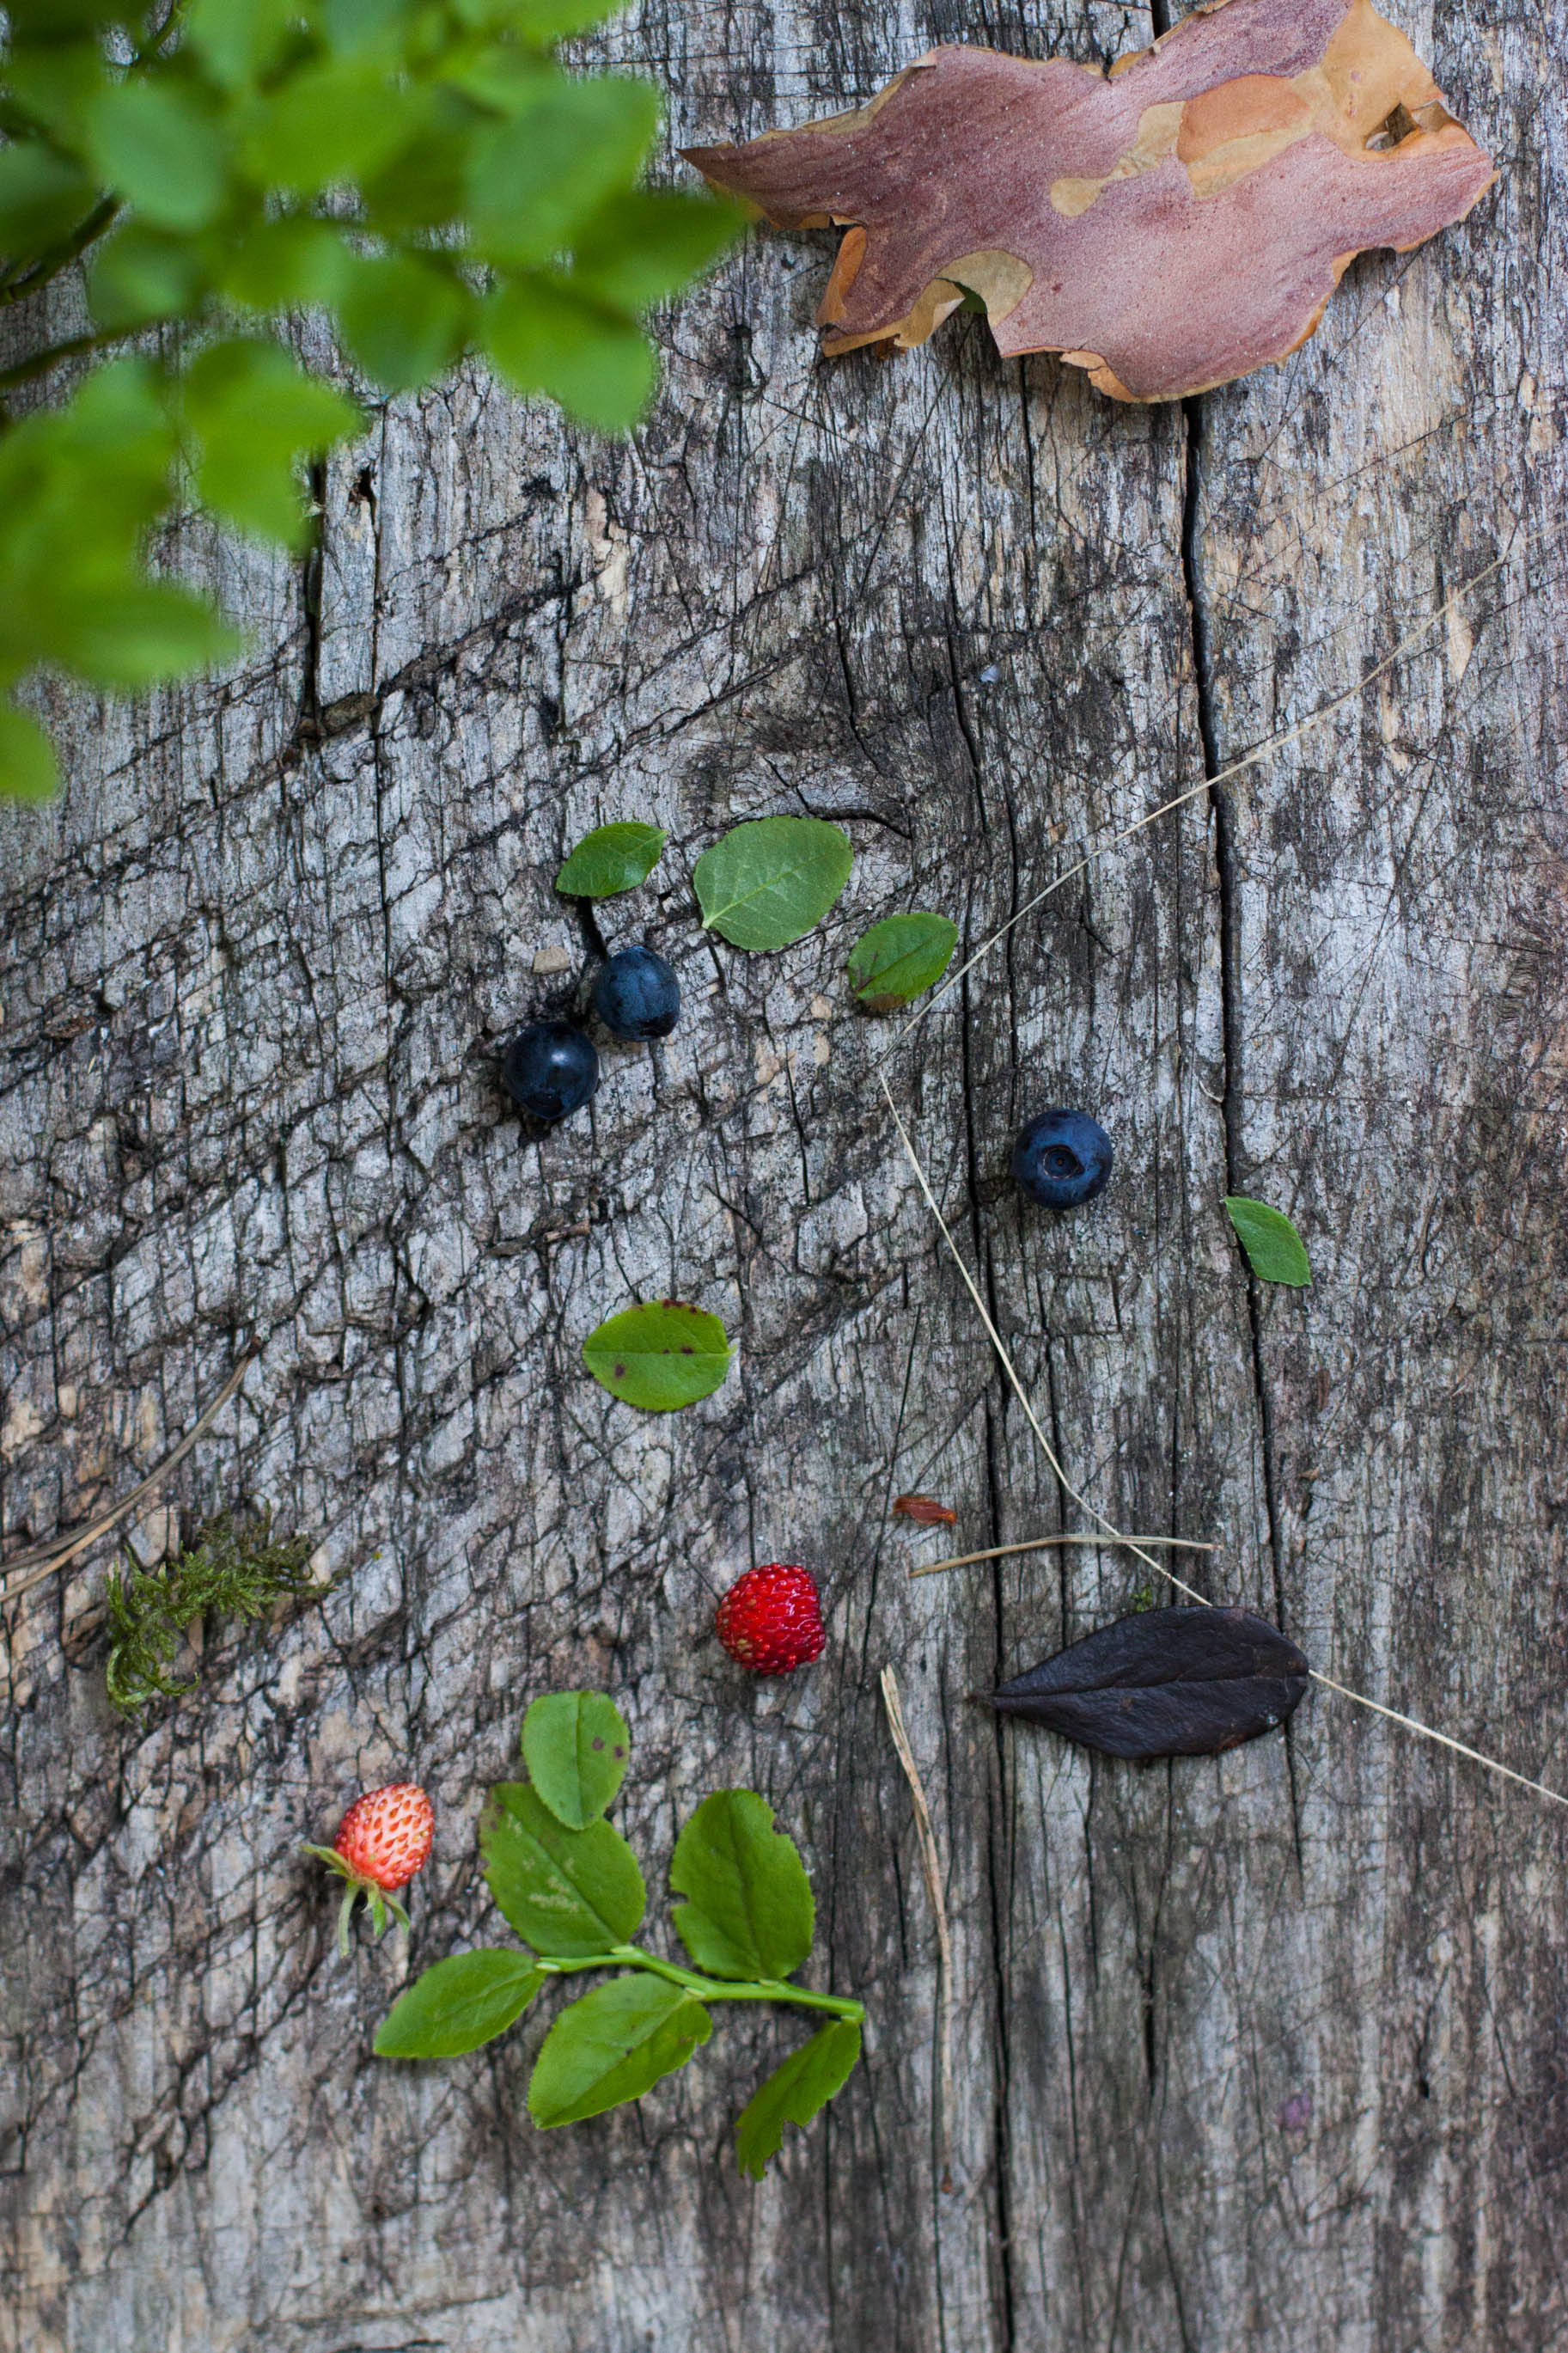
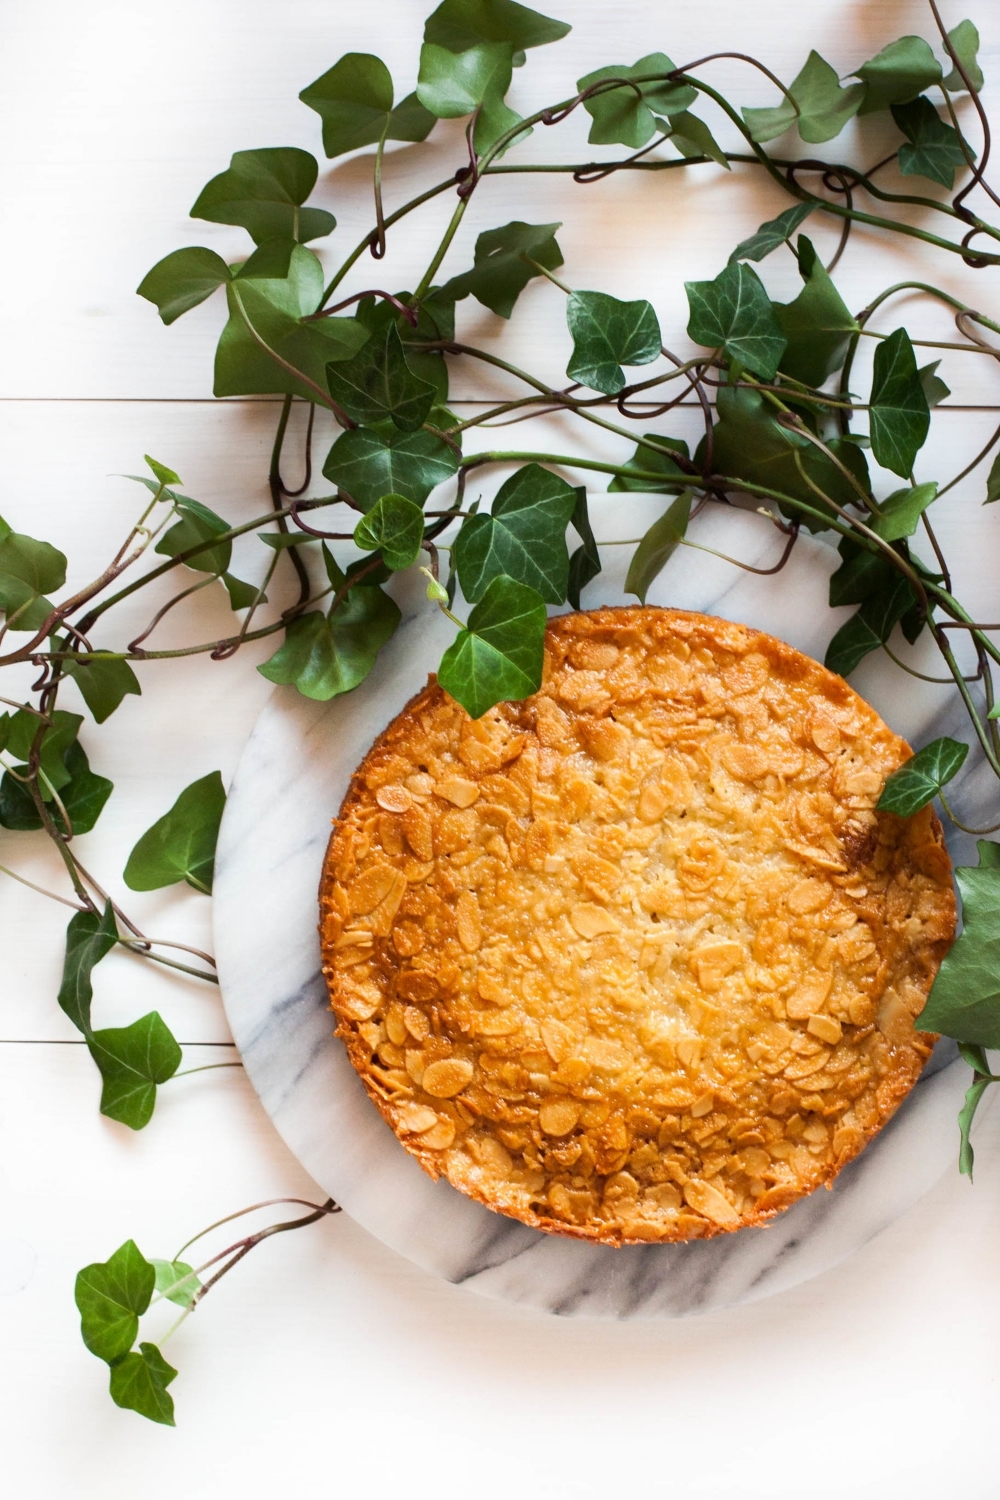
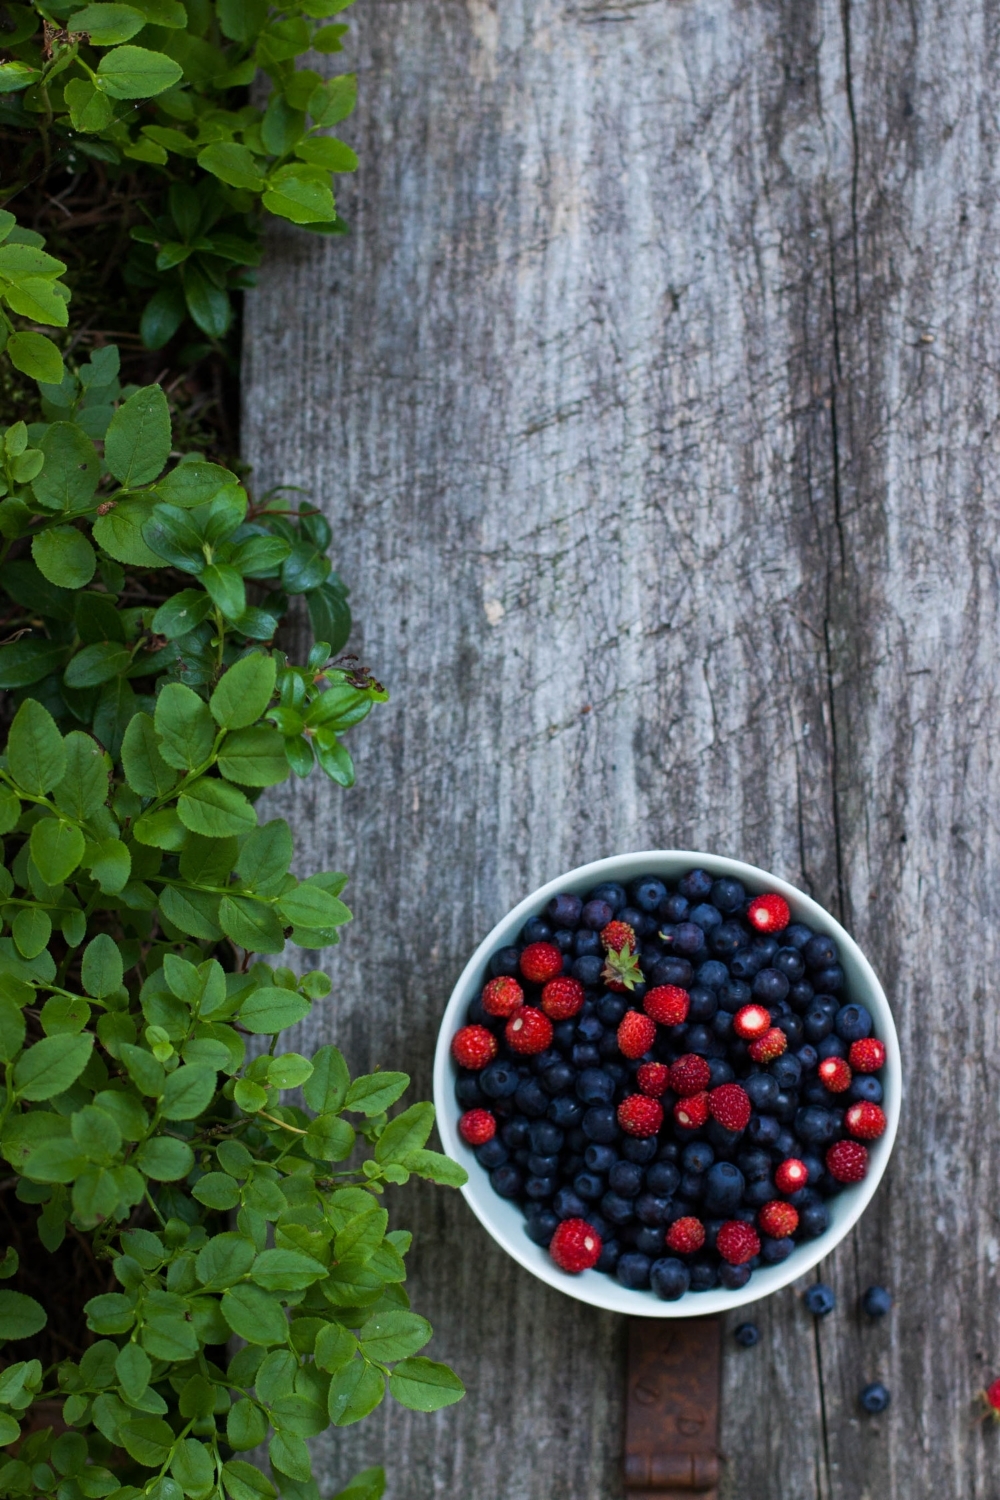
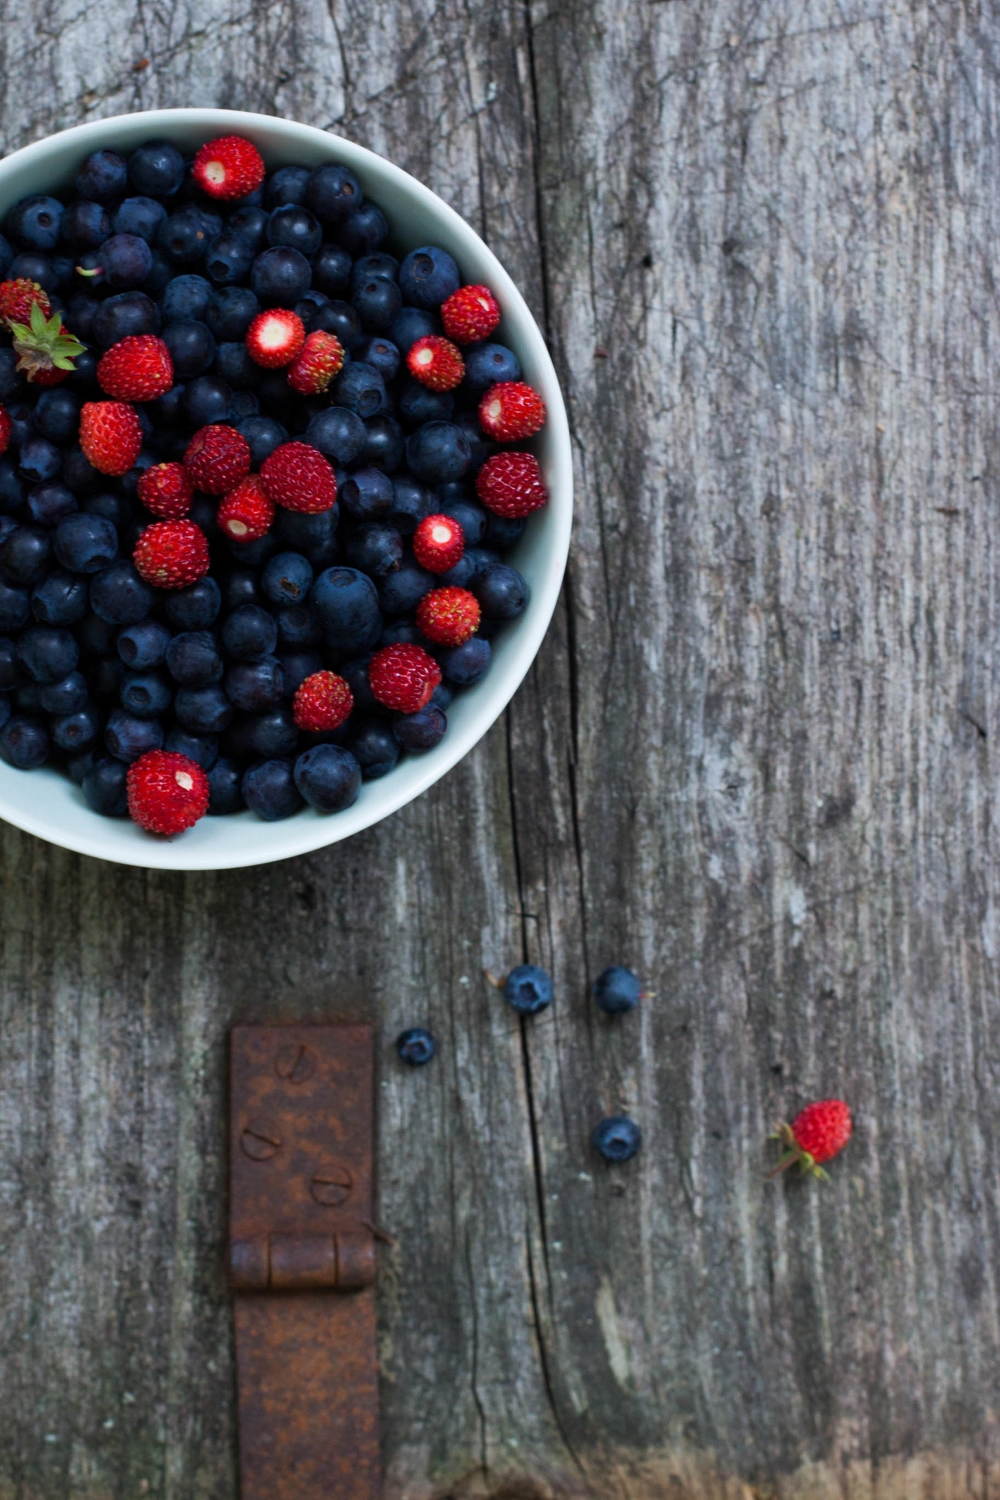
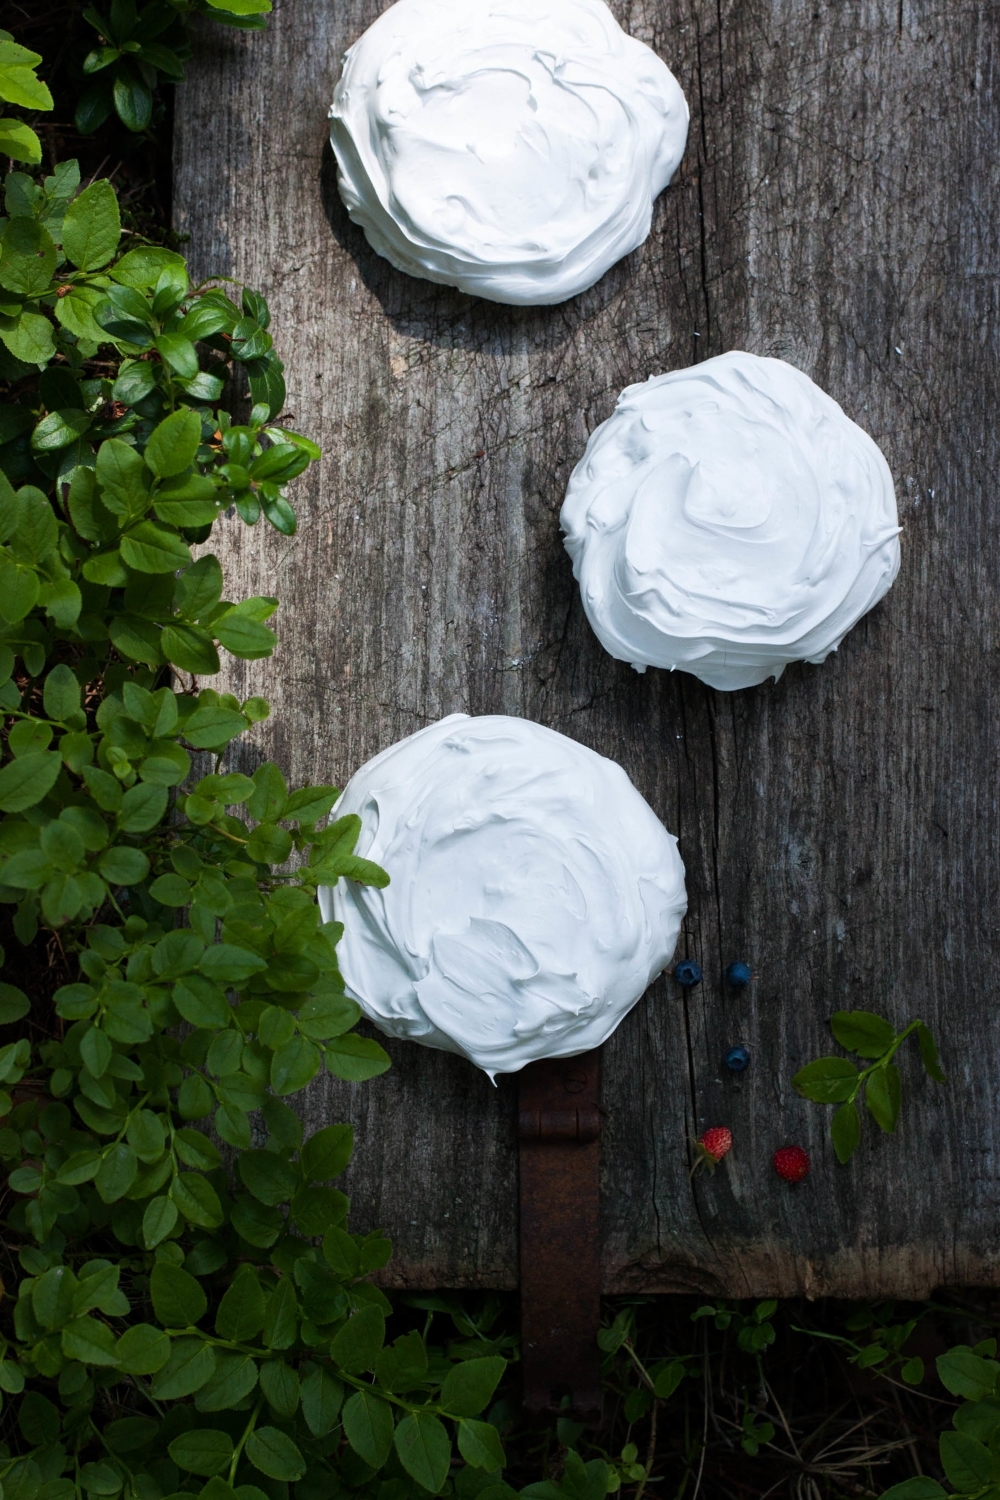
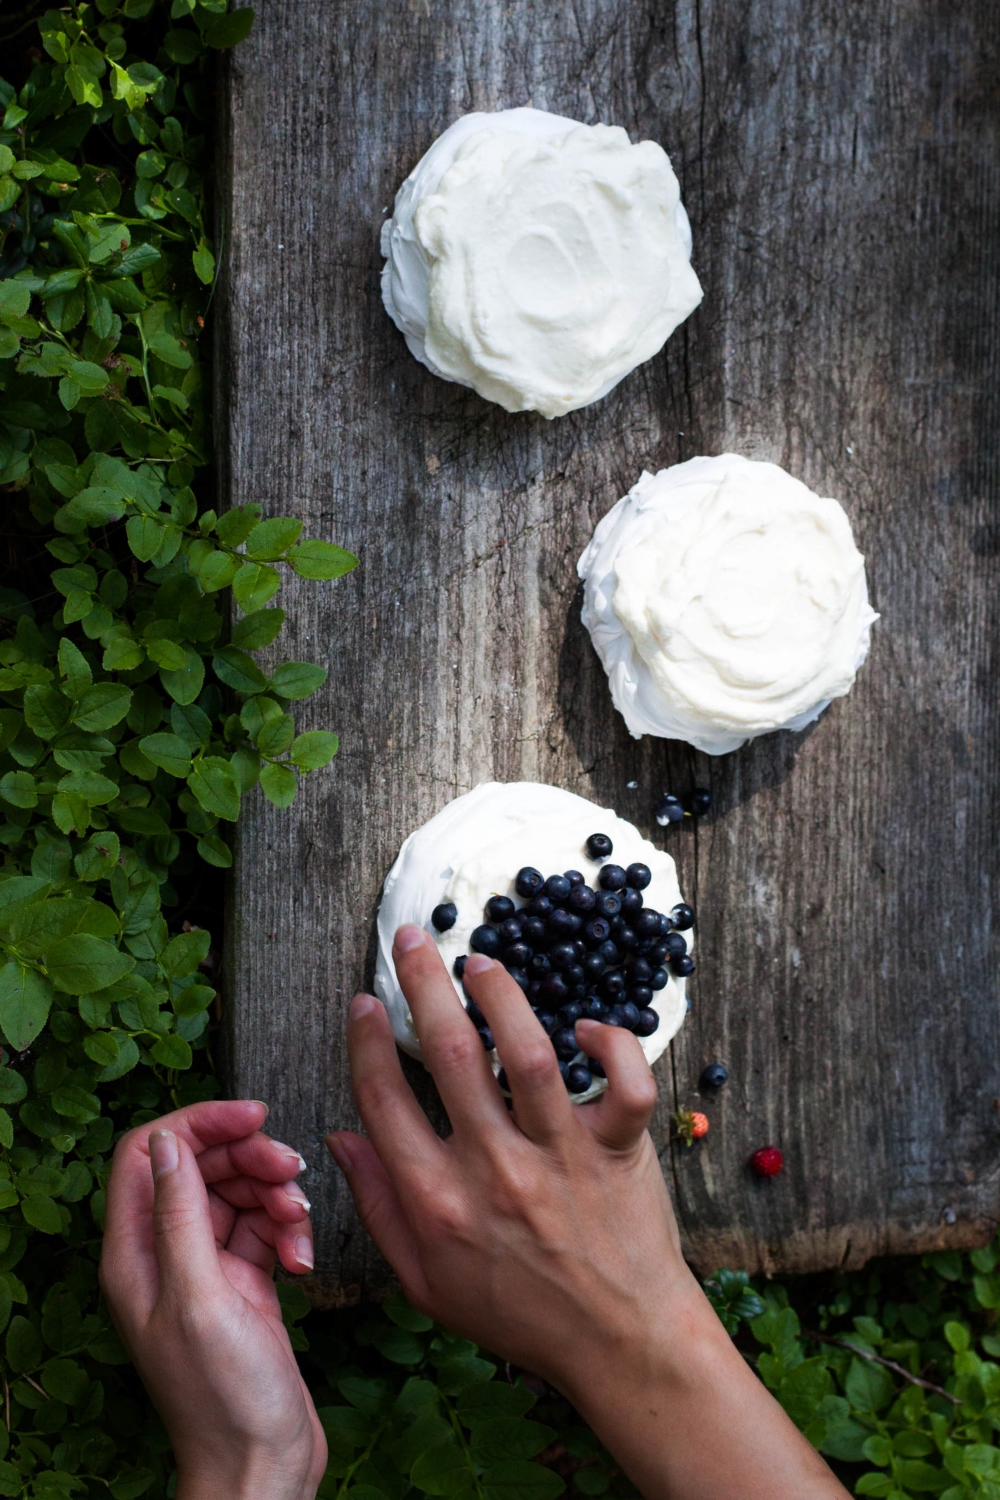
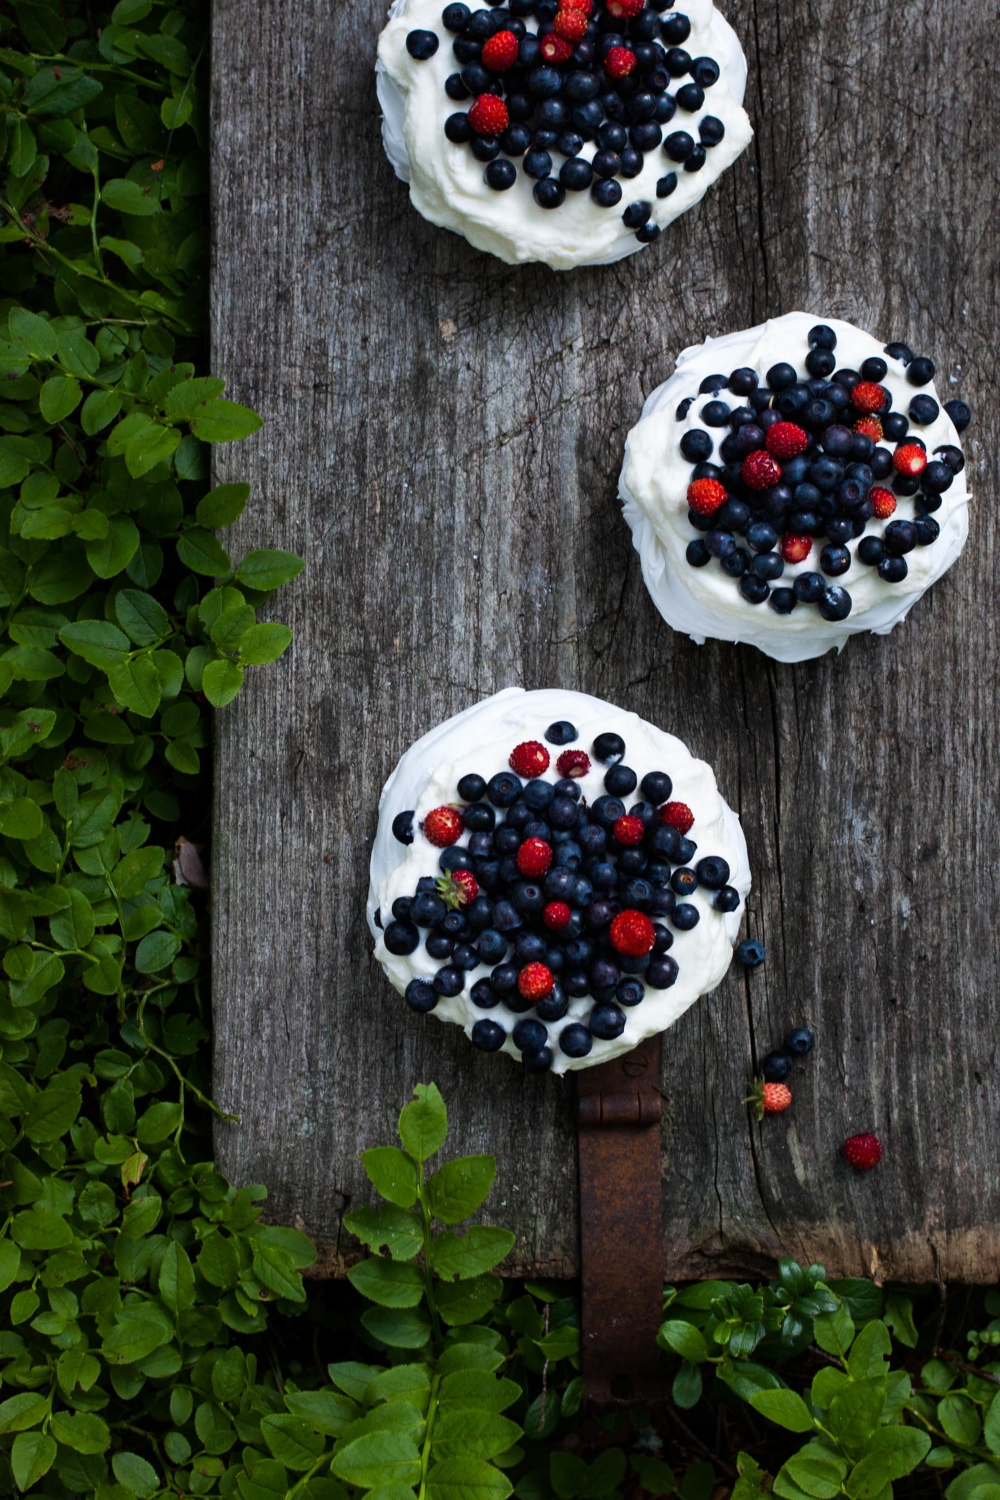
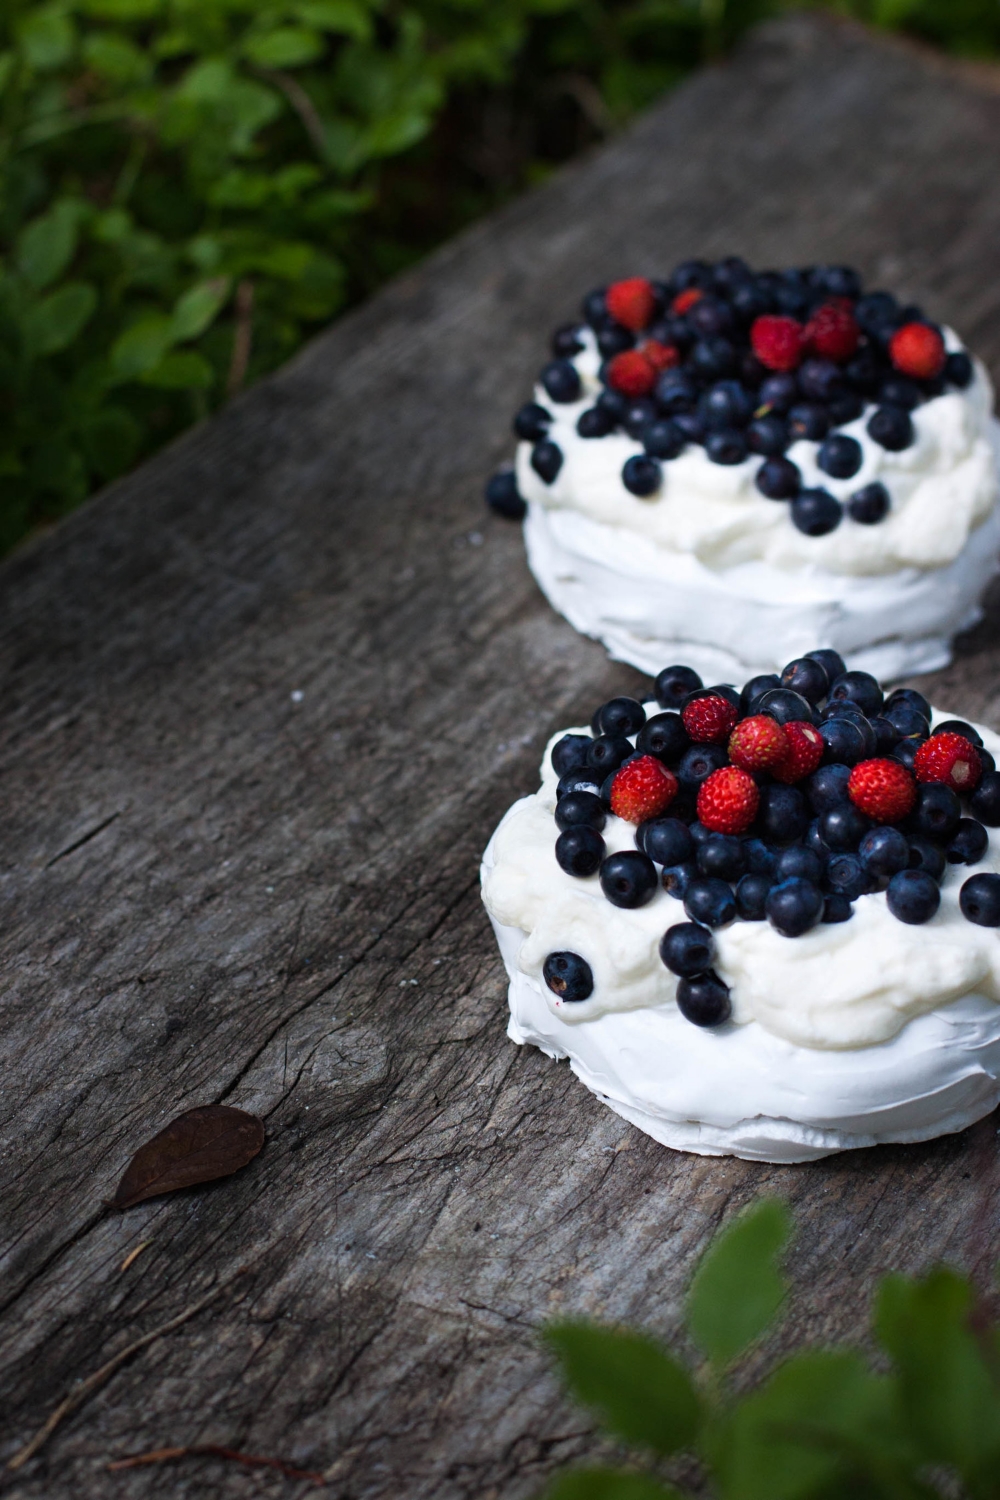
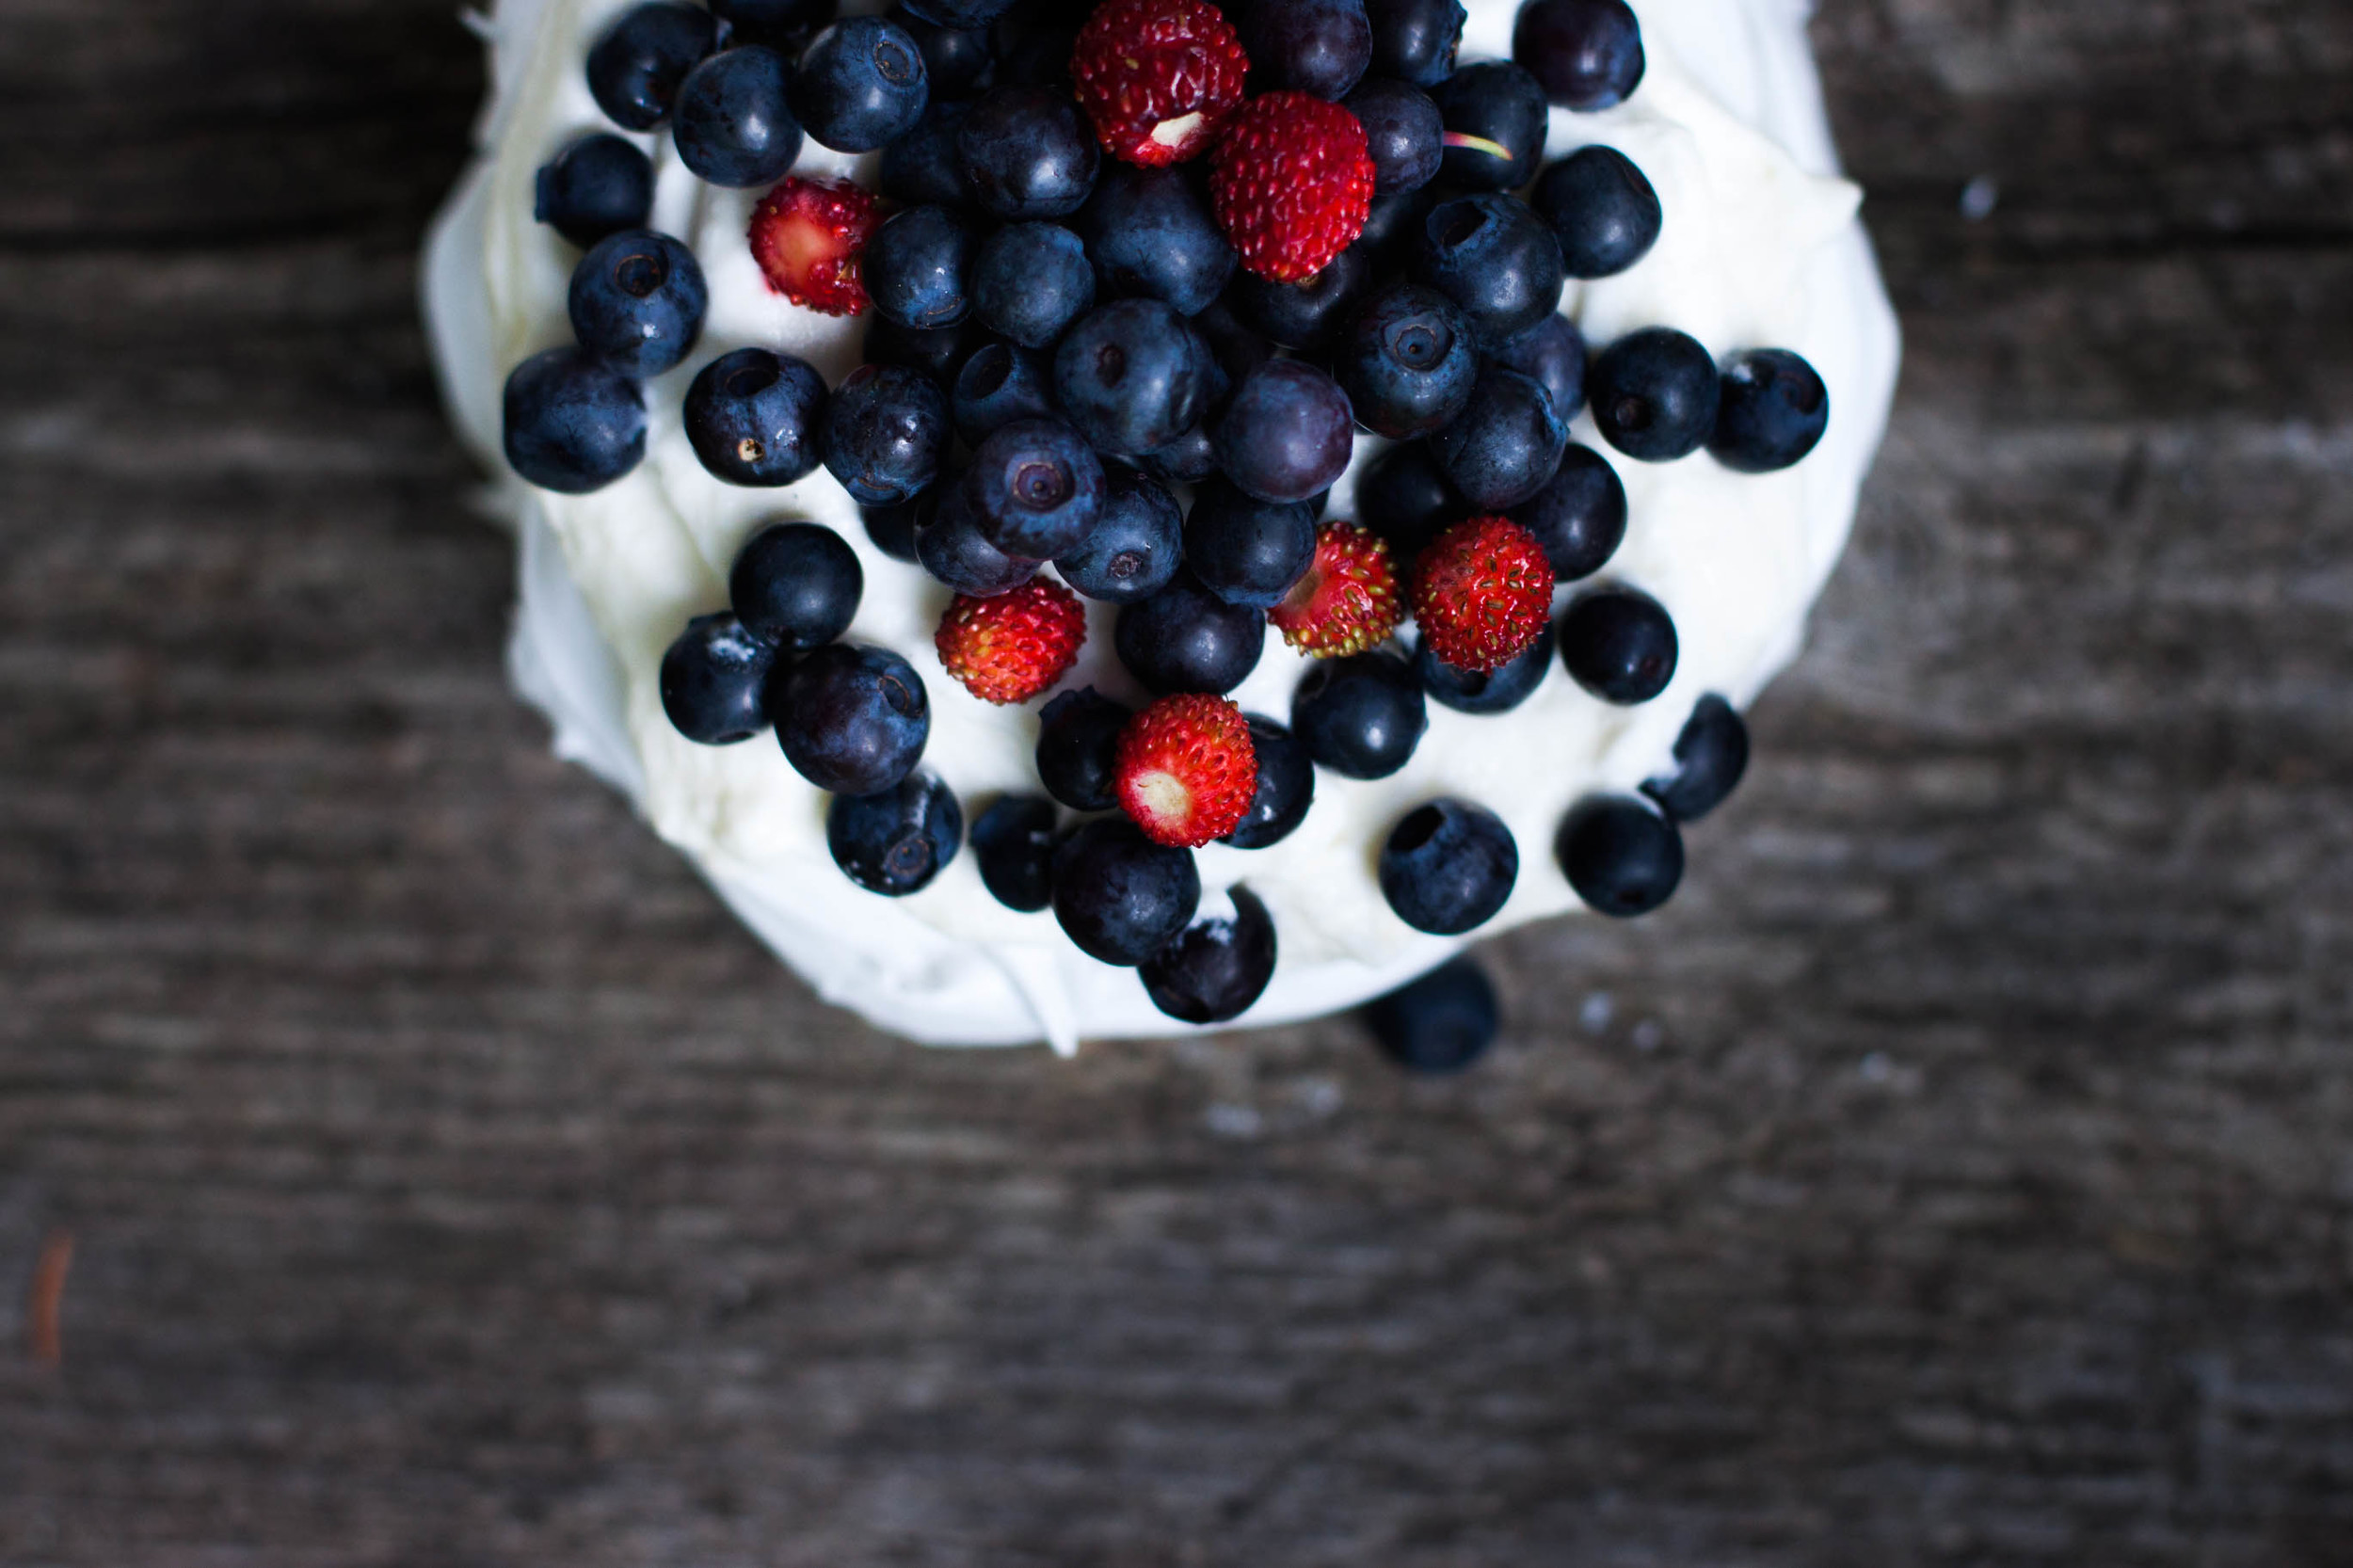
My life is a bit like these mini pavlovas  maybe not as perfect looking as a layer cake with buttercream frosting but definitely enjoyable and lovable. Pavlova is probably my favorite summer cake and that's why I make it (almost) every year for my birthday. Of course, you can top a pavlova with any fruit of your choice but those winter pavlovas with kiwis and citrus fruit have never really grown on me. I like mine topped with lots of seasonal berries, such as blueberries, bilberries, strawberries, and raspberries. If you're living outside Europe, you may wonder about bilberries. Are they the same as blueberries? Well, not quite but they're closely related. They’re the European wild growing counterpart (and to make it a bit more confusing, we call them 'blueberries' as well). Bilberries are smaller and darker than blueberries but have a fuller, more flavorful taste which is why I most of the time prefer bilberries over blueberries. They’re also a bit messier as their skin and flesh stain everything blue from your fingers and lips to your tongue. As our summer cottage is surrounded by bilberry bushes (I literally have to walk two meters to pick a berry), they’re a heavily consumed summertime favorite. For these pavlovas I used bilberries and wild strawberries which I foraged earlier that day. However, feel free to use whatever berries you have around. I also won't judge you should you prefer to use kiwis and mandarines.

A few notes on meringue. There basically are three different types of meringue which all have distinct characteristics: French, Swiss, and Italian meringue. French meringue is the simplest one and especially popular among home cooks. Egg whites are whipped until stiff peaks start to form, sugar is gradually added, and the mixture is whipped until glossy. Quick and easy, right? Swiss meringue is made by warming egg whites and sugar over a water bath until sugar crystals dissolve completely. The mixture is then whisked until it has cooled to room temperature. Swiss meringue is more stable than French meringue and is ideal if you want meringue that’s crisp on the outside and marshmallow-like on the inside. Personally, I prefer Swiss meringue when making pavlovas because I want to achieve that chewy inside. Furthermore, the heating process makes the egg whites edible without having to bake them. Salmonella isn’t a problem here in Finland (it basically is non-existent), but Swiss meringue may be your top choice especially if living in a country where you have to be careful when consuming raw eggs. The third meringue type is Italian meringue that is made with boiling sugar syrup. It’s the most stable of these three and is, like Swiss meringue, safe to consume without baking. Of course, there are other techniques as well, such as Ottolenghi’s method that I can’t wait to try, but these are the three classic ones.

Now that we’ve covered the three different types, let’s talk about what ensures a perfect meringue. There are a few simple yet important things to keep in mind when making meringue:

  • Make sure that your equipment is absolutely dry, clean, and grease-free. Any small amount of fat will keep your egg whites from getting fluffy. Egg yolks are fat as well so be careful when separating the eggs! Furthermore, it may be a good idea to rub your bowl with half a lemon before starting to make meringue to eliminate any grease.
  • Prefer stainless-steel, glass, or copper bowls when making meringue as plastic bowls can hold onto grease.
  • While eggs are easier to separate when cold, make sure your egg whites are at room temperature when you start making your meringue. However, this isn’t crucial if making Swiss meringue as the egg whites are warmed anyway.
  • Think twice before making meringue on a very humid day. The sugar will absorb moisture from the air keeping your meringue from getting stiff.
  • You often see vinegar or cream of tartar as well as cornstarch added to meringue. Vinegar and cream of tartar mainly stabilize while cornstarch helps to achieve a crisp outside and a chewy inside. These are optional, not necessary to make a successful meringue. In this recipe, I use lemon juice instead of vinegar or cream of tartar and omit cornstarch completely.
  • My meringue formula is really simple and easy to remember: 1 part egg whites to 2 parts sugar (by weight). In addition, lemon juice, vinegar, cream of tartar, or cornstarch as well as any kind of flavoring may be added.
  • Meringue is versatile! You can mix in cocoa powder, berry sauce, different extracts, etc.

Mini Almond Pavlovas with Forest Berries

makes 6 small or 1 big (about 23 cm / 9")
 

For the meringue
4 egg whites (M)
290 g (3 dl + 2 tbsp; 1 cups + 1 tbsp) granulated sugar
1 tbsp lemon juice
about 30 g (½ heaping dl; ¼ cup) sliced almonds

For the topping
200 g (2 dl; 1 scanted cup) heavy cream
200 g (2 dl; 1 scanted cup) Greek or Turkish yogurt
2 tbsp powdered sugar

about 500 g (1 l; 4 cups) berries


To make the meringue
Preheat oven to 125°C (260°F). Line a baking sheet with parchment paper.

Combine the egg whites, sugar, and lemon juice in an absolutely dry, clean, and grease-free medium-sized bowl, pot, or bain-marie. Place over a water bath. While constantly whipping, heat until the mixture has reached 60°C (140°F). At this point the sugar should have dissolved and the mixture starts to get thicker and glossier. Take off the heat. With the help of a standing mixer or electric hand mixer, whisk on high speed until the mixture is cool and stiff peaks form. (You can of course whisk it by hand if you fancy a nice workout. Been there, done that.) This usually takes 6 to 10 minutes. Carefully fold in the almonds.

Spoon the meringue into six equal rounds. Make sure that the meringue is slightly higher at the rims so that the meringue later holds the topping better. Lower the oven temperature to 100°C (200°F). Bake for 55 to 60 minutes. At this point, the outside should be crisp while the inside still has a marshmallow-like consistency (you can lift a meringue round and poke a hole in the bottom; no one will notice). If you decide to make one big pavlova, you'll need to bake the meringue for further 10 or so minutes. Let cool completely.

Unless you're living in a very humid area, you can bake the meringues one day in advance. Store them uncovered at room temperature until ready to assemble.
 

To assemble
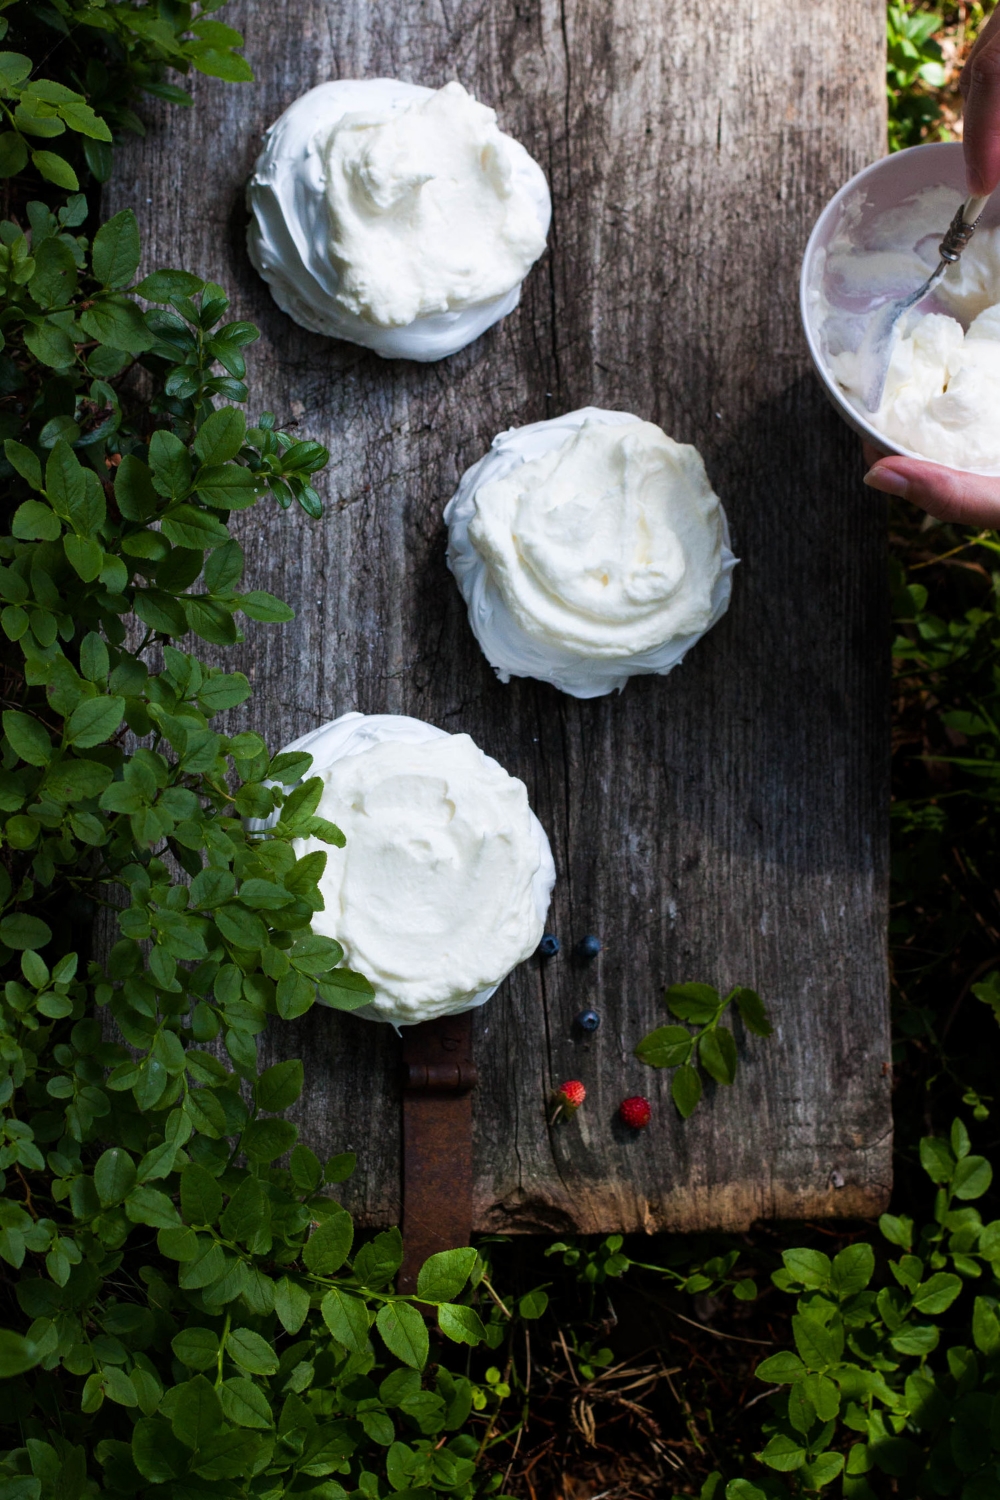
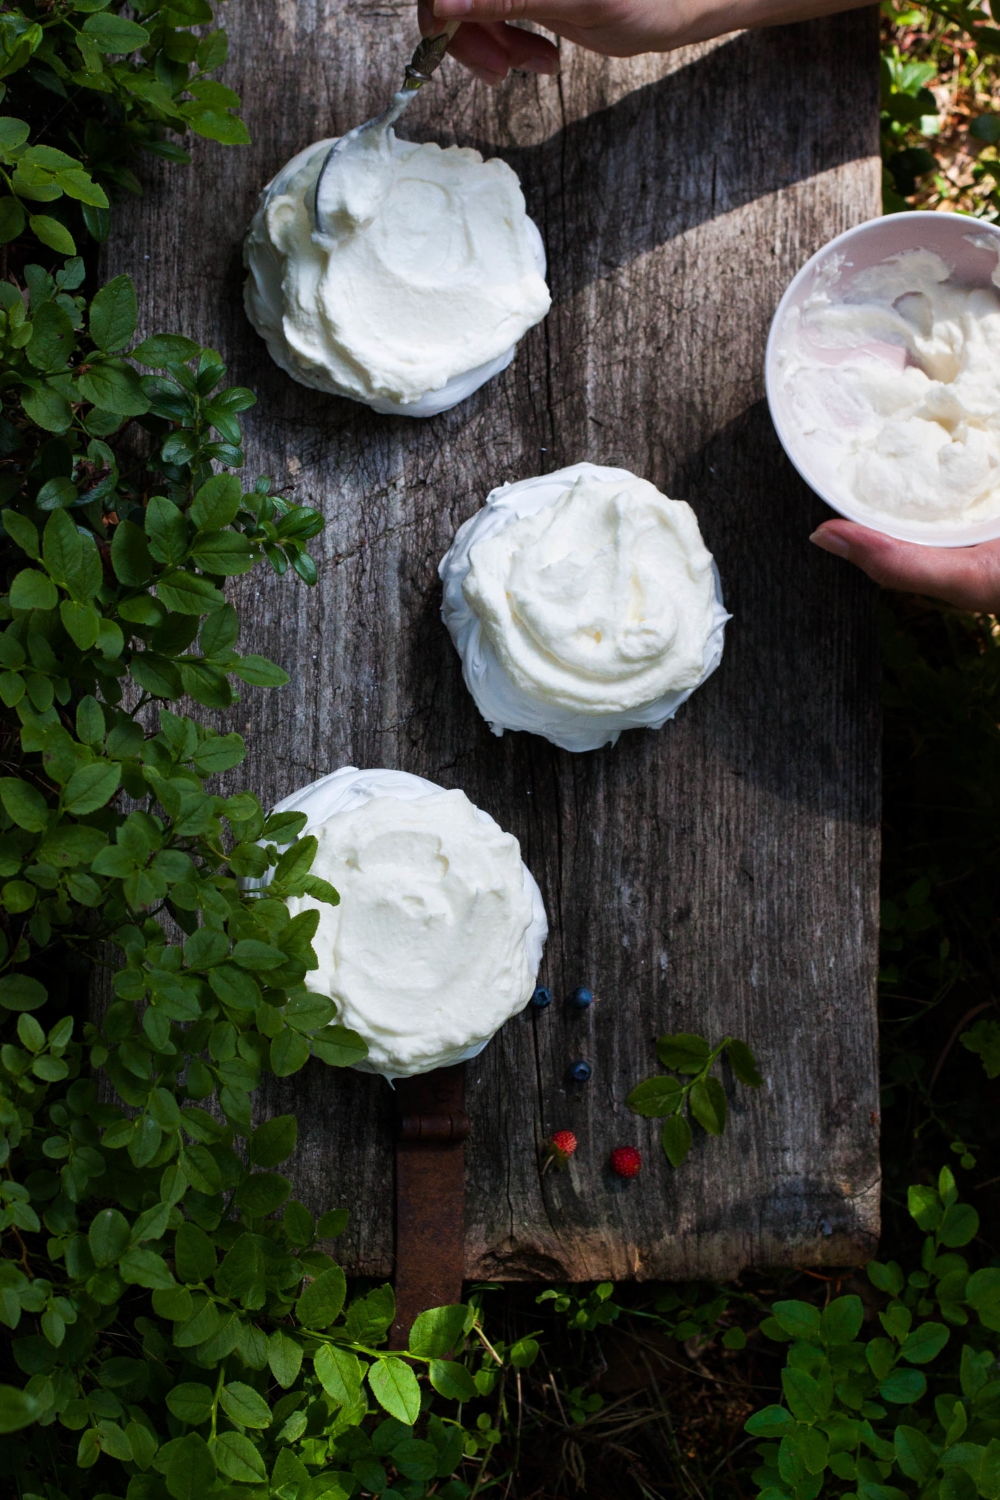
To make the topping, whip the heavy cream until very stiff. Gently fold in the yogurt and sugar.

Just before serving, top each meringue with the cream yogurt mixture. Generously top with berries. Serve immediately.


Summer mornings − The Vibrant Table: Double Cacao Buckwheat Granola

Double Cacao Buckwheat Granola | my blue&white kitchen

June was rather cold and gloomy at our latitude. Therefore, these warm, sunny days we have been fortuned enough to enjoy during the last few days have felt like a true blessing. However, I must admit that I wasn't that annoyed by the bad weather we had to endure for way too many weeks. This probably is because life at the summer cottage feels relaxing and wonderful no matter how the sky looks like outside the windows. But now that the sun is shining again, I notice how much I need the smell of sun-kissed skin.

This summery weather also brings lovely mornings with it; I make it my ritual to enjoy breakfast on the porch. On mornings like these, breakfast feels extra special. Normally, I eat a slice of good bread (after a short pause, I'm back in the no-knead bread baking madness experimenting with different flours and proofing times) or a bowl of plain yogurt with homemade granola. These days, strawberries can be found on the table as well. As I drink my regular cup of strong coffee with milk, I listen to baby birds peeping vigorously for food, watch squirrels climbing from one tree to another and eating pine cones like they're bacon & sweet corn ice cream sandwiches, and let my eyes linger on the beautiful Nordic lake scenery. I take a deep breath and my mind and body seem to find peace if only for a brief moment.

I was beyond excited when The Vibrant Table cookbook arrived at my doorstep. I found myself coming back to it multiple times a day; whether it was reading about the benefits of soaking and sprouting or flipping through the pages getting inspired by the recipes and pictures. I love when food becomes a way of expressing ones heritage and love for food. This book reflects both in such a wonderful way. I admire how Anya uses ingredients that are often forgotten or overseen, such as rutabaga and buckwheat groats, or interprets Russian favorites in a new way, such as zapekanka, a kind of cheese soufflé. The Vibrant Table is not only a gorgeous cookbook filled with seasonal recipes for every occasion but also a helpful, easily approachable guide to a wholesome, clean, and thoughtful diet.

This buckwheat granola was one of the first recipes that caught my attention and made my heart beat a bit faster. I could eat granola every single day of the year without getting bored as there are so many ways to keep a granola interesting and seasonal. After making multiple batches of this buckwheat granola, I can say I absolutely love it! In her book, Anya tells that it can be made with raw buckwheat groats or with buckwheat crispies (she also gives a recipe for raw granola but since I don't have a dehydrator I've not made this version and, thus, I'm not going to share that recipe with you today). Buckwheat crispies are simply buckwheat groats that have first been soaked and then dried again. Soaking not only makes grains more nutritious but also easier to digest (yes, these are the kind of things you learn from the book!). I made the granola both with raw groats and buckwheat crispies and liked the latter better; the flavor was enhanced and the texture was nicer as the granola didn't turn out that hard. You can of course go both ways. Soaking and drying takes a bit time but is by no means much work.

The original recipe calls for cacao nibs only. I, however, decided to share a double cacao version where I added some raw cacao powder to make it extra luscious. With the cherry season nearing its peak, I've enjoyed this granola with a handful of fresh, sweet cherries. However, now that bilberry season has started, and you can regularly find me picking bilberries in the woods until my hands are stained blue and my back is sore, I'm going to replace cherries with fragrant, local bilberries. However, feel free to play around with this recipe! You can add different seeds, grains (I would love to try a version with millet!) or nuts to the basic granola and once baked dried berries or fruit. You can sweeten the granola with maple syrup or use honey or agave nectar instead. I even substituted coconut oil with melted butter once and it worked perfectly. This is a granola that can easily be adapted to your liking and the current season.

Double Cacao Buckwheat Granola | my blue&white kitchen

Double Cacao Buckwheat Granola

slightly adapted from The Vibrant Table, p. 55

makes 6 dl (2 ½ cups) granola

Note: At least in Scandinavia and Germany, most buckwheat groats that you can find at stores are rather light in color. As I've been told that the darker varieties have a much better aroma, I always strive to find those. Here in Finland, it's mostly Russian buckwheat that can be found in some ethnic markets or in the specialty section of a grocery store.

This granola is both gluten and dairy-free.
 

For the buckwheat crispies [makes about 380 g (2 heaping cups) buckwheat crispies]
400 g (4 ¾ dl; 2 cups) raw buckwheat groats

In a large bowl, cover the groats with water. The water level should be 2,5 to 5 cm (1" to 2") above the groats. Let soak for a minimum of one hour or overnight.

Pour the soaked groats into a colander. As raw buckwheat produces slime when soaked, you need to rinse the soaked groats well. Line two baking sheets with clean kitchen towels. Spread the rinsed groats on the towels and let dry for at least 24 hours or until completely dry. You may need to shake the sheets a couple of times while drying to ensure that the groats dry evenly.

Buckwheat crispies should be stored in an airtight container in the fridge and will keep for up to 1 month. You can use the crispies to make granola or, for example, use in salads, tacos, etc.


For the granola
4 ¾ dl (2 cups; weight varies from 310 to 340 g) buckwheat crispies (see instructions above)
OR 400 g (4 ¾ dl; 2 cups) raw buckwheat groats
70 g (1 dl + 1 heaping tbsp; ½ cup) cacao nibs
1 tbsp raw cacao powder
2 tbsp + 1 tsp maple syrup
3 tbsp coconut oil, melted

yogurt or milk as well as seasonal berries or fruit, to serve


Preheat oven to 130°C (260°F). Line a baking sheet with parchment paper.

Place all ingredients in a medium-sized bowl and mix to combine. Spread in an even layer on the baking sheet and bake for 1 hour.

Let the granola cool completely before breaking it into rough chunks. Store in an airtight container in the fridge. The granola will keep for up to 1 week. Personally, I think that, like many other granolas as well, the flavor develops overnight.


Double Cacao Buckwheat Granola | my blue&white kitchen

Now excuse me, I have some major sunbathing to do before tonight's nerve-wrackingly exciting World Cup match...

Hope you are well and sun-kissed wherever you roam in the world.

June Love&Inspiration

myblueandwhitekitchen.com

... seeing how, no matter how insane the external circumstance,
the problem and solution ultimately lie in me.
My reactions are the only place pain and stress can occur.
They are in me, not in the world.

I live in light when I choose to. I live in darkness when I choose to.
It’s not always an easy choice; it’s easy to get married to the dark.
To feel like the dark is just. To feel, in the end, like a victim
 be it of an irritating red light or an unhealthy person.

But from the little aggravations to the stomach knotting troubles,
peace is always in me to find.
This year will be serene.
Because I choose serenity.

Beth Kirby


» Some of my favorite posts.

» My friend C. is my partner in crime when it comes to track down awesome music. This is one of her latest finds. Also, can't get this song out of my head.

» For you who don't like pie: Hummingbird High's Rhubarb Curd with Pie Crust Crumble.

» "He gets frustrated when potential customers quiz him about how long Ruis stays fresh. “What kind of fucking question is that?” Kuusisto asks rhetorically, likening it to asking how long a tomato stays fresh, “Until it goes bad, so eat it before!”" Will you join the rye-volution?

» Toasted Oatmeal Ice Cream

» I love Kinfolk magazine. This article from their latest issue, the Saltwater Issue, was pure inspiration; one of my favorites.

» A mind-blowing formula: water + chocolate = chocolate mousse

» To the city of Angels, to the Angels of the city. One of the most touching posts I've ever read.

» Homemade halloumi!

» Joy Wilson aka Joy the Baker talking about facing fears and slowing down on the Lively Show

» The most gorgeous midsummer flower crown. However, this comes as close second.

» Two tremendously talented ladies, one sweet video, and a raspberry rhubarb pie to die for.

» Phi of Princess Tofu talks about food photography. Loved this so much!

» Nutella Latte Popsicles to die for

» Enjoyed reading this excerpt from Written Together by Shanna Mallon, the creative mind behind Food Loves Writing.

» This Strawberry Balsamic Pie looks amazing!

» Curious to know how a summer on a sea fortress (located just a 15-minute ferry ride from the center of Helsinki) looks like? You can follow Jenni, a known Finnish blogger and cookbook author, on her new English blog Foodsters United.

» Ottolenghi talks about ice cream

» 50 Classy People From The Past Who Remind Us What Cool Really Means

» I've been tremendously inspired by Cynthia's cooking lately. This Asian Salmon en Papillotte is no exception.

» It was donut day and there was no way to miss it. So many delicious donut posts. Molly made the cutest donuts ever. Melissa shared some pro baked donut and glazing tips (also DONUT GIF!!).


Toscakaka – Nordic Caramel Almond Cake

Toscakaka − Nordic Caramel Almond Cake | my blue&white kitchen

Drumroll, please... My summer vacation started this week! Wohooo! I still can't get my head around the fact that someone is actually paying me for doing nothing. So for the next 4 weeks I get paid for sleeping in, eating strawberries and fresh peas by the handful, hanging out with friends and family, spending way too much time watching music videos like this one, staining my hands with the sweet juices of cherries, chatting with the lovely lady at the farmers' market, sitting on the porch enjoying a glass of chilled rosé, and watching the World Cup every single night. Absolutely no complaints.

This occasion definitely calls for cake. So how about toscakaka? It's basically a classic pound cake topped with one giant Florentine. Pretty damn genius if you ask me. Not without reason is it one of the most loved cakes in Scandinavian baking. I'm not sure of its origin but already my great-great-grandmother, a known cook, baker, and author, baked this cake. The ingredients must have been rather expensive at that time so I guess it has been a treat reserved solely for the upper class.

This cake is baked according to a family recipe. Toscakaka was my late great-grandfather's signature cake, and luckily he left a small note with the ingredients needed to recreate this treat. I've kept that small piece of paper like a gem for several years now, but somehow I've never actually made the cake. Maybe I feared screwing it up? Would I be able to make the cake taste as good as he did? Last week, I finally overcame my fear of failing. The cake came out perfect. I don't know if it tasted as good as the ones my great-grandfather baked but it was everything I could have asked for. A moist cake base and a crunchy caramel almond crust. I was proud of myself, and I'm sure he would have been too.

This cake is highly addictive. I've made three cakes in one week. Yeah. Let it be summer vacation.


Toscakaka – Nordic Caramel Almond Cake

makes one 20 cm / 8" cake

I made a few small adaptions to the original recipe like adding lemon zest to the batter. I think it was lovely but feel free to omit it if you wish to. Also, my great-grandfather was known to always double the caramel almond topping. It appears, however, that he must have been using a larger cake pan. I was baking this cake again last Sunday and decided to double the topping cause HOW CAN ONE NOT WANT MORE OF THAT CRUNCHY GOODNESS!?! Well, I ended up creating a mess as the topping overflew in the oven. So that definitely lacks some more recipe testing...
 

For the dough
125 g (4.4 oz) unsalted butter, at room temperature
135 g (4.8 oz; 1 ½ dl; ⅔ cup) caster sugar
3 eggs (M), at room temperature
zest of 1 lemon
140 g (4.9 oz; 2 ½ dl; 1 cup) all-purpose flour
pinch of fine sea salt
1 ½ tsp baking powder
2 tbsp milk, at room temperature

For the topping
55 g (2 oz) unsalted butter
55 g (2 oz; 1 ¼ dl; ½ cup) sliced almonds
3 tbsp granulated sugar
1 tbsp all-purpose flour
2 tbsp heavy cream

optional: fresh strawberries (or other berries) and Greek yogurt or lightly whipped cream, to serve
 

To make the cake
Preheat oven to 175°C (350°F).

Grease the cake pan (preferably springform). In a small bowl, mix the flour, salt, and baking powder. Set aside. In a bowl of a standing mixer, cream the butter and sugar together until light and fluffy. Add the eggs one at a time and beat until well incorporated. (If your batter breaks at this step, your eggs have probably not been at room temperature or you've added the eggs too quickly. Don't worry. The dough should come together once the flour is added.) Add lemon zest and about half of the flour mixture and mix until smooth. Gradually add the milk and finally the rest of the flour mixture and mix until you have a smooth batter. Pour into the prepared cake pan. Bake on the middle rack for 25–30 minutes or until risen, golden brown in color, and almost done (the cake will continue to bake once the topping is added but needs to be enough cooked to support the topping).


To make the topping
Add the butter, almonds, sugar, flour, and heavy cream to a medium-sized heavy-bottomed pot. Keep your eyes on the cake. When the cake starts to look ready for the topping, start cooking the caramel almond topping (the topping comes together in less than 5 minutes). Over medium-high heat, stir until the mixture starts to bubble and thicken slightly. Remove from heat and pour over the pre-baked cake making sure that it's evenly distributed. I think it's easiest to pour the topping in the middle of the cake and, with the help of a spatula, gently spread into an even layer. Bake for further 10–15 minutes or until the crust is golden brown and bubbles.

Cool for about 10 minutes, and run a knife around the edge of the pan to release the cake. Let cool on a wire rack. The caramel will harden as the cake cools down.

Enjoy at room temperature plain or with fresh berries and some Greek yogurt or lightly whipped cream.


Toscakaka − Nordic Caramel Almond Cake | my blue&white kitchen

Side note: I shot this cake at 9pm. Talking about nightless nights and all that amazingness...

Nordic Summer Light – Rhubarb Strawberry Jam

Rhubarb Strawberry Jam | my blue&white kitchen

We are living the magical Nordic summer time right now. What makes it so special are the seemingly never ending days, the Nordic summer nights. I mean, looking at a blue sky at 1am in the morning is pretty rad. I can shoot my posts from 4am until 10pm and still have perfect lighting; during the darkest winter period I was only able to shoot from 11am to 2pm. Can you imagine, how this changes the pace of life around here?

I think living in a country of four seasons, of four very different and dramatic ones, teaches you a lot. It teaches you to really appreciate the season on hand. To make the most of it. Every season has a special place in our hearts but summer, oh I think summer is the season that is most dear to us living in the north. Summer, or suvi as we call it here in Finland, is the thing that helps us to survive the long, dark winter days with almost no sunlight.

We know, however, that this magical season of light doesn't last for very long. Three months, four if we get lucky. So we have to make the most of it: spend as much time outdoors as we possibly can, soak up the sun, and smile. Lazy days, ice cream, sunshine, all kind of seasonal vegetables, berries, and fruit, farmers' markets, picnics, drinking a glass of rosé on the porch, midnight walks... We really need to make it the best summer ever because if one thing is certain it's that winter is eventually coming. Oooh, see? It's the pessimist me who's talking right now. Really need to try harder to live in the moment.

Rhubarb Strawberry Jam | my blue&white kitchen

This weekend, we're celebrating Midsummer, the longest day of the year. It's one of the most important and beloved holidays in Scandinavia. Everyone is trying to get out of the city to celebrate Midsummer at a summer cottage, preferably by a lake, on the coast, or in the Finnish Archipelago, although, urban Midsummers have become more and more popular. Midsummer is all about praising the magical summer light. It's about good food: new potatoes & pickled herring, local vegetables, berries, & fruit, and lots of barbecuing. It's about going to the sauna and enjoying good company. Bonfires are burned at lakesides and by the sea. As Midsummer has believed to be the time of the year when magic is most powerful, folk magic, myths, and rituals are very present: young maidens collect wild flowers, put them under their pillow, and hope to dream of their future husband. It's the time life feels great; the time we feel blessed to live in a place like this. It's the time we say 'I wouldn't want to be anywhere else in the world right now'. [Okay, it's also the time that is almost always doomed to be accompanied by bad weather... It feels like media starts to forecast Midsummer weather right after Christmas. Most years it's cold and rainy, but occasionally we get lucky and celebrate Midsummer blessed with wonderful sunshine.]

In case you got curious, I recommend watching this fun, short video, which is about Swedish Midsummer. There are some differences in the traditions (we don't dance around a maypole = we are not that much fun) but the spirit is very much the same.

Rhubarb Strawberry Jam | my blue&white kitchen

Wishing you all a rainless Midsummer.
And may your Midsummer breakfast tables be glorified with this jam.


Rhubarb Strawberry Jam

yields about 750 ml / 3.2 cups jam

This has been my favorite jam for years. Rhubarb and strawberries are quite an unbeatable flavor combination, and I love the hint of cinnamon. This jam isn't overly sweet as I don't want to get rid of the rhubarb's acidity; it would be like wanting to change its personality. I like rhubarb as it is: tart, a bit quirky, and a whole lot of fun. I often make this as a compote; I just use less sugar. Compote won't keep for as long as jam, but if you use gelling sugar 1:3, don't cut the sugar by more than a fifth, and can it, I have noticed that it will keep in the fridge for several months.

I know that some people feel a bit nervous about home canning. When making jam, I never boil my jars once filled and have never had any issues. Actually, although we are quite a home canning nation, I don't think anyone in Finland does water bath canning in addition to sterilizing the jars & lids (nor is it the jam making method official sources suggest), and pressure canners are unknown here. However, I know that in the US this is not seen as being up to food safety standards. So if you are new to home canning, worried, or would like to learn more about the process, USDA has a whole site dedicated to home canning which you may find helpful. I also really like Food in Jars' Canning 101. Below, I'm describing the jam making method that we use here in Scandinavia which may, as I've already said, differ from the one that is recommended in your country.

Always remember to work with clean equipment and only use fresh and undamaged berries and fruit.
 

about 600 g (1.3 pounds) rhubarb, peeled and sliced (you should end up with about 575 g / 1.3 pounds peeled rhubarb)
245 g (8.6 oz; 2 ¾ dl; 1 cup + 2 ⅔ tbsp) gelling sugar 1:3
¾ tsp cinnamon
60 ml (¼ cup) water
1 tbsp lemon juice
160 g (5.6 oz; 2 ½ dl; 1 heaping cup) strawberries, washed, hulled, & sliced

To sterilize the jars
Put the clean, empty jars in the oven. Heat the oven to 110°C (230°F). Once the oven has reached the given temperature, sterilize the jars for at least 10 to 15 minutes. To sterilize the jar lids, boil them in water for about 5 minutes. Fill the jars with the hot jam immediately and close the lids tightly.

To make the jam
In a medium-sized pot, combine the rhubarb, gelling sugar, cinnamon, water, and lemon juice. Bring mixture to a boil and simmer for 10 to 15 minutes, or until the rhubarb starts to soften. Remember to stir every now and then. Add the strawberries and simmer for a couple of minutes more.

Skim off and discard any foam that might raise to the top as the mixture cooks. To check if the jam is ready you can drizzle some on a cold plate. It should set within a couple of seconds. Otherwise, keep the jam boiling for some more minutes.

When ready, carefully fill the sterilized jars with boiling hot jam (a jam funnel comes handy in this step), leaving about a centimeter / 0.4" (or less) of headspace. Close jars tightly. After about 10 minutes, twist the lids one more time making sure that they're tightly closed. Let the jars cool completely. If the jars are properly sterilized and sealed, the jam will keep in the fridge or in a cool, dark place for up to one year. This jam doesn't keep in room temperature as it's not made with preserving sugar 1:2.

So how do you know that a vacuum has been created? If you use jars with metal lids, you'll notice that there is a small "button" in the middle of the lid. As the jam cools down, this "button" should be drawn inwards. If you fail to create a vacuum (or decide not to can the jam), you should store the jam in the fridge where it keeps for a couple of weeks.


Rhubarb Strawberry Jam | my blue&white kitchen