Summer mornings − The Vibrant Table: Double Cacao Buckwheat Granola

Double Cacao Buckwheat Granola | my blue&white kitchen

June was rather cold and gloomy at our latitude. Therefore, these warm, sunny days we have been fortuned enough to enjoy during the last few days have felt like a true blessing. However, I must admit that I wasn't that annoyed by the bad weather we had to endure for way too many weeks. This probably is because life at the summer cottage feels relaxing and wonderful no matter how the sky looks like outside the windows. But now that the sun is shining again, I notice how much I need the smell of sun-kissed skin.

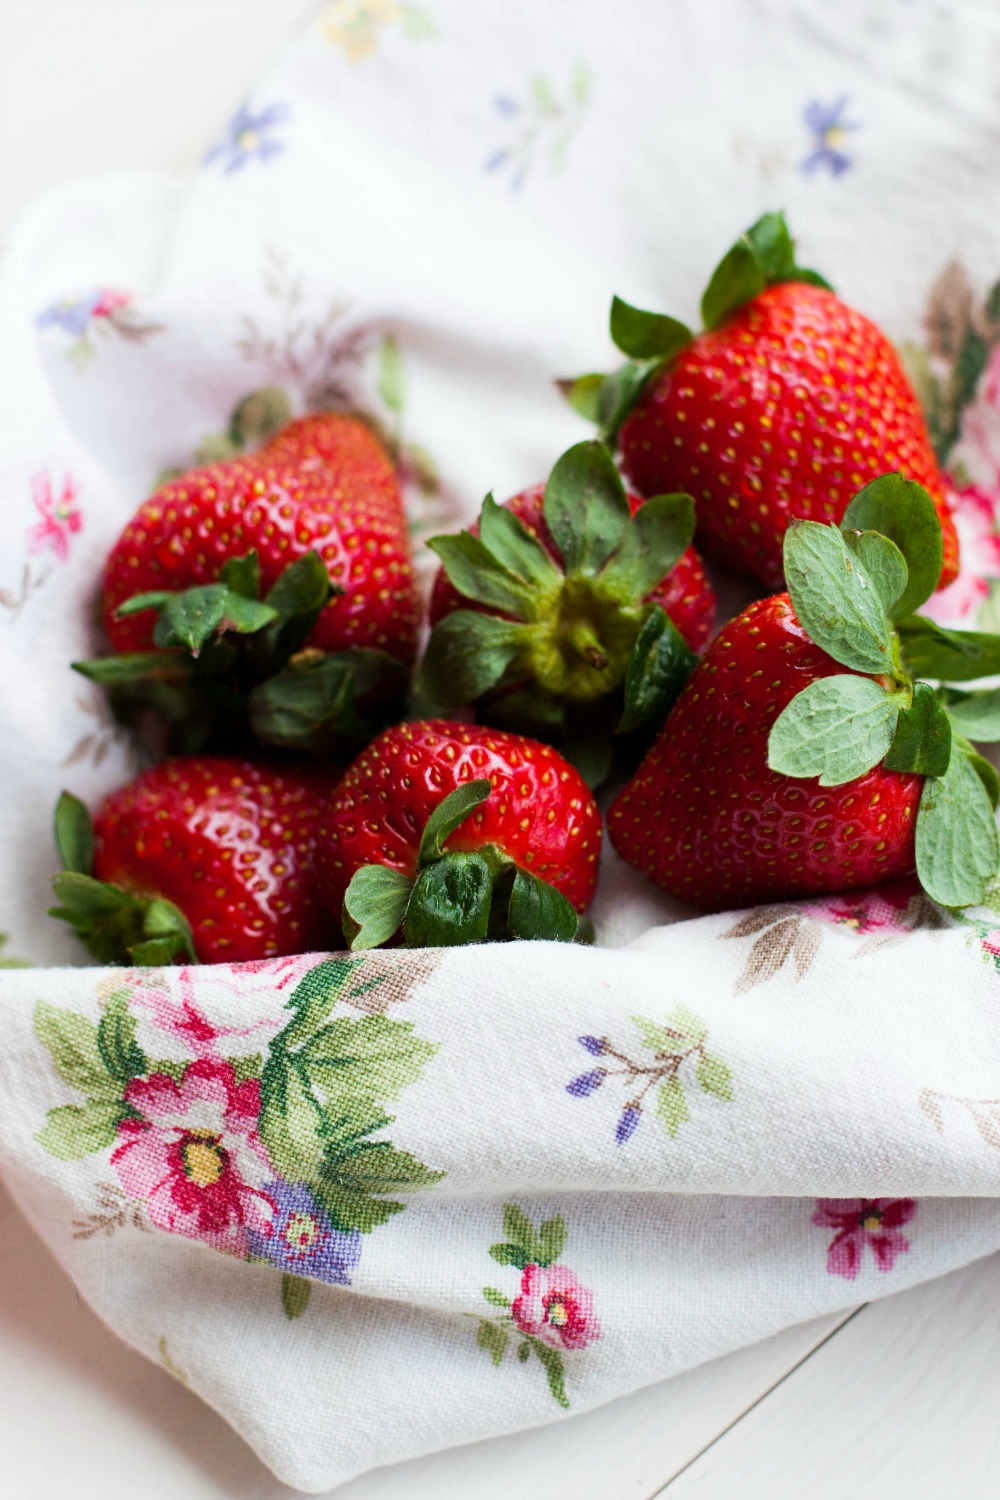
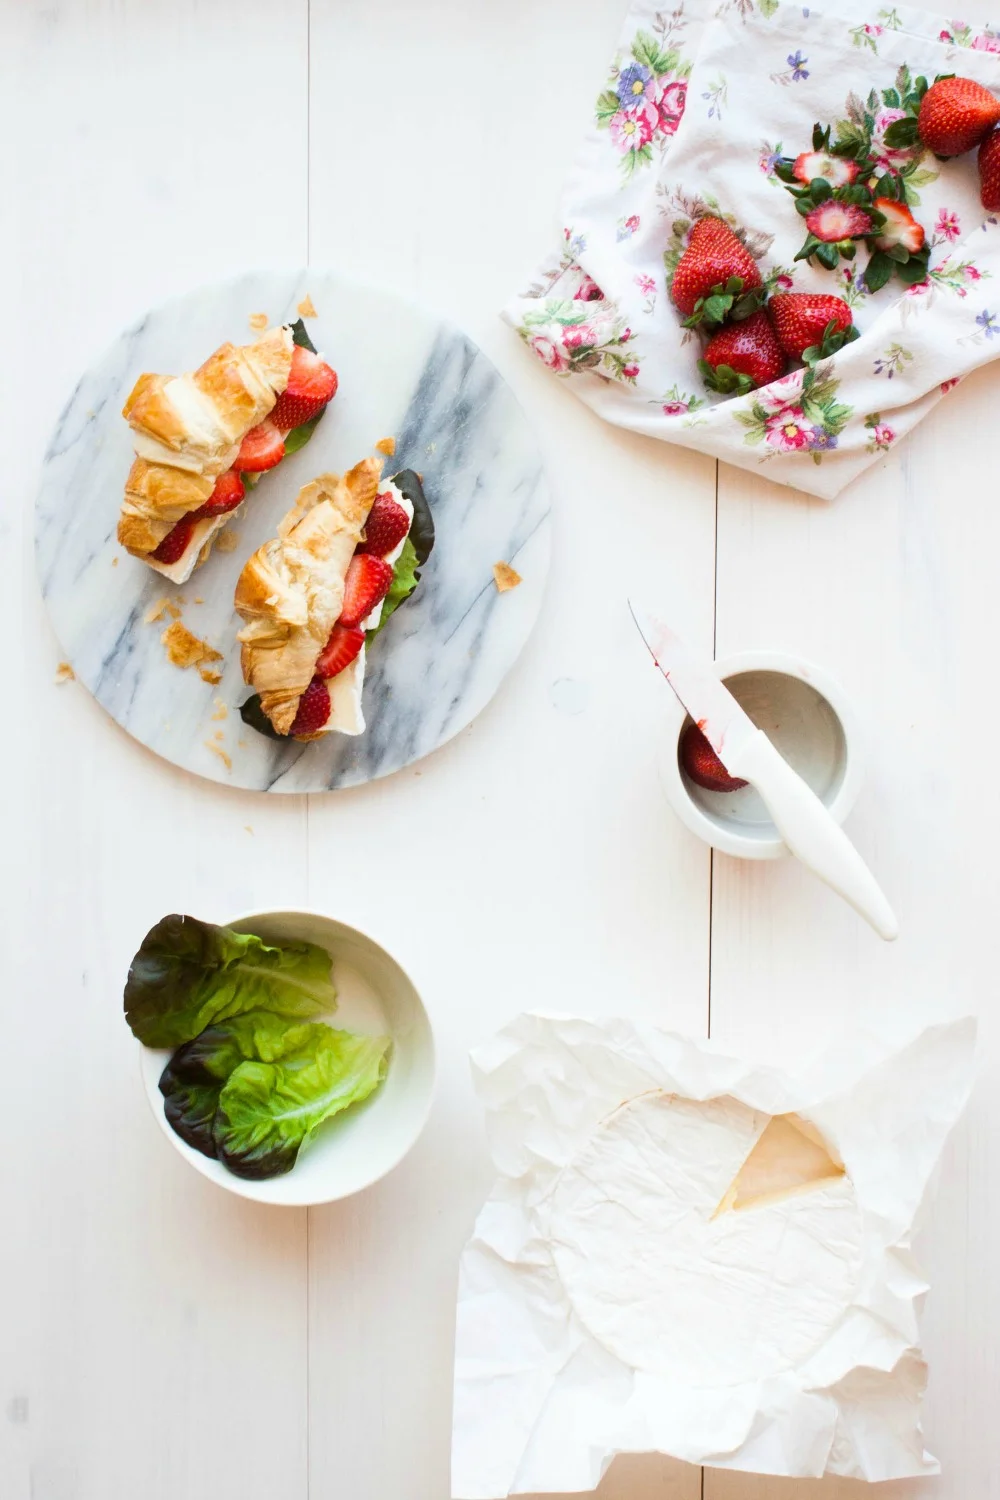
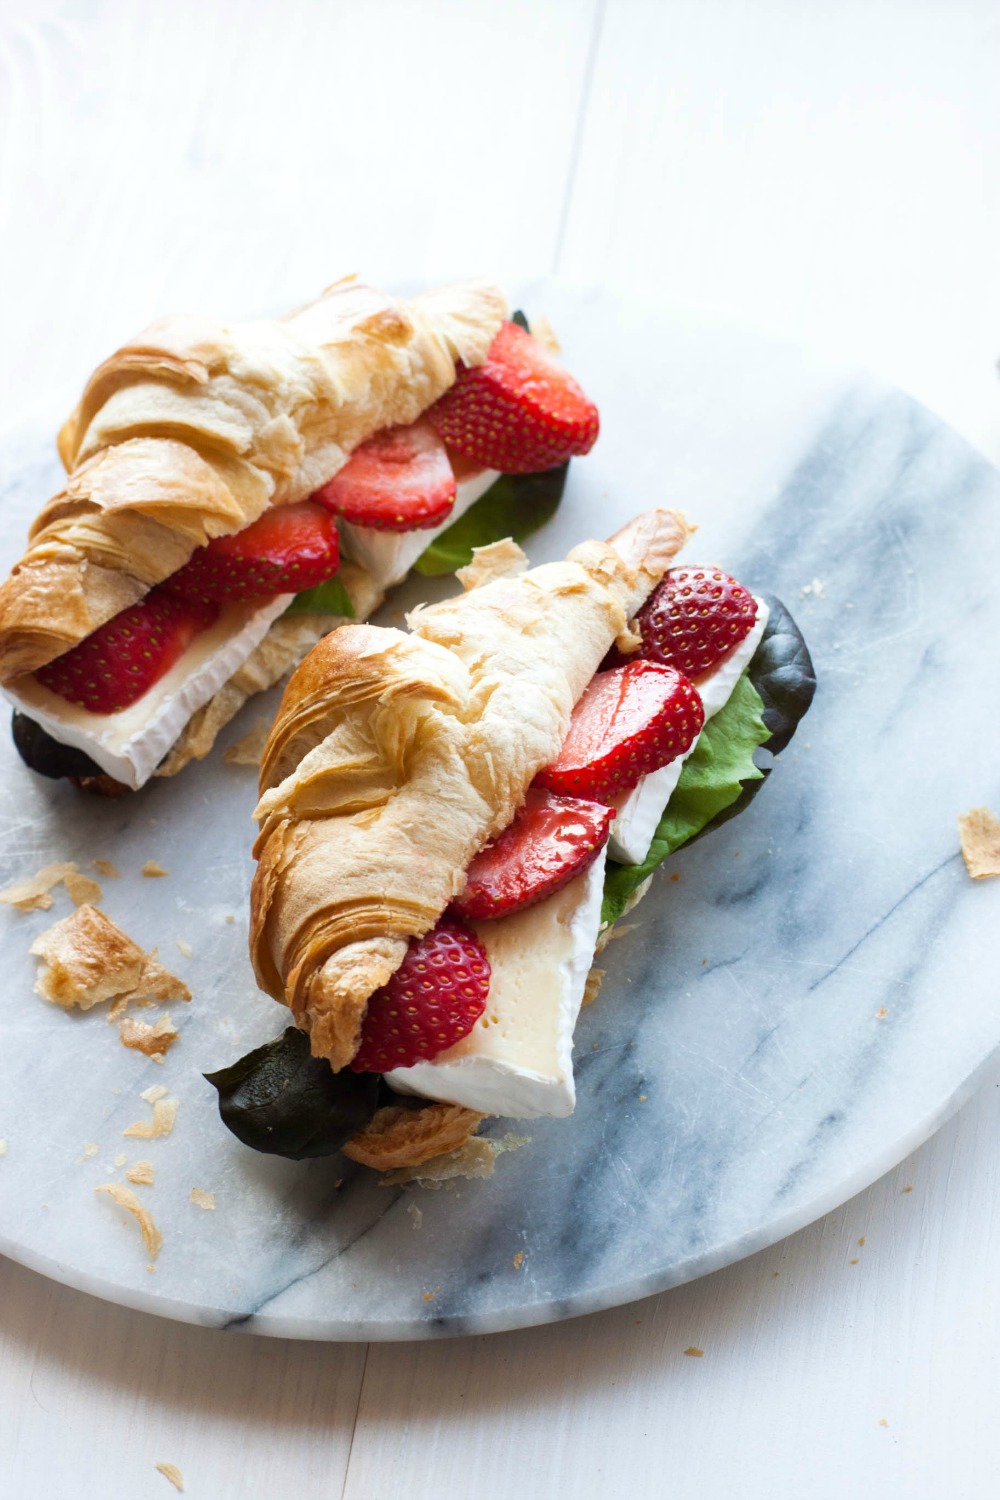
This summery weather also brings lovely mornings with it; I make it my ritual to enjoy breakfast on the porch. On mornings like these, breakfast feels extra special. Normally, I eat a slice of good bread (after a short pause, I'm back in the no-knead bread baking madness experimenting with different flours and proofing times) or a bowl of plain yogurt with homemade granola. These days, strawberries can be found on the table as well. As I drink my regular cup of strong coffee with milk, I listen to baby birds peeping vigorously for food, watch squirrels climbing from one tree to another and eating pine cones like they're bacon & sweet corn ice cream sandwiches, and let my eyes linger on the beautiful Nordic lake scenery. I take a deep breath and my mind and body seem to find peace if only for a brief moment.

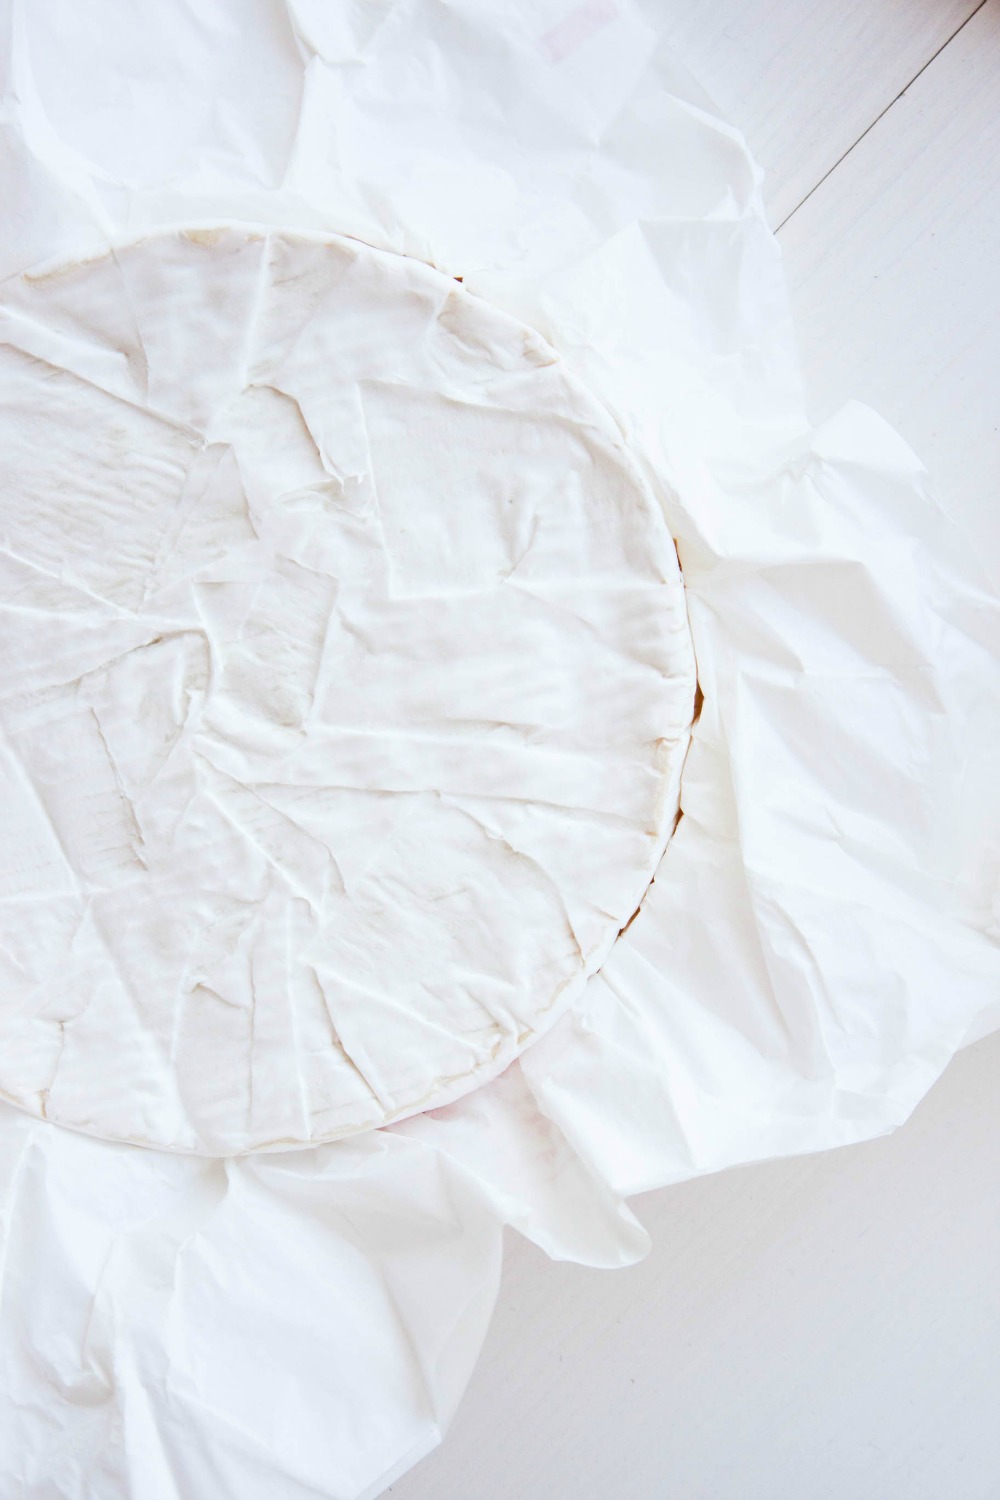
I was beyond excited when The Vibrant Table cookbook arrived at my doorstep. I found myself coming back to it multiple times a day; whether it was reading about the benefits of soaking and sprouting or flipping through the pages getting inspired by the recipes and pictures. I love when food becomes a way of expressing ones heritage and love for food. This book reflects both in such a wonderful way. I admire how Anya uses ingredients that are often forgotten or overseen, such as rutabaga and buckwheat groats, or interprets Russian favorites in a new way, such as zapekanka, a kind of cheese soufflé. The Vibrant Table is not only a gorgeous cookbook filled with seasonal recipes for every occasion but also a helpful, easily approachable guide to a wholesome, clean, and thoughtful diet.

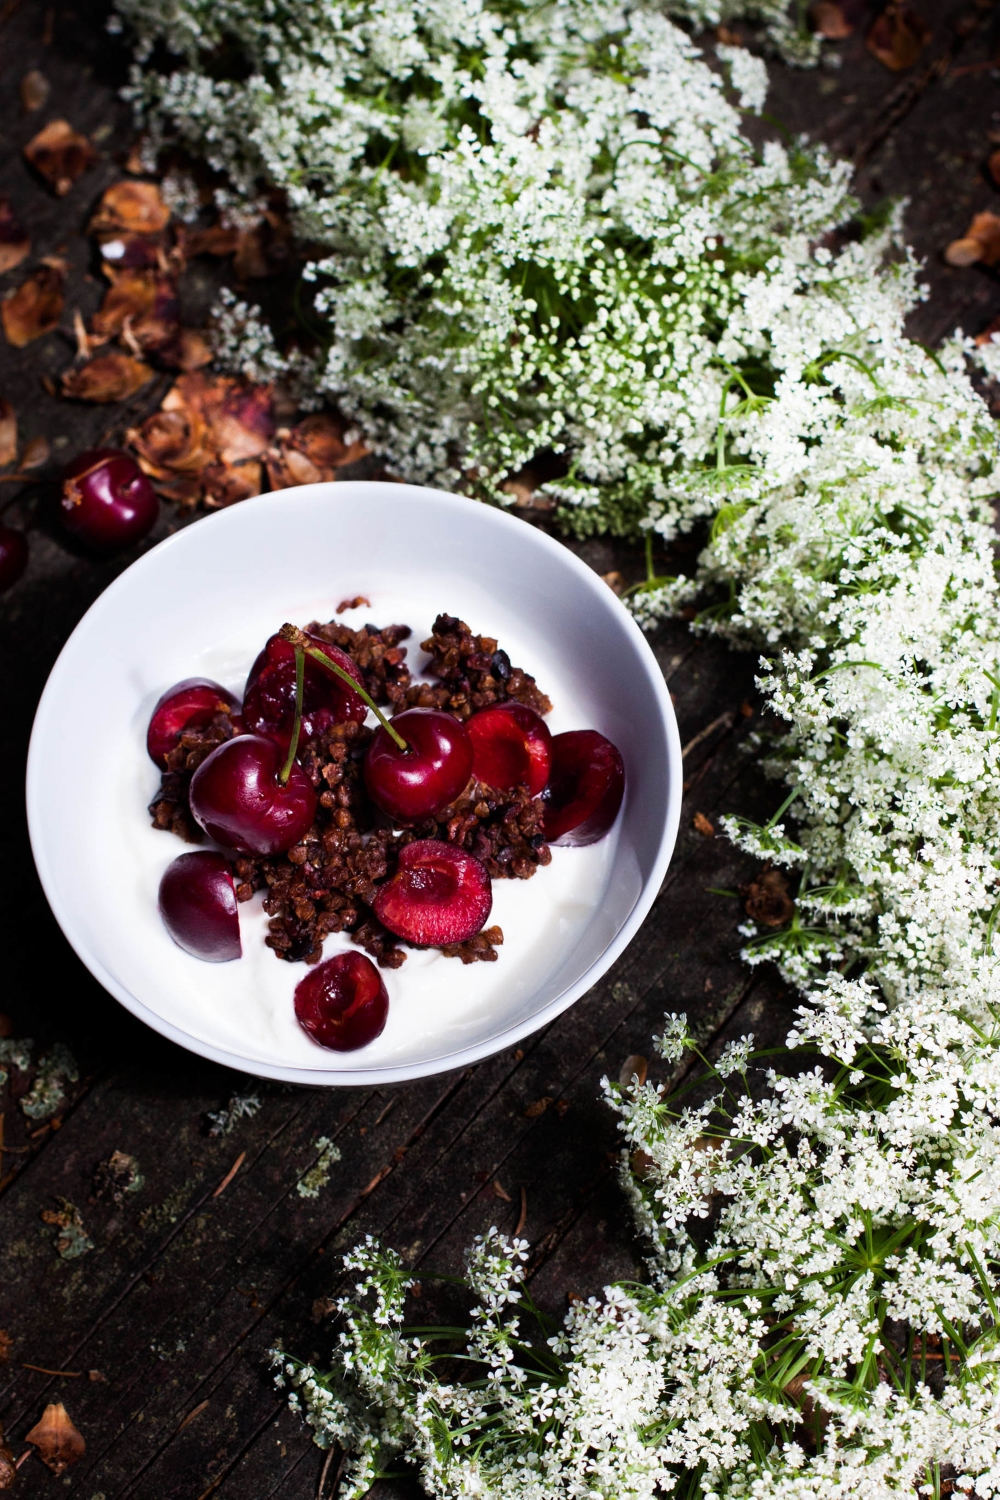
This buckwheat granola was one of the first recipes that caught my attention and made my heart beat a bit faster. I could eat granola every single day of the year without getting bored as there are so many ways to keep a granola interesting and seasonal. After making multiple batches of this buckwheat granola, I can say I absolutely love it! In her book, Anya tells that it can be made with raw buckwheat groats or with buckwheat crispies (she also gives a recipe for raw granola but since I don't have a dehydrator I've not made this version and, thus, I'm not going to share that recipe with you today). Buckwheat crispies are simply buckwheat groats that have first been soaked and then dried again. Soaking not only makes grains more nutritious but also easier to digest (yes, these are the kind of things you learn from the book!). I made the granola both with raw groats and buckwheat crispies and liked the latter better; the flavor was enhanced and the texture was nicer as the granola didn't turn out that hard. You can of course go both ways. Soaking and drying takes a bit time but is by no means much work.

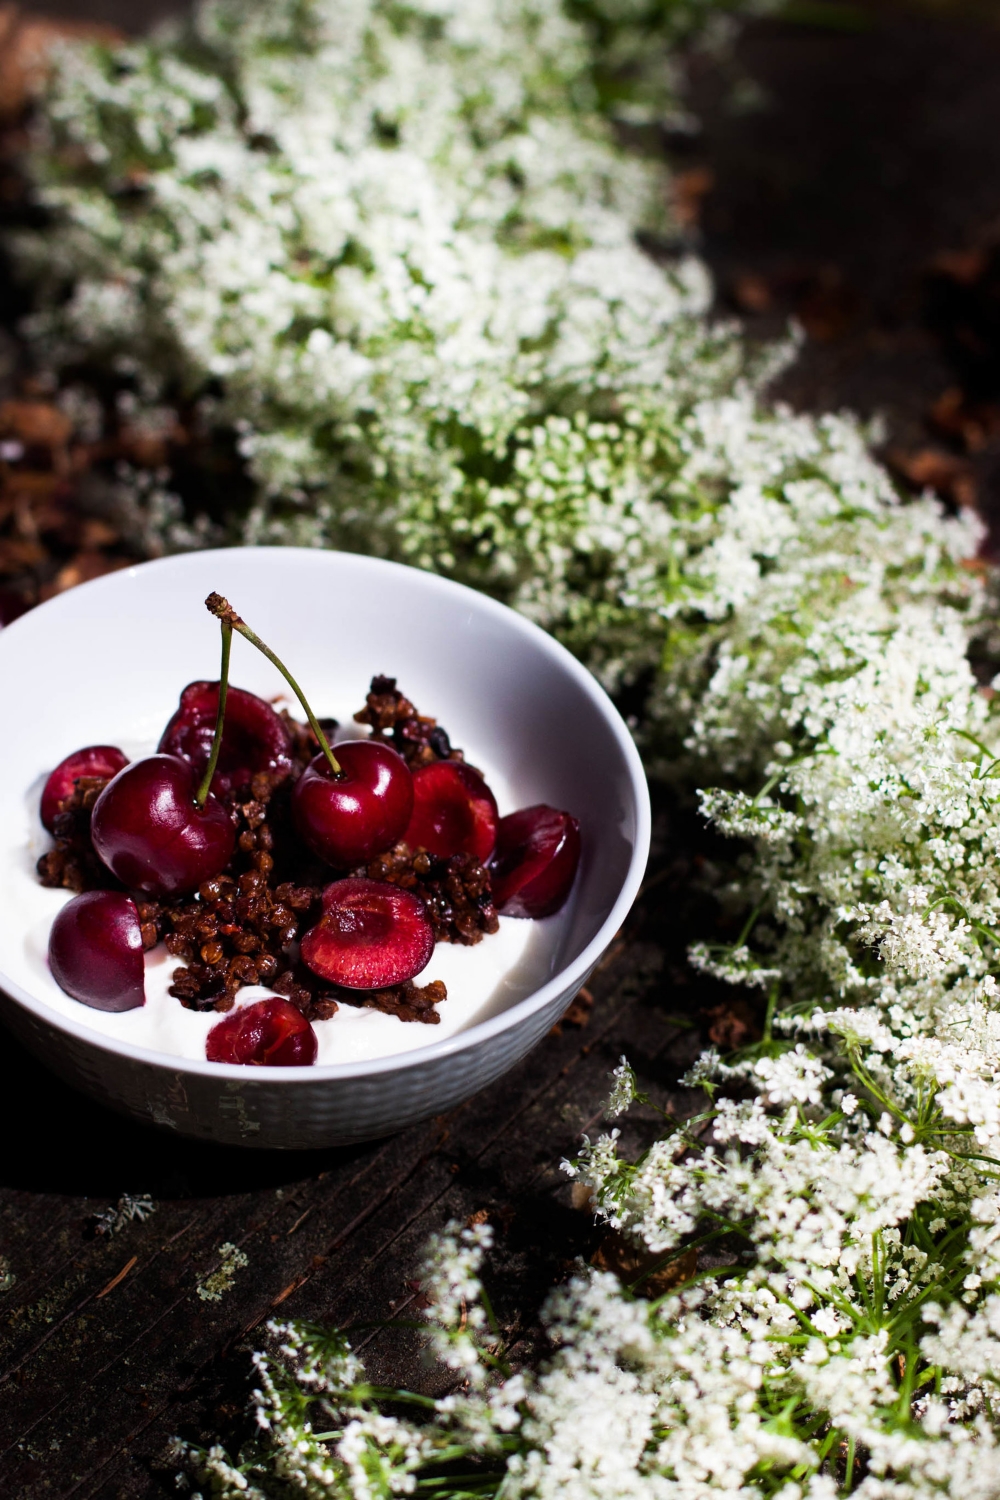
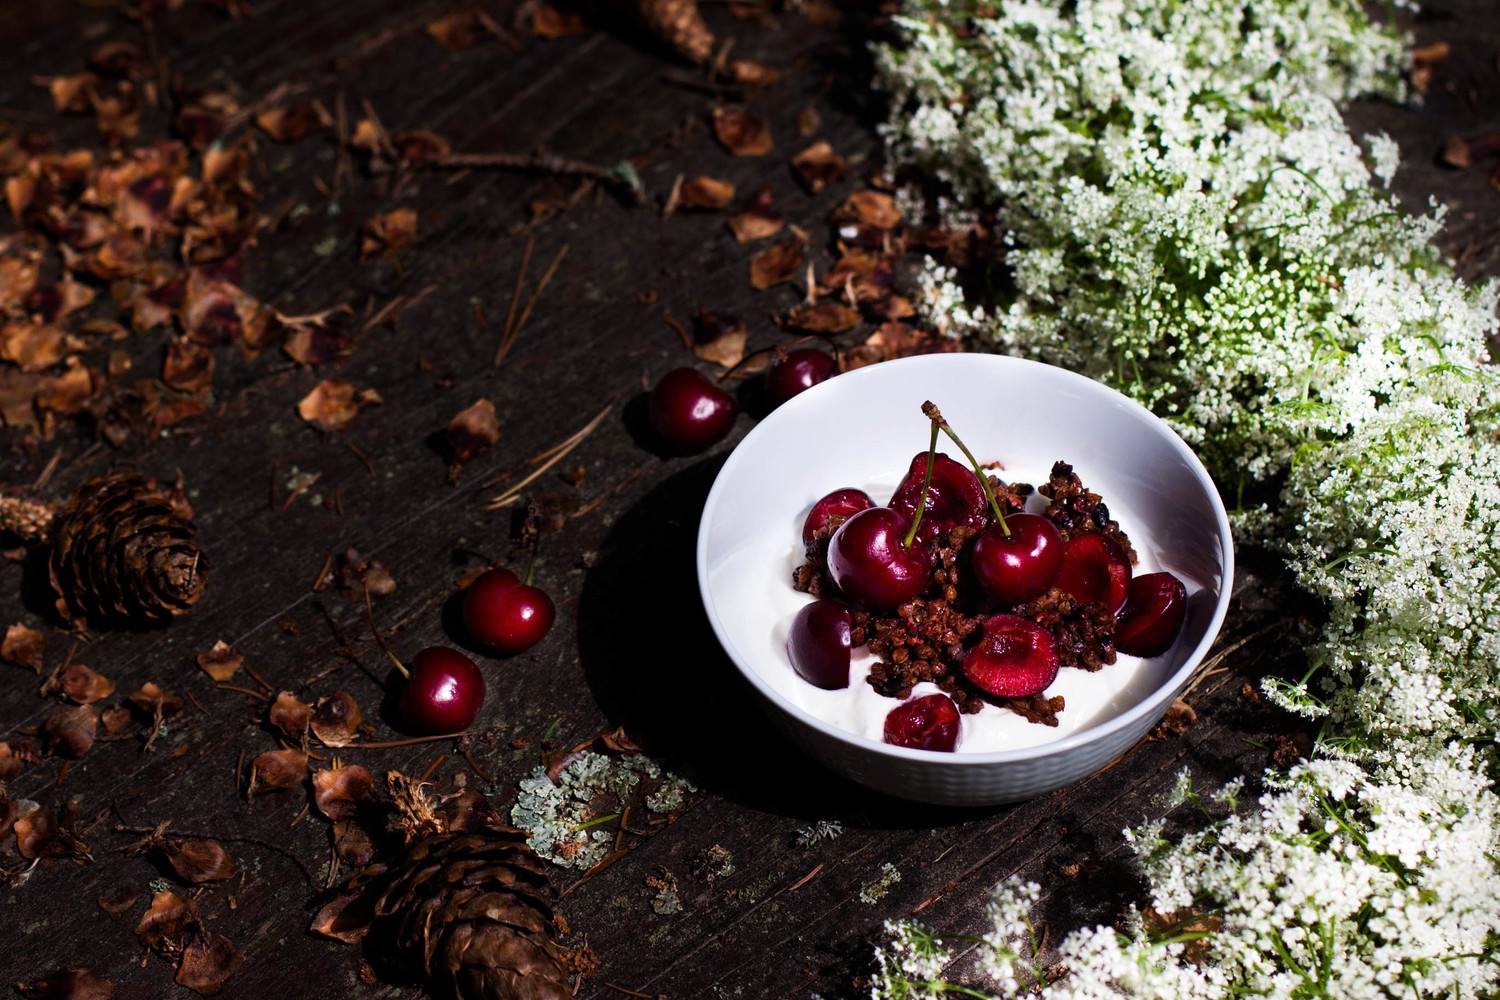
The original recipe calls for cacao nibs only. I, however, decided to share a double cacao version where I added some raw cacao powder to make it extra luscious. With the cherry season nearing its peak, I've enjoyed this granola with a handful of fresh, sweet cherries. However, now that bilberry season has started, and you can regularly find me picking bilberries in the woods until my hands are stained blue and my back is sore, I'm going to replace cherries with fragrant, local bilberries. However, feel free to play around with this recipe! You can add different seeds, grains (I would love to try a version with millet!) or nuts to the basic granola and once baked dried berries or fruit. You can sweeten the granola with maple syrup or use honey or agave nectar instead. I even substituted coconut oil with melted butter once and it worked perfectly. This is a granola that can easily be adapted to your liking and the current season.

Double Cacao Buckwheat Granola | my blue&white kitchen

Double Cacao Buckwheat Granola

slightly adapted from The Vibrant Table, p. 55

makes 6 dl (2 ½ cups) granola

Note: At least in Scandinavia and Germany, most buckwheat groats that you can find at stores are rather light in color. As I've been told that the darker varieties have a much better aroma, I always strive to find those. Here in Finland, it's mostly Russian buckwheat that can be found in some ethnic markets or in the specialty section of a grocery store.

This granola is both gluten and dairy-free.
 

For the buckwheat crispies [makes about 380 g (2 heaping cups) buckwheat crispies]
400 g (4 ¾ dl; 2 cups) raw buckwheat groats

In a large bowl, cover the groats with water. The water level should be 2,5 to 5 cm (1" to 2") above the groats. Let soak for a minimum of one hour or overnight.

Pour the soaked groats into a colander. As raw buckwheat produces slime when soaked, you need to rinse the soaked groats well. Line two baking sheets with clean kitchen towels. Spread the rinsed groats on the towels and let dry for at least 24 hours or until completely dry. You may need to shake the sheets a couple of times while drying to ensure that the groats dry evenly.

Buckwheat crispies should be stored in an airtight container in the fridge and will keep for up to 1 month. You can use the crispies to make granola or, for example, use in salads, tacos, etc.


For the granola
4 ¾ dl (2 cups; weight varies from 310 to 340 g) buckwheat crispies (see instructions above)
OR 400 g (4 ¾ dl; 2 cups) raw buckwheat groats
70 g (1 dl + 1 heaping tbsp; ½ cup) cacao nibs
1 tbsp raw cacao powder
2 tbsp + 1 tsp maple syrup
3 tbsp coconut oil, melted

yogurt or milk as well as seasonal berries or fruit, to serve


Preheat oven to 130°C (260°F). Line a baking sheet with parchment paper.

Place all ingredients in a medium-sized bowl and mix to combine. Spread in an even layer on the baking sheet and bake for 1 hour.

Let the granola cool completely before breaking it into rough chunks. Store in an airtight container in the fridge. The granola will keep for up to 1 week. Personally, I think that, like many other granolas as well, the flavor develops overnight.


Double Cacao Buckwheat Granola | my blue&white kitchen

Now excuse me, I have some major sunbathing to do before tonight's nerve-wrackingly exciting World Cup match...

Hope you are well and sun-kissed wherever you roam in the world.

Breakfast Deluxe – Croissants Filled with Brie & Strawberries

Croissants Filled with Brie & Strawberries | my blue&white kitchen

Life is like a chain. A chain of moments. The past weeks have been pretty busy and stressful around here but several small moments have kept me sane. These kind of moments don't need to be big and sensational. No, it's rather the everyday moments that are the ones making your life meaningful.

So I sat down for a while and wrote a list of moments that filled a special corner of my busy, and often messy, brain during the past week. So here it is; my chain of moments.

Listening to bird songs at 4 am. Cherries. Feeling the warm sun on my cheeks. The laughter of a dear friend. Ice cream in a cone. The smell of sun-kissed skin. A black cat sleeping on my lap. Rain drops against the window. Fried asparagus for breakfast. Screaming seagulls. Spotting dandelions. A glass of Kungfu Girl on a Wednesday night; cause girl power. Wearing shorts. And flip-flops. Beer sorbet. Thunder. The smell of freshly baked bread. Encouraging words. A trip to the farmers' market. Stargazing. Freshly ground coffee. Birch trees. Strawberries. Sunbathing on the dock. A bossa nova kind of morning. Pavlova. A blue sky. And blue lake water. The scent of freshly mowed lawn. Yogurt+rye granola+strawberries+agave nectar. Hitting the beach. Mole in my burrito. Nightless summer nights. Screaming at a concert like a teenager. Nettle foraging. A road trip. Pizza night. These muffins. Listening to two middle aged men at the beach: "Is the water warm?" "Yes!" Are you kidding me? 10°C (50°F) IS NOT WARM! Watching an episode of Grey's Anatomy. Gray rocks. The smell of lilacs on a warm summer night.

Croissants Filled with Brie & Strawberries | my blue&white kitchen

And last but not least, this breakfast deluxe.

Croissants Filled with Brie & Strawberries | my blue&white kitchen

Croissants Filled with Brie & Strawberries

This is what I call a breakfast deluxe. Croissants make every morning feel special but filling them with brie and strawberries makes them even more luscious. I added lettuce leaves for some extra color and the additional texture they provide. To be honest, this can hardly be called a recipe. However, I felt that it's just too delicious to not be shared. I was, actually, introduced to this dish at quite a young age. My mom claimed that this was "overly delicious". I was skeptical to say the least, but it didn't take me long to get to appreciate it as much as she did. You can use good quality store-bought croissants or make your own ones. I have to admit that I've never made croissants at home but am eager to try. Both Linda of The Tart Tart, Melissa of The Faux Martha, and Yossy of Apt. 2B Baking Co. wrote a blog post about the croissants of the legendary Tartine Bakery. I truly can't wait to make the recipe myself!


croissants
flavorful lettuce (I used Red Salanova), washed & dried
brie, sliced
strawberries, washed, hulled, & sliced


Using a serrated knife, cut the croissants in half horizontally without cutting all the way through. We want to make a kind of pocket for our fillings. Fill the croissants with lettuce, brie, and sliced strawberries. Honestly, it is impossible to overload them with strawberries so be generous with them. Enjoy with a cup of coffee (either warm or iced) or a glass of freshly squeezed juice. Et voilà!


Sesame² & Poppy Seed Crispbread

seed crispbread :: my blue&white kitchen

“There are such a lot of things that have no place in summer and autumn and spring. Everything that’s a little shy and a little rum. Some kinds of night animals and people that don’t fit in with others and that nobody really believes in. They keep out of the way all the year. And then when everything’s quiet and white and the nights are long and most people are asleep
— then they appear.”

– Tove Jansson, Moominland Midwinter

seeds_small.jpg

Crispbread, the Scandinavian take on crackers, has been baked for centuries and can therefore be considered as a staple of Nordic cuisine. The most traditional version is shaped into a large round with a hole in the middle – this way the bread could be stored on long sticks under the roof. To sleep in an old log house under a crispbread sky...I definitely like the idea. And maybe, just maybe, one crispbread would have been offered to the shy creatures of winter.

You won't find many Scandinavian families who don't have a pack of crispbread at home at all times. It is one of the secrets of how we people of the North survive the long, dark winters. Forget its reputation as low-caloric diet food. It's so much more than that (and to be honest, I doubt any Scandinavian enjoys it because of it being "health food"). Crispbread is enjoyed as a midday snack simply buttered or with cheese and thin slices of cucumber. It's also great alongside a bowl of soup, like a hearty pea soup, or a green salad.

Nowadays, few people make homemade crispbread anymore. Maybe it's because you can find a ton of different varieties at your local grocery store. However, homemade crispbread is not only tastier but also easy and relatively quick to make. So why not make your own crispbread at home?

seed crispbread :: my blue&white kitchen

This slightly luxurious seed crispbread pairs especially well with cheese and a glass of full-bodied red wine...the kind of winter night I like the most.


Sesame² & Poppy Seed Crispbread

dough slightly adapted from Elle Mat och Vin 1/2014, p. 90

3 dl (1 ¼ cups) lukewarm milk
25 g (1 oz) fresh yeast [OR 8 g / 0.3 oz instant active dry yeast]
1 tsp fine sea salt
165 g (6 oz; 3 dl; 1 ¼ cups) all-purpose flour
245 g (8.6 oz; 3 ½ dl; 1 ½ cups) coarse wholegrain rye flour

1 egg white
1 tbsp cold water
white & black sesame seeds + poppy seeds

In a medium-sized bowl, combine the lukewarm milk and crumbled yeast. Stir with a spoon until the yeast is completely dissolved. [note: if you use instant active dry yeast, mix it with the dry ingredients and heat the milk to about 45°C / 115°F} Gradually add the dry ingredients until the dough comes together enough for you to start kneading it. Knead until it comes clean off the sides of the bowl. Add more all-purpose flour if it sticks to your hands. Shape into a ball and cover with a kitchen towel. Let the dough rise in a warm place for 30 minutes.

Preheat the oven to 250°C (475°F). Line 2 baking sheets with parchment paper.

Take about a third of the dough and roll it into a very thin rectangle. The thinner you roll it, the crispier it becomes. With a knife, cut the rolled out dough into about 21x2,5cm (8x1") strips. You can also cut it into different shapes, like triangles (mine were about 6,5 cm / 2.5") or rounds. Transfer to a baking sheet.

Prick each piece all over with a fork. This will keep the crispbread from puffing up in the oven. In a glass, whisk together the egg white and water. Brush each piece of crispbread with the mixture and sprinkle generously with the seeds.

Bake for about 6 minutes. The crispbread will be crisp and start to brown at the edges. Let cool on a wire rack. Continue to prepare the rest of the dough but remember to keep an eye on those in the oven.

Once cool, store in an airtight container. They will keep for a couple of weeks, even for several months.


Hope you all have a great start to the first week of February which, by the way, is my favorite winter month!

>>>•••••••••<<<

Let's get connected!

The Wait - Salt Roasted Chestnuts

my blue&white kitchen

I can feel how the growing darkness drains the energy from my body and mind. For me, this is the hardest part of the year. It's dark. Dark as ash. The sun only pays brief visits and I can both see and sense its slow but sure farewell. And the trees. Bare, screaming in the wind. And amidst this darkness, there's no snow to give some light. White, glistening light. That magical winter light that I adore so much. 

It's official now. I'm waiting for you, snow. Come soon, will you?

salt roasted chestnuts :: ​my blue&white kitchen

Salt Roasted Chestnuts

Chestnut season runs from early October through late December. Their flesh is sweet, energy-rich and highly nutritious. Fresh chestnuts should be heavy in your hands and firm to your touch, and have a shiny brown color. The kernels should be light in color. Pinholes may indicate worms so avoid those ones.

Why roast them in salt? The salt protects them from burning and keeps them moist. And it looks pretty as well! It's how my mom has taught me to prepare them. They are a great way to begin or end a meal, or you can enjoy them as a winter snack. You could even put them into your coat pockets – they will keep your hands warm on a chilly day! {Although I don't know who really does that anymore... Well, me. Last year. Once.}


500 g (1 lb) chestnuts
~ 1 kg (2 lb) coarse sea salt 

salted butter, to serve {I enjoy them with fleur de sel butter}
 

Preheat the oven to 175°C (350°F). 

Add the salt to an ovenproof dish (mine was 21 cm / 8"). Using a sharp knife, make a cross incision along the bulging side of each chestnut. Cut deep enough to penetrate the shell but try not to harm the flesh of the nut. And be careful not to cut yourself! Place the chestnuts, cut side up, into the salt. Two-thirds of the nut should be covered by salt.

Roast on the middle rack for about 30 minutes, or until the skins open and the insides are tender. Serve immediately. Everyone at the table can peel their own chestnuts - peel away the tough outer shell and the papery skin and enjoy the sweet kernels with a knob of butter. You may want to use a knife to help peel the chestnuts.


Note: You can store the salt for later use. 


salt roasted chestnuts :: ​my blue&white kitchen

>>>>>>>>>>>>>>><<<<<<<<<<<<<<<

​my blue&white kitchen

Behind the scenes: the photobomber.


WHOA! You can now also follow me on Facebook. Come say hi!
I would love to hear from you.