Fall Vibes – Plum Galettes

Plum Galettes | My Blue&White Kitchen

Fall is the time for new beginnings. Kids go back to school and their parents go back to work; thousands of students start at colleges and at universities eager to get to know new people, to learn, and to dream big. As nature is getting ready to face winter, we're getting back to the everyday routines or are just creating new ones. 

For me, this fall started with a new full-time job. I've really enjoyed my first weeks, although I've often feeled rather exhausted when getting back home. It's been a challenge to manage both work, the blog, and my free-time. It has meant to be kinder to myself, to endure unfinished projects, and the fact that I can't be at more than one place at a time. As much as I've liked my new work and getting to know my colleagues, I've also got into decorating my office (it's one of the most fun parts, right?). I'm still looking for a picture to hang on the wall and am dreaming of a succulent terrarium, one of RK design's gorgeous wall hangings, and/or a minimalistic swag wreath. But still, I think that already a pot or two of something green really makes the whole room feel cozy and welcoming. They fill the space with life.

Plum Galettes | My Blue&White Kitchen

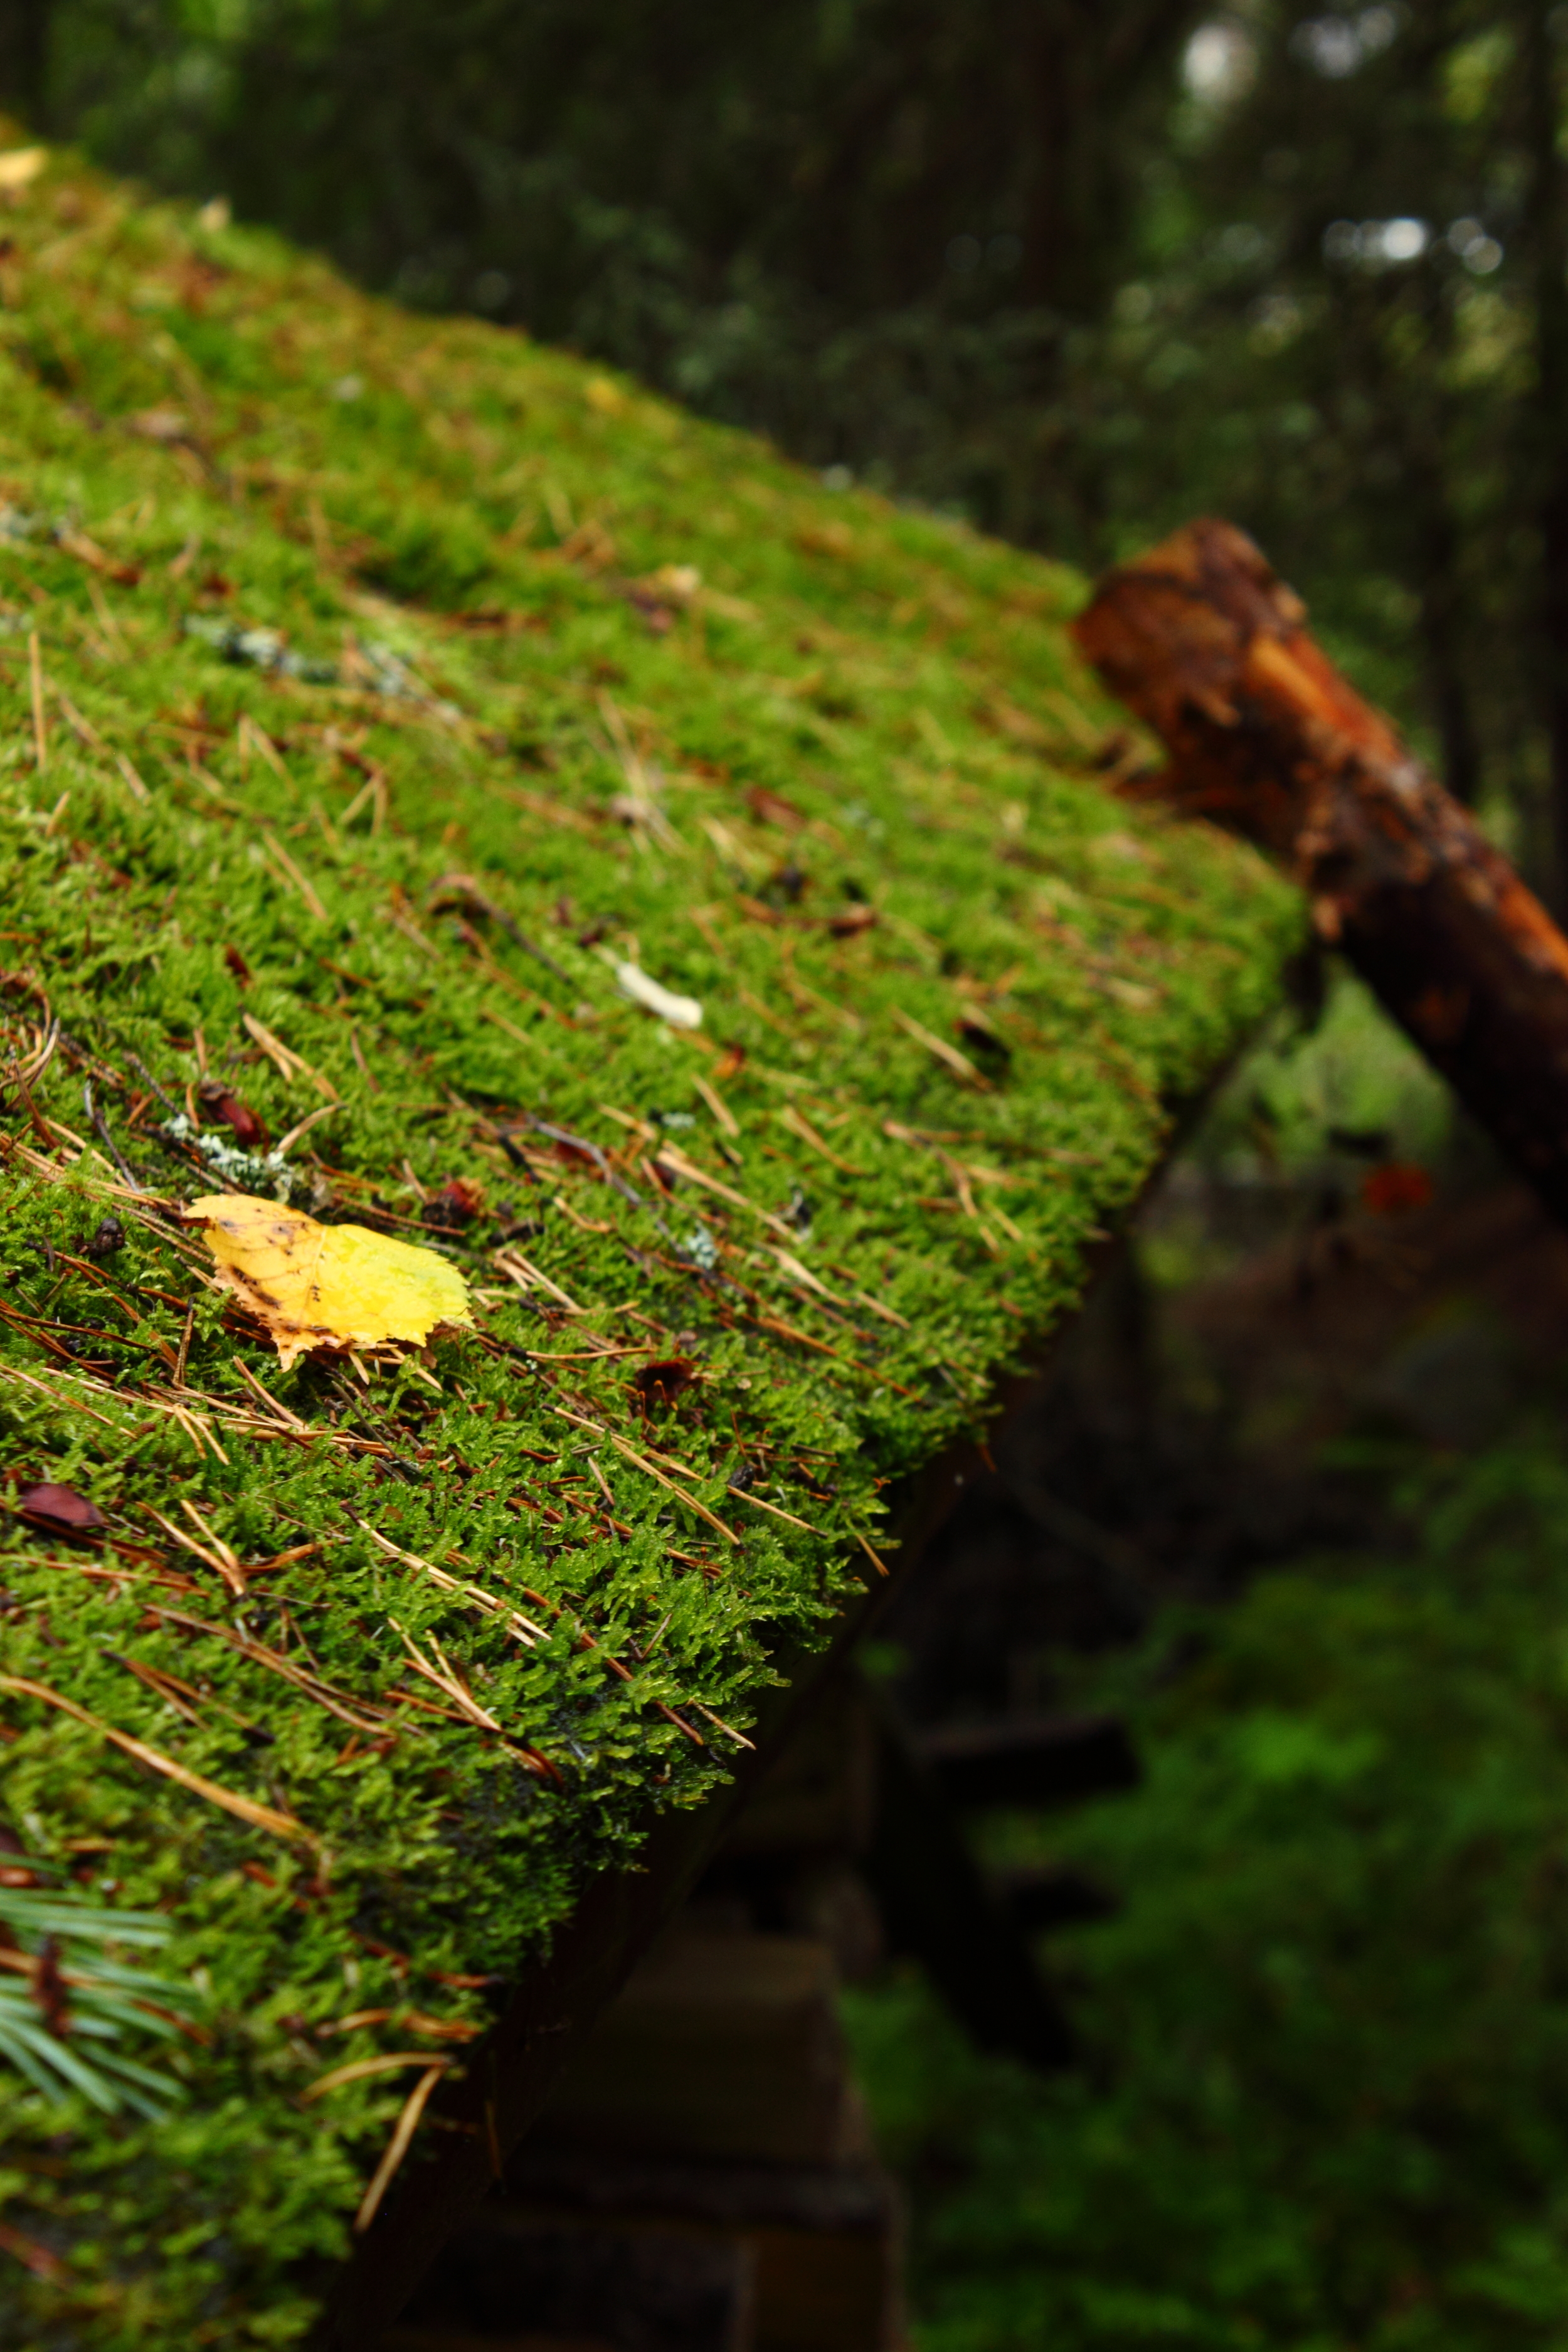
Weekends are more important than ever. They're spend loading up batteries and forgetting about work stuff. I've spent as much time as possible in the woods and in the kitchen, as those are the places where I find peace. Those are the places where I feel connected to myself and to my surroundings. When I'm in the woods, the words of Terry Tempest Williams come to my mind: "To be whole. To be complete. Wildness reminds us what it means to be human, what we are connected to rather than what we are separated from." That women. If you haven't read her work, you should.

Plum Galettes | My Blue&White Kitchen

I've enjoyed roaming in the woods but sadly fall harvest doesn't look that good. Lingonberries are plenty and there are still wild blueberries to be picked. However, although chanterelles were plenty in summer, the woods are now short of mushrooms. I really hope that this will change soon! Maybe the weather will be more favorable in September and October; there are so many wild mushroom recipes that I'm eager to test and possibly share with you guys. Well, it's raining today, so I still have hope ;) Mushroom foraging trips are one of the best parts of fall.

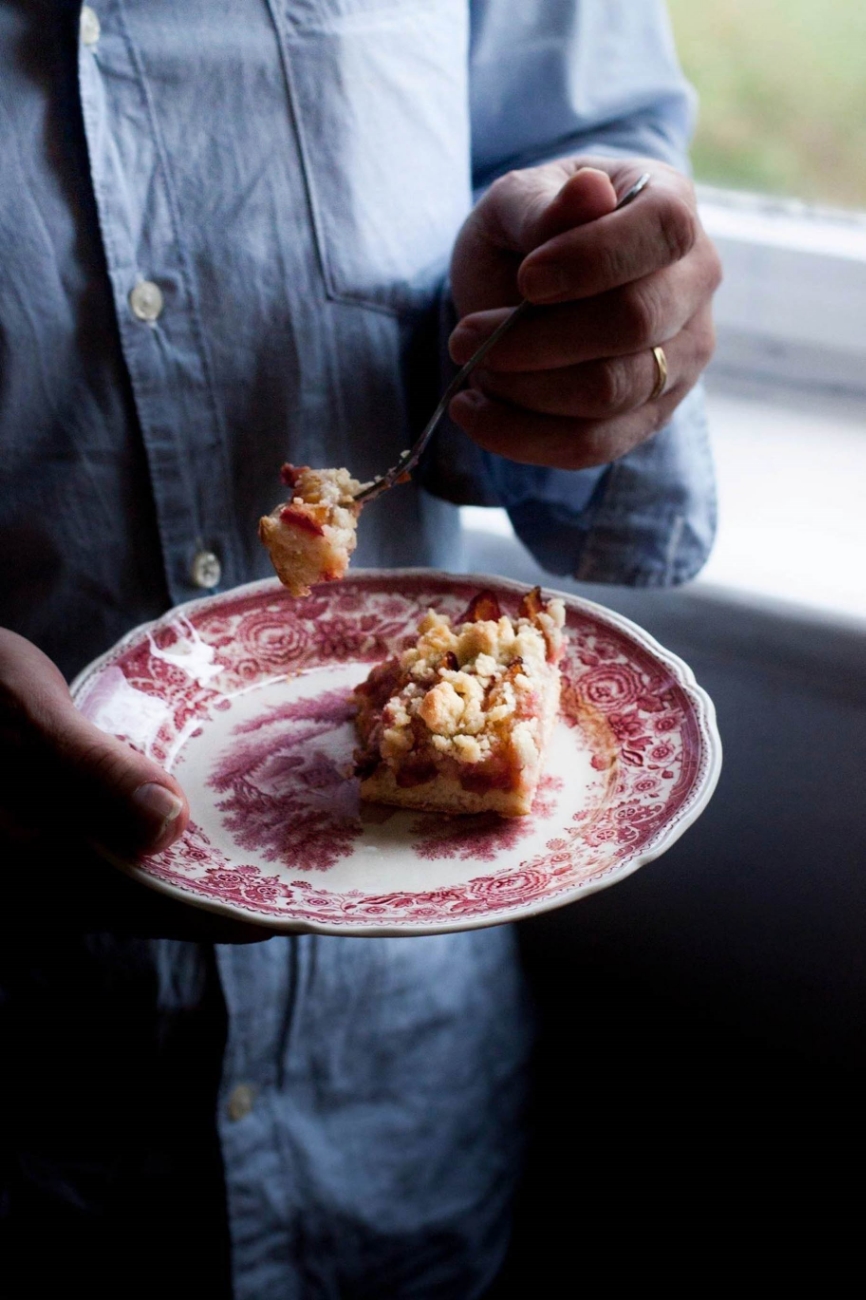
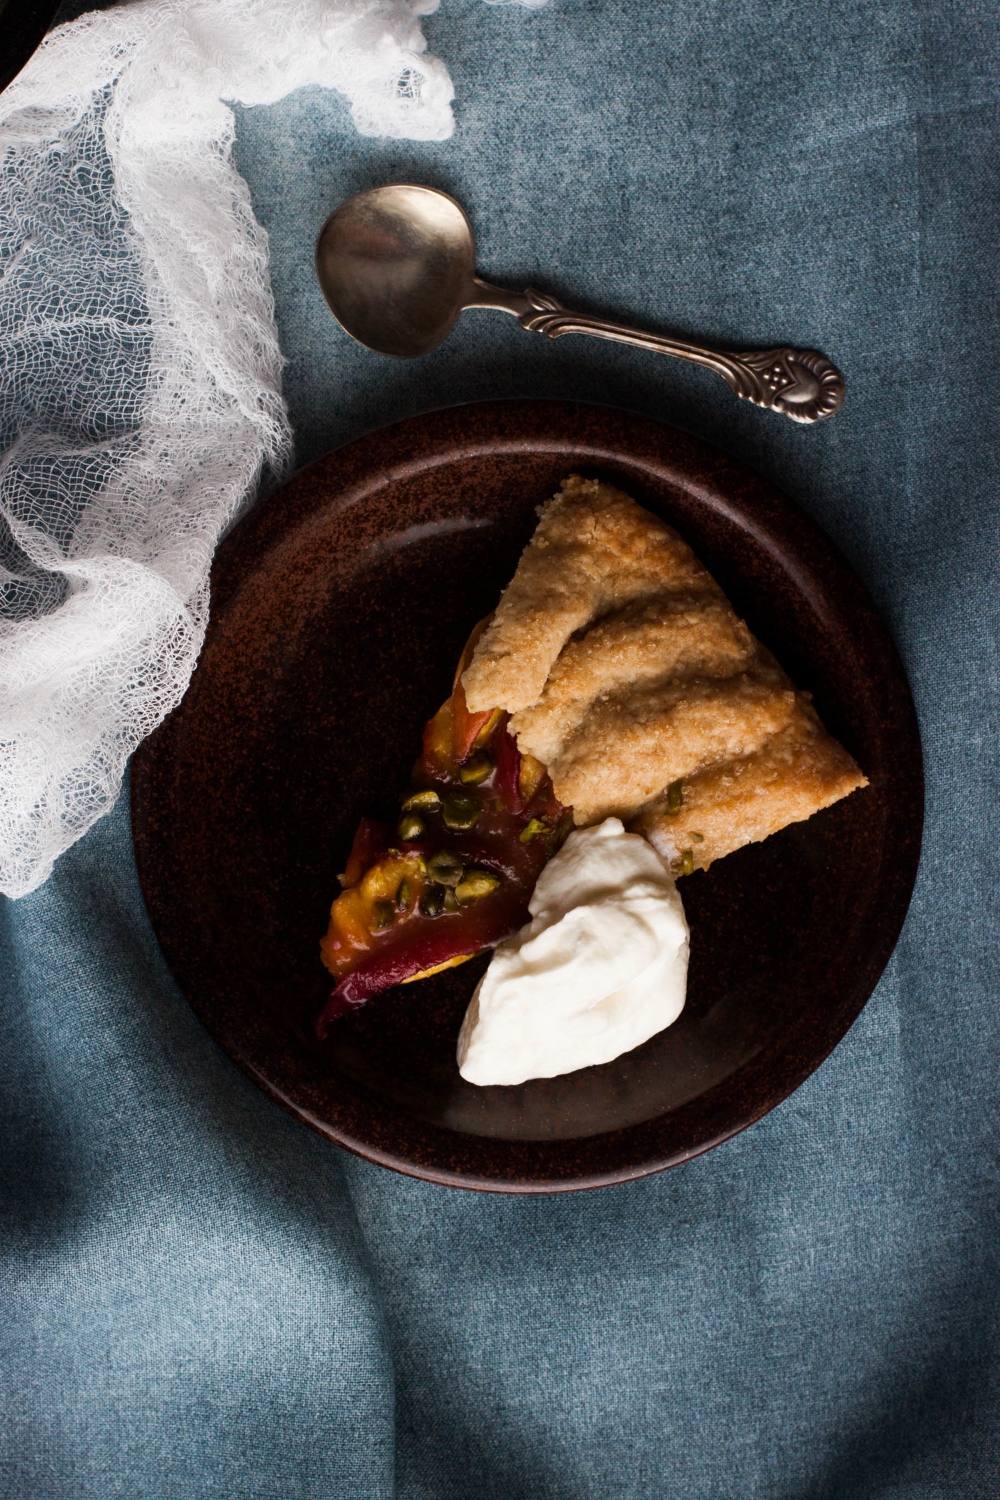
At least there are plums (not in the woods but anyway)! Those juicy, delicious fellas are always worth waiting for; Zwetschgendatschi, plums with portwine, Kaiserschmarrn with plum compote (I hope to share the recipe with you this fall/early winter), rice porridge with caramelized, cinnamon-spiced plums... Gosh, how I cherish this season! So today, I want to share a recipe that's close to my heart. This galette is a long-time favorite; I've baked it every year for at least a decade. I still remember how I used to come back home from school only to find leftovers on the kitchen counter. I would reheat a slice and enjoy it with a dollop of whipped cream. It's a simple galette with a short ingredient list and easy to follow steps. The taste, however, is decadent. It's the kind of recipe I come back to again and again, that I share with family and friends, and that will surely be handed down through generations.

Please feel free to share your favorite plum recipes in the comment section below! One can never have too many.

Plum Galettes | My Blue&White Kitchen

P.S. I did a fun interview with the German Food & Travel magazine Speisen + Reisen this summer. I feel honoured to be featured in a 4-page-long (!) article as well as being able to share 5 recipes. The issue is out now, so be sure to get your copy! *crazyhappy*


Plum Galettes

makes 6 small or 1 large galette

for the crust
220 g (4 dl; 1  cups) all-purpose flour + more to dust
1 large pinch of fine sea salt
2 tbsp granulated sugar
150 g cold, unsalted butter, cut into cubes
4 tbsp ice cold water

for the filling
400 g plums, cut into 6-8 wedges
45 g (½ dl; 3  tbsp) granulated sugar

powdered sugar, to finish
whipped cream or vanilla ice cream, to serve


To make the crust
In a medium-sized bowl, combine the flour, salt, and sugar. With your fingers, quickly rub the butter into the dry ingredients until well incorporated and crumbly. The dough should now resemble coarse bread crumbs with plenty of pea-sized pieces of butter remaining. Add water gradually just until the dough holds together when pinched. Work as fast as possible to avoid over-working the dough. Alternatively, you can make the dough with a pastry cutting tool or in a food processor.

Form the dough into a disk and wrap in plastic. Refrigerate for at least an hour.


To assemble and bake
Preheat the oven to 180°C (355°F). Line a baking sheet with parchment paper. Set aside.

Lightly dust the chilled dough with flour. If you're making small galettes, cut the dough into 6 equally-sized portions. Roll the dough out on a well-floured work surface into about 3 mm (0.1") thick circles. If the dough cracks, don't worry; just pinch it back together. Transfer to the prepared baking sheet. Arrange the plum wedges in the centre and be sure to leave a 4–5cm (1.5–2") border. Fold up the edges.

Bake on the middle rack for about 40 minutes, or until edges are golden brown and the filling bubbles.

Dust with powdered sugar and serve warm or at room temperature with whipped cream or vanilla ice cream. I always reheat any leftovers; the flavors are so much better and the galette seems to simply melt in your mouth.


Plum Galettes | My Blue&White Kitchen

Related Posts

Bright Stars – Rustic Peach Galette

Rustic Peach Galette | my blue&white kitchen

I've been trying to write this post for two days now, but I seem to have lost the flow of writing. I see words but I don't see a story. Maybe this isn't so much about a lost writing skill or mood; maybe it just reflects my current flow of thoughts and feelings.

I've tried to write something about June and summer and all that goodness that lies ahead of us. But somehow it felt like nonsense; like this post wasn't supposed to be talking about weather and farmers' markets. So give me just two paragraphs to spit out something that I've carried with me since last week before we discuss how unbelievably delicious this peach galette is.

Rustic Peach Galette | my blue&white kitchen

Last week, I saw a glimpse of how quickly life could be over. I looked up at the sky but all of a sudden, it was blurred. I couldn't find the stars where they used to twinkle so brightly. It happened so very quickly, totally unexpectedly. Without those stars I felt lost; I couldn't navigate. Luckily, the stars weren't lost forever, just hidden behind a cloud for a brief moment. But it was enough to scare the hell out of me. It was enough for me to look at the sky more consciously. To remember why that starlit sky was so very essential to my being.

So find your bright stars, stick to them, hold them dear. There's no way you can predict the course of life. Nothing is certain. Don't take anything for granted. Because you never know when one of those stars, shining so brightly in your sky, collapses into a black hole.


Rustic Peach Galette

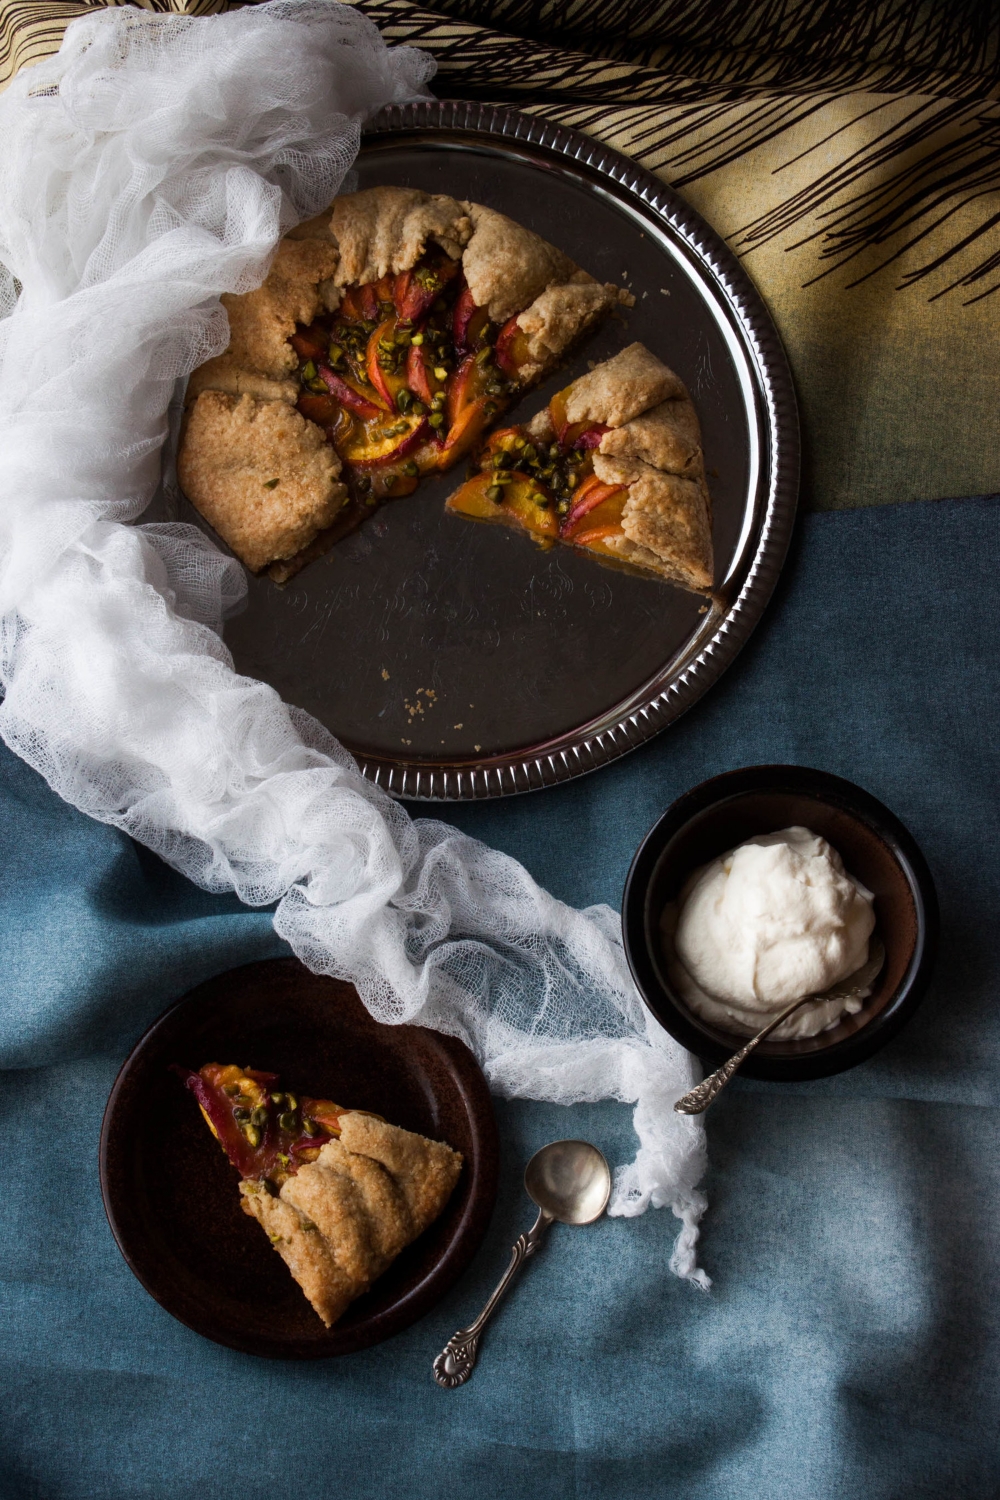
I made an open-faced galette to praise this season's first peaches. A galette that looks rather rustic on the outside but is, in truth, pretty elegant and classy. I added some buckwheat flour to the crust and topped it with green pistachios. Other than that, I really wanted the juicy, delicate peach to be the heroine of this dessert. The galette turned out fantastic. It tasted like summer; just like I wished it would.
 

for the crust
165 g (5.8 oz; 3 dl; 1 cups minus 1 tbsp) all-purpose flour
60 g (2.1 oz; 1 dl; ⅓ cup + 1 ½ tbsp) buckwheat flour
1 large pinch of fine sea salt
2 tbsp granulated sugar
150 g (5.3 oz) cold, unsalted butter, cut into cubes
3–4 tbsp ice cold water

for the filling
2 tbsp ground almonds
~ 400 g (14 oz) peaches, sliced
2 tbsp demerara sugar + more for sprinkling
small handful of pistachios, roughly chopped

whipped cream, crème fraîche, or coconut whipped cream, to serve


To make the crust
In a medium-sized bowl, combine both flours, salt, and sugar. With your fingers, quickly rub the butter into the dry ingredients until well incorporated and crumbly. The dough should now resemble coarse bread crumbs with plenty of pea-sized pieces of butter remaining. Add water gradually just until the dough holds together when pinched. Try to work as fast as possible to avoid over-working the dough. Alternatively, you can use a pastry cutting tool or a food processor to make the dough.

Form the dough into a disk and wrap in plastic. Refrigerate for an hour or until ready to roll.


To assemble and bake
Preheat oven to 180°C (355 °F). Line a baking sheet with parchment paper.

Lightly dust the chilled dough with flour. Roll out on a well floured work surface into an about 3 mm (0.1") thick circle. If the dough cracks, don't worry; just pinch it back together. Transfer to the parchment paper lined baking sheet. Sprinkle with the ground almonds, leaving a border of about 5 cm (2"). Arrange the peach slices in the center and sprinkle with the sugar and pistachios. Fold up the edges, brush with water, and sprinkle with some sugar.

Bake on the middle rack for 40–50 minutes or until the edges are golden brown and the filling bubbles.

Serve warm or at room temperature with whipped cream, crème fraîche, or coconut whipped cream. Personally, I like to reheat any leftovers; the warmth brings out the flavors of the peach filling and the crust seems to melt in your mouth.


Rustic Peach Galette | my blue&white kitchen

A Moment of Late Summer Bliss & a Red Currant Tart

IMG_7187_.JPG

It’s all about berries these days. And somehow, although I’ve been berry picking multiple days a week for the past 3 weeks, I’m not bored. Not a bit. Summer is good to us and we should embrace it.

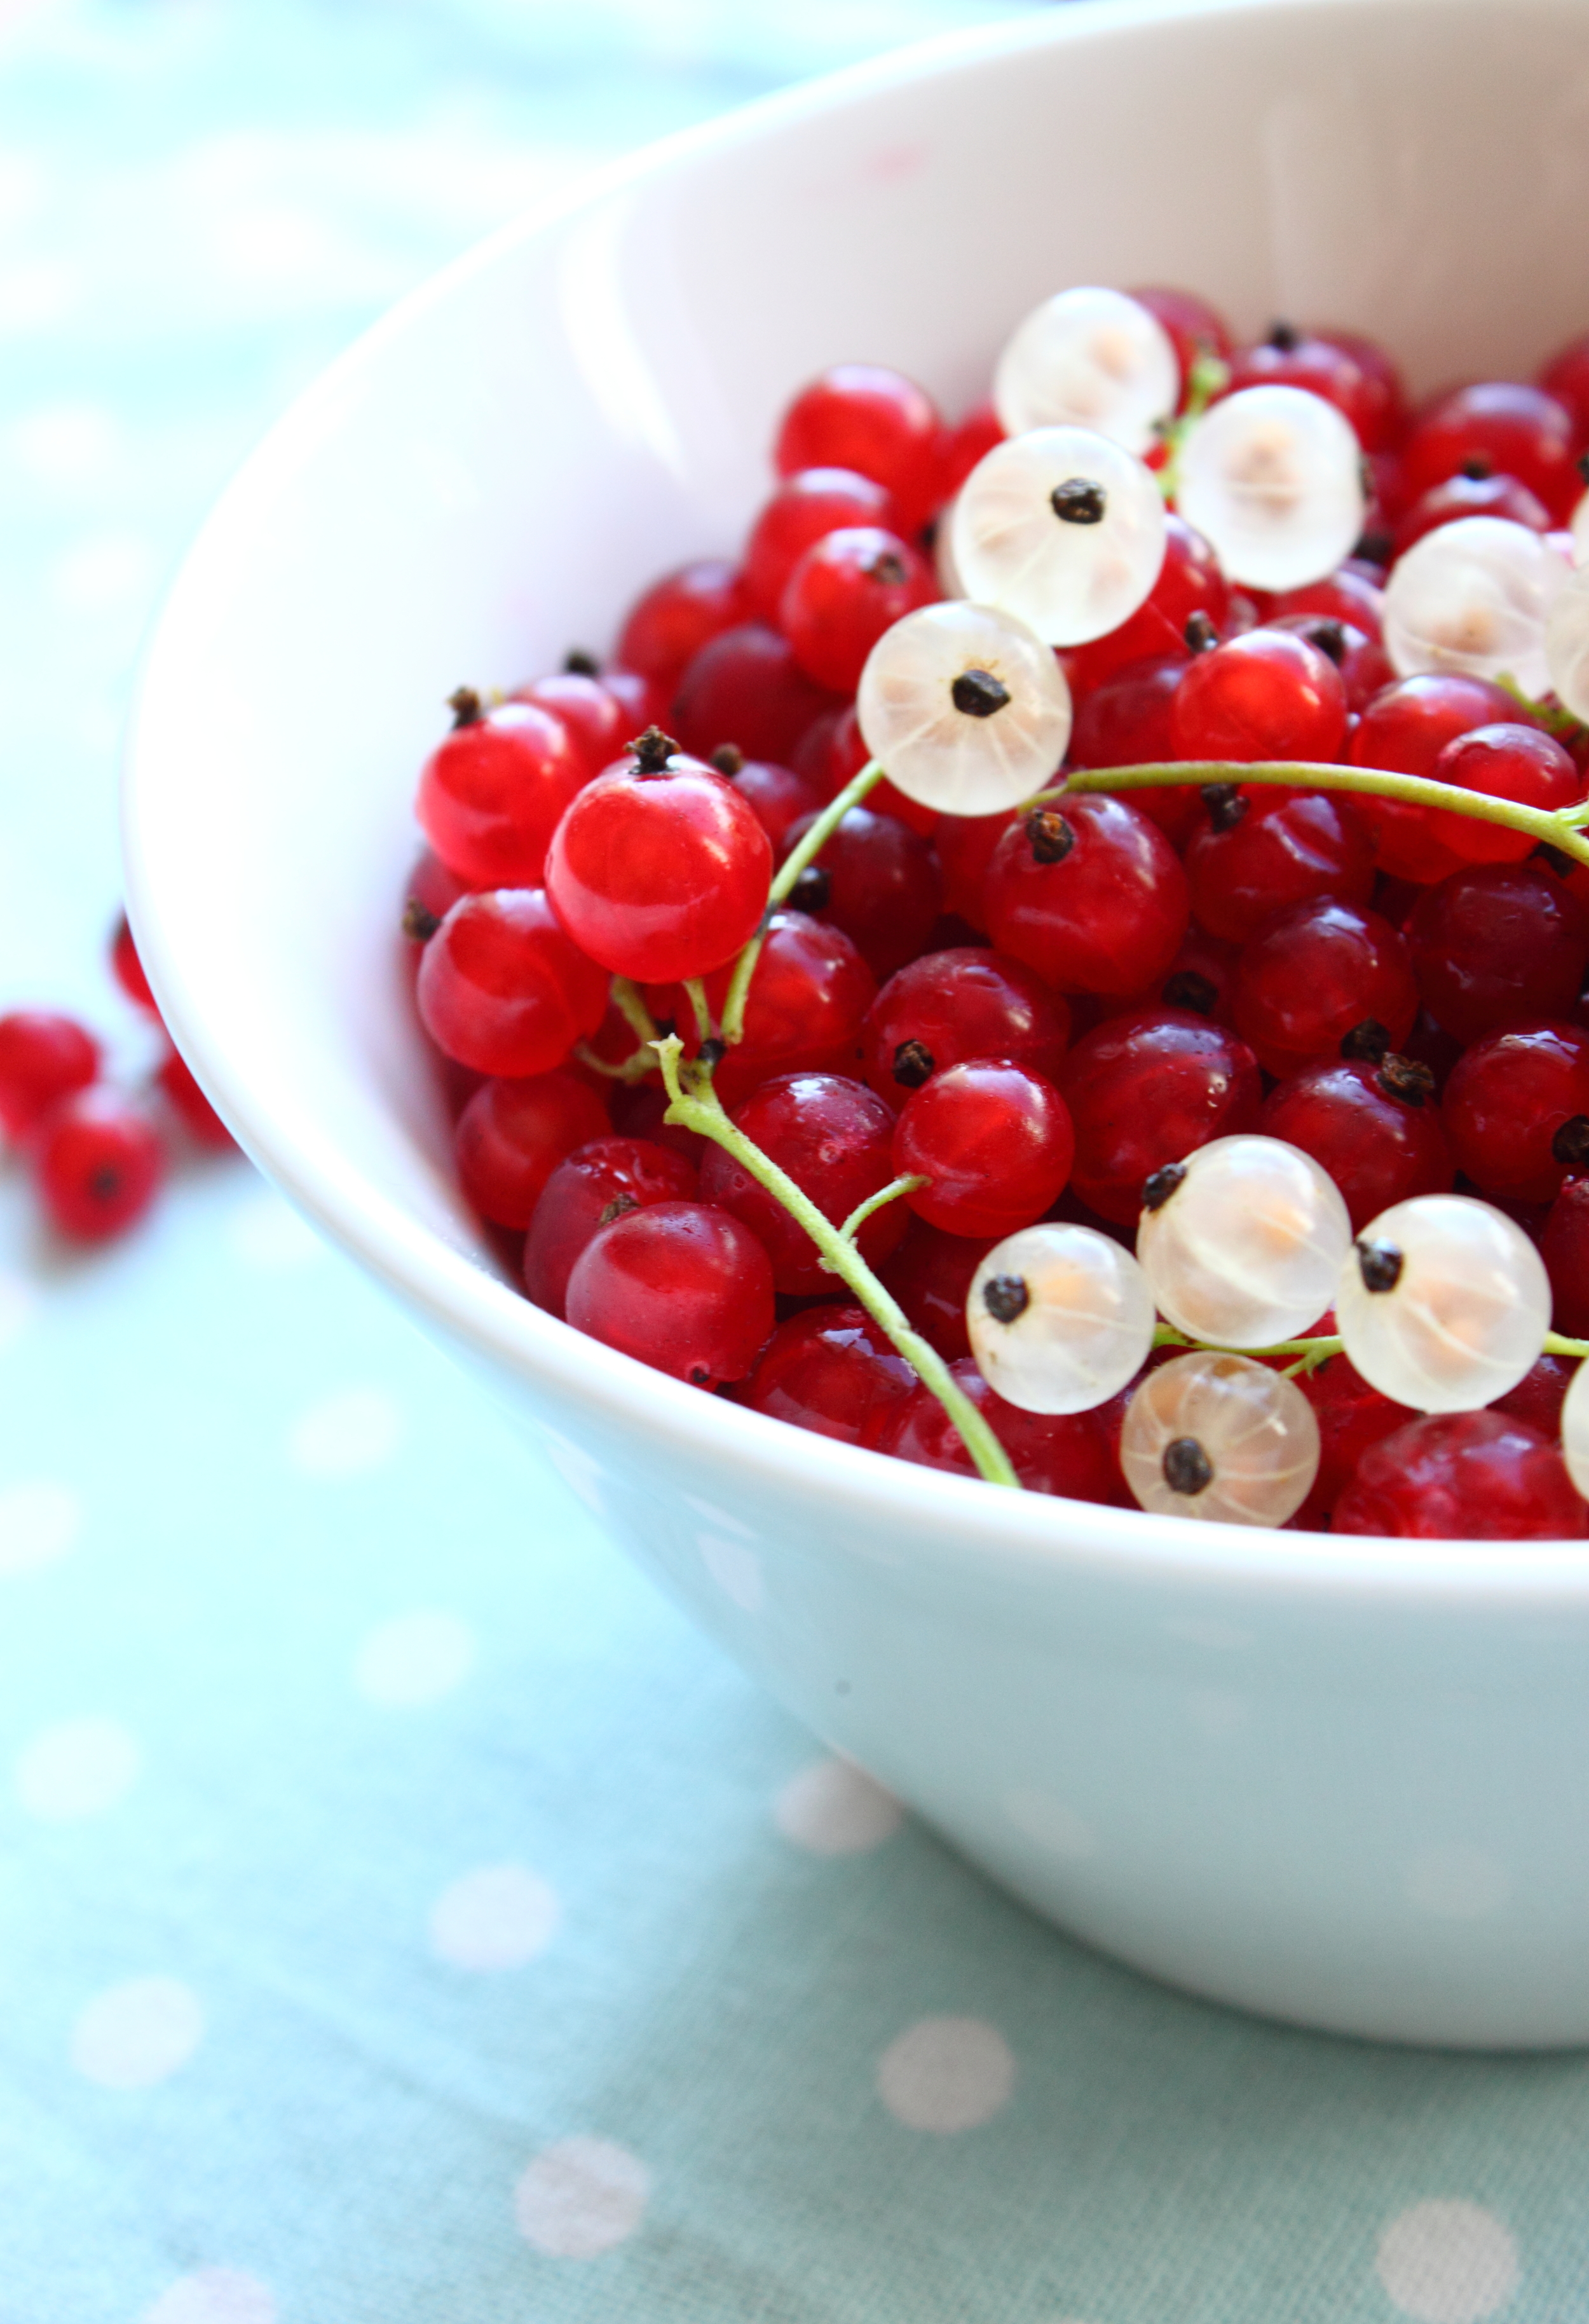
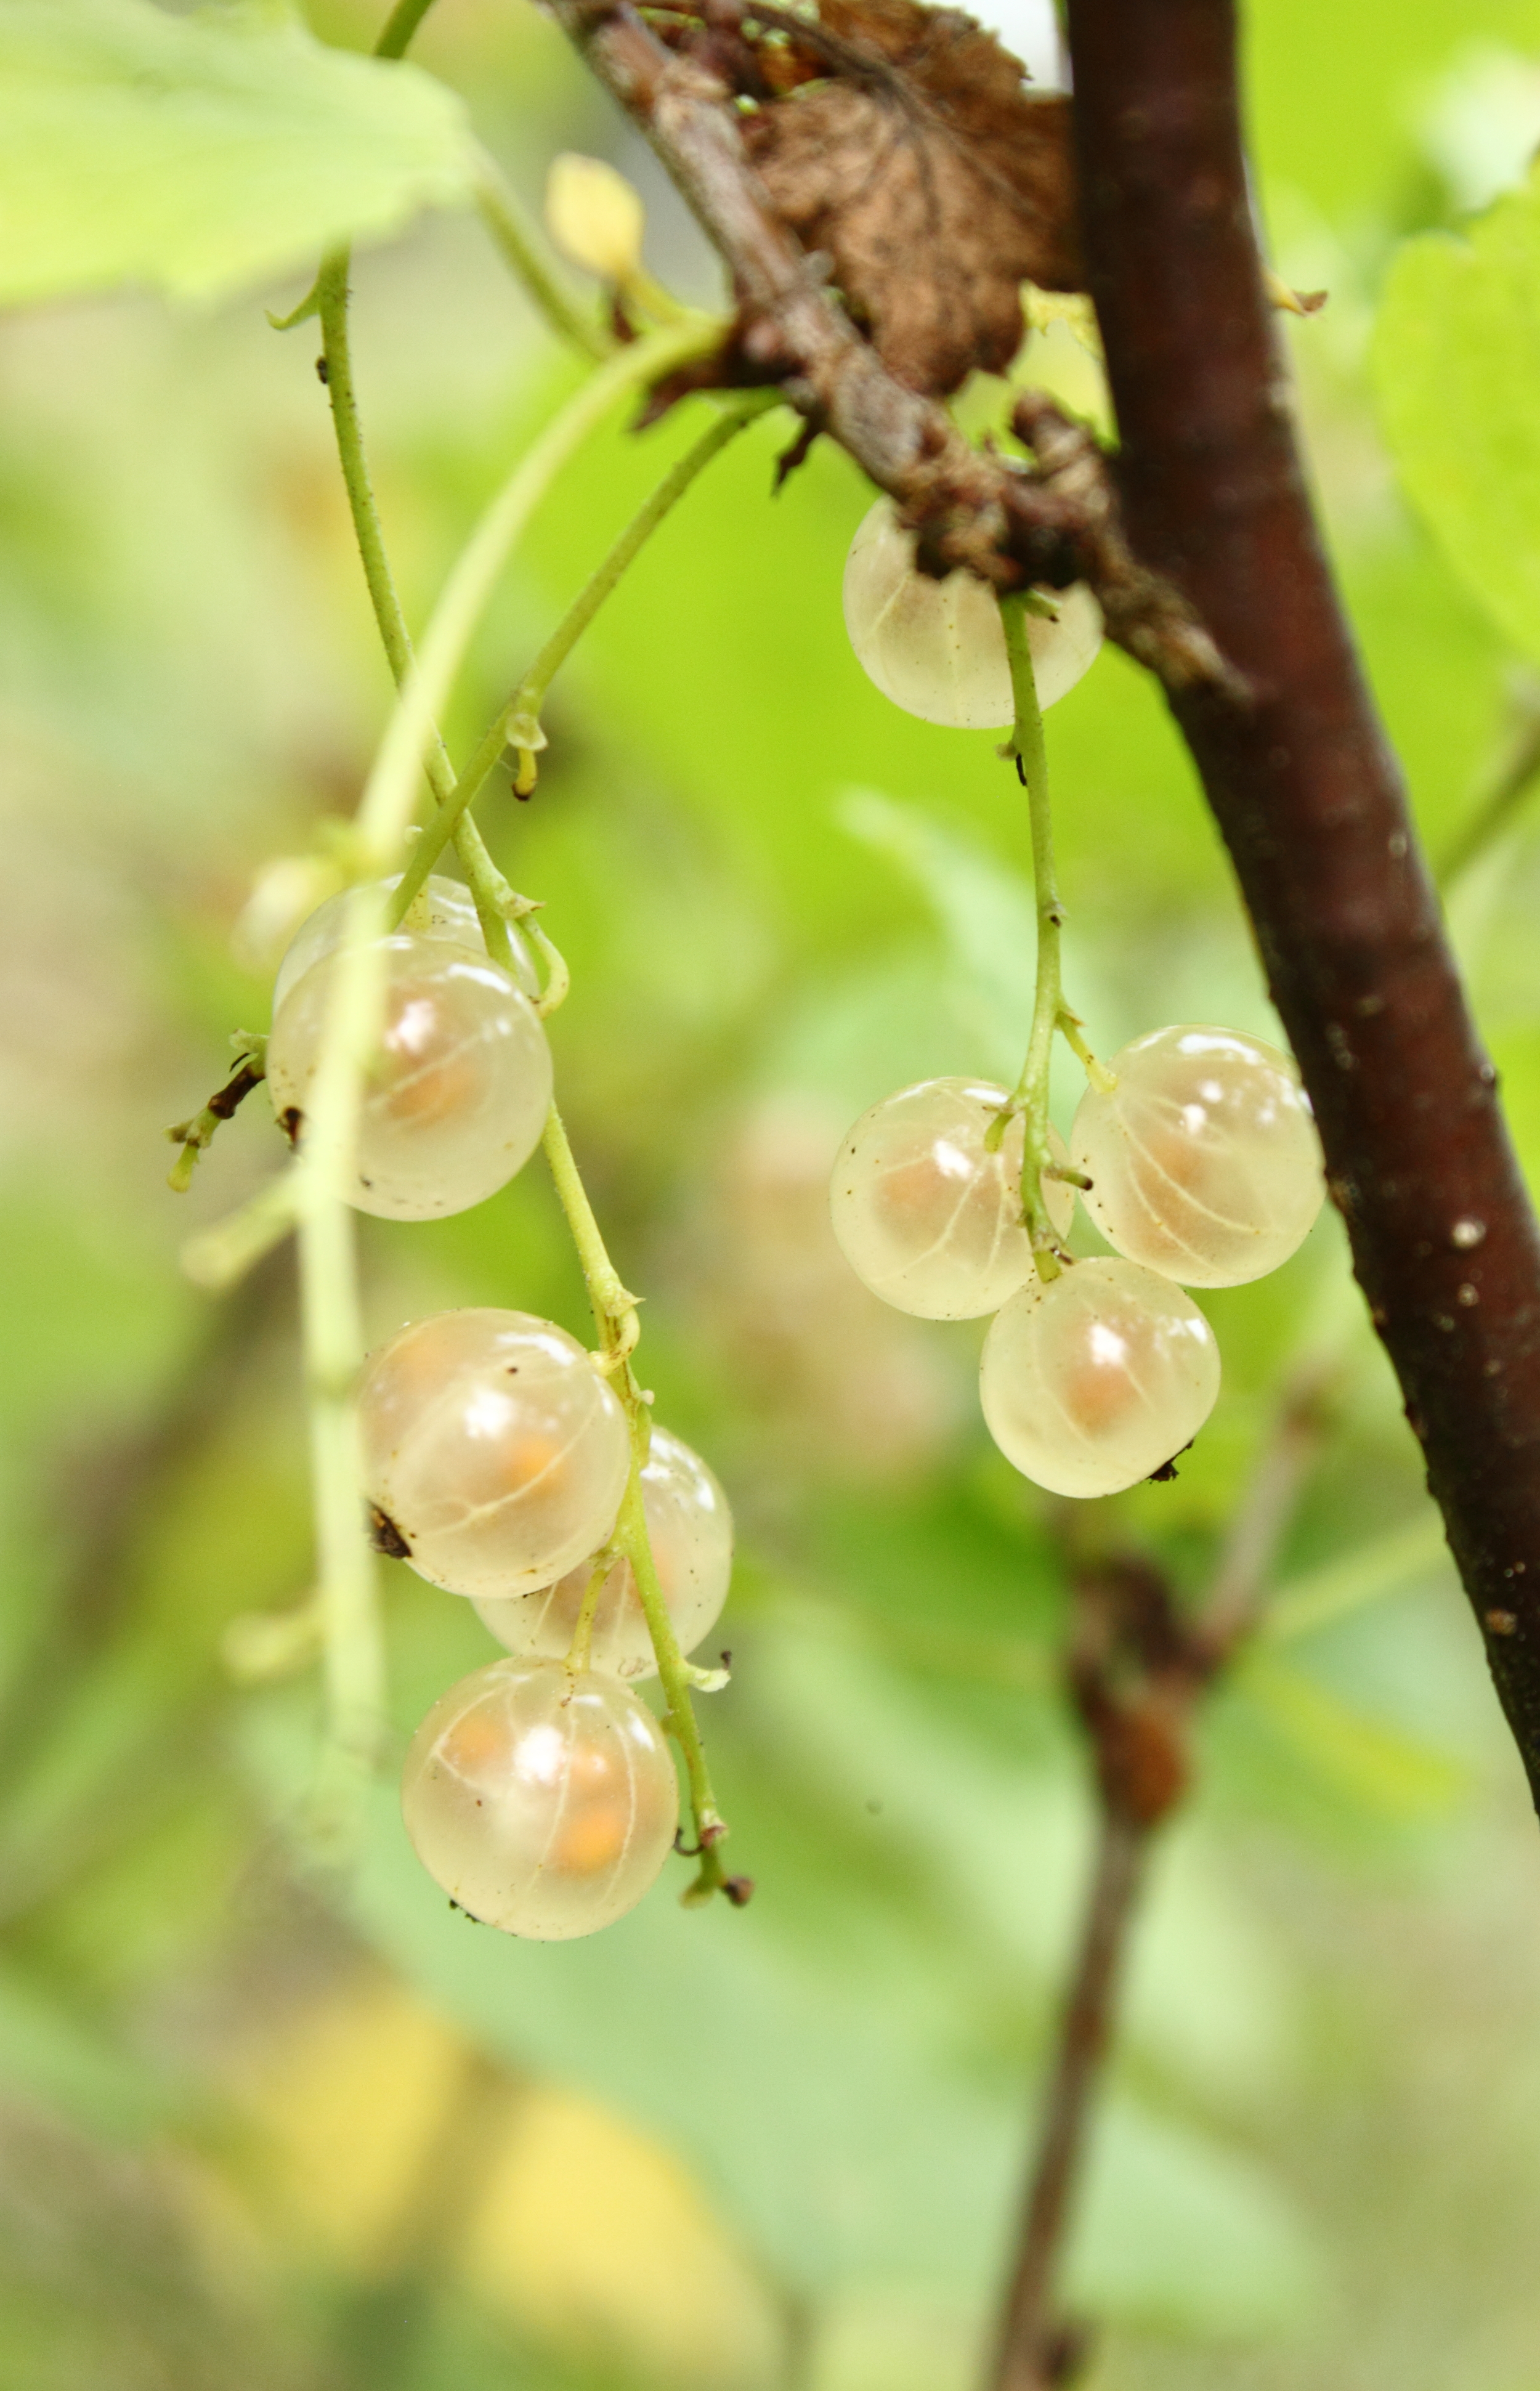
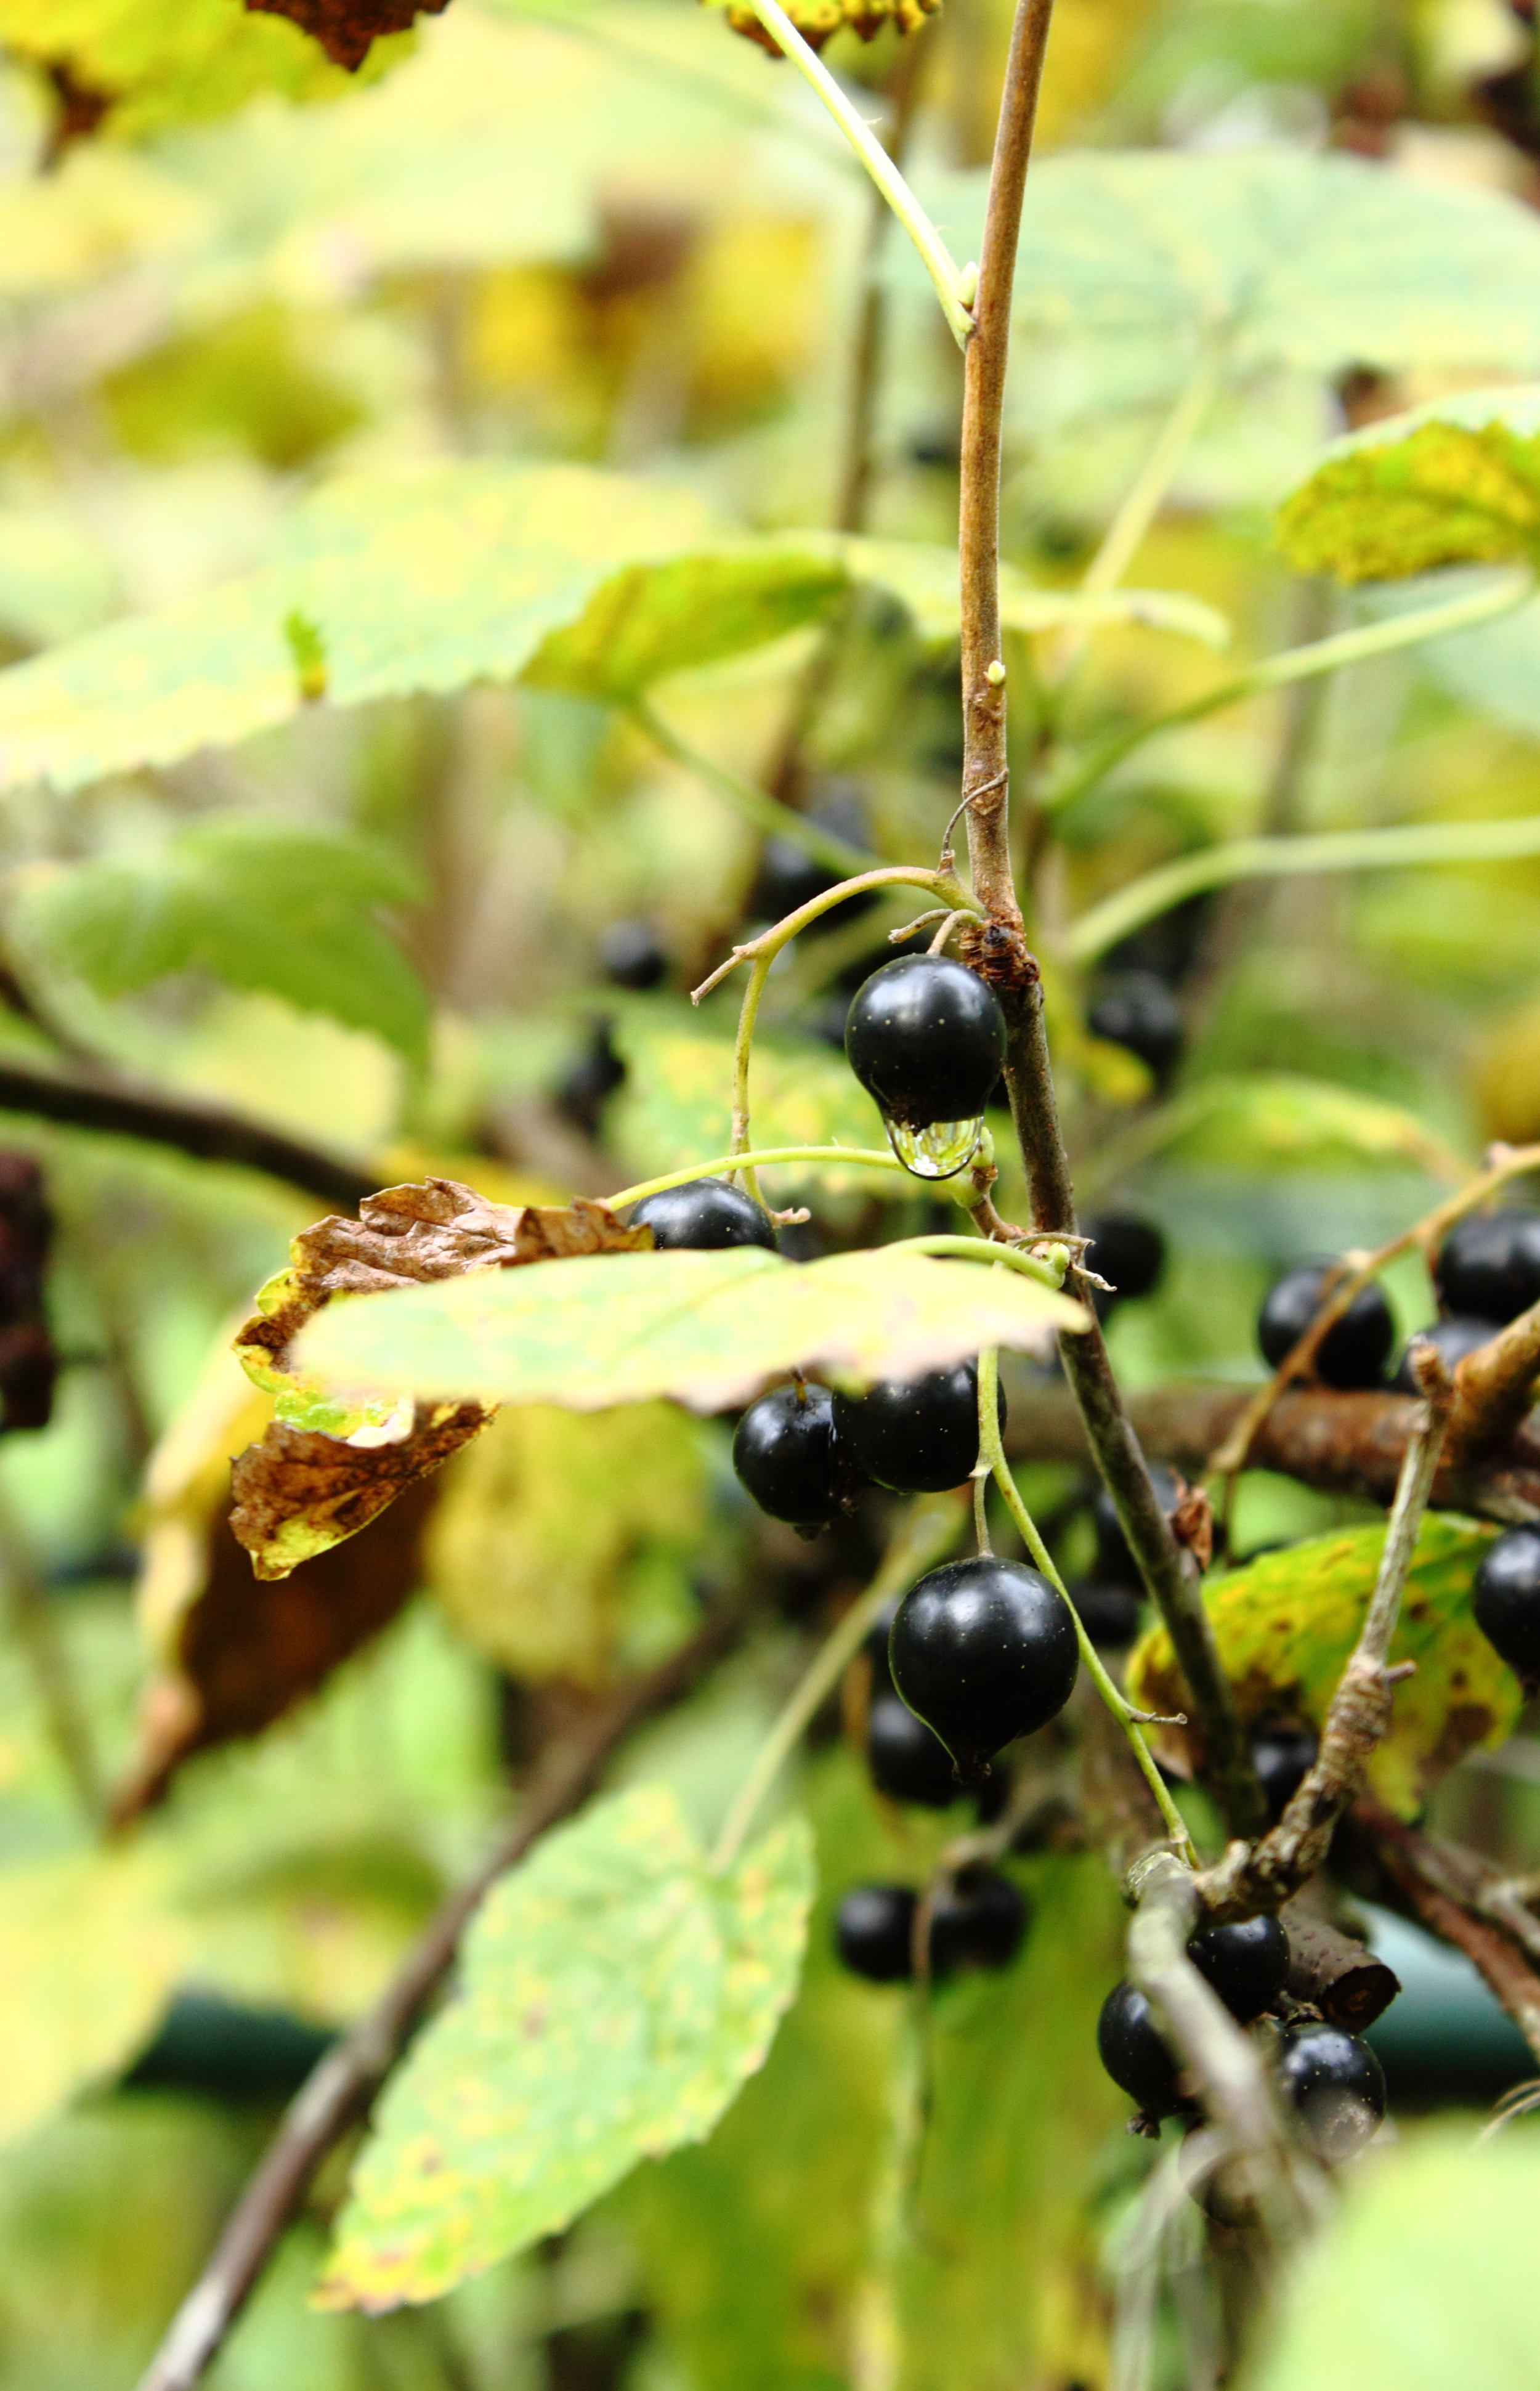
A couple of days ago I made a small trip to the countryside to the summer house of my dear great-aunt and her husband. A red wooden house surrounded by woods, water, and….berry bushes! Red, black, and white currants. Some blueberry bushes too.

IMG_7103_.JPG
IMG_7107_.JPG
IMG_7115_.JPG

Currant picking is quite a straightforward business. No scratches all over your arms or small worms nesting in your goodies like when raspberry picking. Nor are there stained fingers or that awful pain in your back which you get from picking bilberries. Oh and no mosquito air force waiting to drain the blood from you.

So I picked currants with a smile on my face. I went to the sauna and cooled down on the porch with a glass of homemade red currant juice in my hand. I listened to bird songs. Peaceful. A moment of late summer bliss.

IMG_7040_.JPG
IMG_7075_.JPG
IMG_7086_.JPG

Now I have my freezer and fridge full of currants (I came home with nearly 10 liters!). I’m still figuring out what I’m gonna make from all of them. I think there will be some jam making sessions and some will be saved for cold winter days. I’m also intrigued by the idea of making black currant juice. I’ll see.

I decided to start with this red currant tart. My great-aunt served quite a similar, simple but oh so delicious, tart and I couldn’t resist making one at home too. I especially love the tartness of it and the small vanilla seeds in the filling. So pretty!

IMG_7177_.JPG

RED CURRANT TART

Crust
85 g sugar
200 g unsalted butter, cold and diced
1 egg (M)
pinch of fine sea salt
185 g all-purpose flour
115 g whole grain barley flour

Filling
85 g sugar
120 g quark
120 g sour cream
1 egg (M)
½ tsp natural vanilla paste or ½ vanilla pod (sliced lengthwise and seeds scraped out)
250 g red currants (or any other currants or berries)

In a medium-sized bowl quickly rub the butter into the sugar with your fingers (or a pastry cutting tool or alternatively pulse in a food processor) until well incorporated and crumbly. Add the egg and mix. Add salt and both flours and knead until everything has come together. Avoid over-working the dough - try to work as fast as possible. There should still be some small butter pieces left. The dough should feel quite crumbly but stick together. Form the dough into a disk, wrap in plastic wrap, and refrigerate for at least an hour.

Preheat oven to 175°C (350°F). Roll the dough out and press into a 26 cm (10”) tart mold. If the dough cracks, don’t worry, just pinch it back together. Cut off any excess. With a fork, poke several holes in the bottom of the tart dough. Bake on the middle rack for 10 minutes. {I didn’t use baking weights and my tart came out perfectly.}

In the meantime prepare the filling. Remove currants from stems, wash them and dry with a kitchen towel or household paper. Beat the sugar, curd, sour cream, egg, and natural vanilla paste (or vanilla seeds) in a small bowl until smooth.

Pour the mixture into the prebaked tart. Top with the red currants. Bake for 25-30 minutes until the edges start to brown and the filling has set. Let cool down a bit before serving.

Serve with vanilla ice cream or vanilla sauce, if desired – especially if you want to balance out the tartness. I have to say that in Finland we would always enjoy this alongside a cup of freshly brewed coffee. We are, after all, a coffee nation.


IMG_7207_.JPG