Midsummer is all about light and flowers. That said, how perfect is this recipe to share around this time of the year? I had the honour of being a guest at Suus' Morning Rituals series on her fabulous food blog Food Bandits. Morning Rituals is one of those food blog series I look most forward to, so it was a real joy to become a part of that international blog and breakfast love. I talked about my breakfast favorites, how I would like to be a morning person, although I'm not, coffee, and shared the recipe for honey granola. You can read the talk I had with Suus here.
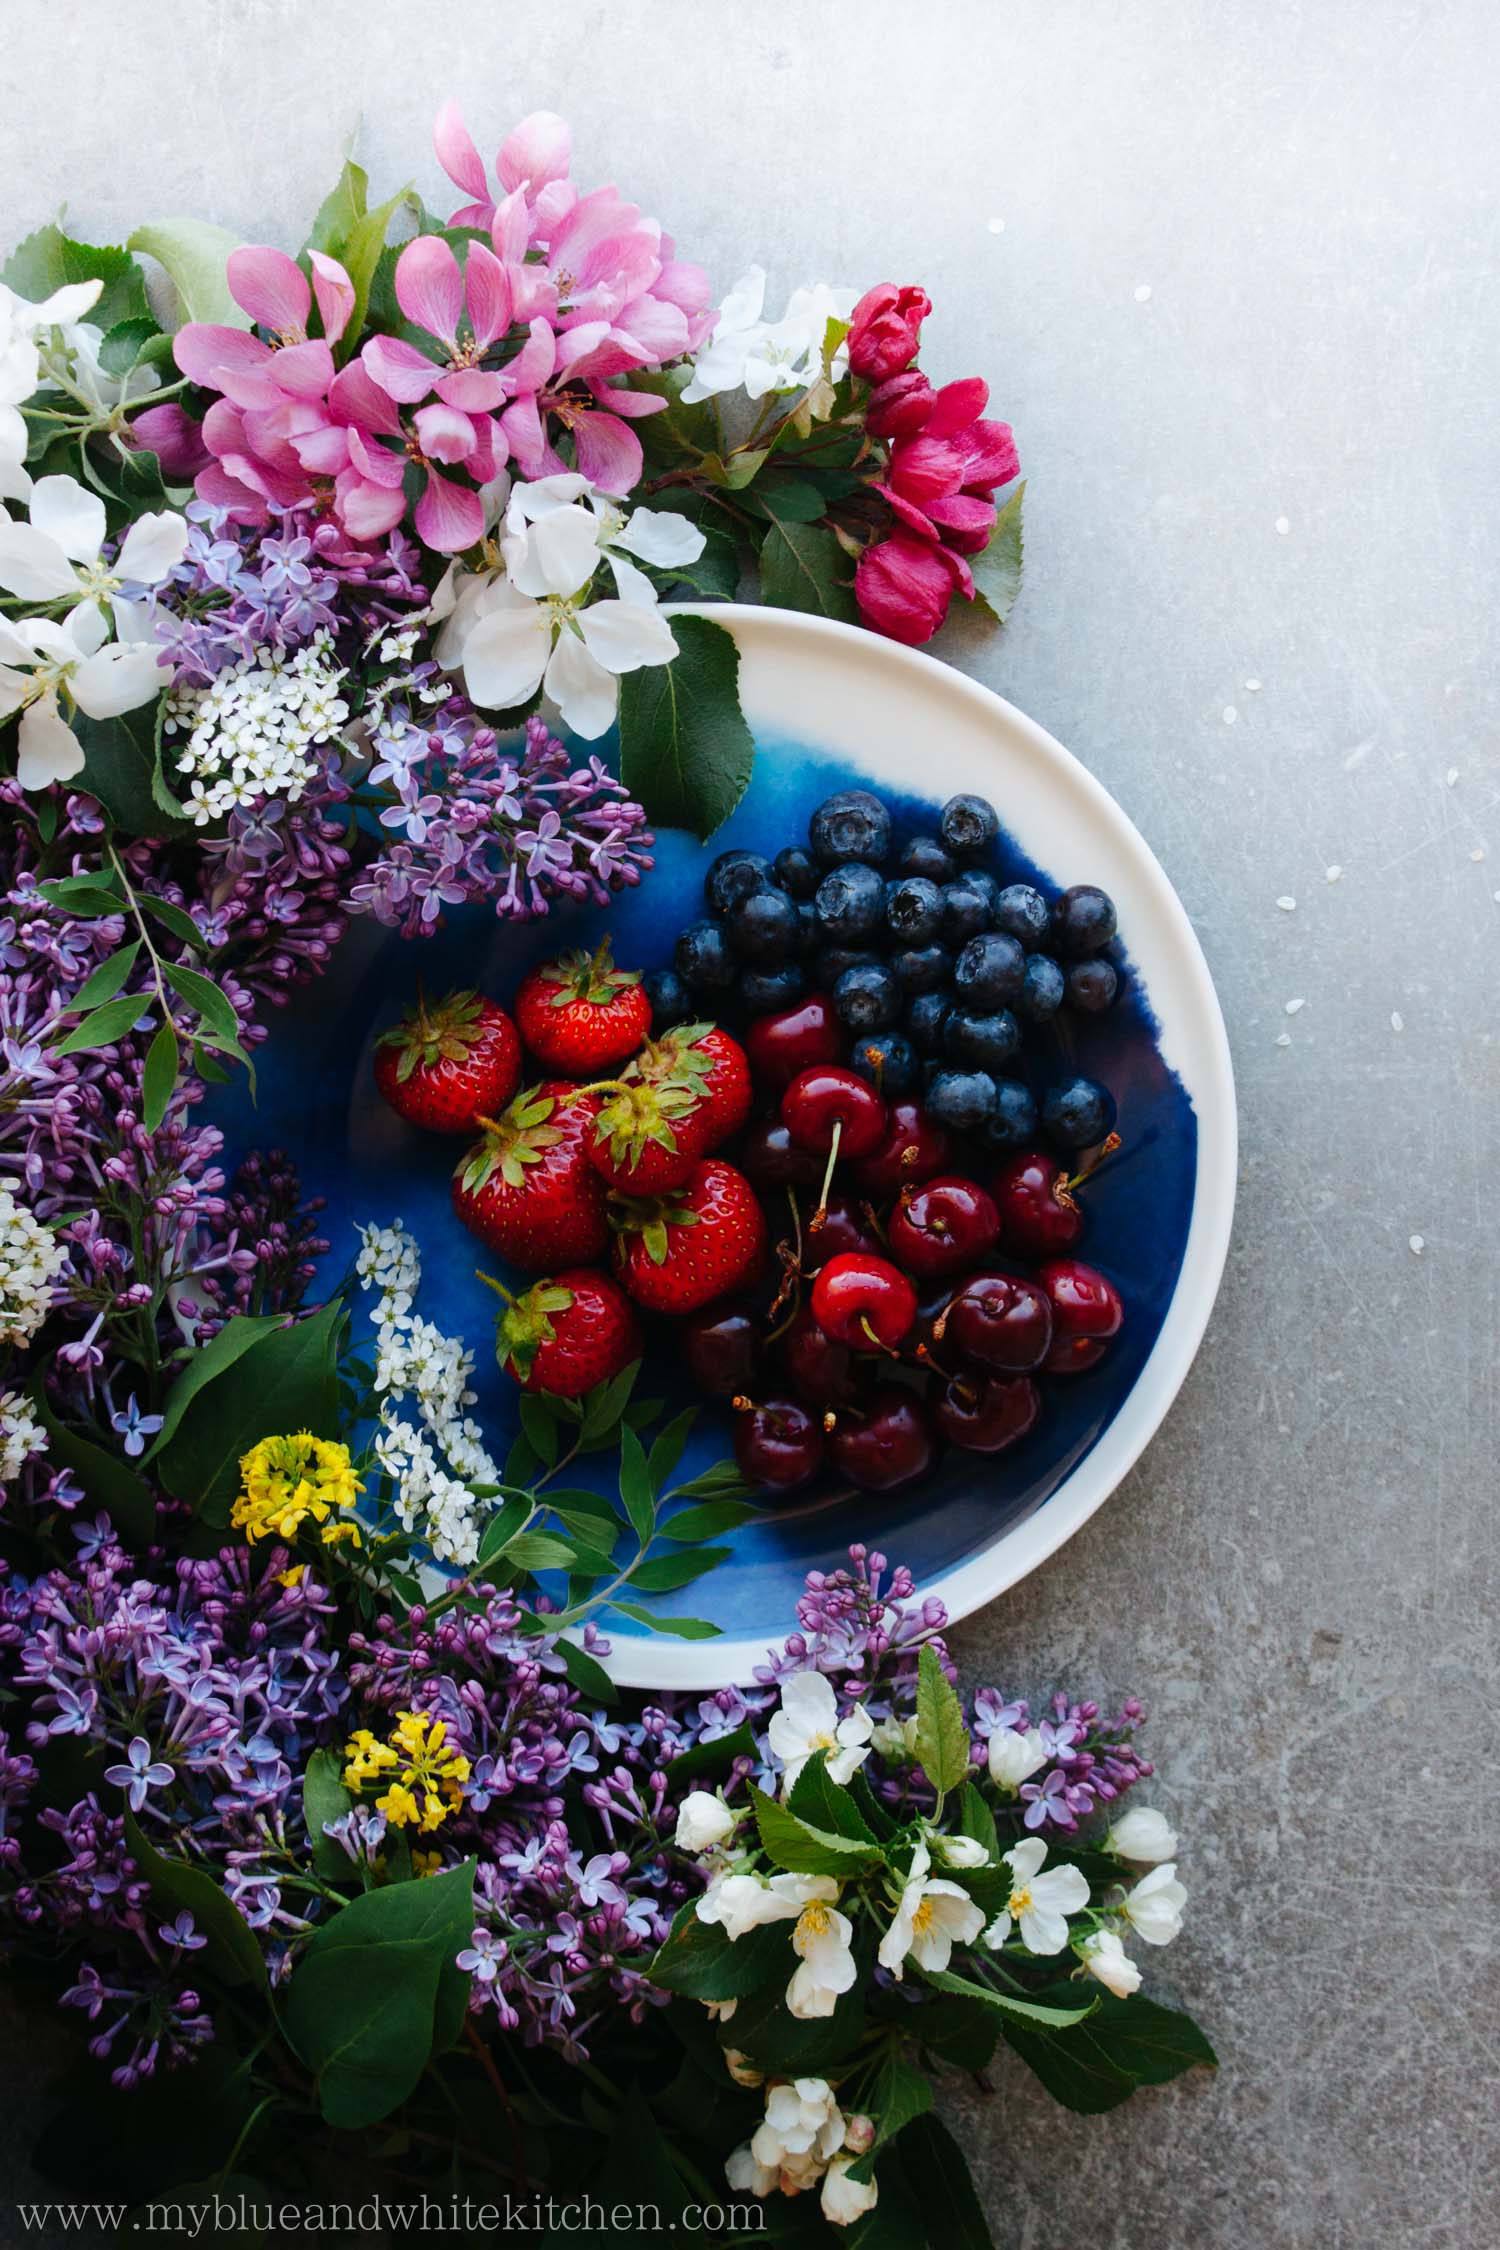
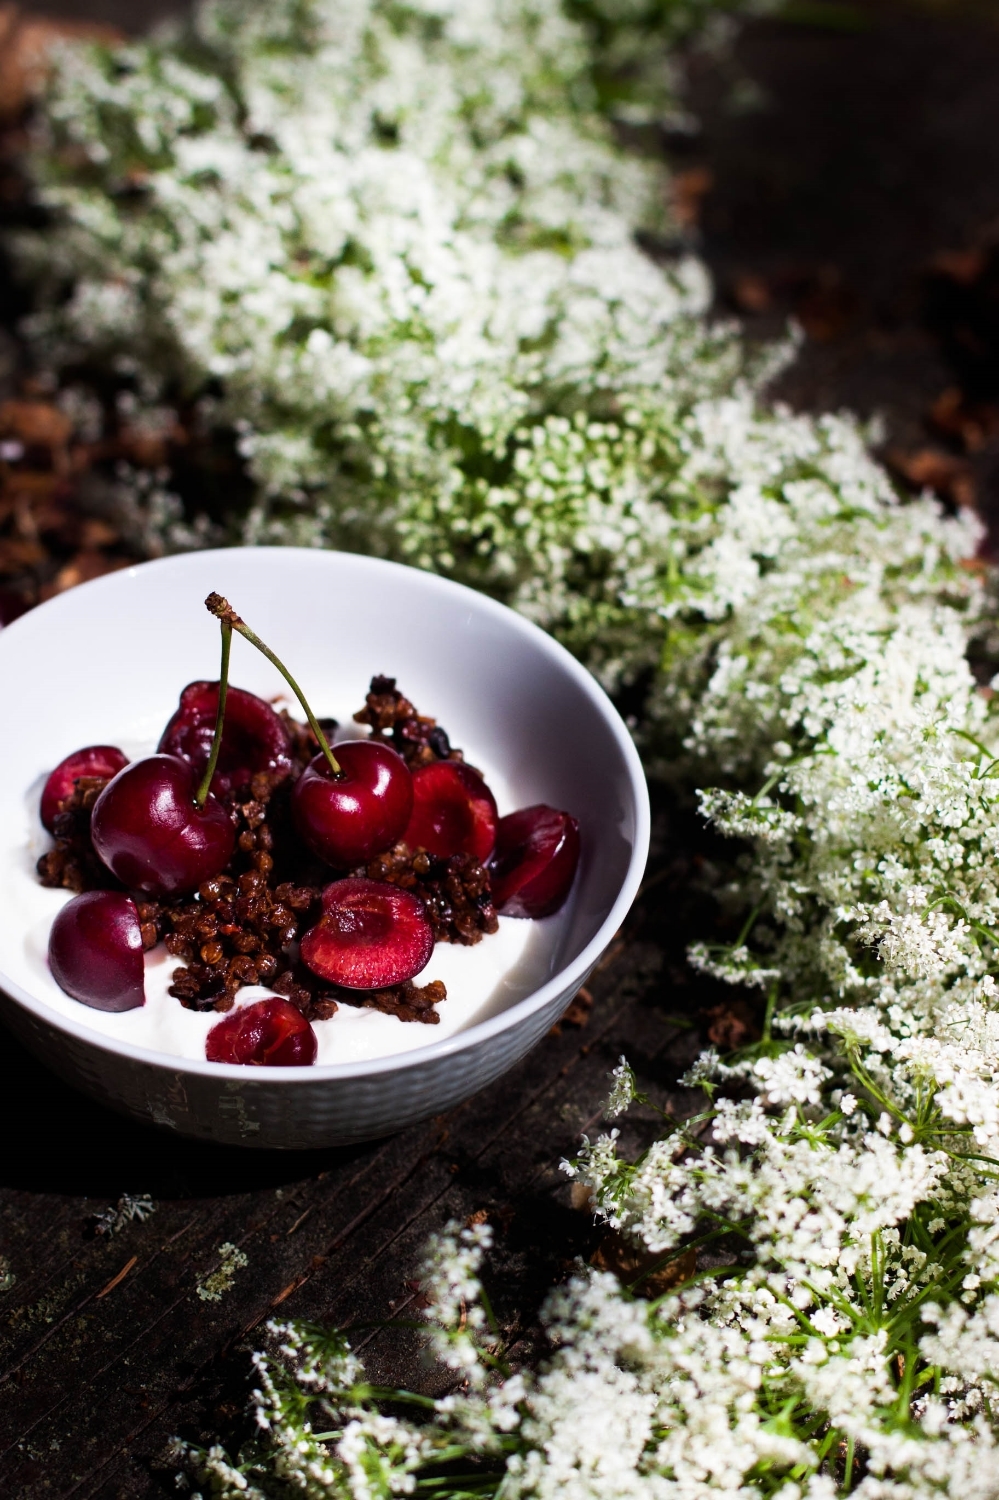
This granola recipe was created out of a longing for a simple yet tasty granola that would be lovely with summer's most wonderful berries and fruit. I wanted a granola that would let the summer produce be the star of the bowl. During the colder months, I like to add all kind of spices, nuts, seeds, and dried berries to my granola, so that the granola can easily stand on its own. In summer, however, I look for more delicate flavors.
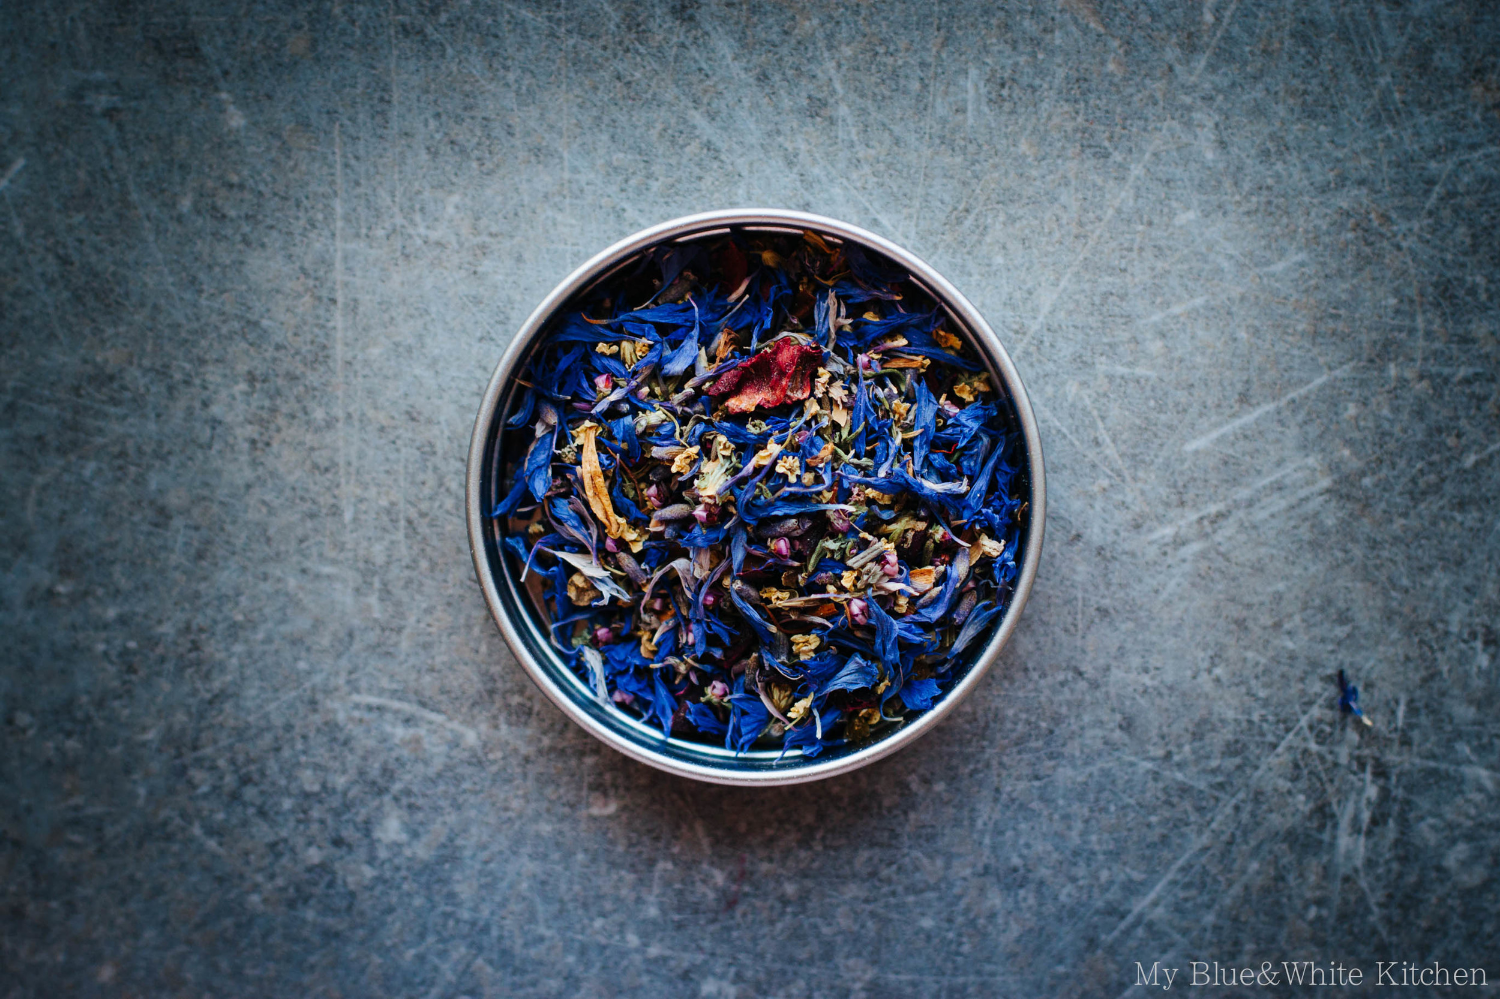
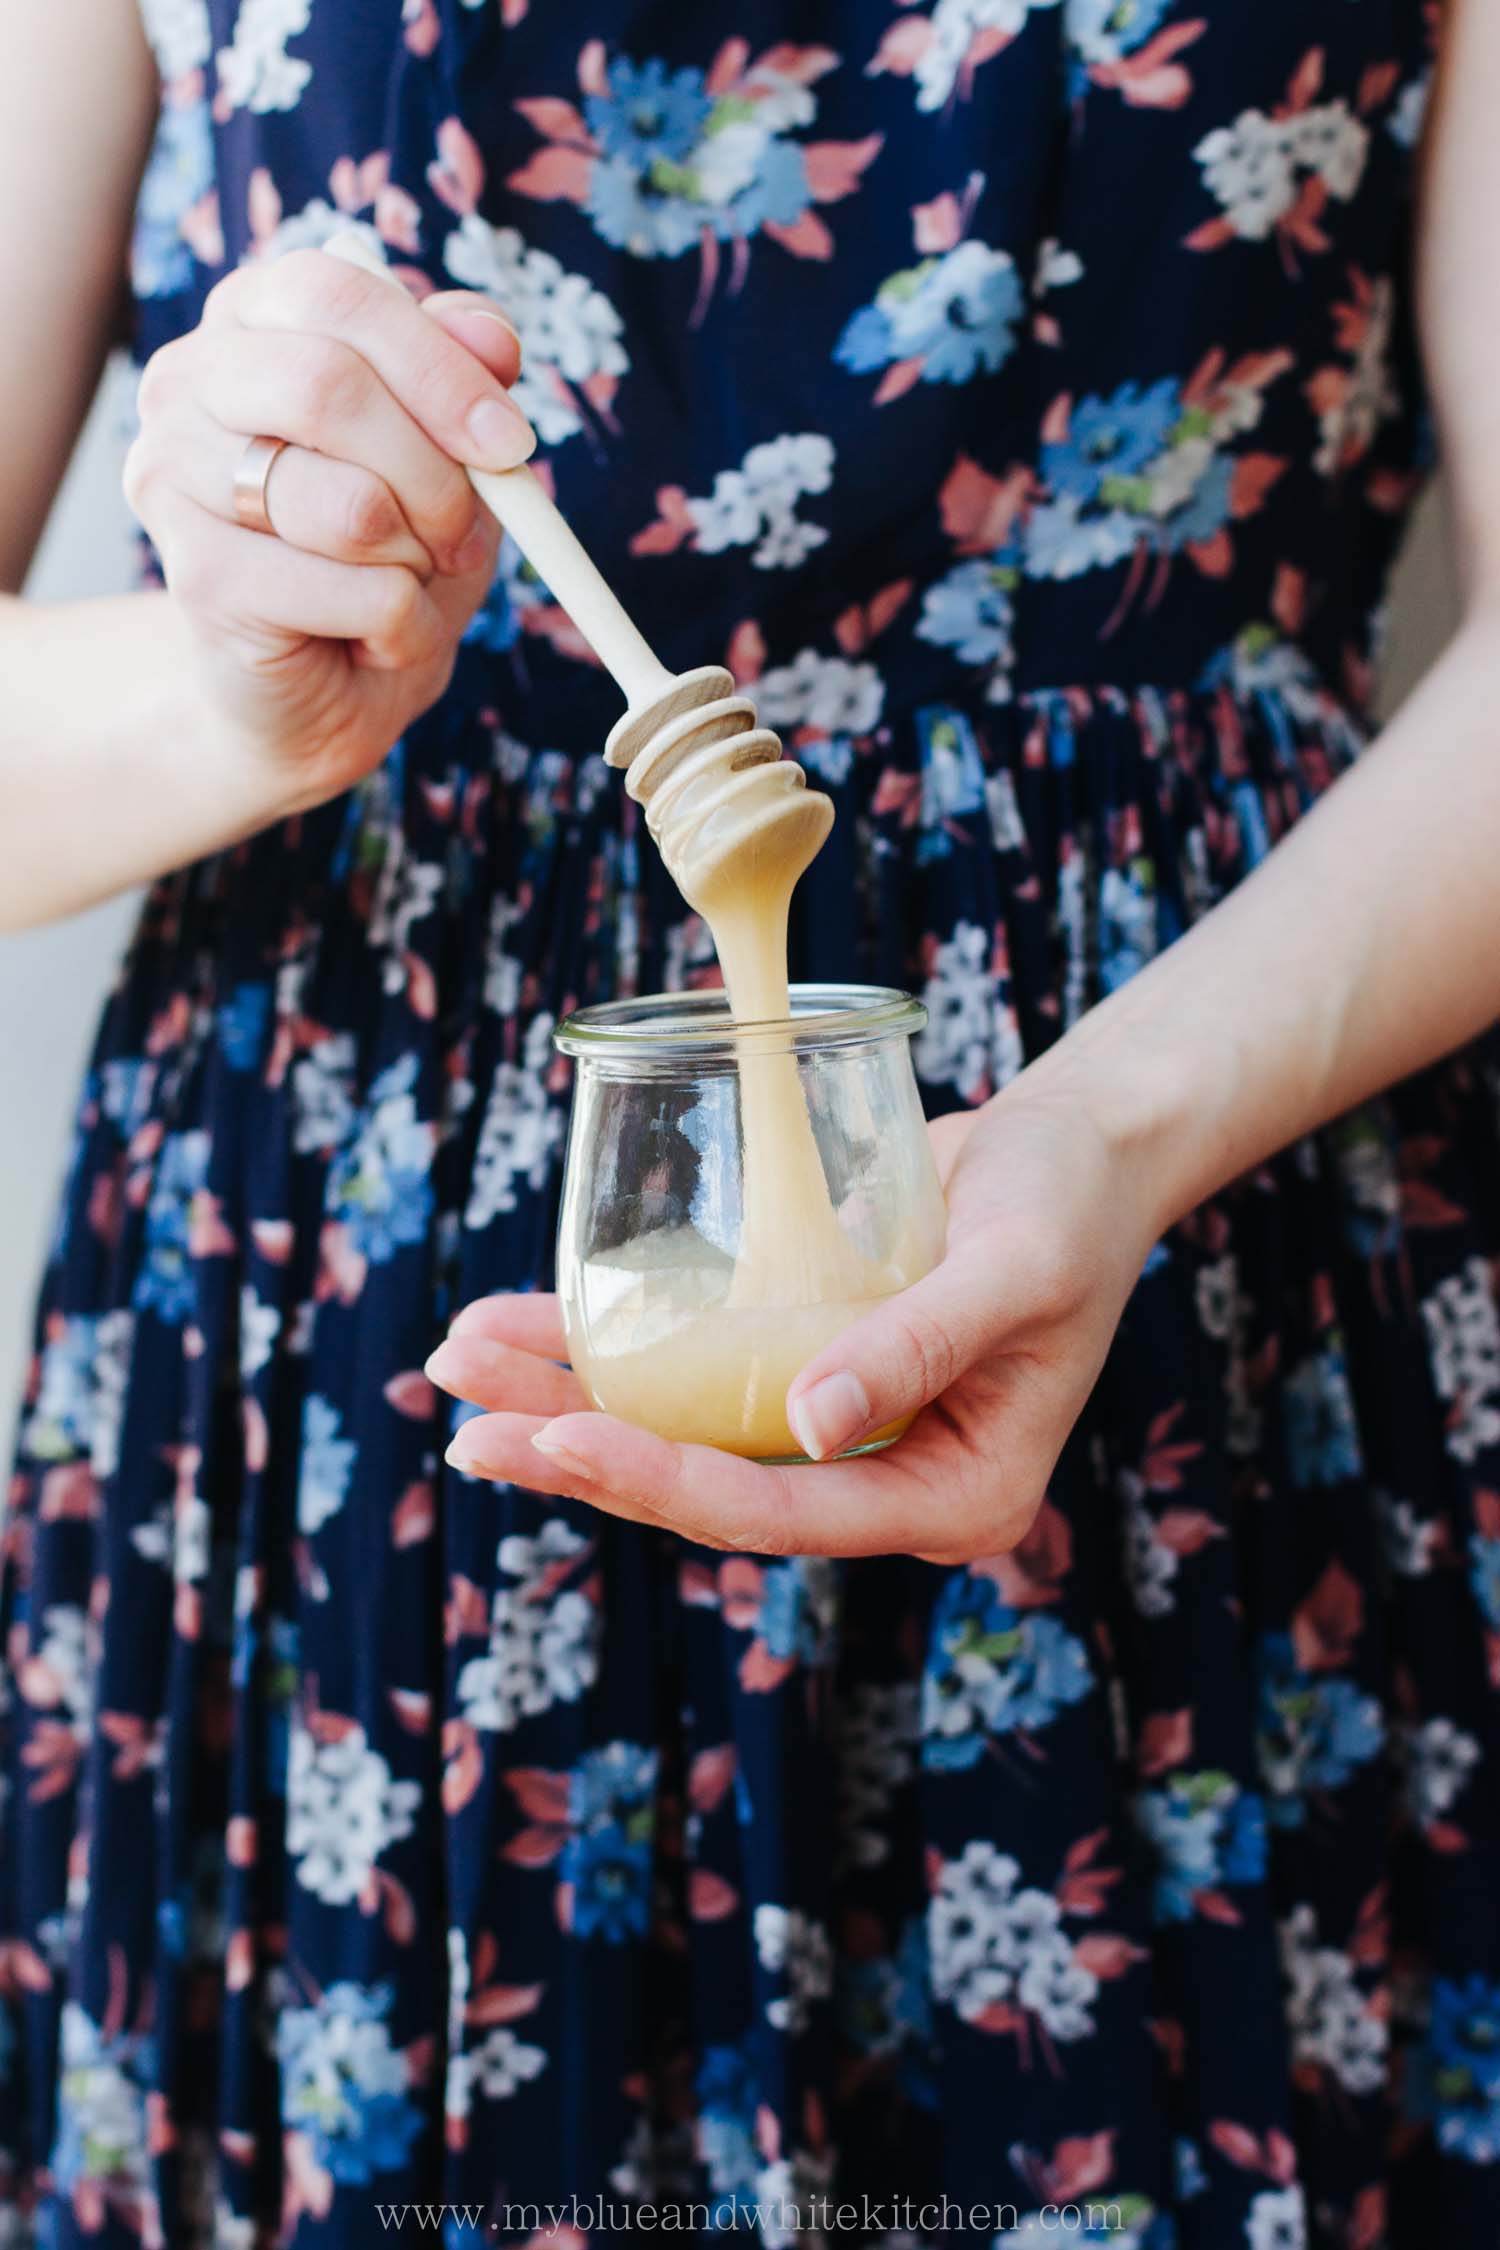
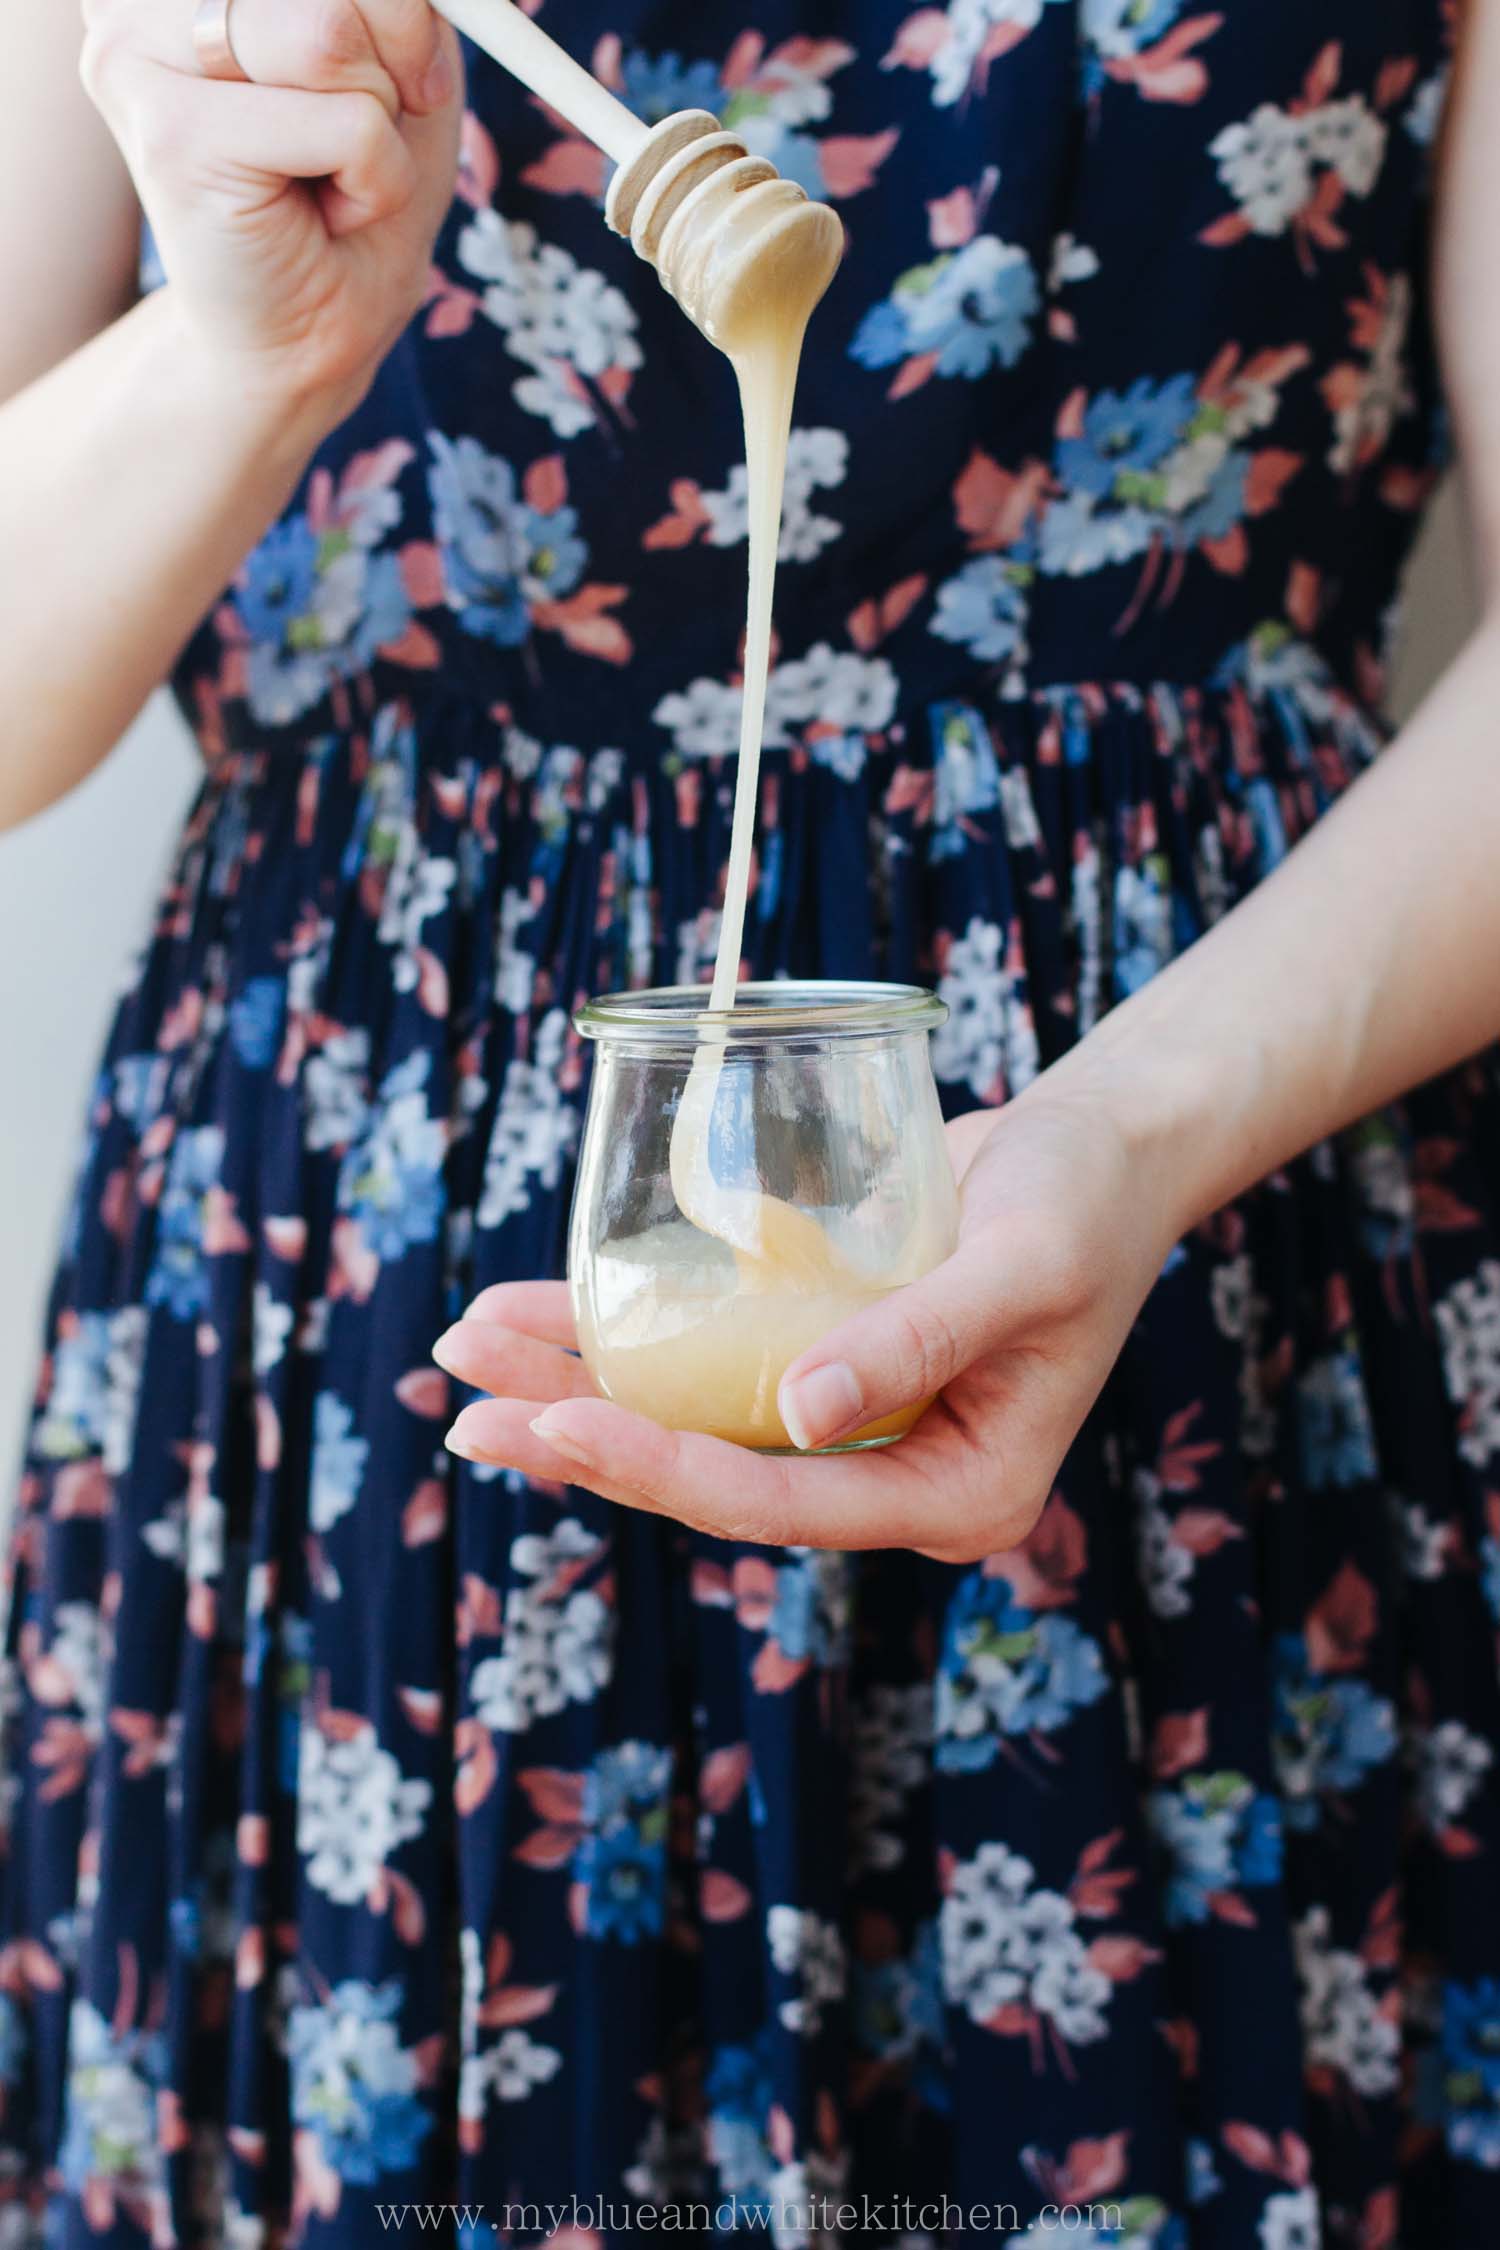
Honey works great as a sweetener and is a nice alternative to maple syrup that I use often when sweetening homemade granola. Elderflowers are the essence of summer and I just can't believe that elderflower trees are so very hard to find here in Finland. It's not fair, folks! Out of frustration, I've used elderflower syrup a lot lately. I've marinated strawberries in it, made drinks with elderflower syrup and prosecco, and decided to use it in this granola as well. Should you not be able to find elderflower syrup at your local grocery store, look for it at Ikea. I opted for almonds only but you could certainly use whatever nuts you like the most. I'm a sucker for millet in my granola, as I like its texture when toasted; it adds something exciting to the granola mix. Should you not be into millet or don't have it at hand, leave it out or substitute it with seeds of your choice.

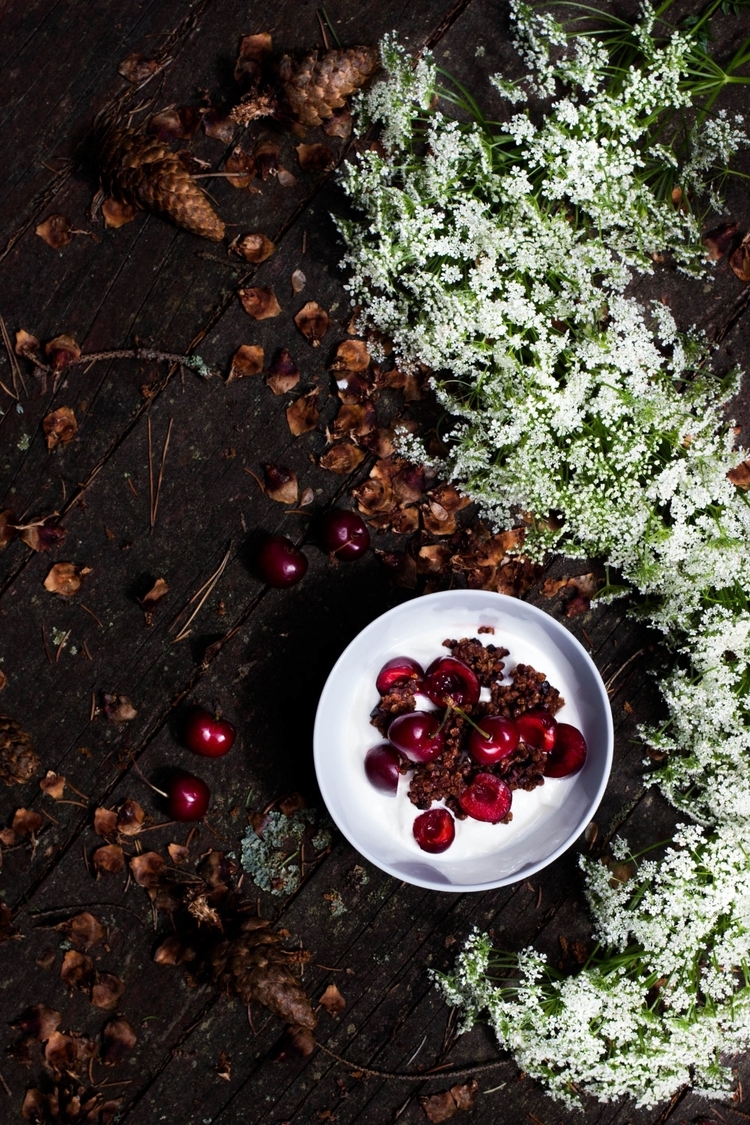
Honey Granola with Summer Berries
makes 1 sheet
This granola is naturally gluten-free. However, look for certified gluten-free oats, as oats are often contaminated with gluten, for example during harvesting, milling, or packaging.
200 g (5 dl; 2 cups) rolled oats
150 g (2 ½ dl; 1 cup) almonds, roughly chopped
55 g (4 tbsp) millet
¾ tsp fine sea salt
4 tbsp extra virgin olive oil
4 tbsp elderflower syrup
1 ½ dl (2/3 cup) honey
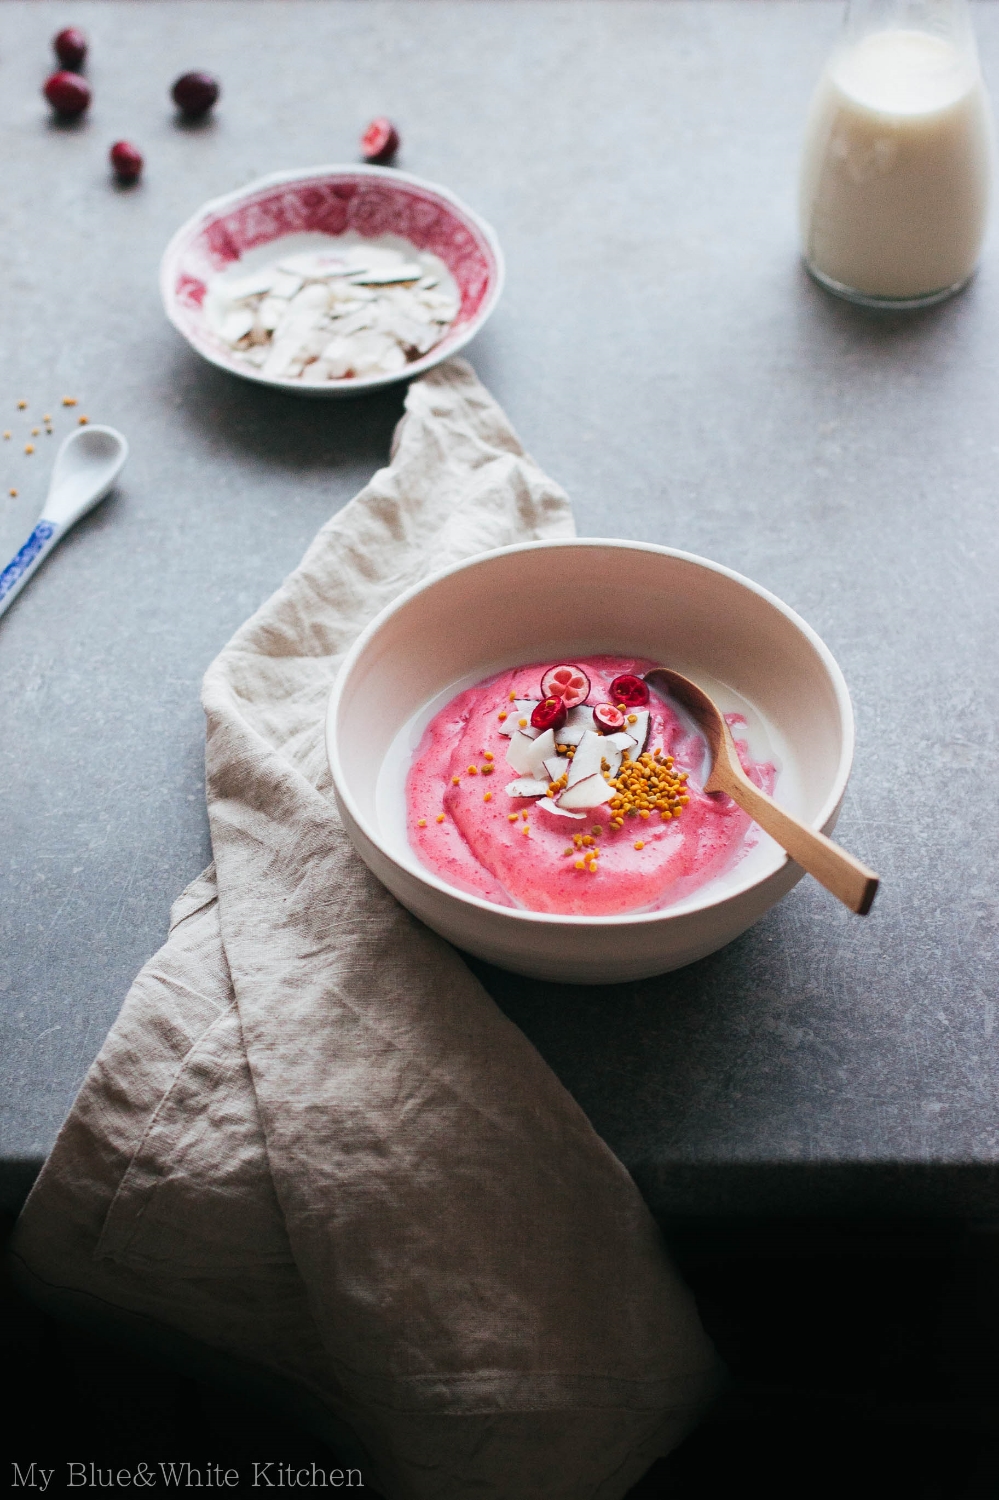
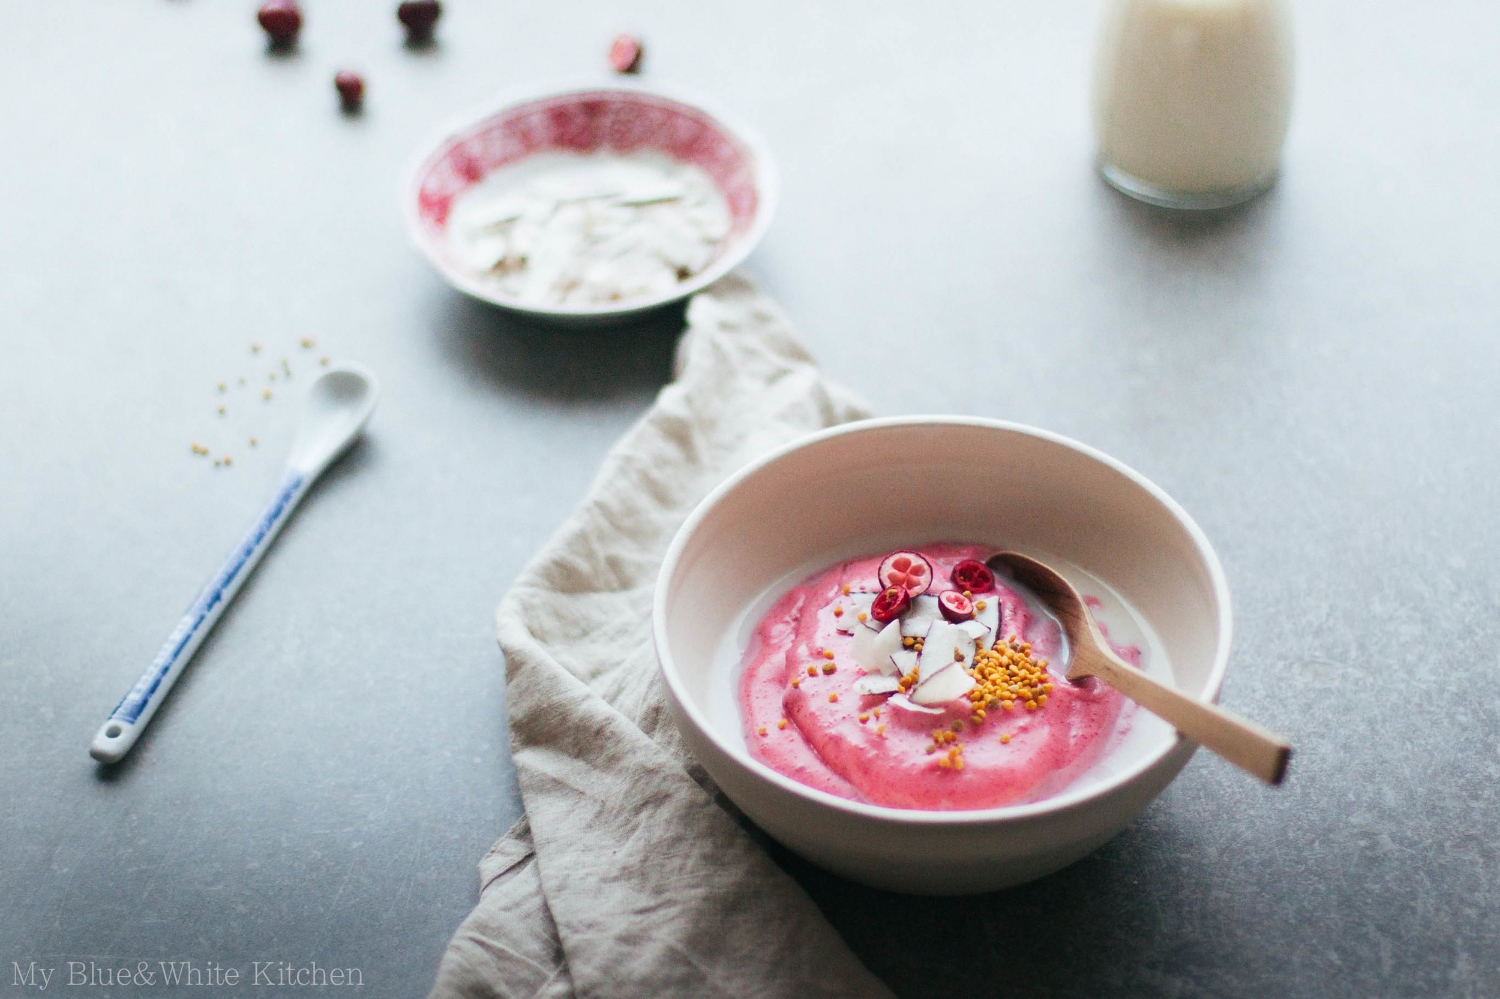
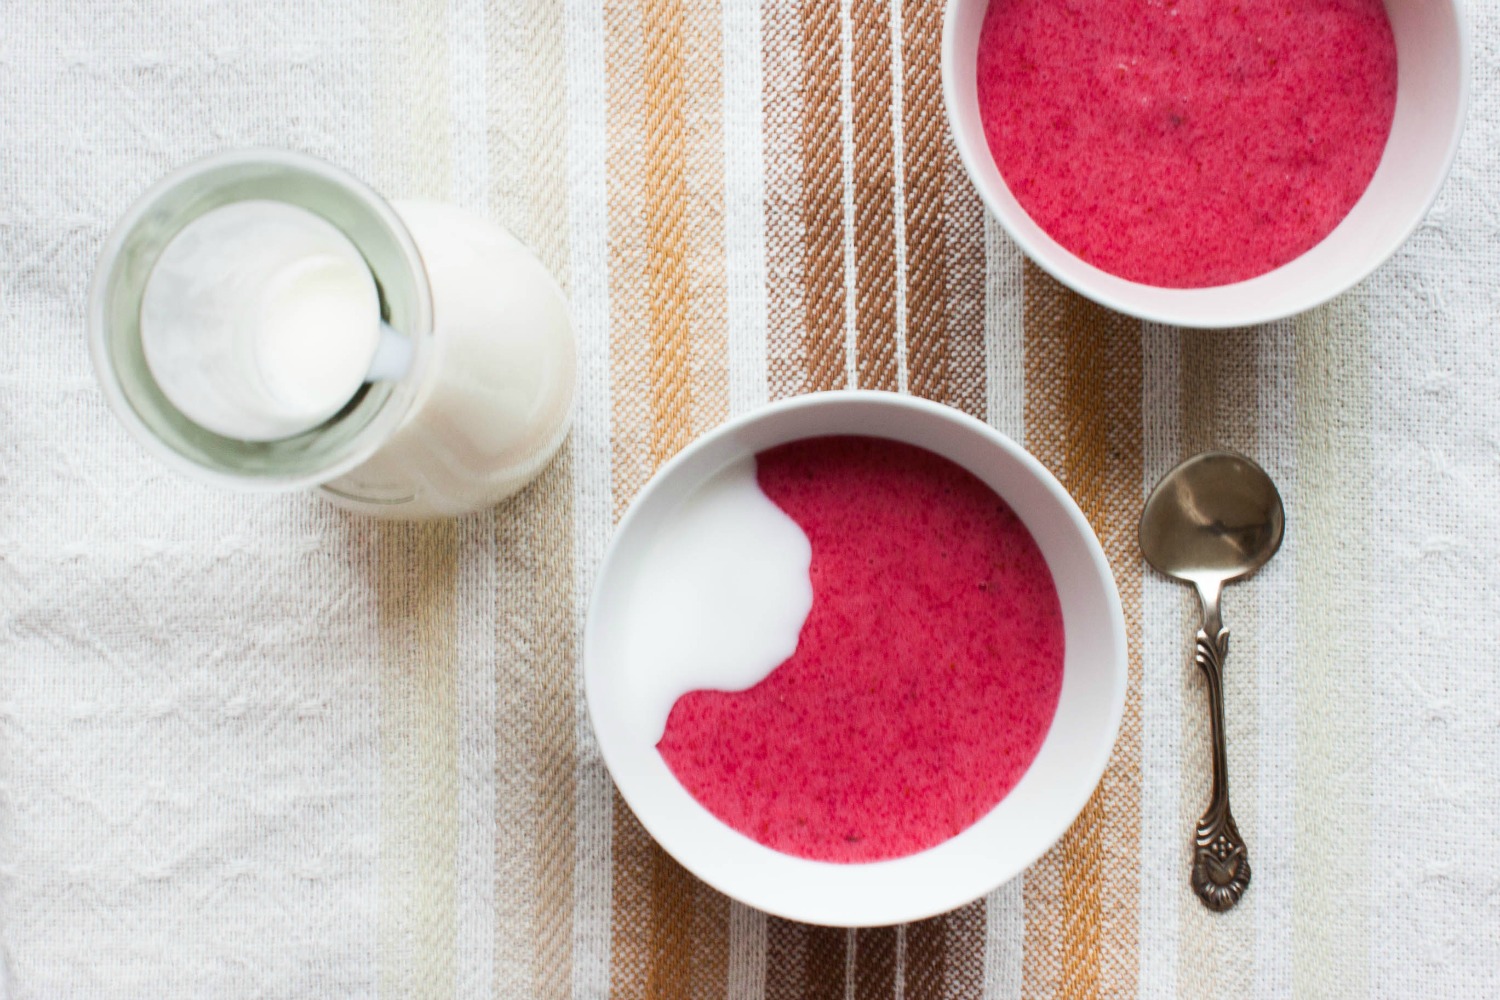
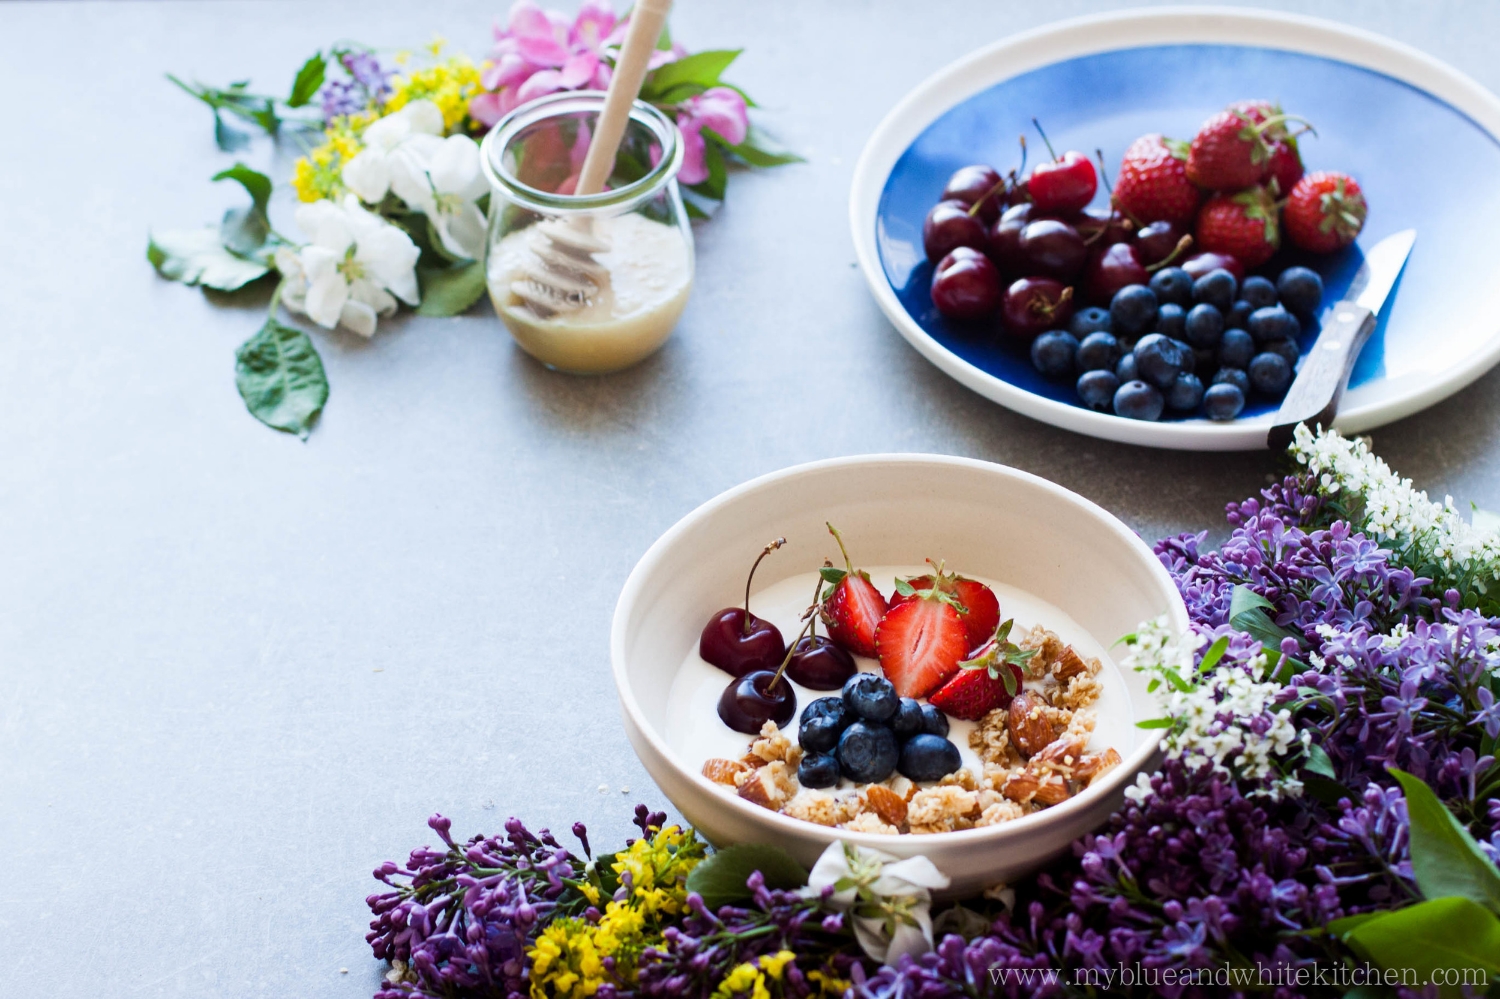
plain yogurt, to serve
summer berries or fruit, to serve
optional: honey or agave nectar, to serve
Preheat oven to 150°C (300°F). Line a baking sheet with parchment paper.
In a medium-sized bowl, combine the oats, almonds, millet, and salt. In another, small bowl, whisk together the olive oil, elderflower syrup, and honey until throughly combined. Add the wet ingredients to the dry ingredients and mix.
Spread the granola mixture evenly onto the lined baking sheet. Bake for 25 to 30 minutes, or until lightly golden. The granola will get crispy as it cools. Stir the granola mixture and flip the sheet half way through. Keep a close look at the granola, as honey tends to brown quickly. Mix the granola mixture several times during the last 10 minutes of baking, as the granola at the edges tends to brown quicker than in the middle.
Let the granola cool completely before storing in an airtight container, such as a mason jar.
Enjoy with plain yogurt and top with your favorite summer berries.

Related Posts