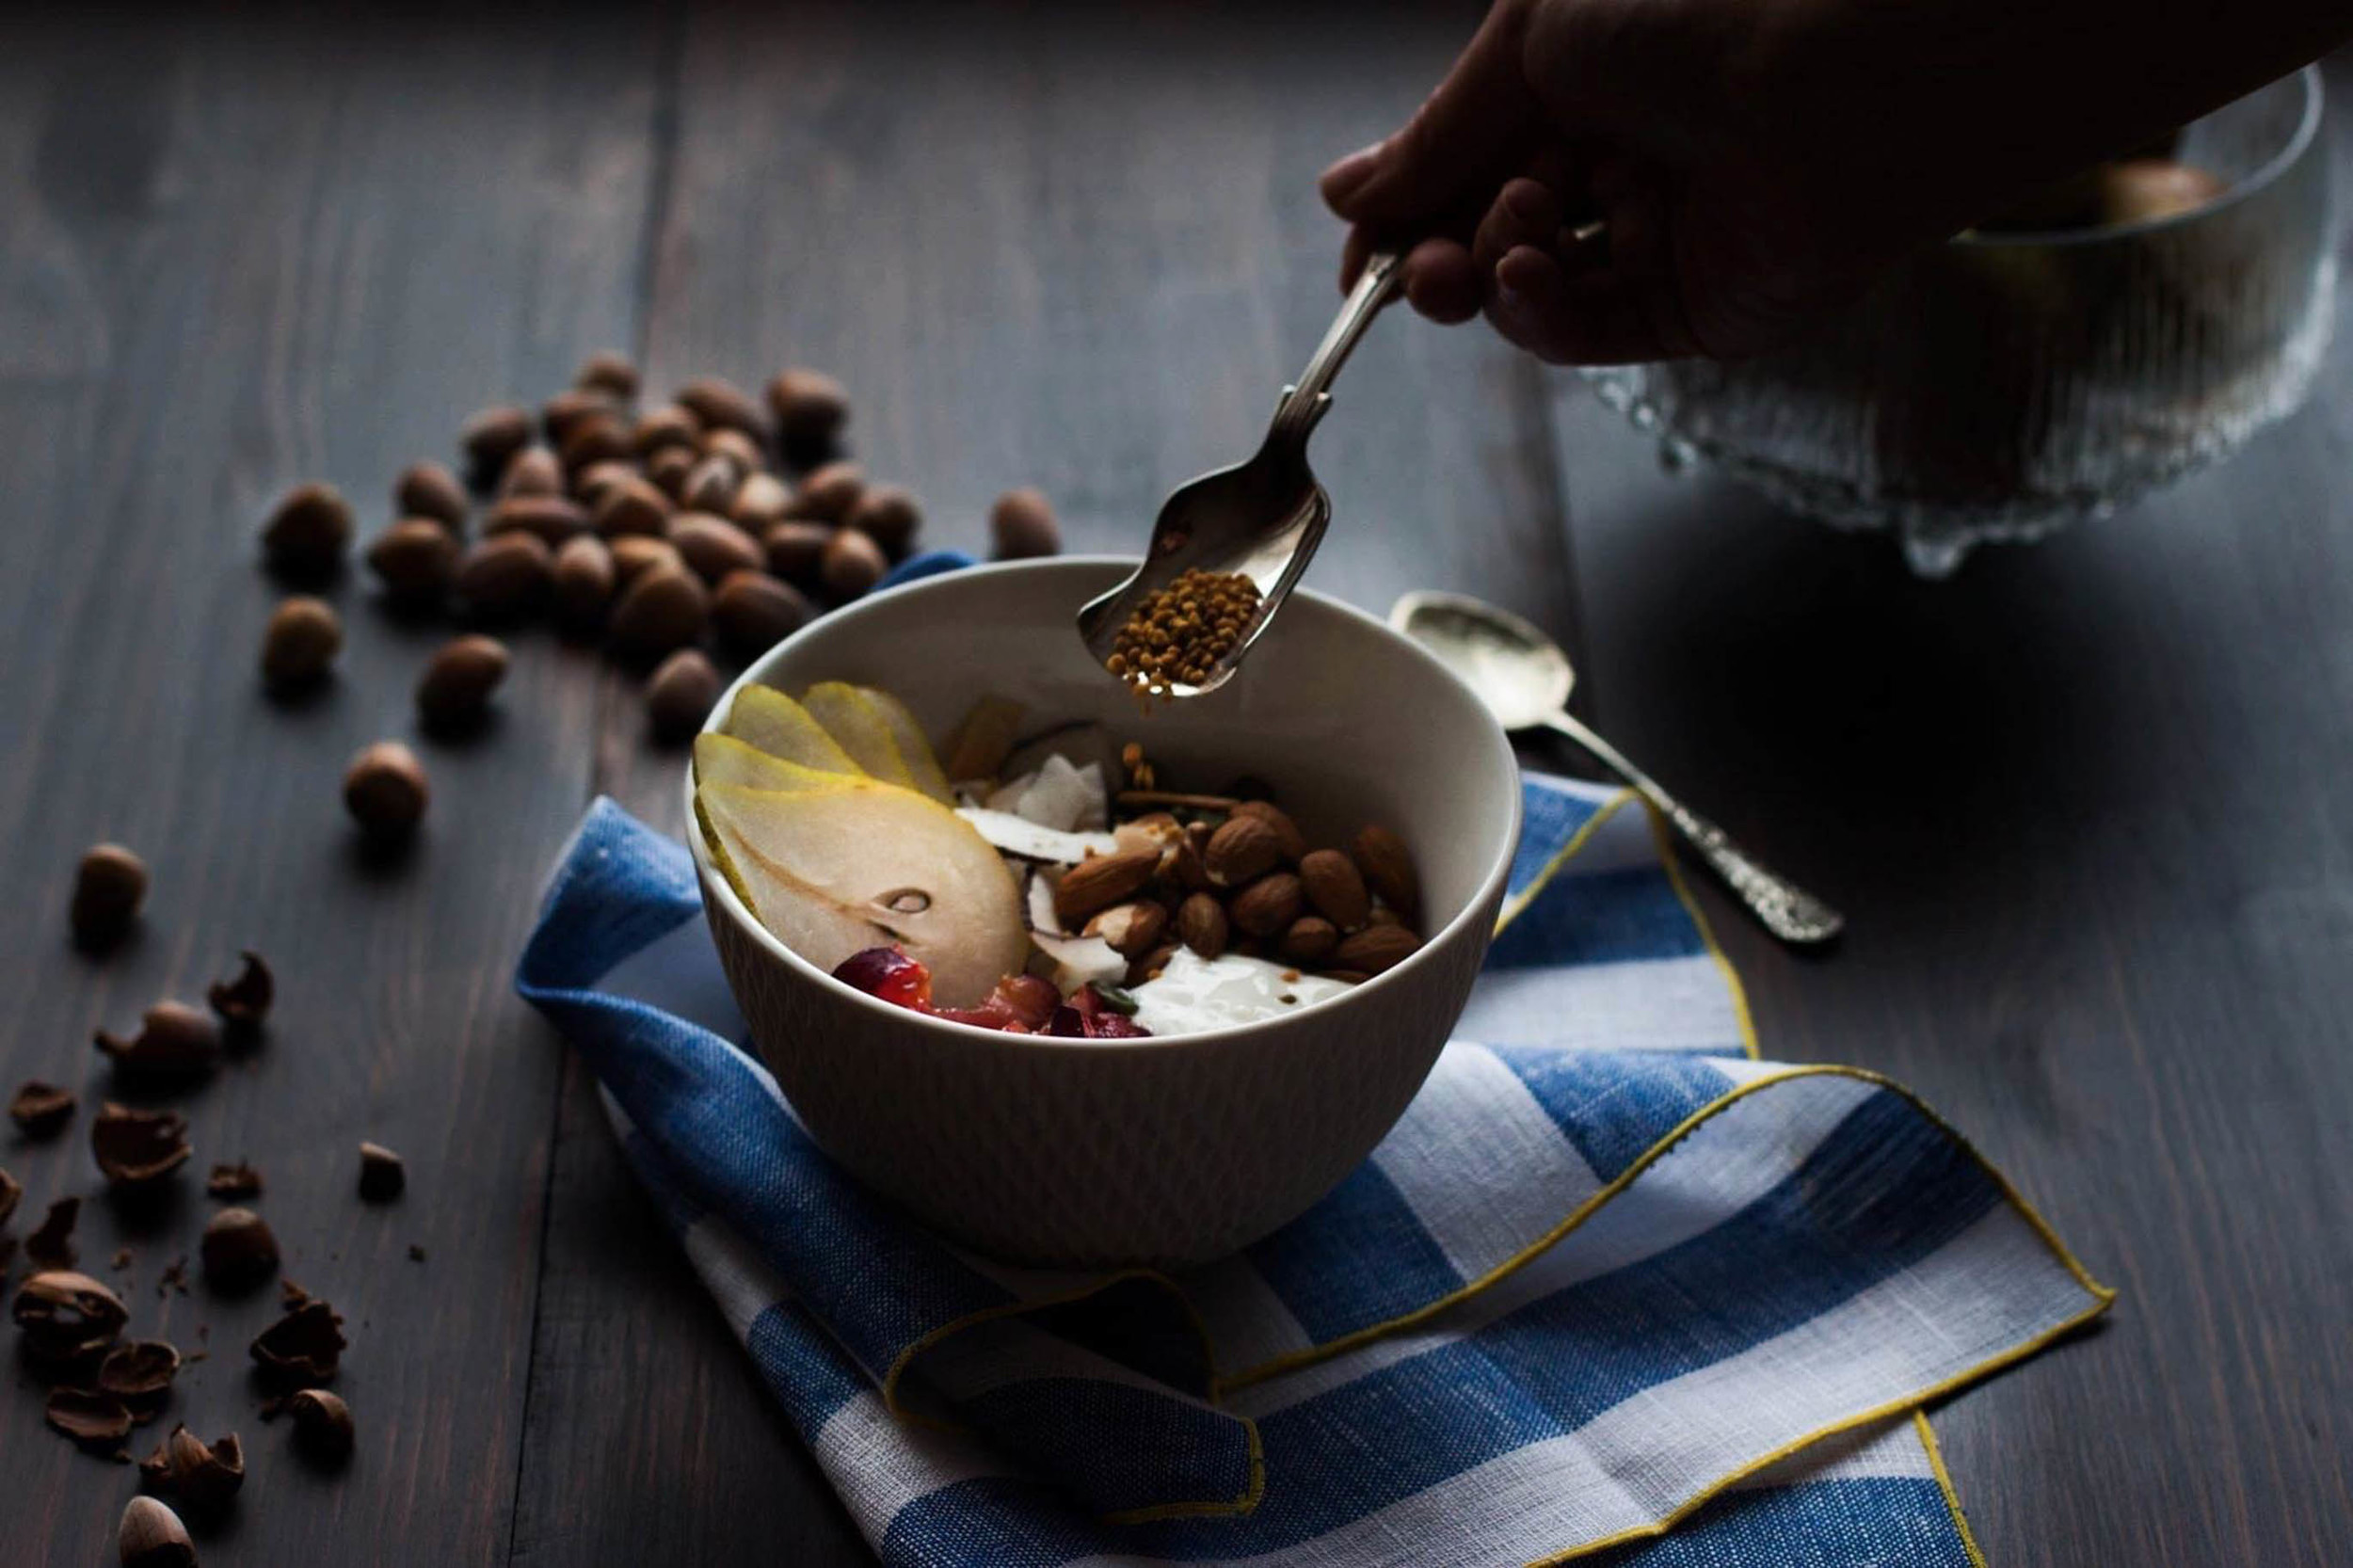
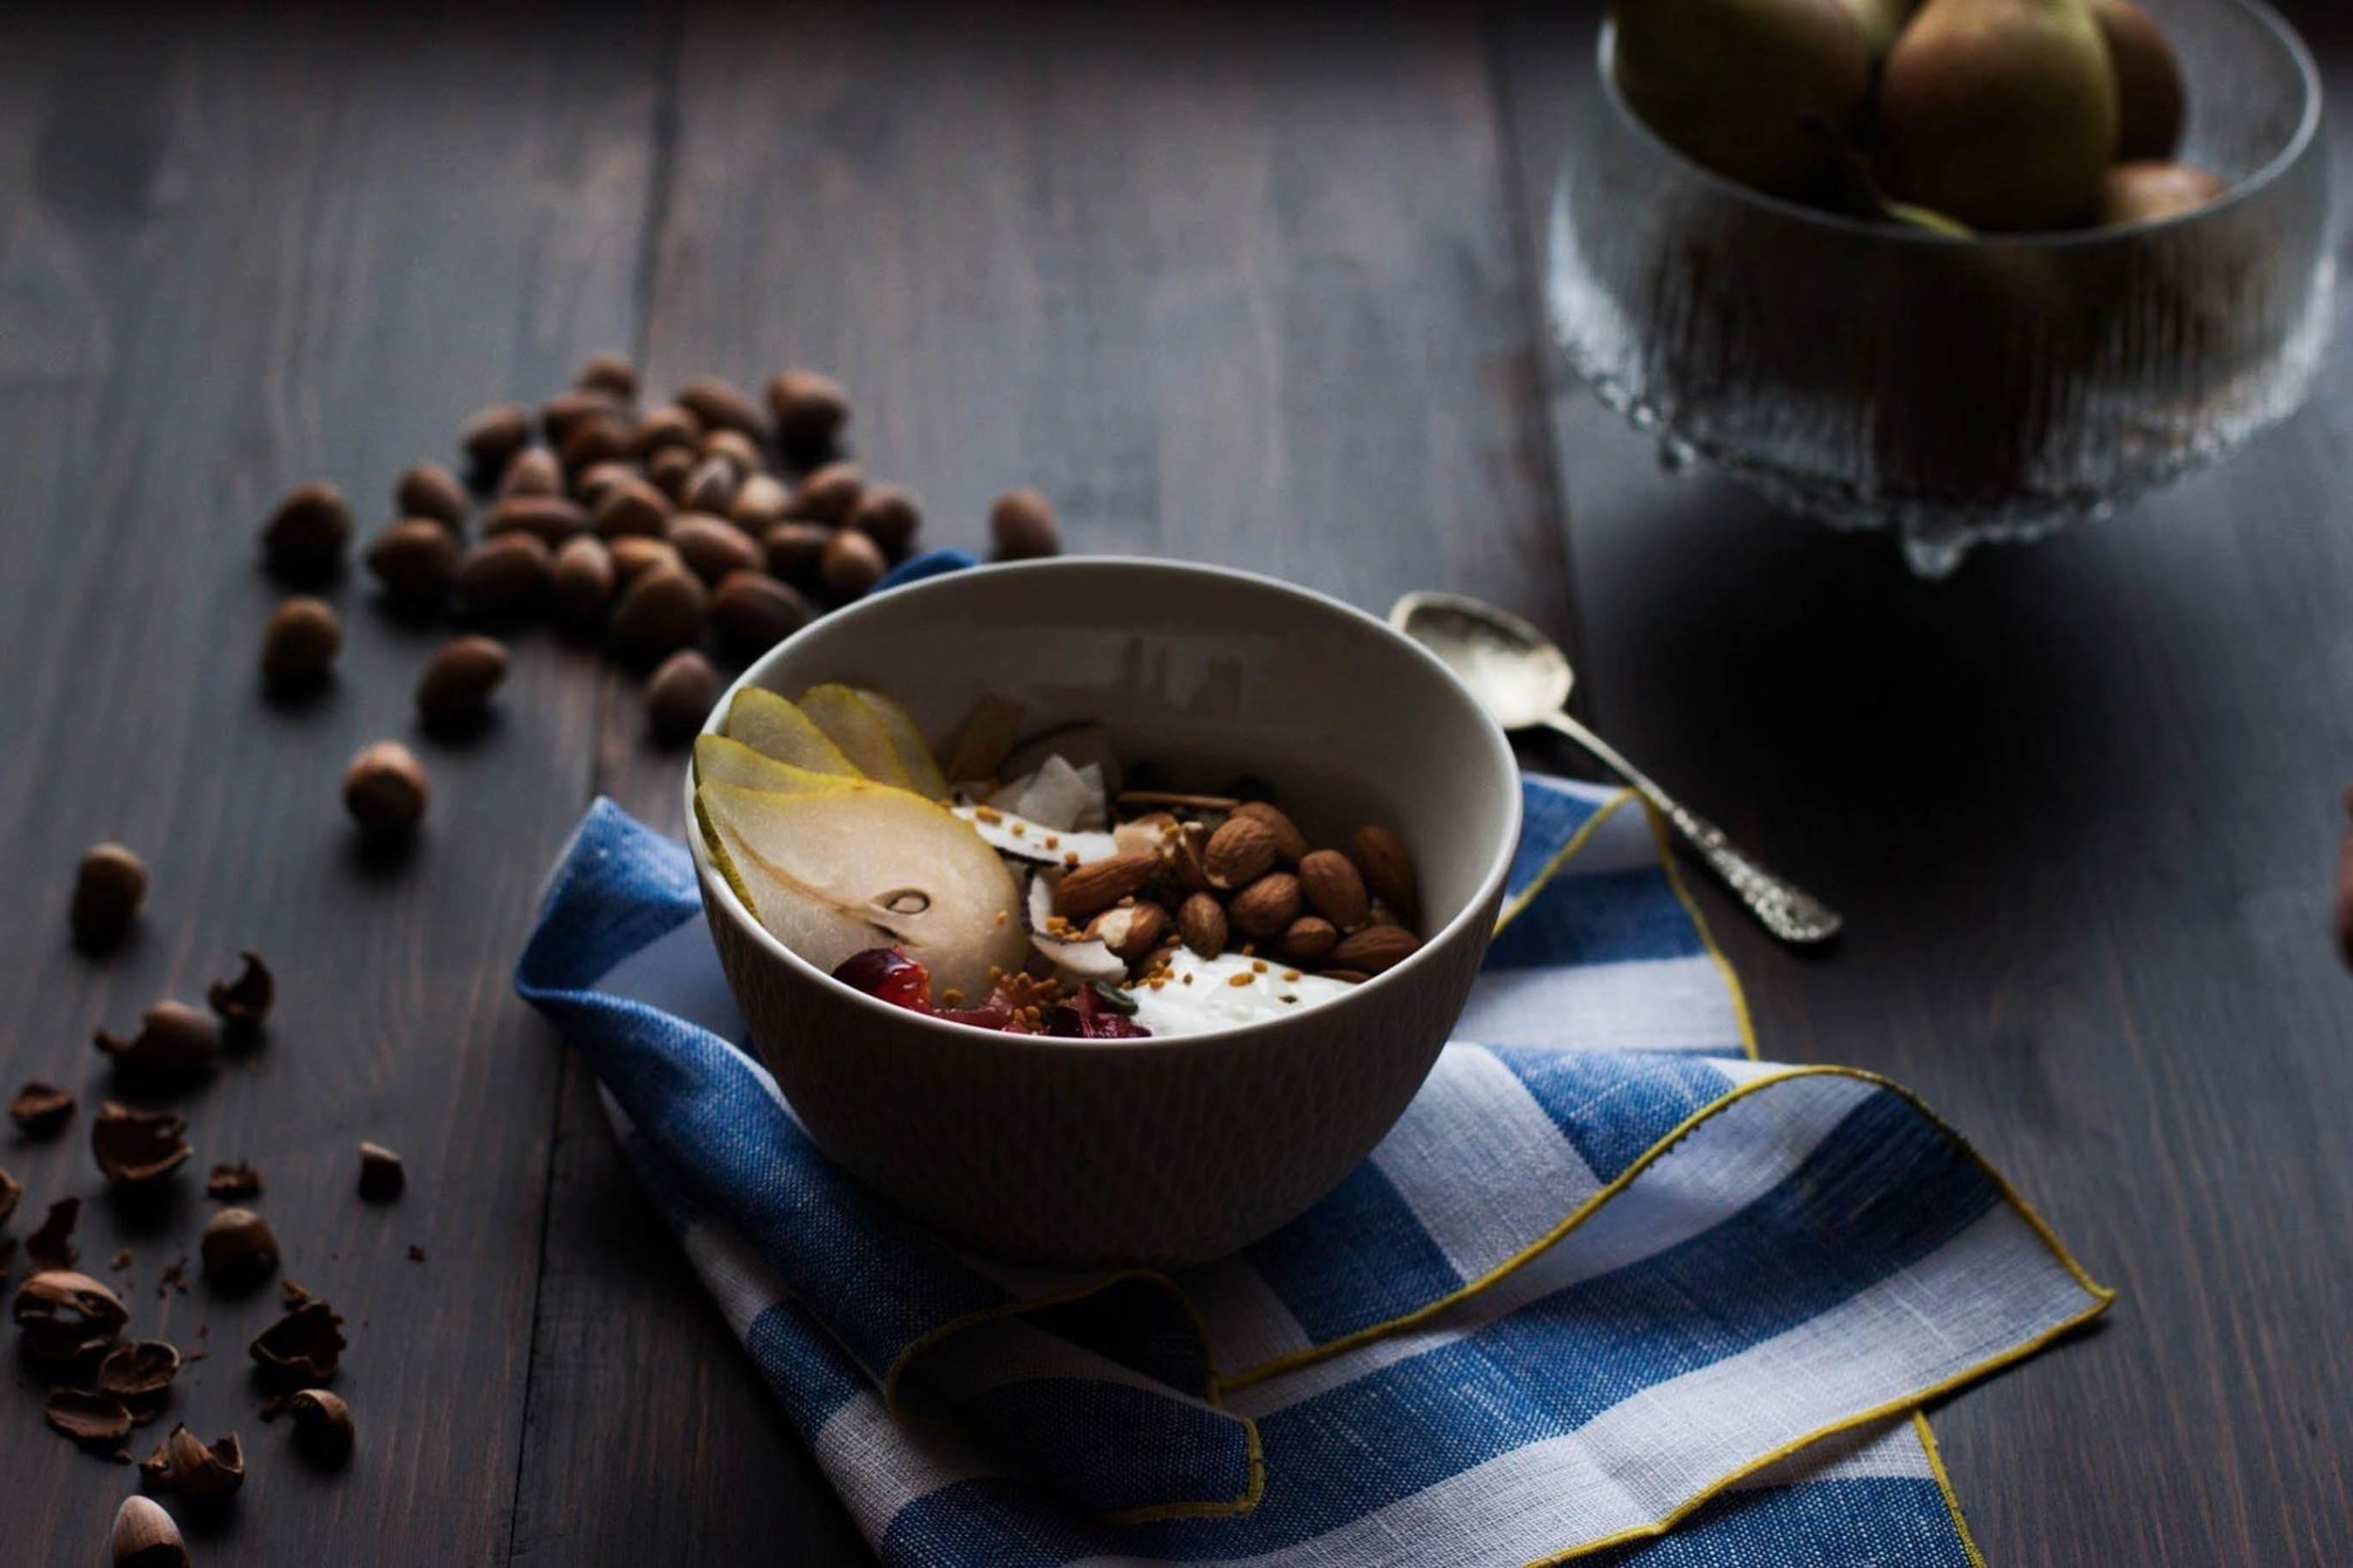
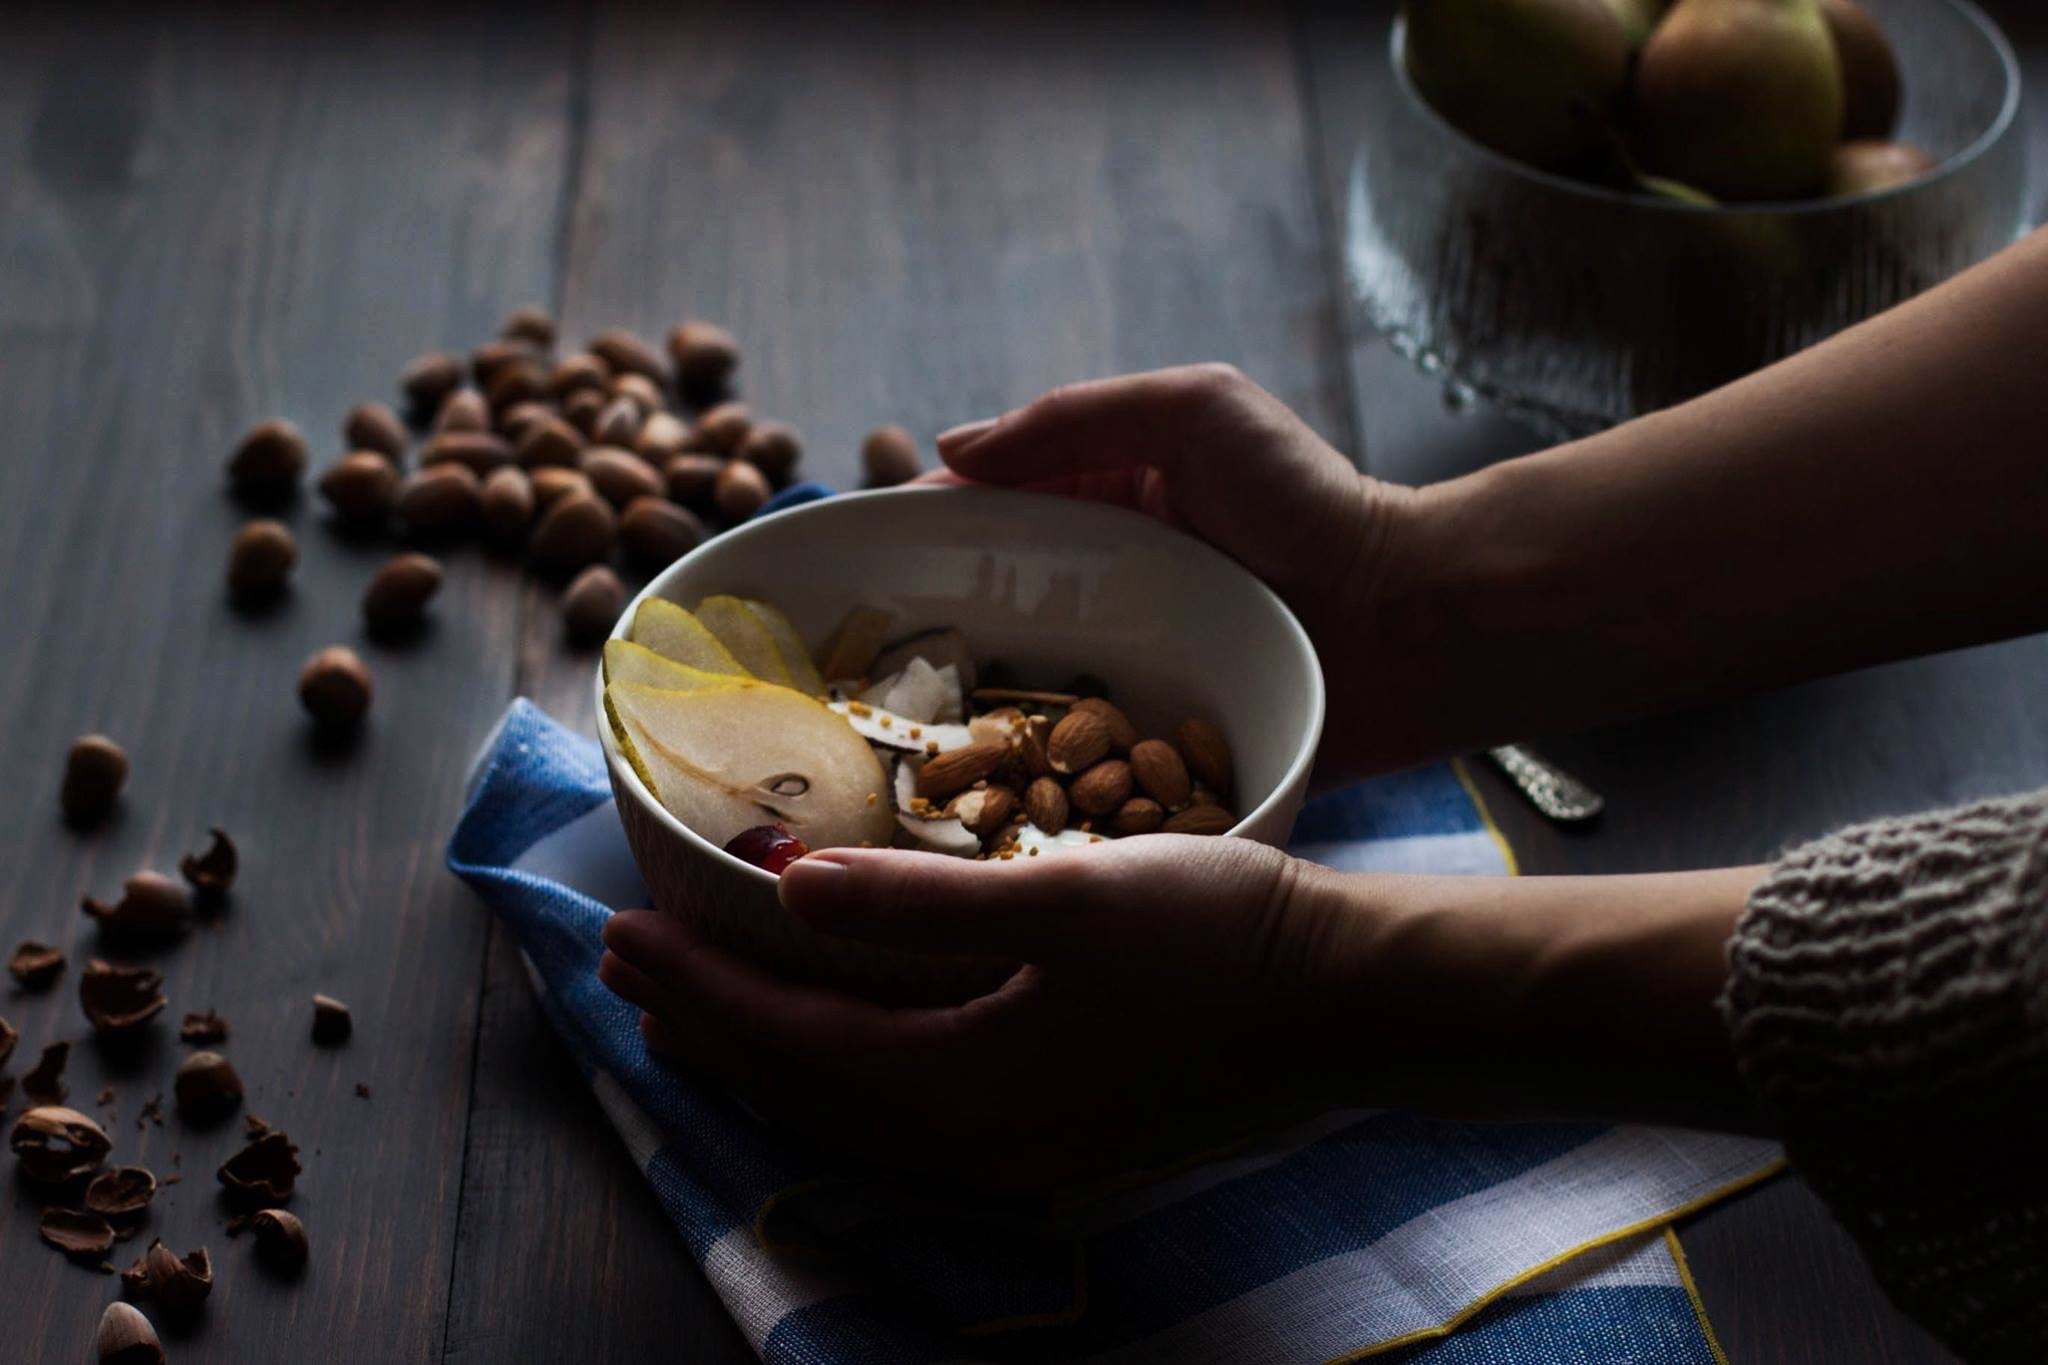
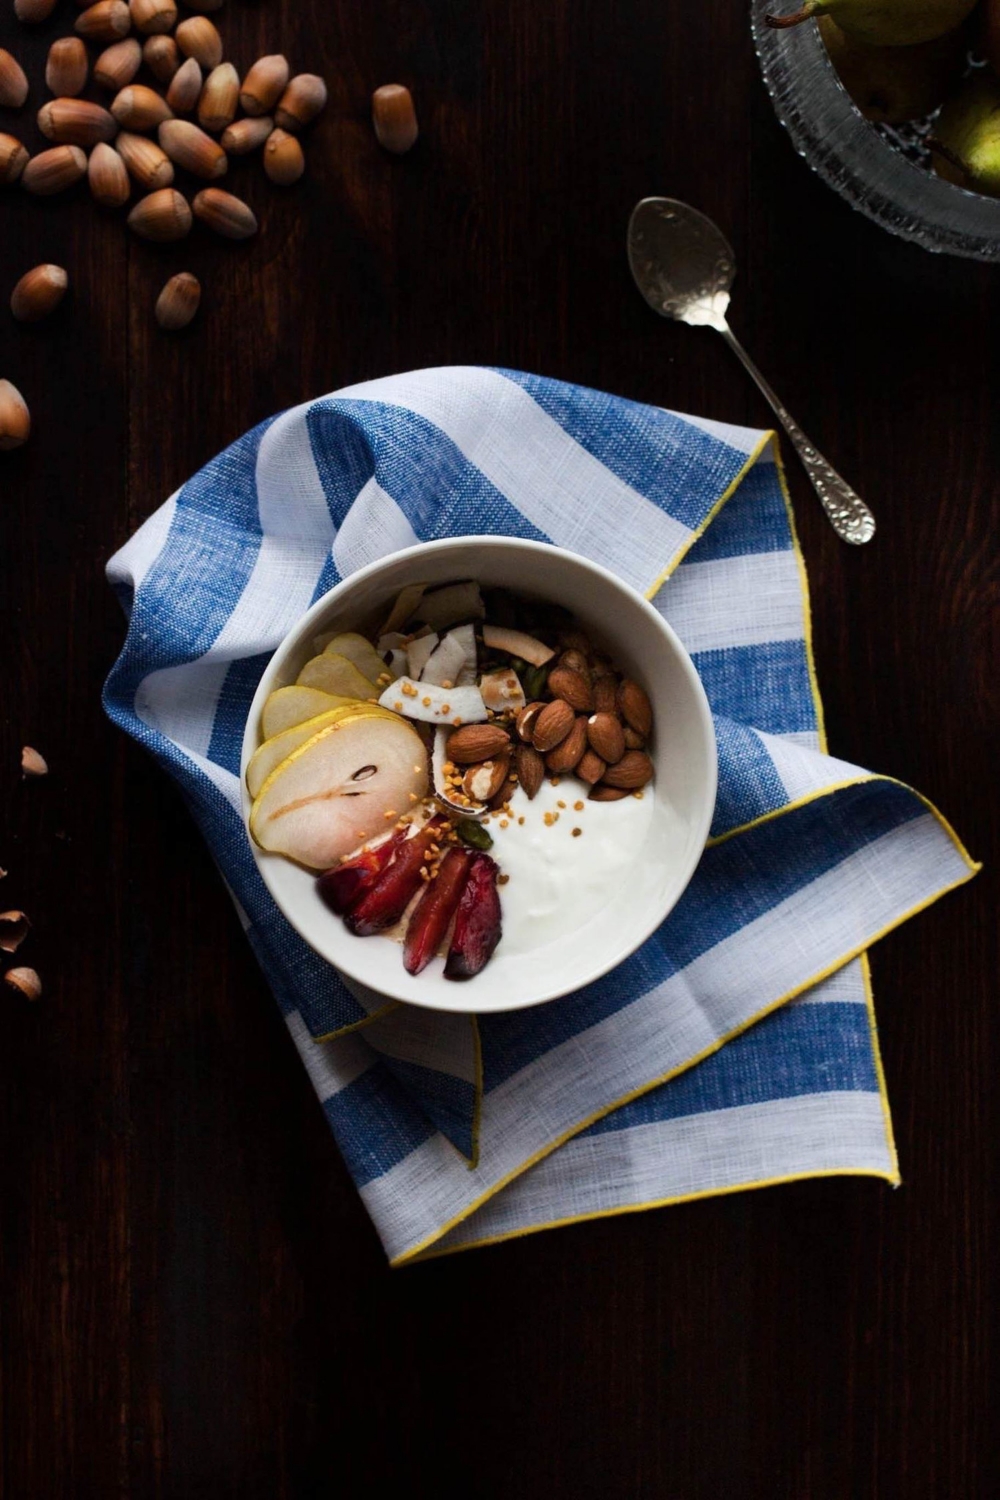
Whipped Cranberry Porridge (The Prettiest Porridge Ever) & A Guest Post For A Cup Of Jo

Whipped Cranberry Porridge | My Blue&White Kitchen

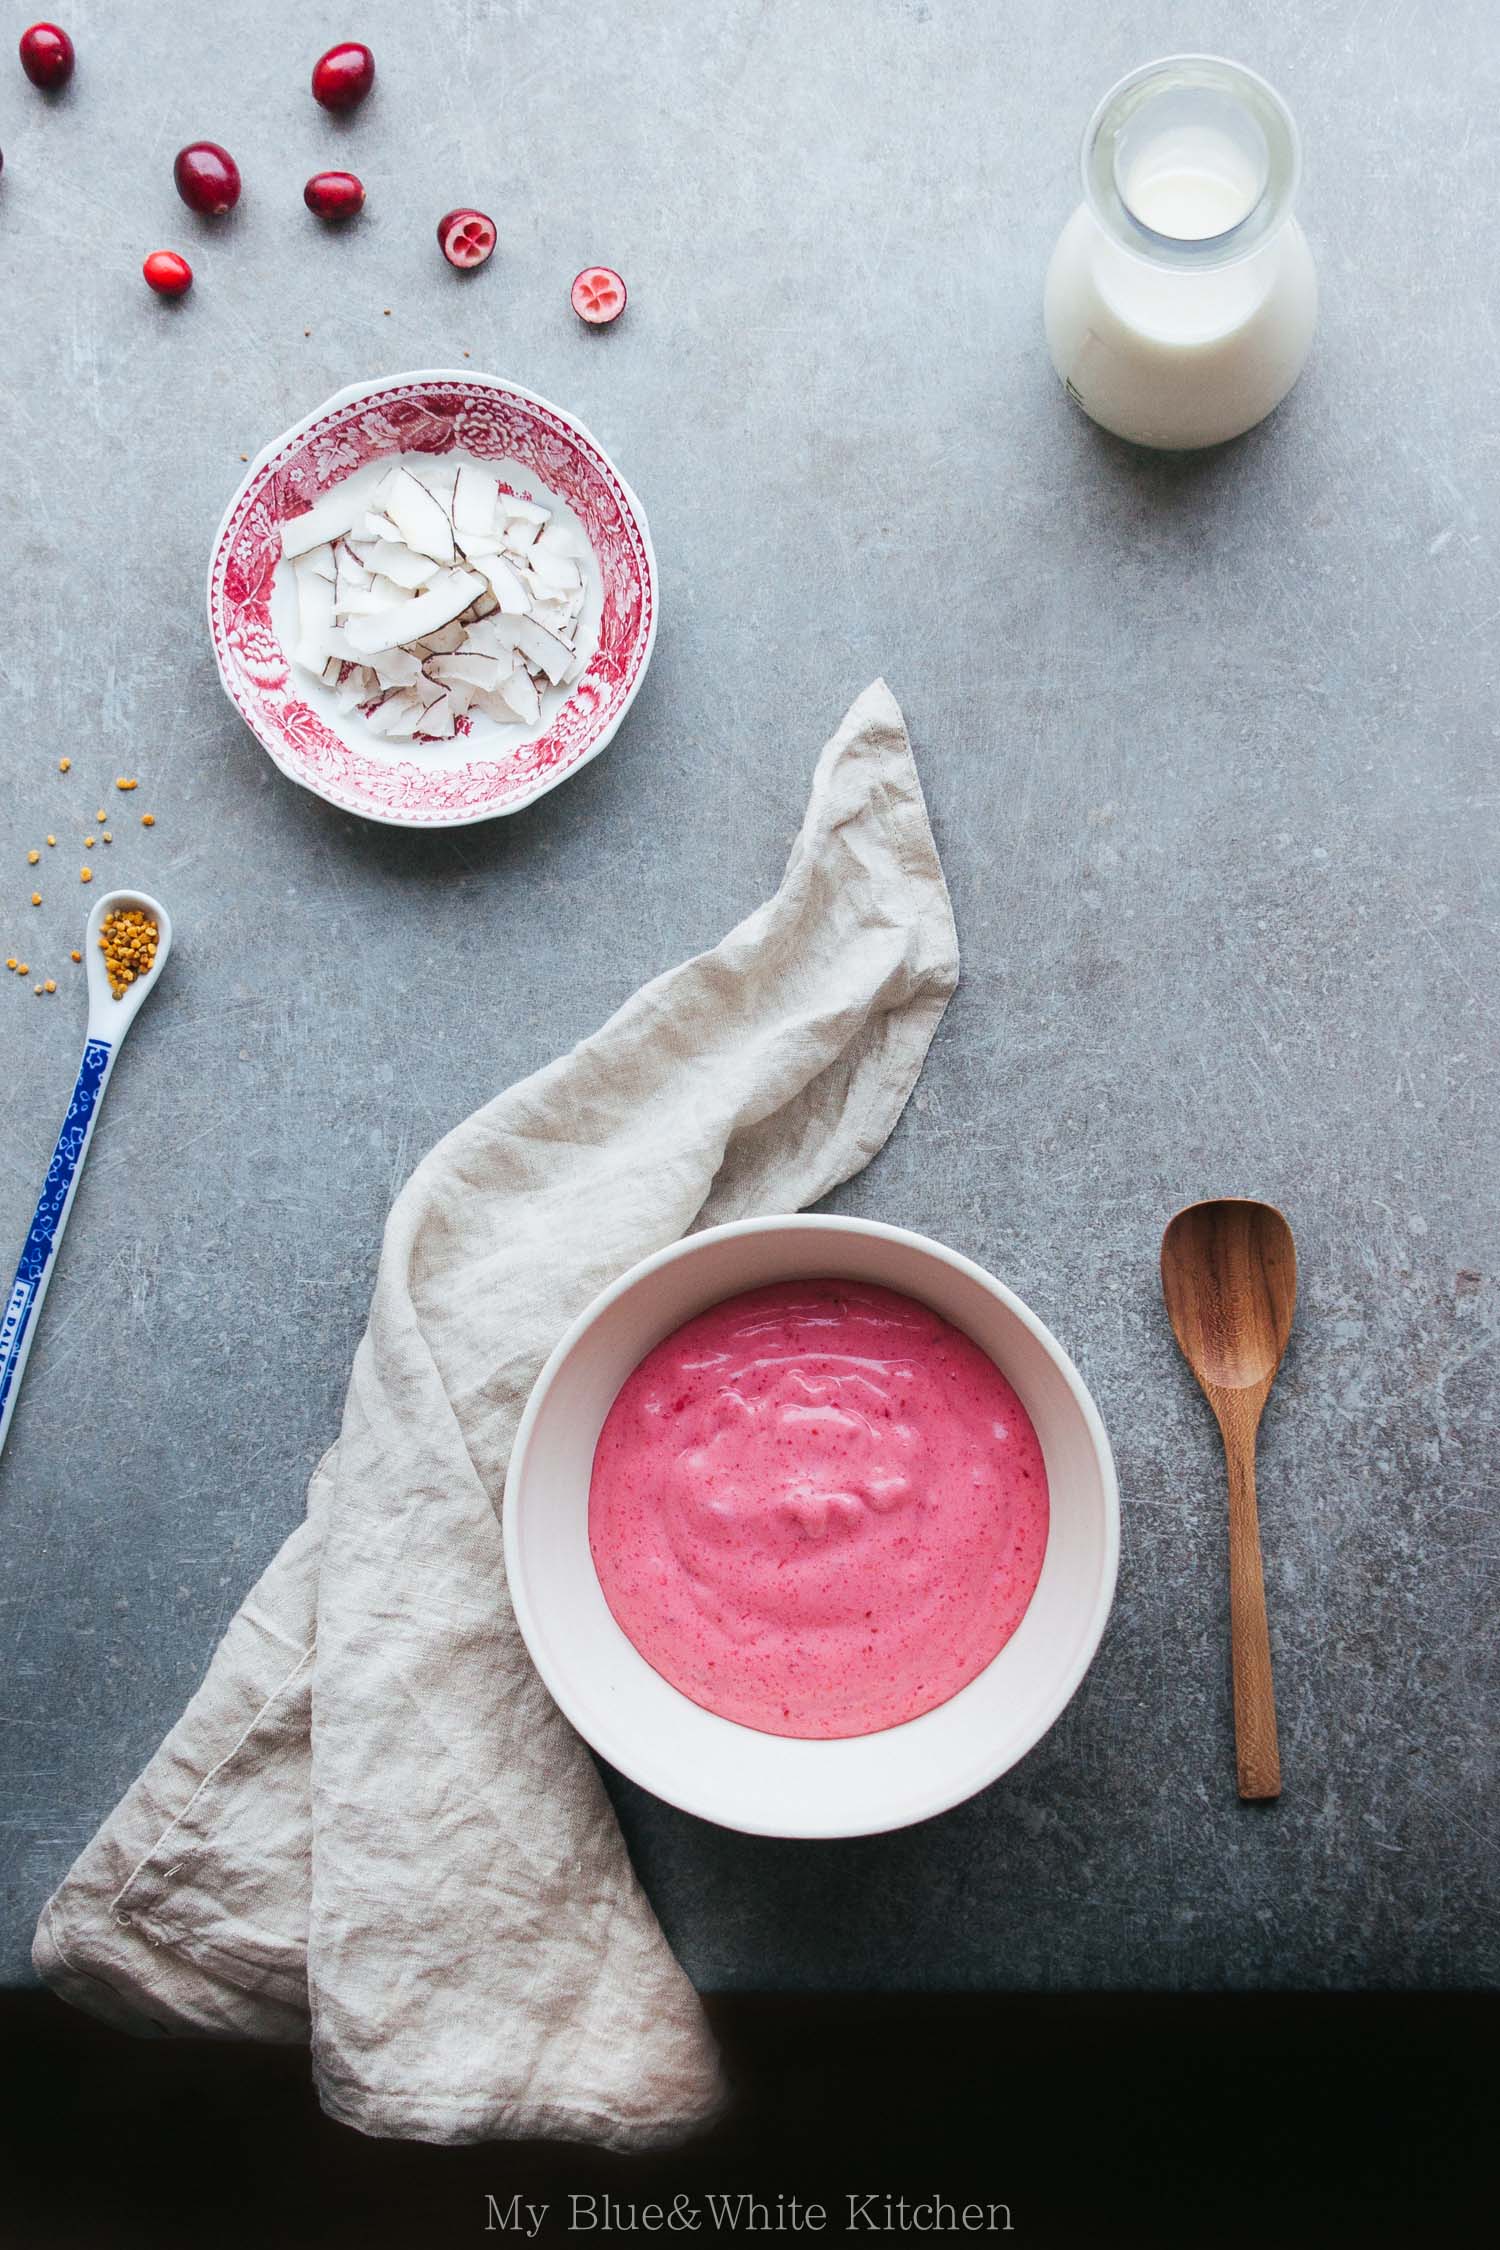
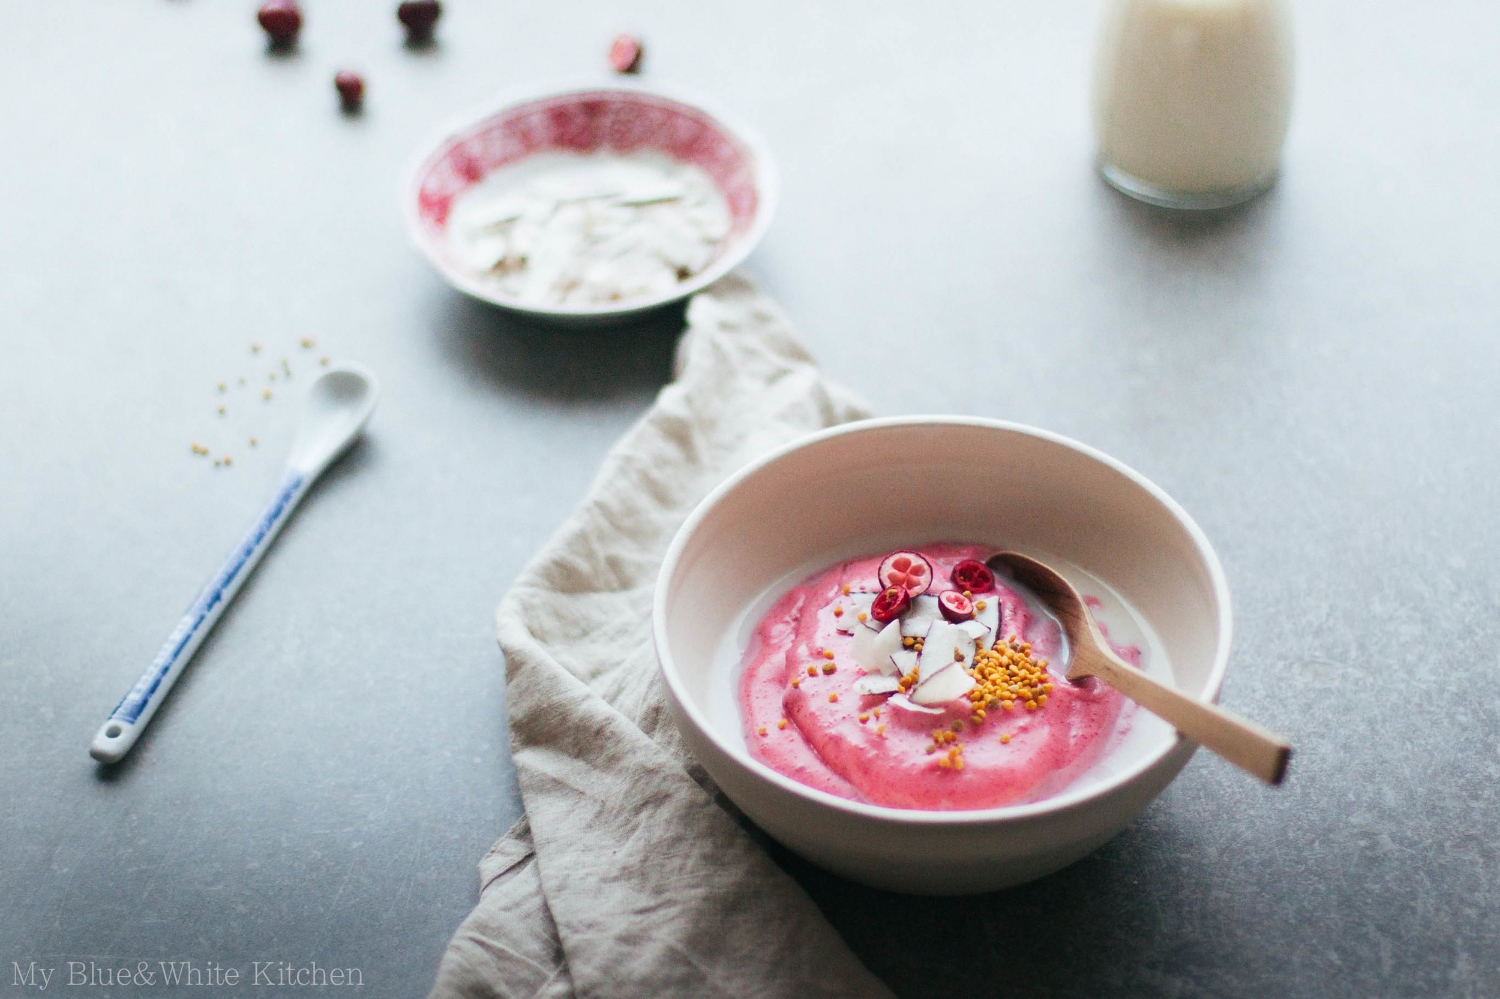
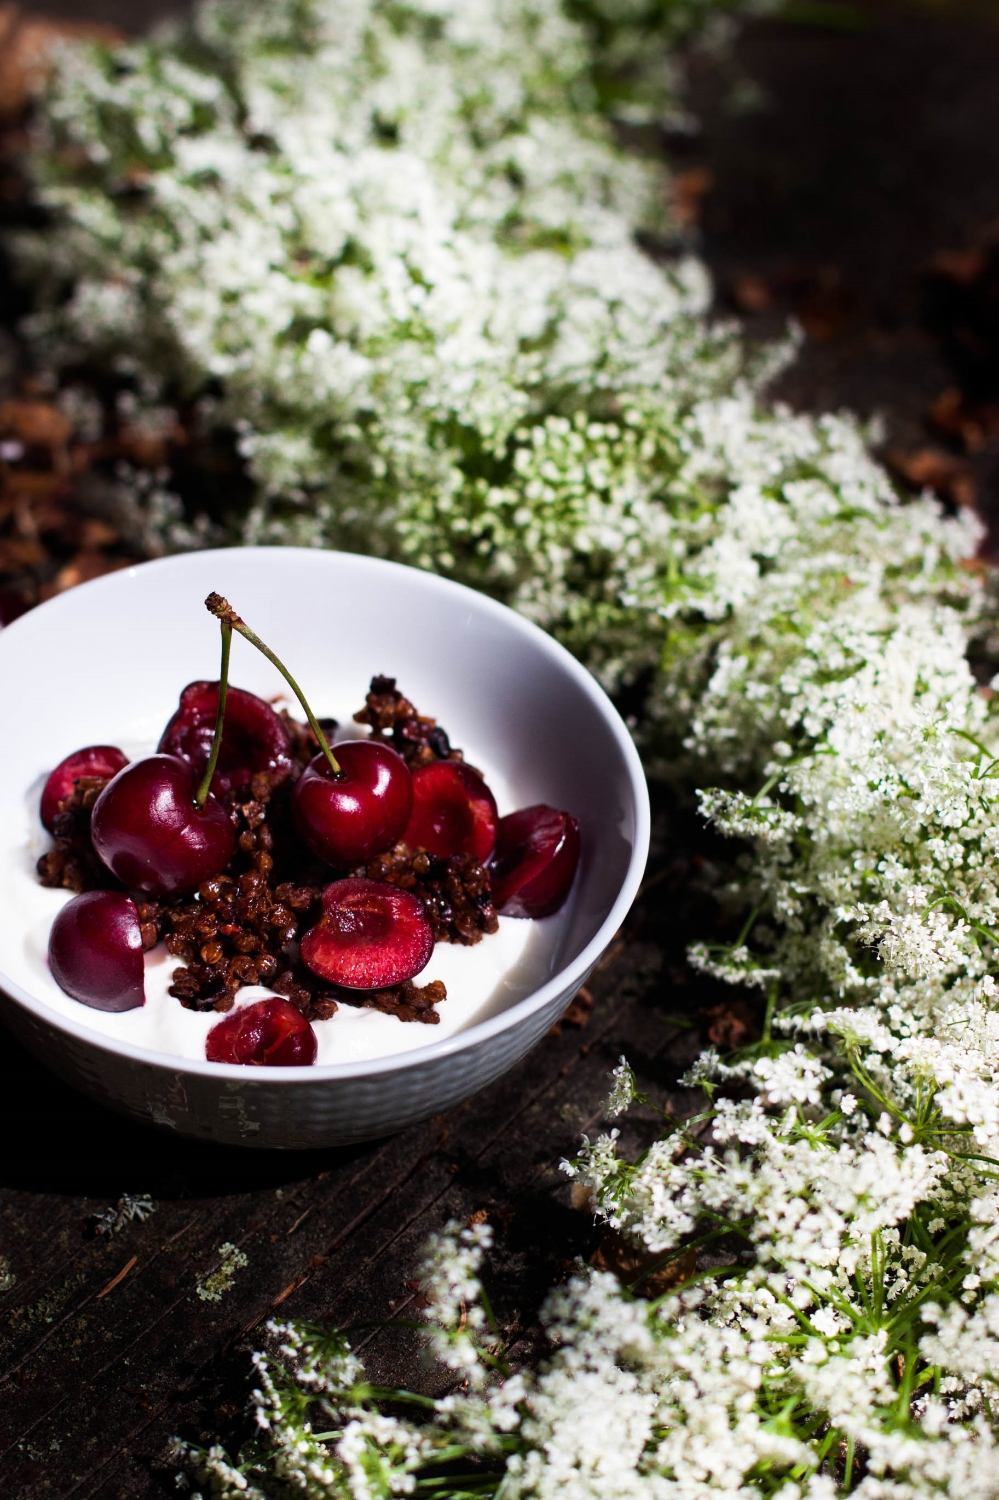
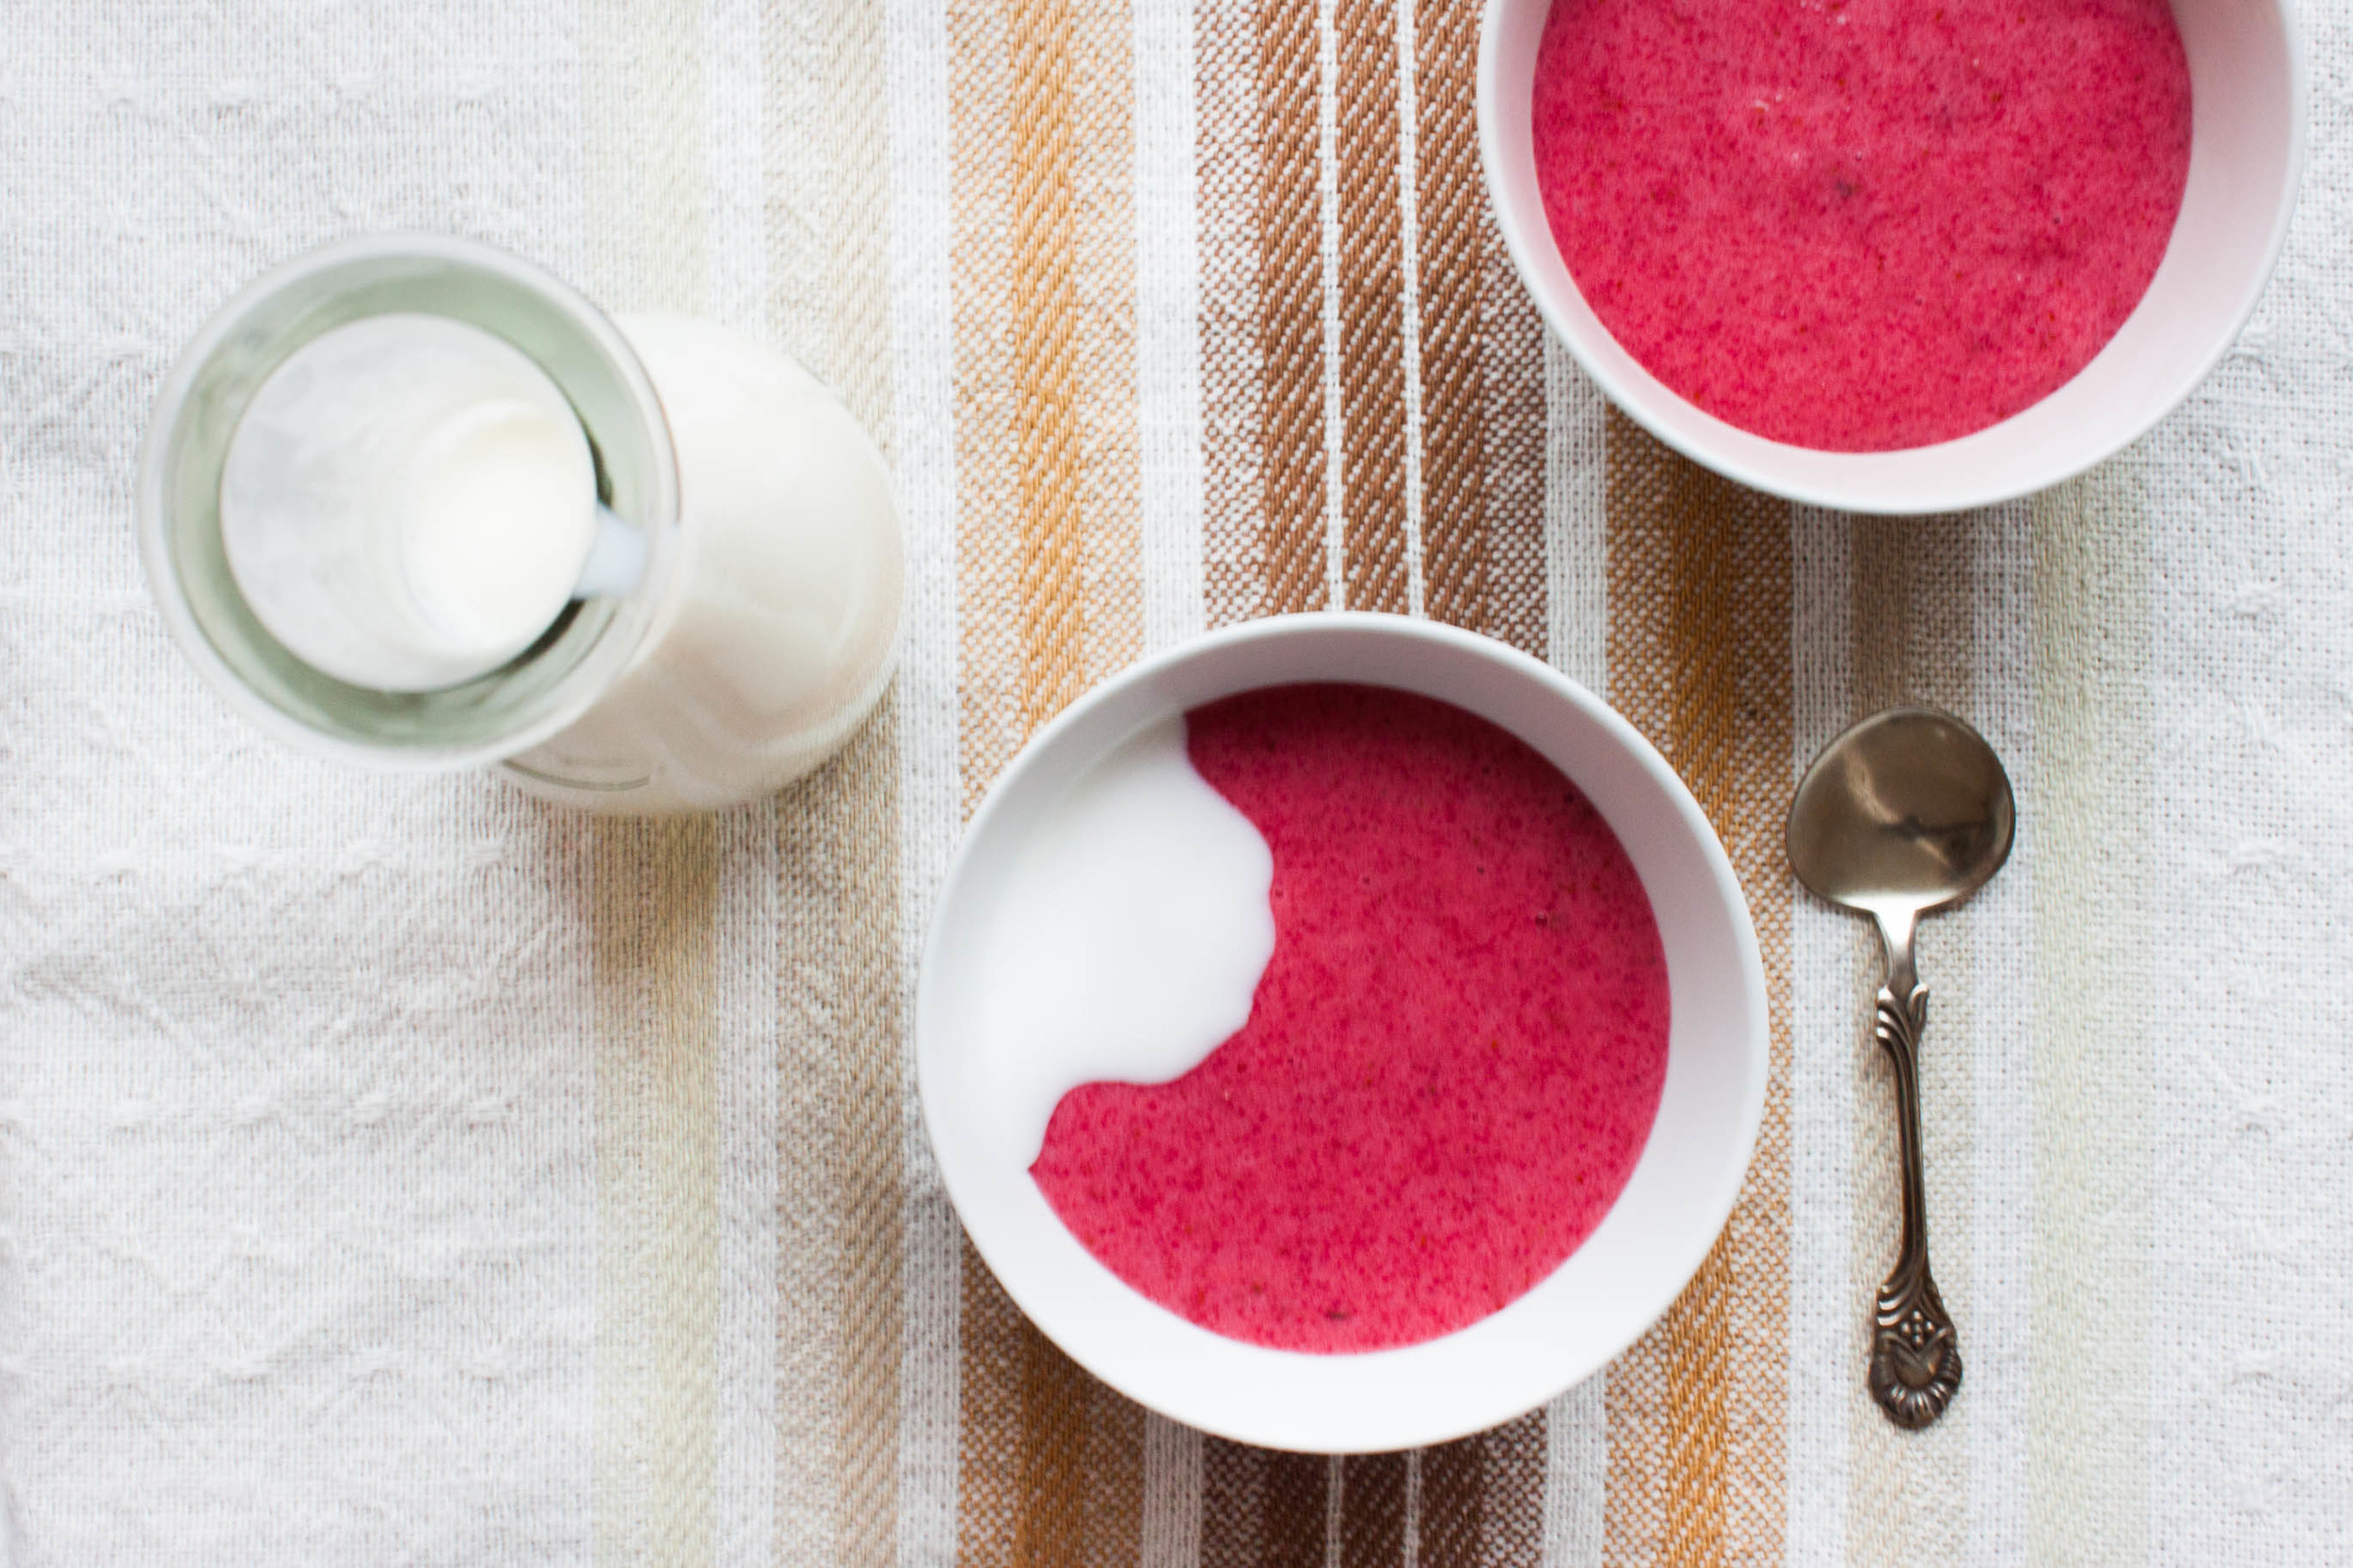
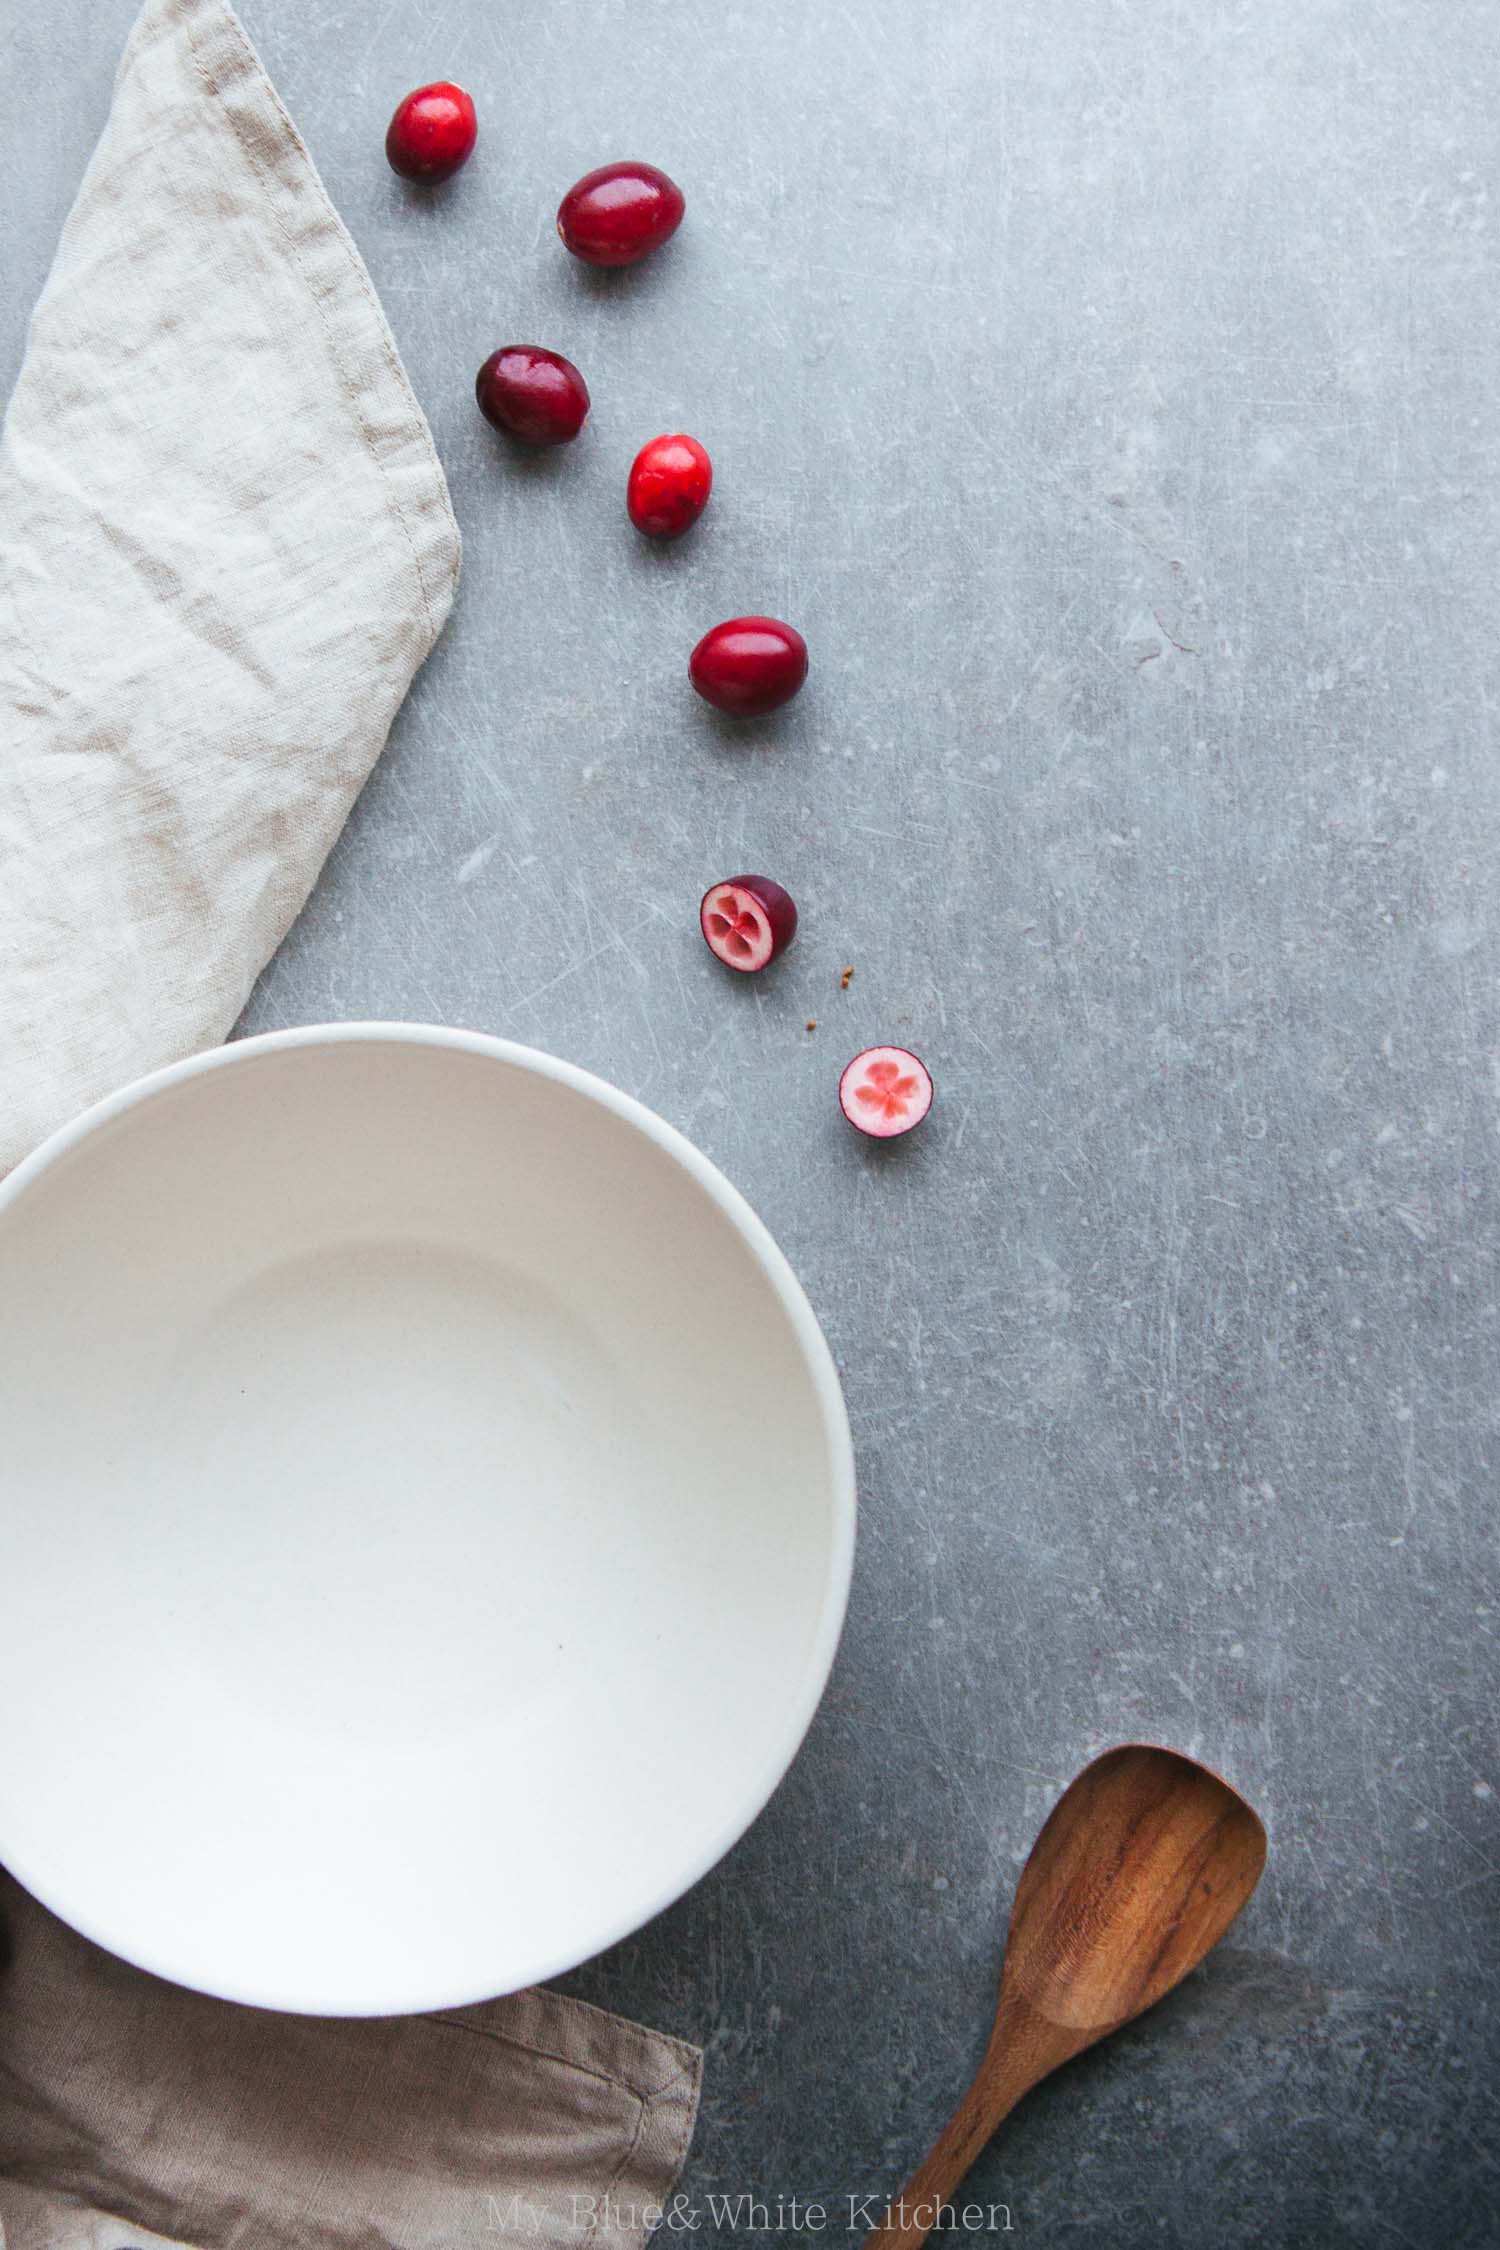
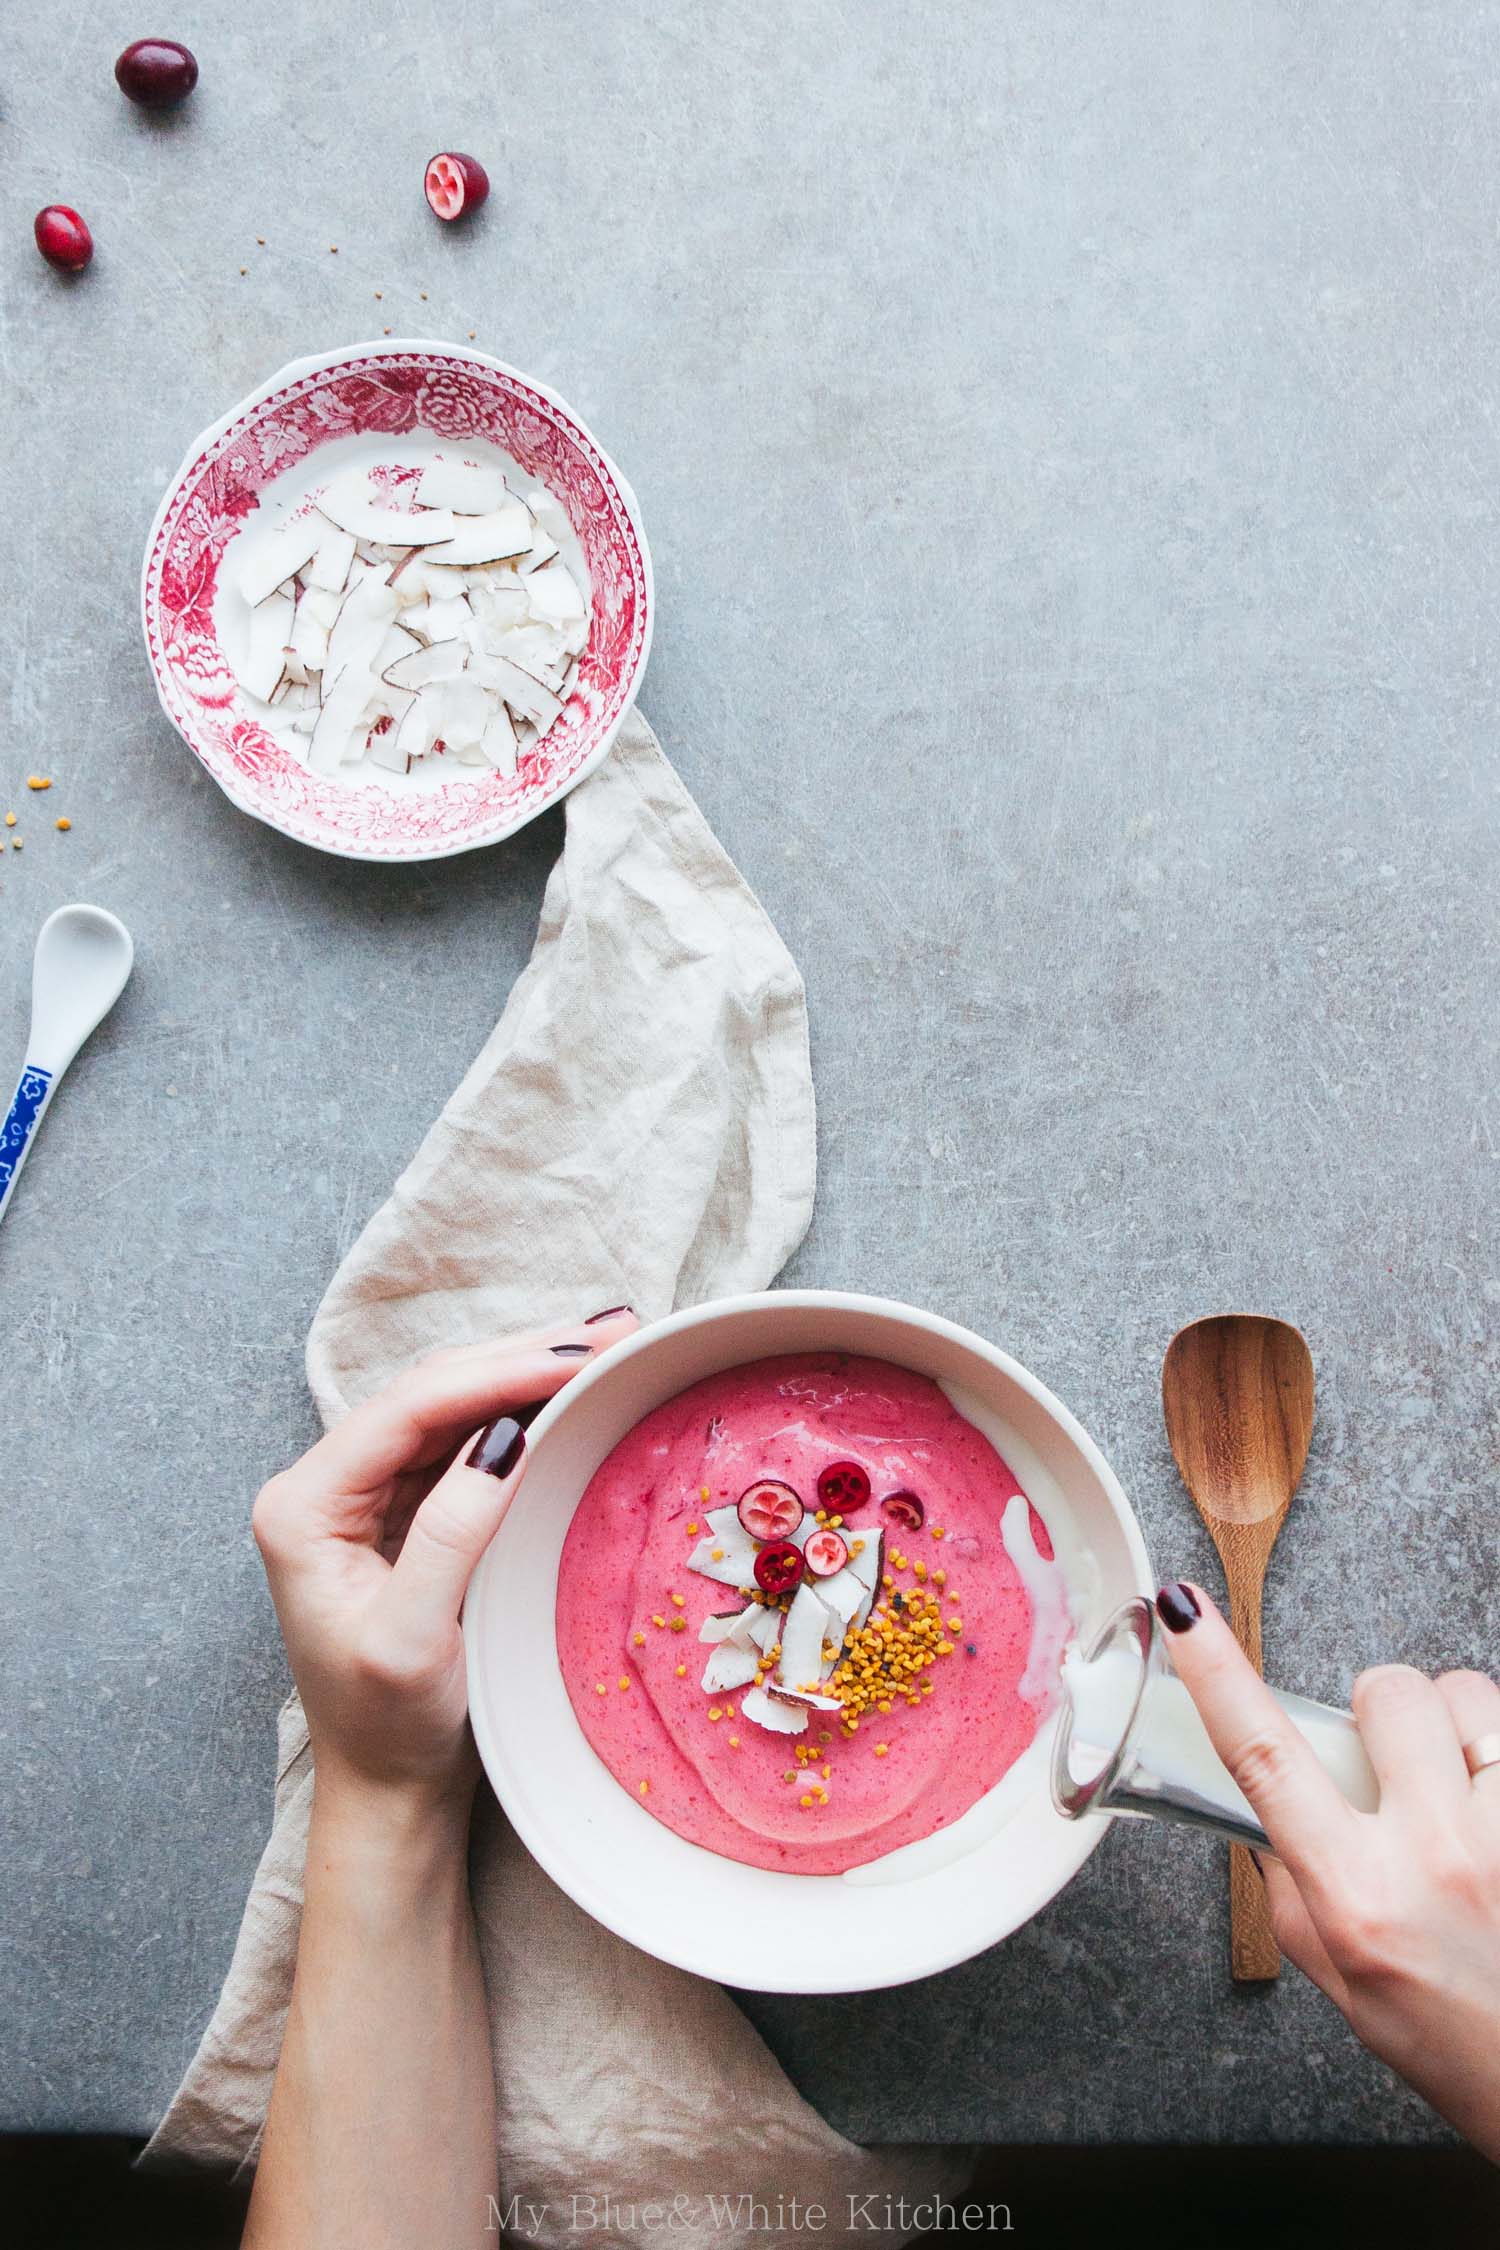
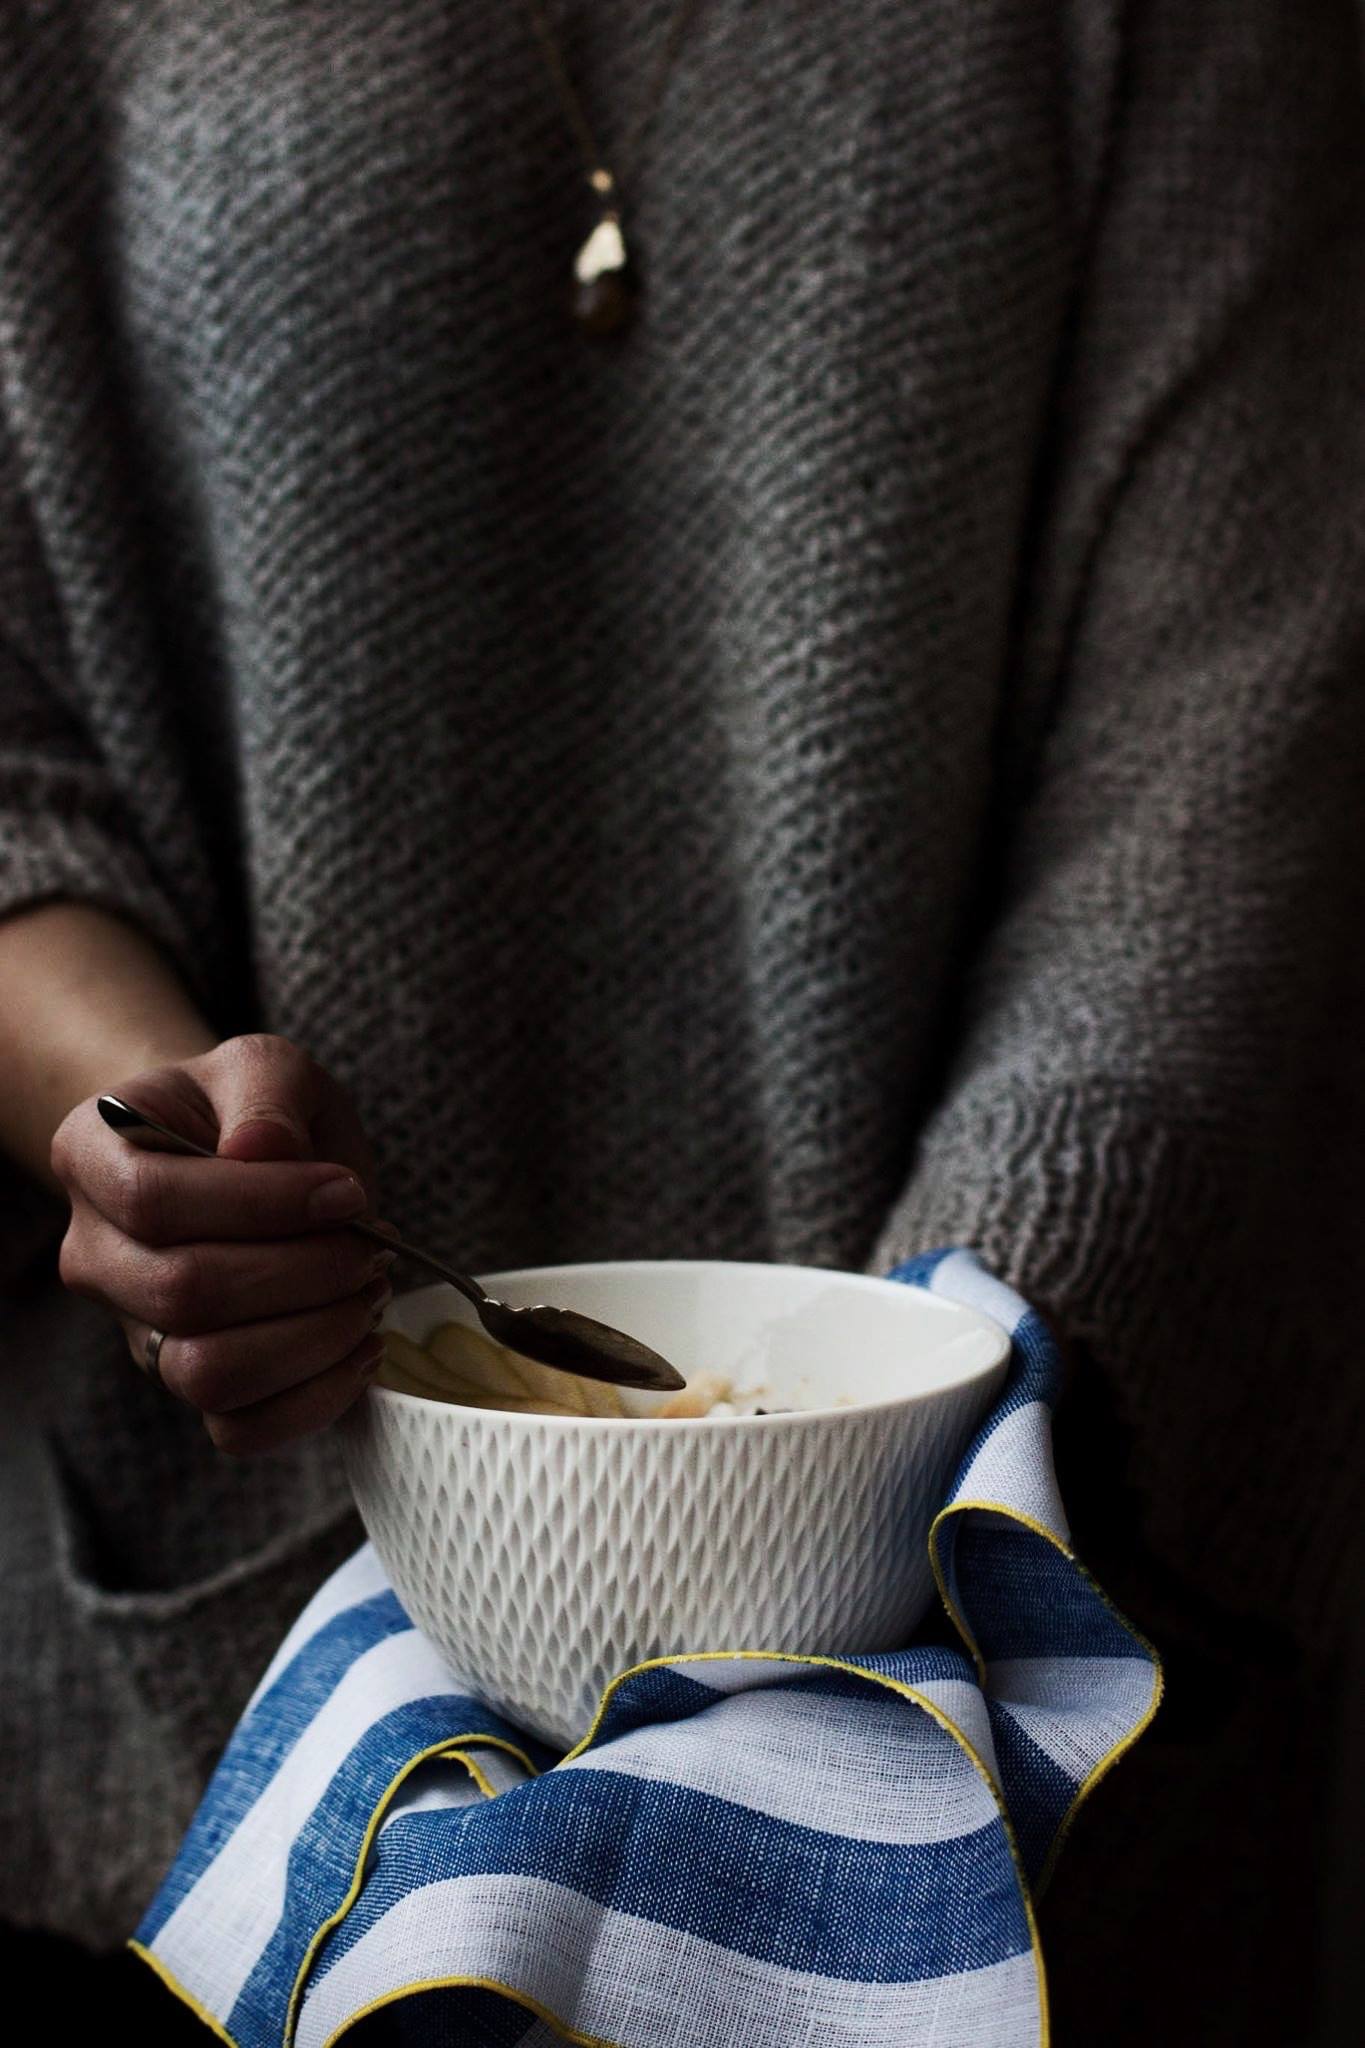
Maybe you have followed me for long enough that you remember my post about Whipped Lingonberry Porridge almost a year ago as a "this-is-not-a-Valentine's-Day-recipe-although-it's-pink" thing. This time, I'm following my traditions with not being into Valentine's Day and blaming coincidence (or faith?) for me sharing a pink dish only a week before that said lovers' day. But here I am. And here it is. Whipped berry porridge - one of my most favorite breakfasts/midday snacks/Nordic fairs/berry power bowls.

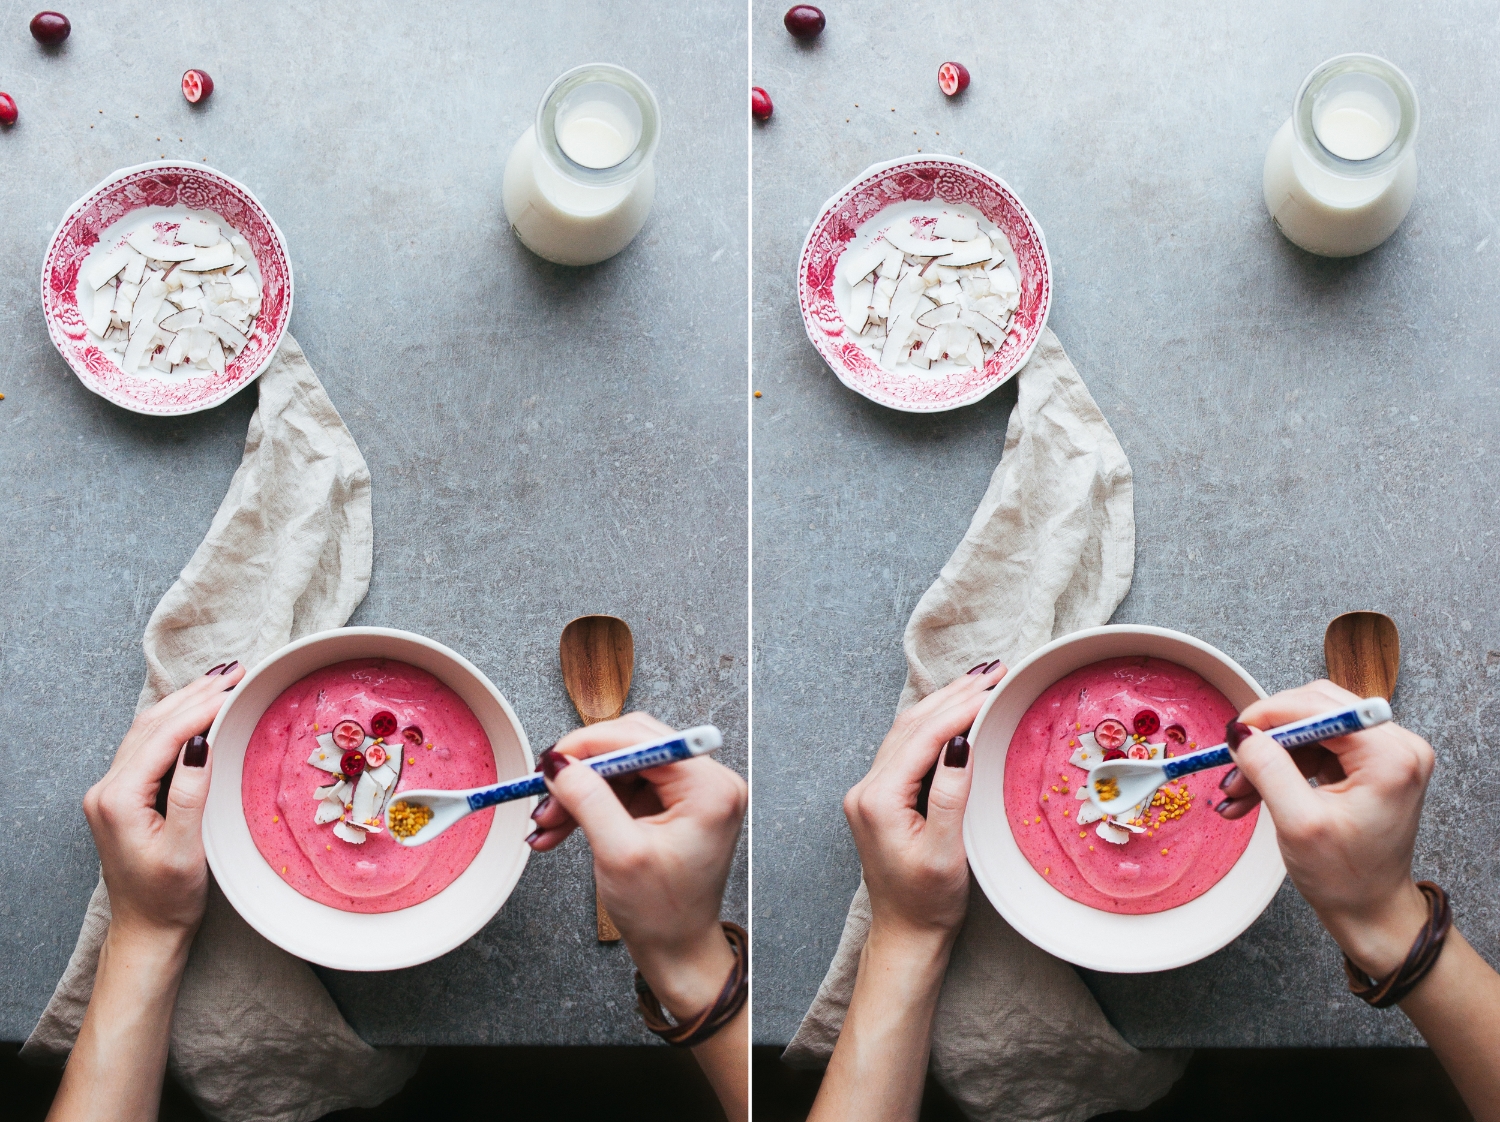
As I realize that lingonberries are a Nordic (hello there Ikea!) or at least European thing, I recreated this old favorite with cranberries. Both the taste and color are almost identical to the more traditional version, so this porridge could still be seen as being highly authentic. Well, at least sans the toppings. The toppings are a modern twist on the dish. I love toppings, so I really like to add some texture and flavor to this pink breakfast bowl.
I'm also on A Cup of Jo this week sharing this porridge as part of the weekly food series. I discovered Joanna's site a couple of years ago and have been a regular reader ever since. There are always so many exciting links and reads, and I always leave feeling inspired. I especially remember this hair tutorial post (when I still had long enough hair to do awesome things like that... now all I do is this), these cute faces, and how Molly's egg-in-a-hole was a life-changing discovery. So yeah, I'm pretty excited to contribute and maybe inspire others in the same way as I have been inspired.

Hop on over to A Cup of Jo to read more about the porridge!

Whipped Cranberry Porridge

serves 4 to 6

As I don't like to start my day with a breakfast loaded with sugar and as I want to keep some of that lovely tartness cranberries are known for, this porridge isn't very sweet. Feel free to add more sugar to taste. However, remember that the milk will balance out some of the tartness. Chilling the porridge is crucial – you won't be able to whip it probably if it's still warm. 

8 dl (3 ¼ cups) water
250 g (4 ½ dl; 2 cups) frozen (or fresh) cranberries
pinch of fine sea salt
100–150 g (1 ¼–1 ¾ dl; ½–¾ cup) granulated sugar, depending on your taste
120 g (1
½ dl; ⅔ cup) farina (Cream of Wheat)

milk of your choice, to serve
optional: toppings of your choice


In a medium pot, combine the water and cranberries. Bring to a boil and boil for 10 to 15 minutes.

Add the salt and sugar. Gradually whisk in the farina. Depending on how long your farina needs to be cooked, let simmer for 5 to 10 minutes stirring constantly. Taste and add more sugar if desired. Remove the pot from the heat and let the porridge cool to room temperature.

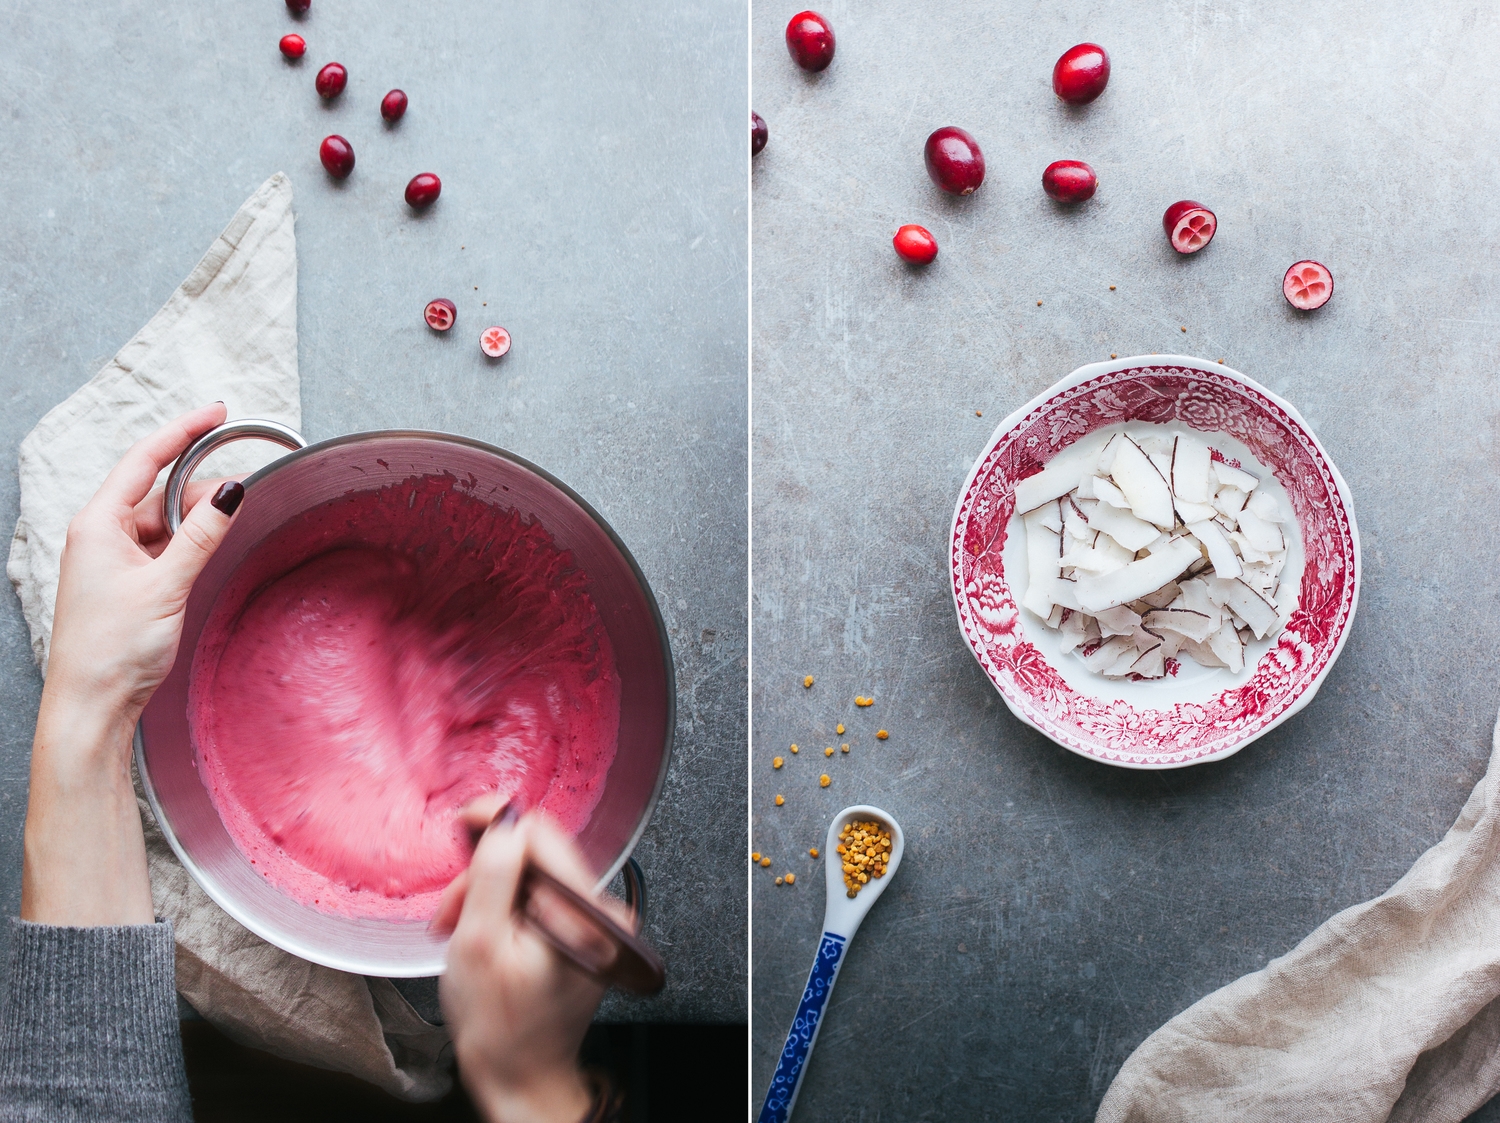
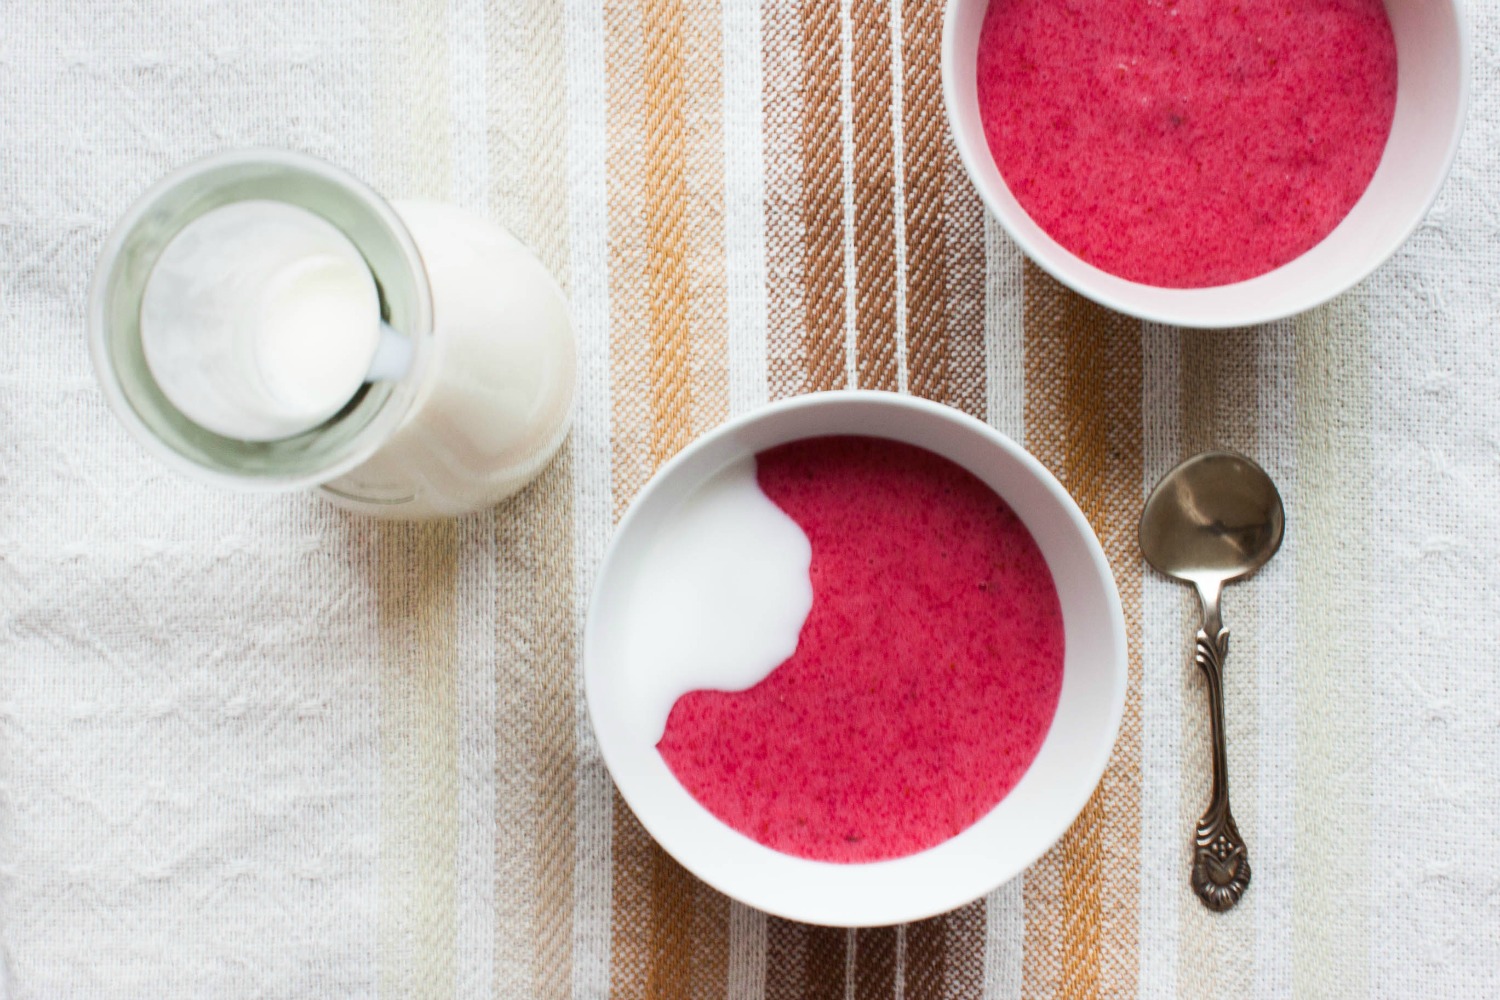
When the porridge has cooled to room temperature, whisk until light and fluffy. The color will turn from magenta to light pink.

Serve at room temperature or cold with milk and toppings of your choice.

The porridge can be stored in the fridge for a couple of days. For the perfect texture, whisk it again before serving.


Whipped Cranberry Porridge | My Blue&White Kitchen

Related posts

Morning Glory – Oeufs en Cocotte with Spinach & Sun-Dried Tomatoes

Oeufs en Cocotte with Spinach & Sun-Dried Tomatoes | My Blue&White Kitchen

For a couple of months now, I've bought most of the eggs I use in my kitchen from a farmer for whom his chickens' health and what they eat are the number-one priority. The chickens can roam freely and have the option to go outdoors 365 days a year. These chickens can smell the first greens of spring, feel the warm summer sun on their skin, watch the days get shorter in fall, and experience the beauty of the white Nordic winters. And you can taste all of that in the eggs. The yolks are deep yellow in color and the texture is creamy; they're the best eggs I've eaten.

I'm happy that I've found a product that matches my idea of ethical and sustainable living and consumption, tastes delicious, and is an excellent example of the farm-to-table movement. My money goes directly to the farmer which is, as I believe, the best scenario for both the consumer and the producer. And you know, happy chickens.

For over a decade, I've only bought organic eggs or, better still, eggs from a local, small farmer where I can be sure that the chickens are being ethically raised and held. Standards of how chickens must be held to be called "organic" or "free-range" vary from one country to another, and I encourage you to do some research on what those terms really mean should you be interested in where your eggs come from. Naturally, the same applies to all animal products and, well, to produce in general.

Be interested, care, ask.

If you live in Southern Finland and are interested in ethically raised, fresh eggs, join the Facebook group and check out the dates. The farmer drives around Southern Finland on a regular basis selling his products.

After my love letter to eggs, I should come up with a dish that puts them into good use, right? So today, I'm sharing a recipe for Oeufs en cocotte, one of the fanciest sounding yet easy and quick to prepare dishes for breakfast or brunch. I mean, we could talk about baked eggs but who wants to call them by that name, especially when they have such a fancy sounding French name? This is a dish that makes your guests look at you in awe, sing an ode to the beauty of eggs, and ask for the recipe. You think I'm exaggerating? Try it yourself.

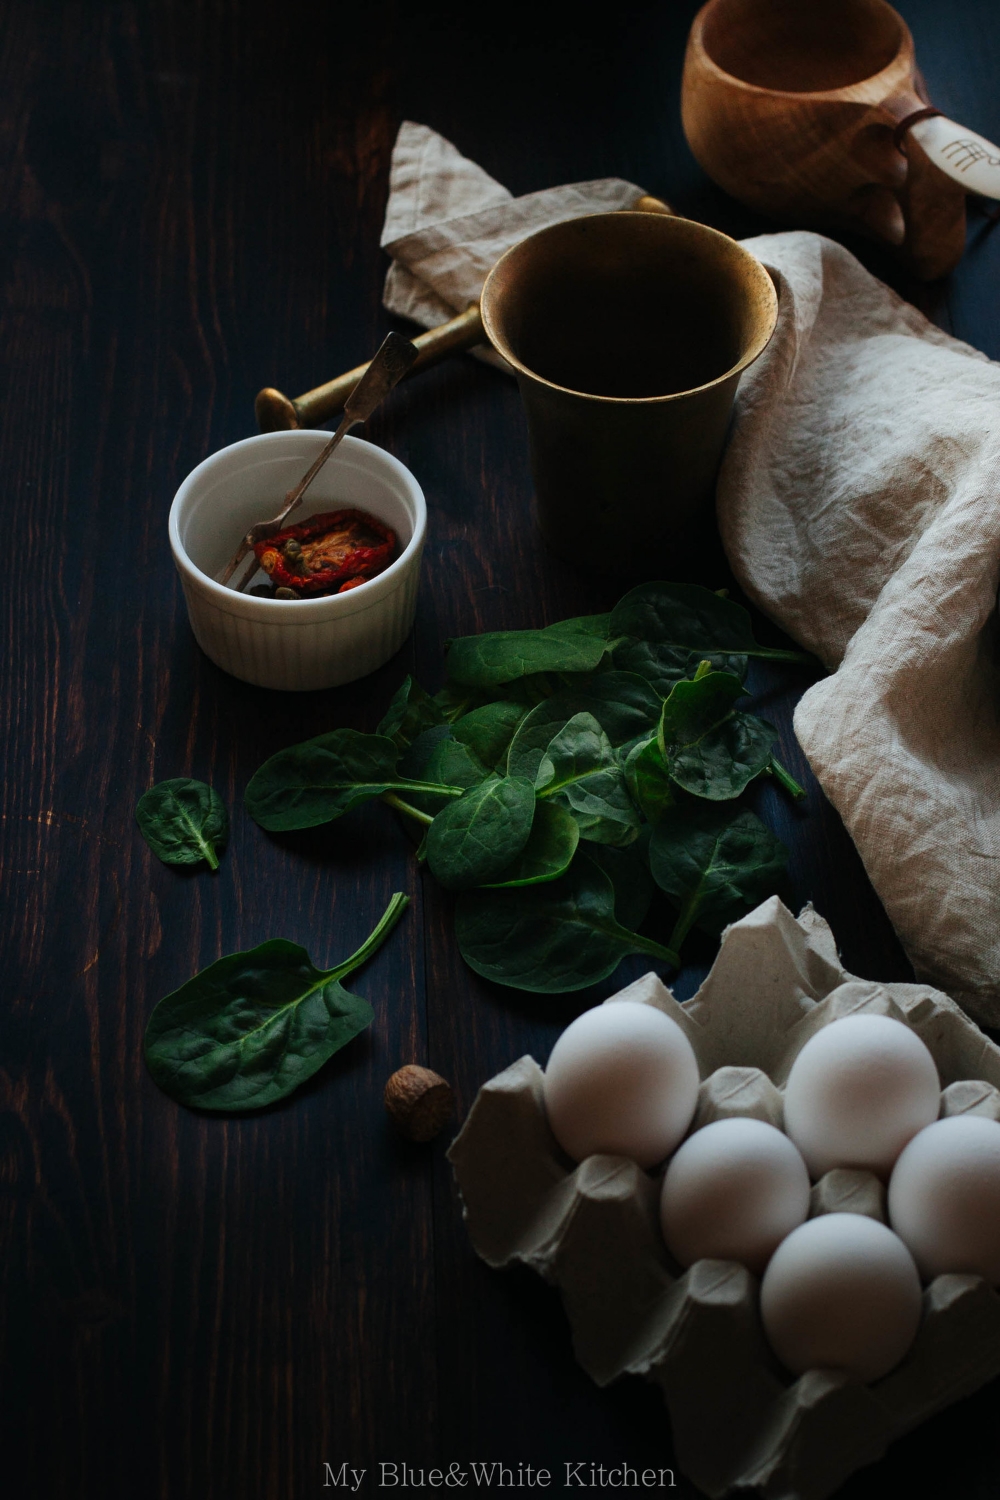
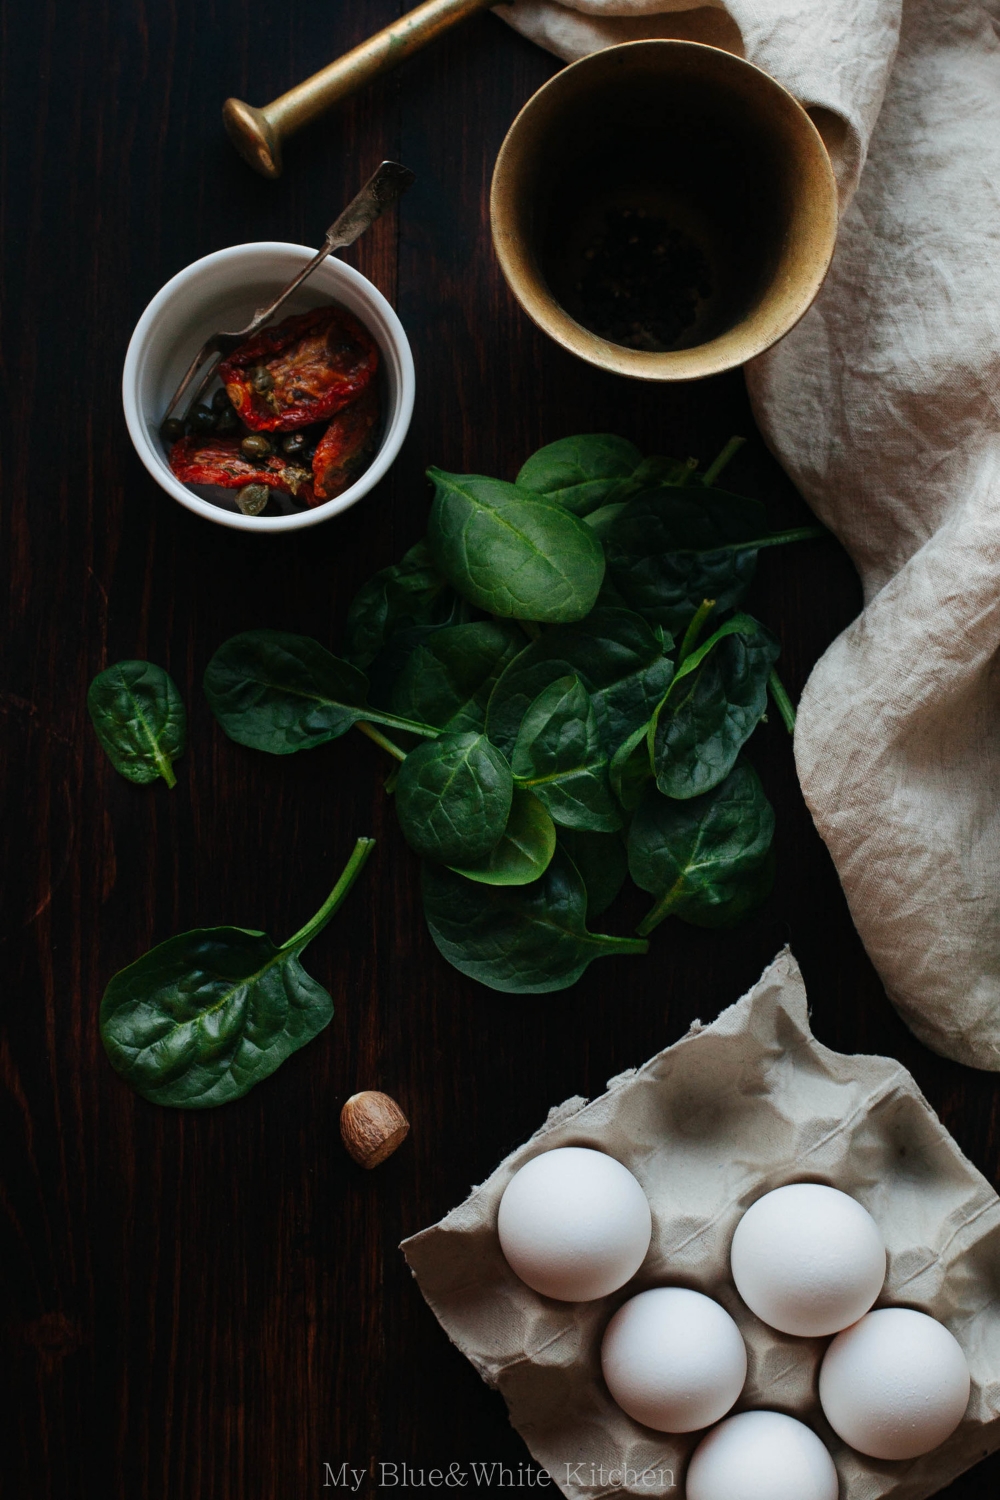
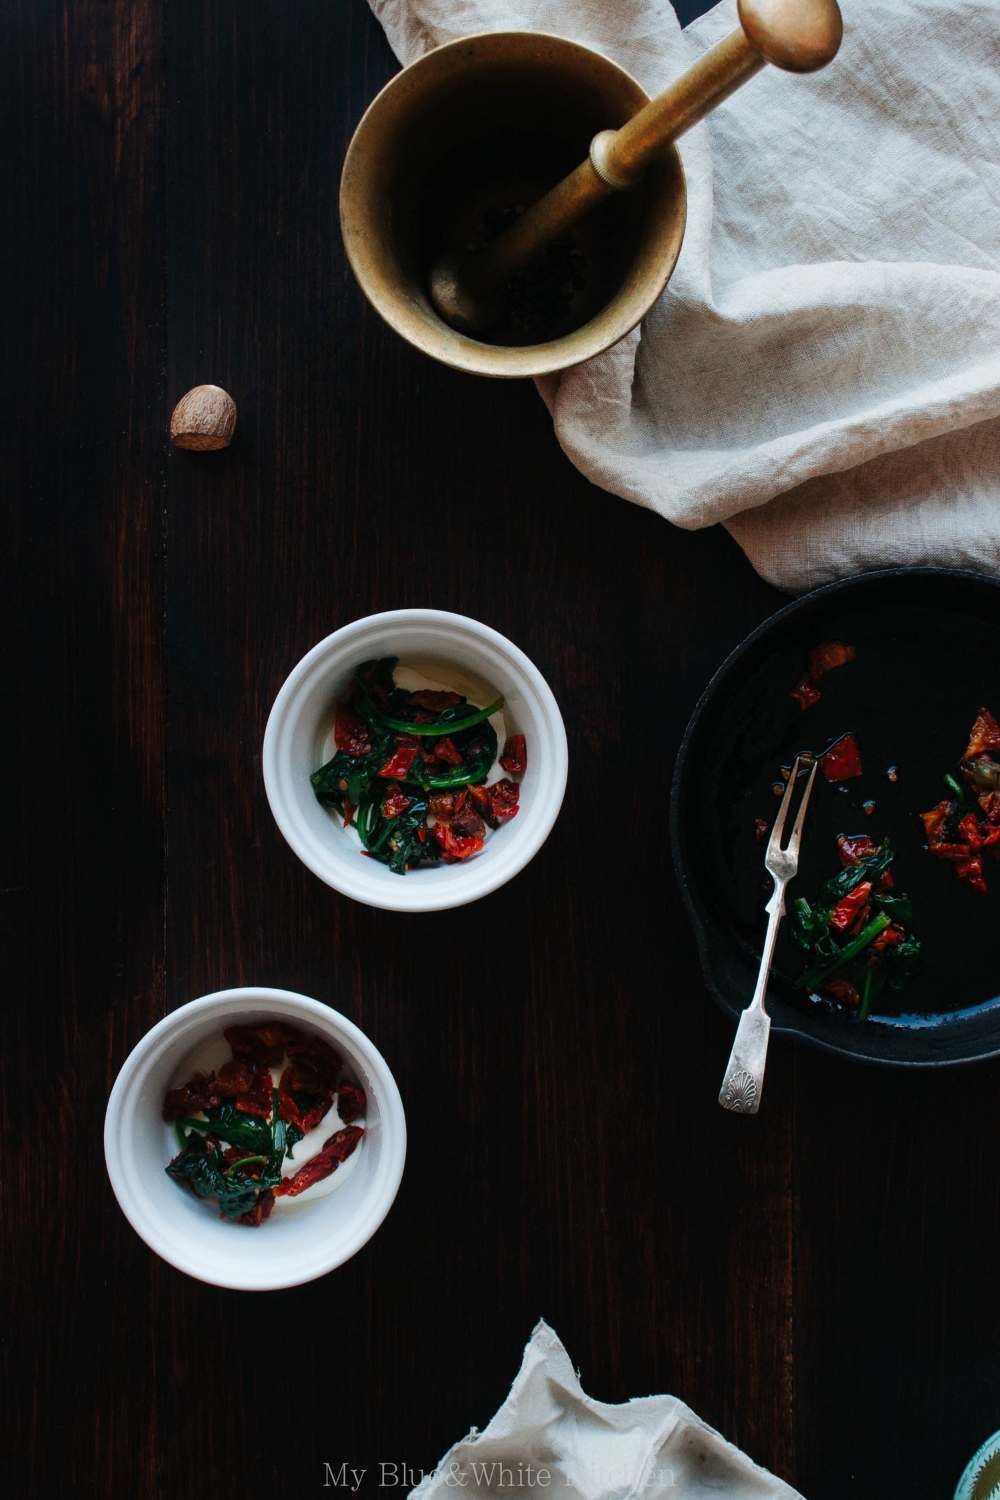
I first stumbled upon this French breakfast classic on either Béa's or Aran's blog and have been an avid fan of this luscious dish ever since. Oeufs en cocotte can be adapted to one's liking and the season. The possibilities are endless! Look what's in your fridge and get inspired by the produce of the season. Last week, I had spinach which I wanted to use up. The idea of tomatoes crossed my mind, so I grabbed a glass of sun-dried tomatoes for a dose of sunshine (cause fresh tomatoes are obviously not in season). Créme fraîche works really nice, especially during the colder months as it makes the dish extra creamy and comforting, so I decided to use some.

The result was a lovely breakfast; one that I couldn't wait to share with you.


Oeufs en Cocotte with Spinach & Sun-Dried Tomatoes

serves 2

1 tbsp olive oil
1 garlic clove, crushed
1 large handful (1 lightly packed cup) spinach, washed
4 sun-dried tomatoes, diced
2 tbsp crème fraîche
2 eggs
4 tsp heavy cream
fine sea salt
freshly ground black pepper
nutmeg
a bit of finely sliced scallions

Preheat the oven to 200°C (400°F). Butter or oil two ovenproof ramekins.

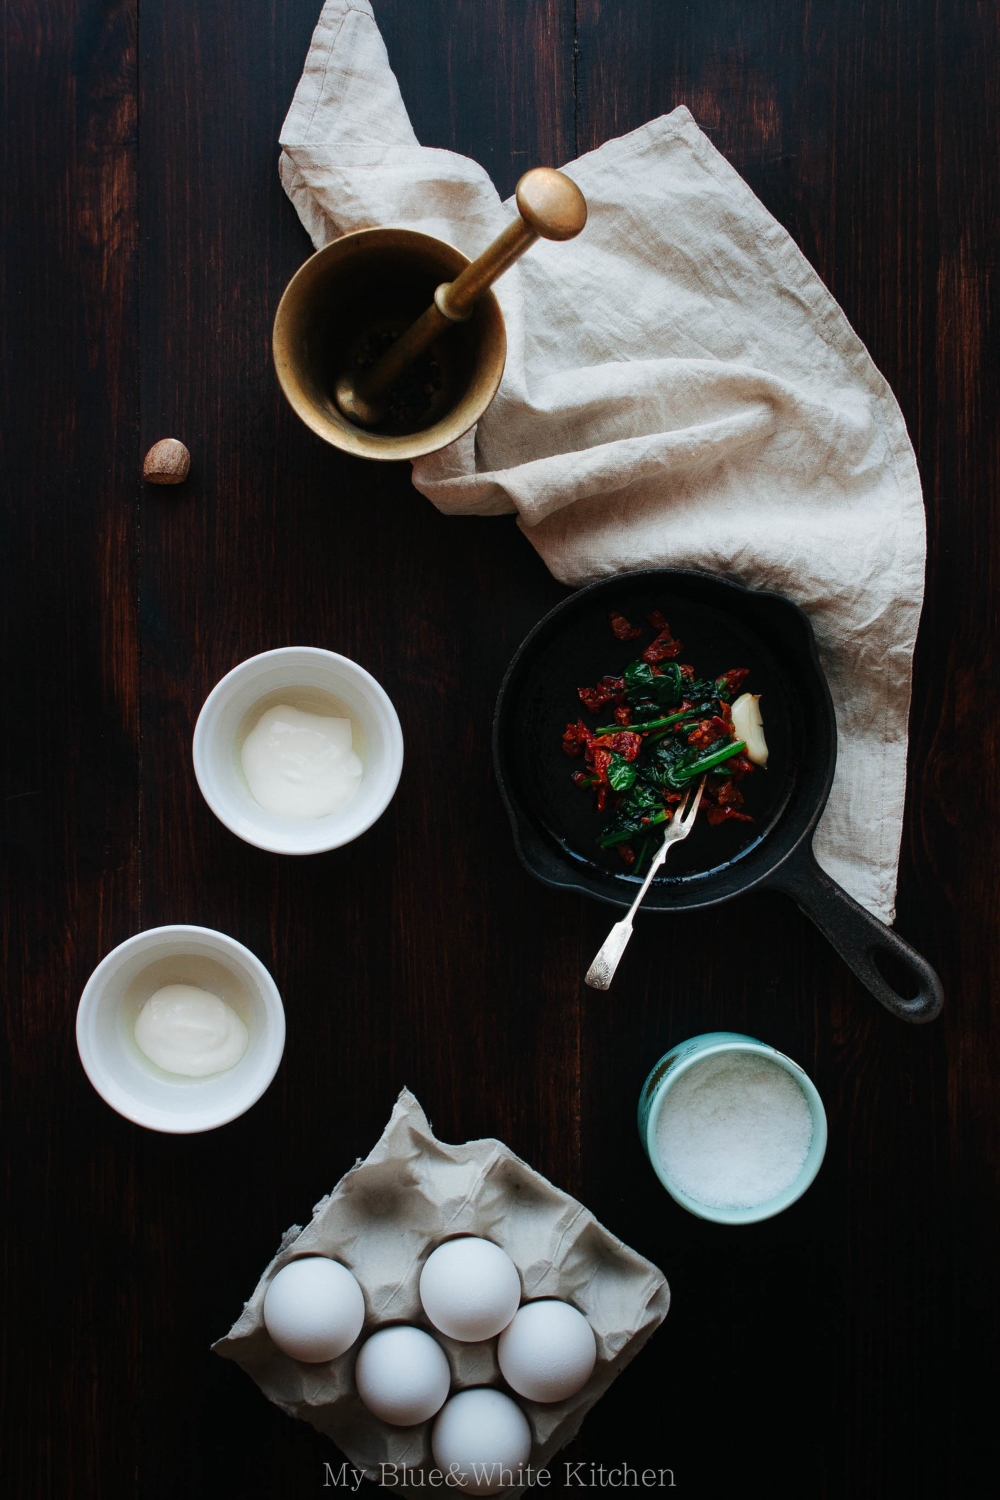
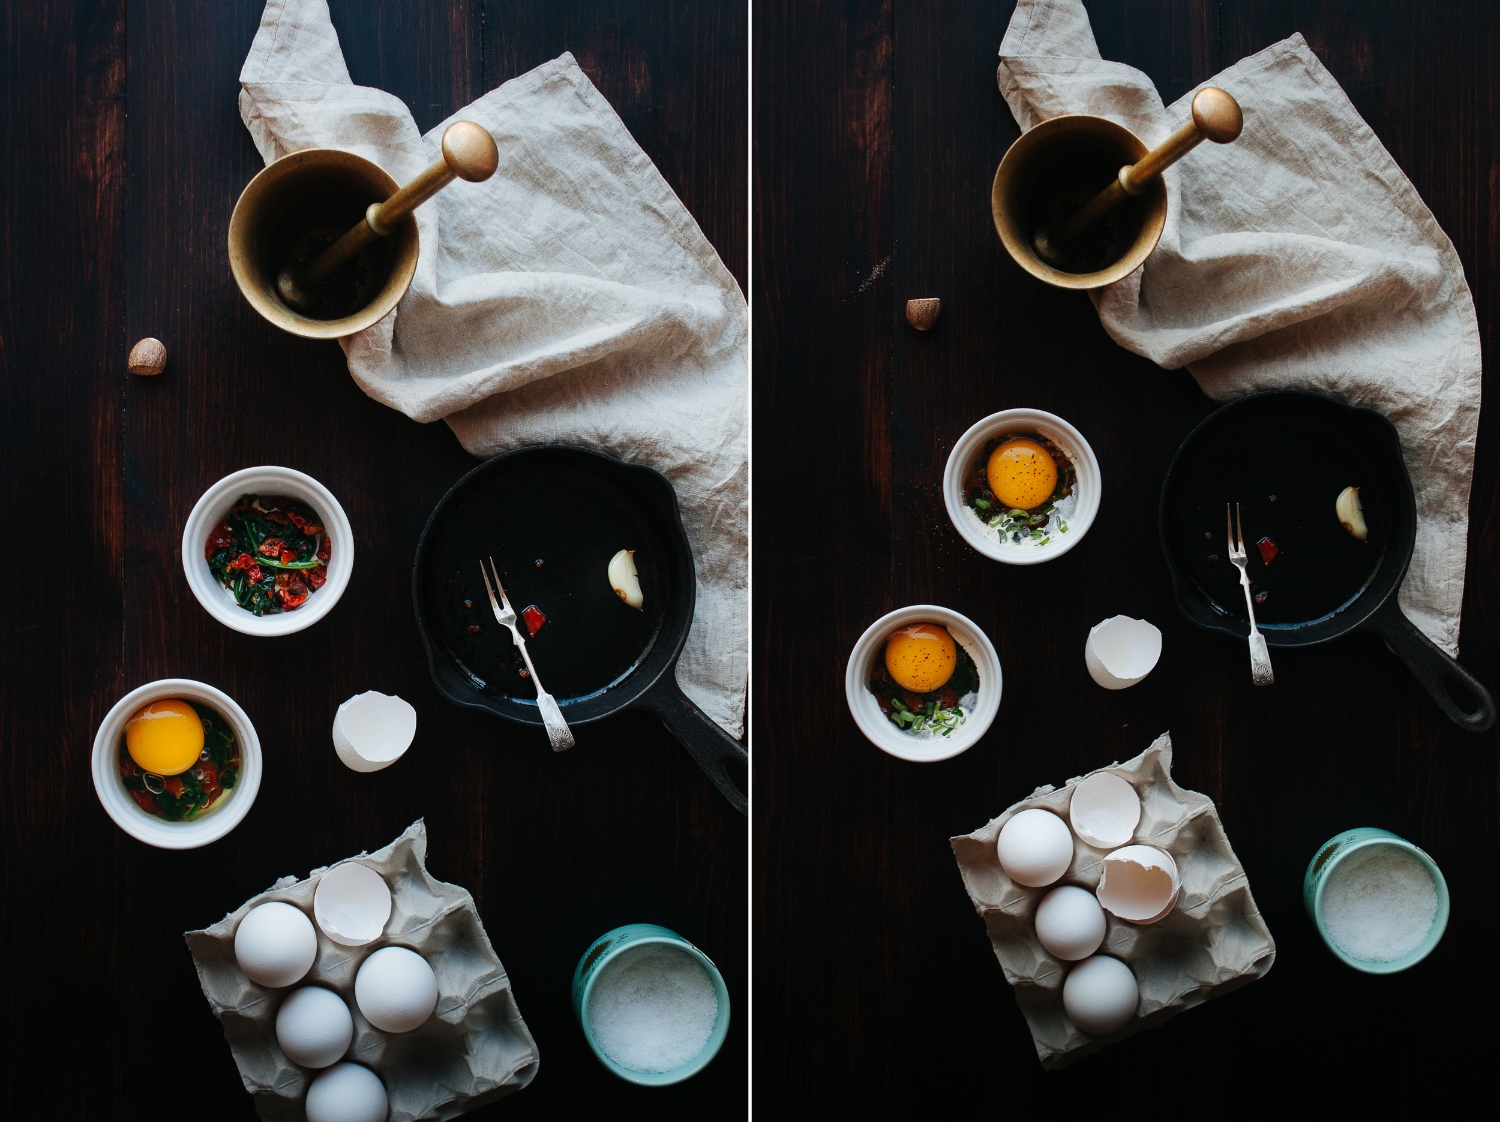
In a skillet over medium-high heat, sauté the crushed garlic and spinach until spinach starts to wilt. Add a pinch of salt and the sun-dried tomatoes. Remove skillet from heat. Discard the garlic glove.

Put a layer of crème fraîche in each ramekin and top with the spinach mixture. Crack an egg in each ramekin. Pour 2 tsp of heavy cream over each egg white avoiding the egg yolks. Season with salt, pepper, and nutmeg. Finish with finely sliced scallions.

To make a water bath, put the ramekins in a baking dish. Place the baking dish on the middle rack of the oven. Pour steaming hot water (hot tap water works fine!) into the baking dish to reach halfway up the sides of the ramekins. Bake for 12 to 15 minutes, or until the egg whites are set but the yolks are still runny. Serve warm.


Oeufs en Cocotte with Spinach & Sun-Dried Tomatoes | My Blue&White Kitchen

Related Posts

Overnight Oats + A Promo Code For Stitch Linens

Overnight Oats | My Blue&White Kitchen

Are you familiar with Marta Greber and her blog What Should I Eat For Breakfast Today? Well, I have to blame her and her gorgeous blog for having been madly obsessed with overnight oats for the last couple of months. It all started with this post last August. See how pretty and tempting that breakfast bowl is? I wanted that deliciousness in my life, made my first batch of overnight oats, and so the love story of me and overnight oats began.

Porridge is an institution here in the north. I think most people start their day with a bowl of warm and comforting porridge. There are even food trucks that sell nothing but porridge (!!). But, you know, I've never been a morning porridge person myself. Yes, I enjoy a bowl of rice porridge in winter (although, not for breakfast, except on Christmas Eve when it's an obligatory part of our Nordic Christmas traditions) as well as farina porridge a couple of times a year, but I've never been attracted to the regular cereal porridges that are all too often rather tasteless and bland. Oh and the consistency can certainly be an issue as well. I haven't grown up eating porridge every single morning, so it's nothing I have an emotional connection with. It's nothing I crave. Well, not until I saw that post about overnight oats that is.

What I love about overnight oats is that it a) can be, as it name already says, prepared on the night before and b) is ridiculously versatile and can be adapted according to the season as well as to one's preferences & diet. My first overnight oats was a combination of oats + apple juice + grated apples + yogurt + nuts + berries. I immediately fell in love with this breakfast and have enjoyed it in the early (and late) morning hours several times a week for the last couple of months. It makes a great breakfast to-go when made in a mason jar or can be enjoyed as a healthy and filling midday snack.

The overnight oats ratio is easy to remember: 1 part of oats to 1 part of liquid. As liquid, you can use juice, such as pure orange or apple juice, milk, plant milk, or even water. Furthermore, you can add some spices to the mix, such as cinnamon, vanilla, cardamom, or ginger. Or what about grated apples, pears, or carrots?

There are, of course, endless topping possibilities that I like to change according to the seasons. Some of my favorites are:

  • nuts (almonds, hazelnuts, walnuts, pistachios, pecans, cashews, etc.)
  • fruit & berries (apples, pears, plums, figs, berries of all kind, etc.)
  • dried berries (cranberries, raisins, figs, cherries, berry powder, etc.)
  • sweeteners (agave nectar & honey)
  • plain yogurt, nut butter, jam, etc.
  • toasted coconut flakes, seeds, bee pollen, cacao nibs, candied ginger, puffed amaranth, etc.

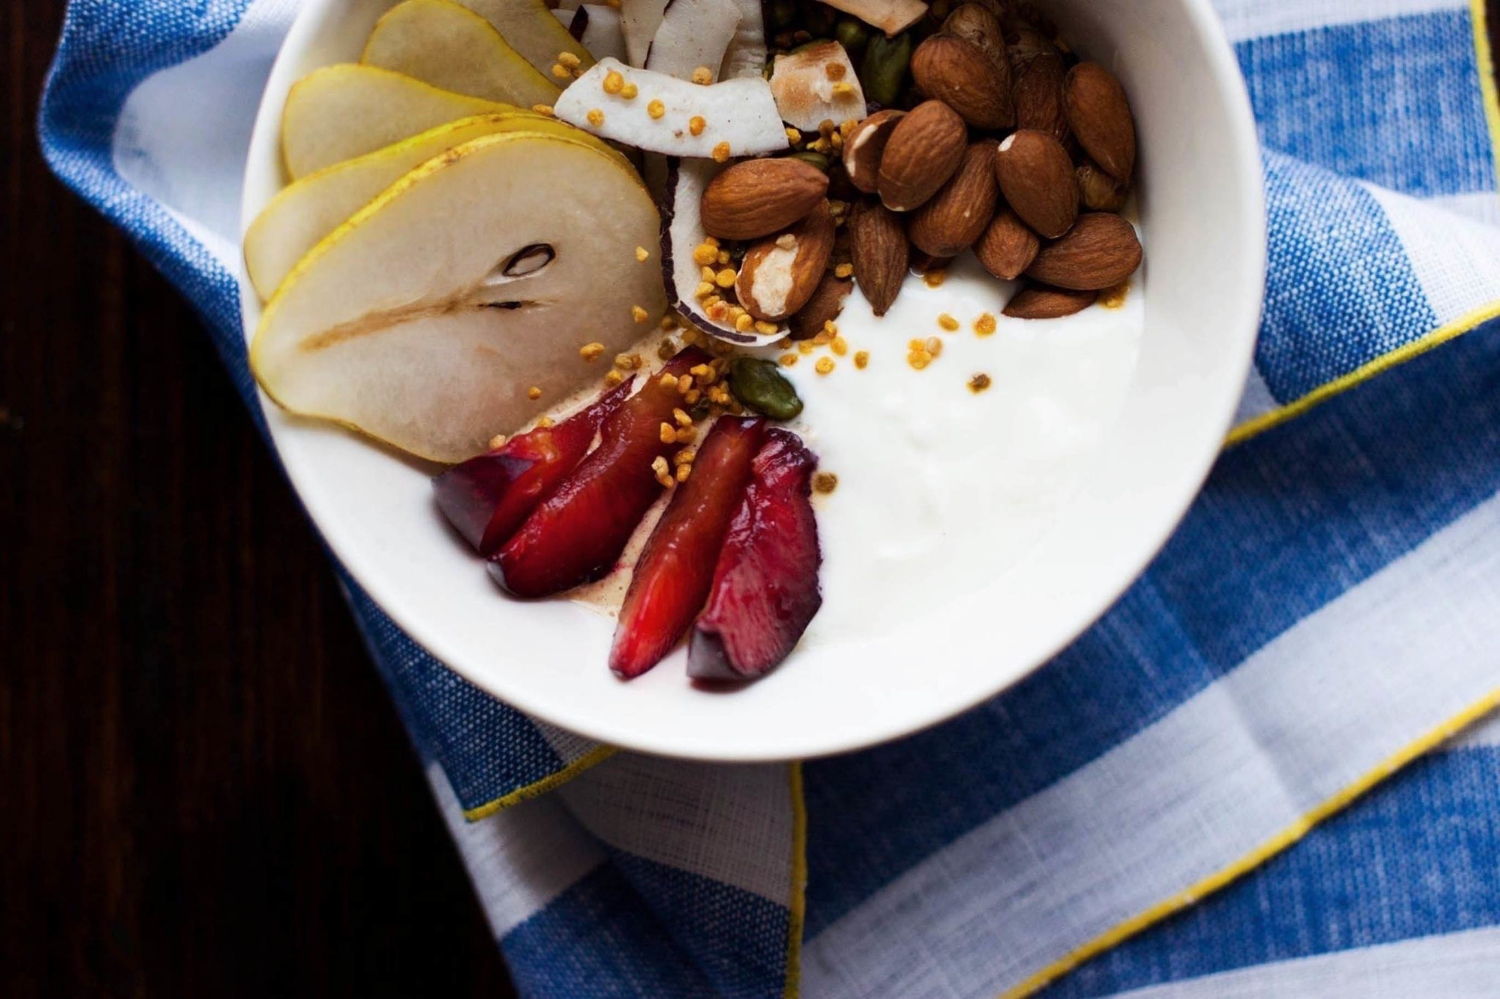
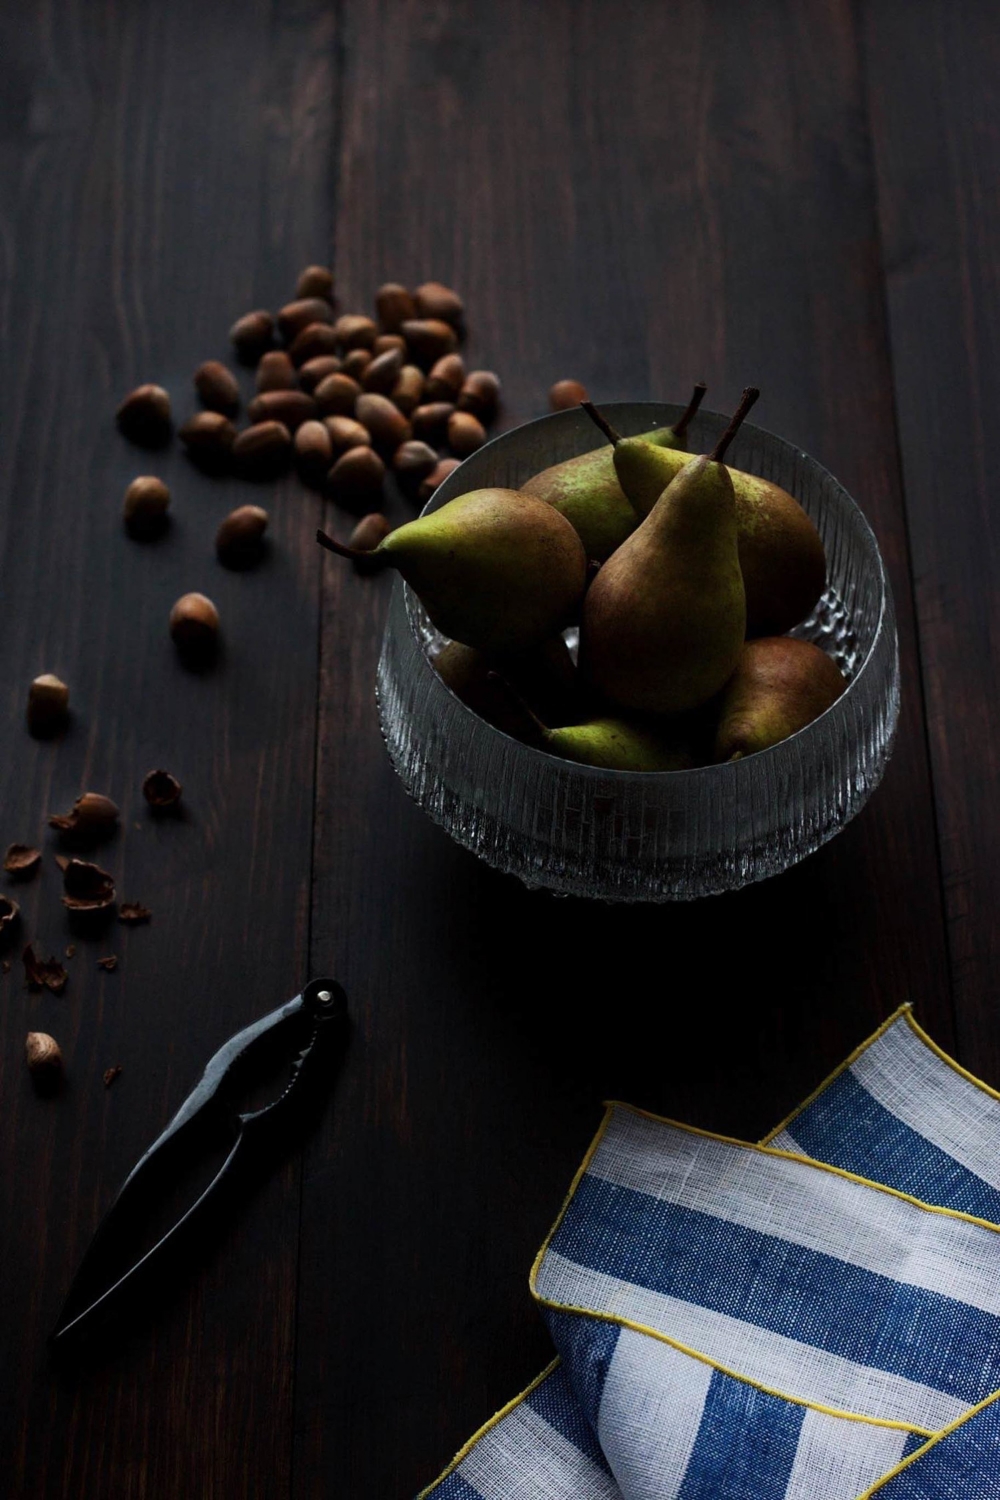
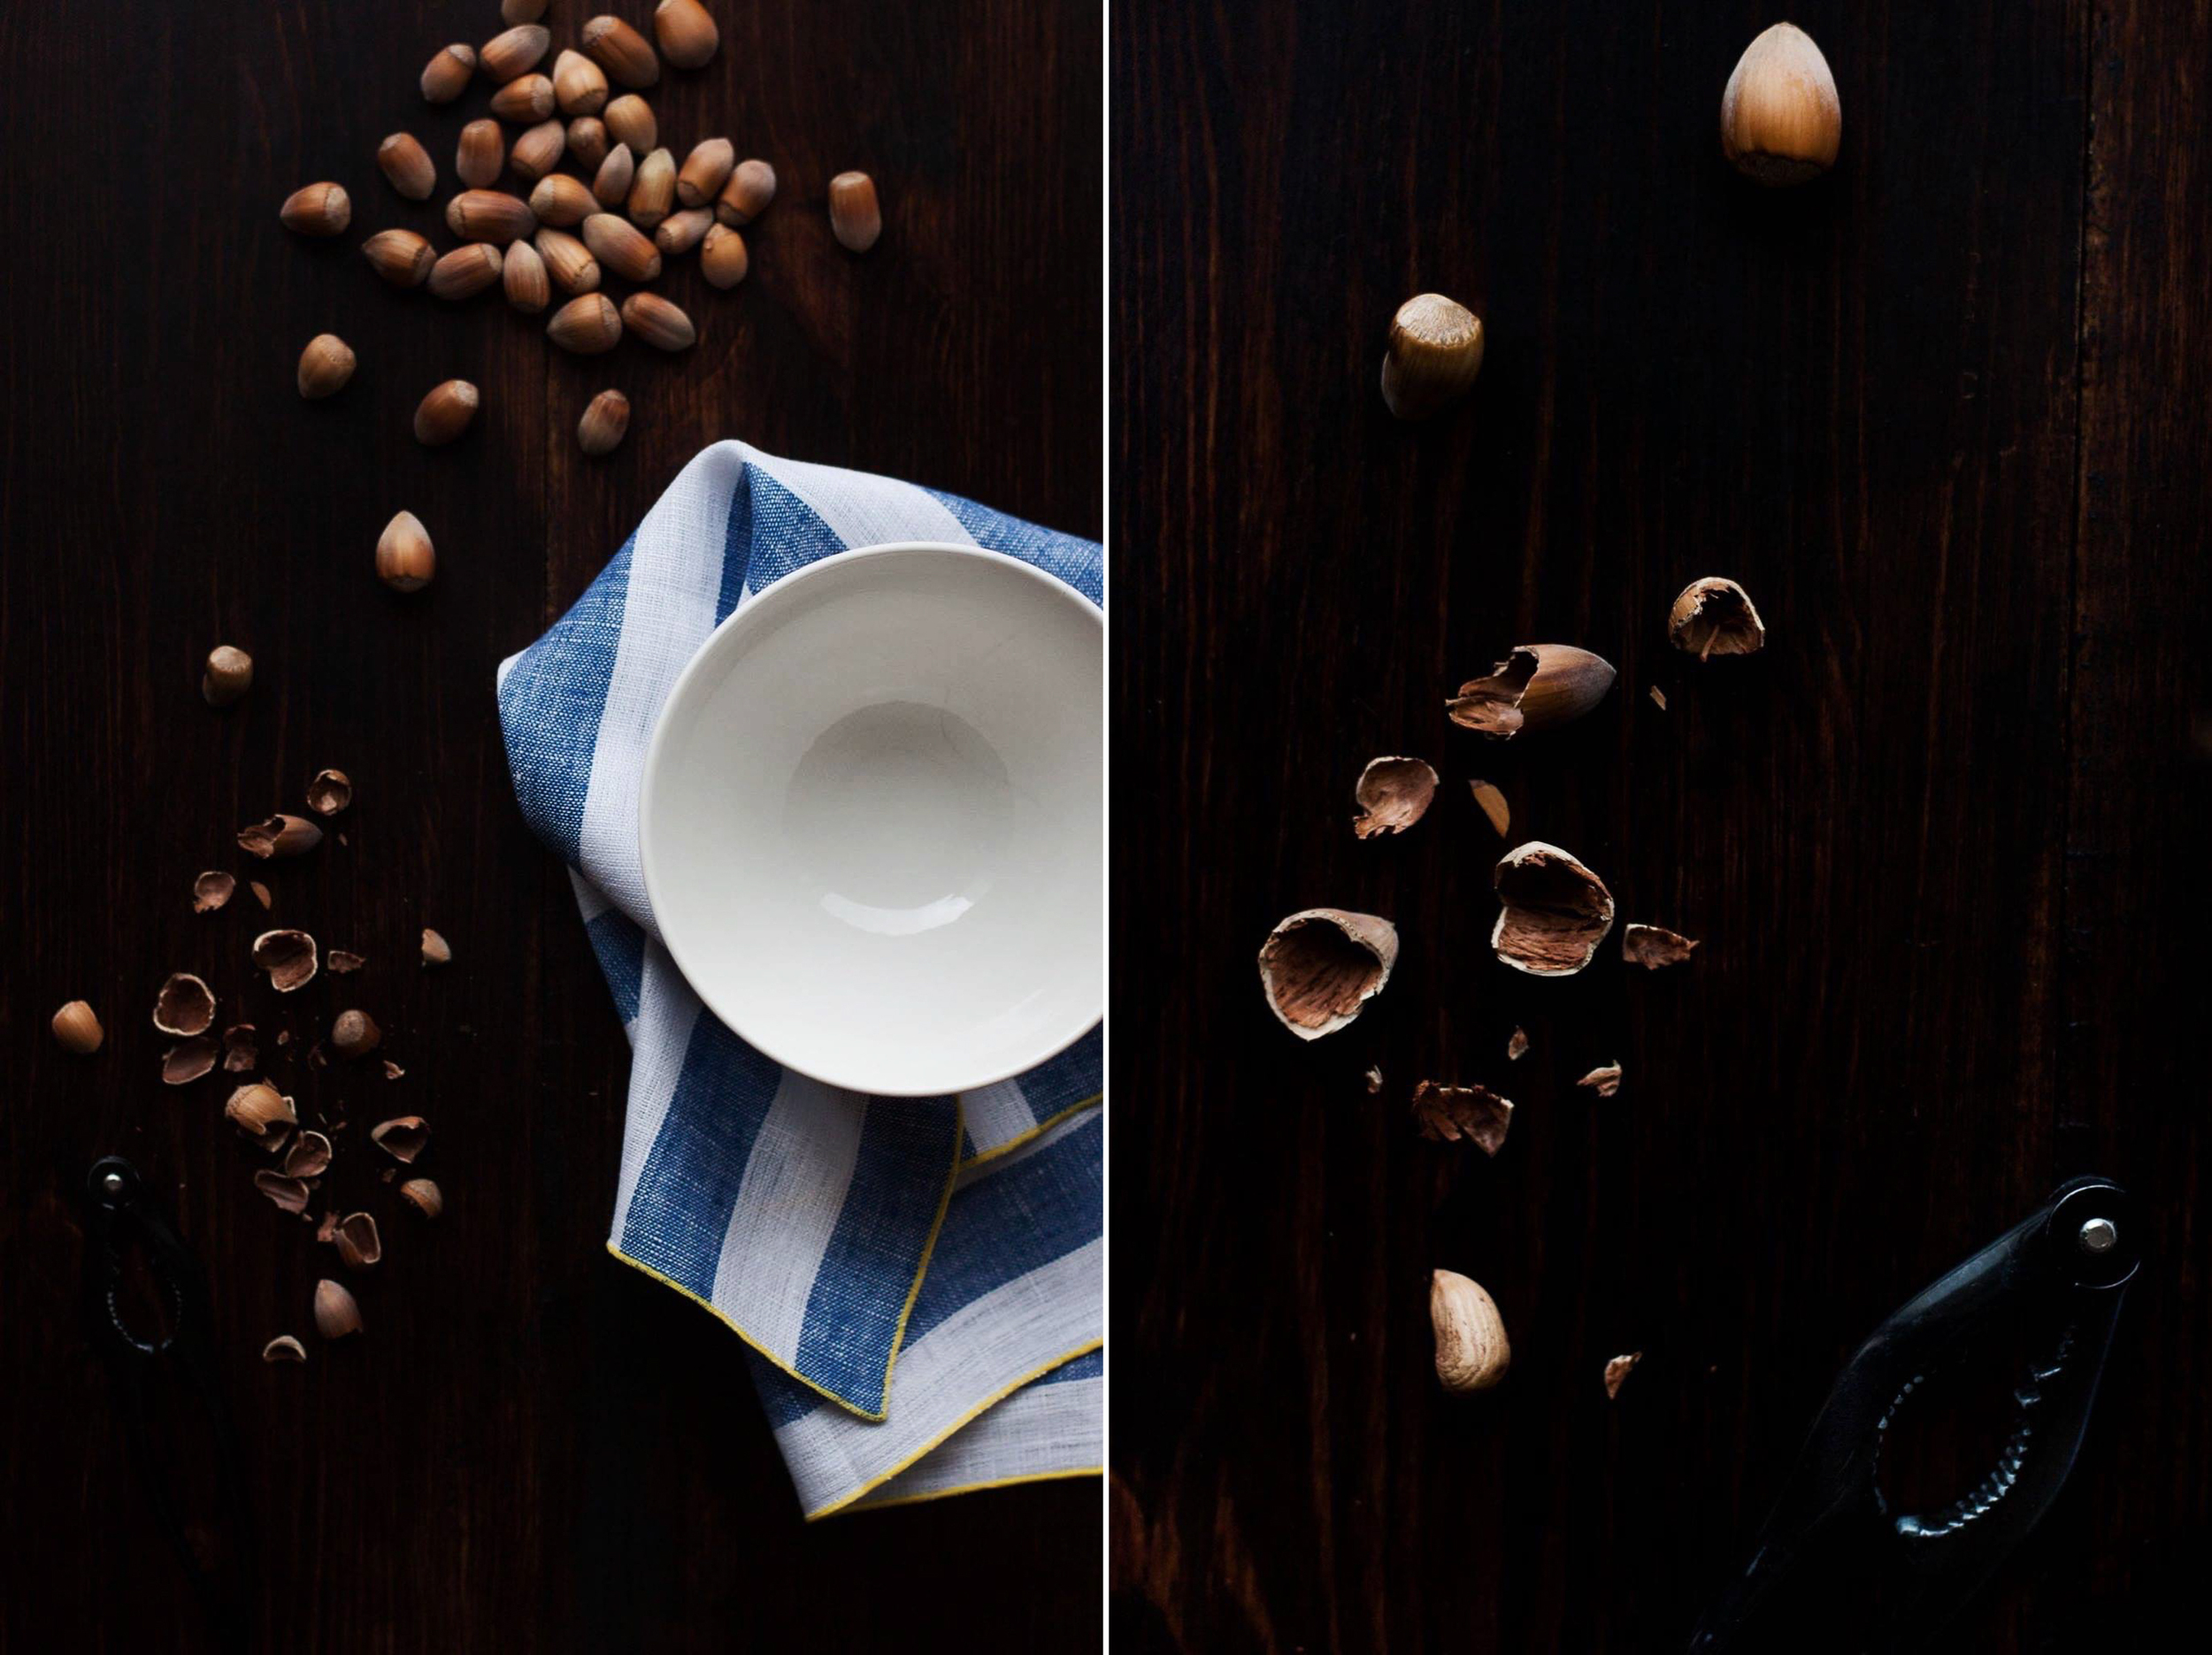
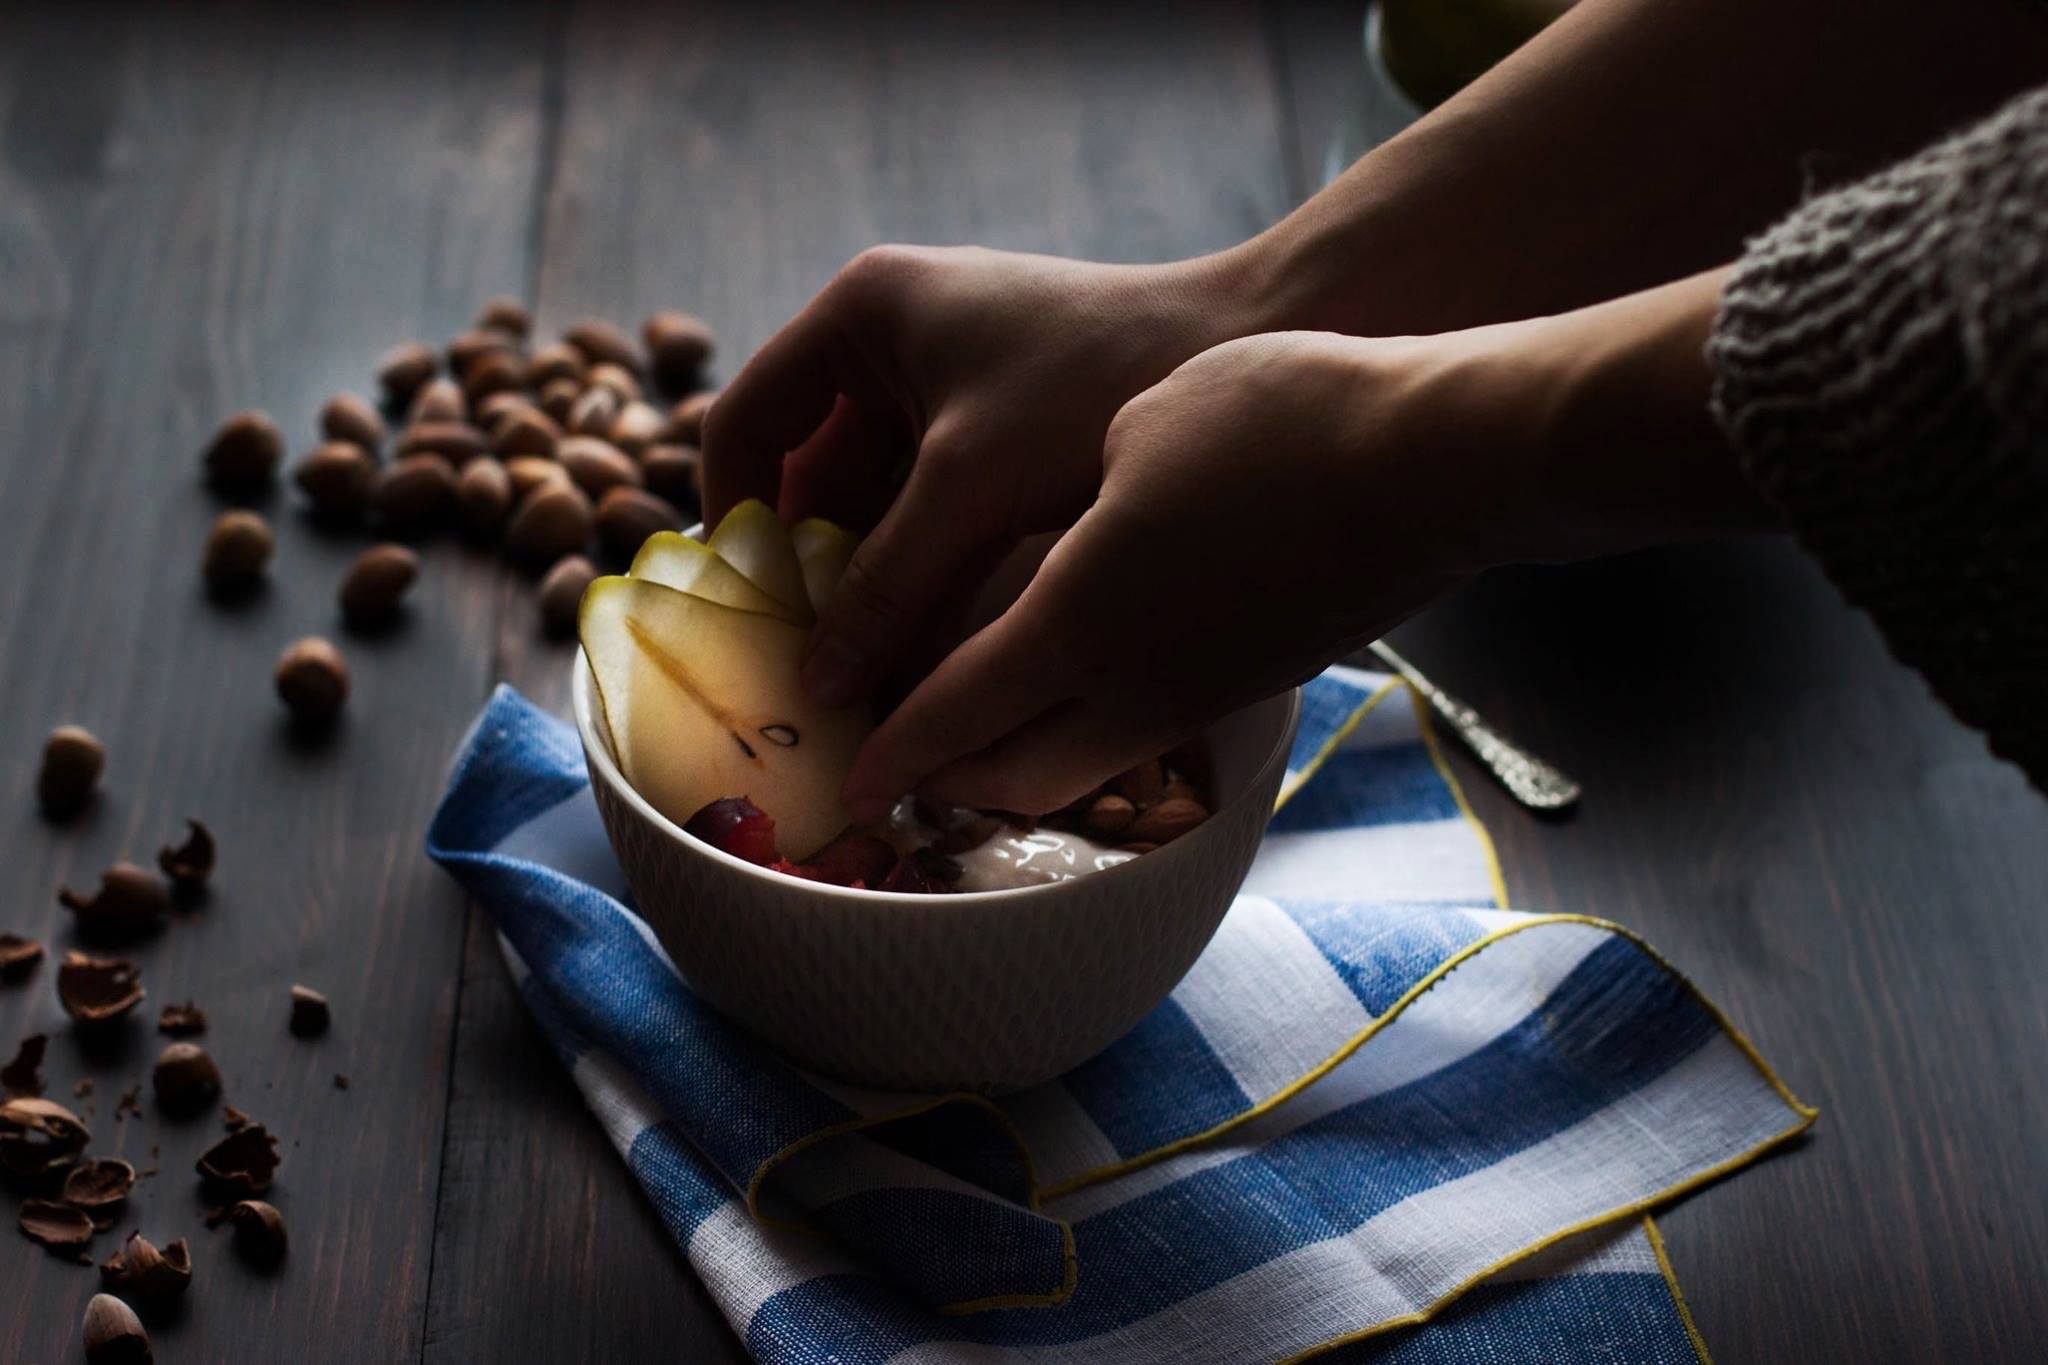
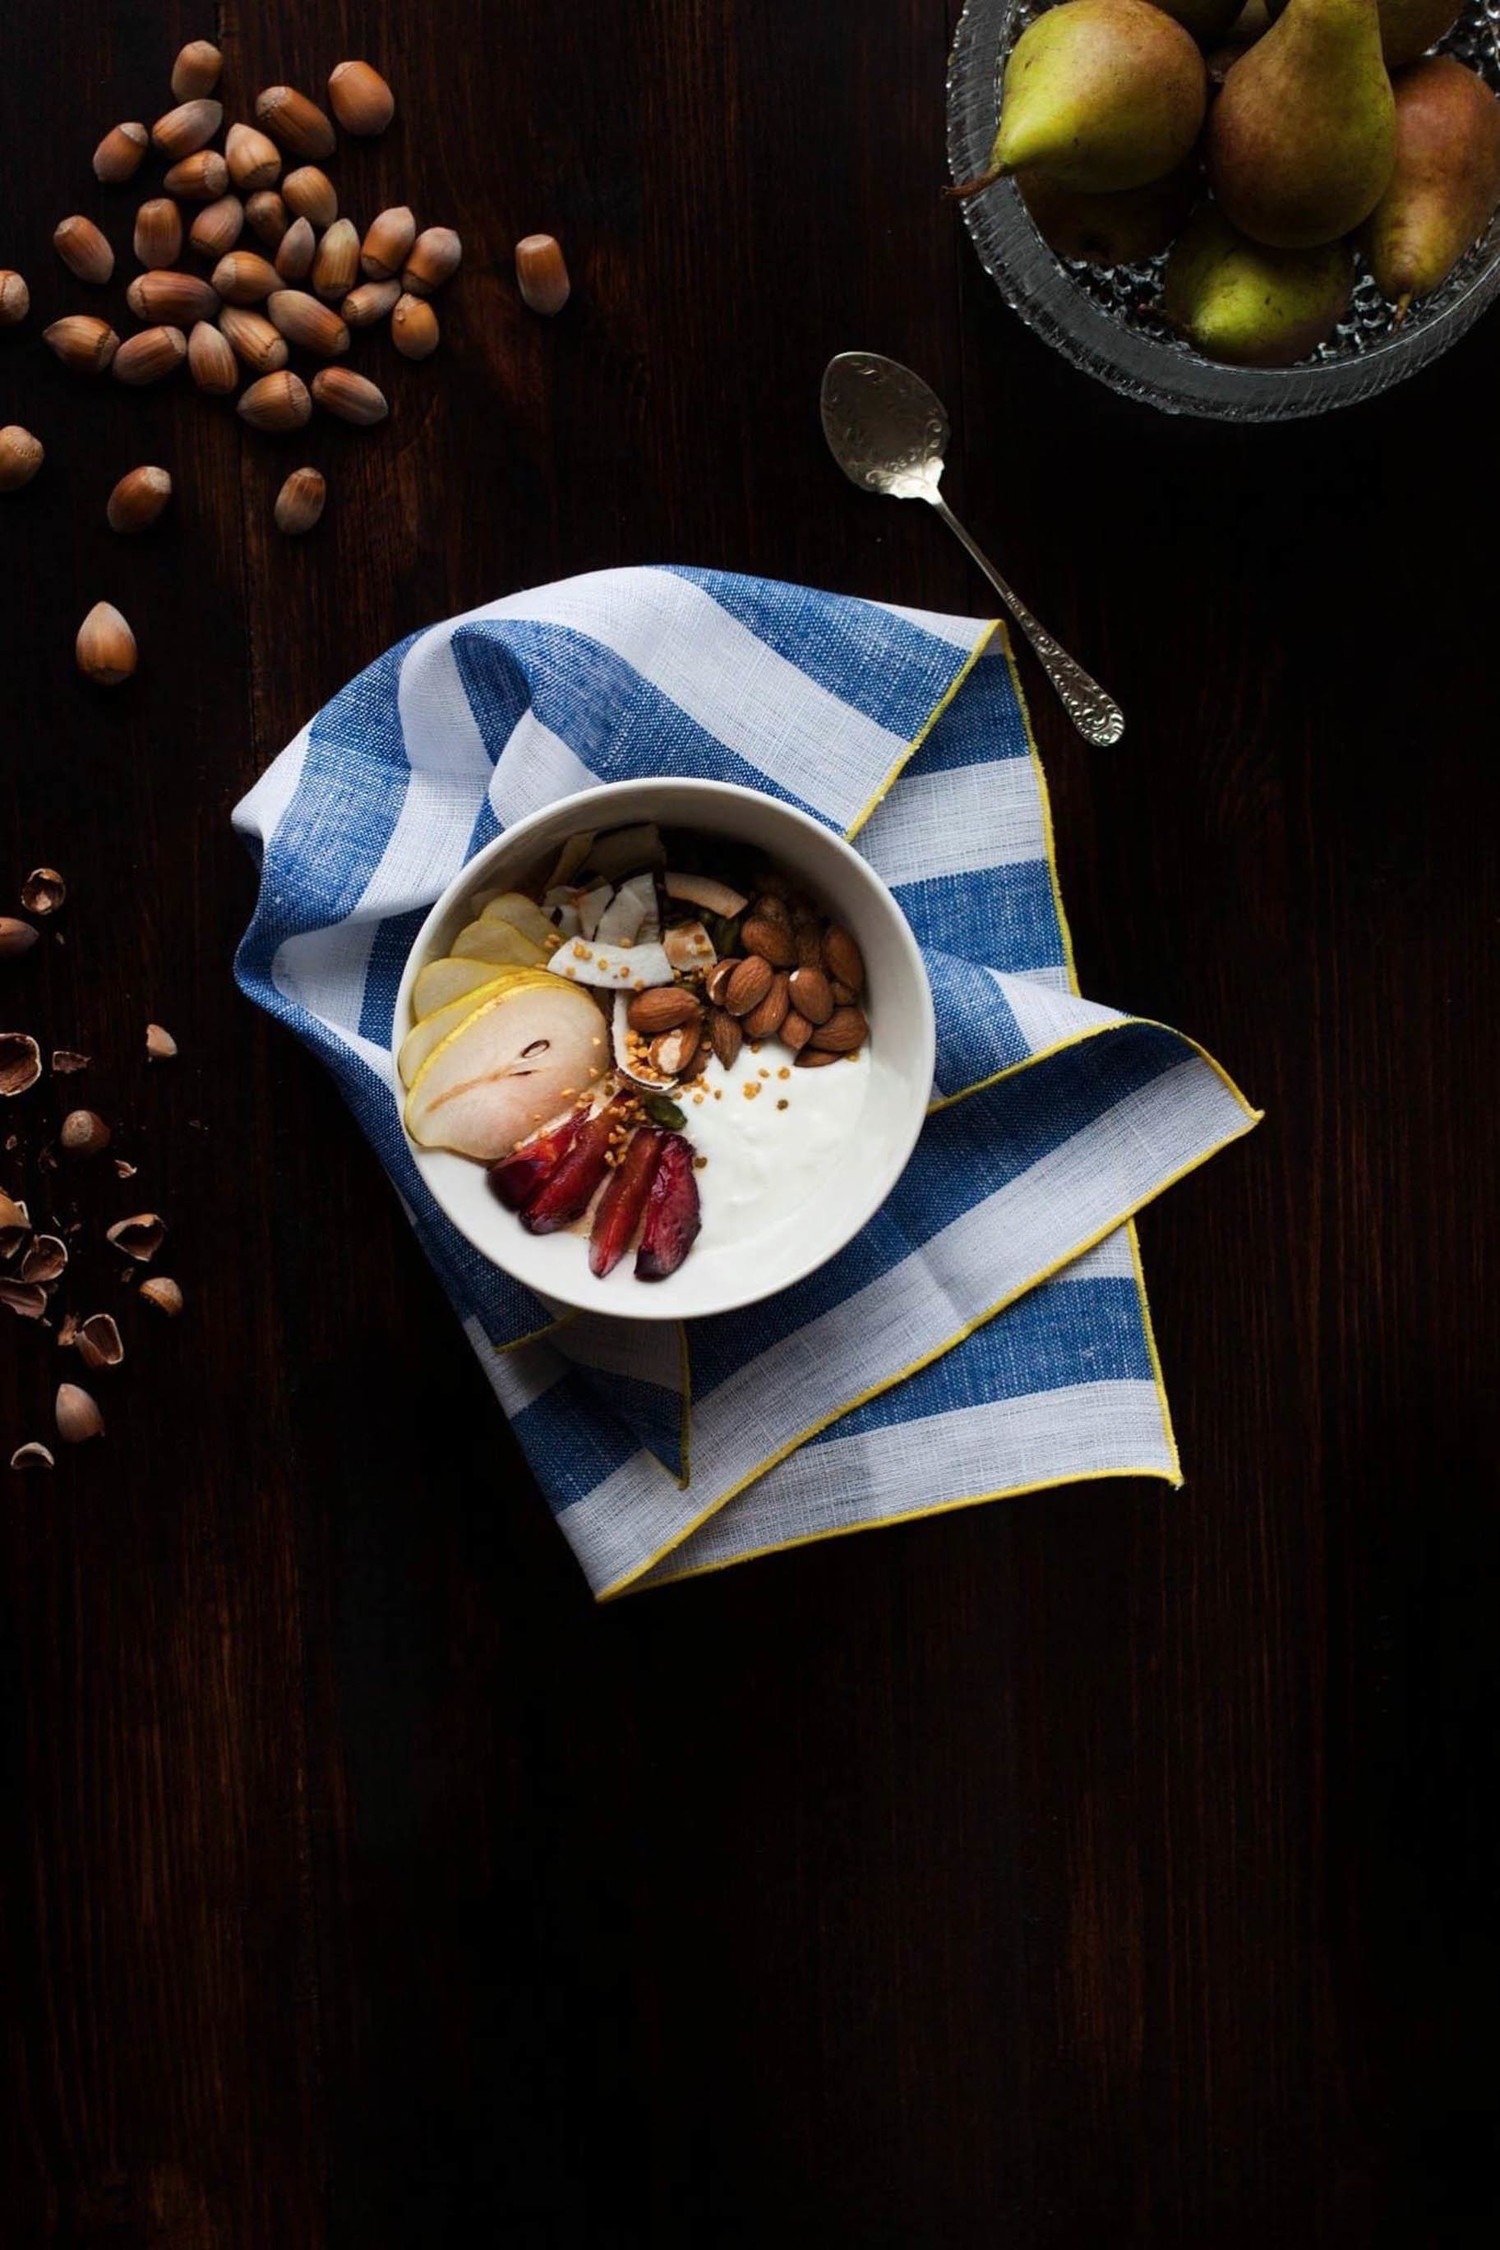
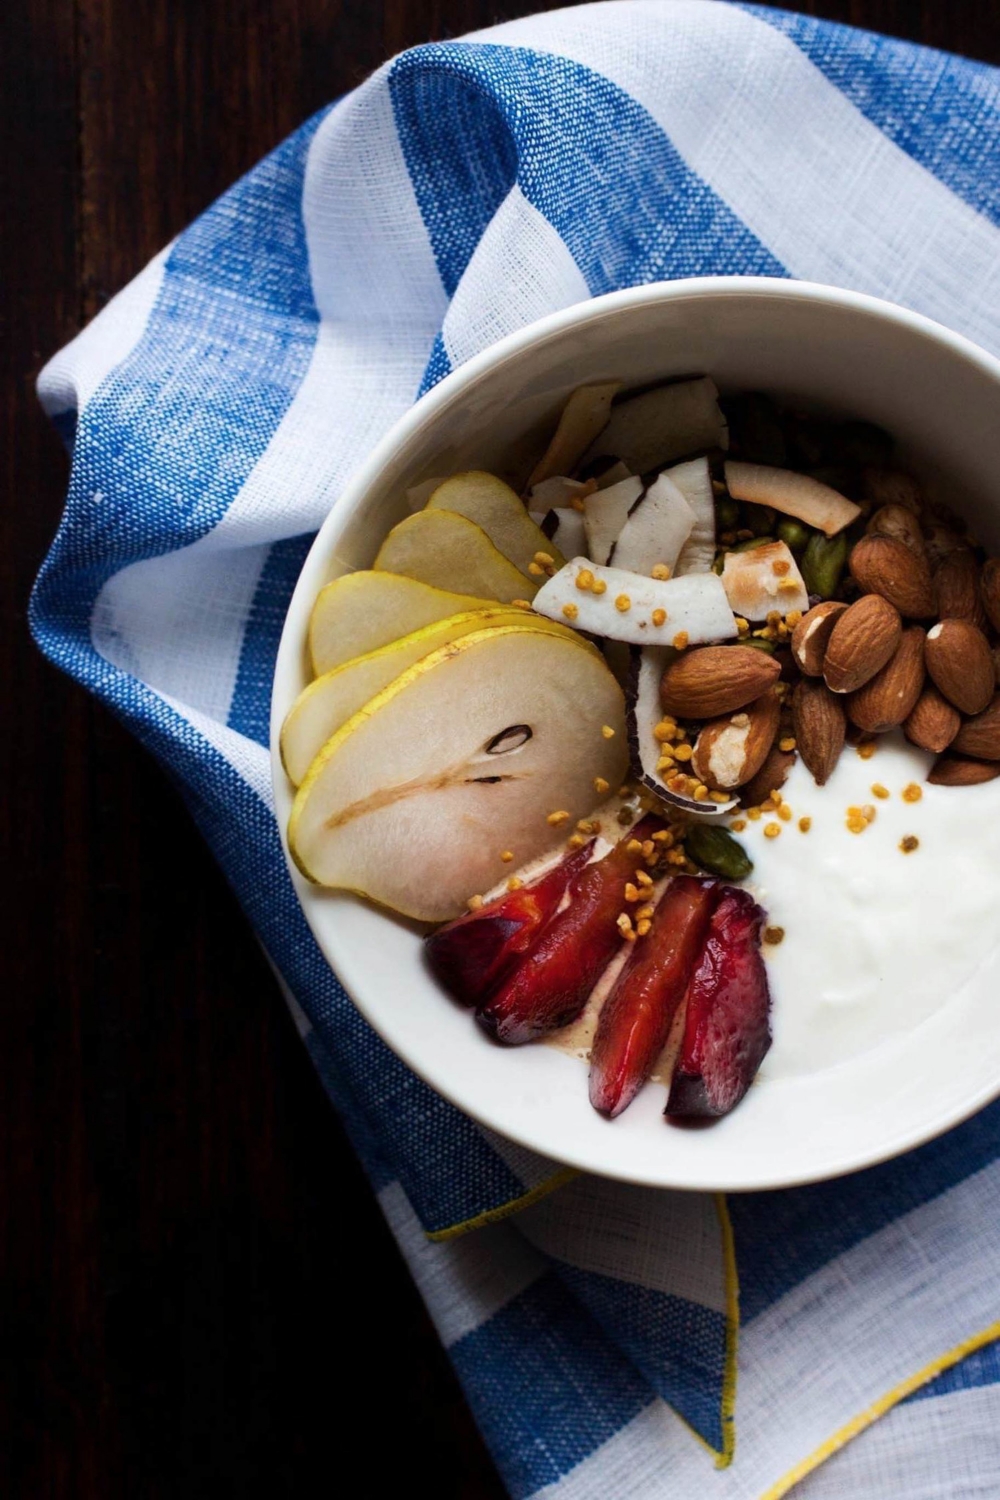
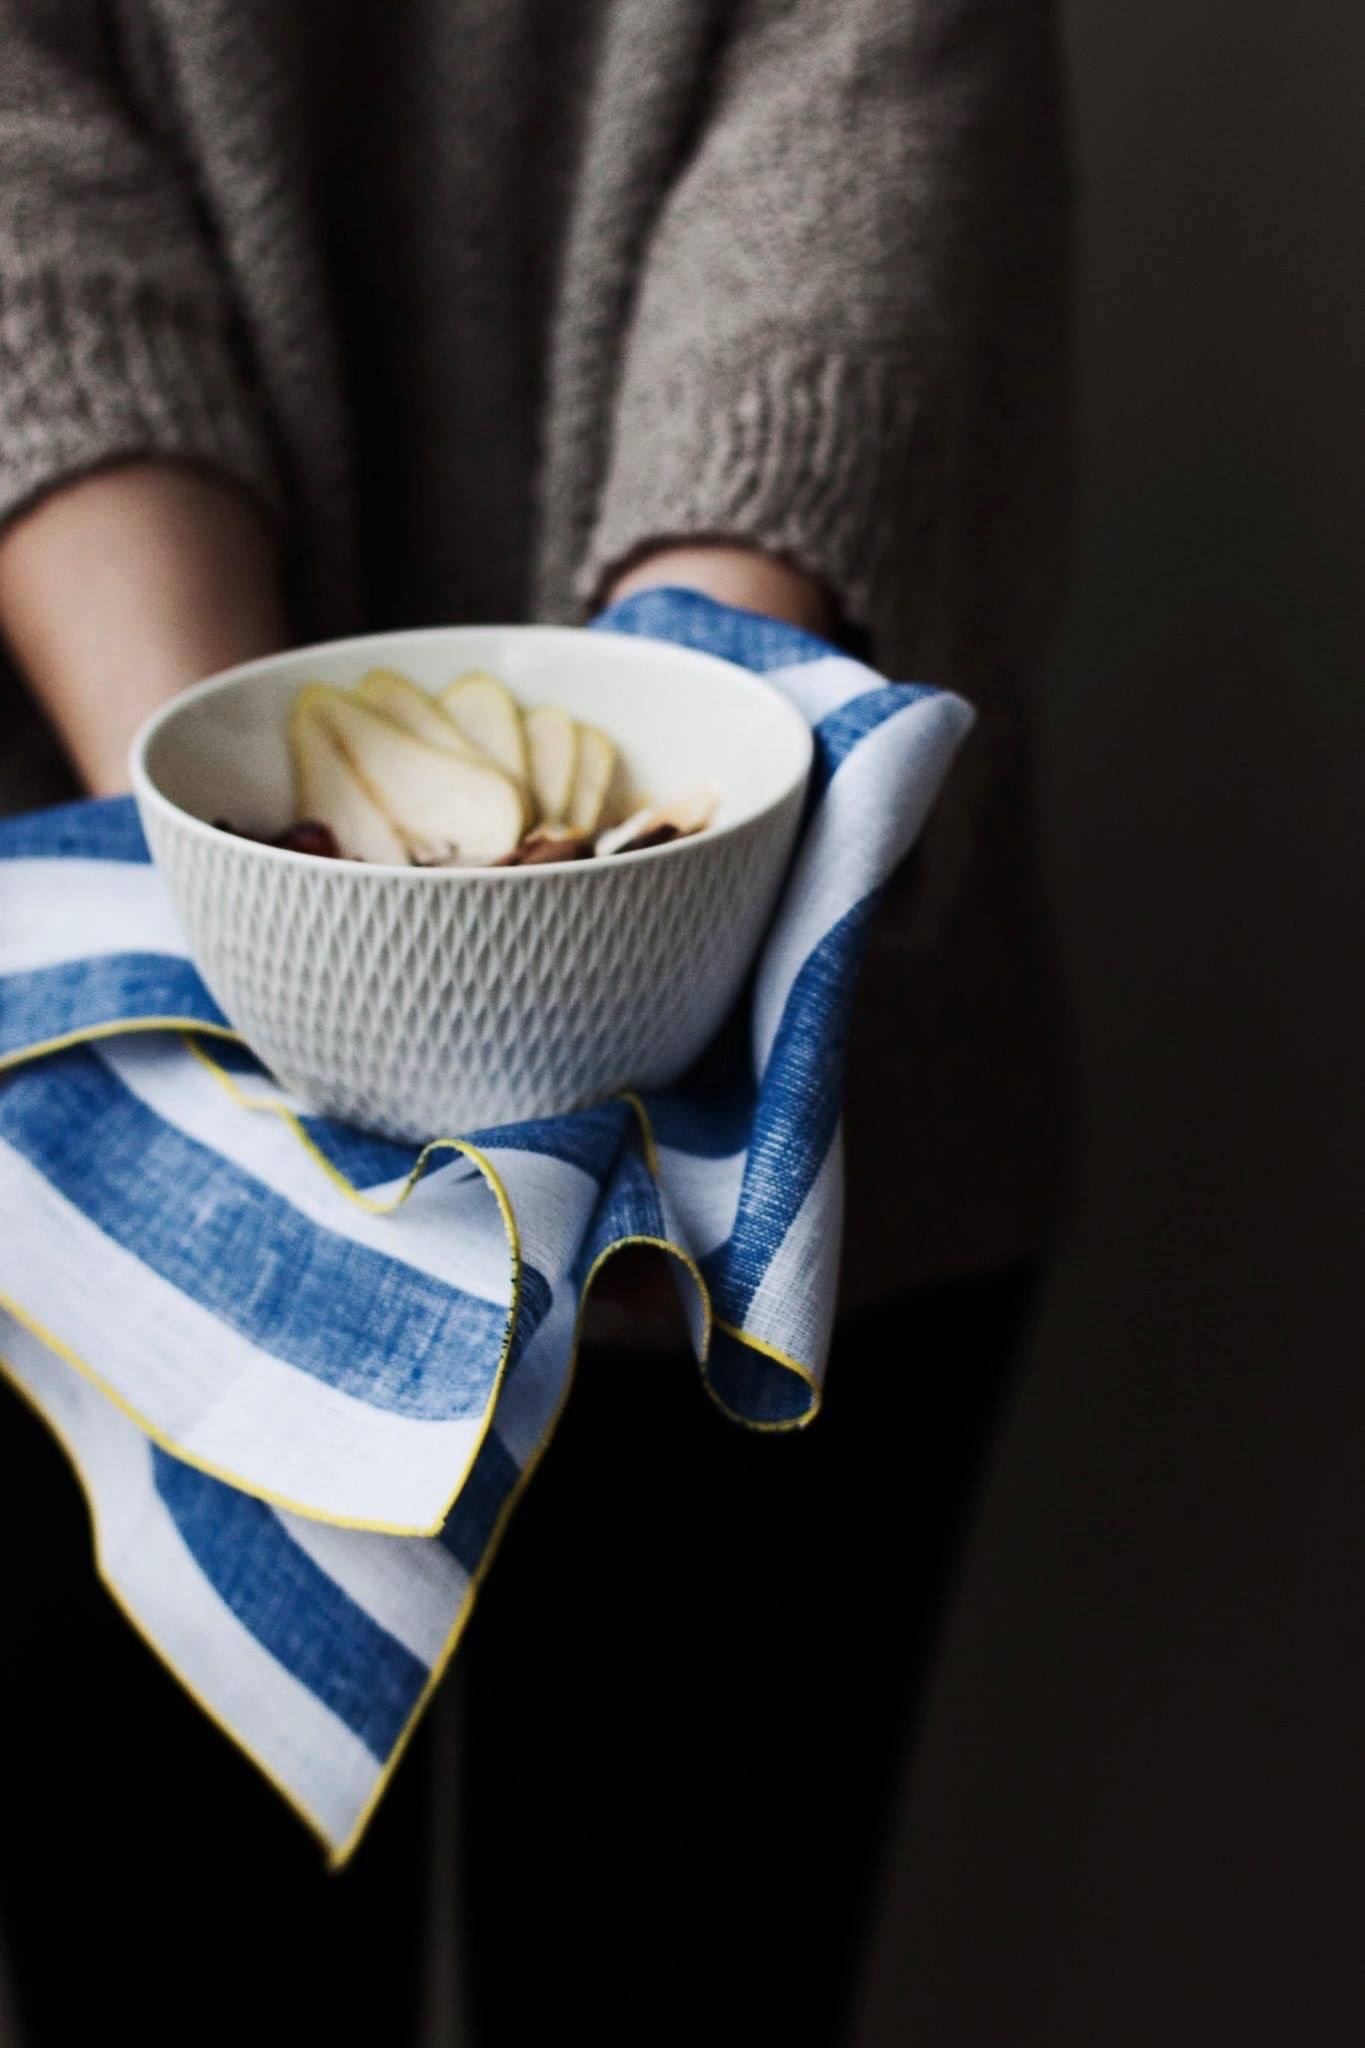
This week, I've been having my oatmeal with pure orange juice, cinnamon, plain yogurt, gorgeous, local pears (seriously, these are the best pears I've ever had), pluots (bought them for the first time last week and am obsessed by their beauty and sweet flavor), toasted coconut flakes, wild hazelnuts that I brought with me from Germany (they look like acorns, though), almonds, pistachios, and bee pollen (a new ingredient in my kitchen). Because of the sweetness of the pears and pluots, I don't even feel the need to add any sweetener.

Are you in the overnight oats game already? What's your favorite combination? I would love to hear!


Overnight Oats

for 1 hungry soul

This dish is gluten-free as long as you make sure your oats aren't contaminated with gluten. Oats are gluten-free themselves but are often manufactured in factories that also handle other, non-gluten-free grains. Check that your package specifies that the oats are gluten-free. To make this dairy-free, simply use plant-based dairy.

1 ½ dl (⅔ cup) rolled oats
1 ½ dl (⅔ cup) pure orange juice
½ tsp cinnamon

1 tbsp yogurt + more to serve

toppings of your choice (here I used pears, pluots, coconut flakes, hazelnuts, almonds, pistachios, & bee pollen)


Mix together the rolled oats, orange juice, and cinnamon. Cover and place in the fridge for a minimum of 2 hours or overnight.

If using coconut flakes, toast them in a dry pan on medium-high heat while stirring regularly until fragrant and light golden brown in color.

While I most often skip this step myself, note that soaking nuts increases their nutritional value and makes them easier to digest. Hazelnuts and Brazil nuts make an exception as they don't contain enzyme inhibitors and pistachios and macadamia nuts' taste may alter, so I don't soak them. To soak, simply place the nuts in a bowl, cover with twice as much water, and let soak for 6 to 12 hours or overnight. Rinse and use immediately or store in the fridge for up to a week.

In the morning, mix 1 tablespoon of yogurt with the soaked oats. Top with more yogurt, fruit, berries, nuts, or whatever your culinary heart longs for and enjoy!


See those gorgeous blue & white linens I've used in these pics? They're from STITCH and are handmade by Blair, a design student (how cool is that??) in a tiny apartment in NYC (even cooler, right?). I have a special place in my heart for small, brilliant companies and artisan products and immediately fell in love with the look and feel of her high quality linens. Aside from these blue & white linens, my favorites probably are the French Green Dinner Napkins. That color is amazing!

Here's some awesome news: you get 15% off from all STITCH products from today until January 31th with the promo code LOVEBLUE&WHITE. They'll launch some brand-new fall & holiday colors in the coming days so stay tuned! This may be the perfect little something to get to your loved ones for Christmas. I mean, they even offer custom made linens soon.

Hop on over to stock up your collection of linens! Cause let's be honest: one can never own too many. Am I right or am I right?


Disclaimer: Linens provided by STITCH.


Related Posts

About The Blog Turning One & Being A Wild Raspberry Scone Warrior

Raspberry Buttermilk Scones | My Blue&White Kitchen

The truly creative mind in any field is no more than this: A human creature born abnormally, inhumanly sensitive. To him, a touch is a blow, a sound is a noise, a misfortune is a tragedy, a joy is an ecstasy, a friend is a lover, a lover is a god, and failure is death. Add to this cruelly delicate organism the overpowering necessity to create, create, create – so that without the creating of music or poetry or books or buildings or something of meaning, his very breath is cut off from him. He must create, must pour out creation. By some strange, unknown, inward urgency he is not really alive unless he is creating.

– Pearl S. Buck

Raspberry Buttermilk Scones | My Blue&White Kitchen

First of all, this little blog baby of mine has turned one! Wohoo! Happy birthday, blog! It still can't walk on it's own or talk or write posts but I'm proud of it anyway. It all started with my love for food and photography and my inner longing to share that passion with others. Never in my wildest dreams could I have imagined all the goodness that I would experience as a result of me finally finding the courage to start my own blog. Isn't it weird how one decision can have such a huge impact on your life?

Thank you for being here. Thank you for saying "hi!" and leaving encouraging comments. Thank you for making my recipes. You can't even imagine how exciting it is to hear that one of you has baked or cooked a recipe and loved it as much as I have! Thank you for your friendship. Oh, how many wonderful people I've met along the way! So many creative, inspiring, and strong souls. I've been welcomed to this community of food bloggers with such kindness and for that, I'm so very grateful. Thank you.

Raspberry Buttermilk Scones | My Blue&White Kitchen

Now to these scones... They were a result of some serious battles. First, there was that raspberry picking trip where I had to fight against a whole mosquito army. There was blood. There was cursing and physical violence. And casualties. I came home with itching mosquito bites, some blood on my forehead, and a red knee cause I walked straight into a nettle bush and was so very clever to wear shorts (Don't do that. Just don't.). However, this all was worth it as my bucket was heavy with large and juicy raspberries. 

Then there was the day when I made these scones and shot the post. Real talk: I almost had a breakdown cause I had such a hard time trying to get these babes look beautiful and do them justice. I spend several hours trying to get that perfect shot (yes, several hours). Trying different angles, lighting, props. Nope. This wasn't my day, and I and these scones would definitely not become friends anymore. I struggled with serious self-doubts. By that time I had already declared them as enemy. I walked away. However, the scones still lingered on my frustrated mind. "Okay, let's approach these in a whole new way", I thought. You see the results here. I like these shots. A lot. Sometimes it's good to walk away to get some distance, and come back later with new eyes and a clear mind.

These scones and pictures are a labor of a true wild raspberry scone warrior.

Raspberry Buttermilk Scones | My Blue&White Kitchen

I really love these scones. Actually, the scones in the pictures aren't the most beautiful ones as I, in my frustration, ate the really pretty ones (sorry guys). They are light and tender but have a wonderful crust as well. They aren't too sweet and are speckled with pink raspberries. I decided to substitute part of the all-purpose flour with whole wheat spelt flour to make them a bit more wholesome. Furthermore, as I recreated the recipe a few times during last week I ended up making the scones a bit smaller and thicker to support the rising. I and these scones have made peace again. They are lovely little fellas.

They say that scones are best eaten while still warm and fresh, but I think potential leftovers are great on the next evening or even the next morning toasted in a toaster or pan. Add a knob of butter or enjoy with some brie (!!). I almost was turning these into some kind of French-toast-meets-scones thing but thought that it would be worth another post and story. Let's start with the basics and play wild and reckless another time. That said, the recipe can easily be halved as eight scones tends to be quite a lot unless you are feeding a whole family or hosting a brunch for a bunch of friends.

Raspberry Buttermilk Scones | My Blue&White Kitchen

Raspberry Buttermilk Scones

makes 8 scones

There are two essential things to keep in mind when making scones: keep it cold and work fast. Make sure that your butter and liquids, such as buttermilk, are really cold. Never overwork the dough: just mix and fold until everything is incorporated. Be sure that you've preheated your oven, lined a baking sheet with parchment paper, and have all ingredients at hand (preferably already measured) before starting to make the dough.

The first time I made these, it was a hot summer day. On the evening before I was wondering if I should change my plans of baking scones in the forecasted heat. However, I was too eager to hide the harvested raspberries in scone dough... What I made to ensure that the dough would be as cold as possible despite the challenging circumstances was the following: the night before, I measured the flours, sugar and salt, added them to the bowl I was going to make the dough in and stored it in the freezer. I also weighted the required amount of butter and froze it as well. The following morning, I added the baking powder and baking soda to the dry ingredients. Using a box grater, I coarsely grated the frozen butter and stirred it into the dry ingredients. After that, I proceeded as depicted below.

The recipe can easily be halved. Baked scones can be frozen.


190 g (3 ½ dl; 1 ½ cups) all-purpose flour
100 g (2 dl; ¾ cup + 1 ½ tbsp) whole wheat spelt flour
45 g (½ dl; 3 tbsp + 1 tsp) granulated sugar
2 tsp baking powder
½ tsp baking soda
135 g (1 ¼ sticks) cold unsalted butter, cubed
2 dl (¾ cup + 1 ½ tbsp) buttermilk (if you are in Scandinavia, you can use filmjölk instead or make your own buttermilk)
130 g (2 ½ dl; 1 cup) raspberries

melted butter


Preheat the oven to 225°C (450°F). Line a baking sheet with parchment paper and set aside.

In a medium-sized bowl, combine the dry ingredients. Cut the butter into the dry ingredients with a pastry cutter until the dough is crumbly and resembled small peas. Alternatively, you can do this by hand. Work quickly to ensure that the butter stays cold. Add the buttermilk and mix just until the dough comes together. At this point the dough should feel slightly sticky but still be easy to handle. If the dough feels too sticky add a bit more flour.

Transfer the dough to a lightly floured work surface. Pat the dough into an about 1,5 cm (0.5") thick circle and scatter the raspberries on top of the dough. Fold the dough over the raspberries 3 to 4 times. Because of the berries, the dough will probably feel quite sticky at this point. Lightly flour the work surface and dough to prevent sticking. Pat into an about 3 cm (2") thick circle. Cut into 8 wedges and place on the prepared baking sheet. Slightly brush with melted butter.
Bake the scones on the middle rack for 12 to 15 minutes, or until golden brown. Enjoy while still warm.


Related Posts