Celebrating Whole Foods – Quinoa Salad with Grilled Summer Vegetables & Harissa

Quinoa Salad with Grilled Summer Vegetables & Harissa | My Blue&White Kitchen

I love cookbooks, they're my weakness. I read them like other people read novels; at the breakfast table, on the beach, before I go to bed, and everywhere in between. There's an ever-changing list of cookbooks I need to buy. It's a real challenge as new, exciting cookbooks are published almost every month and there are still a bunch of classics that I'm short of.

A good cookbooks is not only a selection of delicious recipes. Yes, sometimes mouthwatering and genius recipes alone will do but that really is the exception. As the market is overflowing with cookbooks these days, only the very best survive. I look for a strong author's voice, glorious photography, inspiring recipes, and preferably matte paper (yeah, I have a strong opinion on that one too).

The food world was shaken by excitement when Amy Chaplin published her book At Home in the Whole Food Kitchen: Celebrating the Art of Eating Well in the US last fall. There were blog posts (last minute update: I absolutely love this post from Kathryn of London Bakes!), IG pics of dishes prepared from Amy's book (a special thank you to Sonja of Dagmar's Kitchen for all the inspiration), and a James Beard Award. There was also that spicy chickpea stew Lindsey of dolly and oatmeal blogged about and that I found myself preparing and eating every other week or so. I knew that this was a book that ranked really high on my cookbook wishlist. Needless to say, I was beyond excited when I got an email from Amy a couple of months ago. Would I be interested in a copy of her book that was about to be (finally) published in the UK and Australia in June? Are you kidding me? Yes!

It's hard to live up to anyone's expectations and I must confess that because of all that hype around the book my expectations were pretty high. Amy's book, however, won my heart from the minute I ripped open the mailing box. This is not only a cookbook but a guide. A guide to living and eating well, consciously, and sustainably. Amy guides you through her eating philosophy, her pantry, and basic ways to prepare whole foods. It's all done in an inspiring and positive way; she isn't judging. You're simply inspired to adopt her ideas and incorporate her way of cooking and eating into your everyday life.

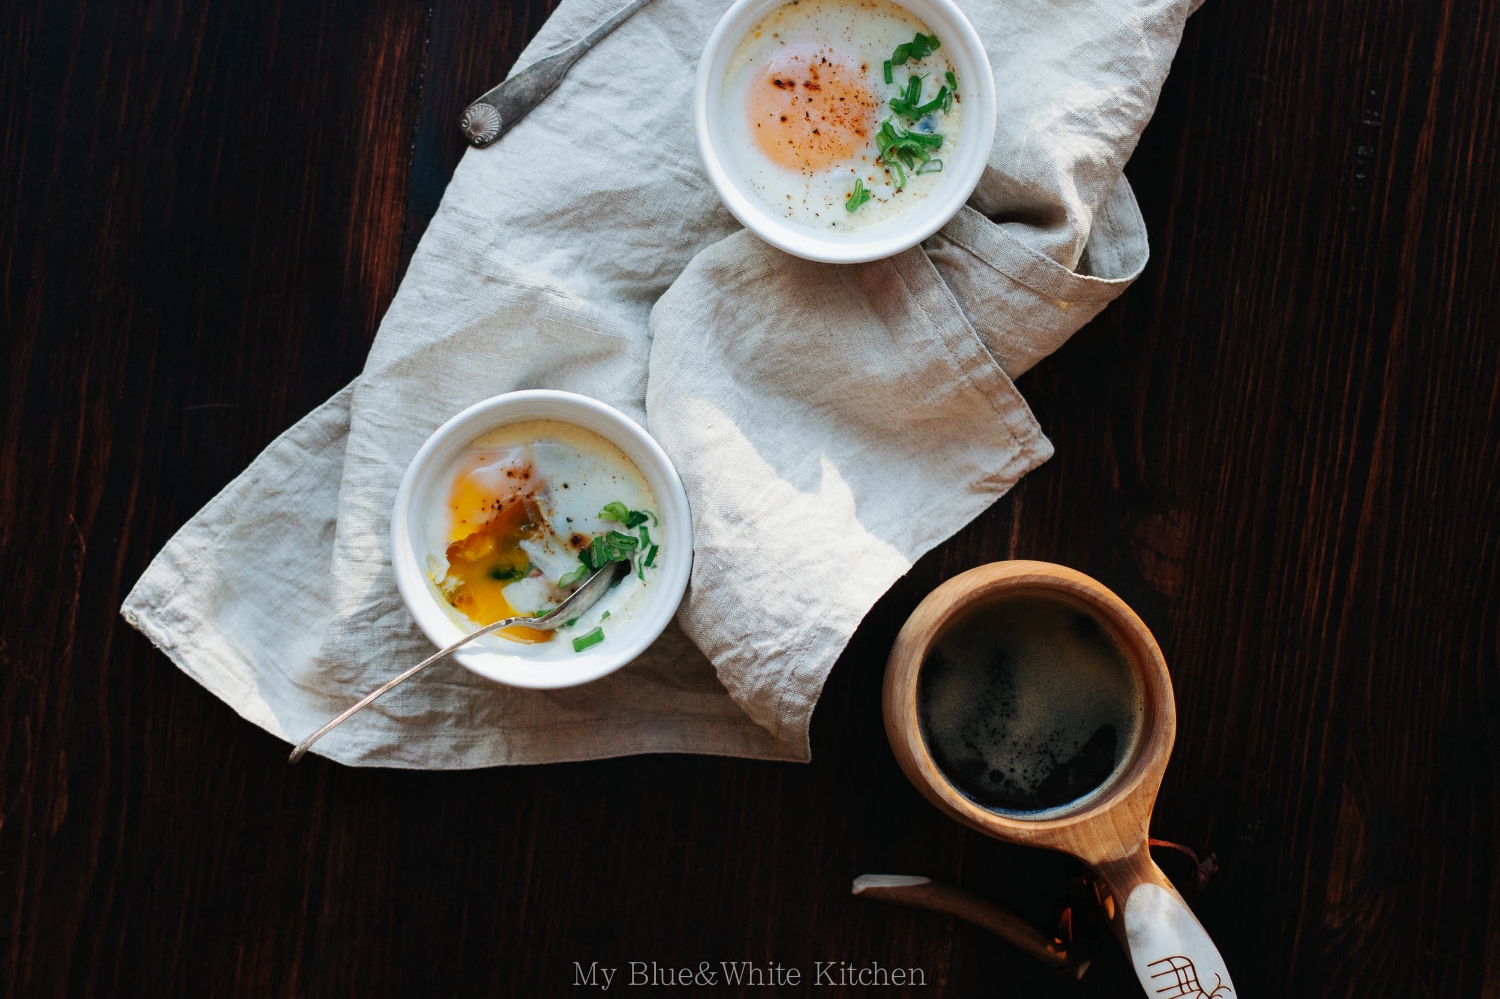
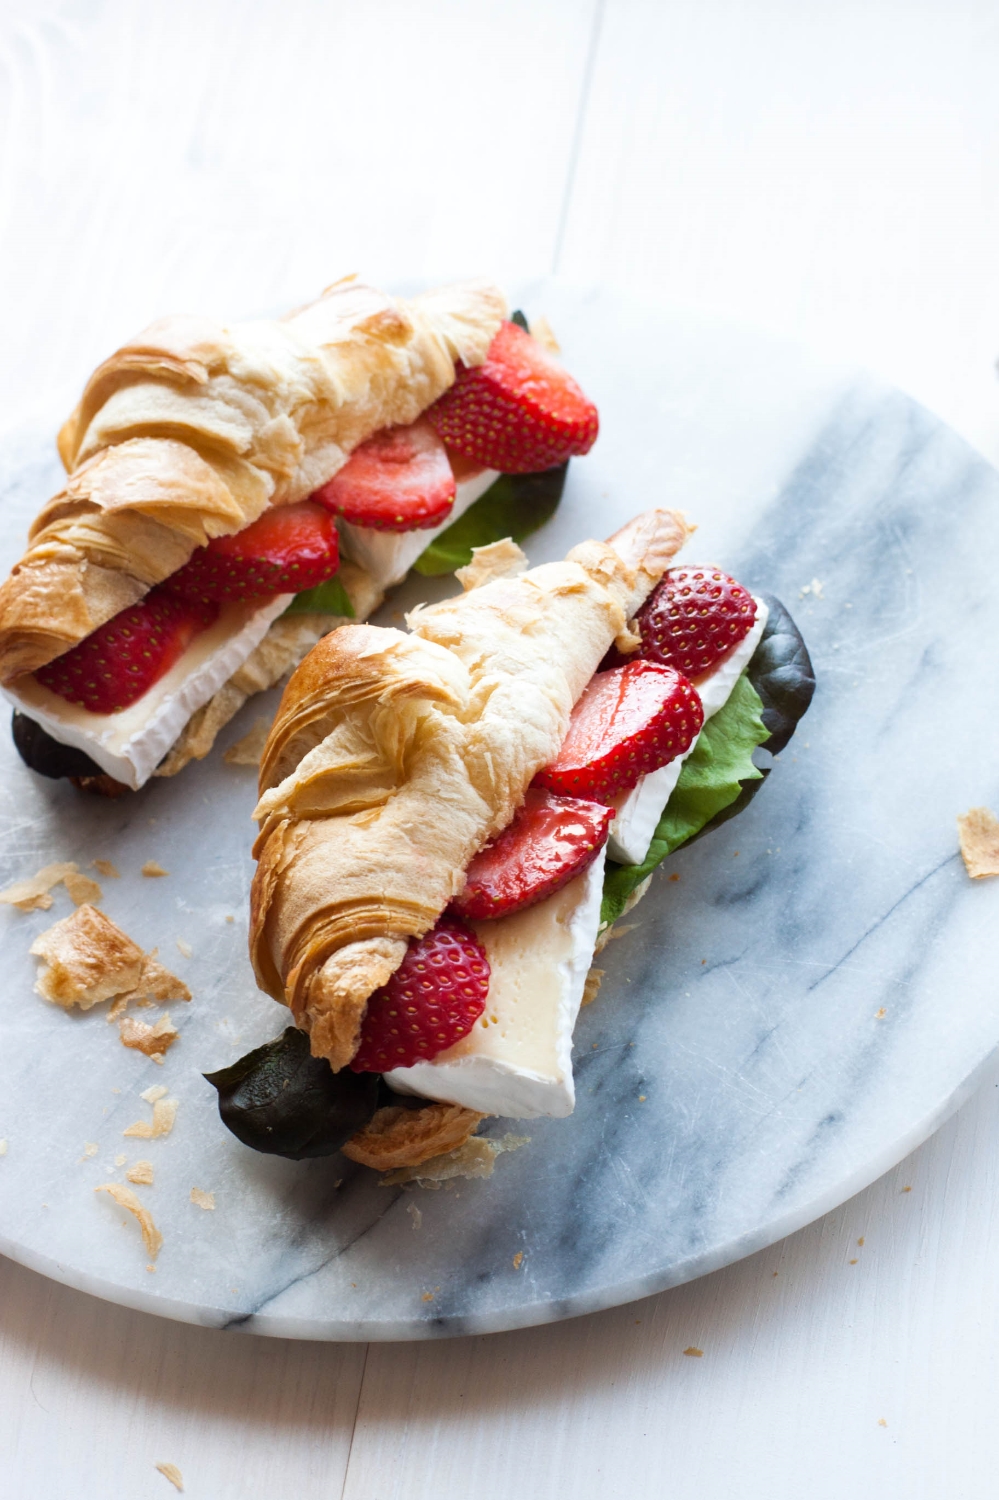
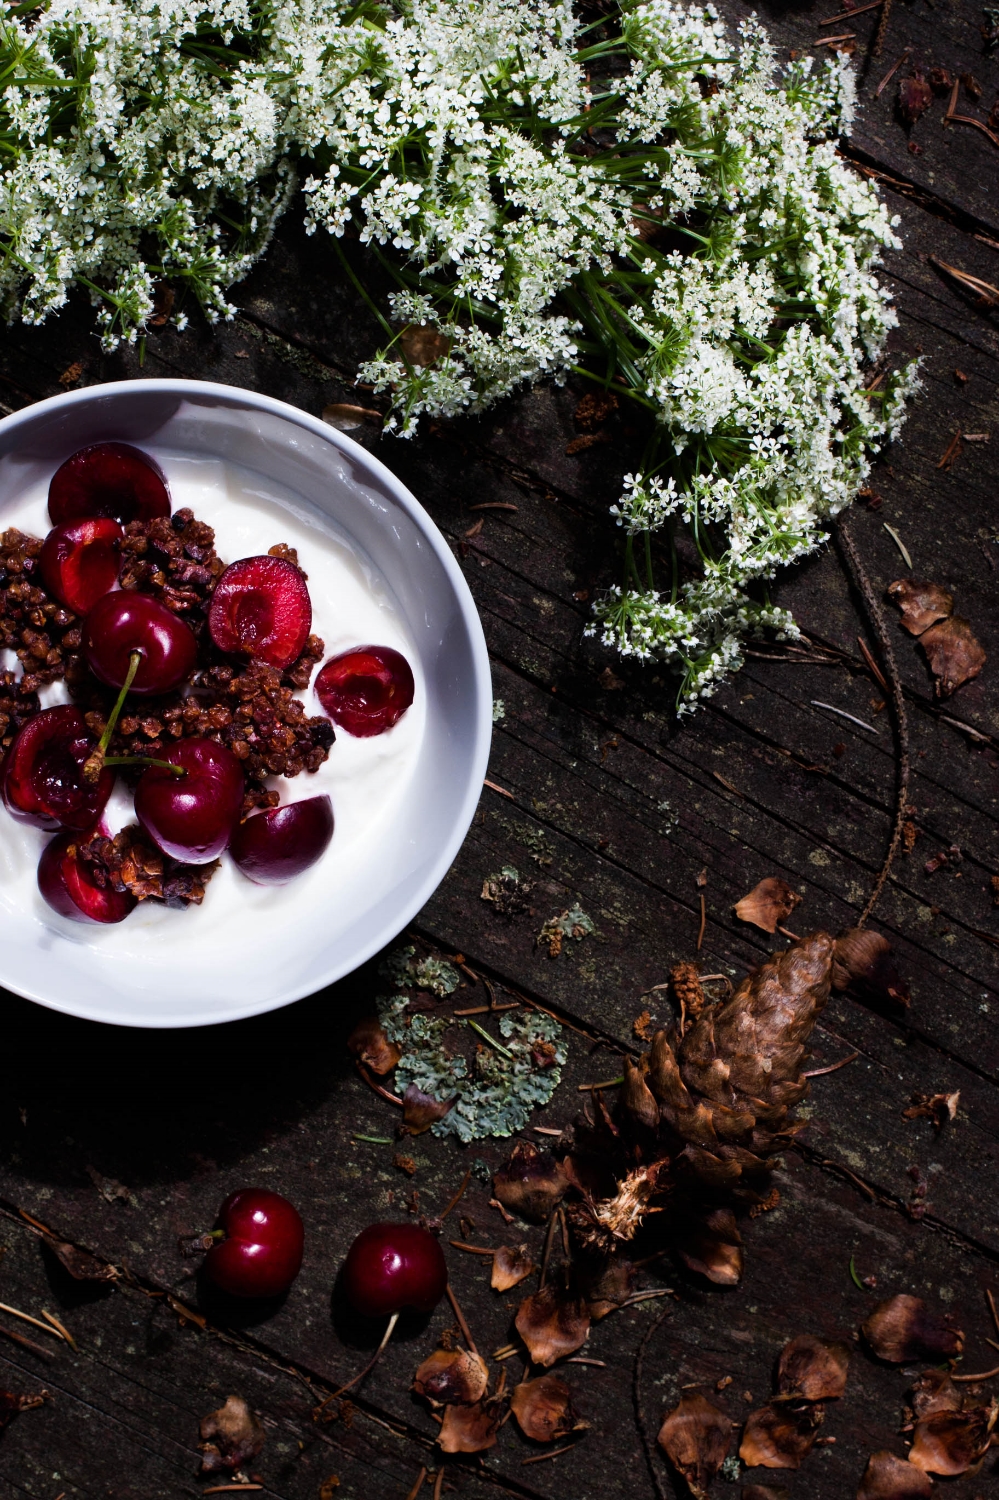
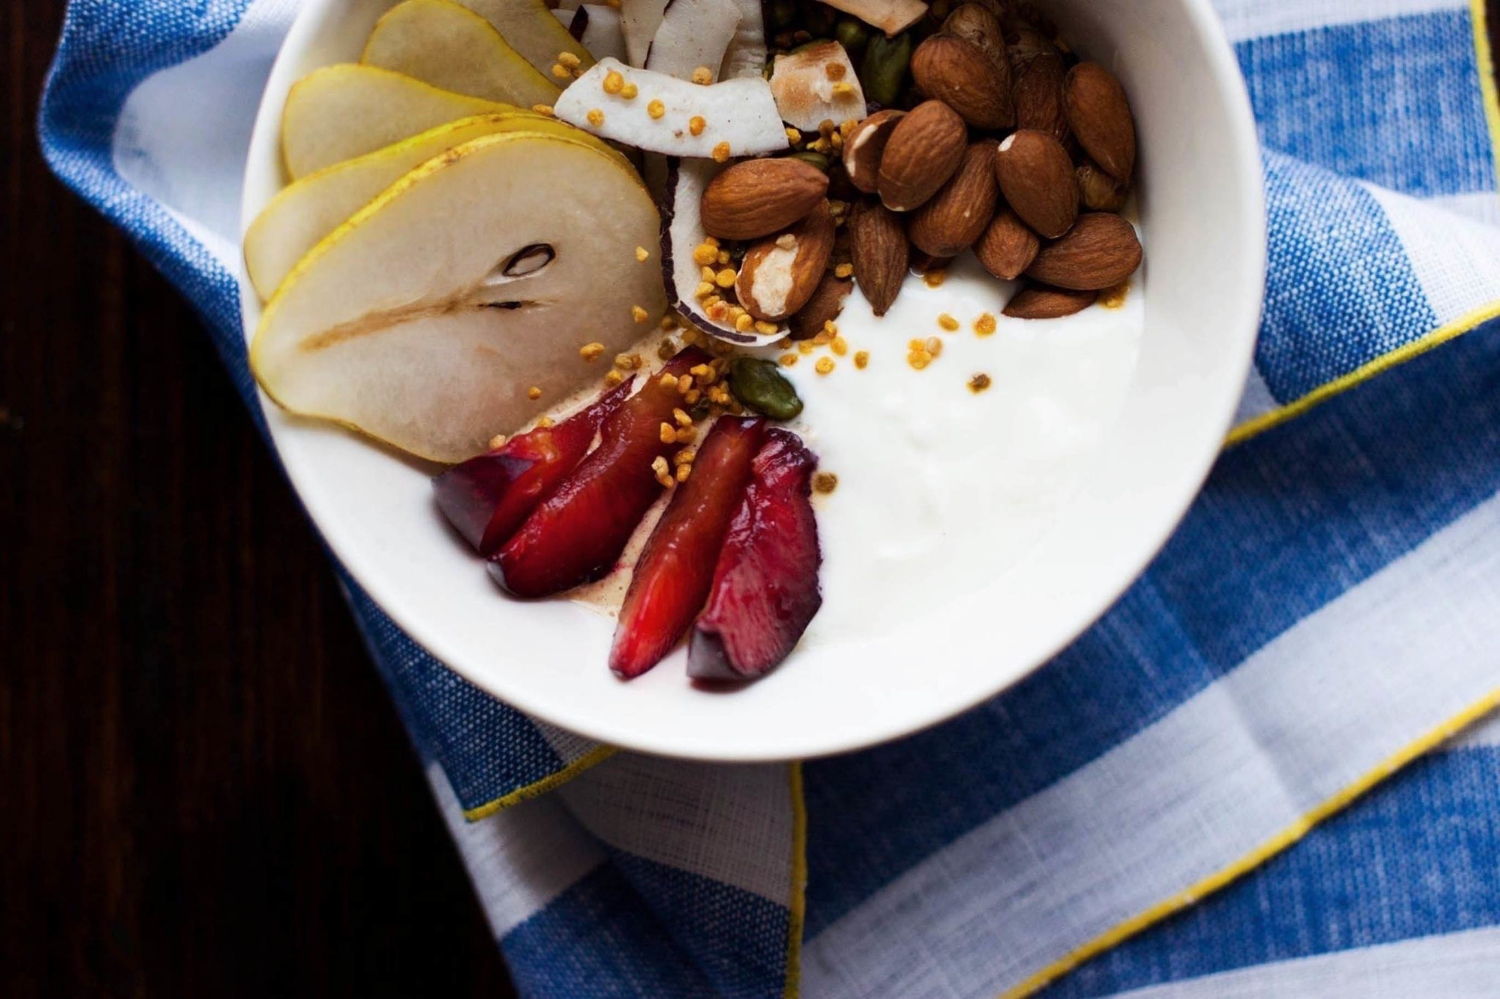
The book is filled with glorious looking, delicious vegetarian recipes. At this point, I must pinpoint how well Johnny Miller has been able to capture the beauty of this book; his photography is one the reasons why this book is so fascinating. Amy has a talent of combining different flavors and textures into an exciting dish. Although most of her recipes are vegan, gluten-free, and dairy-free, they don't feel like they're lacking of anything. In the last couple of weeks, I've prepared several dishes: red lentil soup (so simple yet full of flavor! definitely going to include it into our menu when I'm going on a hiking trip to Lapland with some friends later this month), quinoa betroot salad (went totally crazy over it), and beetroot chickpea cakes (yes, please) to name a few. And I'm still looking for more! Cherry coconut granola, black sesame flaxseed dressing, strawberry rose kanten, aubergine curry... Yeah, I'm excited and inspired. So inspired.

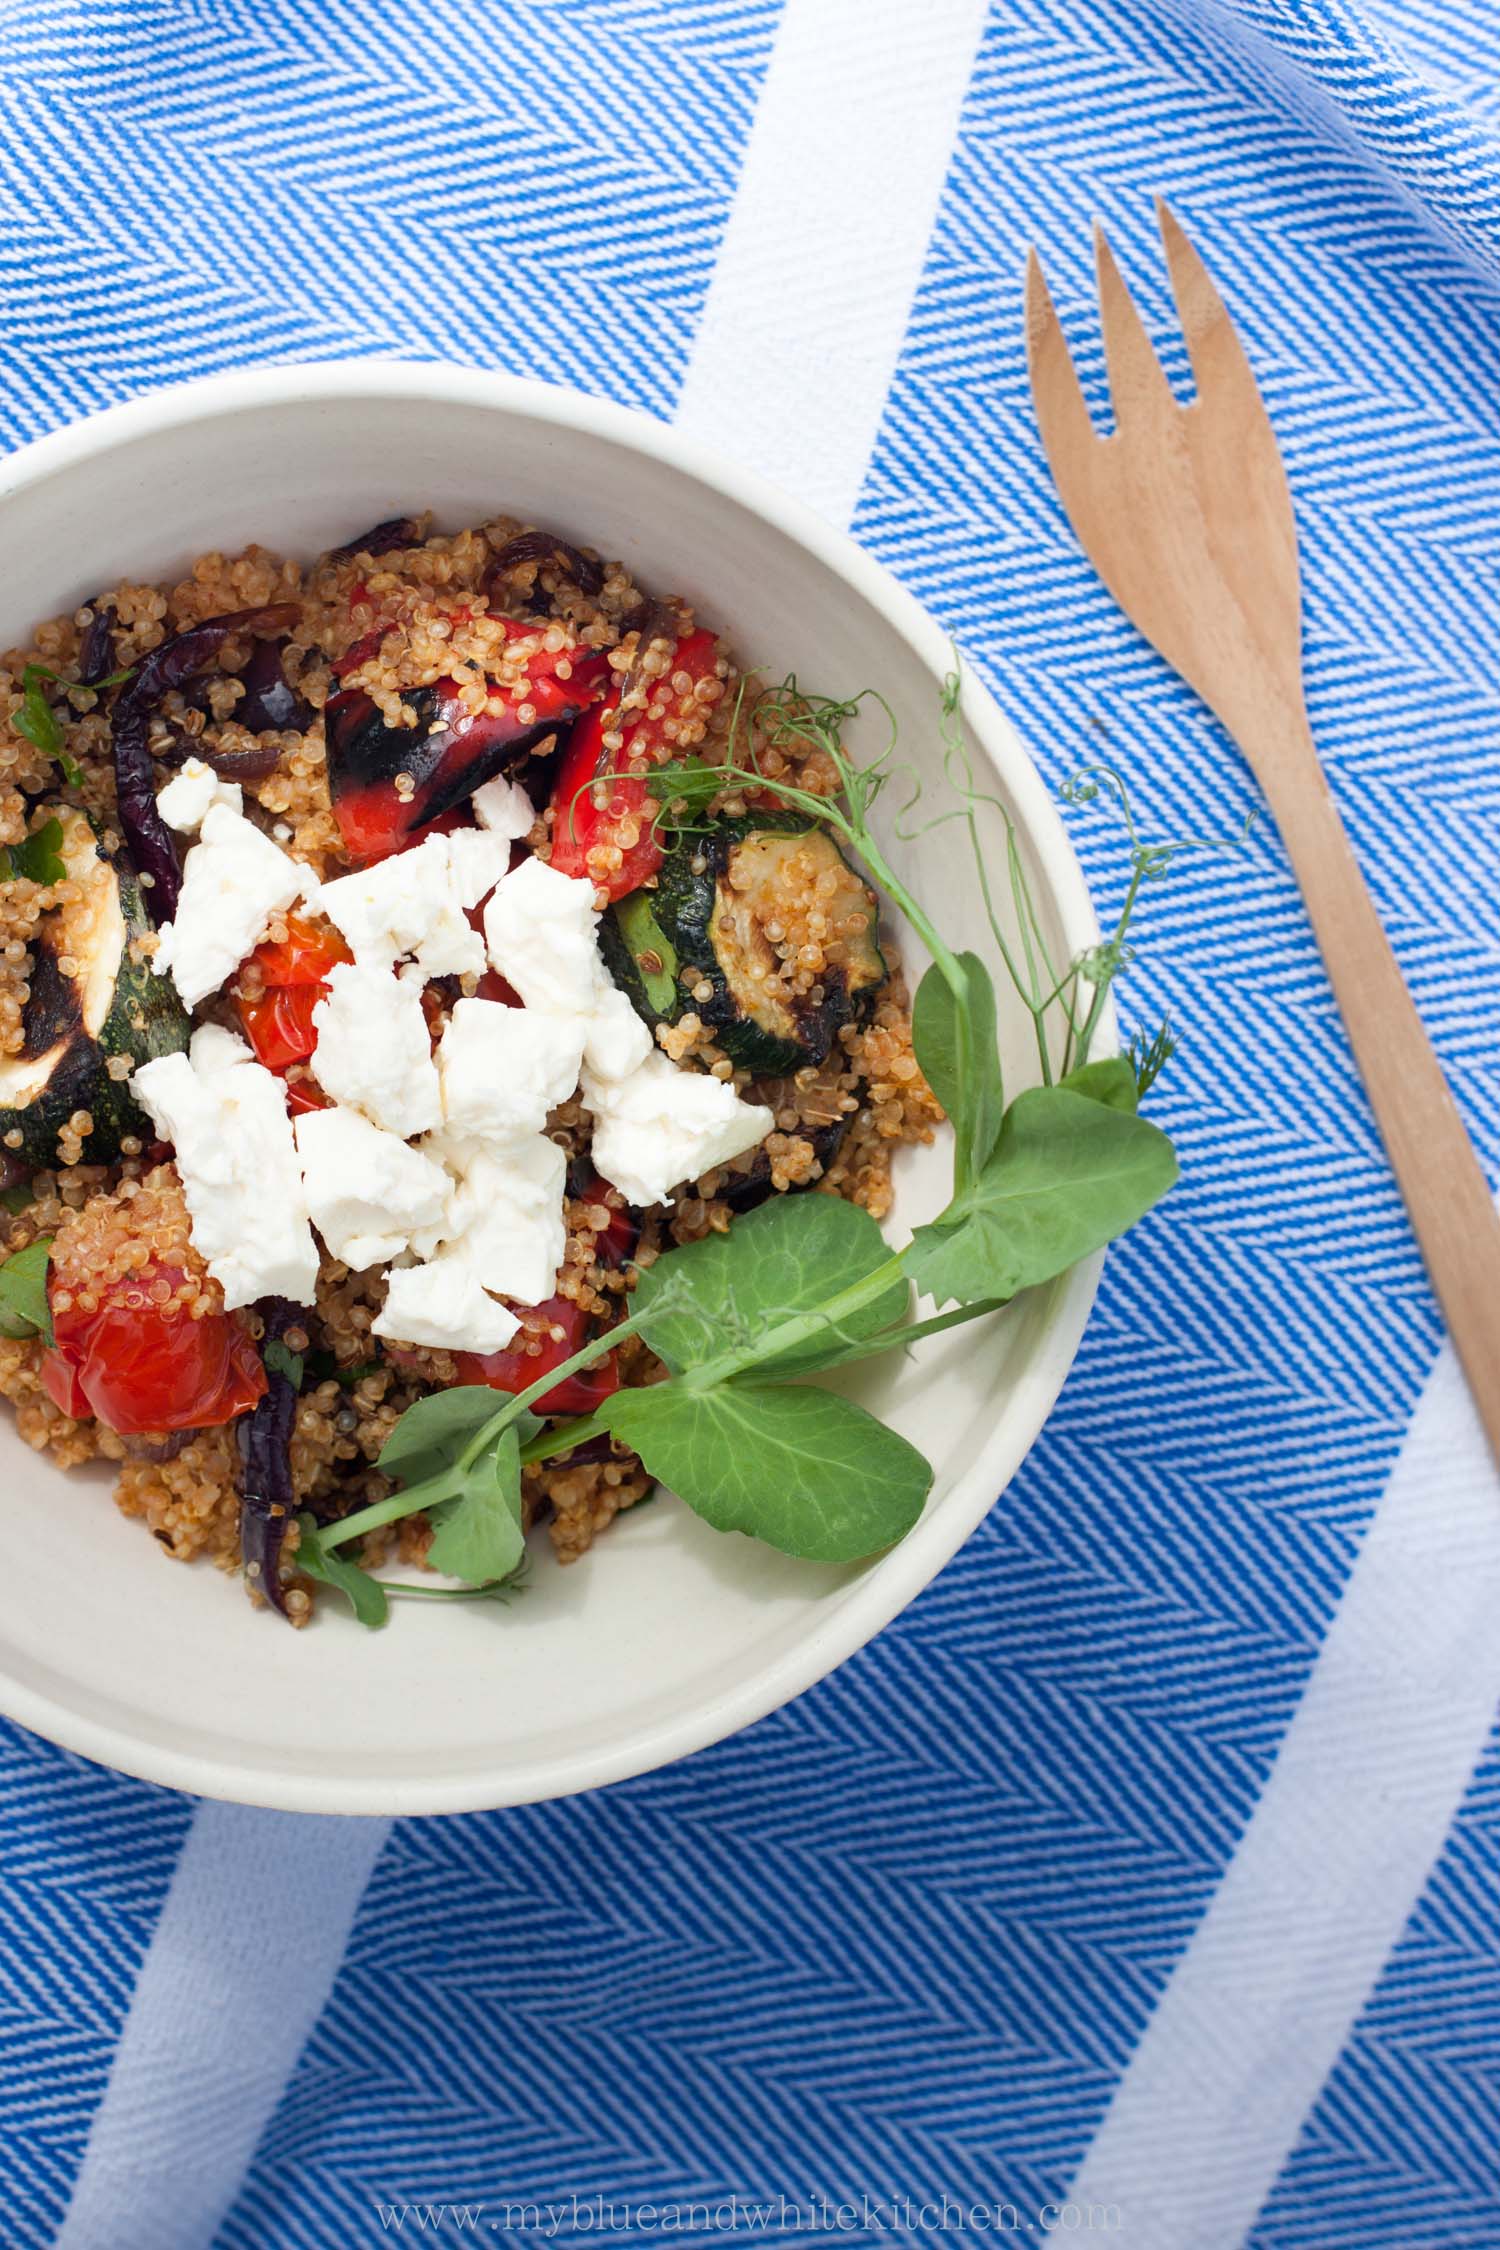
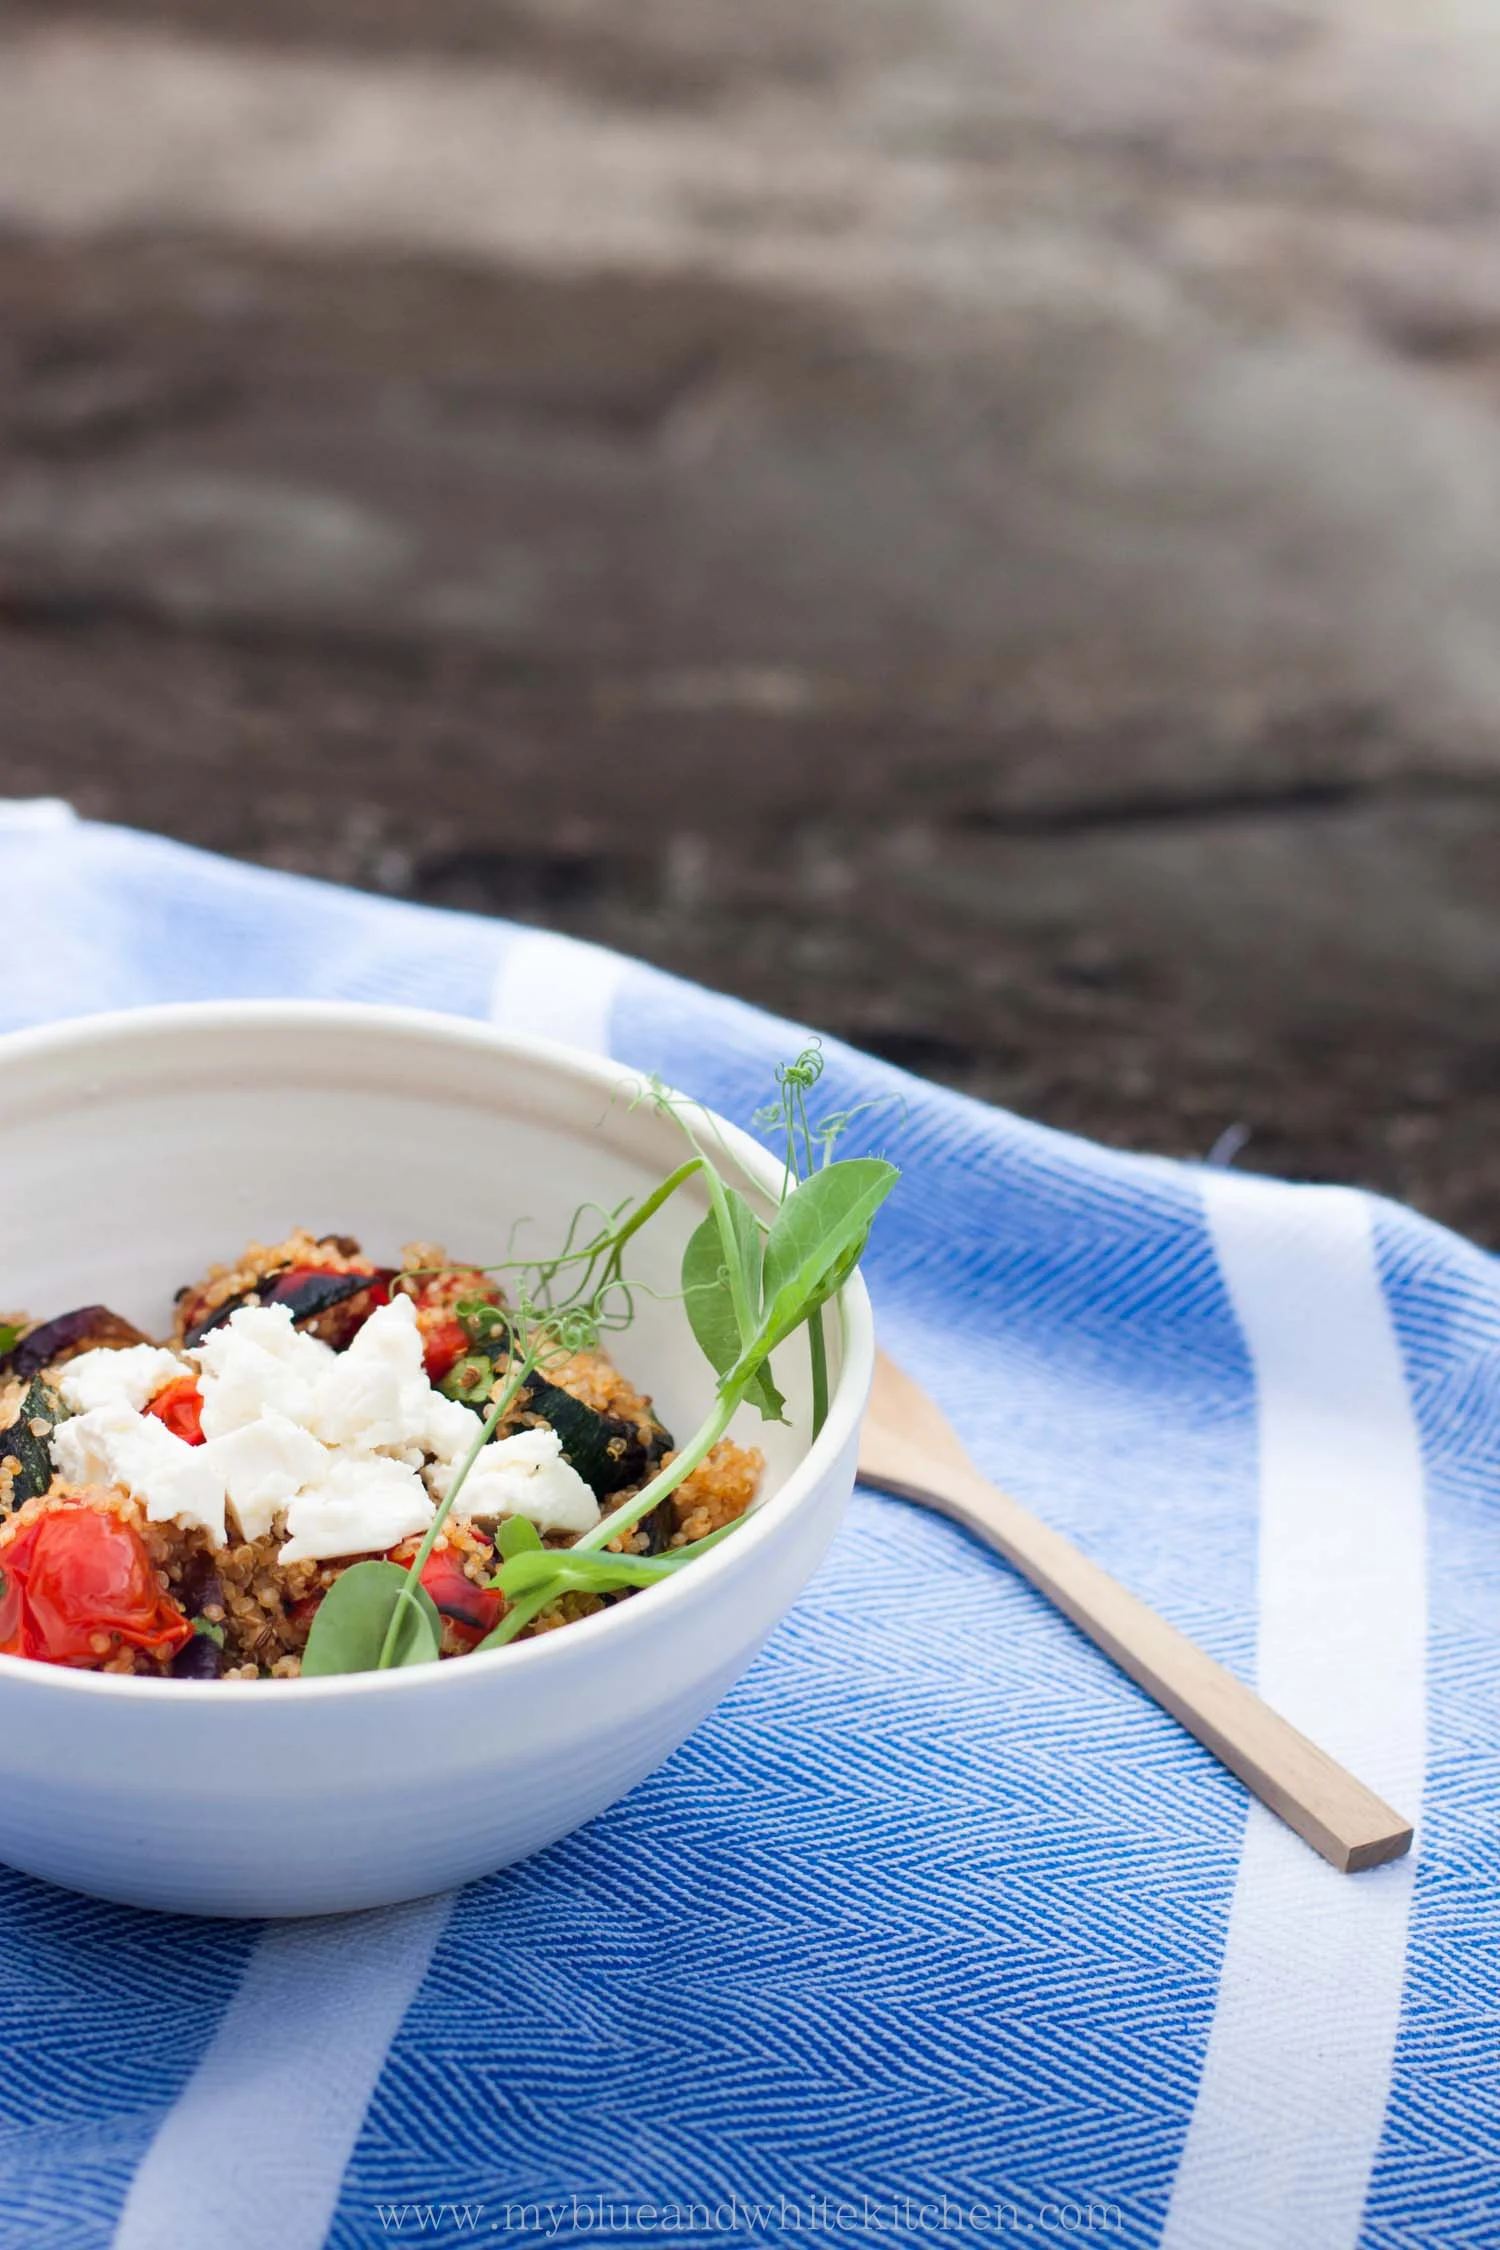
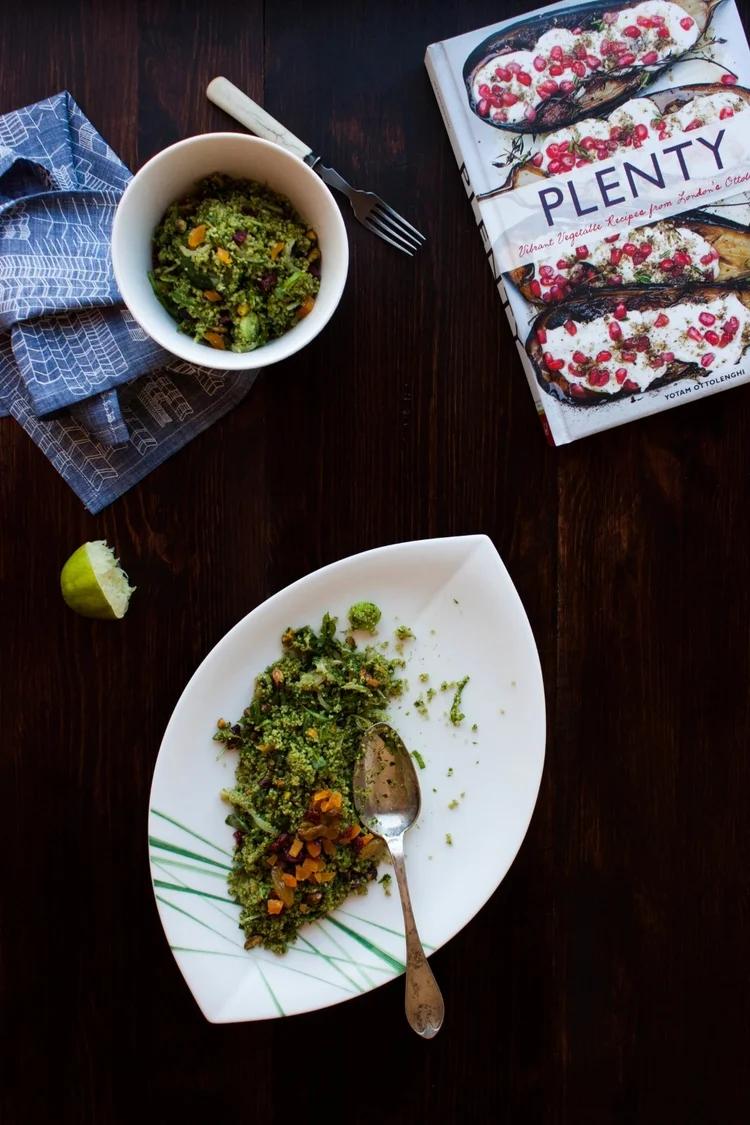
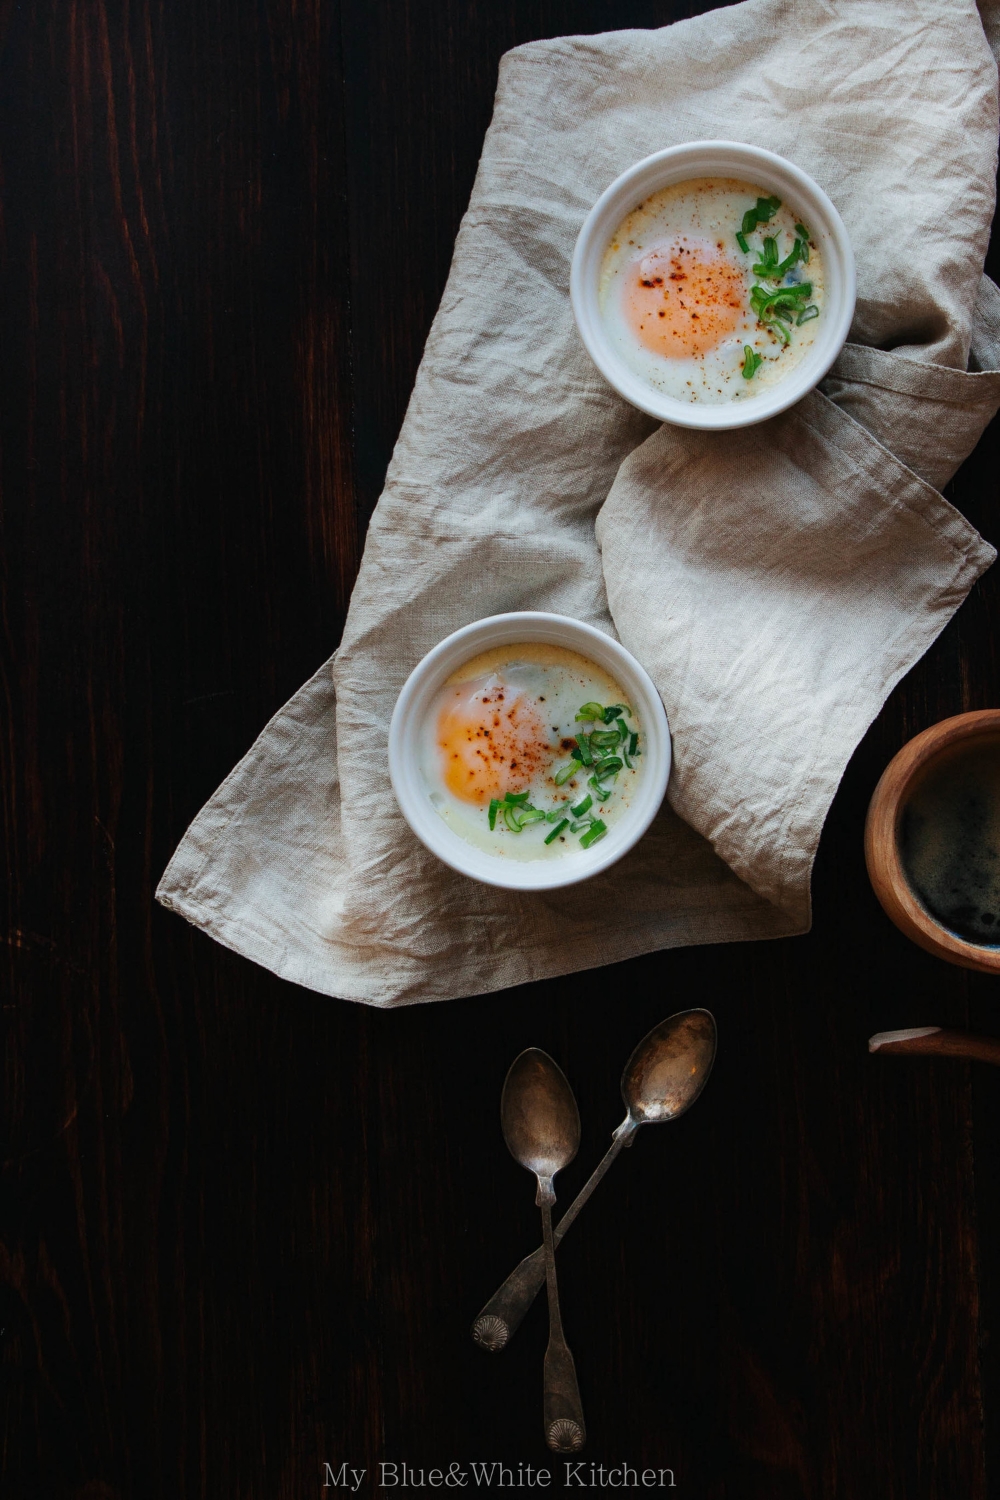
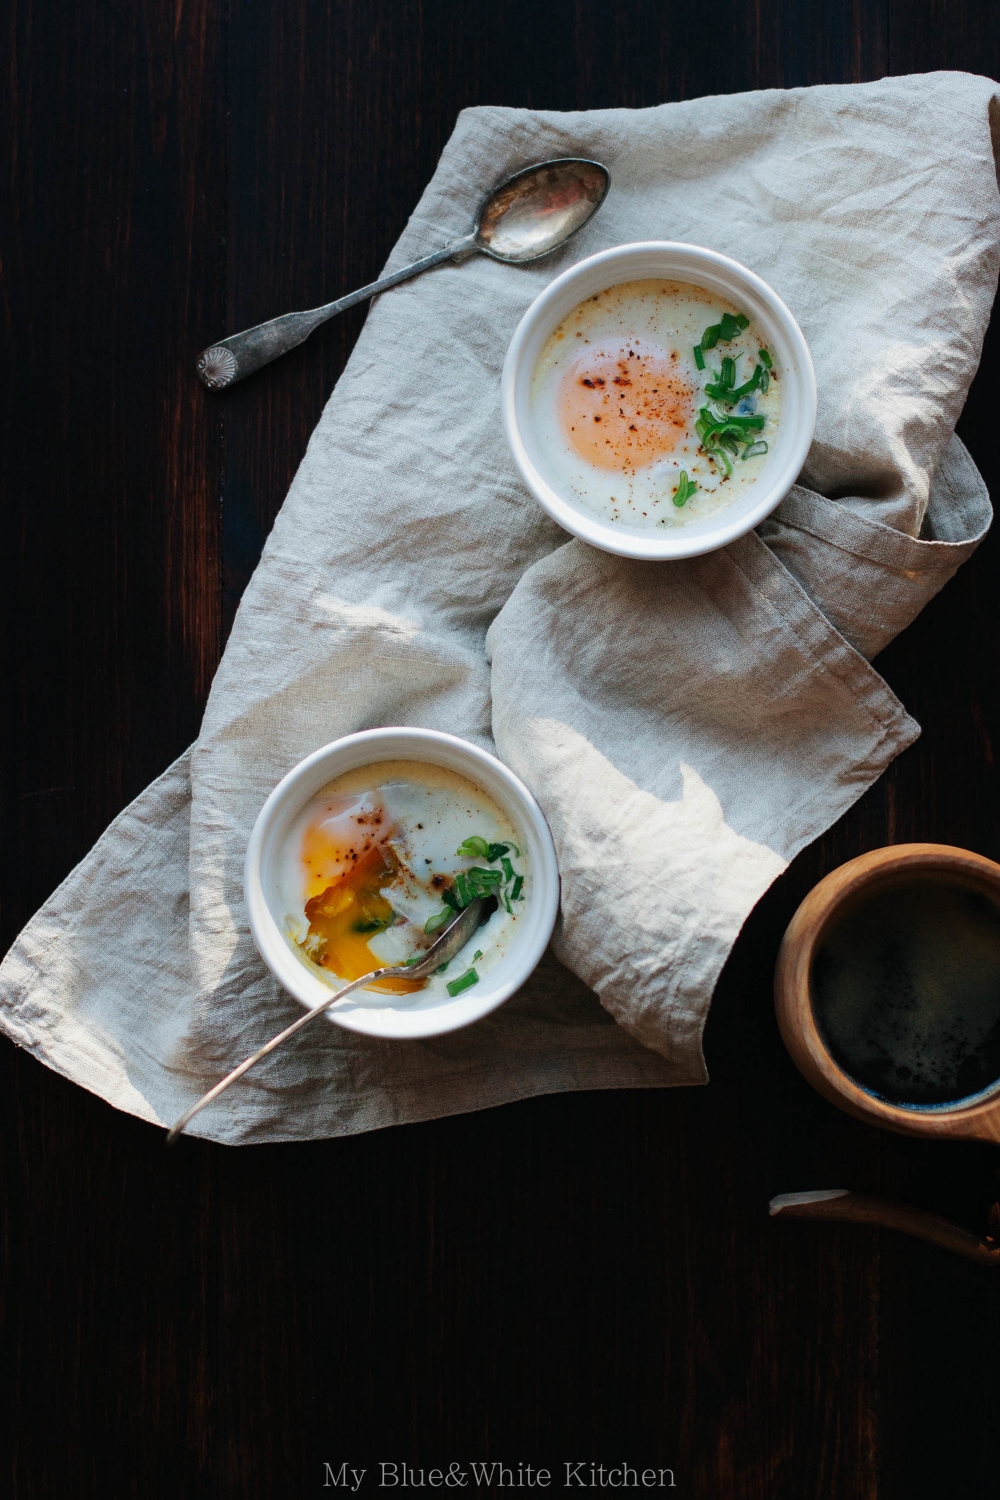
It was hard to choose which recipe to share with you here on the blog. So many delicious options! As the book's salad section was especially appealing to me, I decided to share a summery salad with you guys. This quinoa salad was the first dish I made from the book once I got it (on the very first day I may add). I love all the different textures and flavors, the fact that it's straightforward to make (don't be scared by the multiple components), keeps well for hours or even a day or two, and is perfect to share with a group of friends or to take to a picnic or to the beach. I made a few small changes to the original recipe: I chose to grill the veggies on the grill instead of roasting them in the oven and left out olives because of personal preferences. Amy has an excellent, super easy and quick to make harissa paste recipe in her book but you can certainly use store-bought harissa as well. However, I strongly encourage you to make your own.

Hope you're enjoying some sunny days on the beach...preferably with a large serving of this salad. Let's all celebrate a bowl of whole food goodness!


Quinoa Salad with Grilled Summer Vegetables & Harissa

Slightly adapted from At Home in the Whole Food Kitchen: Celebrating the Art of Eating Well by Amy Chaplin

serves 4 to 6

You can either grill the vegetables on the grill or roast them in the oven. I've included instructions for both methods below.

In the recipe, you're asked to roll cut the zucchinis. This is a really great cutting technique resulting in nice, interesting looking pieces. So how does it work? You simply slice off pieces at a 45-degree angle and make a quarter turn between each cut. Notice that the cut is always made in the same place. You can check out this tutorial from Saveur.


2 zucchinis, roll cut into 2,5 cm (1") pieces
2 red bell peppers, deseeded & cut into 2,5 cm (1") pieces
300 g (5 dl; 2 cups) cherry tomatoes, large ones cut in half
5 tbsp extra virgin olive oil
fine sea salt
1 red onion, cut into ~1,5 cm (½") wedges
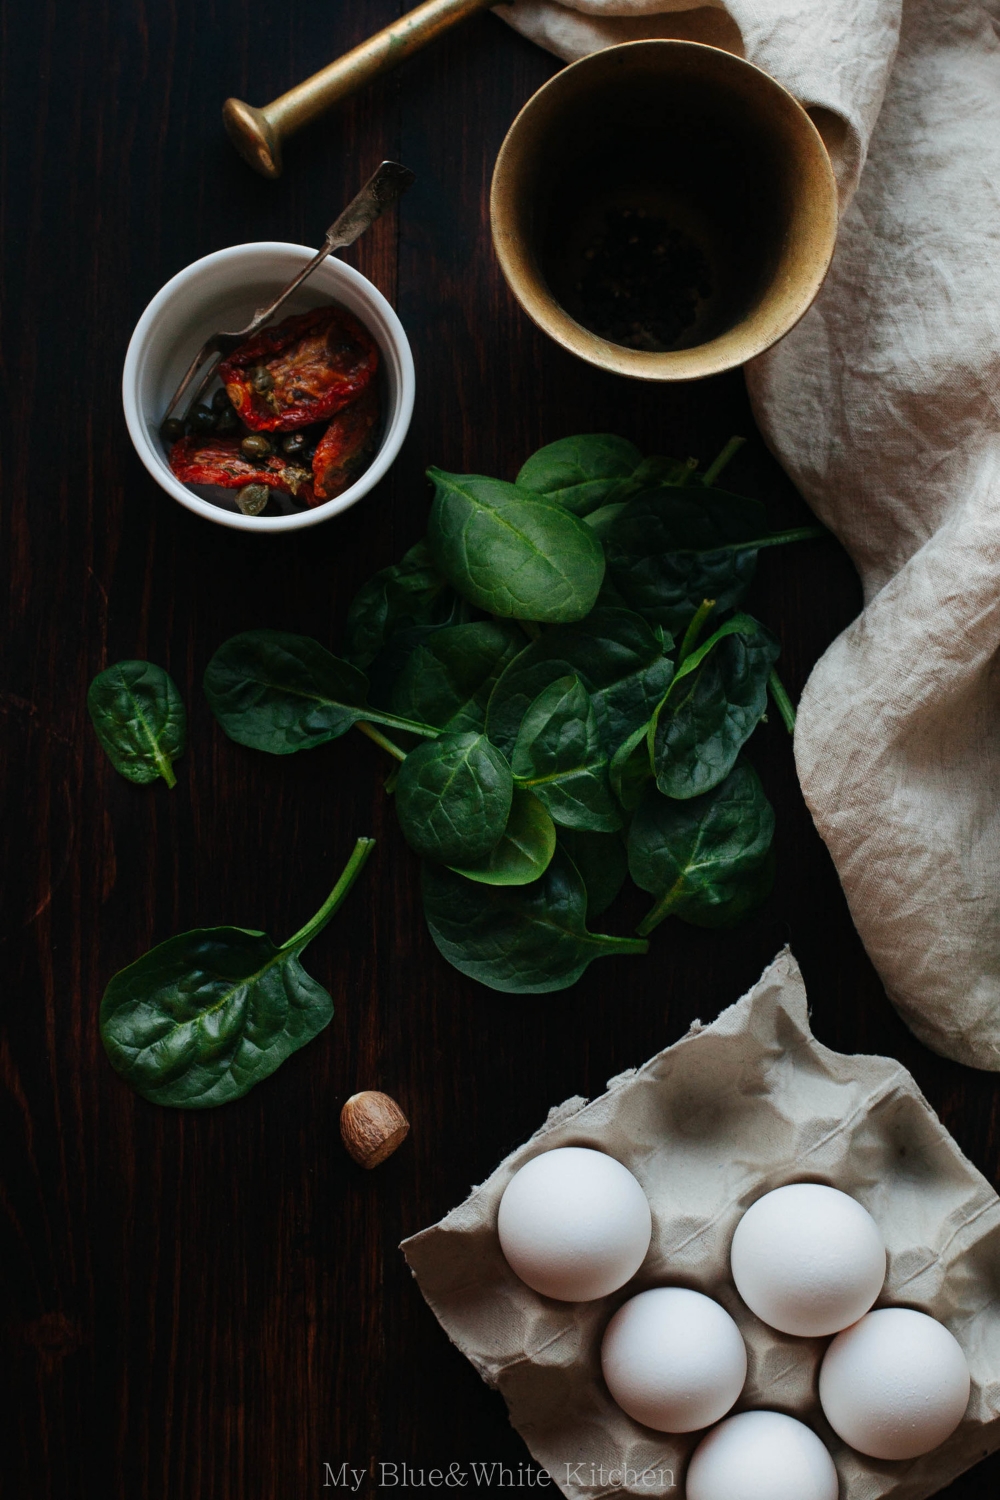
720 g (10 dl; 4 cups) cooked white or red quinoa, cooled (about 170 g / 1 cup uncooked)
5 ⅓ tbsp (⅓ cup) harissa
40 g (2 ½ dl; 1 cup) chopped flat-leaf parsley
140 g feta, drained & crumbled


If you choose to grill the vegetables on the grill, prepare the grill. If you're roasting the vegetables in the oven, preheat the oven to 200°C (400°F). Line 2 baking sheets with parchment paper. Set aside.

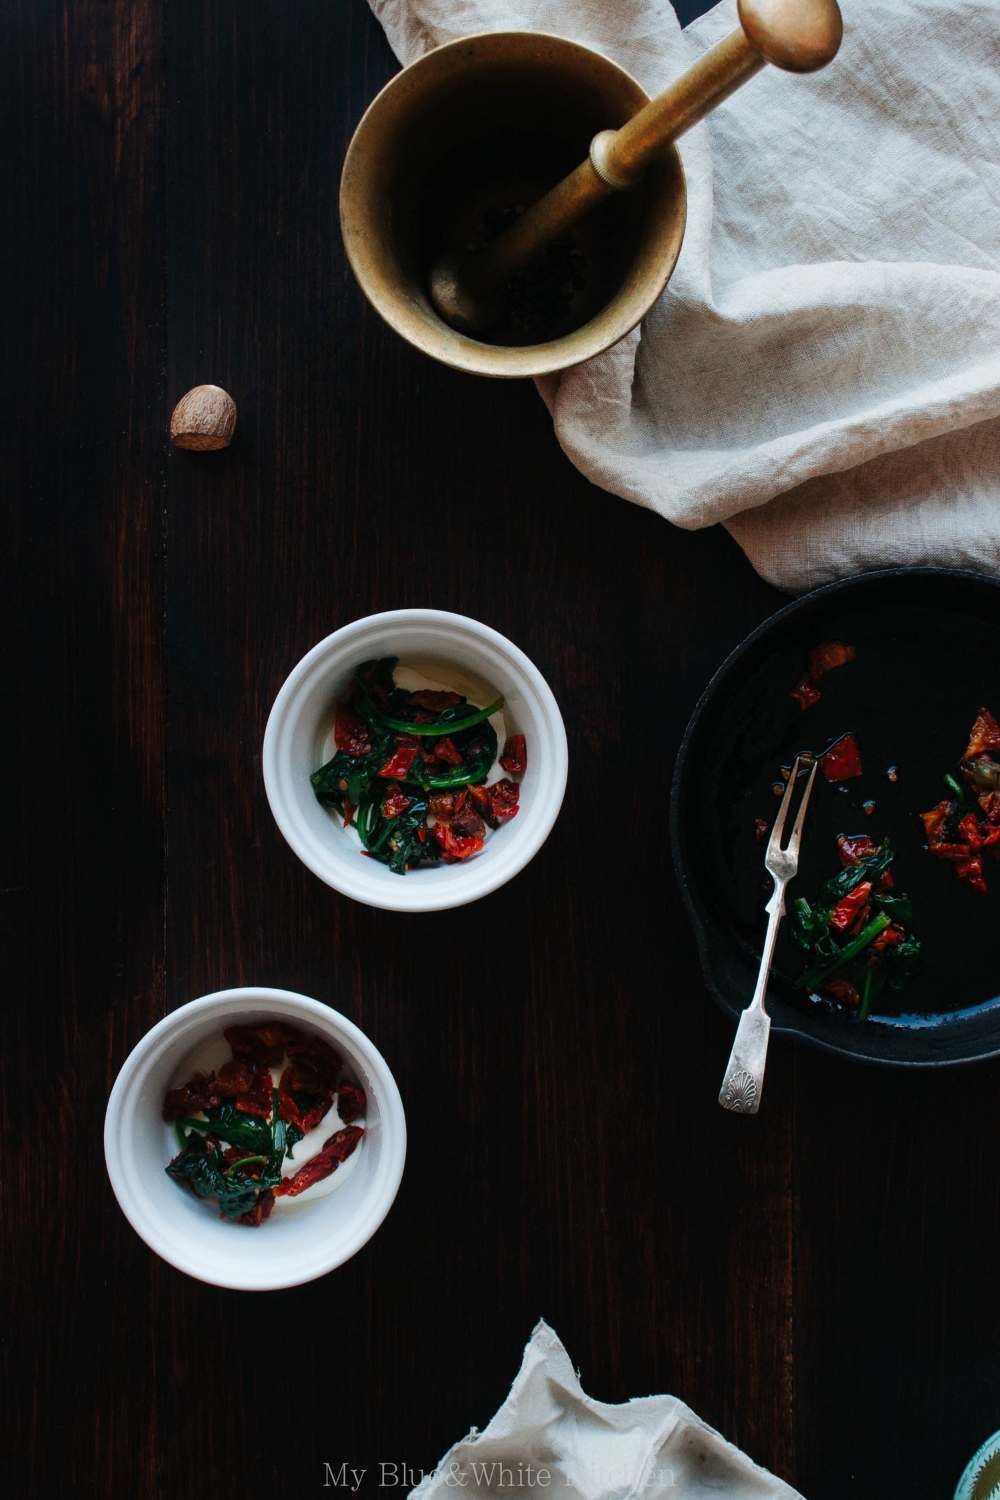
Put zucchinis, bell peppers, and cherry tomatoes into a bowl and toss with 3 tbsp of olive oil and ½ tsp salt. Mix until everything is well coated. Grill vegetables on the grill until tender and grill marks appear. Alternatively, divide vegetables between baking sheets and spread out into a single layer. Roast for 25 minutes. Stir, rotate trays, and roast for 10 more minutes, or until browning. Remove from the oven and set aside to cool.

To caramelize the onion, warm 2 tbsp olive oil in a large frying pan over medium heat. Add onion wedges and sauté for about 5 minutes. Lower the heat a bit and cook for 15 to 20 minutes, stirring every now and then, or until soft and wonderfully caramelized. Add a pinch of salt and set aside to cool.

Put quinoa into a large bowl and fluff with a fork. Add harissa paste and mix well. Add the grilled vegetables, caramelized onions, and parsley. Toss to combine. Season to taste with more salt. Top with crumbled feta and serve. 

The salad keeps well in the fridge for a couple of days. Just bring it back to room temperature before serving.


Quinoa Salad with Grilled Summer Vegetables & Harissa | My Blue&White Kitchen

Disclaimer: I was sent a copy of At Home in the Whole Food Kitchen from the publisher, Jacqui Small LLP, free of charge. However, I wasn't compensated for this review. As always, all opinions are my own.


Related Posts

Finding Light & Joy – Smoked Fish Spread

Smoked Fish Spread | My Blue&White Kitchen

One night a couple of months ago, I sat down and "wrote down" a (mental) list of things I would like to start doing, do more, or do again. I was searching for more happy moments, for ways to bring more light and joy into my life. I quickly realised that I would love to have a veggie garden this summer. I'm still working on it but hope to harvest things like radishes, peas, and herbs later this summer. I wanted to knit more both by myself and in company. Since then, I've spent many days knitting while drinking coffee and chatting with lovely people. I also knew that it was finally time to start taking riding lessons again. I spent a great deal of my childhood and adolescence at the stables but had since neglected this passion of mine. Last Monday, I finally sat in the sattle again! My muscles are still hurting (like seriously HURTING!) but I had so much fun. It felt good and familiar. I had found my happy place; well, one of them.

Daily hassles, work, and chores... It's so easy to start neglecting ourselves. What do you want? What brightens up your day? Stop for a while and listen to yourself; to your body and mind. Life can be so very short, so why wait?

Smoked Fish Spread | My Blue&White Kitchen

Because this is a food blog, I also have a recipe for you. This smoked fish spread is one of those recipes that I originally didn't even plan to share with you. I just knew that it wouldn't be the most beautiful dish to look at and that it would be especially hard to do its deliciousness justice in a pic. But as I had my first sporkful of this spread, I just knew that if I wanted to do justice to you, my readers, I would need to share it on the blog. So I did my best to make it look like a thing that you would like to make.

This smoked fish spread is wonderful served on hearty, Nordic style rye bread or with boiled new potatoes. You could also use it as sandwich stuffing! It's really quick and easy to make; the only step that needs a bit of accuracy and time is boning the fish. The spread can be prepared in advance and stored in the fridge until ready to use. Are you celebrating Midsummer next week? Well, I'm definitely going to serve this next Friday and am sure that it will be a total crowd-pleaser.


Smoked Fish Spread

makes about 4 dl / 1 ⅔ cups

You can use any smoked fish. I recommend a nice mix of 2 or 3 types of fish – I used smoked rainbow trout and Atlantic mackerel. The spread can be made ahead and stored in the fridge until ready to use. Serve with hearty rye bread or boiled new potatoes.


300 g smoked fish, skin and bones removed
200 g sour cream
½ red onion, finely chopped
a small bunch of dill, finely chopped
juice of about ¼ lemon
pinch of fine sea salt
freshly ground black pepper

more dill, for garnish


Put the smoked fish into a food processor and pulse briefly - we want to have the fish slightly puréed. In a small bowl, mix together sour cream and onion. Add smoked fish and dill. Season with lemon juice, salt, and pepper. Mix until well combined.

Place in the fridge until ready to use.


Smoked Fish Spread | My Blue&White Kitchen

Related Posts

To Keep "In Shape" – Double Chocolate Muffins with Flaked Sea Salt & Dried Flowers

Double Chocolate Muffins with Flaked Sea Salt & Dried Flowers | My Blue&White Kitchen

Quite often I get asked how I keep "in shape" while I cook, bake, and eat so much. Moderation is of course one thing which I've also talked about here on the blog. It's something I actually don't have to do very consciously as it comes quite naturally to me. The other thing I usually mention is that I hardly ever eat any processed food and don't buy sweets and baked stuff (except croissants and ice cream). I make them at home. Craving pizza? I make it from scratch. Chocolate? Homemade chocolate cake it is. Partly this has to do with the fact that I just freakin' love standing in the kitchen. At least most of the time. Furthermore, we haven't a takeout culture here in Finland and, hence, there aren't that many places that offer great takeout food. And what about processed food? Well, it's primarily a question of personal preference. It doesn't taste good. Not to me at least. And because I live to eat rather than eat to live and because I basically belong to that range of people who rather skip a meal than eat something that's crap (not entirely sure how good a thing that is), I very rarely buy or eat any convenience food.

So yes, I eat butter, sugar, and meat. And yes, I love a good loaf of bread. I'm not following a special diet. I don't have a list of forbidden food. I eat. A lot. Occasionally, such as last week, I go and get a burger. But still, I'm eating (to my standards) pretty healthy and consciously and, thus, manage to stay "in shape". I know that eating this way doesn't come naturally to all of us. Many of us struggle. I struggle sometimes too.

So how to find balance? I'm afraid I don't have an answer to this question. I only have a couple of thoughts. Listen to your body. Listen to your mind. What do they, and ultimately you, crave? What makes them, and ultimately you, feel good? Be interested in what you put in your mouth. Think seasonally. Think locally. Discover. How does a fresh tomato that has grown in soil taste like? How does a simple soup made from scratch differ from a canned one? Trial and error. Get connected. Share. Gather in the kitchen and around the table. Create memories around food. Get back to the roots. Think simpler.

So what has this all to do with chocolate muffins? Well, they too were created because I 1) craved chocolate (the ultimate way to beat winter blues) and 2) knew that a chocolate bar or a bought chocolate muffin wouldn't do. Originally, I didn't plan to sprinkle dried flowers on top. But as I pulled the muffins out of the oven and saw the sun shining through the windows, I felt like dried flower petals would be perfect. A layer of white snow is still covering the fields and hills, but spring lingers in the air. There's light. There's hope.

Double Chocolate Muffins with Flaked Sea Salt & Dried Flowers | My Blue&White Kitchen

Double Chocolate Muffins with Flaked Sea Salt & Dried Flowers

makes 16–18 medium-sized muffins

This recipe can easily be halved. You can use whatever dried flowers you have on hand. I used a mix of hibiscus, elderflower, cornflower, lavender, orange blossom, thyme flower, viola, erica, and yarrow. The recipe calls for buttermilk. Should buttermilk not be easy to come by where you live, you can make your own: stir 1 tbsp lemon juice into 1 cup milk and let the mixture sit in room temperature for 5 to 10 minutes. The milk should now have thickened slightly and have small curdled bits in it. If you live in Scandinavia, you can use filmjölk.

2 tbsp cocoa powder
250 g (4 ½ dl; 2 cups minus 1 ½ tbsp) all-purpose flour
1 tbsp baking powder
½ tsp baking soda
¼ tsp fine sea salt
2 eggs
175 g (2 dl; ¾ cup plus 2 tbsp) granulated sugar
½ dl (1 cup) buttermilk
180 g bittersweet chocolate (70 % cocoa), melted & cooled 
90 g bittersweet chocolate (70 % cocoa), roughly chopped
115 g (1 stick) unsalted butter, melted & cooled to room temperature

flaked sea salt, to sprinkle on top
optional: dried flowers, to sprinkle on top


Preheat oven to 175°C (350°C).

In a medium bowl, combine cocoa powder, flour, baking powder, baking soda, and salt. Set aside.  Line the inside of 16 to 18 muffin cups with muffin liners.

In a stand mixer at high speed, beat the eggs and sugar until light and fluffy. Turn the speed to low, and gradually add buttermilk, melted butter, and melted chocolate. At this point, the batter may look curdled. Don't worry, it's normal. Add the flour mixture and mix until just combined.

Divide batter among muffin liners, filling each ¾ full. Top with coarsely chopped chocolate. Bake for 15–18 minutes or until a cake tester inserted near the center comes out clean.

Sprinkle with flaked sea salt and dried flowers of your choice.


Double Chocolate Muffins with Flaked Sea Salt & Dried Flowers | My Blue&White Kitchen

Related Posts

Whipped Cranberry Porridge (The Prettiest Porridge Ever) & A Guest Post For A Cup Of Jo

Whipped Cranberry Porridge | My Blue&White Kitchen

Maybe you have followed me for long enough that you remember my post about Whipped Lingonberry Porridge almost a year ago as a "this-is-not-a-Valentine's-Day-recipe-although-it's-pink" thing. This time, I'm following my traditions with not being into Valentine's Day and blaming coincidence (or faith?) for me sharing a pink dish only a week before that said lovers' day. But here I am. And here it is. Whipped berry porridge - one of my most favorite breakfasts/midday snacks/Nordic fairs/berry power bowls.

As I realize that lingonberries are a Nordic (hello there Ikea!) or at least European thing, I recreated this old favorite with cranberries. Both the taste and color are almost identical to the more traditional version, so this porridge could still be seen as being highly authentic. Well, at least sans the toppings. The toppings are a modern twist on the dish. I love toppings, so I really like to add some texture and flavor to this pink breakfast bowl.

I'm also on A Cup of Jo this week sharing this porridge as part of the weekly food series. I discovered Joanna's site a couple of years ago and have been a regular reader ever since. There are always so many exciting links and reads, and I always leave feeling inspired. I especially remember this hair tutorial post (when I still had long enough hair to do awesome things like that... now all I do is this), these cute faces, and how Molly's egg-in-a-hole was a life-changing discovery. So yeah, I'm pretty excited to contribute and maybe inspire others in the same way as I have been inspired.

Hop on over to A Cup of Jo to read more about the porridge!


Whipped Cranberry Porridge

serves 4 to 6

As I don't like to start my day with a breakfast loaded with sugar and as I want to keep some of that lovely tartness cranberries are known for, this porridge isn't very sweet. Feel free to add more sugar to taste. However, remember that the milk will balance out some of the tartness. Chilling the porridge is crucial – you won't be able to whip it probably if it's still warm. 

8 dl (3 ¼ cups) water
250 g (4 ½ dl; 2 cups) frozen (or fresh) cranberries
pinch of fine sea salt
100–150 g (1 ¼–1 ¾ dl; ½–¾ cup) granulated sugar, depending on your taste
120 g (1
½ dl; ⅔ cup) farina (Cream of Wheat)

milk of your choice, to serve
optional: toppings of your choice


In a medium pot, combine the water and cranberries. Bring to a boil and boil for 10 to 15 minutes.

Add the salt and sugar. Gradually whisk in the farina. Depending on how long your farina needs to be cooked, let simmer for 5 to 10 minutes stirring constantly. Taste and add more sugar if desired. Remove the pot from the heat and let the porridge cool to room temperature.

When the porridge has cooled to room temperature, whisk until light and fluffy. The color will turn from magenta to light pink.

Serve at room temperature or cold with milk and toppings of your choice.

The porridge can be stored in the fridge for a couple of days. For the perfect texture, whisk it again before serving.


Whipped Cranberry Porridge | My Blue&White Kitchen

Related posts

Morning Glory – Oeufs en Cocotte with Spinach & Sun-Dried Tomatoes

Oeufs en Cocotte with Spinach & Sun-Dried Tomatoes | My Blue&White Kitchen

For a couple of months now, I've bought most of the eggs I use in my kitchen from a farmer for whom his chickens' health and what they eat are the number-one priority. The chickens can roam freely and have the option to go outdoors 365 days a year. These chickens can smell the first greens of spring, feel the warm summer sun on their skin, watch the days get shorter in fall, and experience the beauty of the white Nordic winters. And you can taste all of that in the eggs. The yolks are deep yellow in color and the texture is creamy; they're the best eggs I've eaten.

I'm happy that I've found a product that matches my idea of ethical and sustainable living and consumption, tastes delicious, and is an excellent example of the farm-to-table movement. My money goes directly to the farmer which is, as I believe, the best scenario for both the consumer and the producer. And you know, happy chickens.

For over a decade, I've only bought organic eggs or, better still, eggs from a local, small farmer where I can be sure that the chickens are being ethically raised and held. Standards of how chickens must be held to be called "organic" or "free-range" vary from one country to another, and I encourage you to do some research on what those terms really mean should you be interested in where your eggs come from. Naturally, the same applies to all animal products and, well, to produce in general.

Be interested, care, ask.

If you live in Southern Finland and are interested in ethically raised, fresh eggs, join the Facebook group and check out the dates. The farmer drives around Southern Finland on a regular basis selling his products.

After my love letter to eggs, I should come up with a dish that puts them into good use, right? So today, I'm sharing a recipe for Oeufs en cocotte, one of the fanciest sounding yet easy and quick to prepare dishes for breakfast or brunch. I mean, we could talk about baked eggs but who wants to call them by that name, especially when they have such a fancy sounding French name? This is a dish that makes your guests look at you in awe, sing an ode to the beauty of eggs, and ask for the recipe. You think I'm exaggerating? Try it yourself.

I first stumbled upon this French breakfast classic on either Béa's or Aran's blog and have been an avid fan of this luscious dish ever since. Oeufs en cocotte can be adapted to one's liking and the season. The possibilities are endless! Look what's in your fridge and get inspired by the produce of the season. Last week, I had spinach which I wanted to use up. The idea of tomatoes crossed my mind, so I grabbed a glass of sun-dried tomatoes for a dose of sunshine (cause fresh tomatoes are obviously not in season). Créme fraîche works really nice, especially during the colder months as it makes the dish extra creamy and comforting, so I decided to use some.

The result was a lovely breakfast; one that I couldn't wait to share with you.


Oeufs en Cocotte with Spinach & Sun-Dried Tomatoes

serves 2

1 tbsp olive oil
1 garlic clove, crushed
1 large handful (1 lightly packed cup) spinach, washed
4 sun-dried tomatoes, diced
2 tbsp crème fraîche
2 eggs
4 tsp heavy cream
fine sea salt
freshly ground black pepper
nutmeg
a bit of finely sliced scallions

Preheat the oven to 200°C (400°F). Butter or oil two ovenproof ramekins.

In a skillet over medium-high heat, sauté the crushed garlic and spinach until spinach starts to wilt. Add a pinch of salt and the sun-dried tomatoes. Remove skillet from heat. Discard the garlic glove.

Put a layer of crème fraîche in each ramekin and top with the spinach mixture. Crack an egg in each ramekin. Pour 2 tsp of heavy cream over each egg white avoiding the egg yolks. Season with salt, pepper, and nutmeg. Finish with finely sliced scallions.

To make a water bath, put the ramekins in a baking dish. Place the baking dish on the middle rack of the oven. Pour steaming hot water (hot tap water works fine!) into the baking dish to reach halfway up the sides of the ramekins. Bake for 12 to 15 minutes, or until the egg whites are set but the yolks are still runny. Serve warm.


Oeufs en Cocotte with Spinach & Sun-Dried Tomatoes | My Blue&White Kitchen

Related Posts