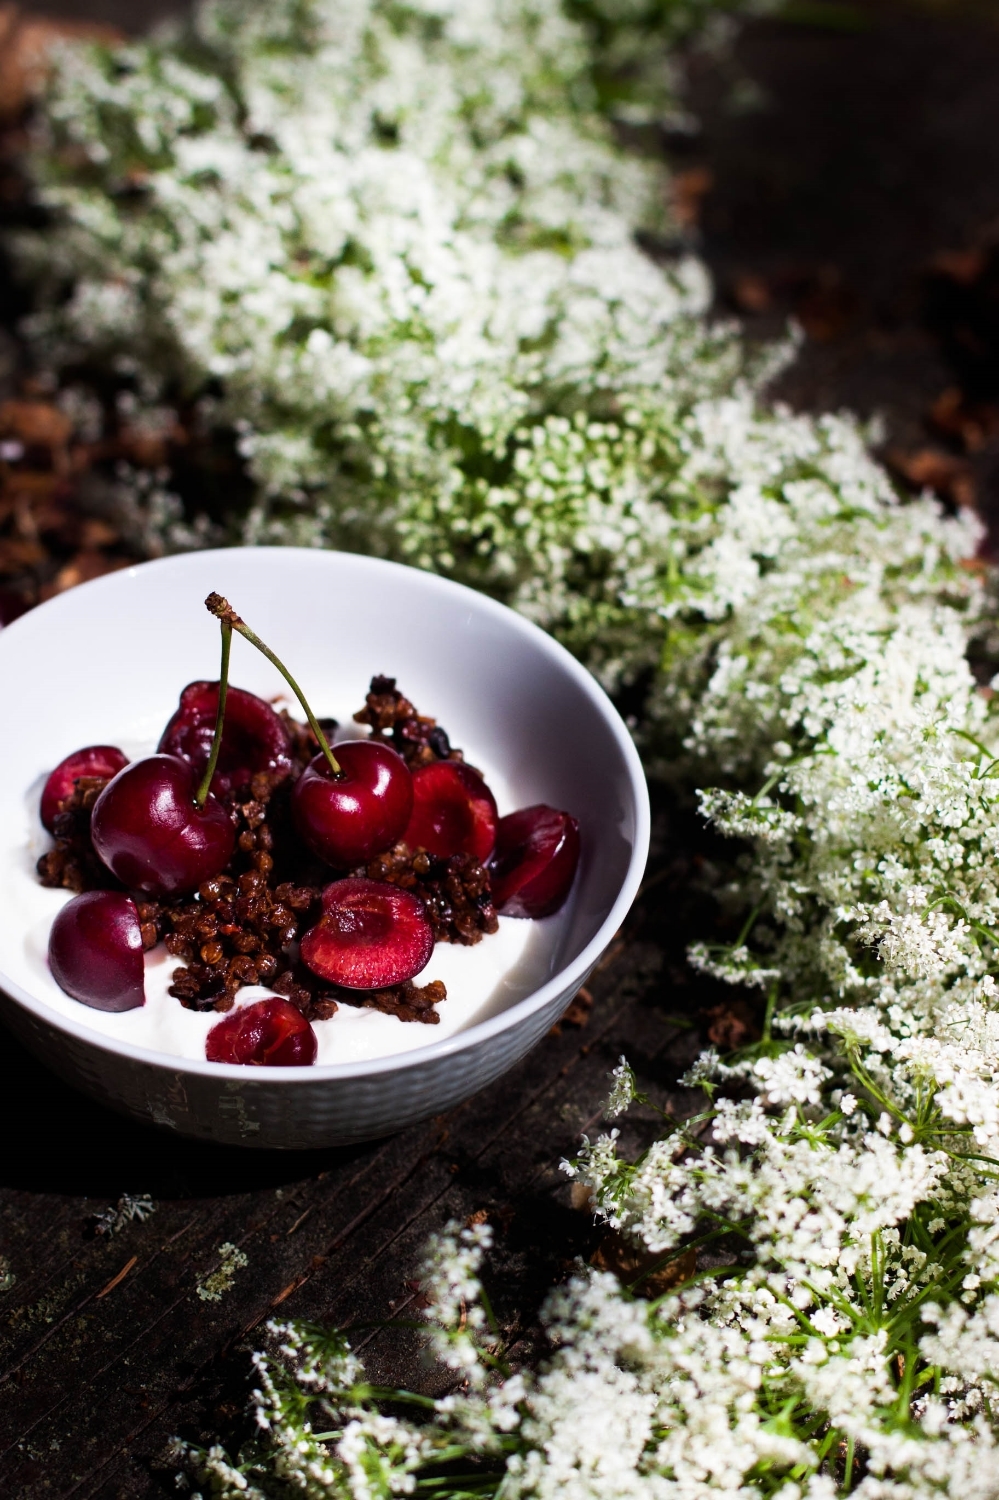
Honey Granola with Summer Berries

Honey Granola with Summer Berries | My Blue&White Kitchen

Midsummer is all about light and flowers. That said, how perfect is this recipe to share around this time of the year? I had the honour of being a guest at Suus' Morning Rituals series on her fabulous food blog Food Bandits. Morning Rituals is one of those food blog series I look most forward to, so it was a real joy to become a part of that international blog and breakfast love. I talked about my breakfast favorites, how I would like to be a morning person, although I'm not, coffee, and shared the recipe for honey granola. You can read the talk I had with Suus here.
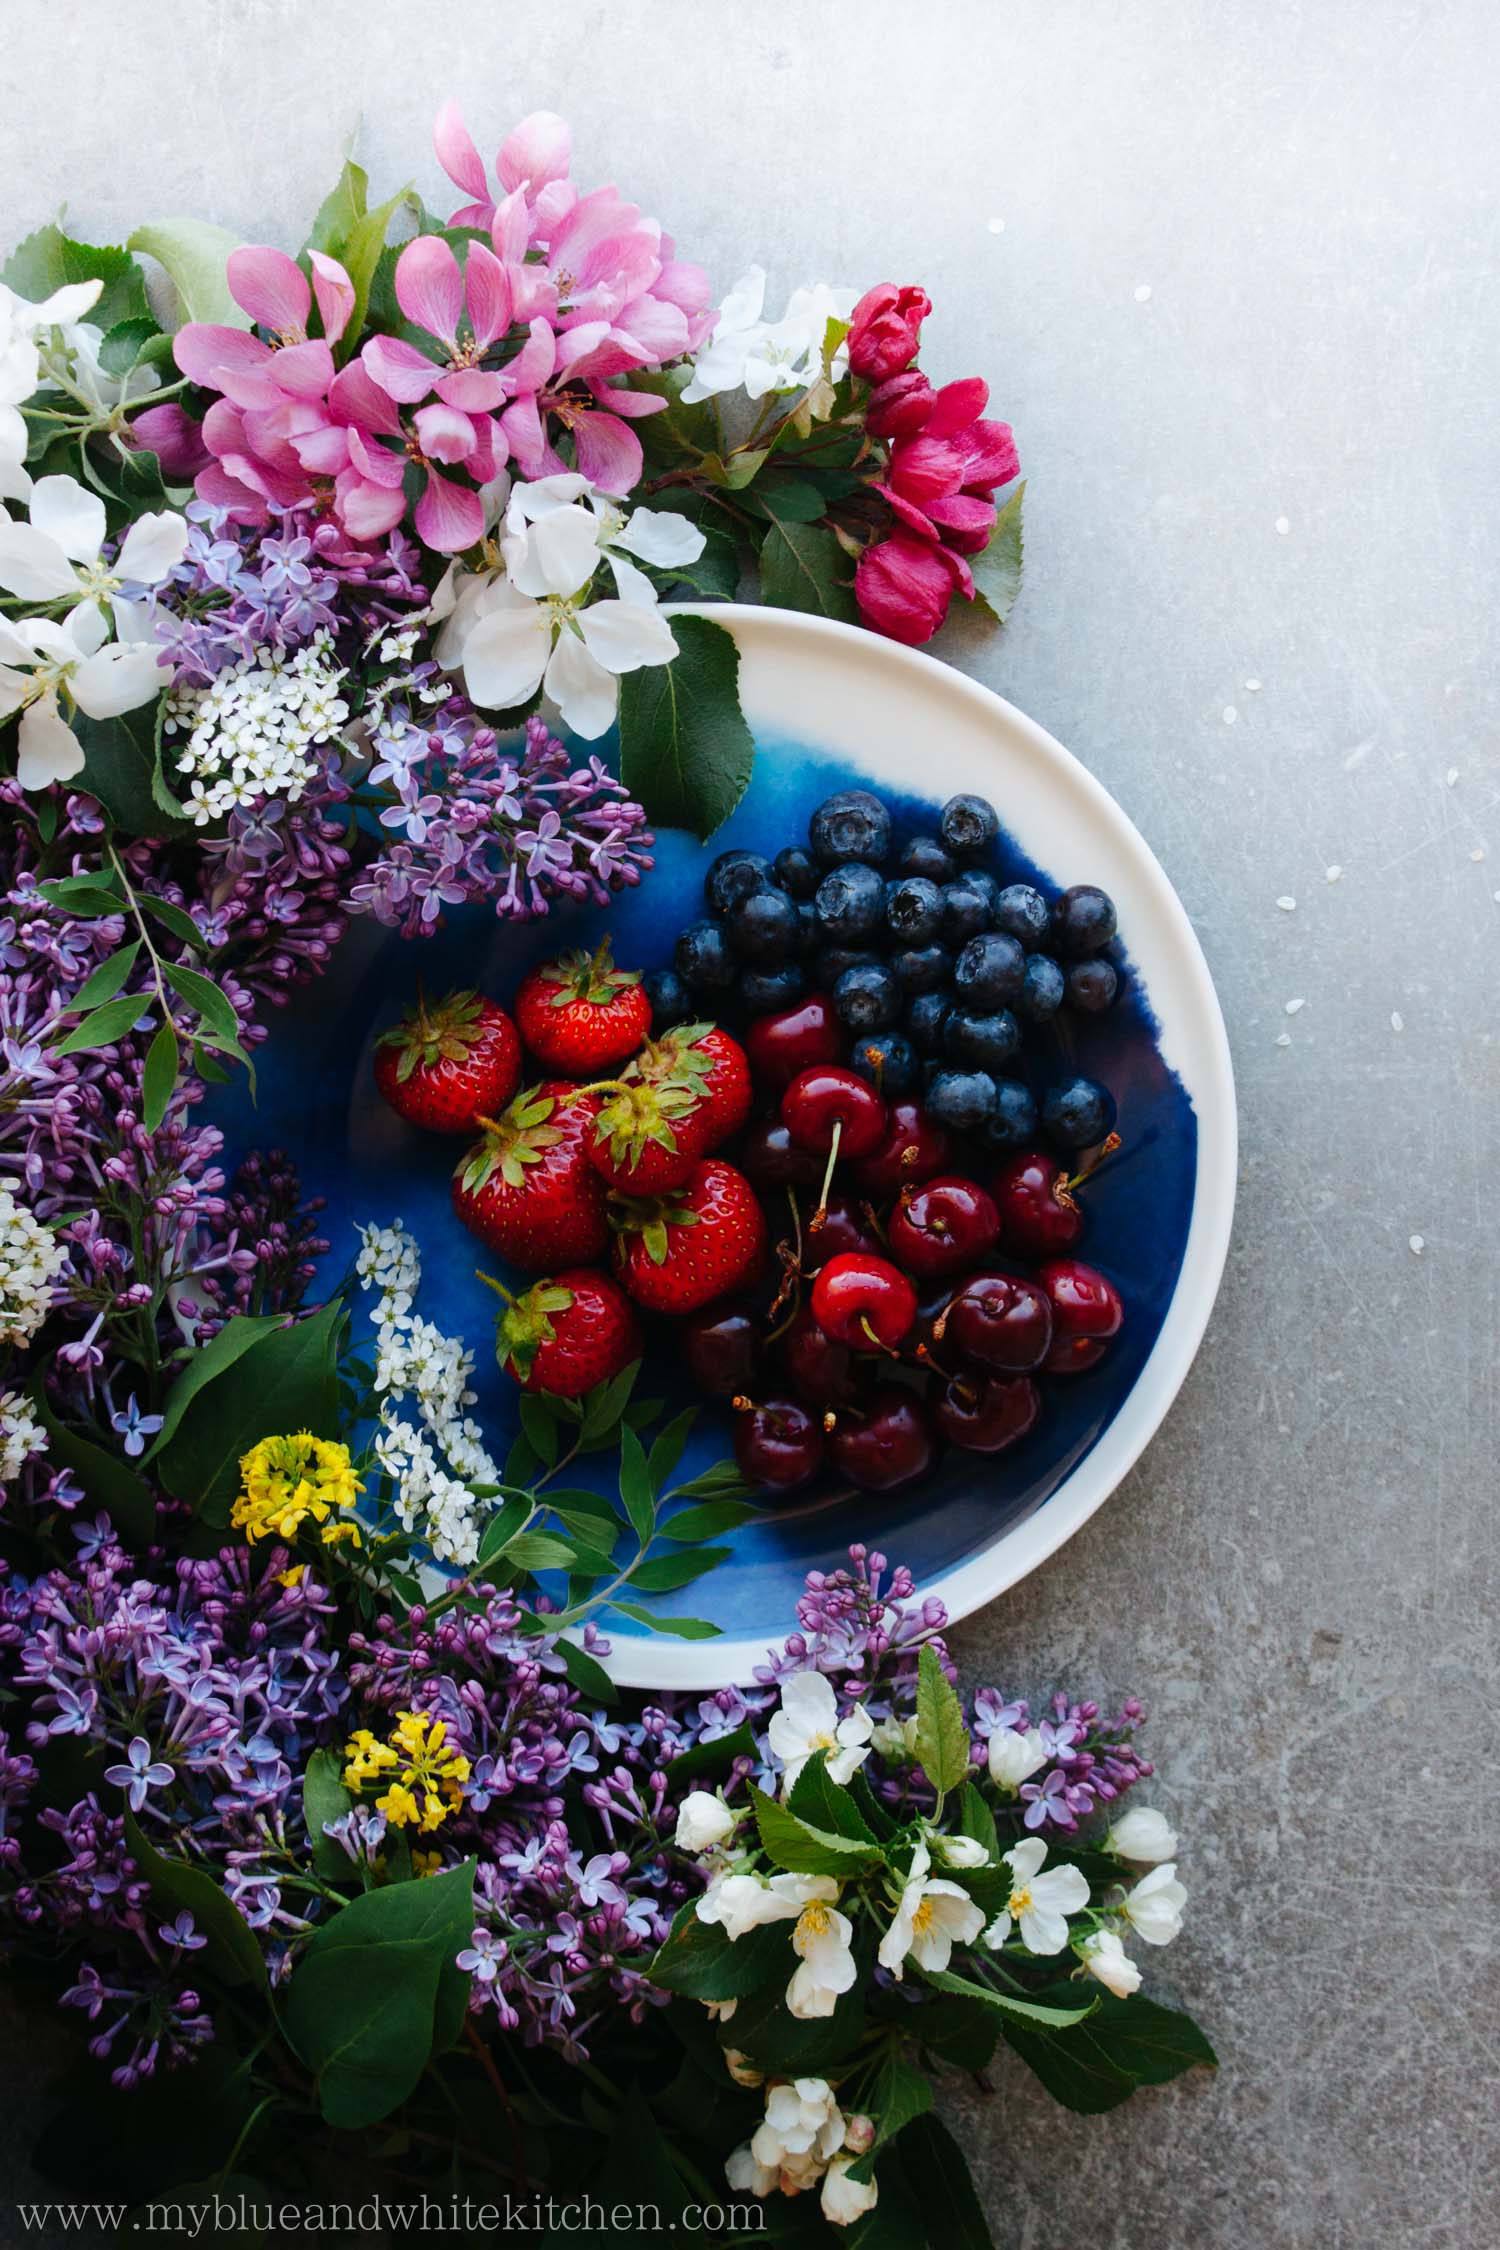
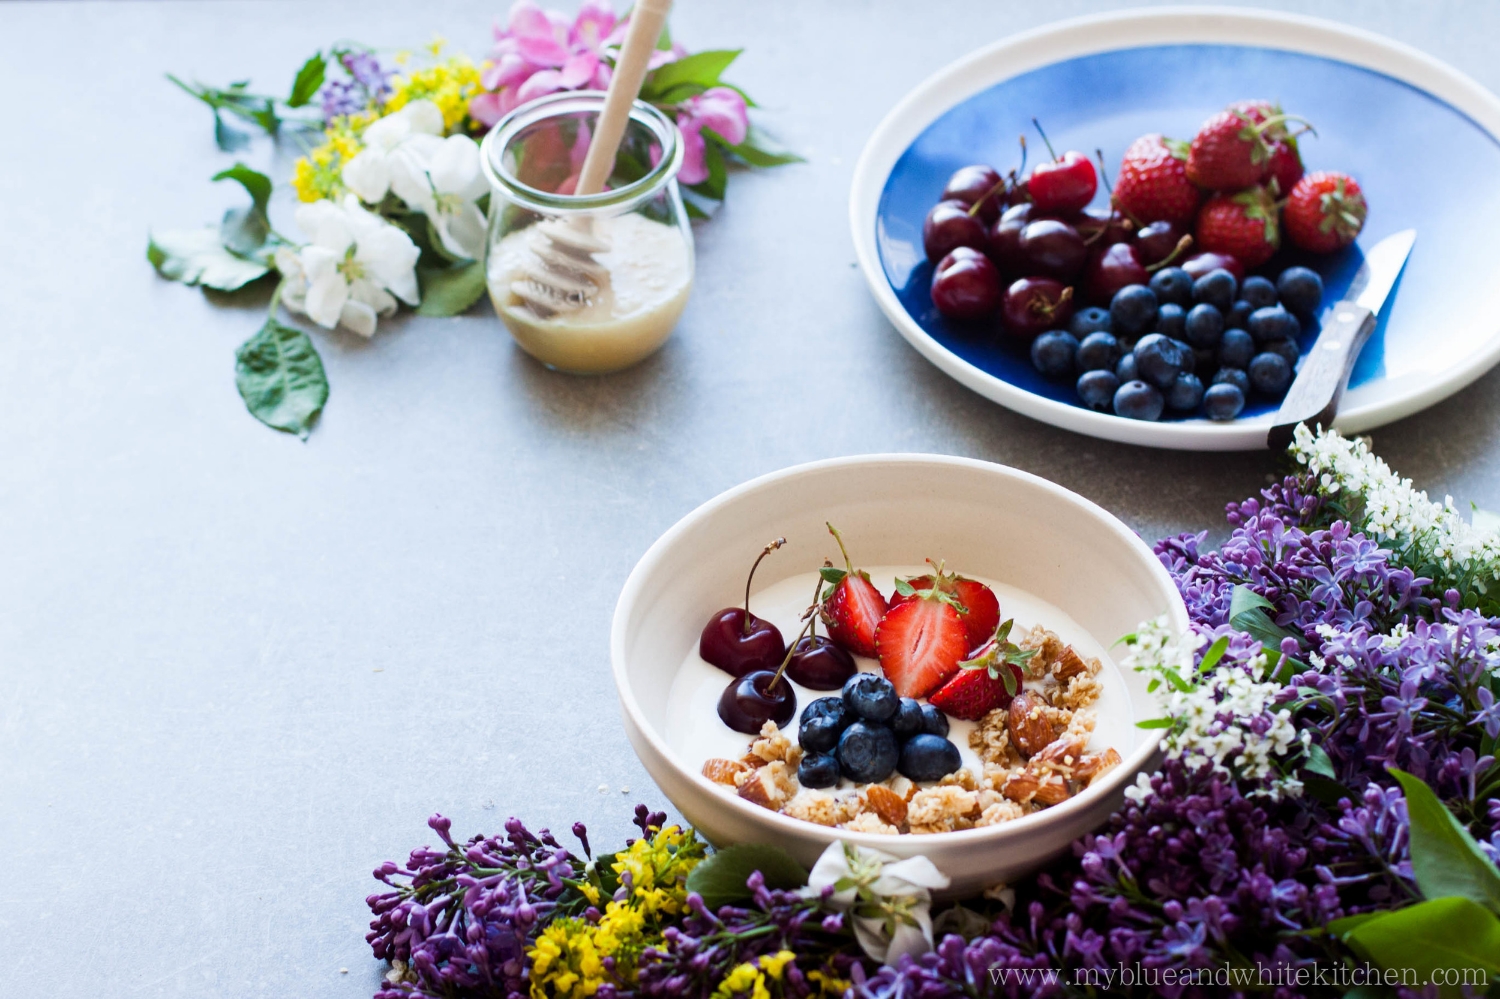
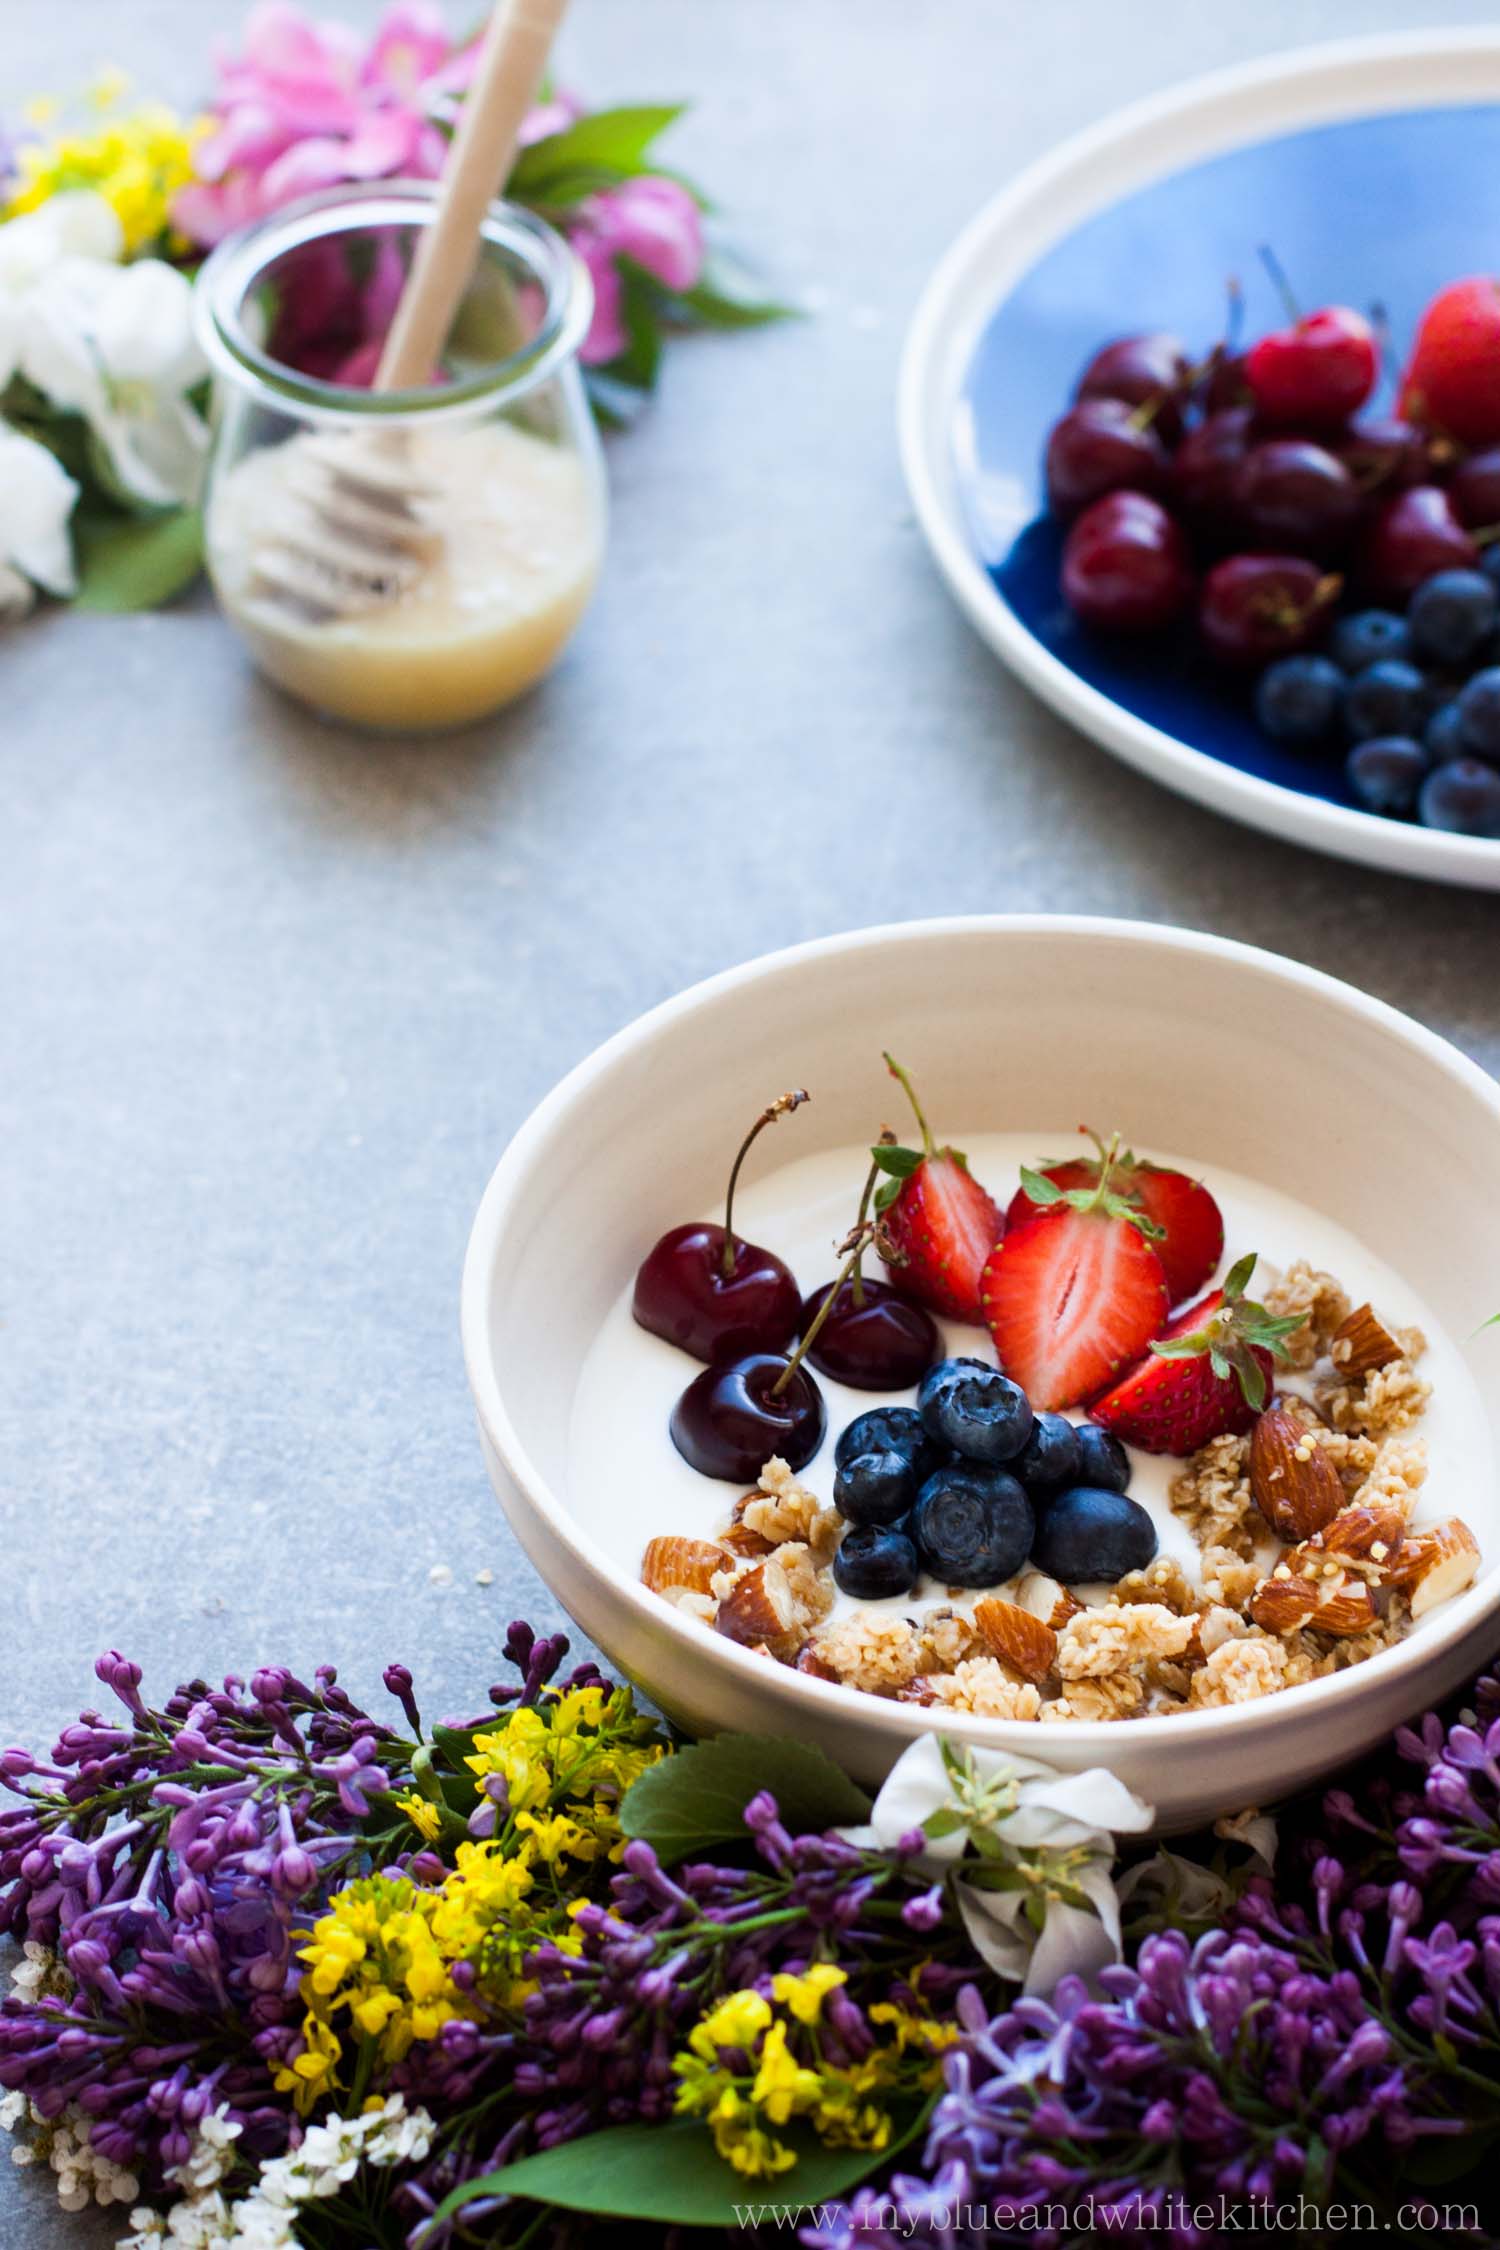
This granola recipe was created out of a longing for a simple yet tasty granola that would be lovely with summer's most wonderful berries and fruit. I wanted a granola that would let the summer produce be the star of the bowl. During the colder months, I like to add all kind of spices, nuts, seeds, and dried berries to my granola, so that the granola can easily stand on its own. In summer, however, I look for more delicate flavors.

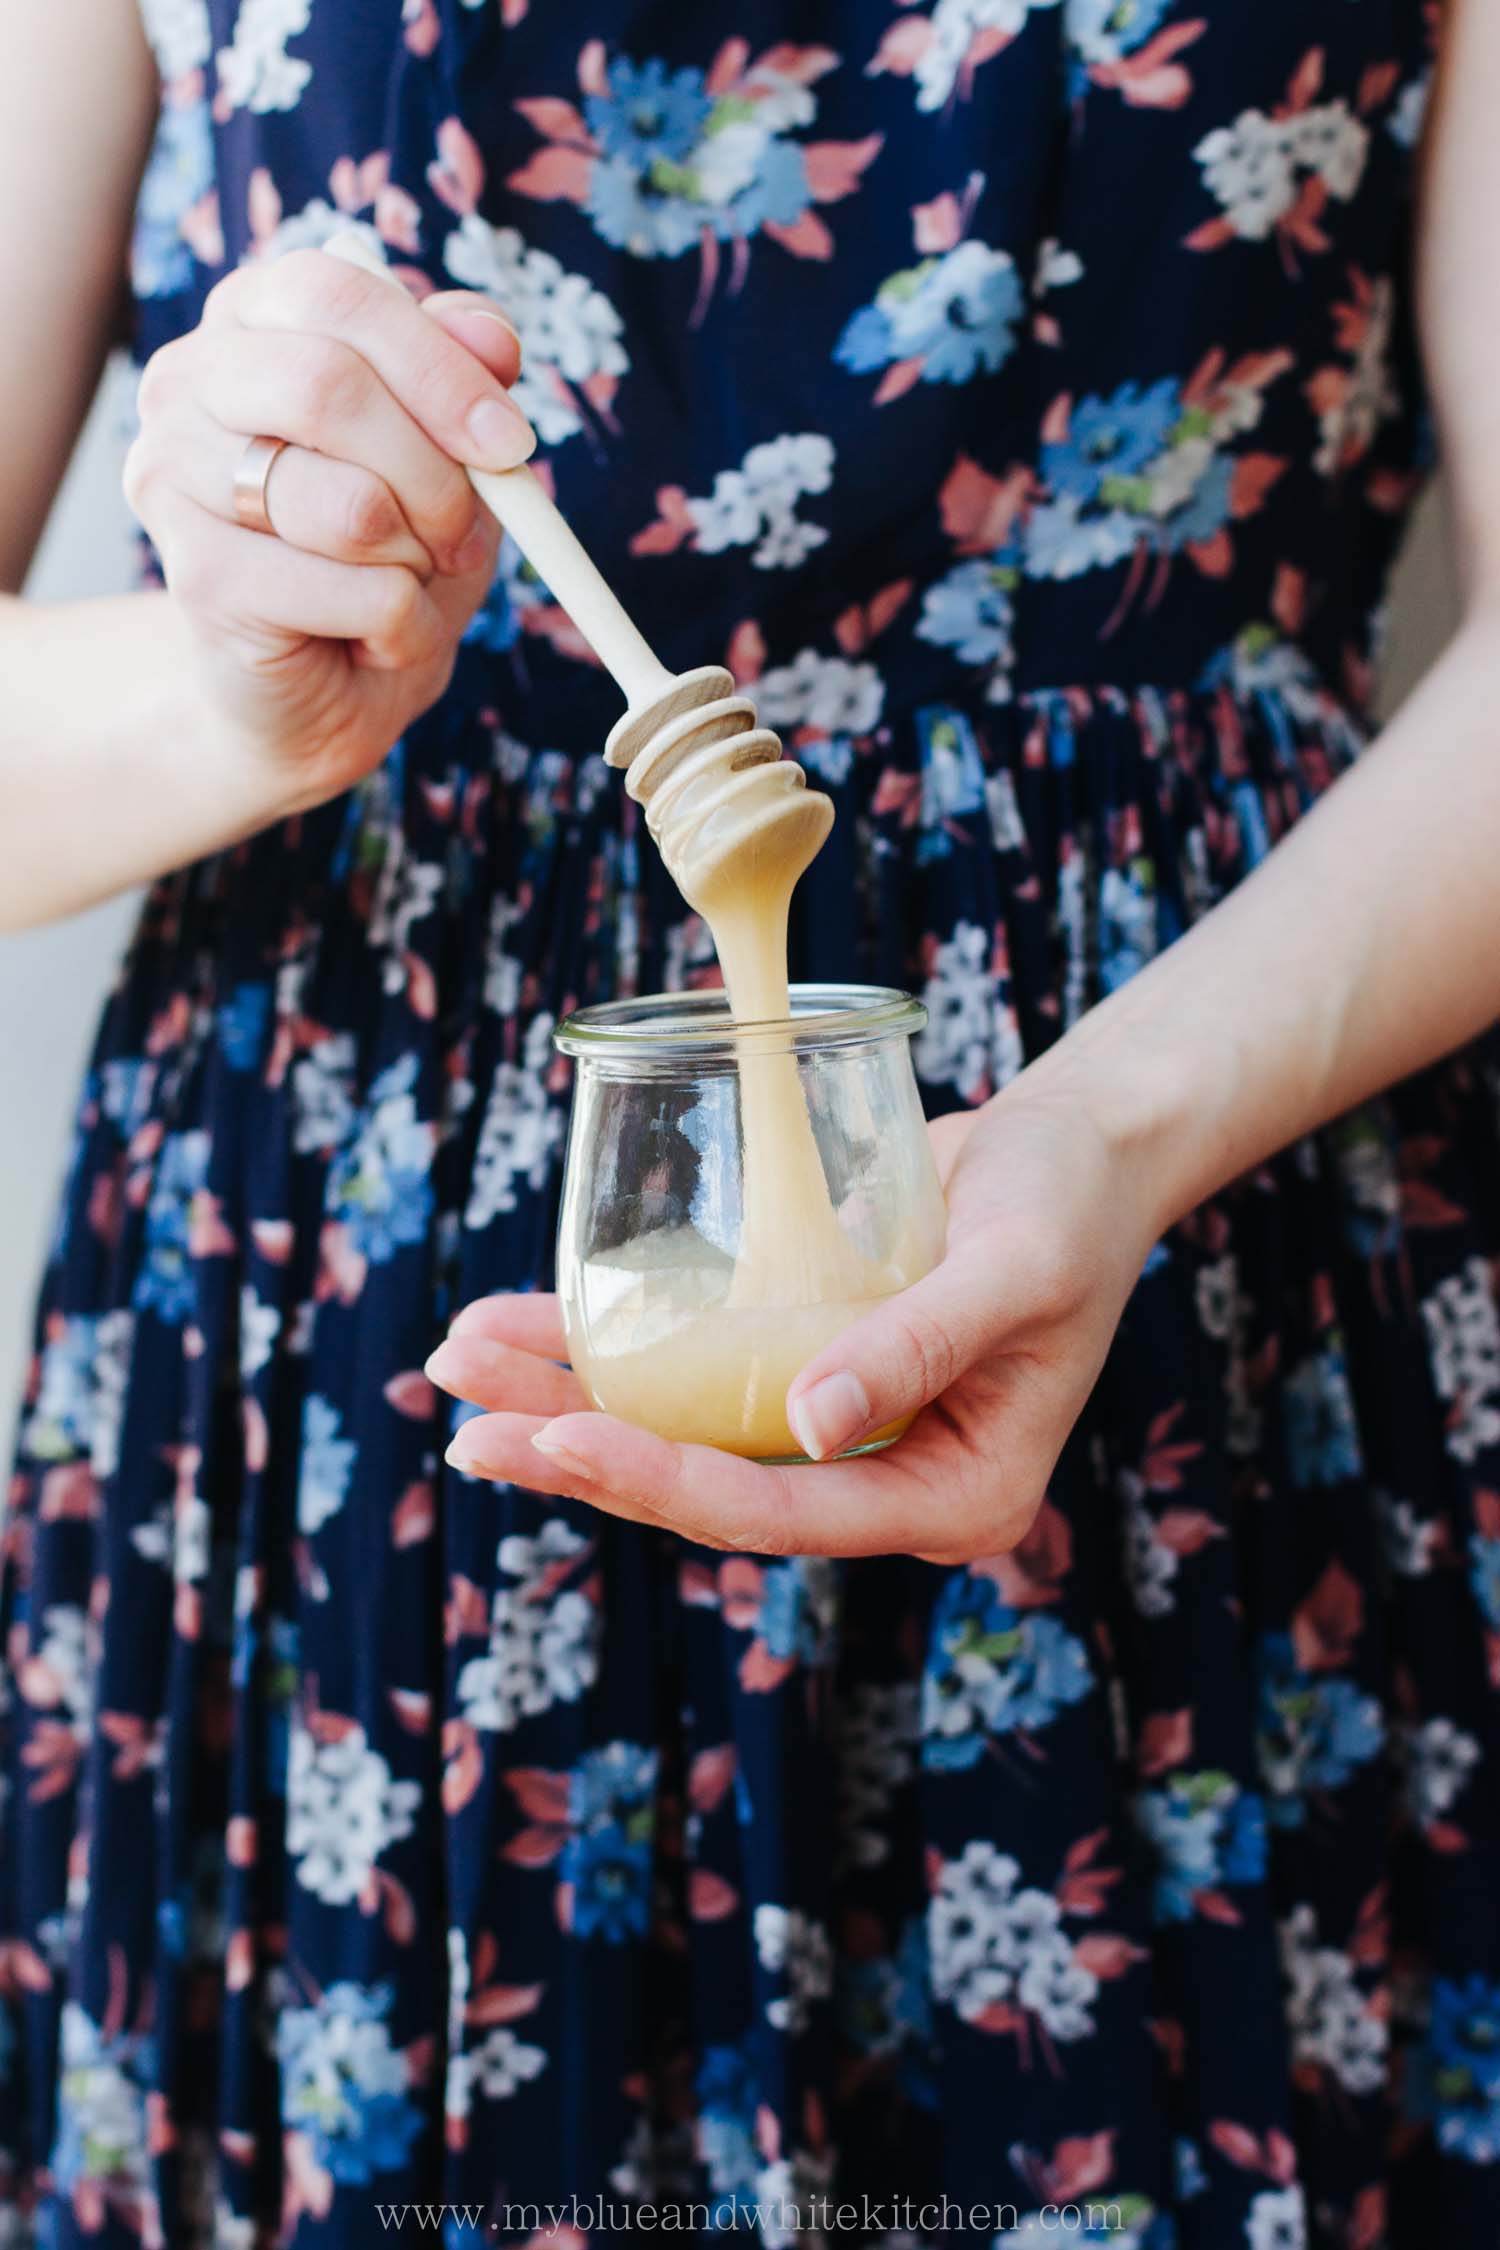
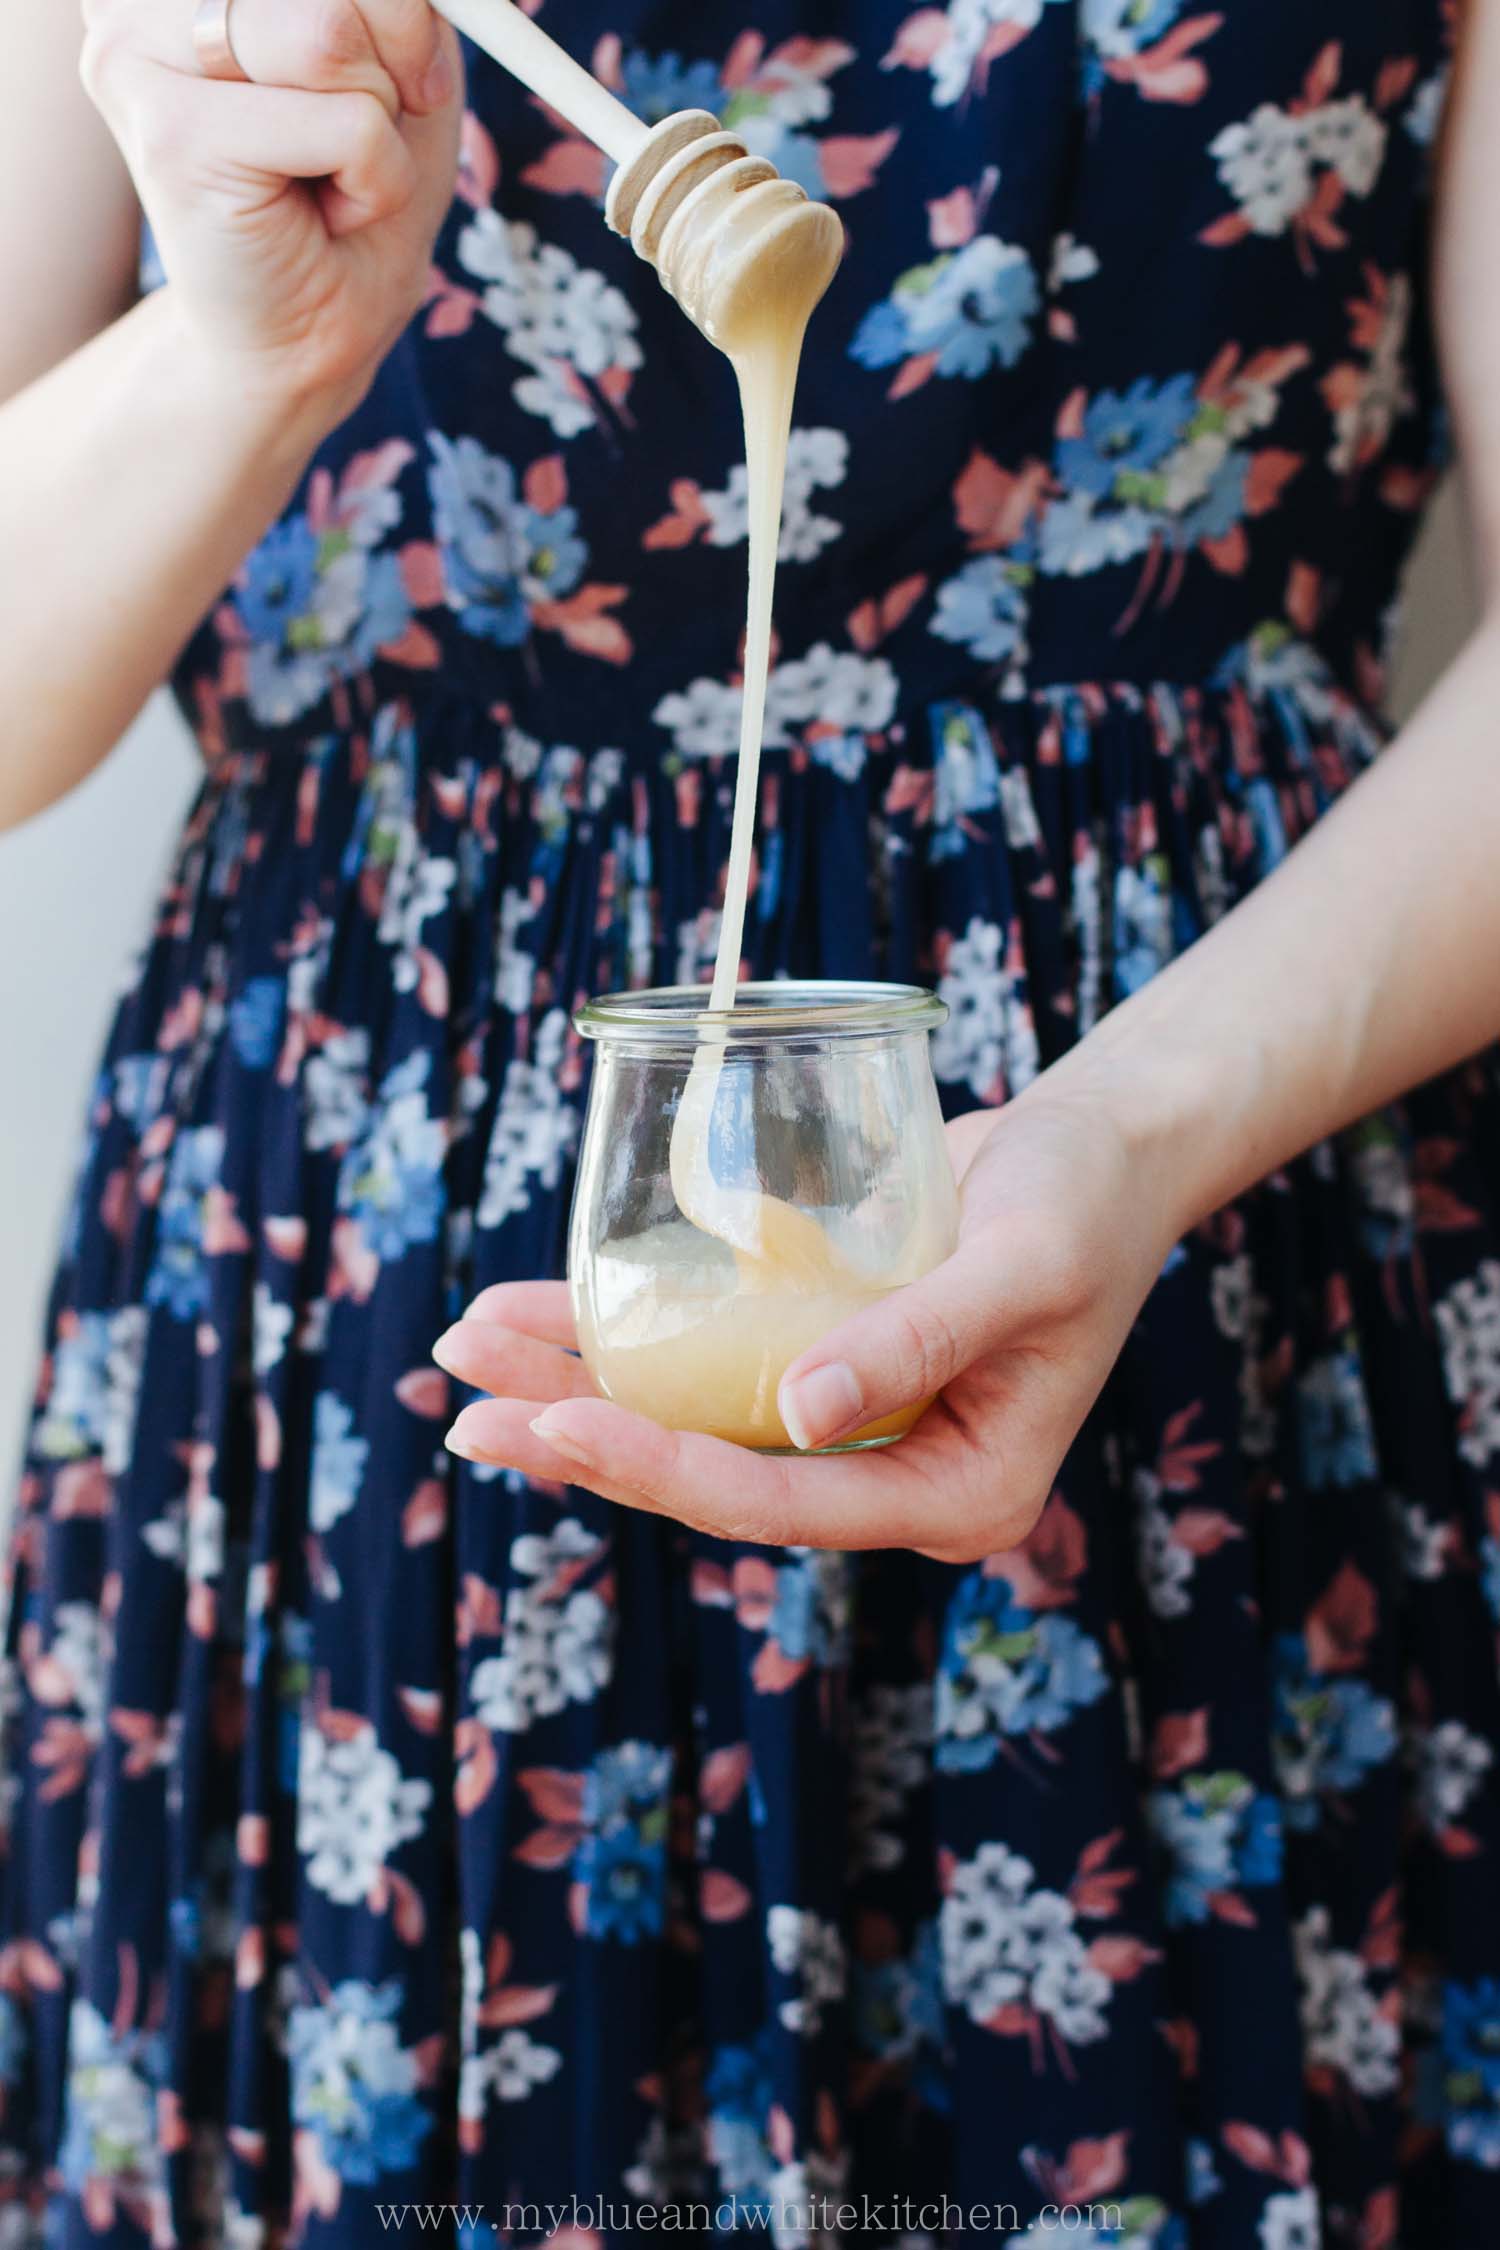
Honey works great as a sweetener and is a nice alternative to maple syrup that I use often when sweetening homemade granola. Elderflowers are the essence of summer and I just can't believe that elderflower trees are so very hard to find here in Finland. It's not fair, folks! Out of frustration, I've used elderflower syrup a lot lately. I've marinated strawberries in it, made drinks with elderflower syrup and prosecco, and decided to use it in this granola as well. Should you not be able to find elderflower syrup at your local grocery store, look for it at Ikea. I opted for almonds only but you could certainly use whatever nuts you like the most. I'm a sucker for millet in my granola, as I like its texture when toasted; it adds something exciting to the granola mix. Should you not be into millet or don't have it at hand, leave it out or substitute it with seeds of your choice.
Honey Granola with Summer Berries

makes 1 sheet

This granola is naturally gluten-free. However, look for certified gluten-free oats, as oats are often contaminated with gluten, for example during harvesting, milling, or packaging.
 

200 g (5 dl; 2 cups) rolled oats
150 g (2 ½ dl; 1 cup) almonds, roughly chopped
55 g (4 tbsp) millet
¾ tsp fine sea salt
4 tbsp extra virgin olive oil
4 tbsp elderflower syrup
1 ½ dl (2/3 cup) honey

plain yogurt, to serve
summer berries or fruit, to serve
optional: honey or agave nectar, to serve


Preheat oven to 150°C (300°F). Line a baking sheet with parchment paper.

In a medium-sized bowl, combine the oats, almonds, millet, and salt. In another, small bowl, whisk together the olive oil, elderflower syrup, and honey until throughly combined. Add the wet ingredients to the dry ingredients and mix.

Spread the granola mixture evenly onto the lined baking sheet. Bake for 25 to 30 minutes, or until lightly golden. The granola will get crispy as it cools. Stir the granola mixture and flip the sheet half way through. Keep a close look at the granola, as honey tends to brown quickly. Mix the granola mixture several times during the last 10 minutes of baking, as the granola at the edges tends to brown quicker than in the middle.

Let the granola cool completely before storing in an airtight container, such as a mason jar.

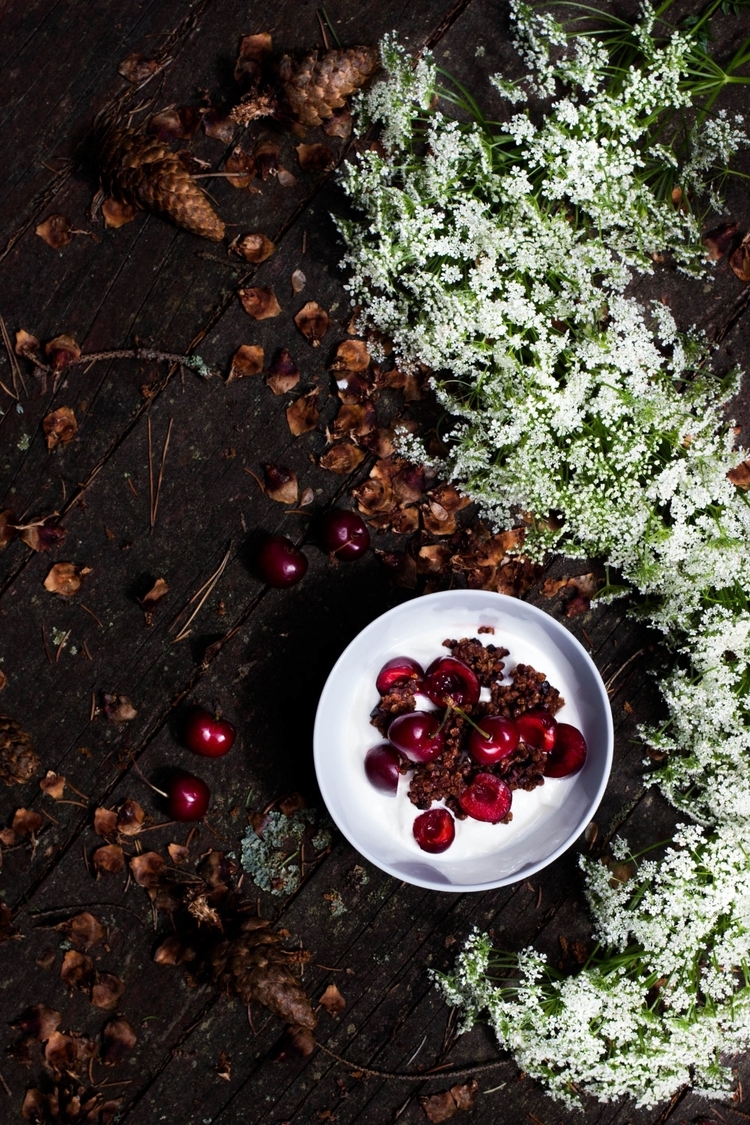
Enjoy with plain yogurt and top with your favorite summer berries.


Honey Granola with Summer Berries | My Blue&White Kitchen

Related Posts

Finding Light & Joy – Smoked Fish Spread

Smoked Fish Spread | My Blue&White Kitchen

One night a couple of months ago, I sat down and "wrote down" a (mental) list of things I would like to start doing, do more, or do again. I was searching for more happy moments, for ways to bring more light and joy into my life. I quickly realised that I would love to have a veggie garden this summer. I'm still working on it but hope to harvest things like radishes, peas, and herbs later this summer. I wanted to knit more both by myself and in company. Since then, I've spent many days knitting while drinking coffee and chatting with lovely people. I also knew that it was finally time to start taking riding lessons again. I spent a great deal of my childhood and adolescence at the stables but had since neglected this passion of mine. Last Monday, I finally sat in the sattle again! My muscles are still hurting (like seriously HURTING!) but I had so much fun. It felt good and familiar. I had found my happy place; well, one of them.

Daily hassles, work, and chores... It's so easy to start neglecting ourselves. What do you want? What brightens up your day? Stop for a while and listen to yourself; to your body and mind. Life can be so very short, so why wait?

Smoked Fish Spread | My Blue&White Kitchen

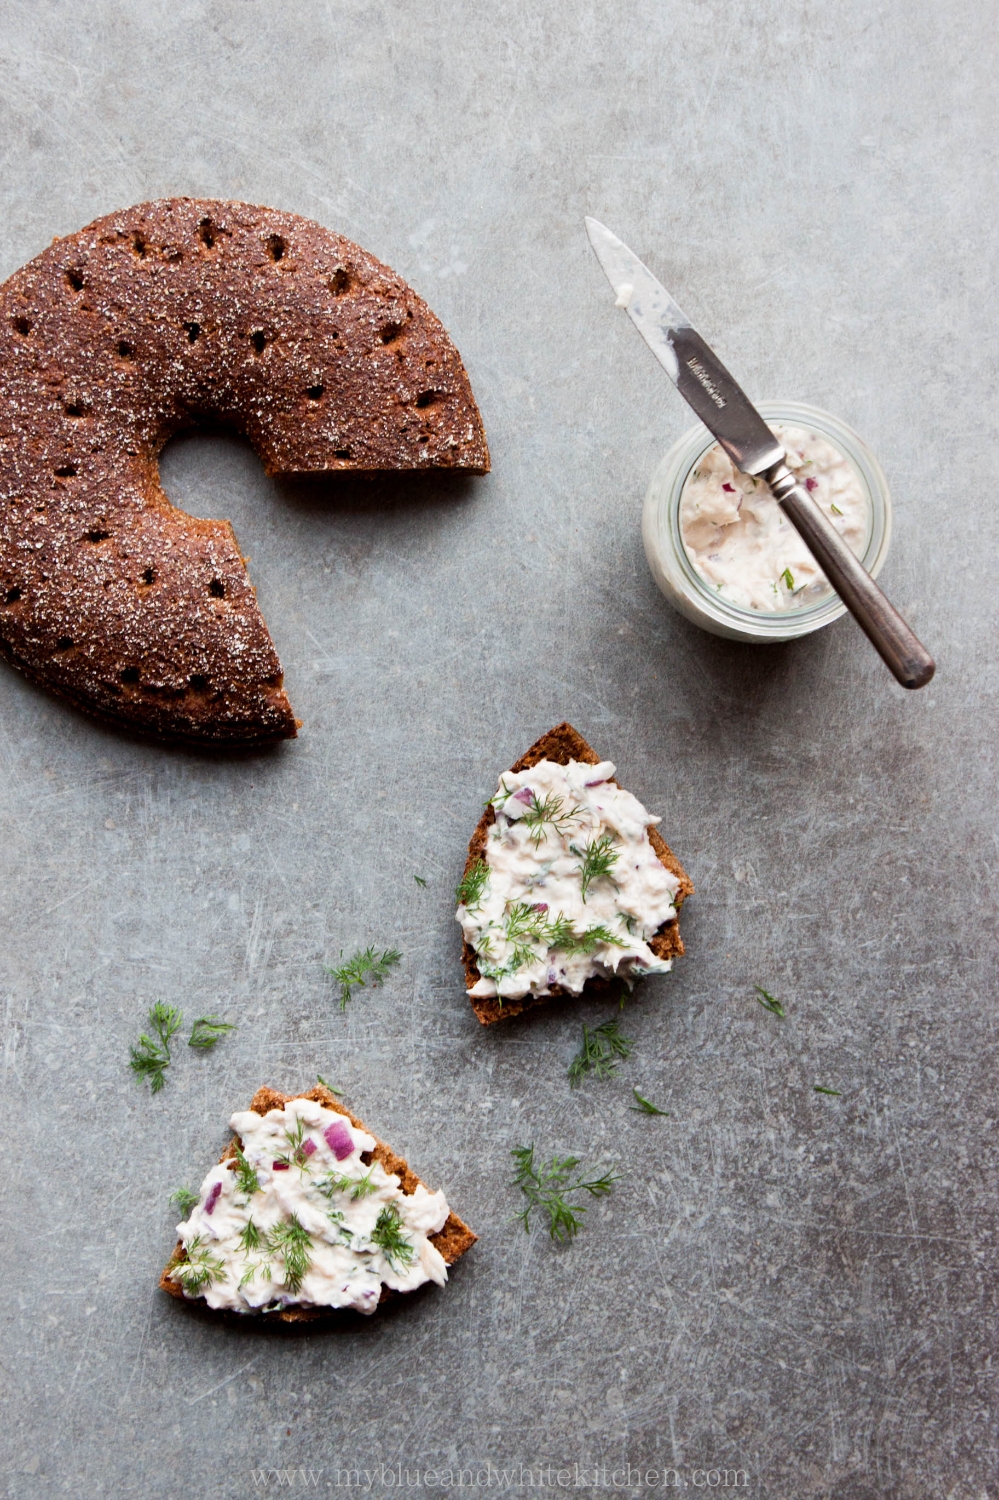
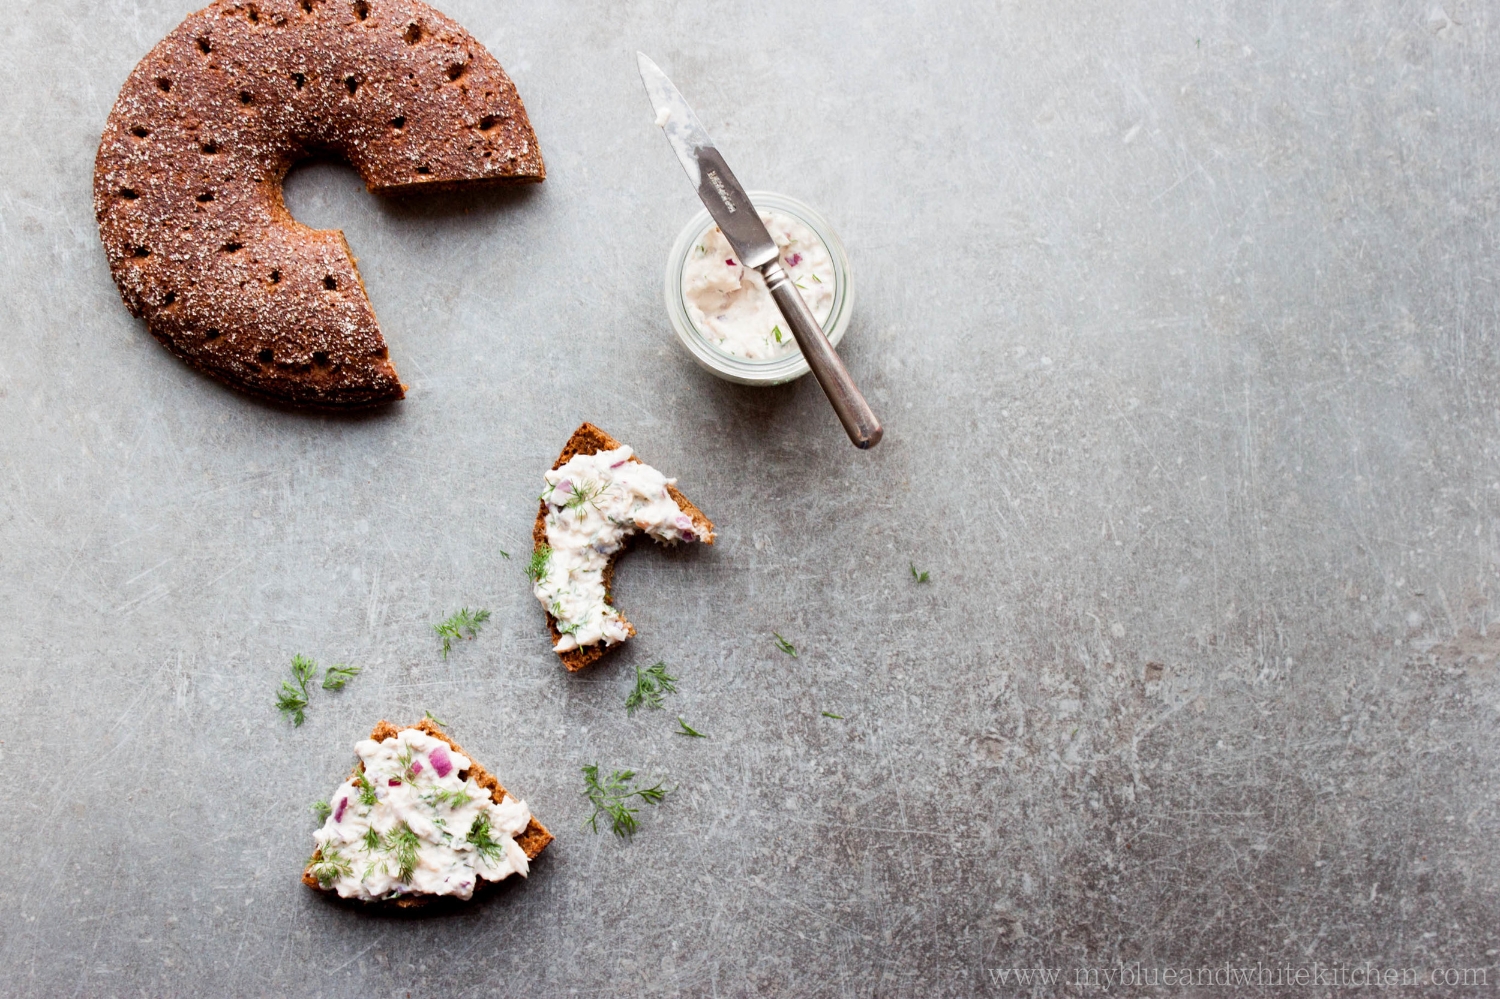
Because this is a food blog, I also have a recipe for you. This smoked fish spread is one of those recipes that I originally didn't even plan to share with you. I just knew that it wouldn't be the most beautiful dish to look at and that it would be especially hard to do its deliciousness justice in a pic. But as I had my first sporkful of this spread, I just knew that if I wanted to do justice to you, my readers, I would need to share it on the blog. So I did my best to make it look like a thing that you would like to make.

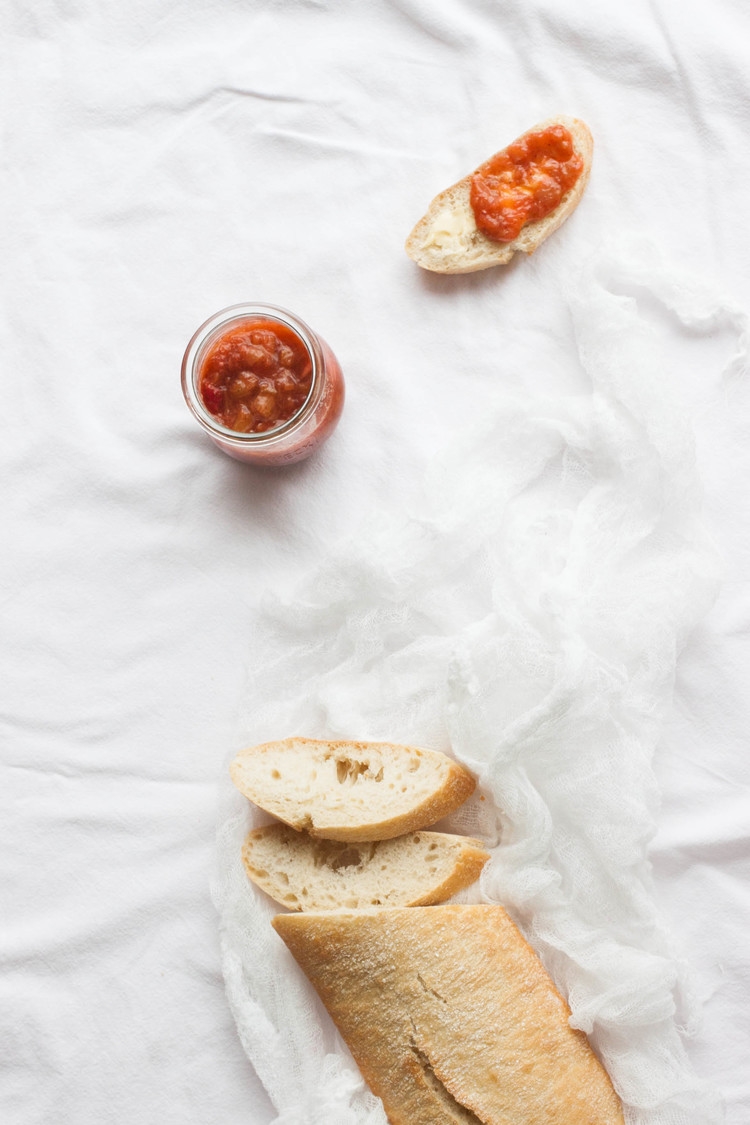
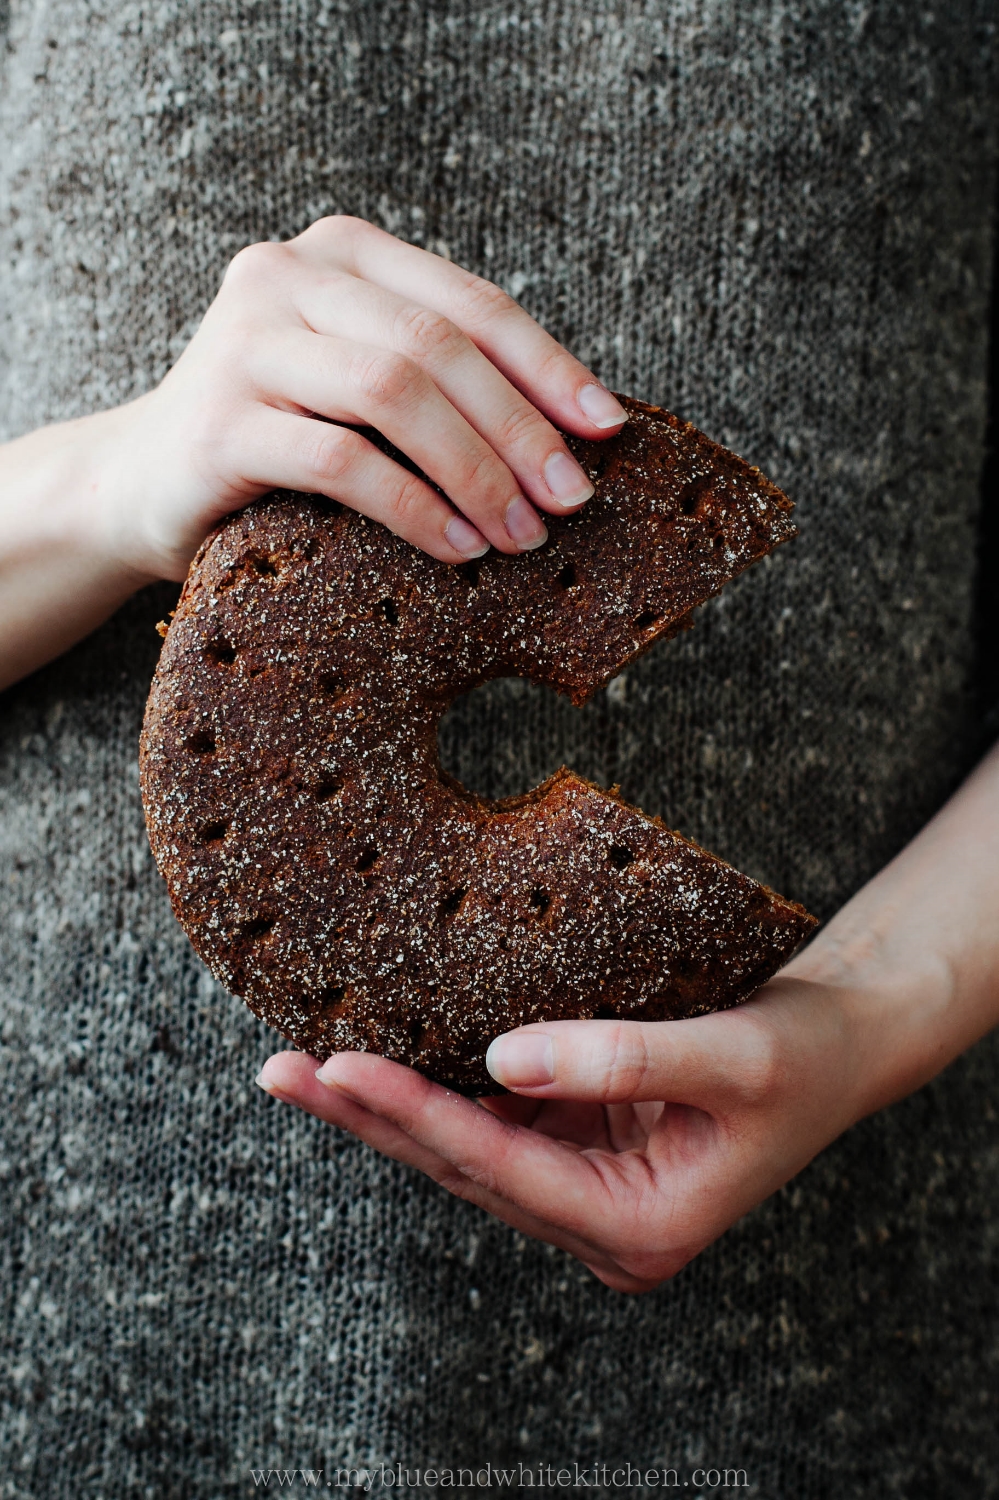
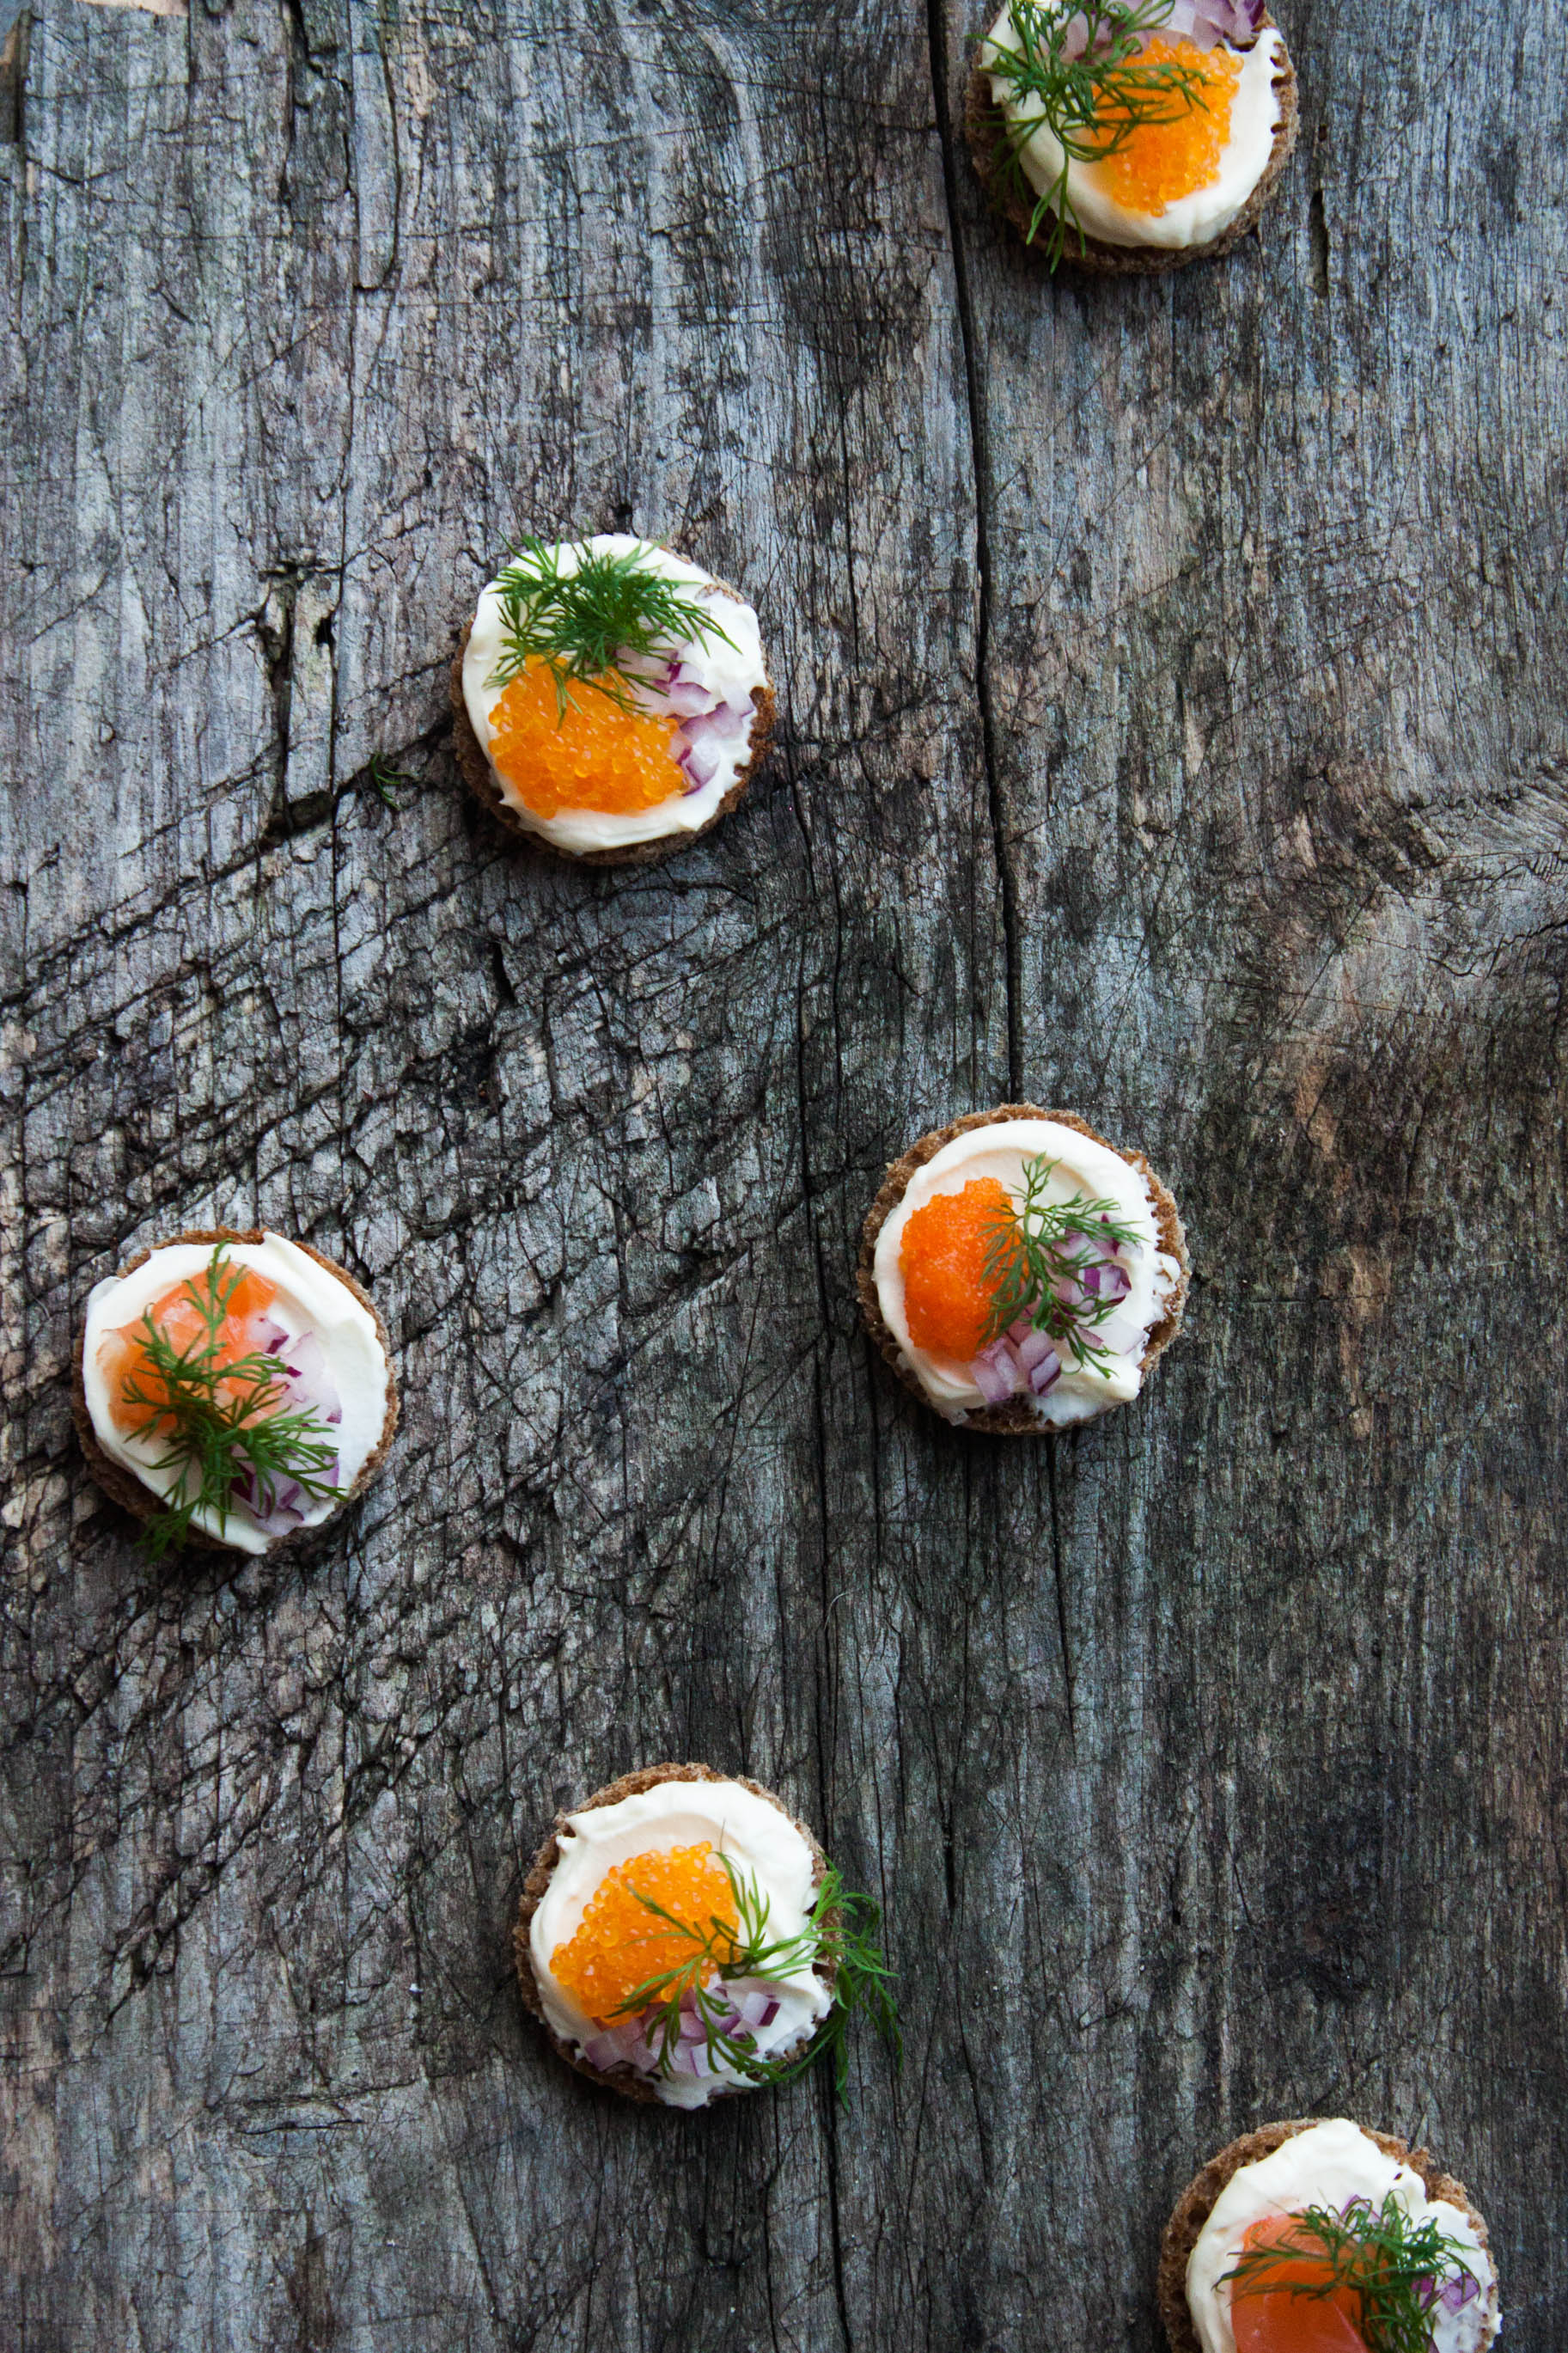
This smoked fish spread is wonderful served on hearty, Nordic style rye bread or with boiled new potatoes. You could also use it as sandwich stuffing! It's really quick and easy to make; the only step that needs a bit of accuracy and time is boning the fish. The spread can be prepared in advance and stored in the fridge until ready to use. Are you celebrating Midsummer next week? Well, I'm definitely going to serve this next Friday and am sure that it will be a total crowd-pleaser.


Smoked Fish Spread

makes about 4 dl / 1 ⅔ cups

You can use any smoked fish. I recommend a nice mix of 2 or 3 types of fish – I used smoked rainbow trout and Atlantic mackerel. The spread can be made ahead and stored in the fridge until ready to use. Serve with hearty rye bread or boiled new potatoes.


300 g smoked fish, skin and bones removed
200 g sour cream
½ red onion, finely chopped
a small bunch of dill, finely chopped
juice of about ¼ lemon
pinch of fine sea salt
freshly ground black pepper

more dill, for garnish


Put the smoked fish into a food processor and pulse briefly - we want to have the fish slightly puréed. In a small bowl, mix together sour cream and onion. Add smoked fish and dill. Season with lemon juice, salt, and pepper. Mix until well combined.

Place in the fridge until ready to use.


Smoked Fish Spread | My Blue&White Kitchen

Related Posts

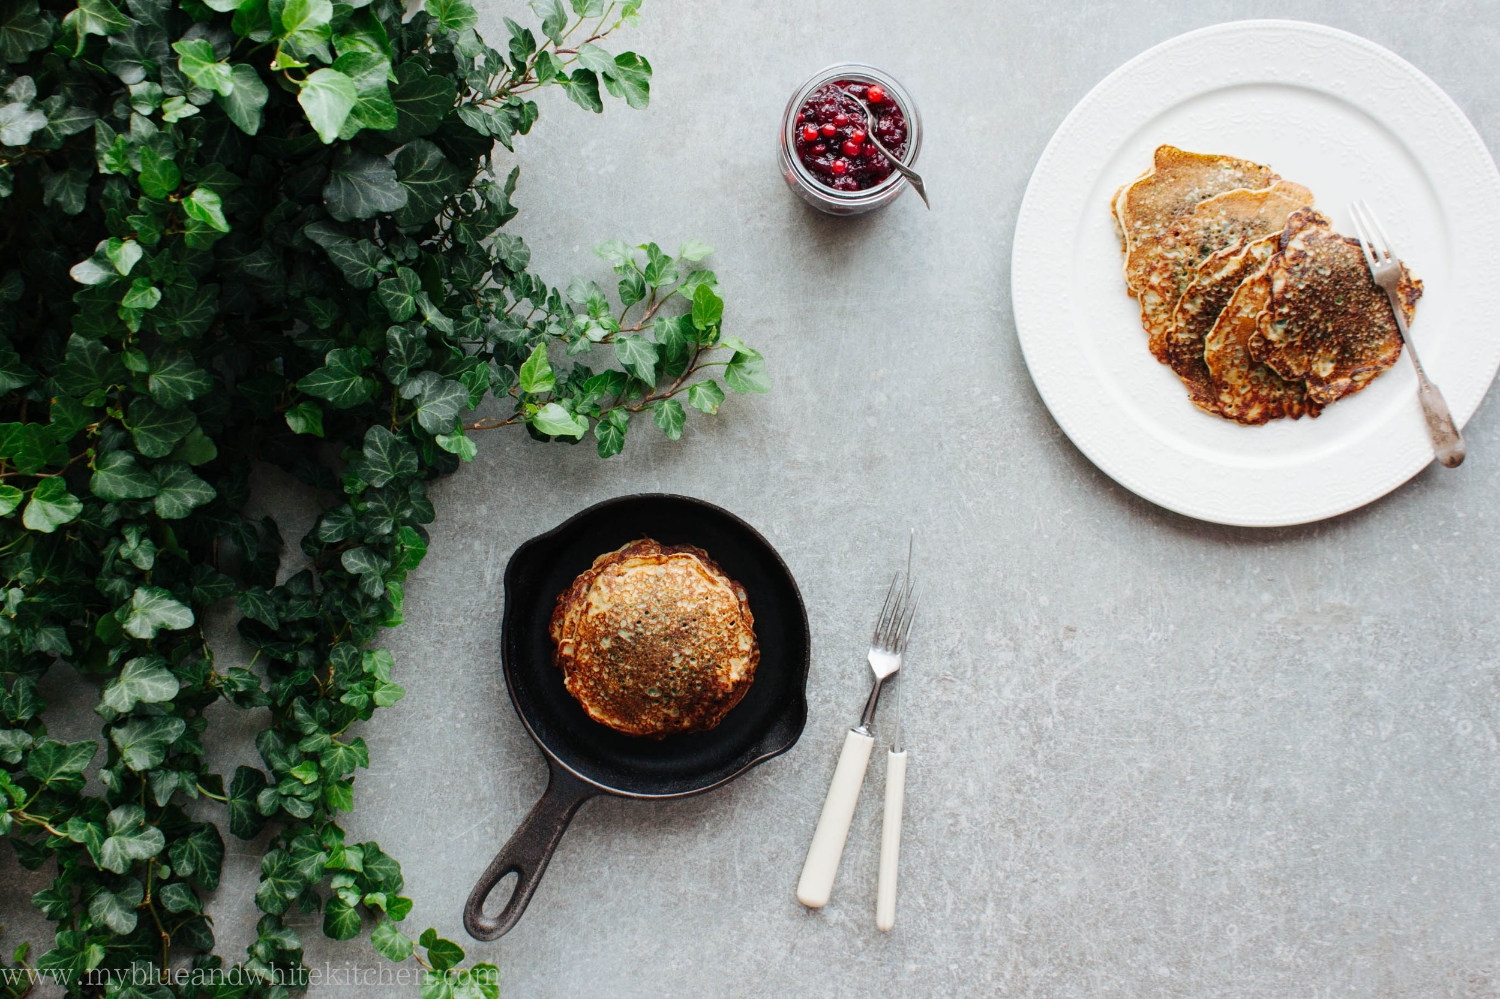
I'm Back – Stinging Nettle Pancakes

Stinging Nettle Pancakes | My Blue&White Kitchen

I'm back.

I've probably written this post in my head a thousand times already. There's so much I would like to say but I'm lost for words. To be fully honest with you, although I feel glad to be back, I'm also nervous and anxious. What if someone mirrors my blog again? I'll probably never be free of that fear but I can't let it keep me away from what I love; from this space and community, styling and shooting food, developing recipes and sharing them with you. So here I am. Hi, folks!

Before I start to talk about food, I really have to thank you first. I was really touched by your response to my Facebook update 3 months ago where I explained why I had to take down the blog for the time being. Your support has been amazing. Your comments, emails, DMs, and tweets have shown once more what an incredible community this is. A fellow blogger once said to me in an email that our community is widespread but tight knit and I couldn't agree more. So thank you.

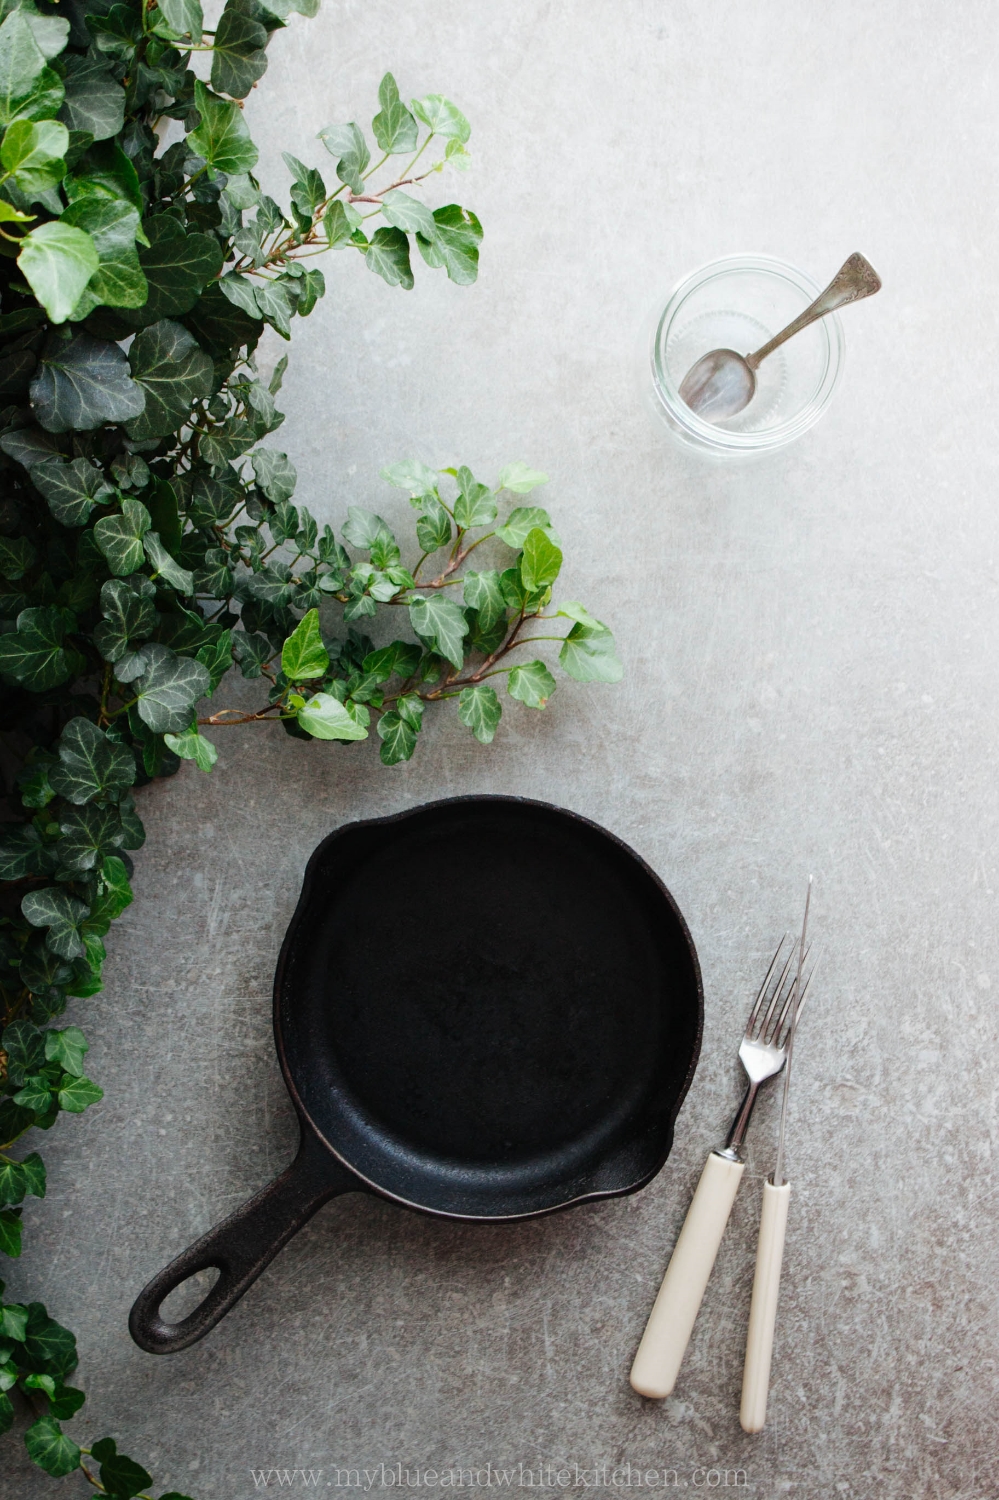
The last couple of weeks, I've been waiting for the perfect recipe to share with you but none felt right. Well, until last week when I made these pancakes after a foraging trip to the woods. I knew this would be a recipe I wanted to share with you.

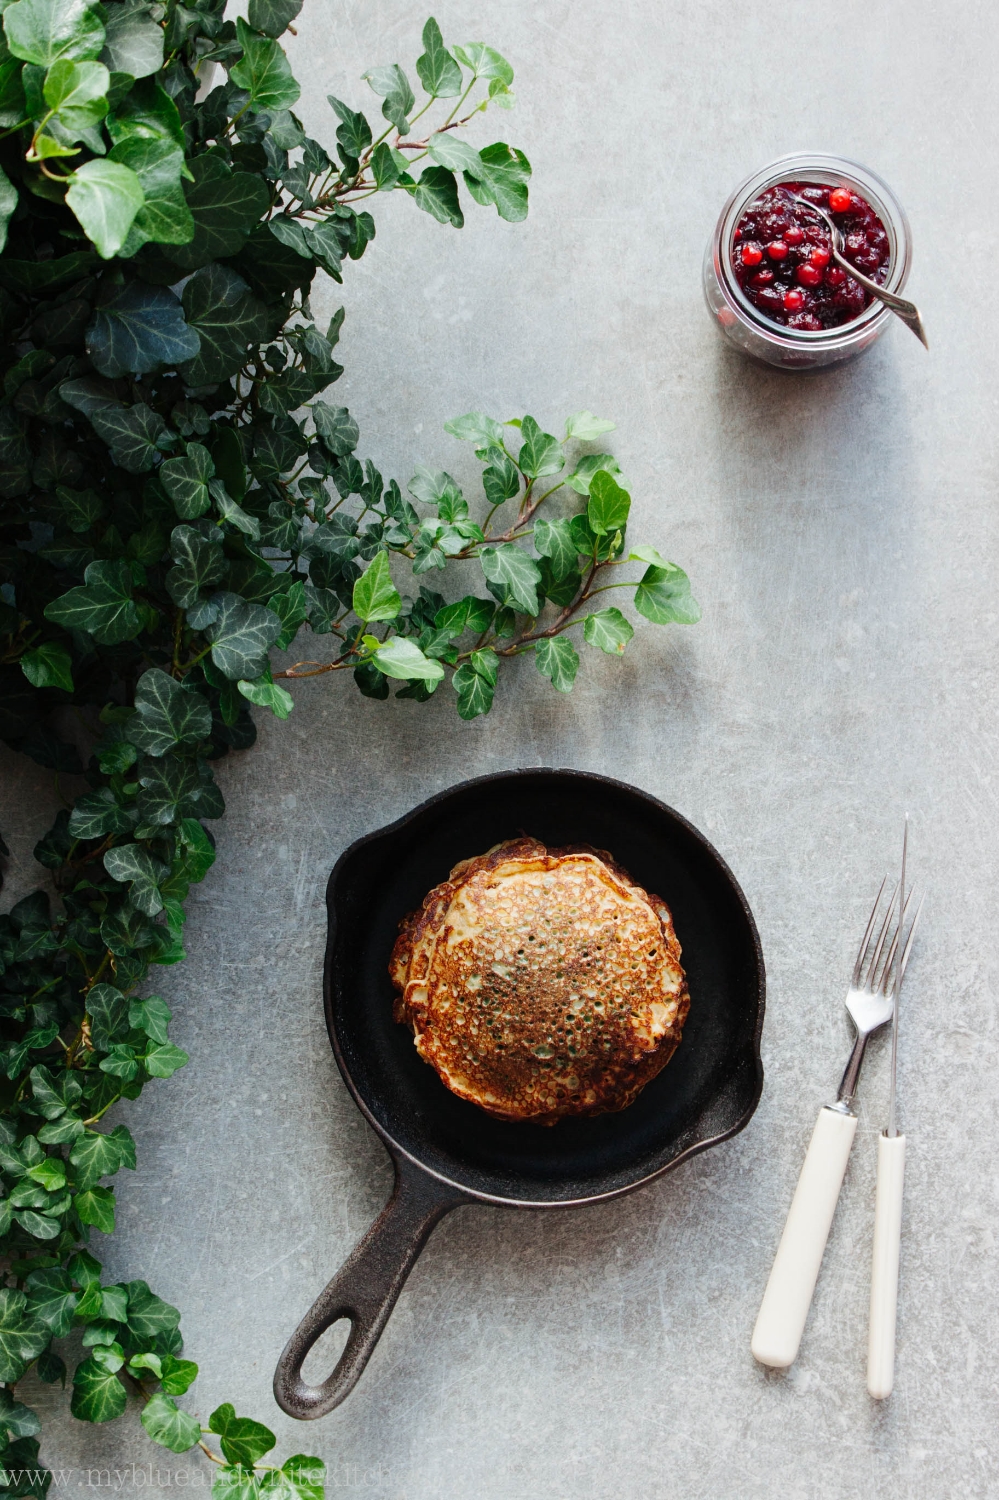
Stinging nettles are great in things like pesto or paired with butter and cream. I also want to make some nettle gnocchi soon. That said, one of my absolute favorite ways to enjoy this wild plant is in pancakes. Spinach pancakes are popular in the Nordic countries, so it comes naturally to adapt that classic dish and use wild nettles instead of spinach; a perfect dish for lunch or dinner. Nordic pancakes are related to French crêpes in size (although we sometimes make small ones too) and texture. However, we like to fry our pancakes until brown in color. A perfect Nordic pancake should have a lacy, crispy edge.

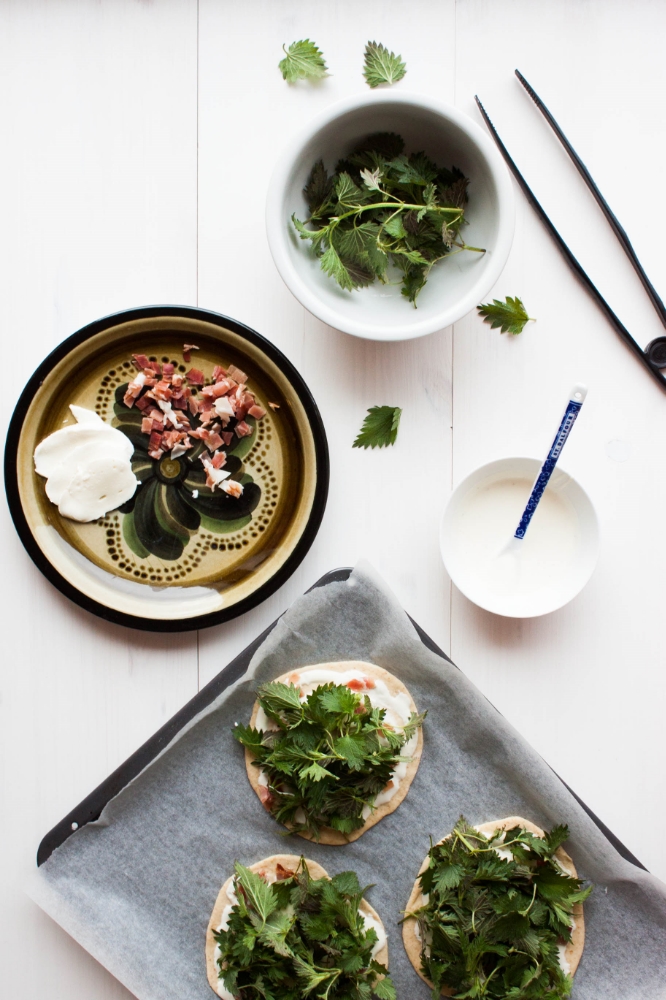
Spring is the perfect time to forage stinging nettles. If you're new to foraging wild plants, stinging nettles are the perfect plant to begin with; they're easy to identify and grow in abundance. There are a couple of things to keep in mind though. Wear gloves when you pick nettles as they sting when touched. Pick the top four to six leaves of each plant; this way the nettles will regrow all summer long. Don't forage stinging nettles near roads, composts, or possibly polluted areas, as the plants absorb harmful nitrogen from soil and air. Remember to use gloves or tongs when you're handling stinging nettles. You can get rid of the sting by boiling or crushing the plants after which they can be handled without the fear of getting that nasty stinging sensation.

As always when I'm talking about foraging, don't forage or eat any plants, mushrooms, or berries that you can't identify with 100% certainty. This is not the time to experiment as the results may in the worst case be fatal.


Stinging Nettle Pancakes

serves 3 to 4

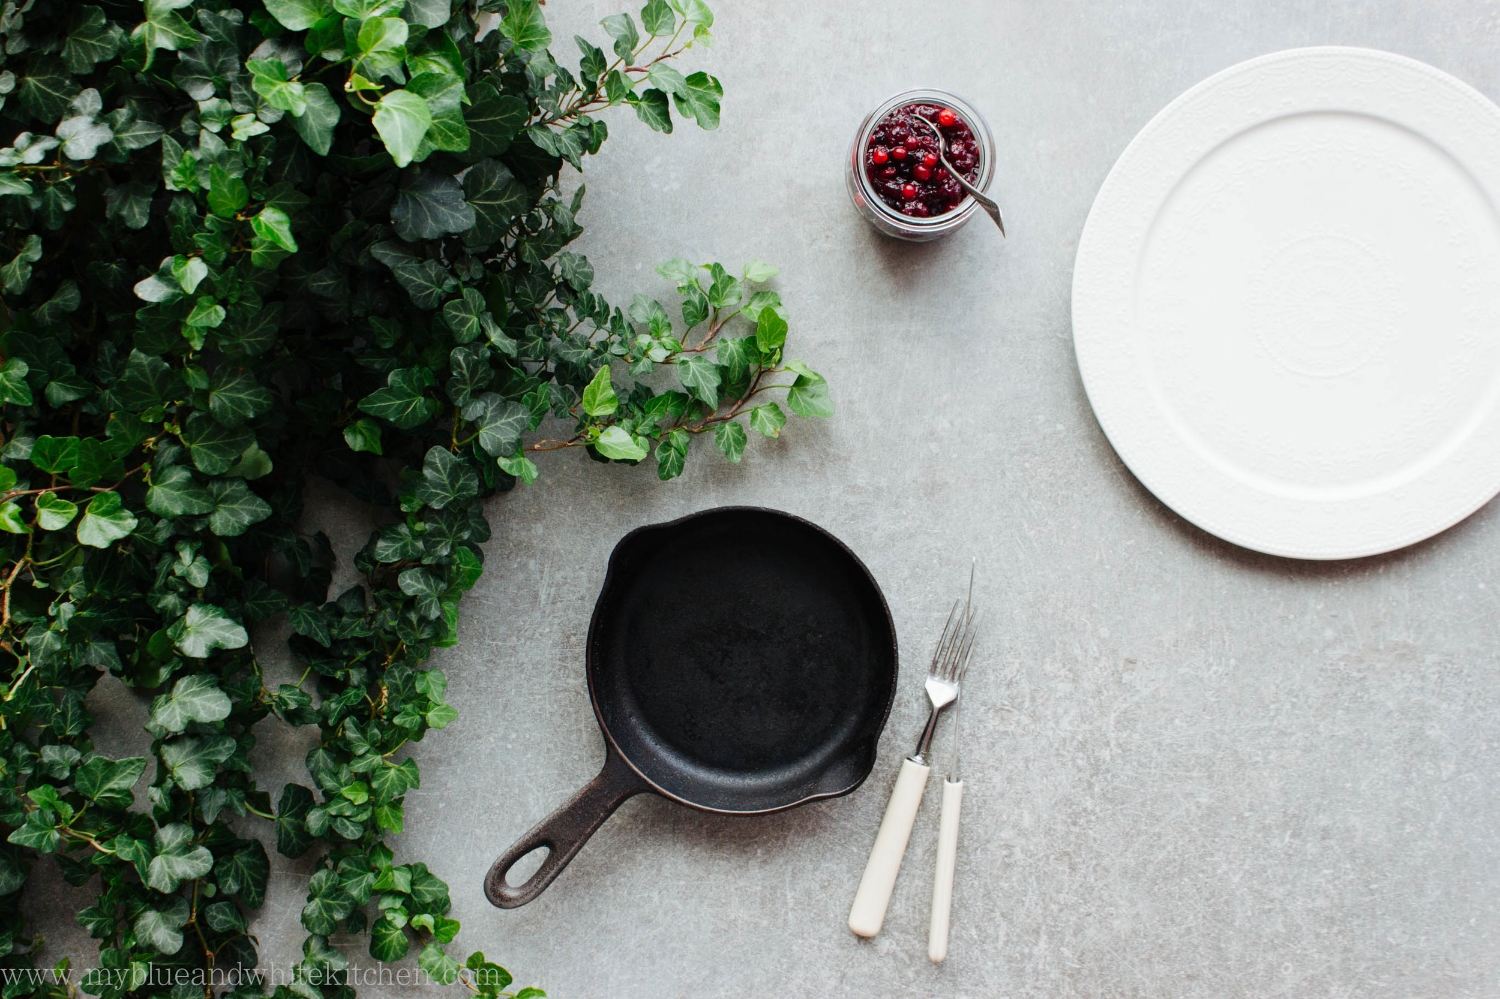
You can make small or big pancakes; mine were around 10 cm (4") in diameter. If you're using a large frying pan, you can fry several small pancakes at the same time. I like to serve these pancakes with lingonberry or cranberry jam but the topping options are endless; I tried these with sour cream and smoked salmon as well as sprinkled with nothing but sugar and both versions were delicious.

6 dl (2 ½ cups) milk
3 eggs
1 tsp fine sea salt
165 g (3 dl; 1 ¼ cups) all-purpose flour
3 tbsp melted butter
about 1 liter (4 ½ cups) loosely packed stinging nettles, cleaned

butter, for frying

lingonberry or cranberry jam (or any other topping of your choice), to serve


In a medium-sized bowl, combine the milk, eggs, and salt. Whisk to combine. Gradually, add the flour followed by the melted butter. Whisk until the batter is smooth. Let rest at room temperature for half an hour. As the batter rests, bits of butter may rise to the surface. Don't worry; just give the batter a good mix before frying.

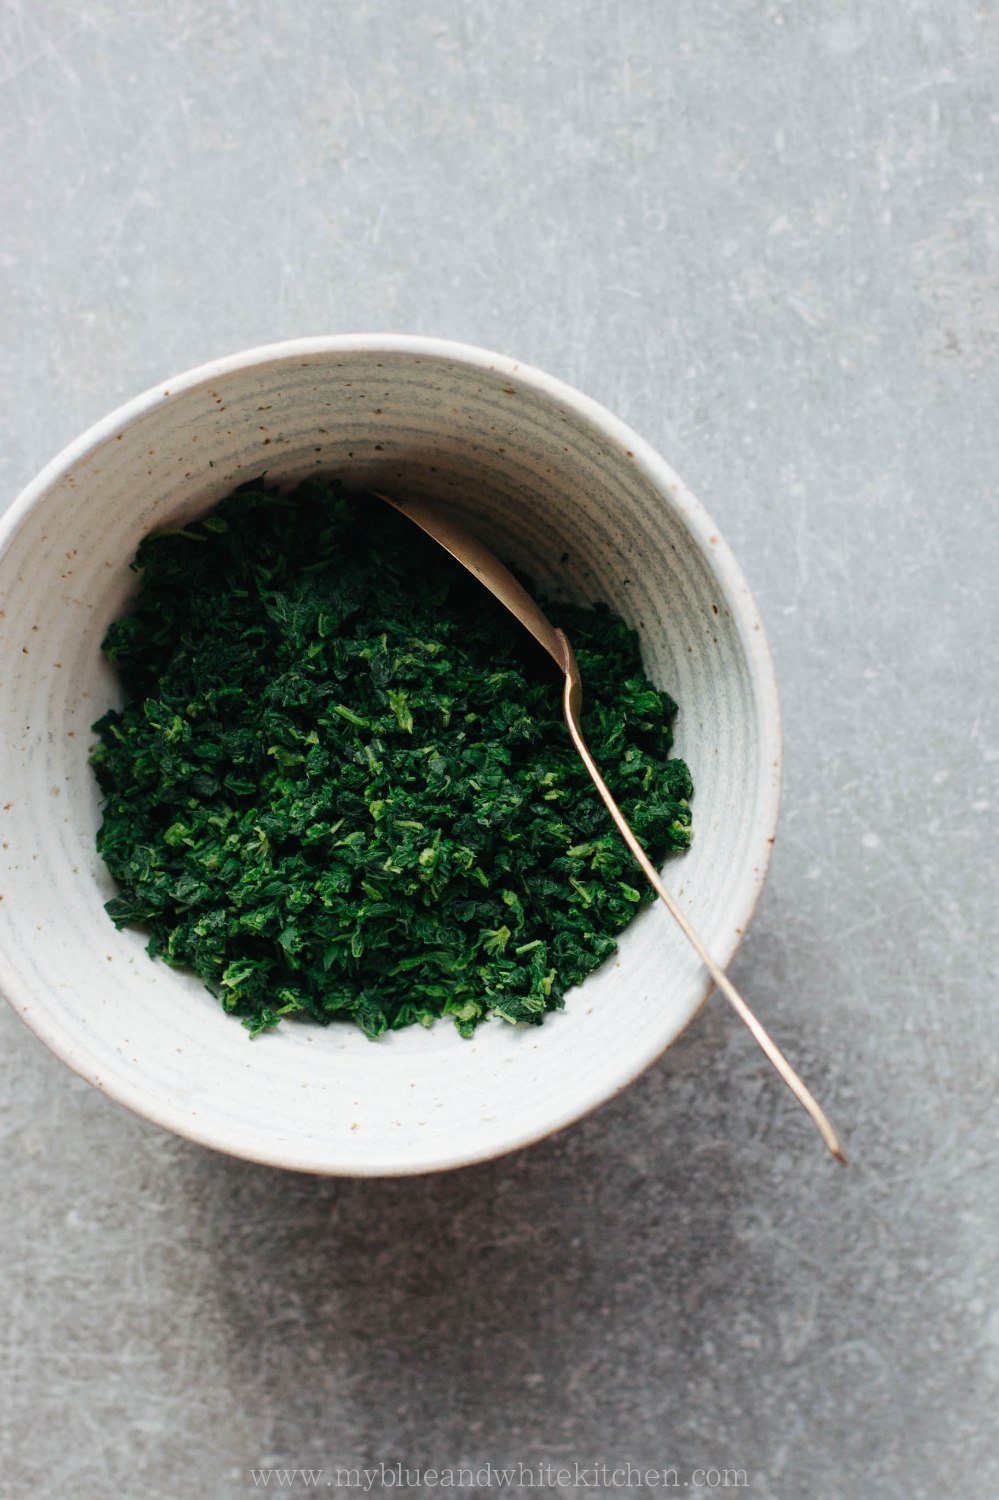
Meanwhile, quickly blanch the stinging nettles: bring a large pot of water to a boil, add the stinging nettles, and let boil for 10 to 30 seconds. Remove the stinging nettles and place under cold running water or plunge into ice water. Drain and squeeze the blanched stinging nettles to remove as much water as possible. Chop finely and add to the pancake batter.

To fry the pancakes, heat a frying pan over medium-high heat. Add a knob of butter and a ladle of the batter; we're looking for a relatively thin pancake, about 2 mm in thickness. Fry until set and browned. Flip and fry until the other side is brown as well. Transfer fried pancakes to a plate and continue with the remaining batter. Add a small knob of butter between each pancake.

Serve warm with lingonberry or cranberry jam or toppings of your choice.


Stinging Nettle Pancakes | My Blue&White Kitchen

Related Posts

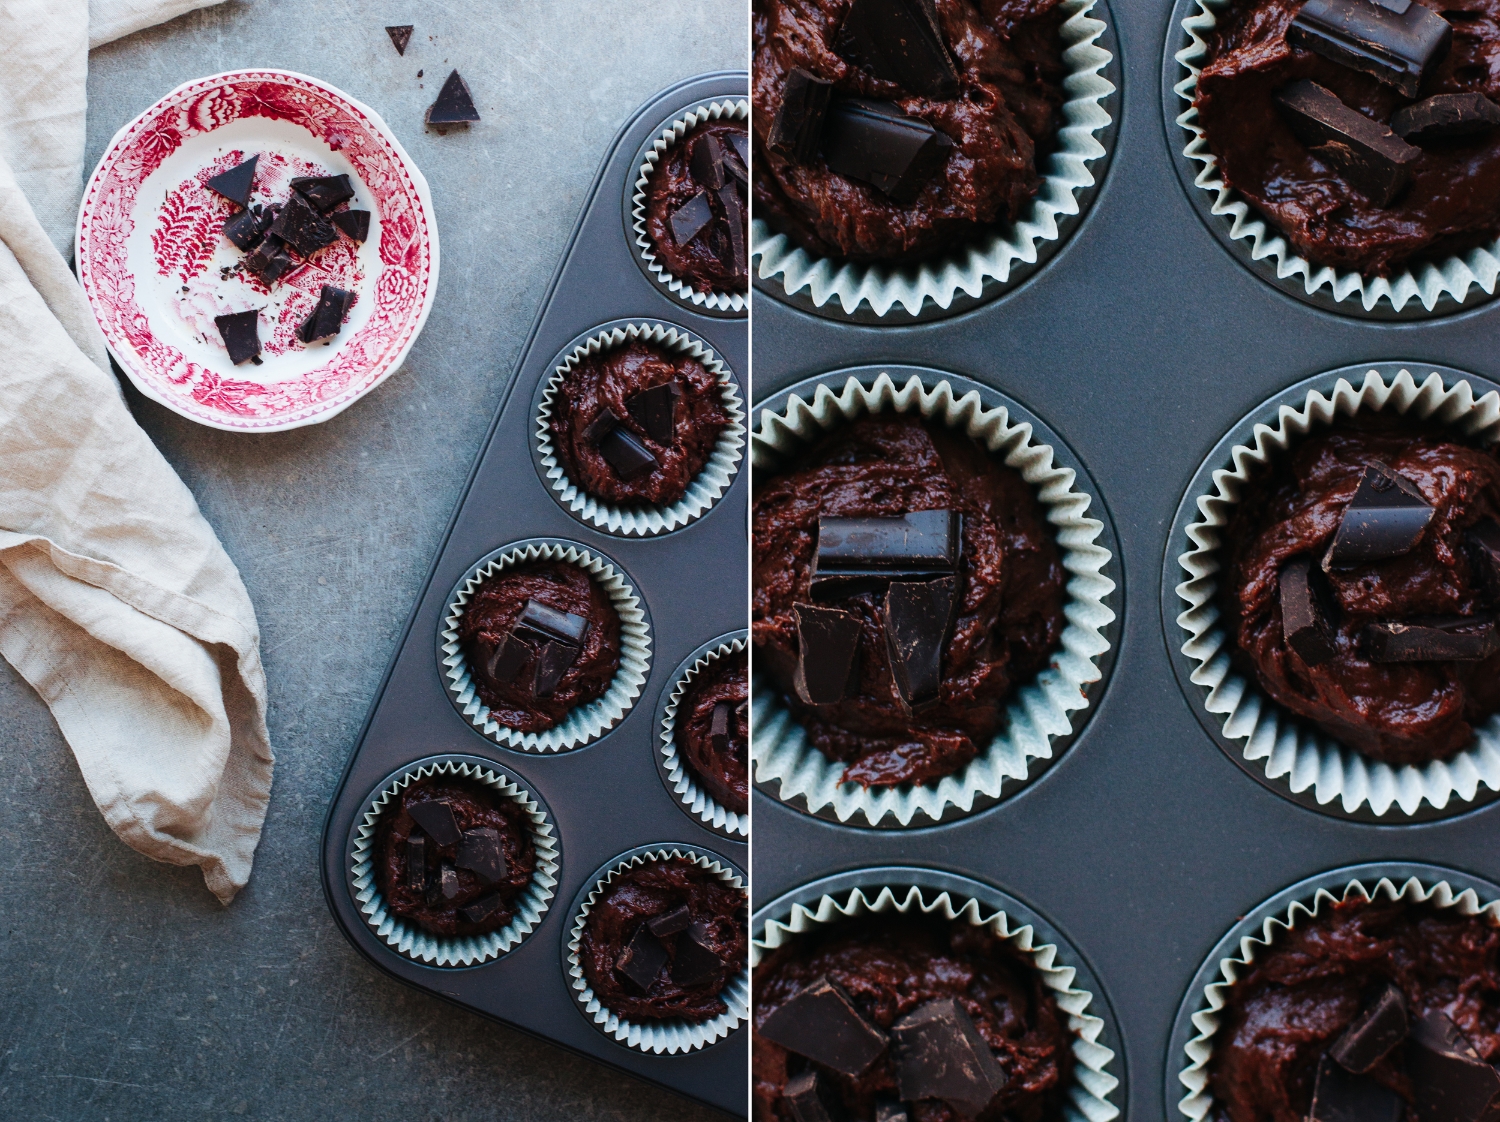
To Keep "In Shape" – Double Chocolate Muffins with Flaked Sea Salt & Dried Flowers

Double Chocolate Muffins with Flaked Sea Salt & Dried Flowers | My Blue&White Kitchen

Quite often I get asked how I keep "in shape" while I cook, bake, and eat so much. Moderation is of course one thing which I've also talked about here on the blog. It's something I actually don't have to do very consciously as it comes quite naturally to me. The other thing I usually mention is that I hardly ever eat any processed food and don't buy sweets and baked stuff (except croissants and ice cream). I make them at home. Craving pizza? I make it from scratch. Chocolate? Homemade chocolate cake it is. Partly this has to do with the fact that I just freakin' love standing in the kitchen. At least most of the time. Furthermore, we haven't a takeout culture here in Finland and, hence, there aren't that many places that offer great takeout food. And what about processed food? Well, it's primarily a question of personal preference. It doesn't taste good. Not to me at least. And because I live to eat rather than eat to live and because I basically belong to that range of people who rather skip a meal than eat something that's crap (not entirely sure how good a thing that is), I very rarely buy or eat any convenience food.

So yes, I eat butter, sugar, and meat. And yes, I love a good loaf of bread. I'm not following a special diet. I don't have a list of forbidden food. I eat. A lot. Occasionally, such as last week, I go and get a burger. But still, I'm eating (to my standards) pretty healthy and consciously and, thus, manage to stay "in shape". I know that eating this way doesn't come naturally to all of us. Many of us struggle. I struggle sometimes too.

So how to find balance? I'm afraid I don't have an answer to this question. I only have a couple of thoughts. Listen to your body. Listen to your mind. What do they, and ultimately you, crave? What makes them, and ultimately you, feel good? Be interested in what you put in your mouth. Think seasonally. Think locally. Discover. How does a fresh tomato that has grown in soil taste like? How does a simple soup made from scratch differ from a canned one? Trial and error. Get connected. Share. Gather in the kitchen and around the table. Create memories around food. Get back to the roots. Think simpler.

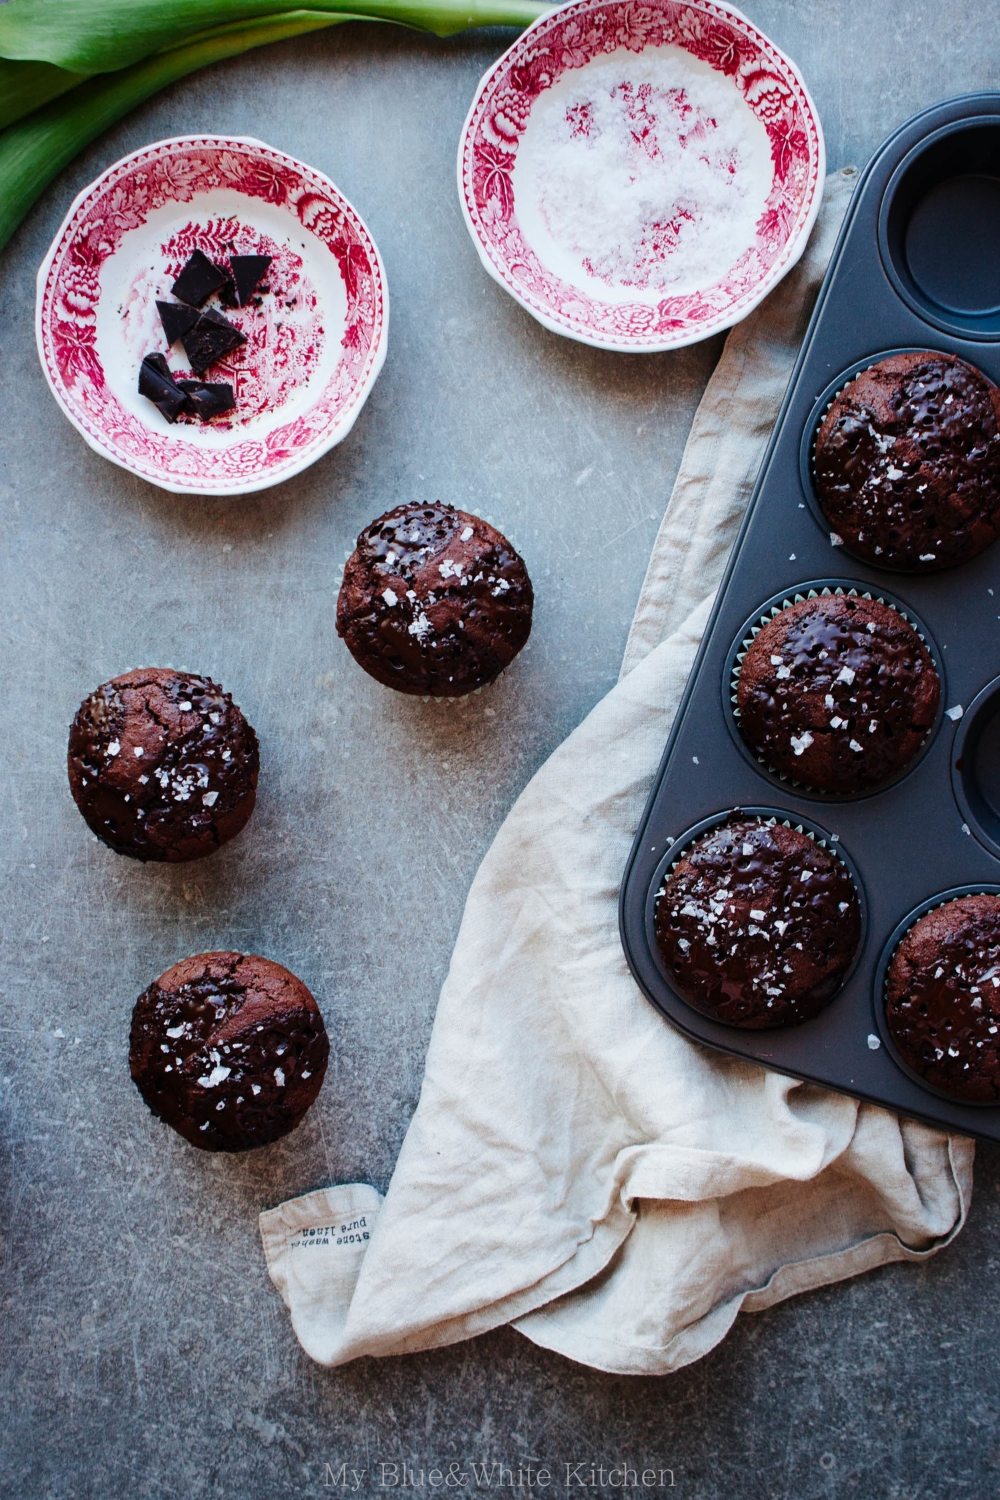
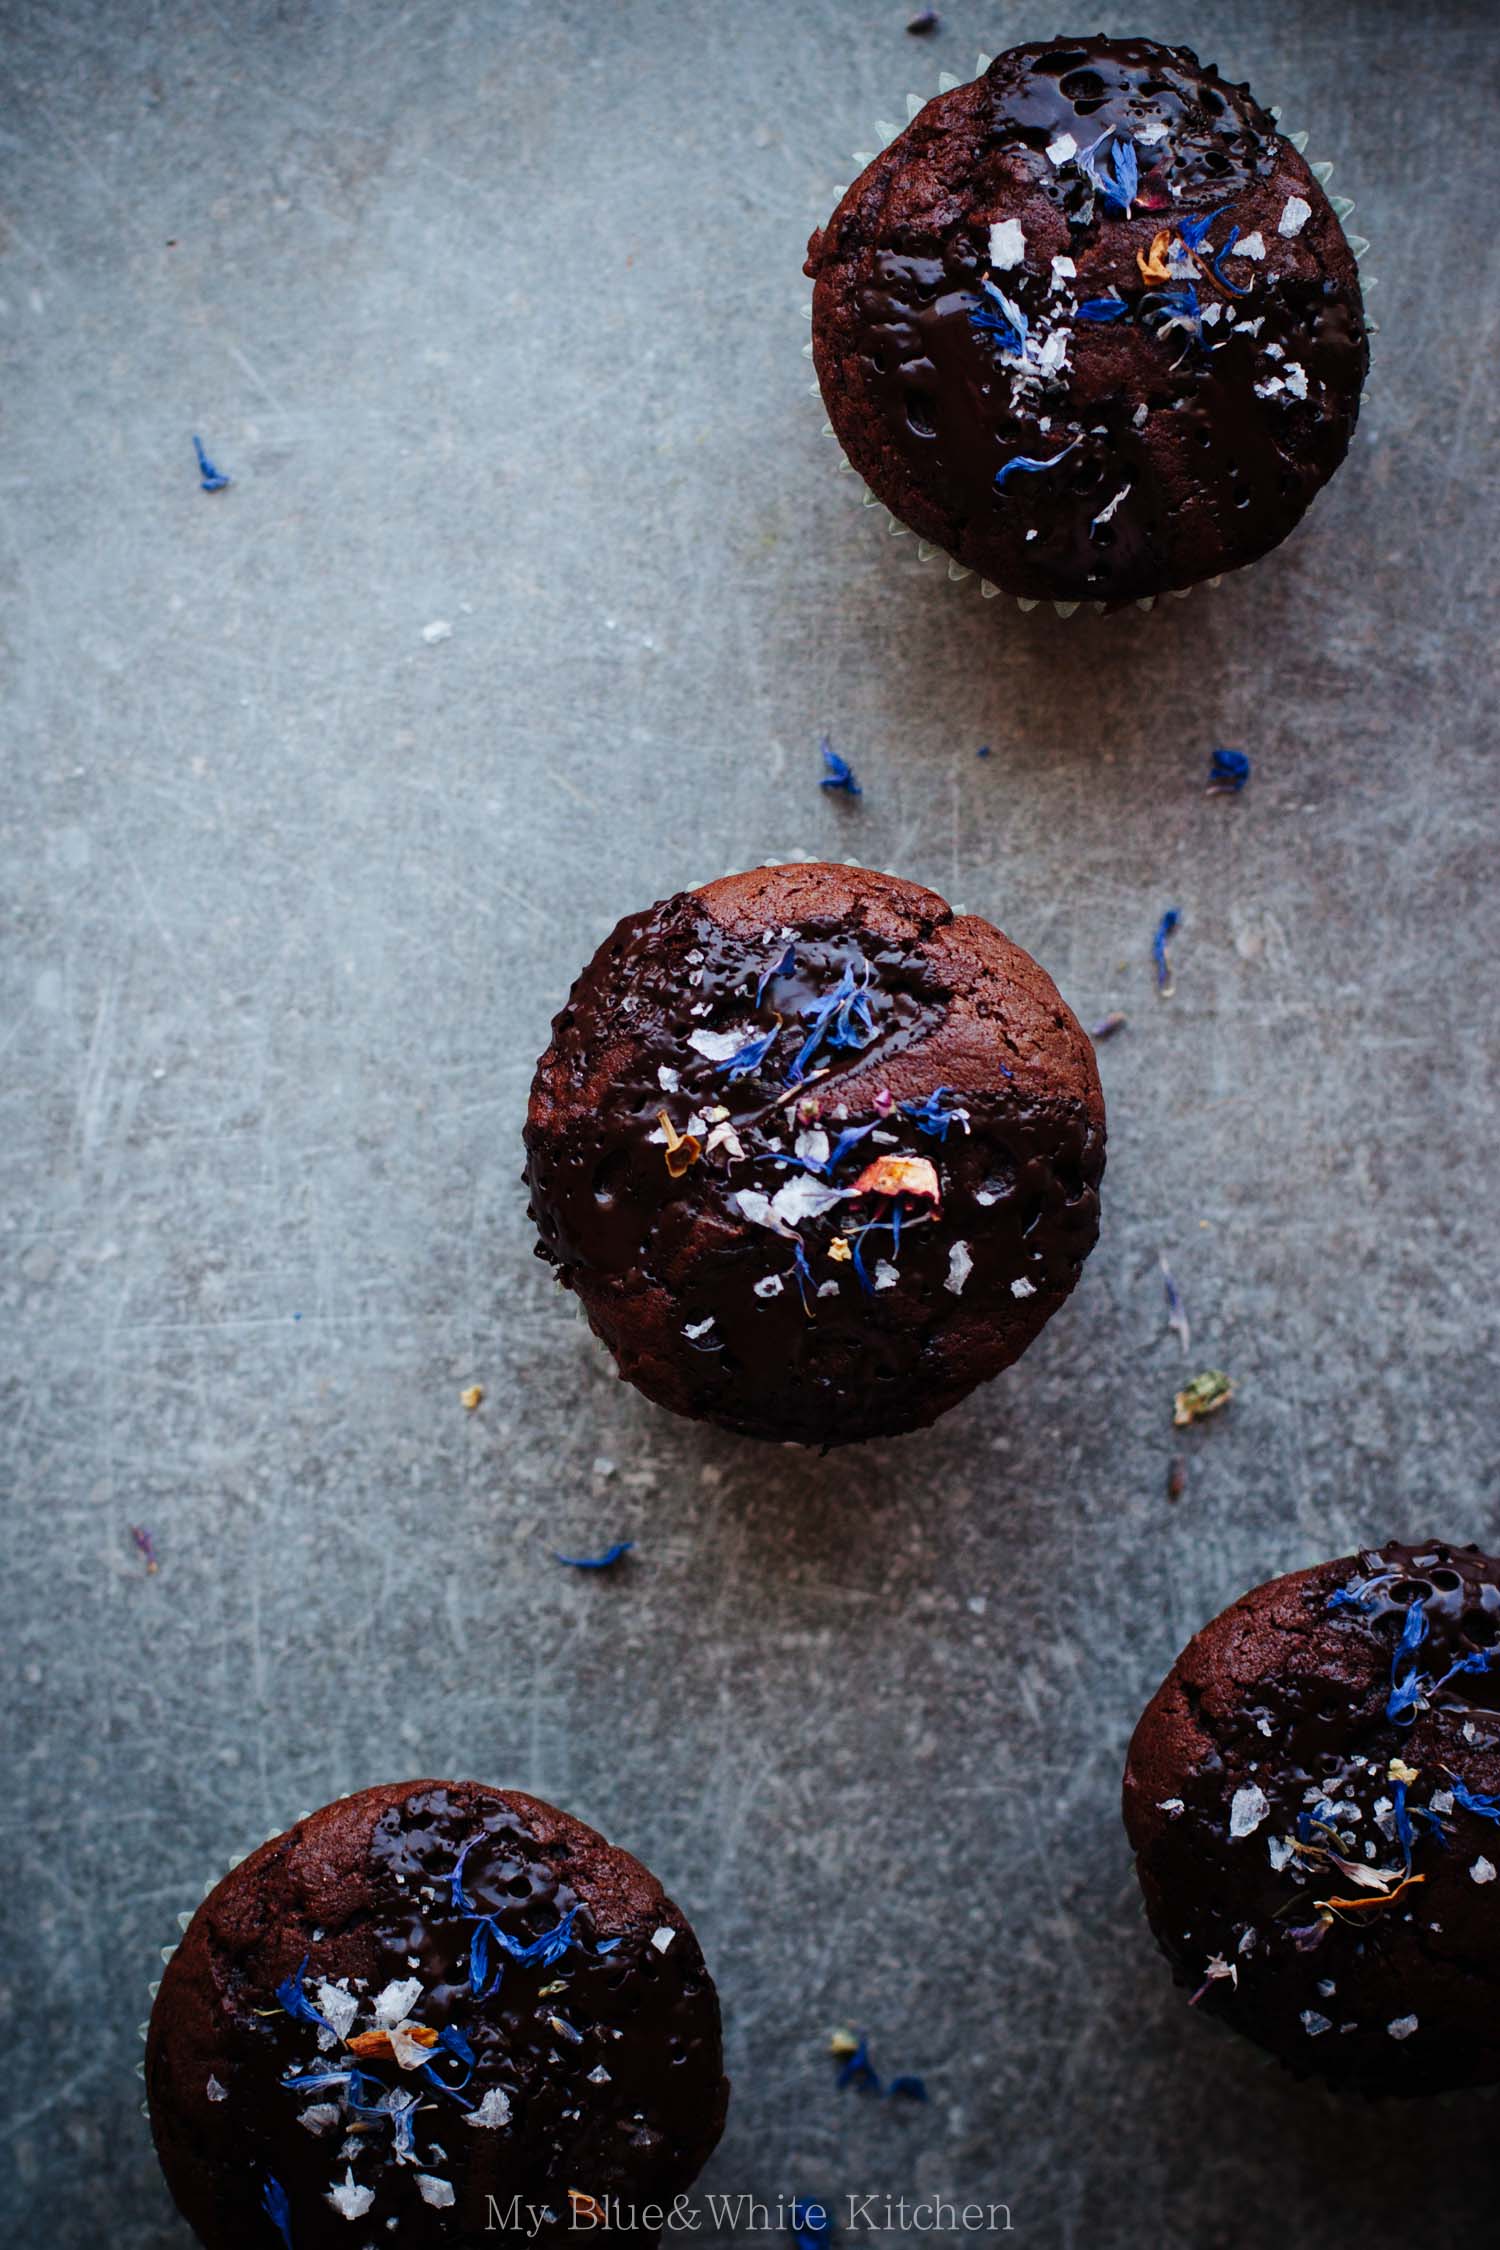
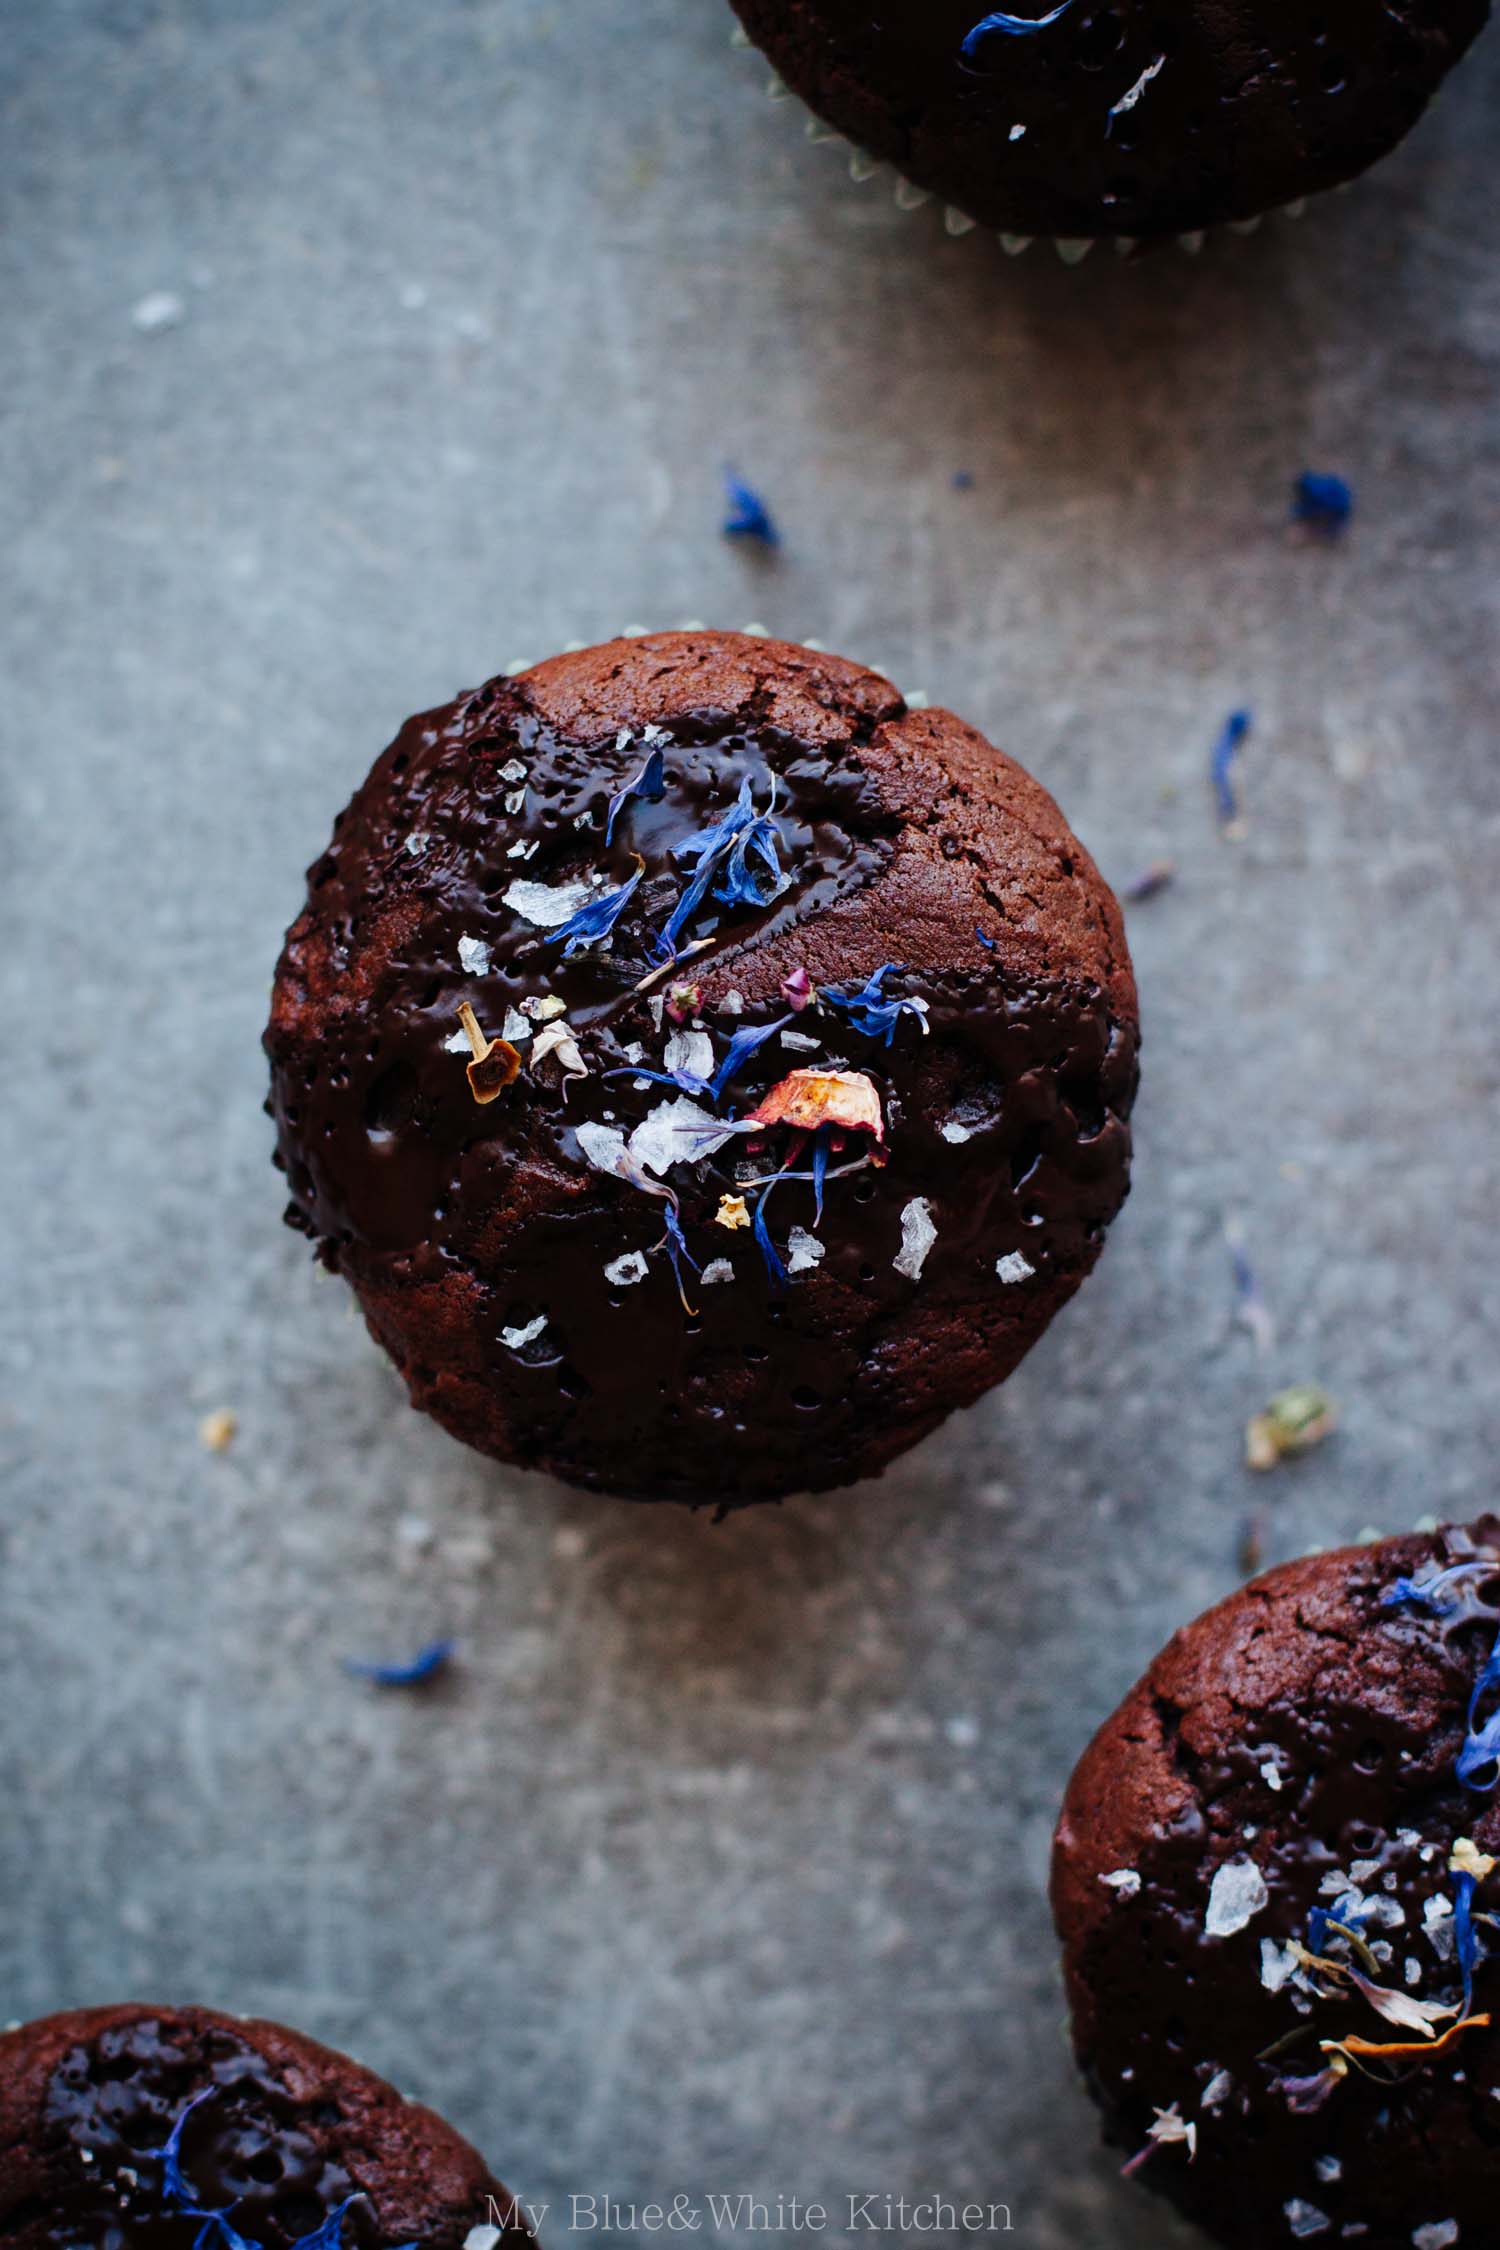
So what has this all to do with chocolate muffins? Well, they too were created because I 1) craved chocolate (the ultimate way to beat winter blues) and 2) knew that a chocolate bar or a bought chocolate muffin wouldn't do. Originally, I didn't plan to sprinkle dried flowers on top. But as I pulled the muffins out of the oven and saw the sun shining through the windows, I felt like dried flower petals would be perfect. A layer of white snow is still covering the fields and hills, but spring lingers in the air. There's light. There's hope.

Double Chocolate Muffins with Flaked Sea Salt & Dried Flowers | My Blue&White Kitchen

Double Chocolate Muffins with Flaked Sea Salt & Dried Flowers

makes 16–18 medium-sized muffins

This recipe can easily be halved. You can use whatever dried flowers you have on hand. I used a mix of hibiscus, elderflower, cornflower, lavender, orange blossom, thyme flower, viola, erica, and yarrow. The recipe calls for buttermilk. Should buttermilk not be easy to come by where you live, you can make your own: stir 1 tbsp lemon juice into 1 cup milk and let the mixture sit in room temperature for 5 to 10 minutes. The milk should now have thickened slightly and have small curdled bits in it. If you live in Scandinavia, you can use filmjölk.

2 tbsp cocoa powder
250 g (4 ½ dl; 2 cups minus 1 ½ tbsp) all-purpose flour
1 tbsp baking powder
½ tsp baking soda
¼ tsp fine sea salt
2 eggs
175 g (2 dl; ¾ cup plus 2 tbsp) granulated sugar
½ dl (1 cup) buttermilk
180 g bittersweet chocolate (70 % cocoa), melted & cooled 
90 g bittersweet chocolate (70 % cocoa), roughly chopped
115 g (1 stick) unsalted butter, melted & cooled to room temperature

flaked sea salt, to sprinkle on top
optional: dried flowers, to sprinkle on top


Preheat oven to 175°C (350°C).

In a medium bowl, combine cocoa powder, flour, baking powder, baking soda, and salt. Set aside.  Line the inside of 16 to 18 muffin cups with muffin liners.

In a stand mixer at high speed, beat the eggs and sugar until light and fluffy. Turn the speed to low, and gradually add buttermilk, melted butter, and melted chocolate. At this point, the batter may look curdled. Don't worry, it's normal. Add the flour mixture and mix until just combined.

Divide batter among muffin liners, filling each ¾ full. Top with coarsely chopped chocolate. Bake for 15–18 minutes or until a cake tester inserted near the center comes out clean.

Sprinkle with flaked sea salt and dried flowers of your choice.


Double Chocolate Muffins with Flaked Sea Salt & Dried Flowers | My Blue&White Kitchen

Related Posts

Whipped Cranberry Porridge (The Prettiest Porridge Ever) & A Guest Post For A Cup Of Jo

Whipped Cranberry Porridge | My Blue&White Kitchen

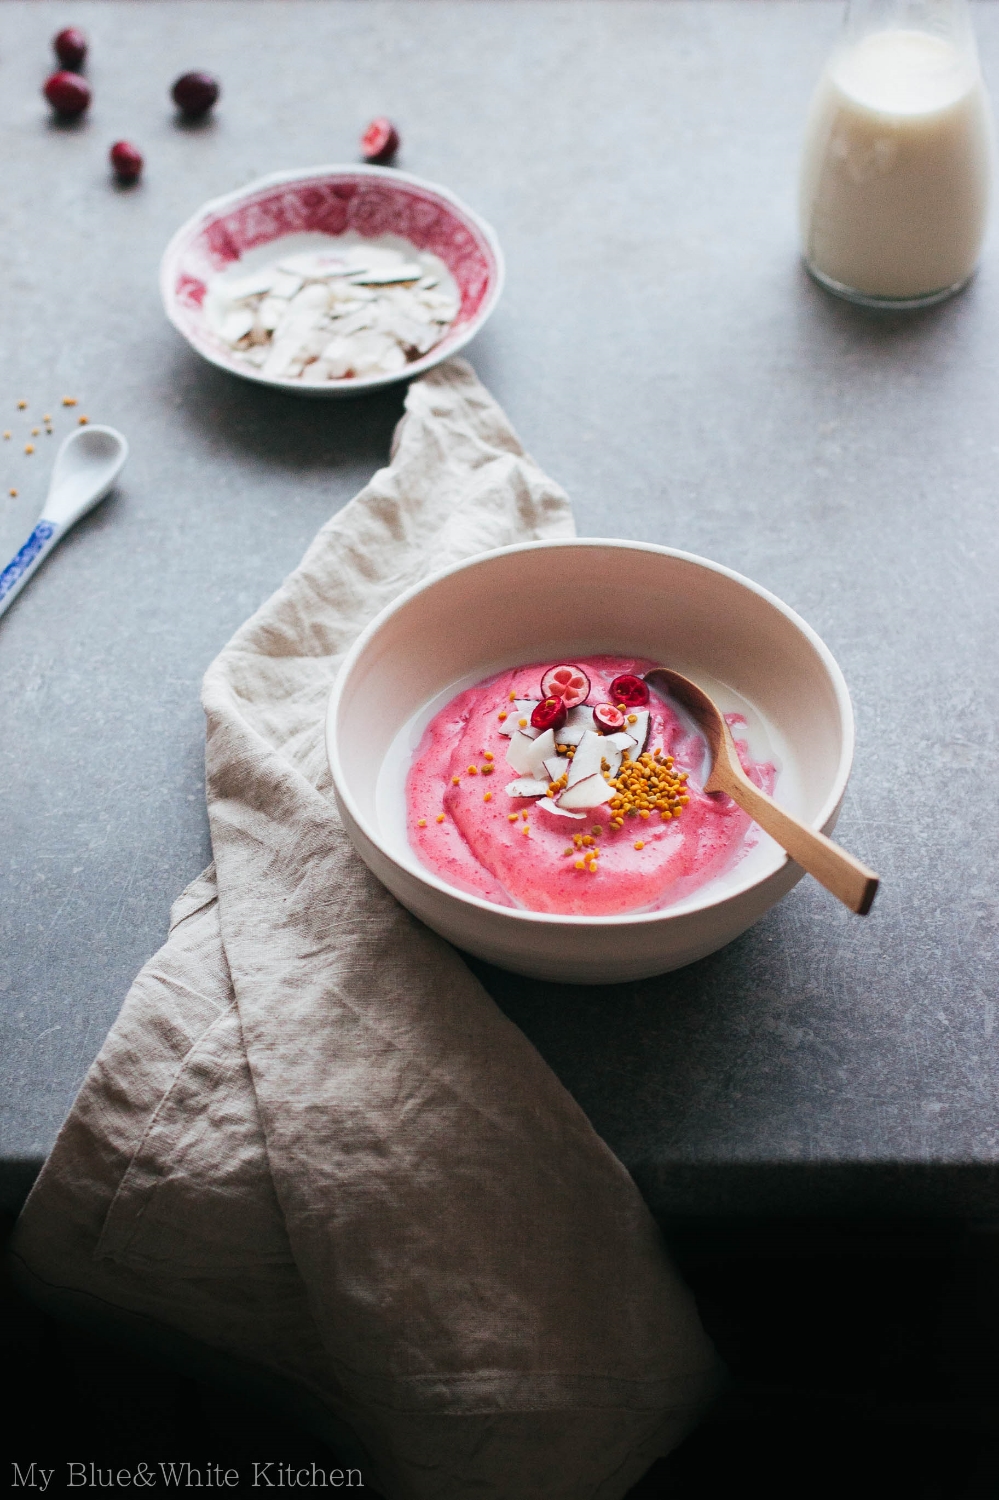
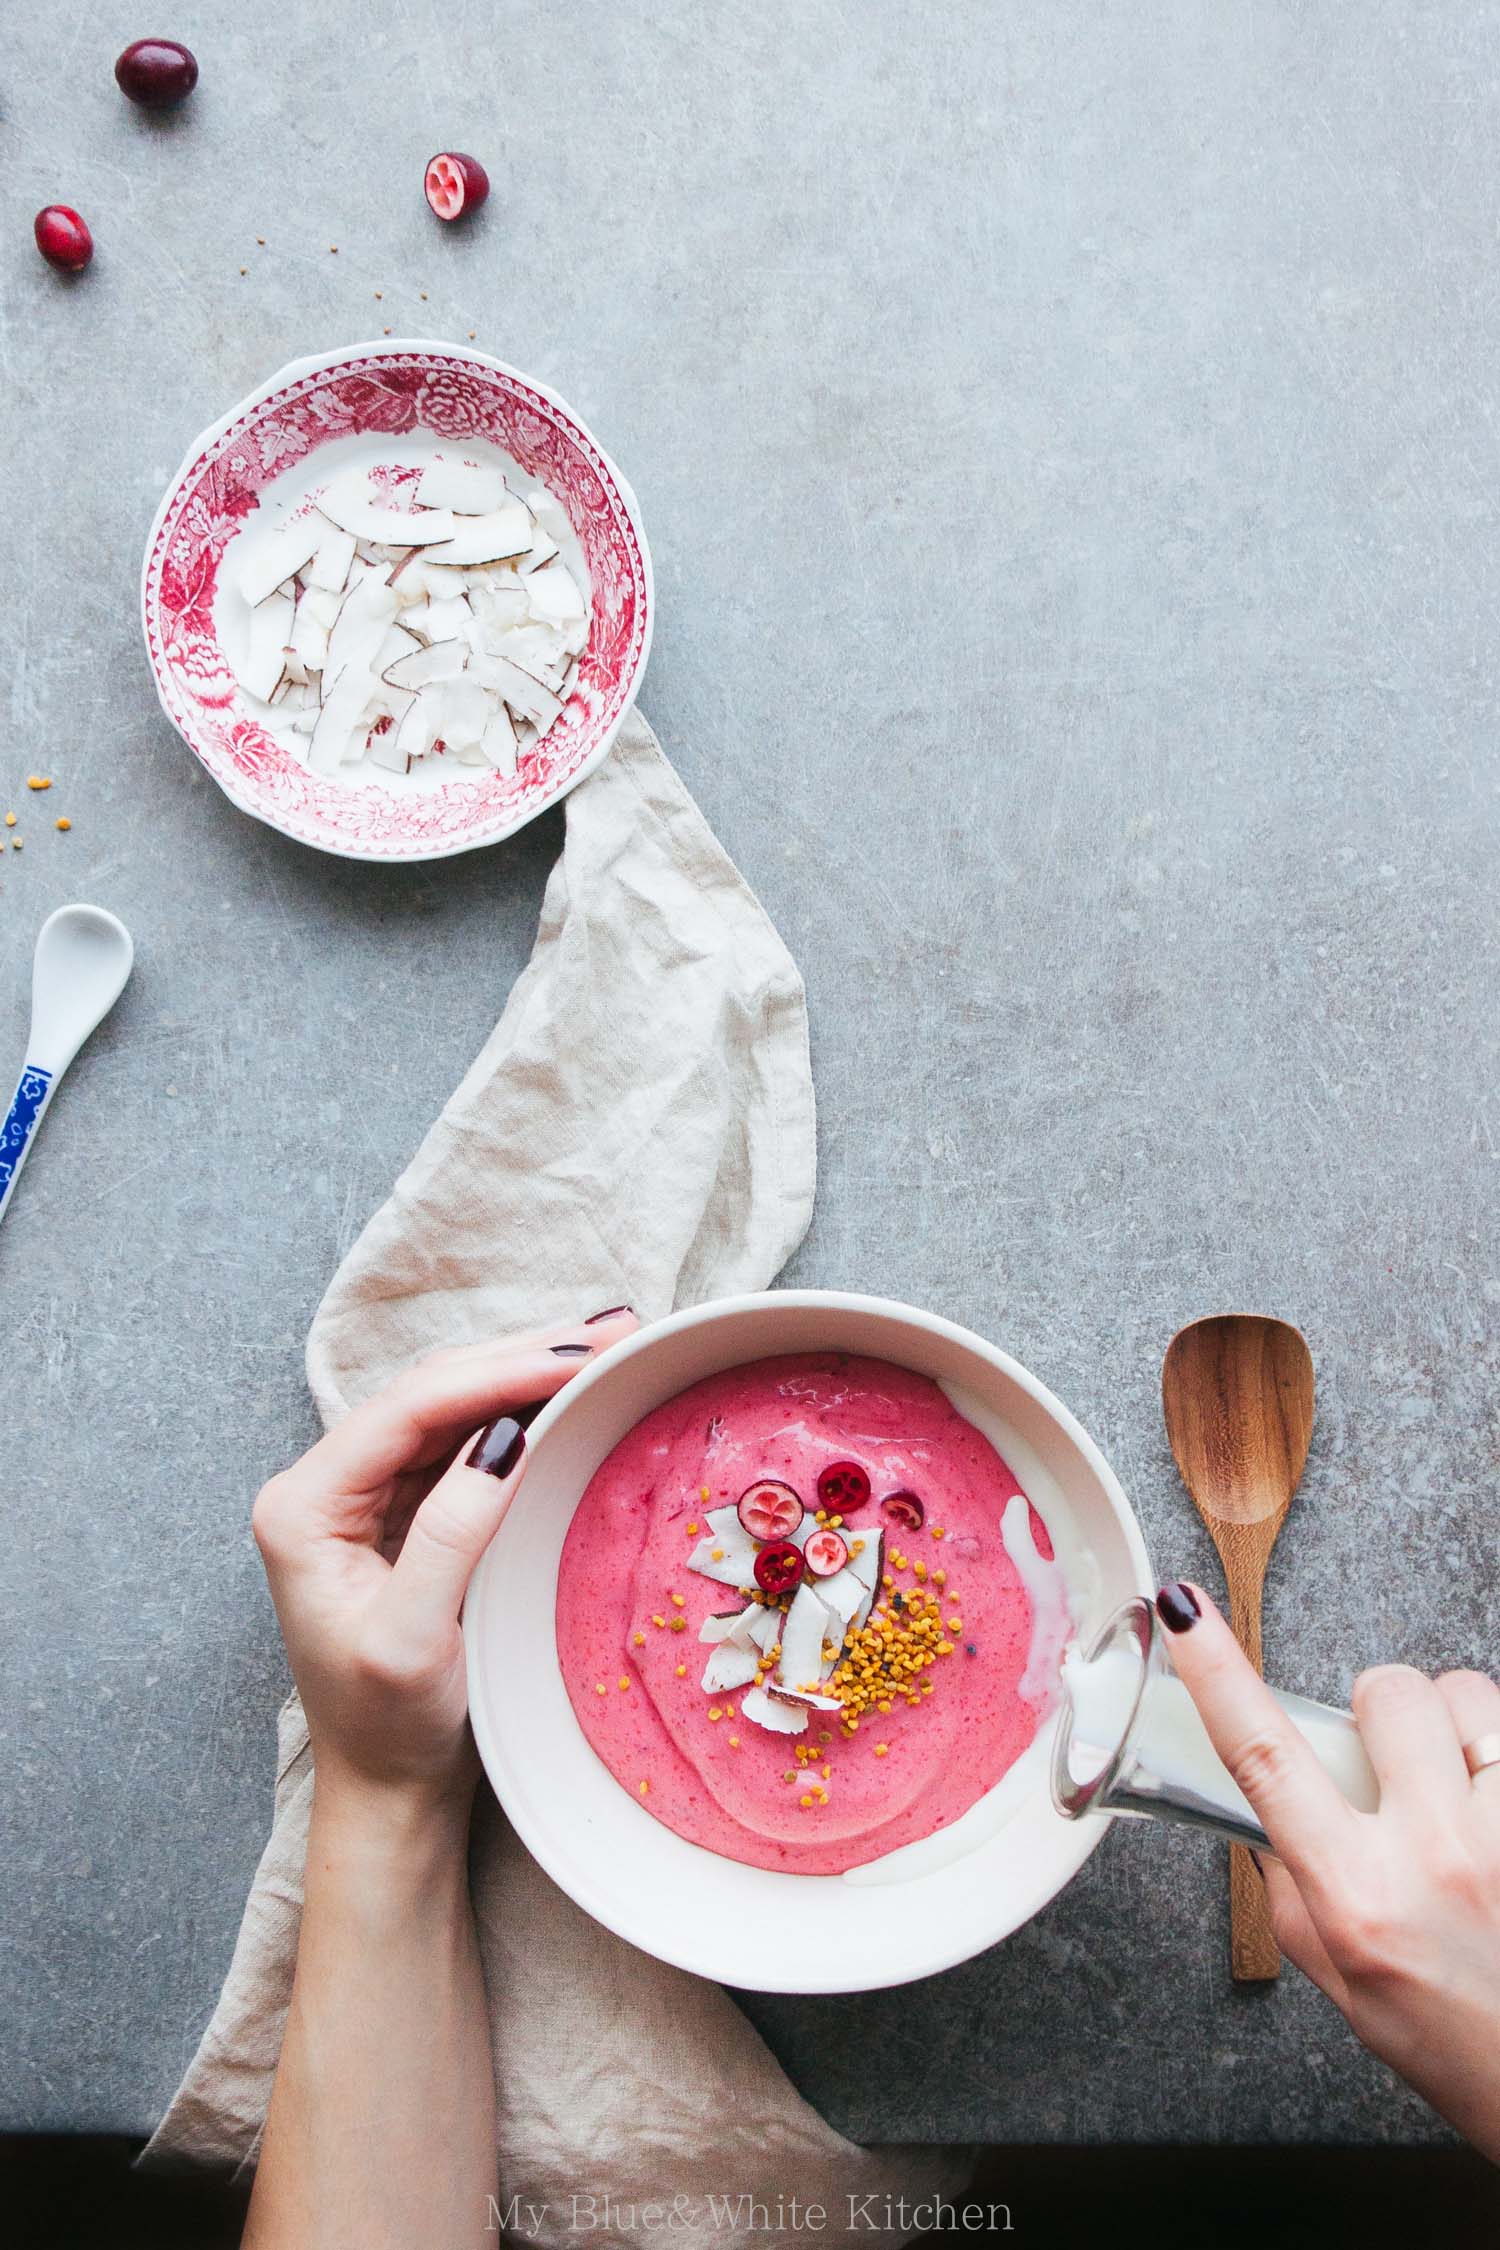
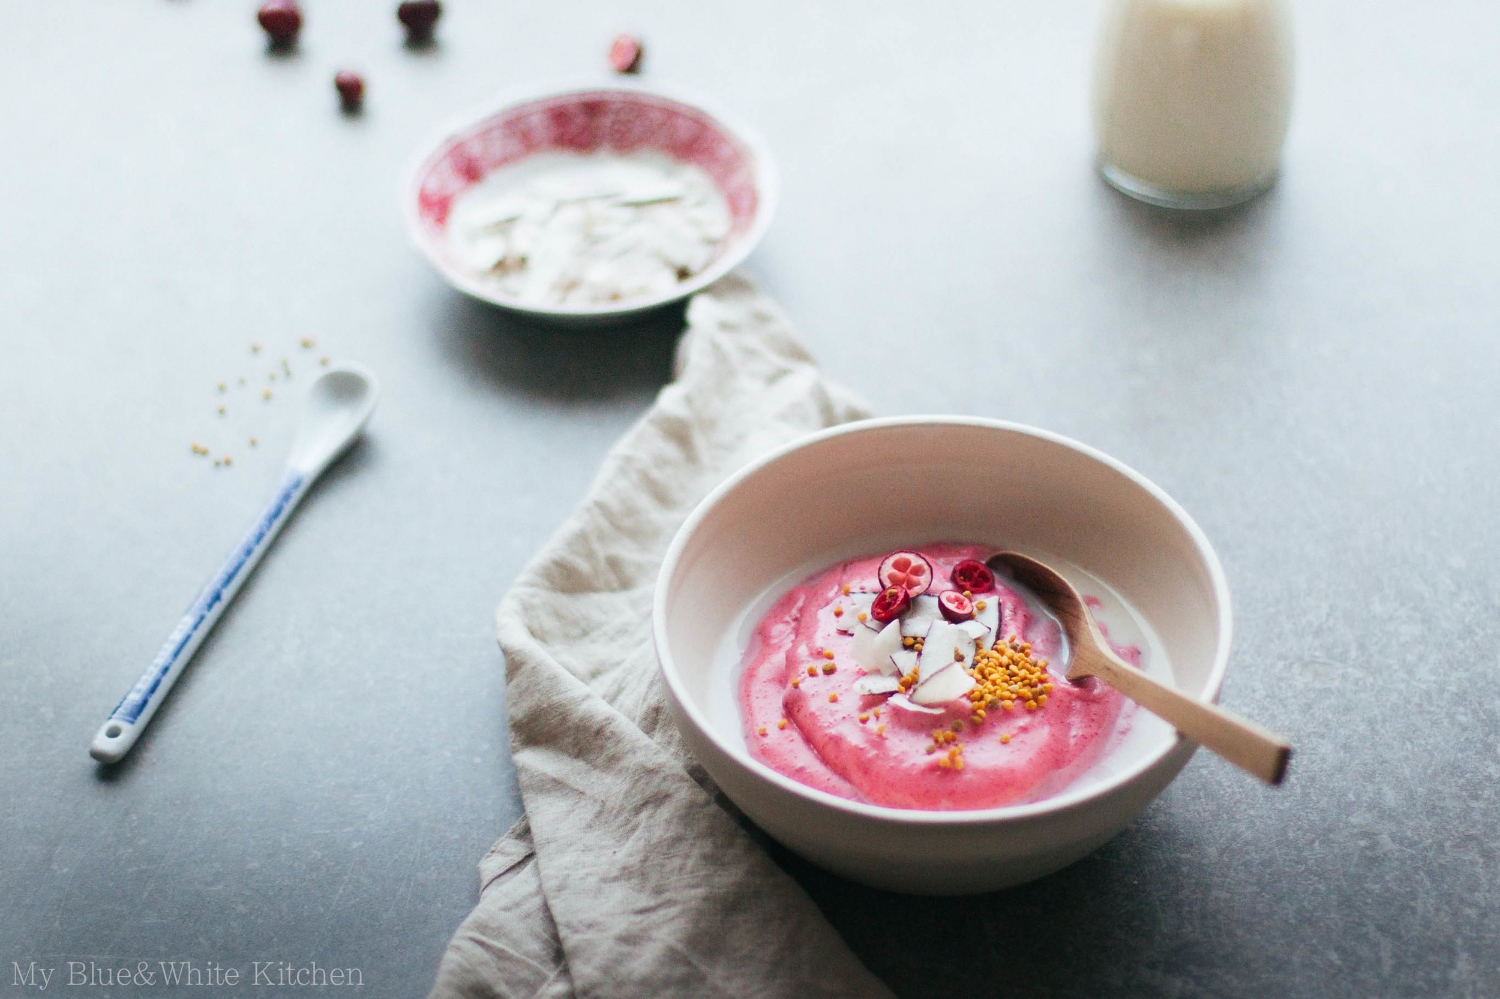
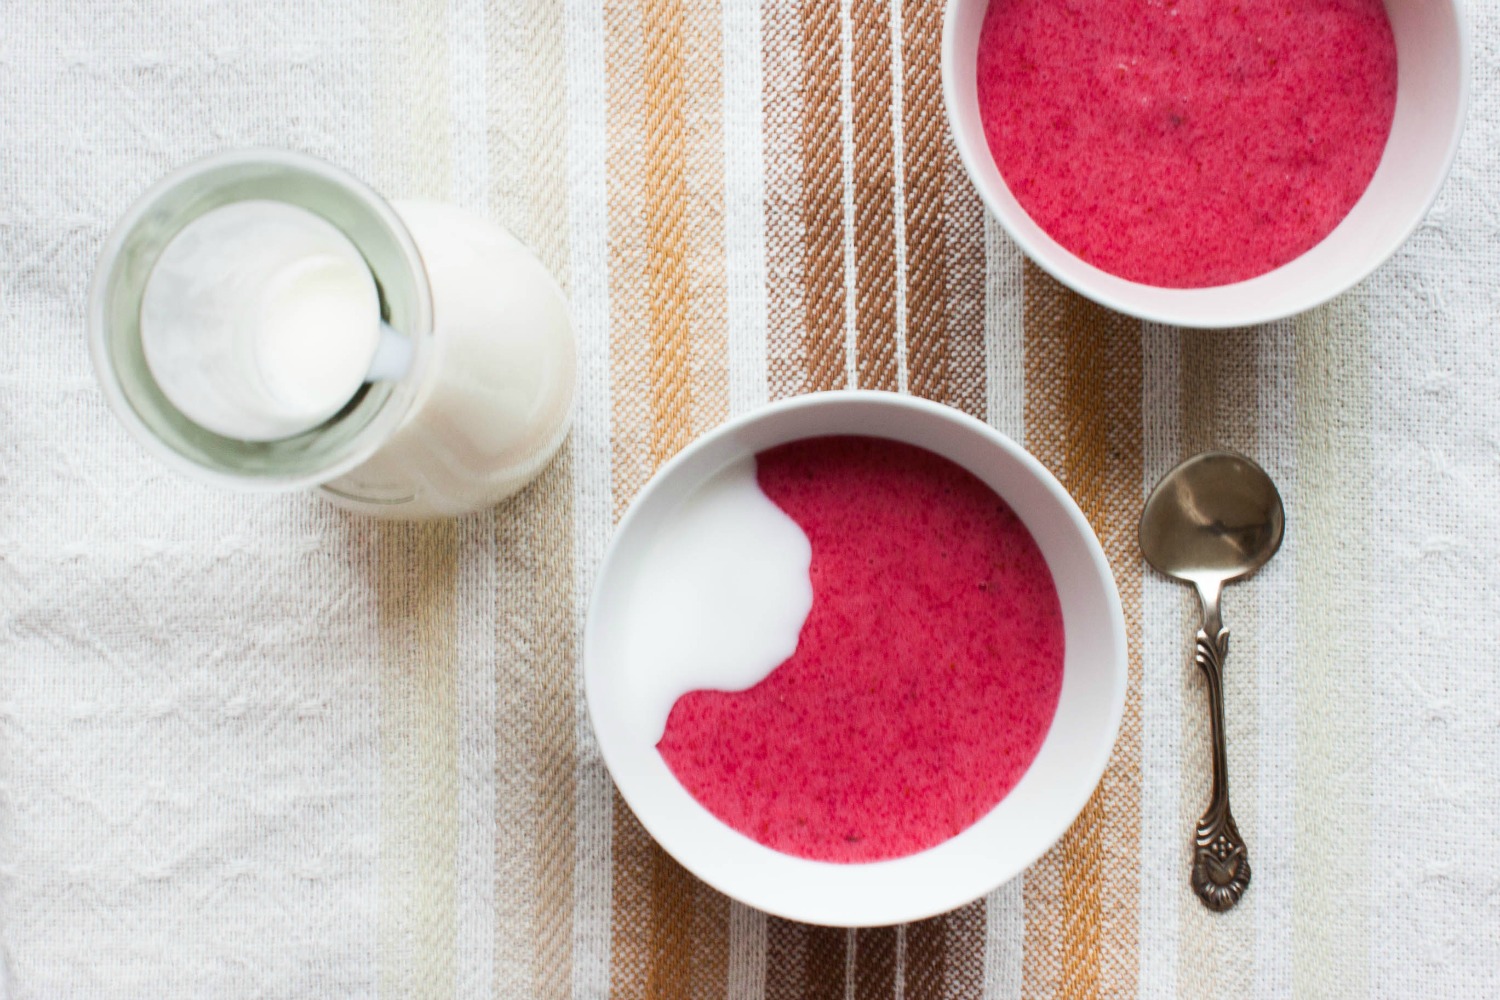
Maybe you have followed me for long enough that you remember my post about Whipped Lingonberry Porridge almost a year ago as a "this-is-not-a-Valentine's-Day-recipe-although-it's-pink" thing. This time, I'm following my traditions with not being into Valentine's Day and blaming coincidence (or faith?) for me sharing a pink dish only a week before that said lovers' day. But here I am. And here it is. Whipped berry porridge - one of my most favorite breakfasts/midday snacks/Nordic fairs/berry power bowls.

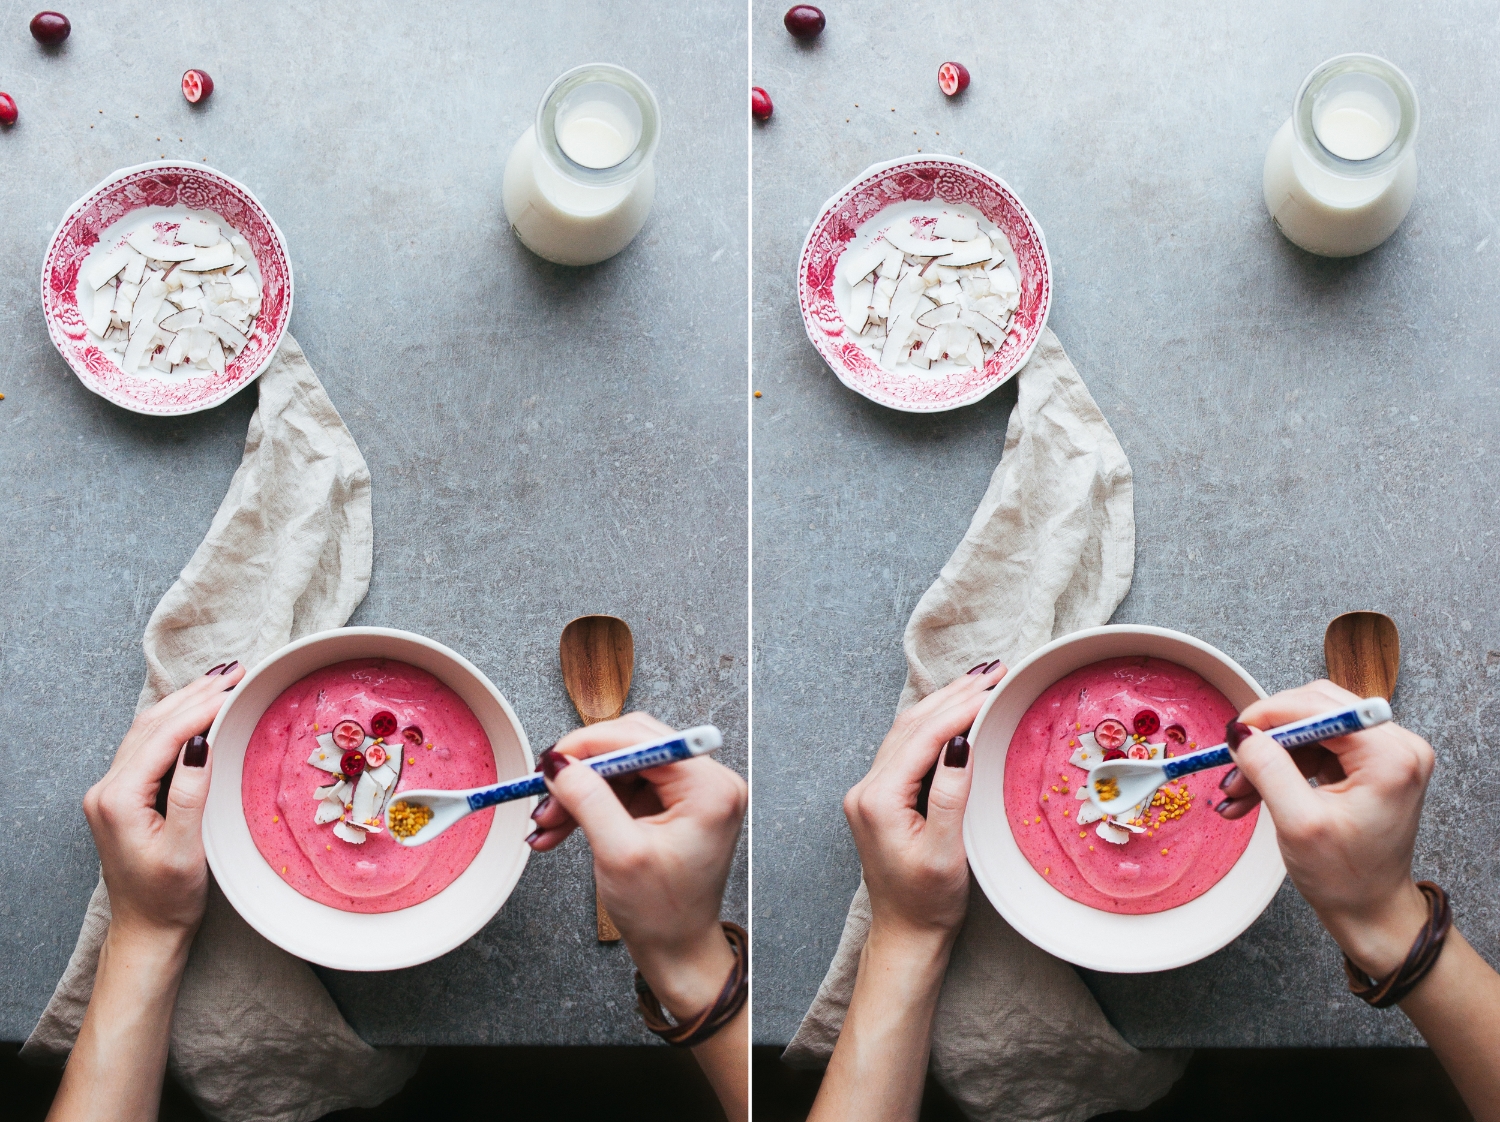
As I realize that lingonberries are a Nordic (hello there Ikea!) or at least European thing, I recreated this old favorite with cranberries. Both the taste and color are almost identical to the more traditional version, so this porridge could still be seen as being highly authentic. Well, at least sans the toppings. The toppings are a modern twist on the dish. I love toppings, so I really like to add some texture and flavor to this pink breakfast bowl.

I'm also on A Cup of Jo this week sharing this porridge as part of the weekly food series. I discovered Joanna's site a couple of years ago and have been a regular reader ever since. There are always so many exciting links and reads, and I always leave feeling inspired. I especially remember this hair tutorial post (when I still had long enough hair to do awesome things like that... now all I do is this), these cute faces, and how Molly's egg-in-a-hole was a life-changing discovery. So yeah, I'm pretty excited to contribute and maybe inspire others in the same way as I have been inspired.

Hop on over to A Cup of Jo to read more about the porridge!


Whipped Cranberry Porridge

serves 4 to 6

As I don't like to start my day with a breakfast loaded with sugar and as I want to keep some of that lovely tartness cranberries are known for, this porridge isn't very sweet. Feel free to add more sugar to taste. However, remember that the milk will balance out some of the tartness. Chilling the porridge is crucial – you won't be able to whip it probably if it's still warm. 

8 dl (3 ¼ cups) water
250 g (4 ½ dl; 2 cups) frozen (or fresh) cranberries
pinch of fine sea salt
100–150 g (1 ¼–1 ¾ dl; ½–¾ cup) granulated sugar, depending on your taste
120 g (1
½ dl; ⅔ cup) farina (Cream of Wheat)

milk of your choice, to serve
optional: toppings of your choice


In a medium pot, combine the water and cranberries. Bring to a boil and boil for 10 to 15 minutes.

Add the salt and sugar. Gradually whisk in the farina. Depending on how long your farina needs to be cooked, let simmer for 5 to 10 minutes stirring constantly. Taste and add more sugar if desired. Remove the pot from the heat and let the porridge cool to room temperature.

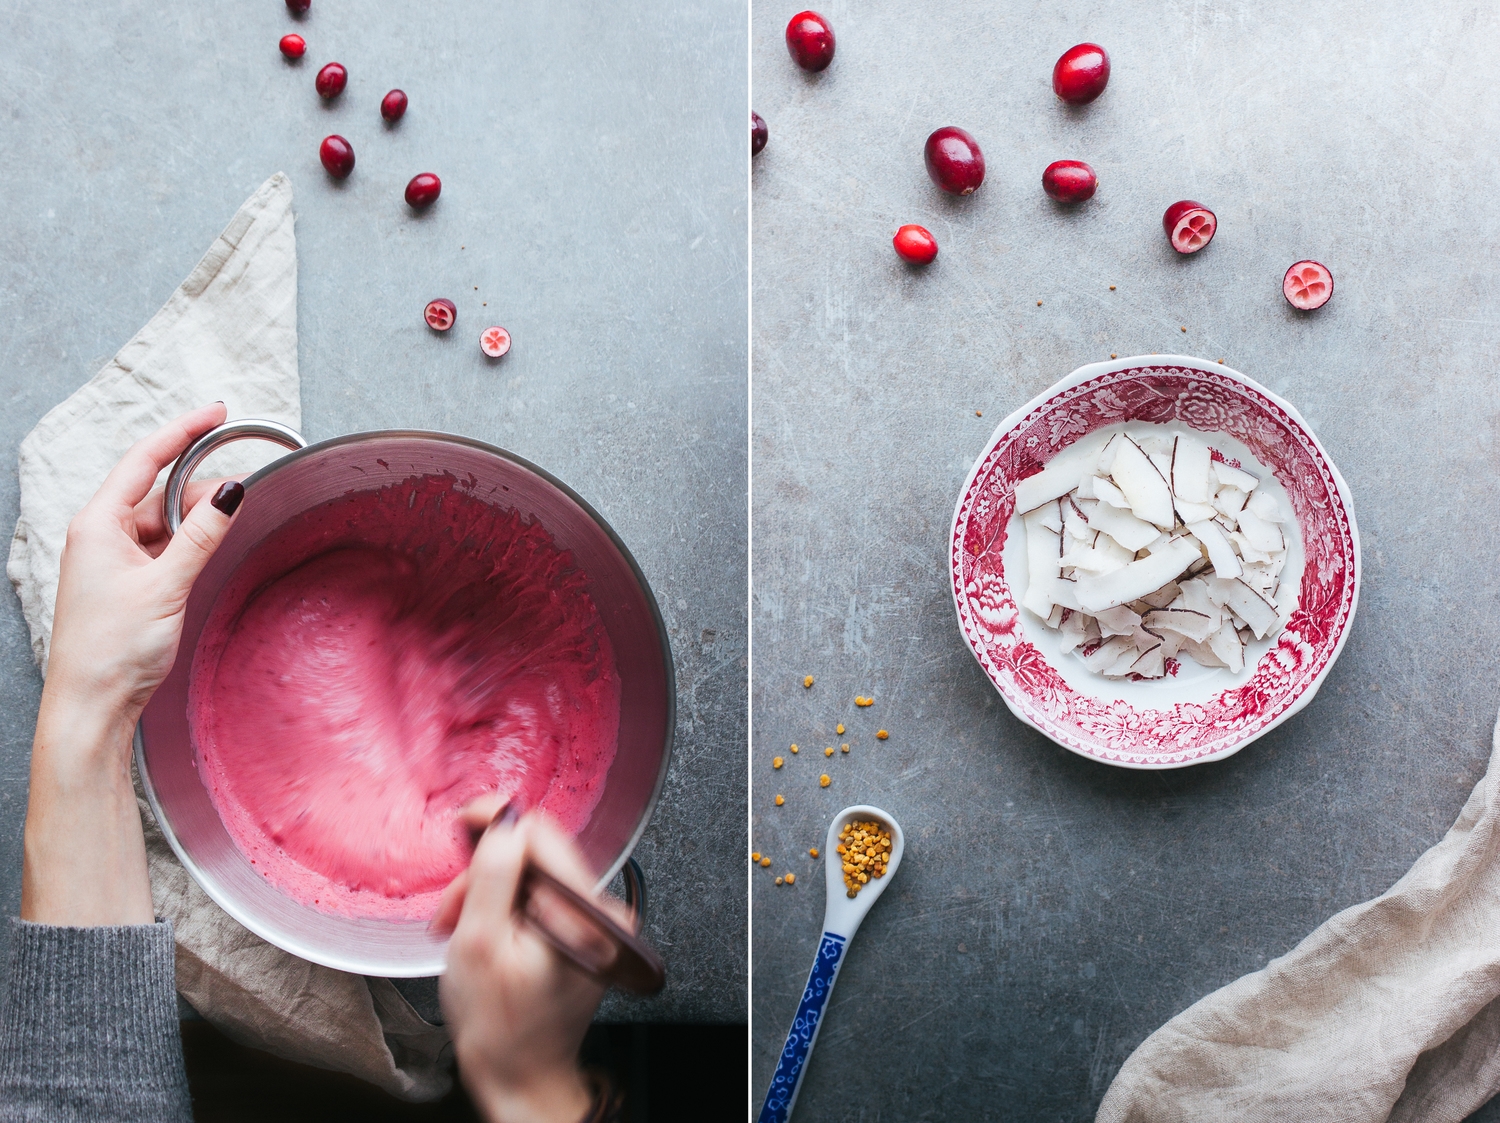
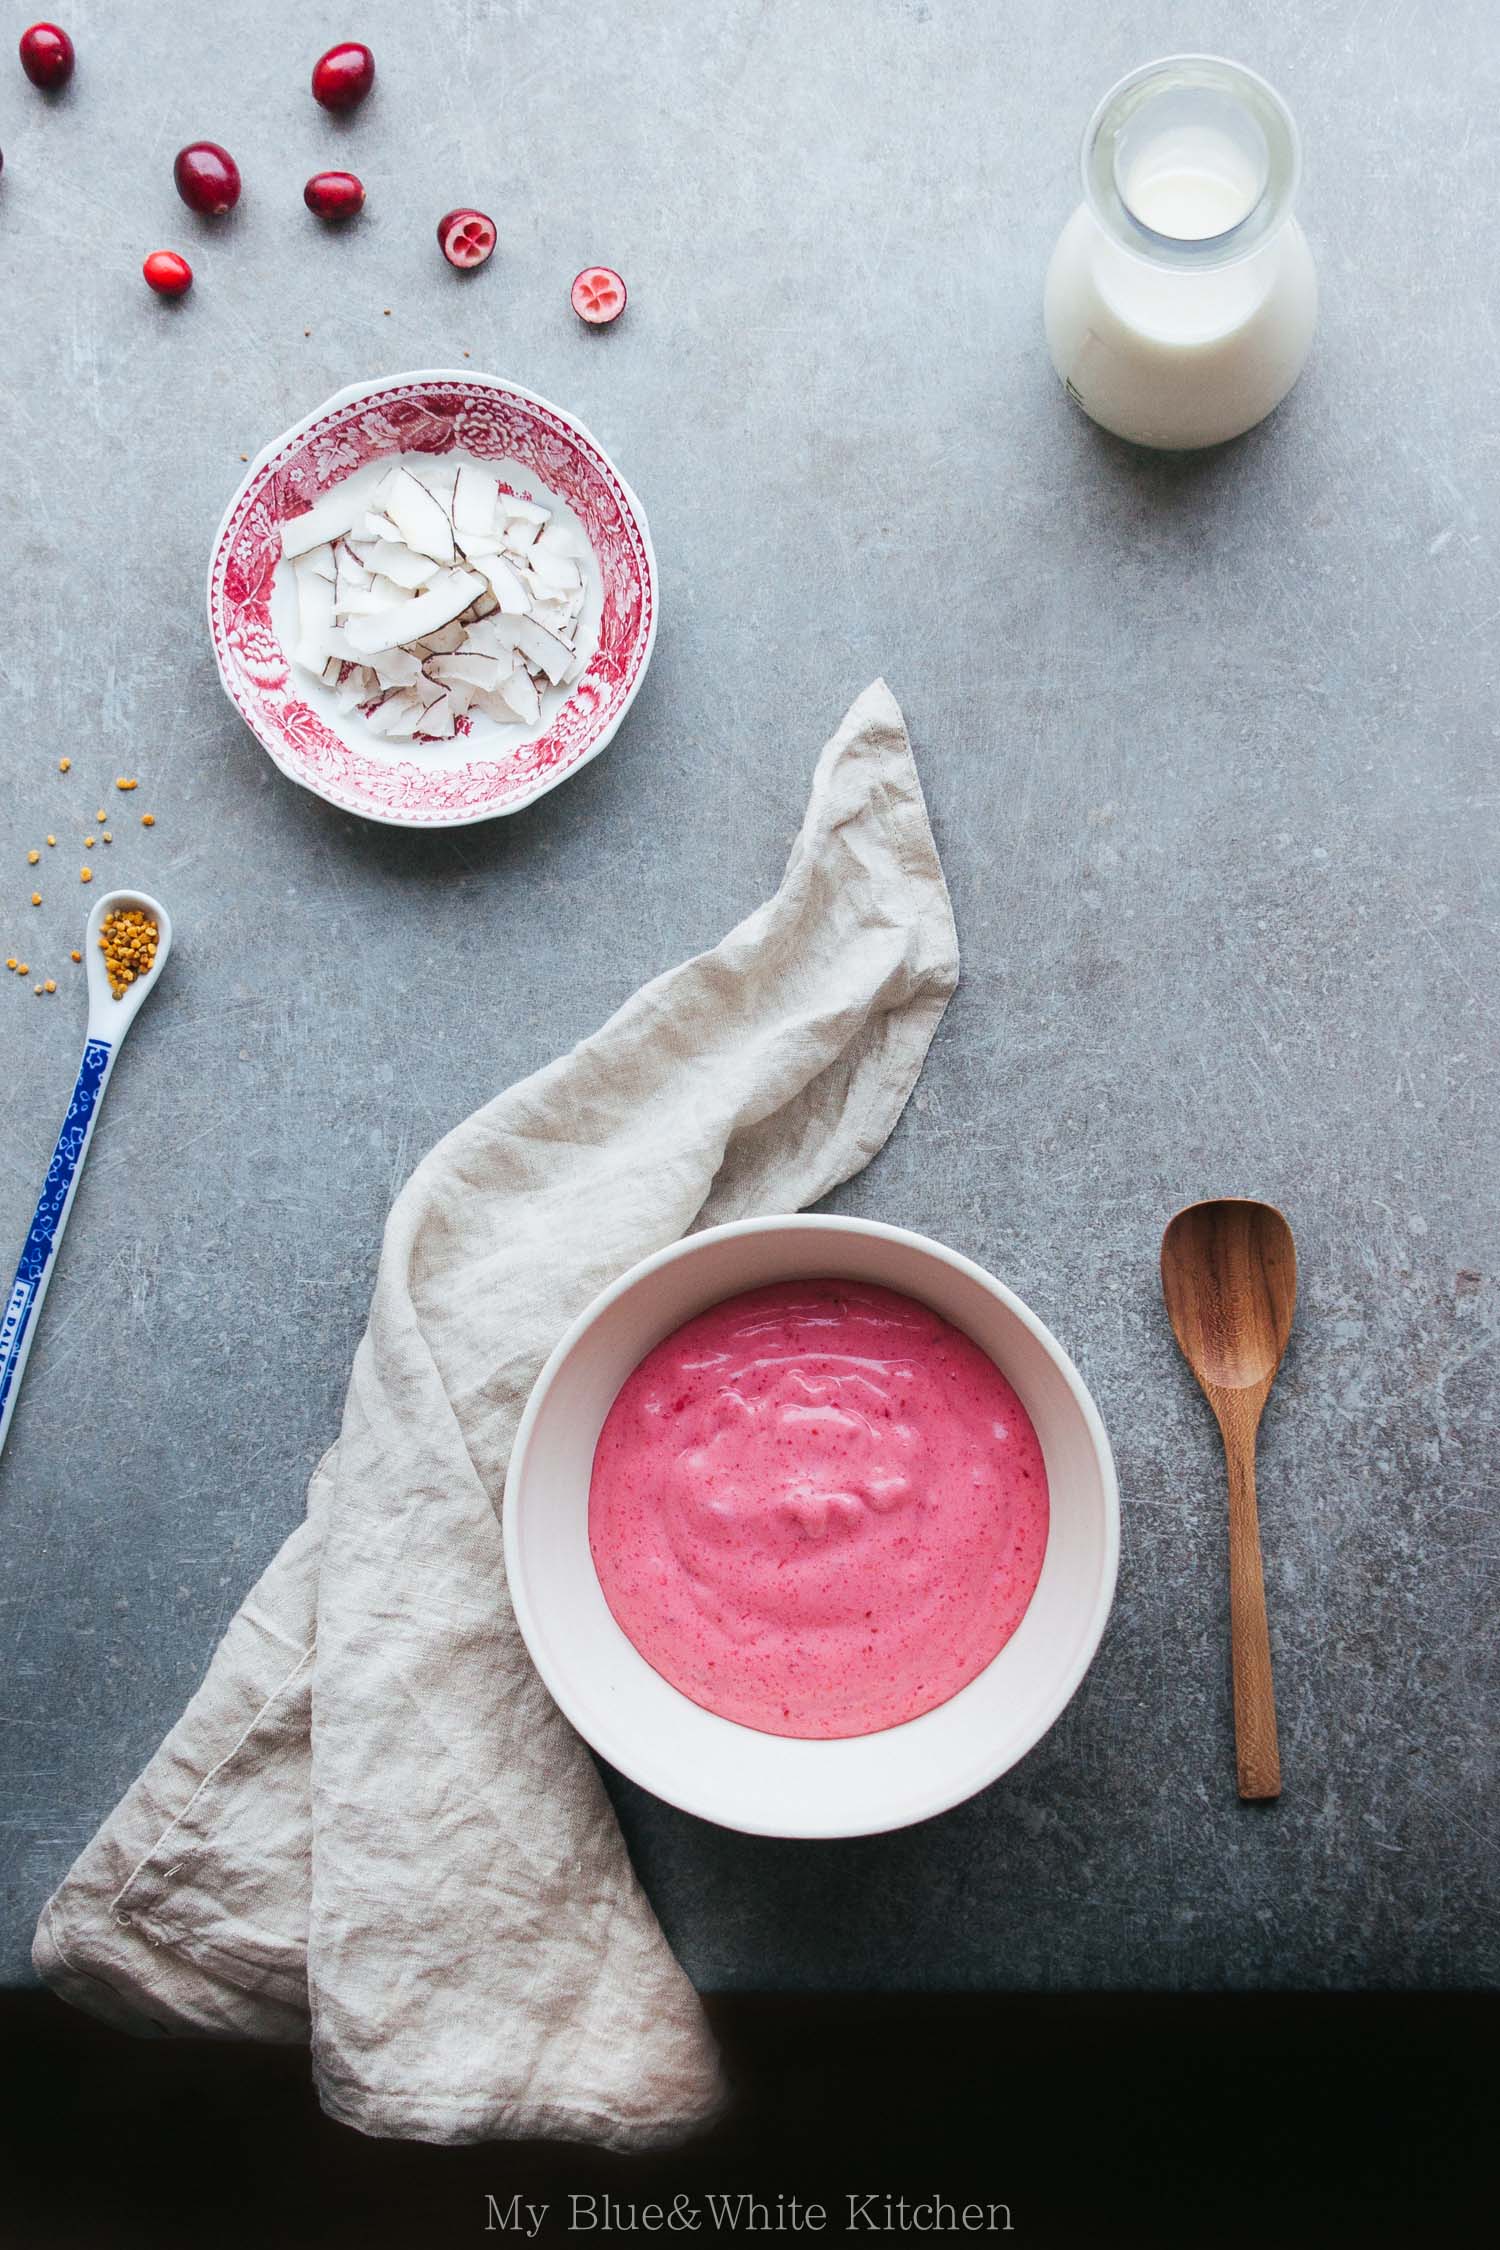
When the porridge has cooled to room temperature, whisk until light and fluffy. The color will turn from magenta to light pink.

Serve at room temperature or cold with milk and toppings of your choice.

The porridge can be stored in the fridge for a couple of days. For the perfect texture, whisk it again before serving.

Whipped Cranberry Porridge | My Blue&White Kitchen

Related posts