Nordic Summer Light – Rhubarb Strawberry Jam

Rhubarb Strawberry Jam | my blue&white kitchen

We are living the magical Nordic summer time right now. What makes it so special are the seemingly never ending days, the Nordic summer nights. I mean, looking at a blue sky at 1am in the morning is pretty rad. I can shoot my posts from 4am until 10pm and still have perfect lighting; during the darkest winter period I was only able to shoot from 11am to 2pm. Can you imagine, how this changes the pace of life around here?

I think living in a country of four seasons, of four very different and dramatic ones, teaches you a lot. It teaches you to really appreciate the season on hand. To make the most of it. Every season has a special place in our hearts but summer, oh I think summer is the season that is most dear to us living in the north. Summer, or suvi as we call it here in Finland, is the thing that helps us to survive the long, dark winter days with almost no sunlight.

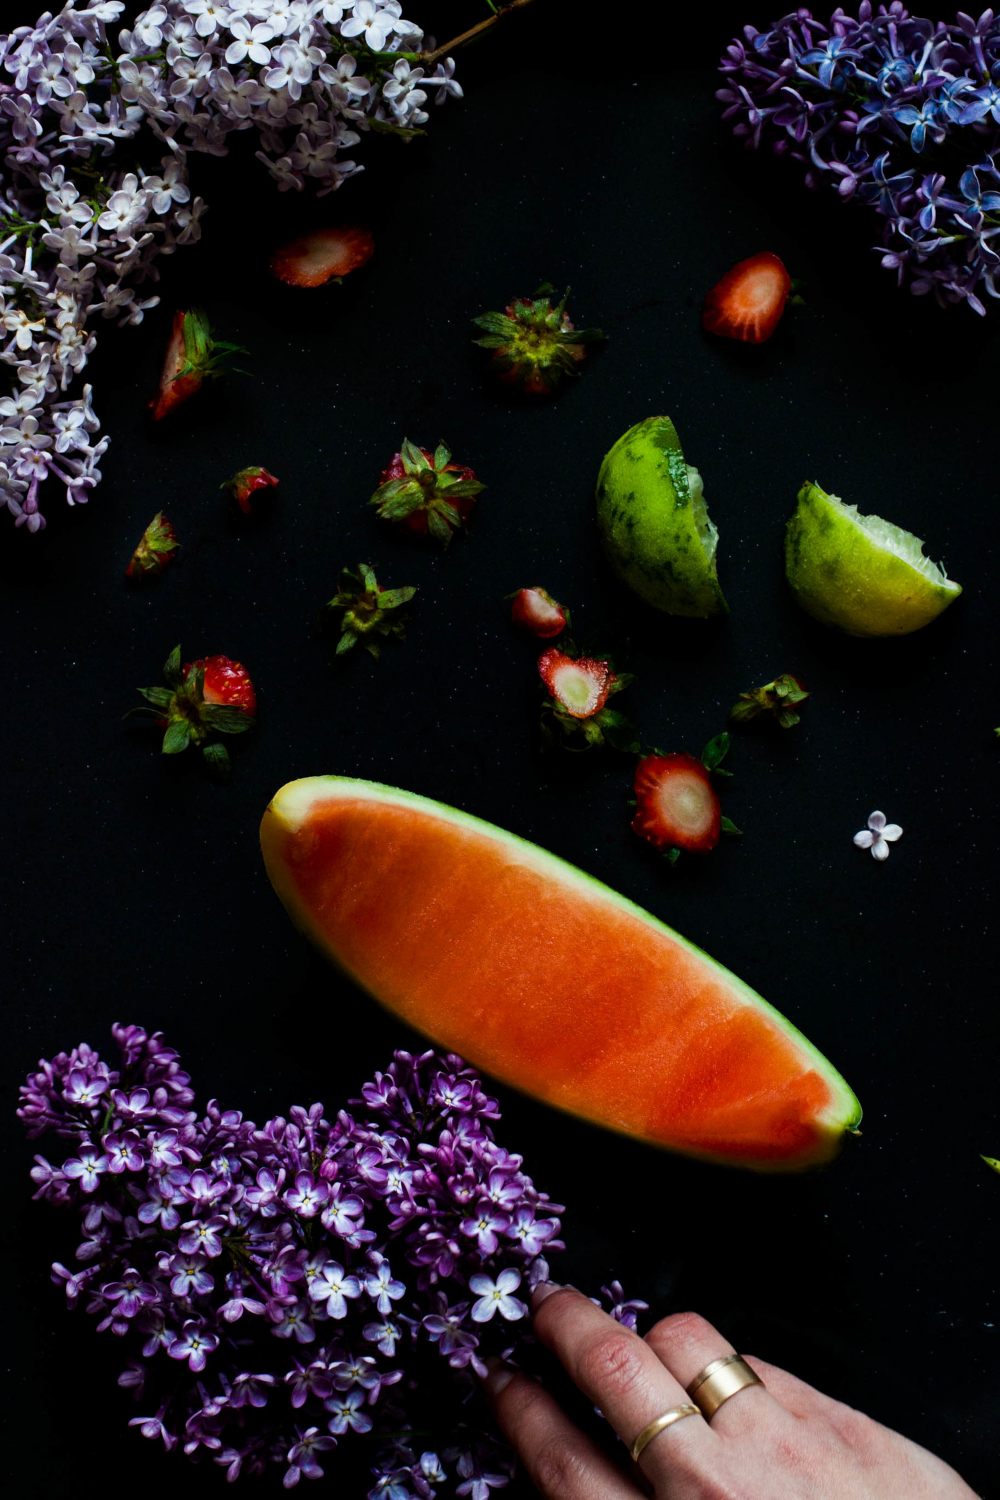
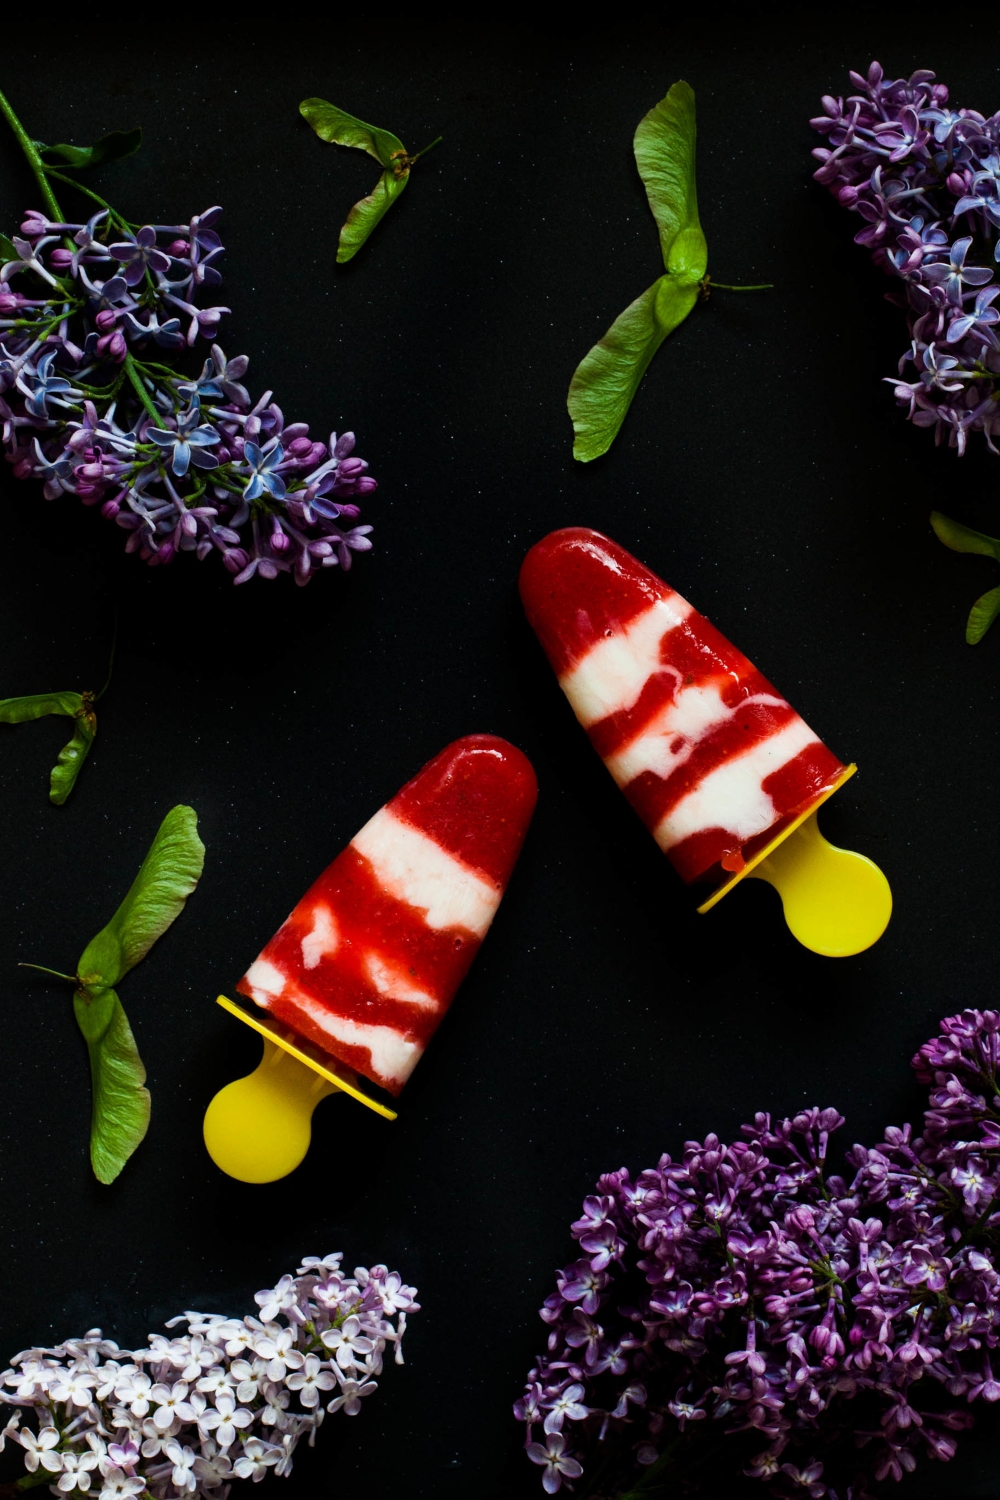
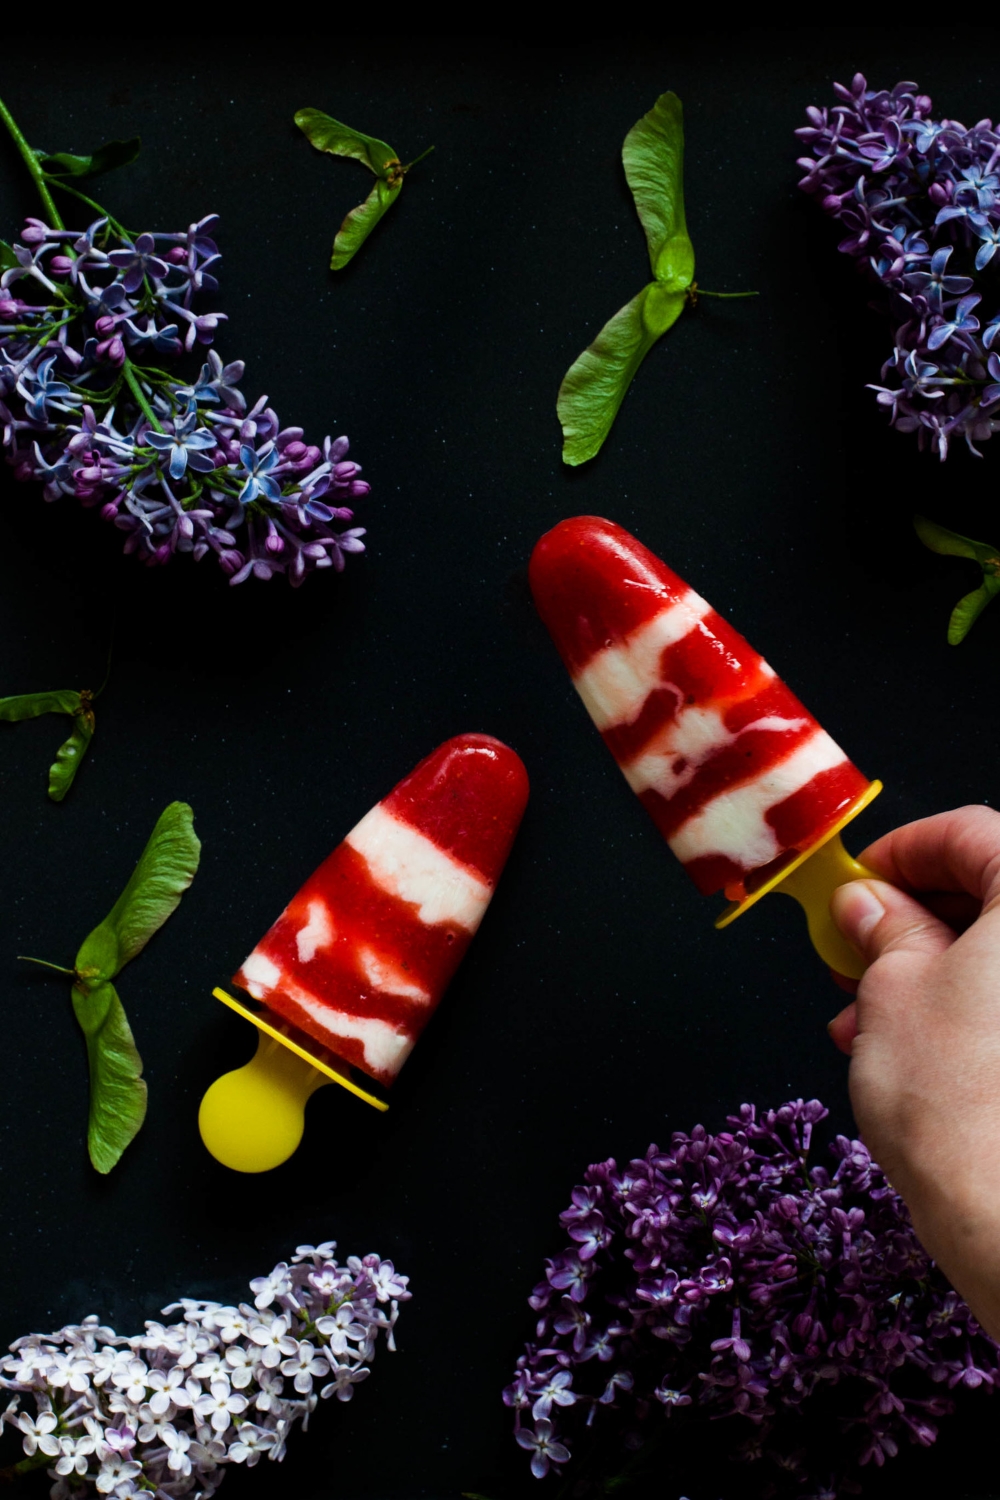
We know, however, that this magical season of light doesn't last for very long. Three months, four if we get lucky. So we have to make the most of it: spend as much time outdoors as we possibly can, soak up the sun, and smile. Lazy days, ice cream, sunshine, all kind of seasonal vegetables, berries, and fruit, farmers' markets, picnics, drinking a glass of rosé on the porch, midnight walks... We really need to make it the best summer ever because if one thing is certain it's that winter is eventually coming. Oooh, see? It's the pessimist me who's talking right now. Really need to try harder to live in the moment.

Rhubarb Strawberry Jam | my blue&white kitchen

This weekend, we're celebrating Midsummer, the longest day of the year. It's one of the most important and beloved holidays in Scandinavia. Everyone is trying to get out of the city to celebrate Midsummer at a summer cottage, preferably by a lake, on the coast, or in the Finnish Archipelago, although, urban Midsummers have become more and more popular. Midsummer is all about praising the magical summer light. It's about good food: new potatoes & pickled herring, local vegetables, berries, & fruit, and lots of barbecuing. It's about going to the sauna and enjoying good company. Bonfires are burned at lakesides and by the sea. As Midsummer has believed to be the time of the year when magic is most powerful, folk magic, myths, and rituals are very present: young maidens collect wild flowers, put them under their pillow, and hope to dream of their future husband. It's the time life feels great; the time we feel blessed to live in a place like this. It's the time we say 'I wouldn't want to be anywhere else in the world right now'. [Okay, it's also the time that is almost always doomed to be accompanied by bad weather... It feels like media starts to forecast Midsummer weather right after Christmas. Most years it's cold and rainy, but occasionally we get lucky and celebrate Midsummer blessed with wonderful sunshine.]

In case you got curious, I recommend watching this fun, short video, which is about Swedish Midsummer. There are some differences in the traditions (we don't dance around a maypole = we are not that much fun) but the spirit is very much the same.

Rhubarb Strawberry Jam | my blue&white kitchen

Wishing you all a rainless Midsummer.
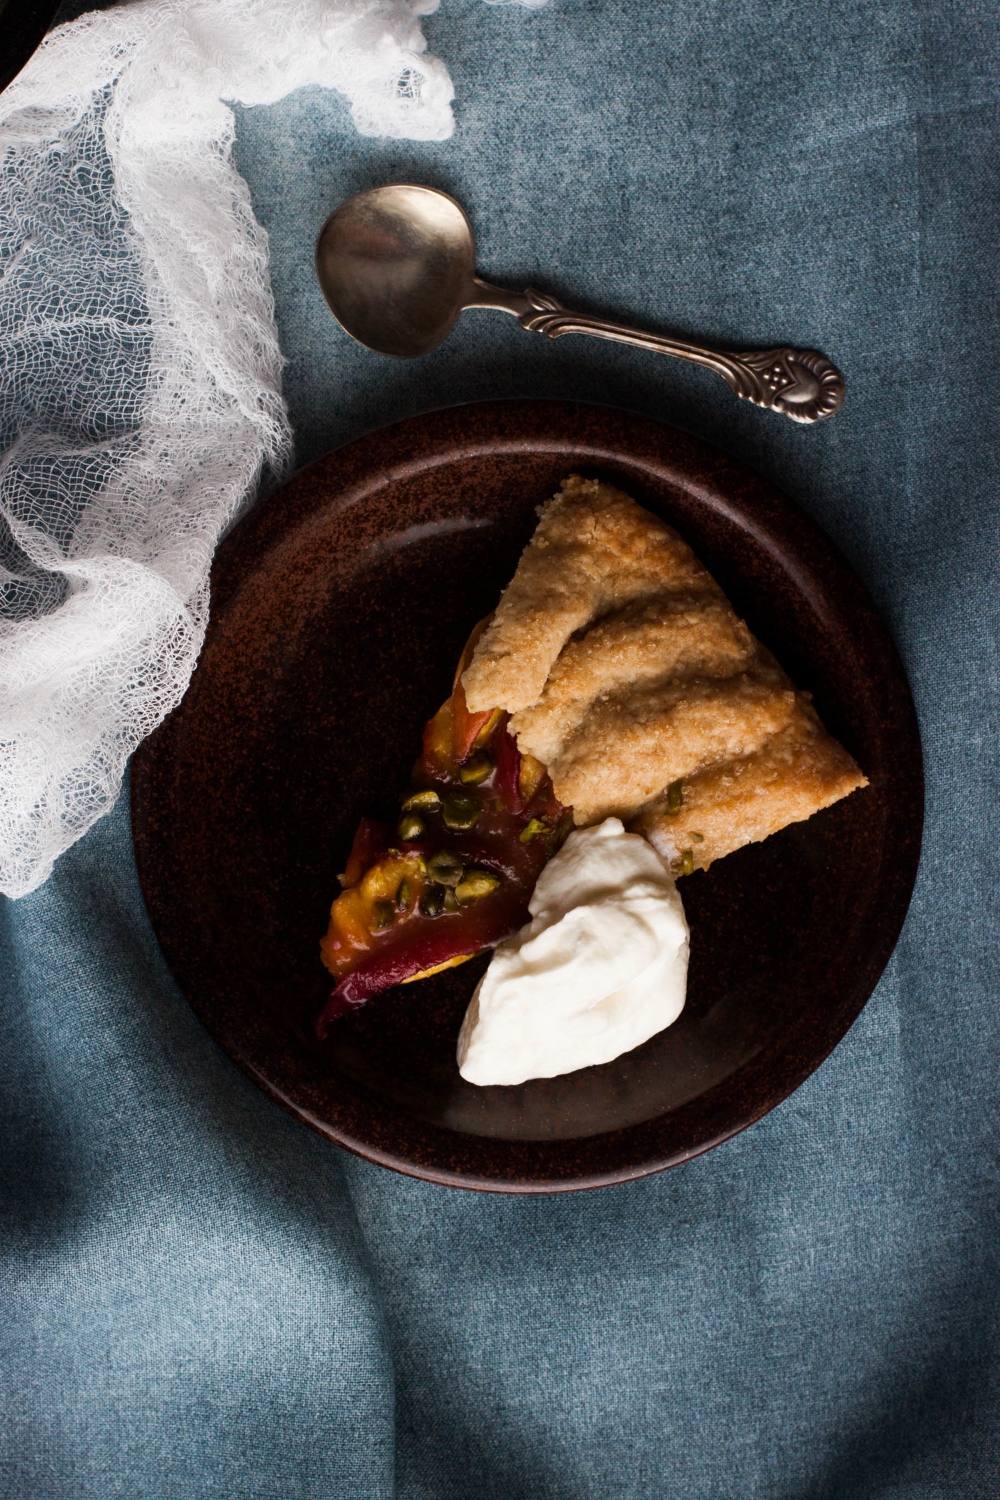
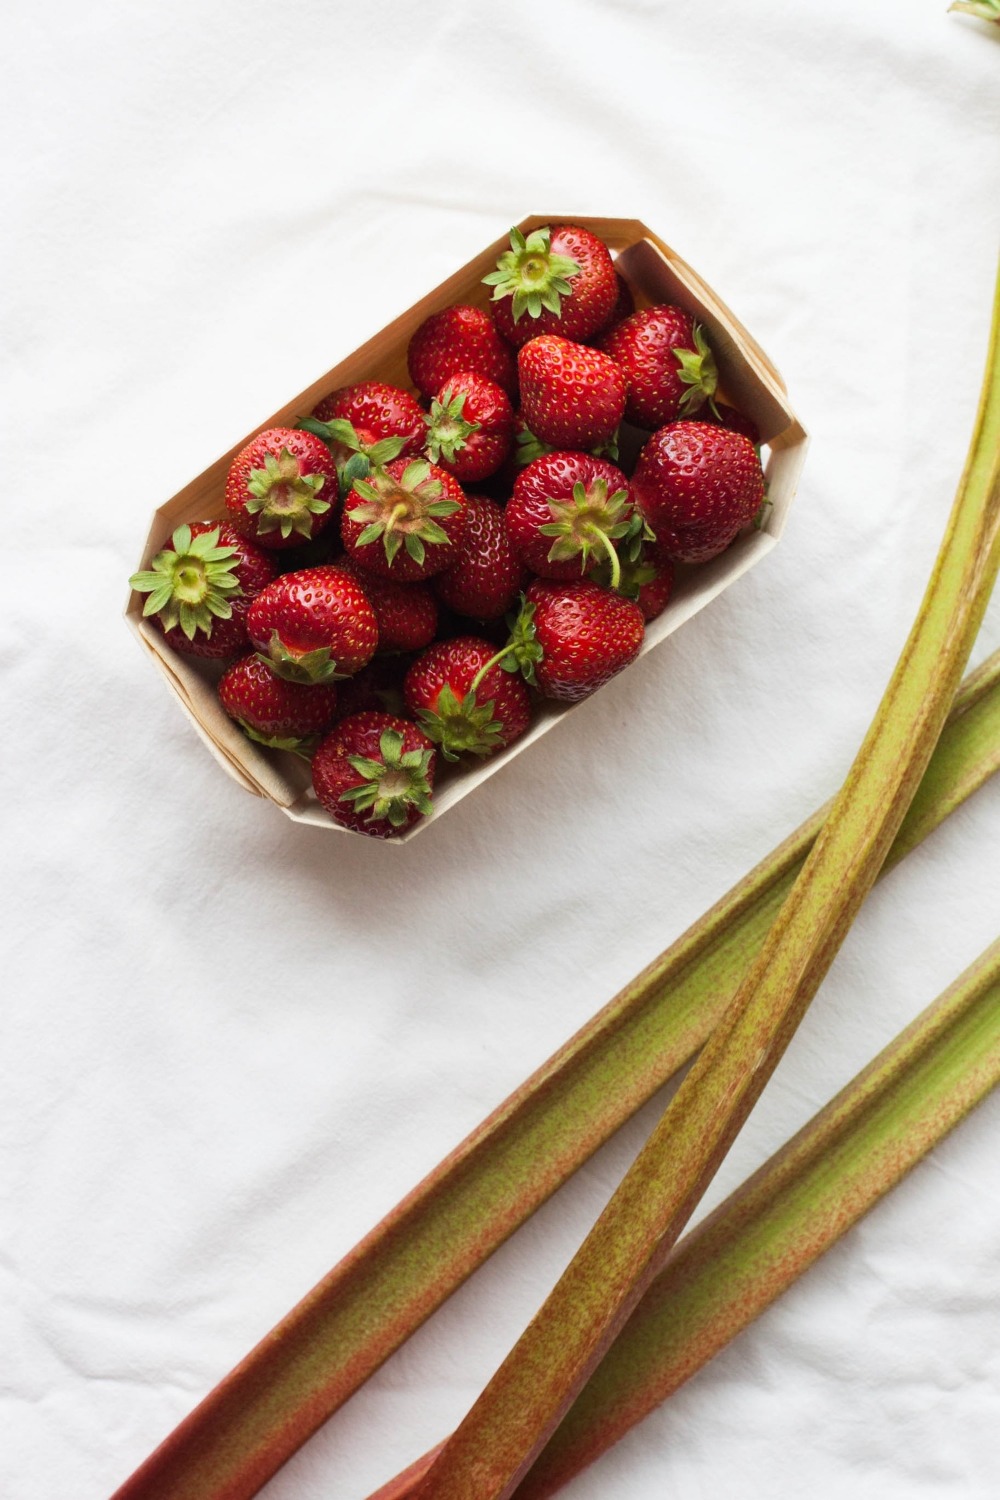
And may your Midsummer breakfast tables be glorified with this jam.


Rhubarb Strawberry Jam

yields about 750 ml / 3.2 cups jam

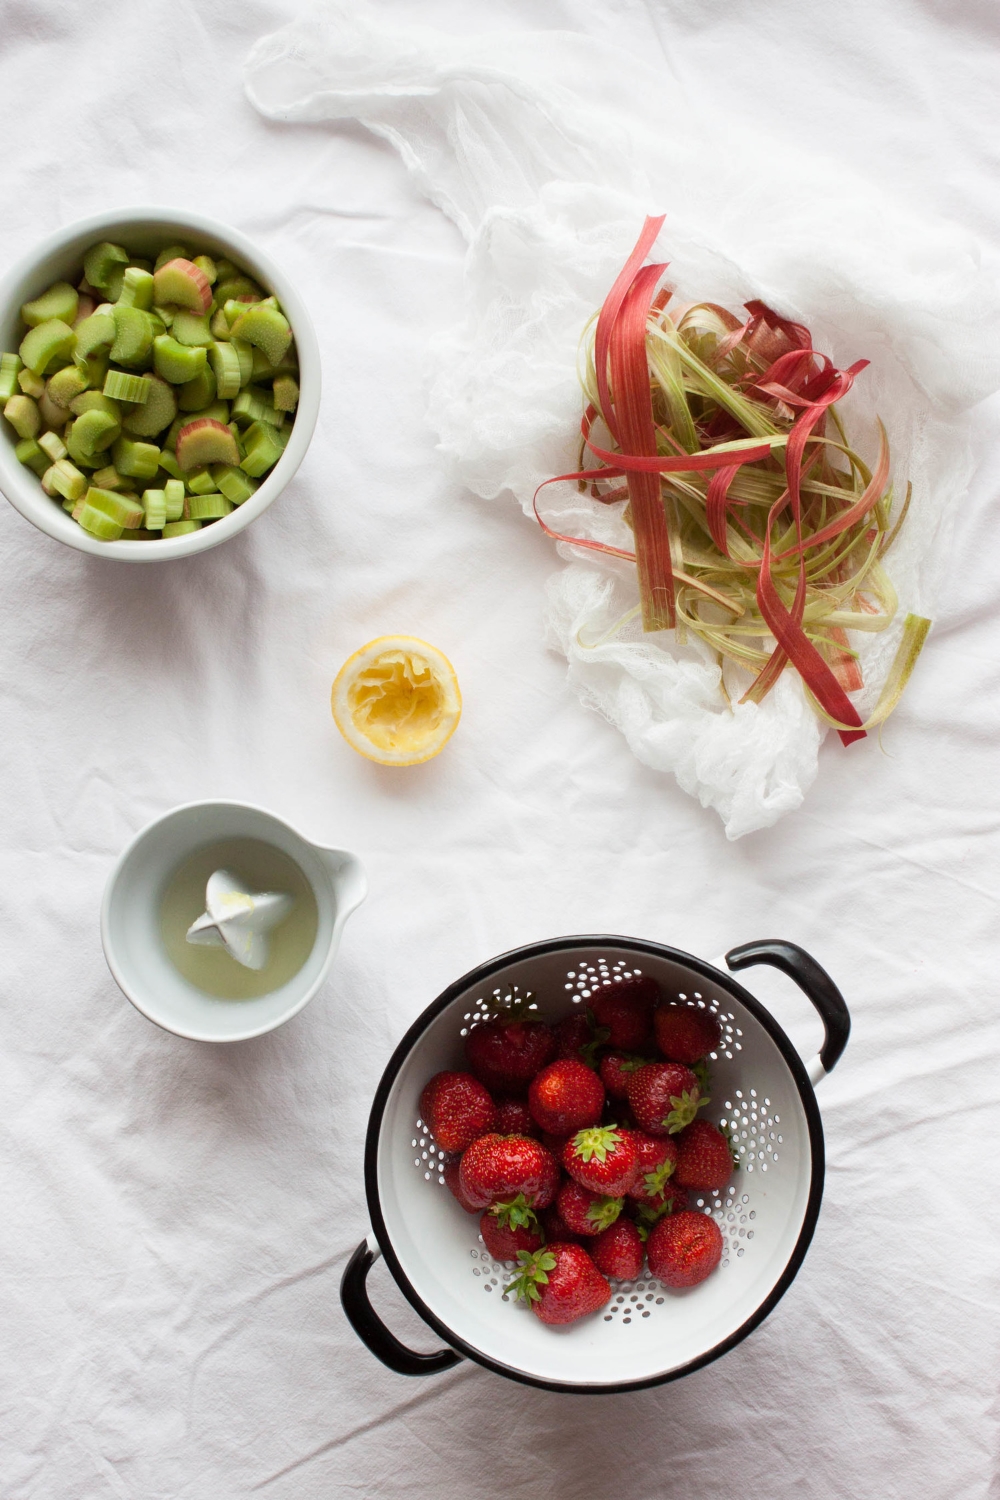
This has been my favorite jam for years. Rhubarb and strawberries are quite an unbeatable flavor combination, and I love the hint of cinnamon. This jam isn't overly sweet as I don't want to get rid of the rhubarb's acidity; it would be like wanting to change its personality. I like rhubarb as it is: tart, a bit quirky, and a whole lot of fun. I often make this as a compote; I just use less sugar. Compote won't keep for as long as jam, but if you use gelling sugar 1:3, don't cut the sugar by more than a fifth, and can it, I have noticed that it will keep in the fridge for several months.

I know that some people feel a bit nervous about home canning. When making jam, I never boil my jars once filled and have never had any issues. Actually, although we are quite a home canning nation, I don't think anyone in Finland does water bath canning in addition to sterilizing the jars & lids (nor is it the jam making method official sources suggest), and pressure canners are unknown here. However, I know that in the US this is not seen as being up to food safety standards. So if you are new to home canning, worried, or would like to learn more about the process, USDA has a whole site dedicated to home canning which you may find helpful. I also really like Food in Jars' Canning 101. Below, I'm describing the jam making method that we use here in Scandinavia which may, as I've already said, differ from the one that is recommended in your country.

Always remember to work with clean equipment and only use fresh and undamaged berries and fruit.
 

about 600 g (1.3 pounds) rhubarb, peeled and sliced (you should end up with about 575 g / 1.3 pounds peeled rhubarb)
245 g (8.6 oz; 2 ¾ dl; 1 cup + 2 ⅔ tbsp) gelling sugar 1:3
¾ tsp cinnamon
60 ml (¼ cup) water
1 tbsp lemon juice
160 g (5.6 oz; 2 ½ dl; 1 heaping cup) strawberries, washed, hulled, & sliced

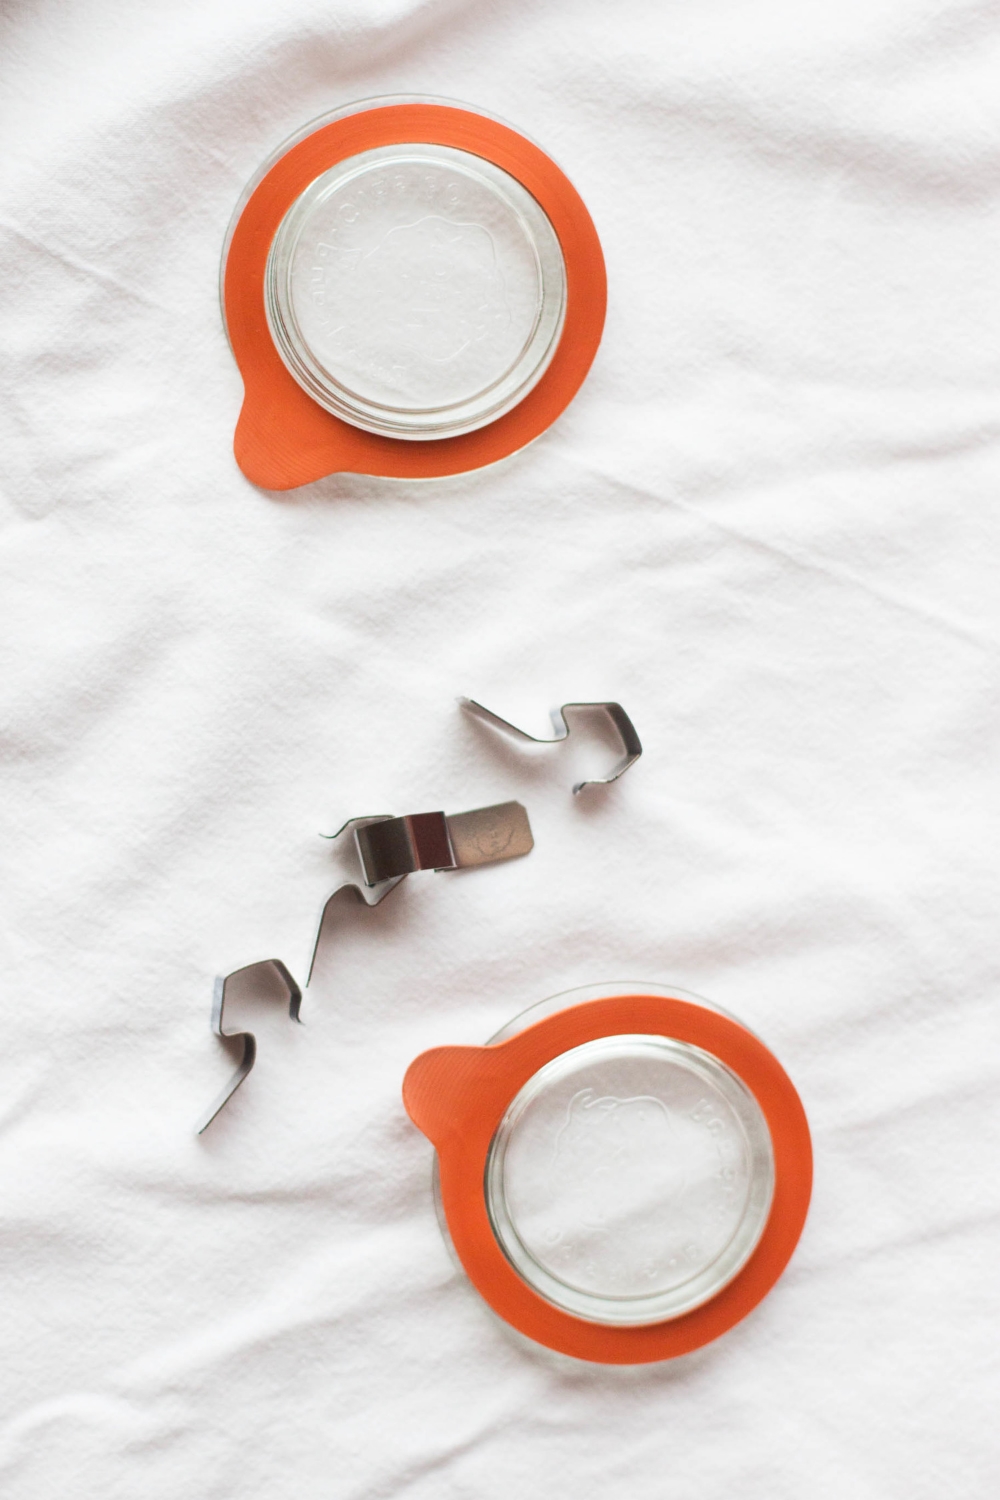
To sterilize the jars
Put the clean, empty jars in the oven. Heat the oven to 110°C (230°F). Once the oven has reached the given temperature, sterilize the jars for at least 10 to 15 minutes. To sterilize the jar lids, boil them in water for about 5 minutes. Fill the jars with the hot jam immediately and close the lids tightly.

To make the jam
In a medium-sized pot, combine the rhubarb, gelling sugar, cinnamon, water, and lemon juice. Bring mixture to a boil and simmer for 10 to 15 minutes, or until the rhubarb starts to soften. Remember to stir every now and then. Add the strawberries and simmer for a couple of minutes more.

Skim off and discard any foam that might raise to the top as the mixture cooks. To check if the jam is ready you can drizzle some on a cold plate. It should set within a couple of seconds. Otherwise, keep the jam boiling for some more minutes.

When ready, carefully fill the sterilized jars with boiling hot jam (a jam funnel comes handy in this step), leaving about a centimeter / 0.4" (or less) of headspace. Close jars tightly. After about 10 minutes, twist the lids one more time making sure that they're tightly closed. Let the jars cool completely. If the jars are properly sterilized and sealed, the jam will keep in the fridge or in a cool, dark place for up to one year. This jam doesn't keep in room temperature as it's not made with preserving sugar 1:2.

So how do you know that a vacuum has been created? If you use jars with metal lids, you'll notice that there is a small "button" in the middle of the lid. As the jam cools down, this "button" should be drawn inwards. If you fail to create a vacuum (or decide not to can the jam), you should store the jam in the fridge where it keeps for a couple of weeks.


Rhubarb Strawberry Jam | my blue&white kitchen

The Story Behind – Strawberry Watermelon Yogurt Popsicles

Strawberry Watermelon Yogurt Popsicles | my blue&white kitchen


"Your eyes are your lens,
your heart is your shutter."


This phrase from Diane Cu made it directly into my heart. She put so wonderfully in words what I had felt so deeply. I felt immensely grateful for the opportunity to attend Diane Cu and Todd Porter's 3-day food photography and styling workshop on CreativeLive last week [if you missed the free livestream, you can still buy the class or watch the free Segment 1 – Documenting Food Stories video where they talk about finding one's photographic voice (scroll down to find the video archive)]. Diane and Todd were not only teaching techniques but rather trying to show how to capture a story and mood through photography.

There's a trillion ways to photograph something but which story do you want to tell?

Which emotions do you want to convey?

Who are you?

How does your voice sound?

Show it to me.

Strawberry Watermelon Yogurt Popsicles

Just like every good photograph, every delicious food has a story behind it. By "a story" I don't mean a narrative with a beginning, middle, and end. It can be one but it certainly doesn't have to be. The story behind food can be a feeling or merely a fragmented memory or flashback. Something that shakes you from the inside. Something that is worth a moment, if only a brief one. In my opinion one can, however, not create a delicious dish or an impressive image without putting a piece of one's soul into the process and the final product. A soulless food or image is not one that will leave a trail behind it. It's one that is quickly consumed and then forgotten.

Do we want that? Well, I certainly don't and I guess you don't either. Or why else would you be here if not to feel food?

Strawberry Watermelon Yogurt Popsicles

And now you're surely wondering what the story behind these popsicles is. Quite honestly, everything started with a huge desire for a watermelon I saw at the grocery store. Do you know that uncontrollable feeling when you see a perfect piece of fruit? So I bought that watermelon to work for lunch. Let me tell you, it was quite a hilarious thing when I finally realized that I had a whole watermelon for lunch. A WHOLE WATERMELON! Honestly. Weirdo. Of course there was no possibility that I finished the whole thing for lunch, so at the end of the day, I still had quite a large amount of juicy, sweet watermelon waiting for its destiny.

I began to think about recipes with watermelon, and popsicles were one of the first things that popped into my mind. Refreshing, colorful, not too sweet popsicles. So here I am; here we are. I made you popsicles for those summer days when you crave something to cool you down.

Strawberry Watermelon Yogurt Popsicles | my blue&white kitchen

And what is it with all those lilacs? Well, they are just too gorgeous to not sneak into these pictures. Classy and a bit dramatic. Just look at that picture above. *sigh*


Strawberry Watermelon Yogurt Popsicles

makes 6 x 60 ml / ¼ cup popsicles


155 g (5.5 oz; ~ 2,5 dl; ~ 1 cup) strawberries, washed & hulled
90 g (3.2 oz; ~ 1 ¼ dl; ~ ½ cup) seedless watermelon, roughly chopped
3 tbsp honey
¼ lime, juice
zest of ½ lime

200 g (7 oz; 2 dl; ¾ cup + 1 ½ tbsp) Greek yogurt
1 tbsp water
⅛ tsp vanilla paste [or tsp vanilla extract]
2 tbsp honey


Blend the strawberries, watermelon, honey, lime juice, and zest in a blender and blend until smooth. In a small bowl, whisk together the yogurt, water, vanilla paste, and honey.

Pour alternate layers of the fruit and yogurt mixtures into popsicle molds. Allow each layer to freeze for 30–40 minutes before adding the next one. Note that each layer has to be almost frozen before adding the next layer. You can add as many layers as you want and have time for. Once all the layers are added, insert popsicle sticks. In case your popsicle molds don't have lids, you can cover the molds with two layers of aluminium foil and make small incisions for each stick to keep the sticks in place. Freeze for further 2 to 3 hours until completely frozen. To unmold, briefly run the molds under warm water.


Strawberry Watermelon Yogurt Popsicles | my blue&white kitchen

Bright Stars – Rustic Peach Galette

Rustic Peach Galette | my blue&white kitchen

I've been trying to write this post for two days now, but I seem to have lost the flow of writing. I see words but I don't see a story. Maybe this isn't so much about a lost writing skill or mood; maybe it just reflects my current flow of thoughts and feelings.

I've tried to write something about June and summer and all that goodness that lies ahead of us. But somehow it felt like nonsense; like this post wasn't supposed to be talking about weather and farmers' markets. So give me just two paragraphs to spit out something that I've carried with me since last week before we discuss how unbelievably delicious this peach galette is.

Rustic Peach Galette | my blue&white kitchen

Last week, I saw a glimpse of how quickly life could be over. I looked up at the sky but all of a sudden, it was blurred. I couldn't find the stars where they used to twinkle so brightly. It happened so very quickly, totally unexpectedly. Without those stars I felt lost; I couldn't navigate. Luckily, the stars weren't lost forever, just hidden behind a cloud for a brief moment. But it was enough to scare the hell out of me. It was enough for me to look at the sky more consciously. To remember why that starlit sky was so very essential to my being.

So find your bright stars, stick to them, hold them dear. There's no way you can predict the course of life. Nothing is certain. Don't take anything for granted. Because you never know when one of those stars, shining so brightly in your sky, collapses into a black hole.


Rustic Peach Galette

I made an open-faced galette to praise this season's first peaches. A galette that looks rather rustic on the outside but is, in truth, pretty elegant and classy. I added some buckwheat flour to the crust and topped it with green pistachios. Other than that, I really wanted the juicy, delicate peach to be the heroine of this dessert. The galette turned out fantastic. It tasted like summer; just like I wished it would.
 

for the crust
165 g (5.8 oz; 3 dl; 1 cups minus 1 tbsp) all-purpose flour
60 g (2.1 oz; 1 dl; ⅓ cup + 1 ½ tbsp) buckwheat flour
1 large pinch of fine sea salt
2 tbsp granulated sugar
150 g (5.3 oz) cold, unsalted butter, cut into cubes
3–4 tbsp ice cold water

for the filling
2 tbsp ground almonds
~ 400 g (14 oz) peaches, sliced
2 tbsp demerara sugar + more for sprinkling
small handful of pistachios, roughly chopped

whipped cream, crème fraîche, or coconut whipped cream, to serve


To make the crust
In a medium-sized bowl, combine both flours, salt, and sugar. With your fingers, quickly rub the butter into the dry ingredients until well incorporated and crumbly. The dough should now resemble coarse bread crumbs with plenty of pea-sized pieces of butter remaining. Add water gradually just until the dough holds together when pinched. Try to work as fast as possible to avoid over-working the dough. Alternatively, you can use a pastry cutting tool or a food processor to make the dough.

Form the dough into a disk and wrap in plastic. Refrigerate for an hour or until ready to roll.


To assemble and bake
Preheat oven to 180°C (355 °F). Line a baking sheet with parchment paper.

Lightly dust the chilled dough with flour. Roll out on a well floured work surface into an about 3 mm (0.1") thick circle. If the dough cracks, don't worry; just pinch it back together. Transfer to the parchment paper lined baking sheet. Sprinkle with the ground almonds, leaving a border of about 5 cm (2"). Arrange the peach slices in the center and sprinkle with the sugar and pistachios. Fold up the edges, brush with water, and sprinkle with some sugar.

Bake on the middle rack for 40–50 minutes or until the edges are golden brown and the filling bubbles.

Serve warm or at room temperature with whipped cream, crème fraîche, or coconut whipped cream. Personally, I like to reheat any leftovers; the warmth brings out the flavors of the peach filling and the crust seems to melt in your mouth.


Rustic Peach Galette | my blue&white kitchen

May Love&Inspiration

my blue&white kitchen

Is it really the last day of May already? Wow, time flies by so fast. I'm eager for all that summer goodness; farmer's markets, fresh products, ice cream, lazy days spent at our summer cottage by the lake, weddings, berry picking trips, long summer nights... I'm ready for you, summer!

I know, I know. This is quite a loooong list but there has been so much going on in May! Enjoy.


» My favorite posts.

» To my sweet boy.

» I've been enjoying Wit & Delight lately.

» Have you ever wondered why we Finns and other Nordic people rave about our summers and the midnight sun? Is it really that big a thing? Well, see for yourself.

» Want to learn from the fabulous Diane Cu and Todd Porter of White On Rice Couple? Join me and watch the free live broadcast on CreativeLive – Story on a Plate: Food Photography & Styling course on June 05 – 07 9:00am – 4:00pm.

» Stumbled upon this amazing Zurich-based blog.

» For the last four weeks, I've been eating homemade bread from the Artisan Bread in 5 Minutes a Day cookbook: boule, deli-style rye bread, naan, baguette, wurzelbrot, crusty sandwich loaves. Revolutionary is a big word, but it's true for this one. This book is revolutionary. Phenomenal. Stunning. A keeper.

» Let's eat (and also drink) rhubarb as much as we possible can!

» Loved this post on food photography and capturing motion on Edible Perspective.

» Why I now avoid Chinese garlic.

» Enjoyed reading these two interviews on Food52.

» Swedish rhubarb madness.

» An interesting read about cookbook deals (and on turning them down).

» This song. 

» Learn to make Chinese steamed buns and pickled ginger

» I've been enjoying The Lively Show lately. Jess is not only a crazy talented lady herself but she always finds guests who are truly inspiring souls.

» Going to make these absolutely amazing looking ricotta gnocchi from The Tart Tart with nettles! Ricotta gnocchi are my absolute favorites.

» Green Kitchen Stories has now an own video channel on Youtube! *happydance*

» I know I'm a bit late on raving about this but the lovely Mimi Thorisson (who just got a baby in the most miraculous way possible) of Manger, one of the most inspiring blogs out there, bought a chateau in the French countryside. What makes this super awesome is that she is now planning to open a seasonal bistro as well as to host workshops! Read the full story here.

» Gimme some banana boats.

» So proud of Shelly – the first issue of Driftless Magazine, a magazine focusing on the Midwest, is out in just a few days! Read more about the process of launching an own magazine on her blog, Vegetarian Ventures.

» This Pinterest board. She also has a blog (written in both Italian and English). Thank you Cynthia for sharing it on Facebook!

» This new-to-me bread baking blog (in German).

» "We writers must learn how to become still in our heads, to achieve the sort of stillness that allows our senses to become heightened." The Art of Being Still

» Waiting for the Two Red Bowls pizza delivery service to happen in real life...

» A beauty of a post. 

» The Saveur Best Food Blog Awards 2014 party was last Thursday. Sadly, I wasn't able to attend the party, but it seems like everyone had the most amazing time ever. Again, huuuuge congrats to all winners but especially to Stephanie who not only won the Best Cooking Blog category but was, furthermore, honored as Blog of the Year!! *virtualgrouphug* (and she has a cookbook, Easy Gourmet, coming out this fall!!)


Wild Plant Foraging – Nettle Flatbread

For centuries, foraging has played an important role in Nordic culture. In the former days, it basically was a necessity for survival; you had to know which plants were edible and how to best use and preserve them in a way that most of the nutritional values stayed intact.

Foraging had never been forgotten or gone, but it definitely lost popularity and its focused narrowed substantially in the 20th century. People still foraged but mainly berries, like bilberries, raspberries, lingonberries, and cloudberries, and mushrooms, like chanterelles and porcini. Wild plants were, however, mostly left without attention. People probably lost interest because wild plants weren't a crucial part of their diet anymore. Markets were full of vegetables, fruit, and other products from all over the world.

Who needs fireweed or wood sorrel when you can basically have anything you want.

nettle1.jpg

In the last years, however, one could observe a wind of change. A storm, really. The rising popularity of foraging is part of the New Nordic Cuisine, a movement that not only embraces farm-to-table cooking but focuses on seasonal, locally foraged ingredients. Back to the roots. 

Internationally, René Redzepi, one of the founders of the New Nordic Cuisine as well as the chef and co-founder of the world's best restaurant, noma, has shared his love for Nordic cuisine making it popular world wide. In Finland, one of the brightest voices of this movement has been Sami Tallberg. He has written several successful books about foraging wild plants and how to use them in the kitchen, has talked about them in magazines and on television, and holds wild plant foraging and cooking workshops on a regular basis.

Nettle Flatbread | my blue&white kitchen

To be honest, I too am quite new to wild plant foraging. Although, I grew up in a family of enthusiastic foragers, foraging mainly focused on berries in summer and mushrooms in fall. Plants were not paid much attention to. Nettles were, however, a bit of an exception. I don't remember foraging them as a kid but I always knew they were edible. I knew that they could be used much like spinach; you could use them in soups, salad, pesto, and bread, to name a few. I was also aware of their high nutritional value, packed with vitamins, iron, potassium, manganese, and calcium, making them real superfood.

Nettle Flatbread | my blue&white kitchen

A few notes on foraging and handling nettles. First of all, always wear gloves when foraging nettles and tongs when handling them in the kitchen. The leaves and stems have stinging hairs which cause a painful rash on contact. But don't worry, they lose their sting when crushed or cooked.

If you aren't very familiar with wild plant foraging, nettles are, in my opinion, the perfect plant to start with. Nettles are widely distributed which makes them quite easy to find. This ensures that you'll come back home from a foraging trip feeling like the queen or king of nettle kingdom.

Nettle Flatbread | my blue&white kitchen

As with all foraging, identify every plant with 100 percent certainty before foraging it. If in doubt, just grab them with your bare hands and...KIDDING!! Don't do it. Just don't. It will hurt. Fortunately, you will find many good guides on wild plants on the Internet and at your library.

The best time to forage nettles is spring and early summer before they start to bloom. Look out for young, about 5–10 cm (2–4") high, plants. If the nettles are already bigger, only forage the tops and leaves. Lastly, try to avoid urban areas as those nettles are packed with harmful nitrogen.

Do you forage plants?

Nettle Flatbread | my blue&white kitchen

Nettle Flatbread

recipe inspired by Tartine Bread; crust slightly adapted from delicious:days by Nicole Stich
makes 10 small flatbreads or 2 big ones

It took me a couple of trials to optimize the baking. My first flatbread batch came out with burned nettles. Damn. I figured out that I probably should toss the nettles in some liquid to keep them from burning. In Tartine Bread, Chad Robertson coats his nettles with heavy cream. I decided to try his method myself. The result was better than with my first batch but I wasn't totally satisfied. So I tried one flatbread with coating the nettles with some olive oil. To my slight frustration, the nettles were still getting too brown. Adding the nettles after about half the baking time, provided the best result: the crust was perfectly brown and the nettles were cooked down and crisp without being burned. Therefore, it's also the method I'm describing in the recipe below.


250 g (9 oz; about 4 ½ dl; 2 heaping cups) all-purpose flour (or bread flour, substitute by weight)
50 g (2 oz; 1 dl; ⅓ heaping cup) rye flour
½ tsp fine sea salt
175 ml (¾ cup) lukewarm water
15 g (0.5 oz) fresh yeast
[OR alternatively 5 g / 1 ½ tsp instant or other active dry yeast, used according to packet instructions]
1 tbsp olive oil

100 g (3.5 oz; 1 dl; ⅓ heaping cup) crème fraîche
1 tbsp heavy cream
fine sea salt & freshly ground black pepper
250 g (9 oz) mozzarella, very thinly sliced
100 g (3.5 oz; about 8 dl; 3,5 cups) nettles, washed & dried
a couple of tablespoons olive oil
pinch of salt
optional: 100 g (3.5 oz) Black Forest Ham or pancetta, chopped


To make the dough
In a medium-sized bowl, combine both flours and salt. Set aside. In a bowl of a standing mixer, combine the water and crumbled yeast. [If using instant active dry yeast, skip this step. Combine yeast with some flour and add to warm, about 42°C / 108°F, water mixture just before adding the rest of the flour.] Stir until the yeast is completely dissolved. Add the olive oil. Gradually add the dry ingredients, while kneading. Knead for 3–5 minutes at medium speed. If the dough feels too dry, add a bit more water; if it feels too sticky, add a bit more flour. The dough is ready when it's elastic and comes clean off the sides of the bowl.

Shape into a ball and cover with a kitchen towel. Let the dough rise in a warm place for 45 minutes. After the dough has risen, punch it down, divide into 10 equal portions and shape them into balls. Cover with a kitchen towel and let rise for further 30 minutes.

Preheat the oven to 250°C (480°F) or as hot as your oven gets. You can place a baking sheet at the bottom level so it gets preheated. It works like a pizza stone and ensures a perfect crust!
 

To make the topping
Combine the crème fraîche and heavy cream. Season with salt and pepper. Set aside. Now get your tongs ready. In a large bowl, toss the nettles with just enough olive oil to thinly coat them and season with a pinch of salt.
 

To assemble
Take a dough portion and flatten it with your hands. Using a rolling pin, roll out thinly on a lightly floured surface. Transfer to a parchment-lined baking sheet. Evenly spread a thin sheet of the crème fraîche mixture on top and top with some mozzarella and pancetta.

Bake the flatbreads on the bottom rack for 5 minutes. Mound nettles on top of each flatbread. By adding the nettles at a later stage, we can ensure that they don't burn while baking. Bake the flatbreads for a total of about 10 minutes, or until the crust has gained a golden brown color. While the first batch is baking, you can assemble the second sheetful.

Serve hot.