Although I consider myself a serious food enthusiast and a passionate cook and baker, there certainly are ingredients that I don't use that often or that I'm rather unfamiliar with. Similarly, there are dishes, even classics, that I've never made either because they somehow scare me to death, because I have never really been in the mood to make them, or because it just has never happened. I've never made a tarte tatin or a summery granita. Pulled pork is still on my recipes-to-tackle list. Brownies? Oh well... I've made filled pasta shells numerous times but have never made canneloni at home. And although I love Asian flavors, I don't cook Asian that often. I haven't grown up using the ingredients and have learned Asian cooking methods and techniques simply by reading online articles, books, or magazines and by watching tv shows or clips on YouTube. This means that every time I cook Asian I have to get out of my comfort zone. Sometimes it works out perfectly; other times I'm left confused, as I can't get the flavors or textures right or because the dish looks monumentally different than what it's supposed to.
For a long time, chickpea flour was an ingredient that just never found its way into my kitchen. It just never happened.


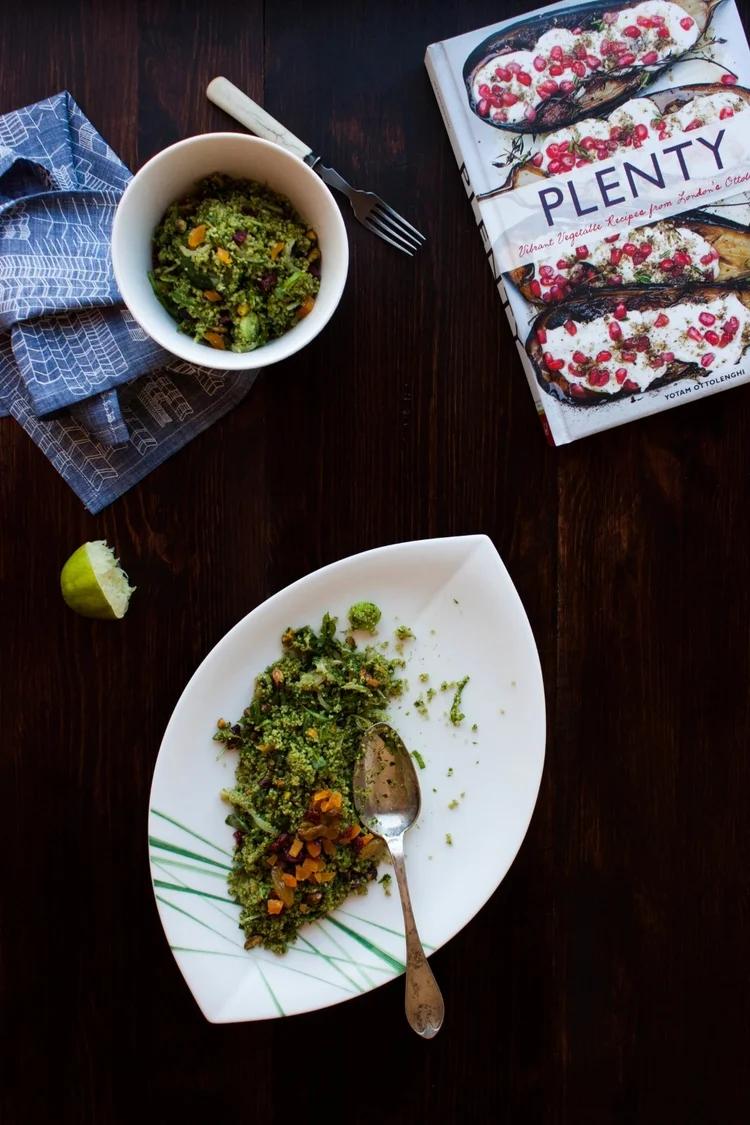
Lindsey is one of the first food bloggers I got online friends with. I still remember how fascinated I was by her cooking back in 2013 when I stumbled upon her blog, dolly and oatmeal, for the very first time. Her space was different from others, I could really feel her spirit in her photography, writing, and recipes. I've always felt that one of the best compliments one can get as a creative is that others recognize your style, that they can say "hey, that recipe/photo/piece of writing is from person x". And yes, Lindsey truly has a unique style and a special, fresh take on seasons' best produce. In her recipes she highlights how food can make us fell good and healthy without making you feel bad just because you may or may not have eaten that burger with extra fries and mayo last night. She manages to be authentic, inspiring, and encouraging both on her blog and in her debut cookbook Chickpea Flour Does it All: Gluten-Free, Dairy-Free, Vegetarian Recipes for Every Taste and Season.
Chickpea Flour Does it All is a collection of 96 delicious recipes organized by season and month. I must admit that I hardly ever like books that focus on one ingredient only (the exception is chocolate, obviously), but Chickpea Flour Does it All makes an exception. And I'm really not saying this because I love Lindsey's work anyway. The book's recipes use chickpea flour in such a clever and versatile way that you'll actually forget that chickpea flour is mentioned in the book's title. Primarily, Lindsey's book is about seasonal, fresh ingredients that are tasty not only for people who have to avoid gluten and dairy or just choose to live a specific lifestyle but for everyone. Chickpea flour is an ingredient that I, as I already mentioned, was pretty unfamiliar with prior to this book. Yes, I had made socca (according to Lindsey's recipe) before but that was about it. After testing a couple of the book's recipes, such as the divine Chocolate Banana Loaf that I started to bake after 9pm one Sunday night, I was amazed by what an amazing ingredient I had previously ignored. Chickpea Flour Does it All is a beautiful book for any food lover who wants to discover the world of seasonal, fresh cooking with big flavors and ingredients that make you feel good.
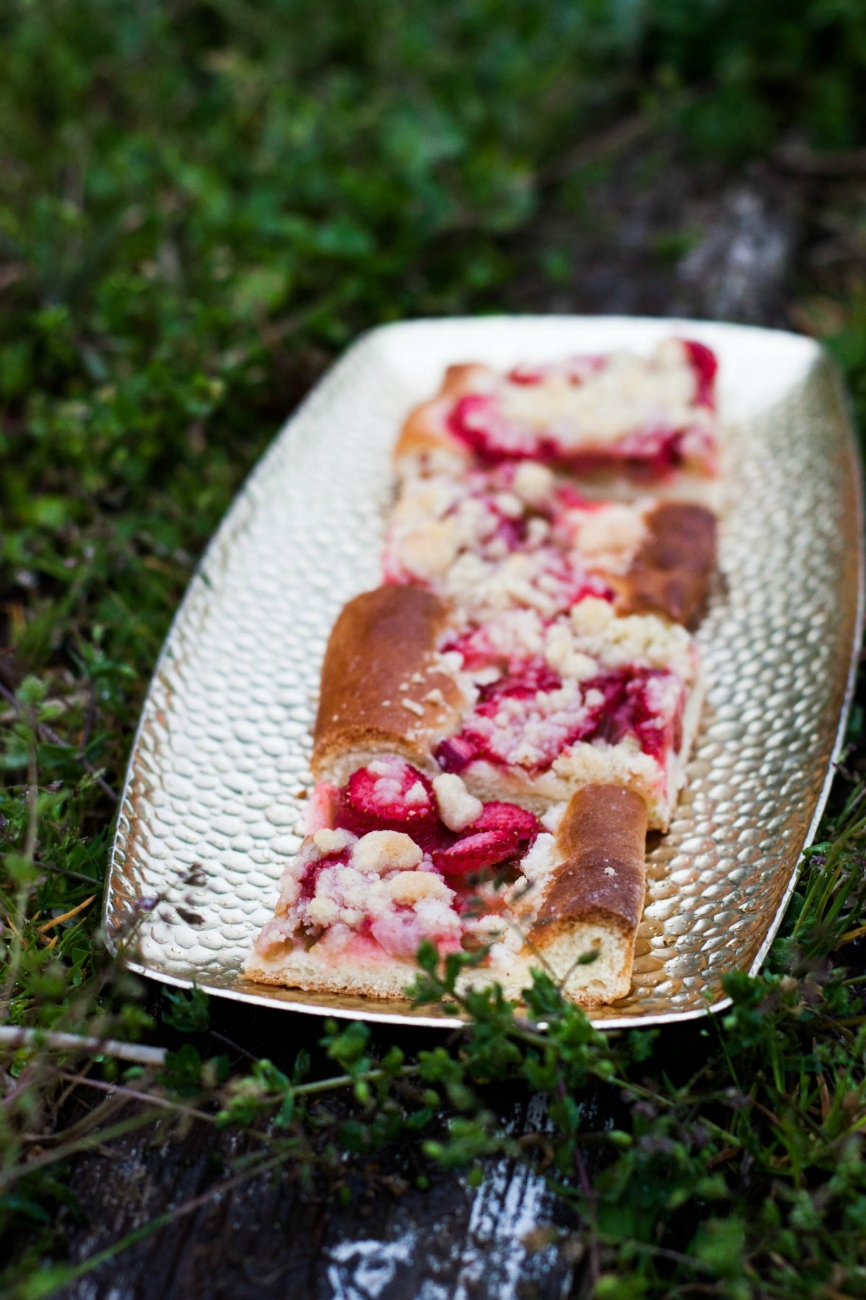
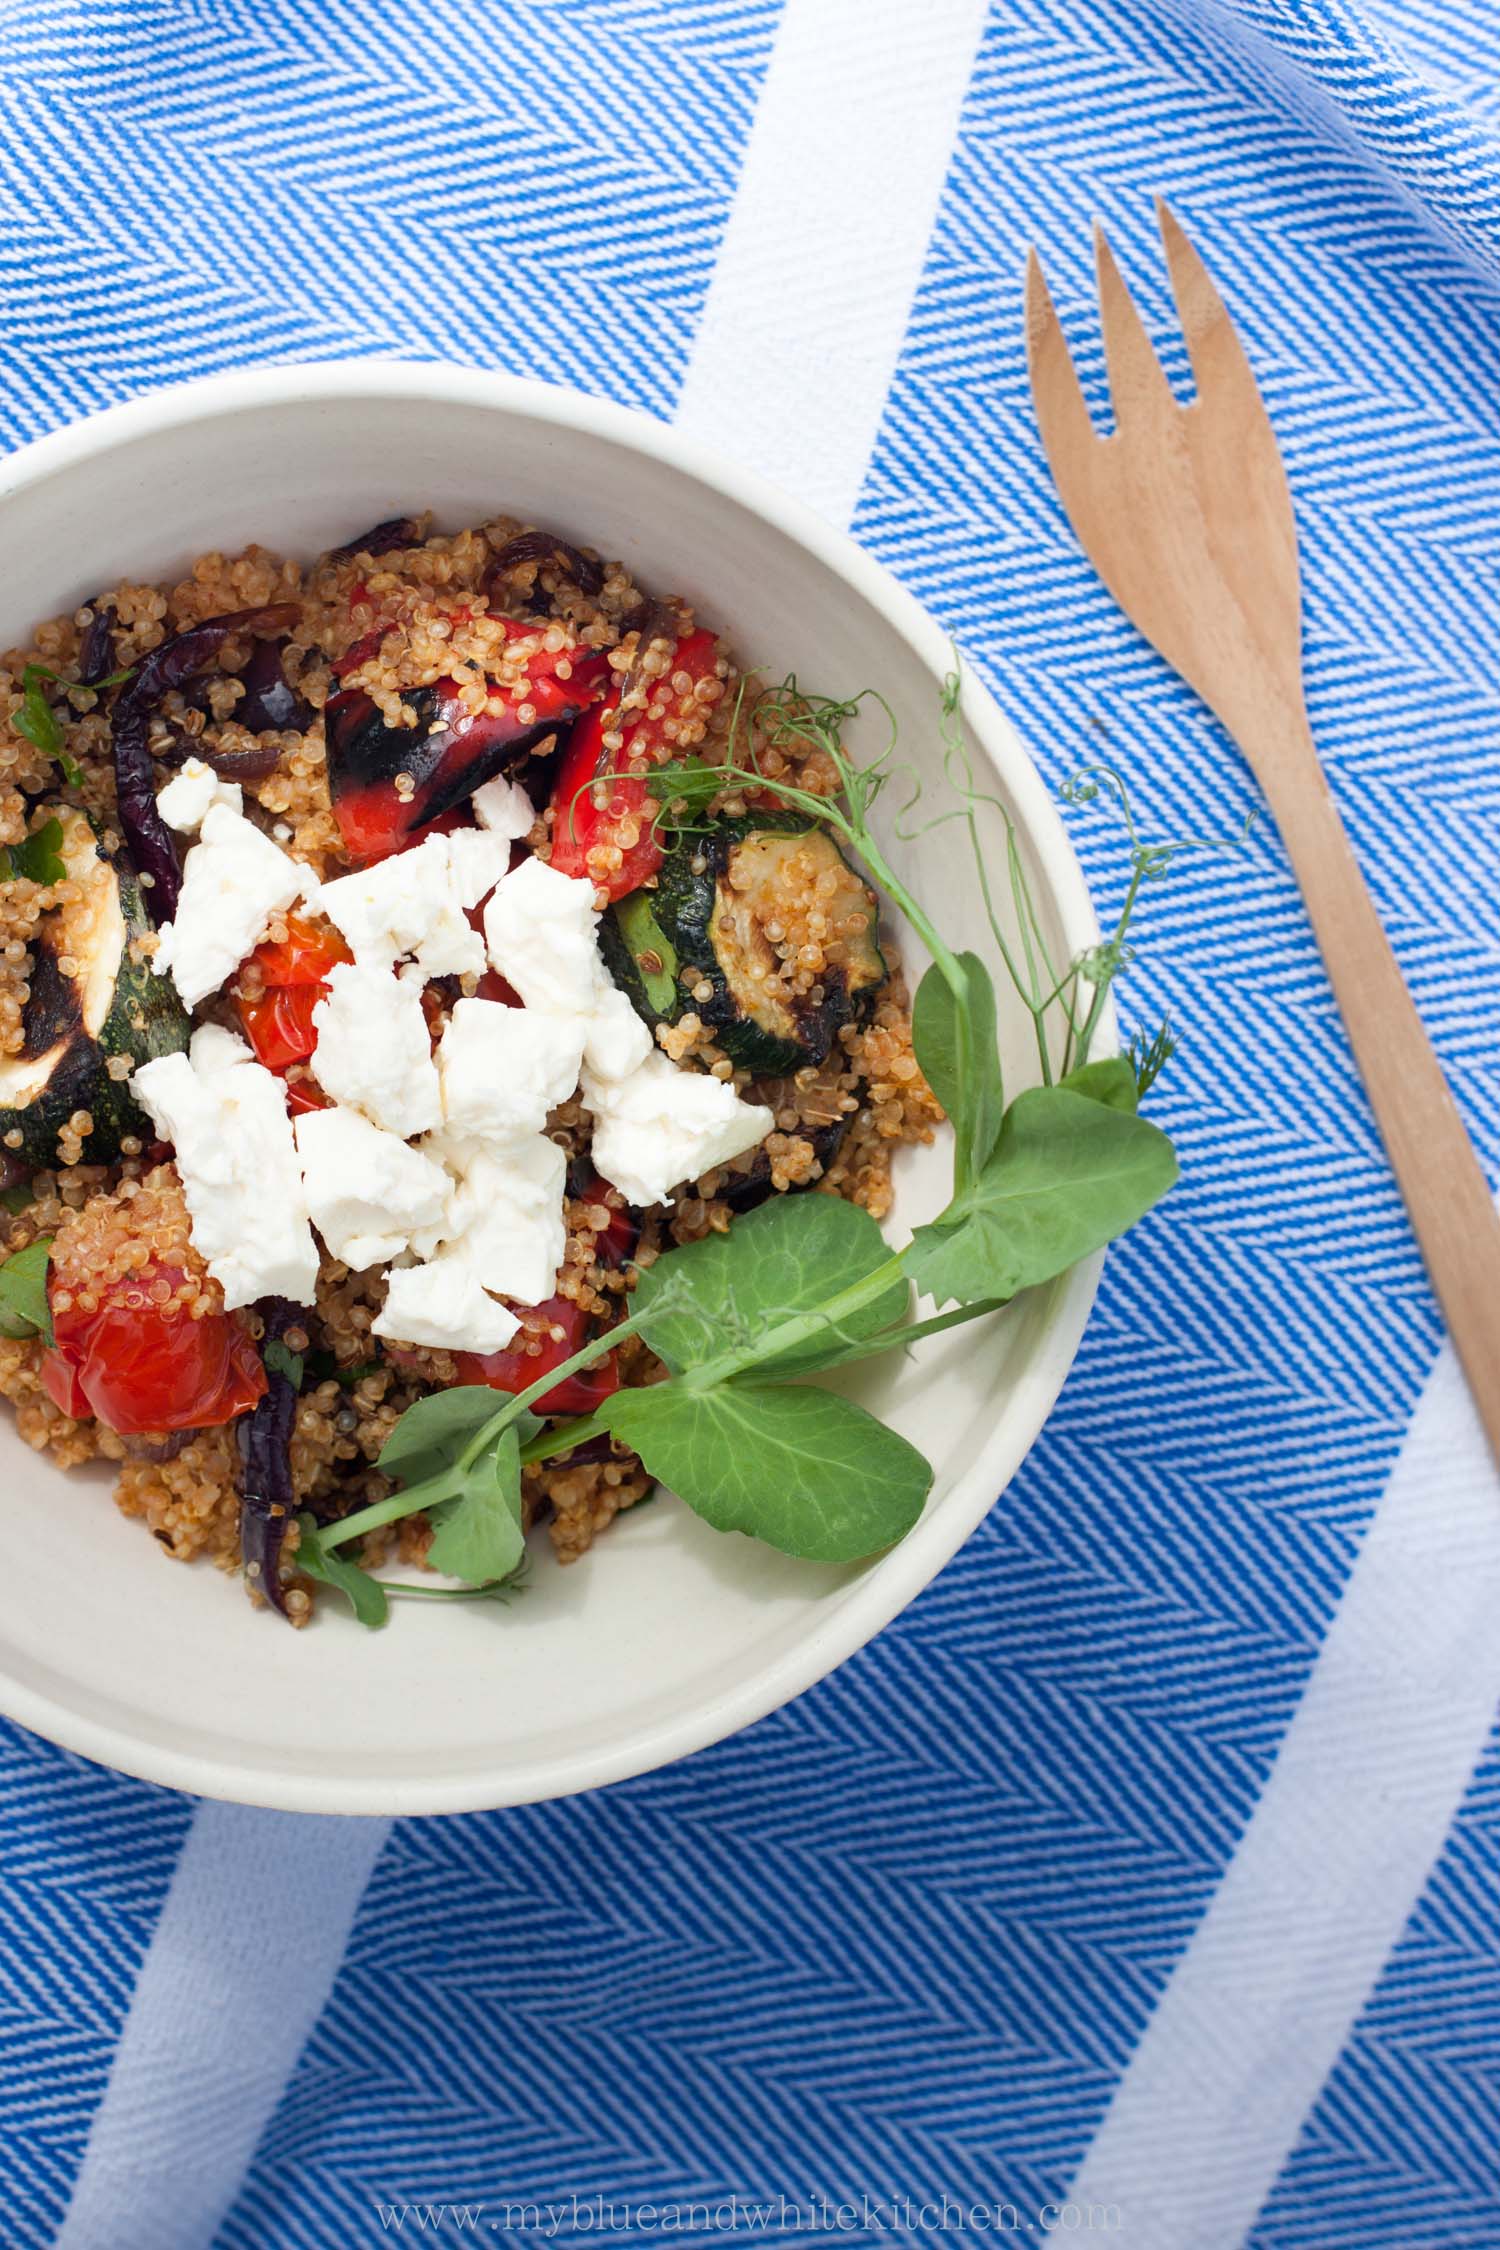
Some of the recipes that are high on my to-make list: Ginger-Shiitake Miso Broth with Chickpea Tofu, Hearty Morning Glory Loaf, Almond Butter Brownies, Chickpea Polenta with Sautéed Spring Vegetables, Sweet Flatbread with Grilled Berries, Quinoa Falafel with Romanesco Sauce, Baked Buttermilk Onion Rings, and Baby Kale Caesar Salad. I'm already drooling here, what about you?

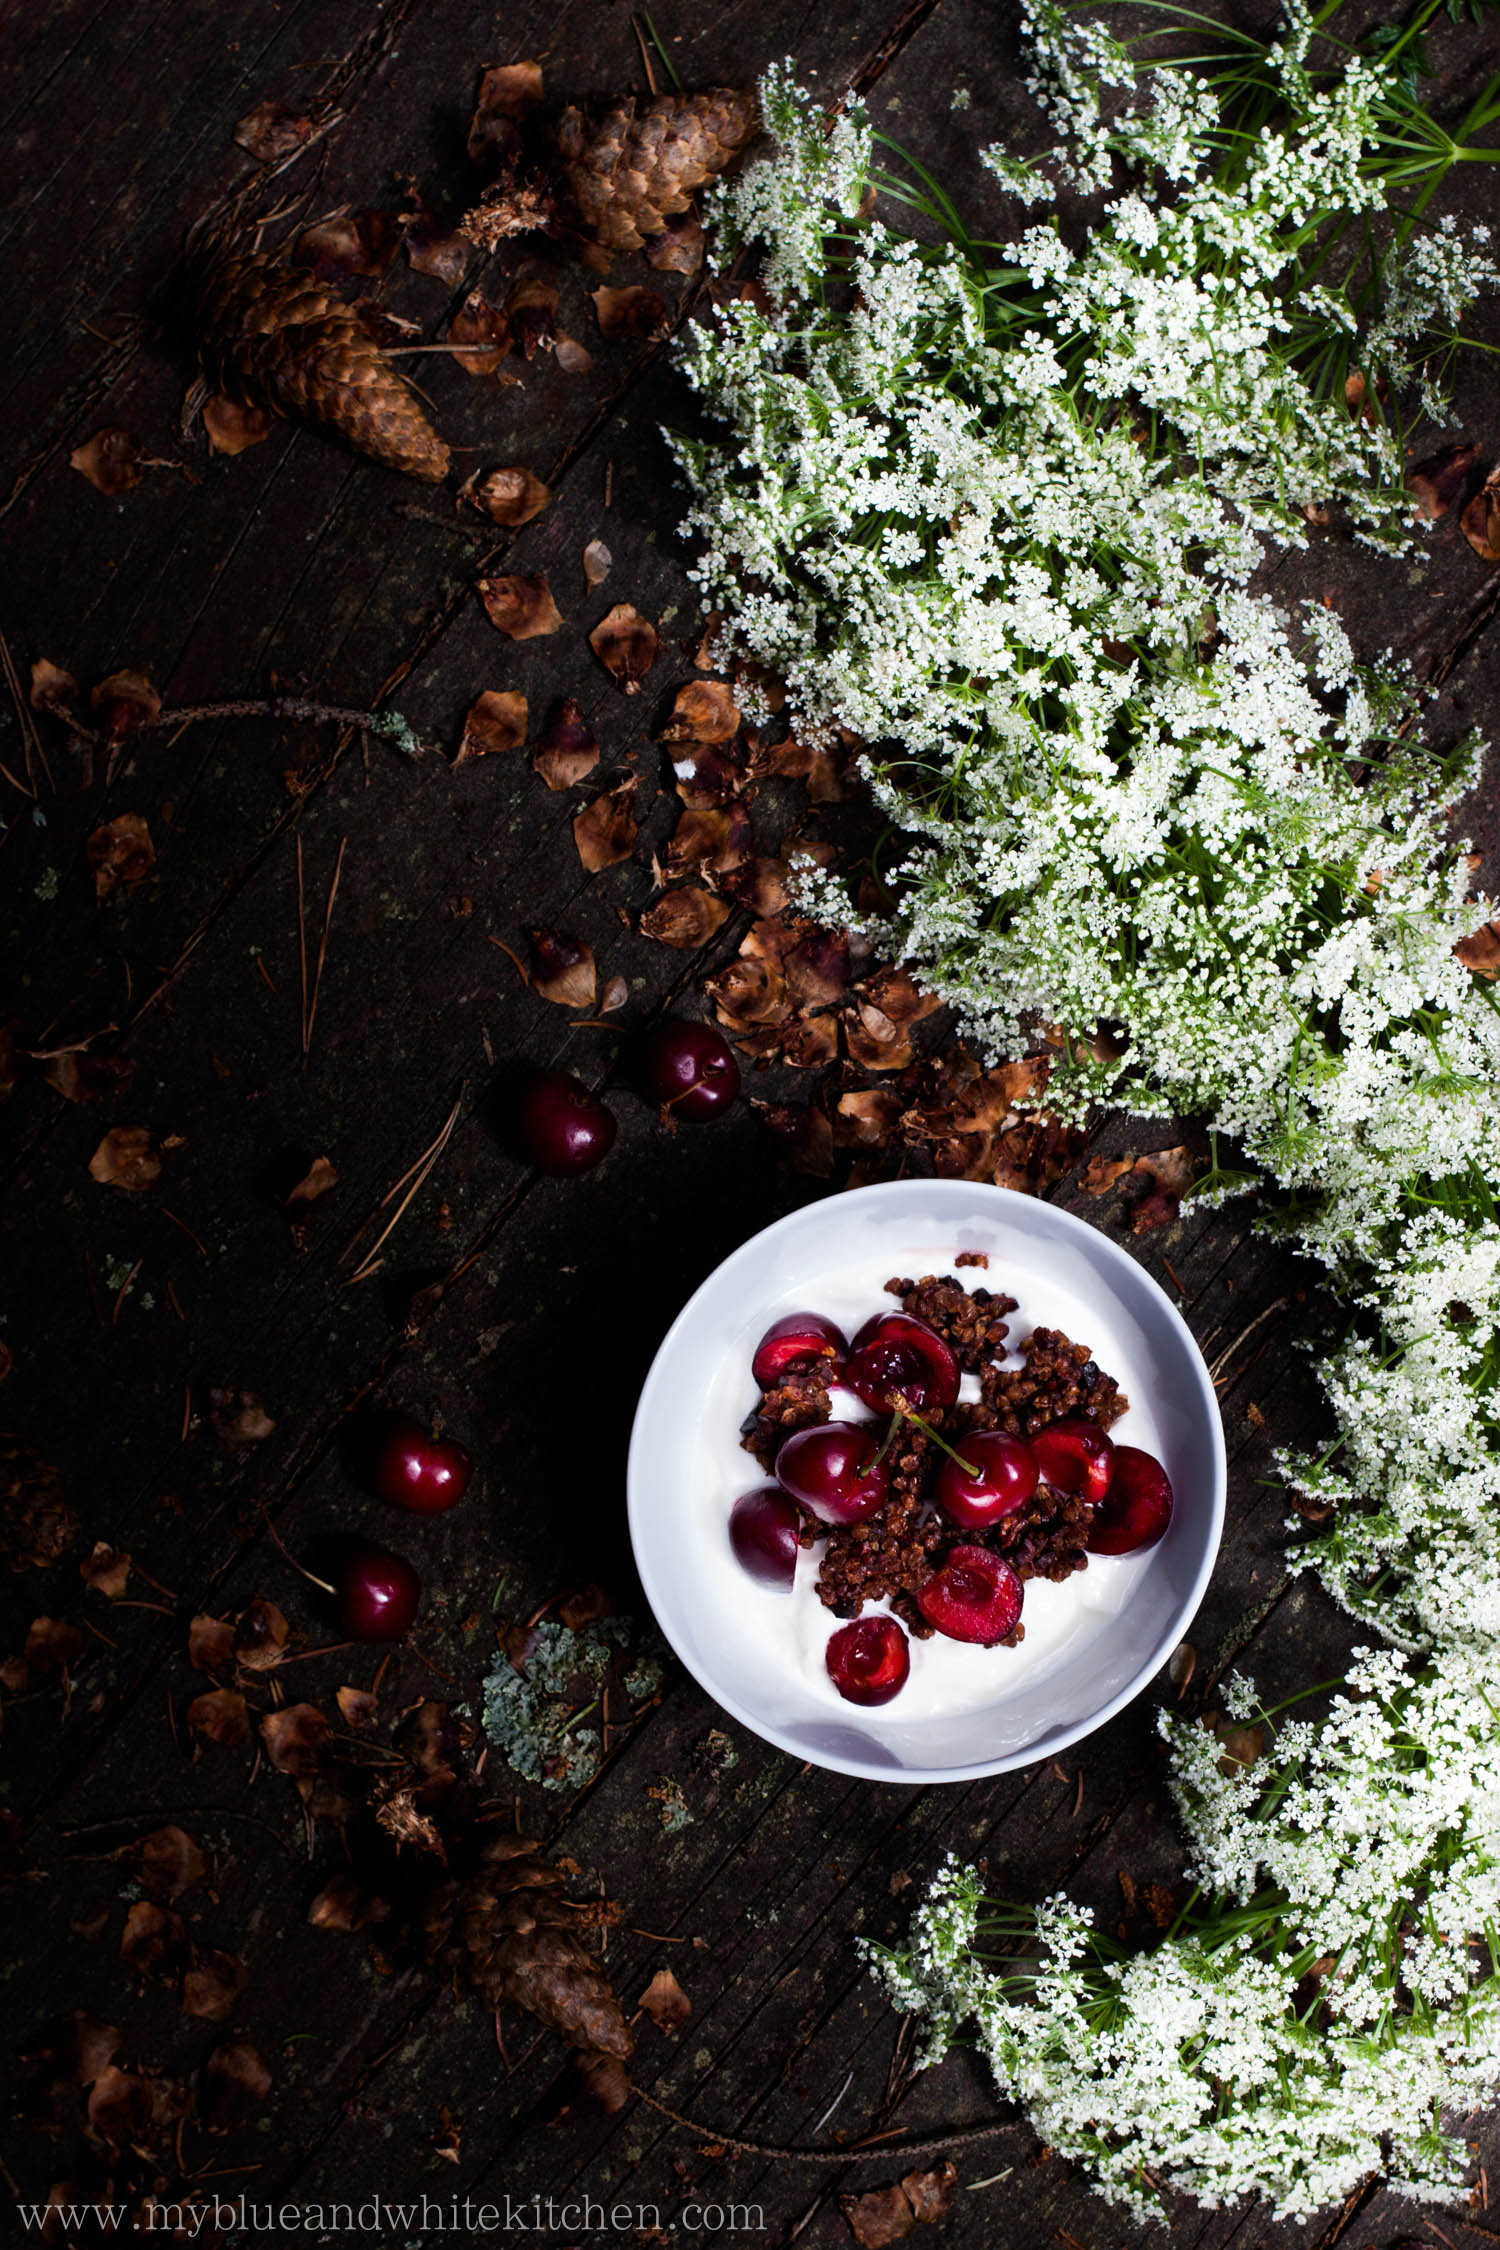
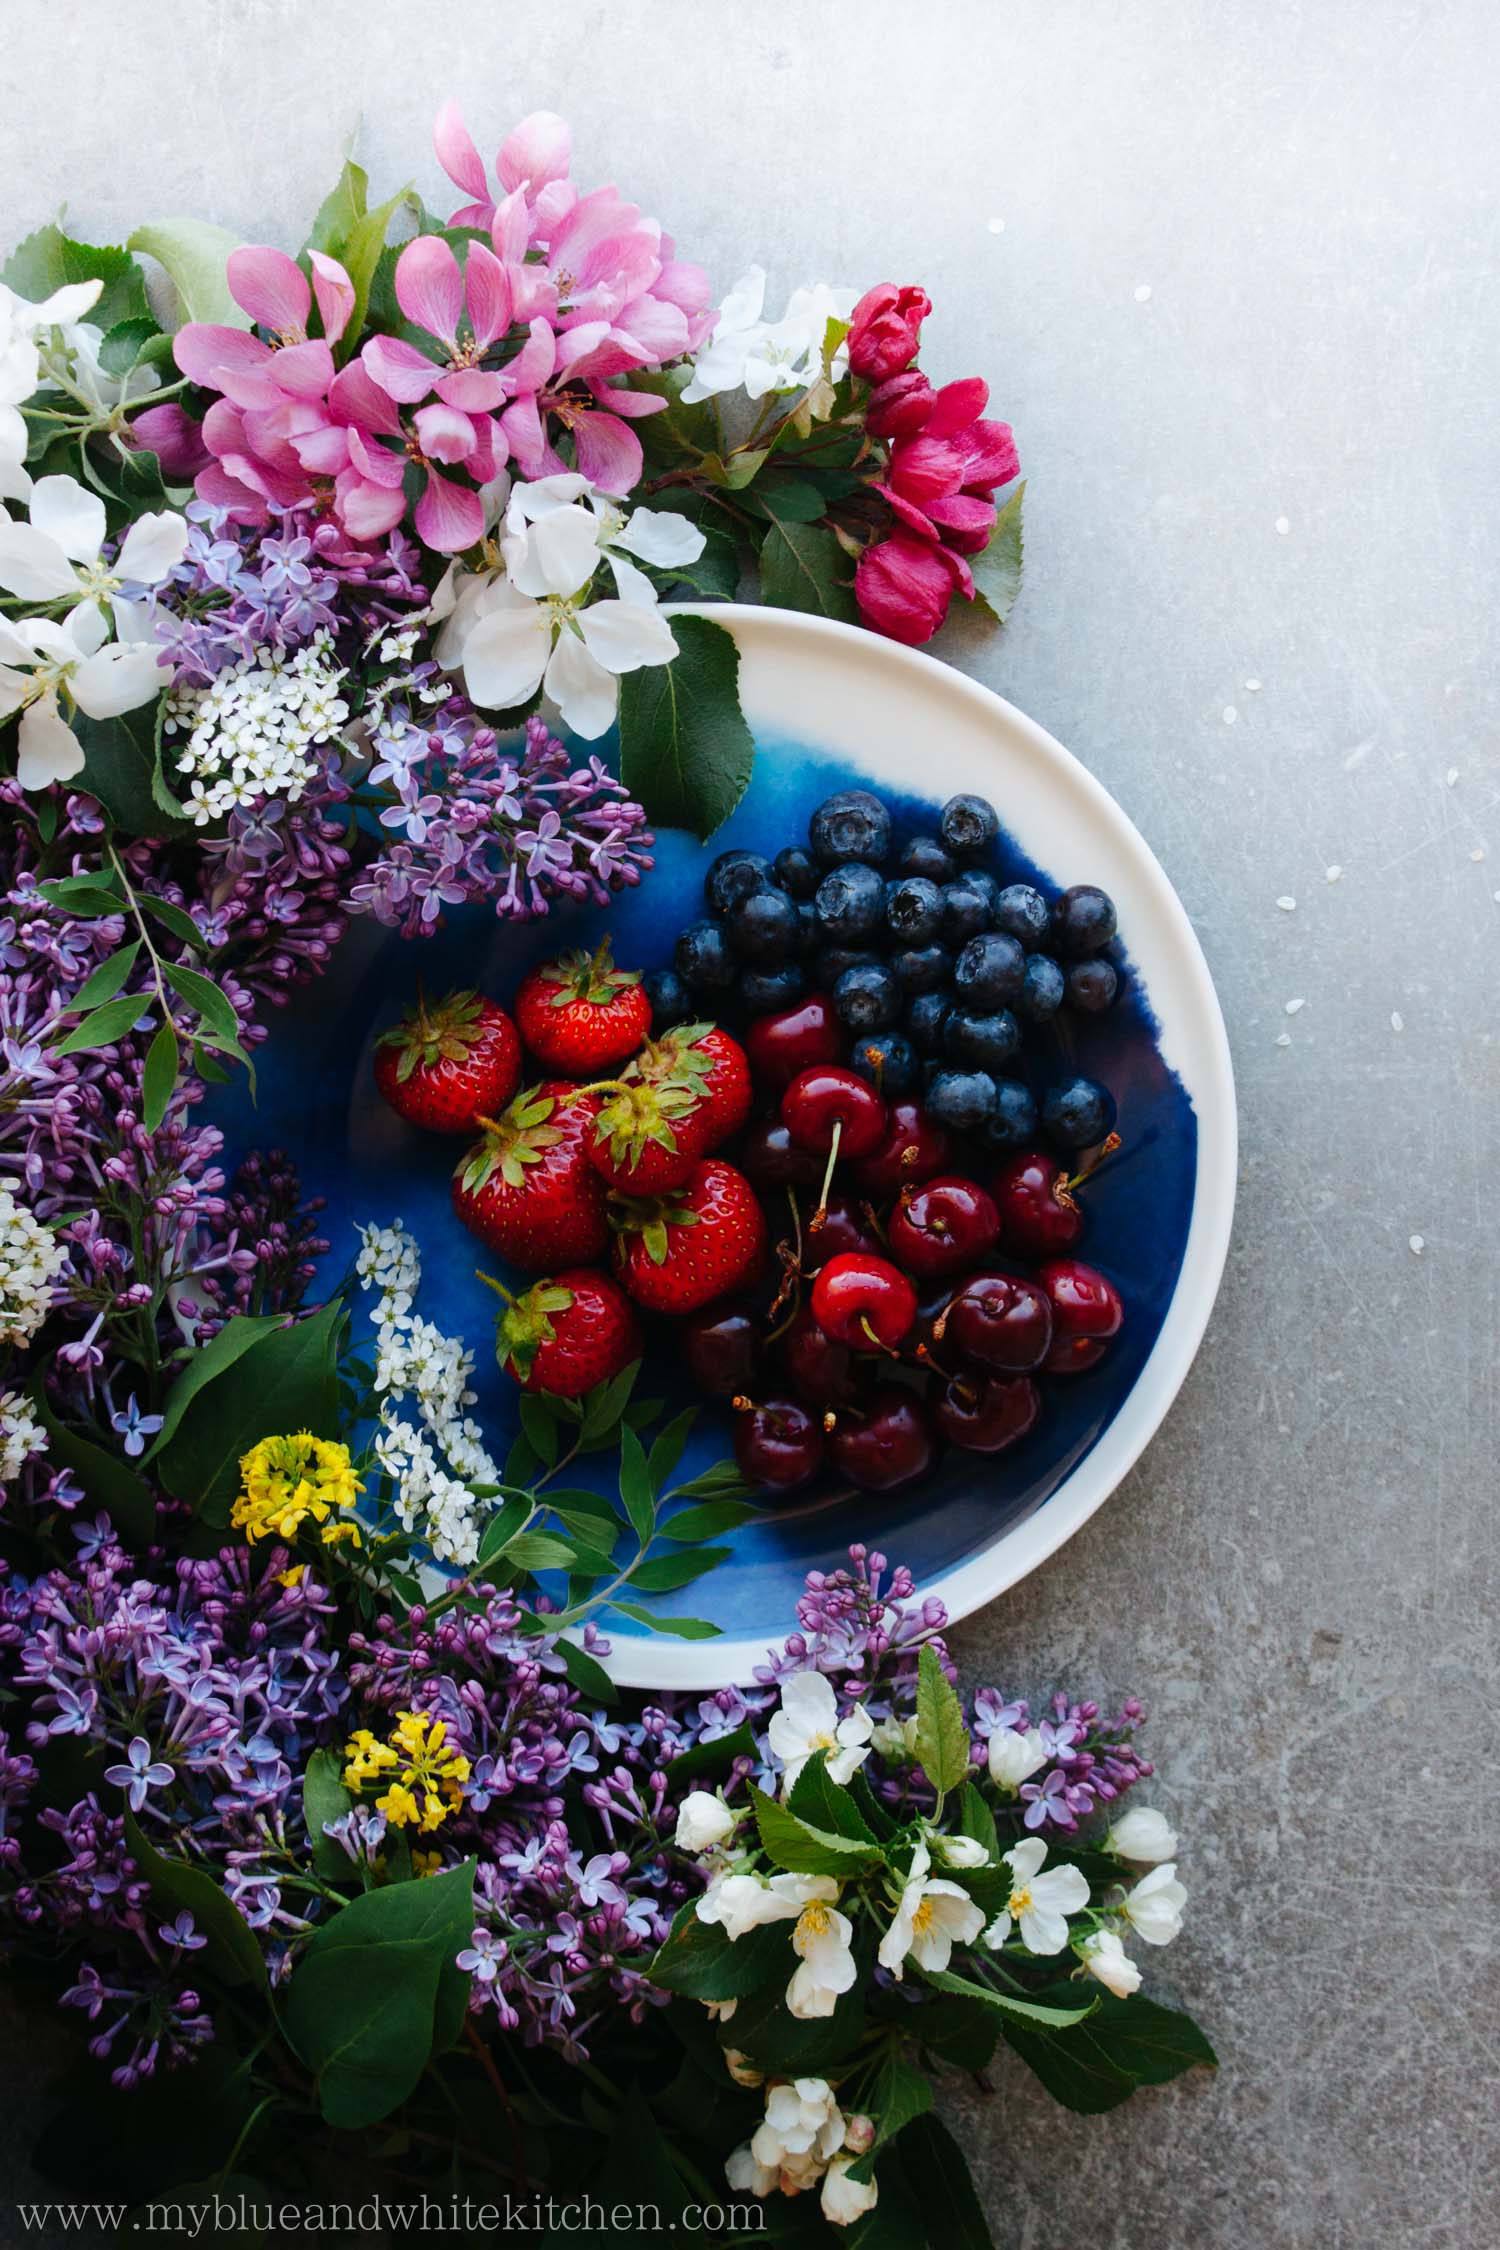
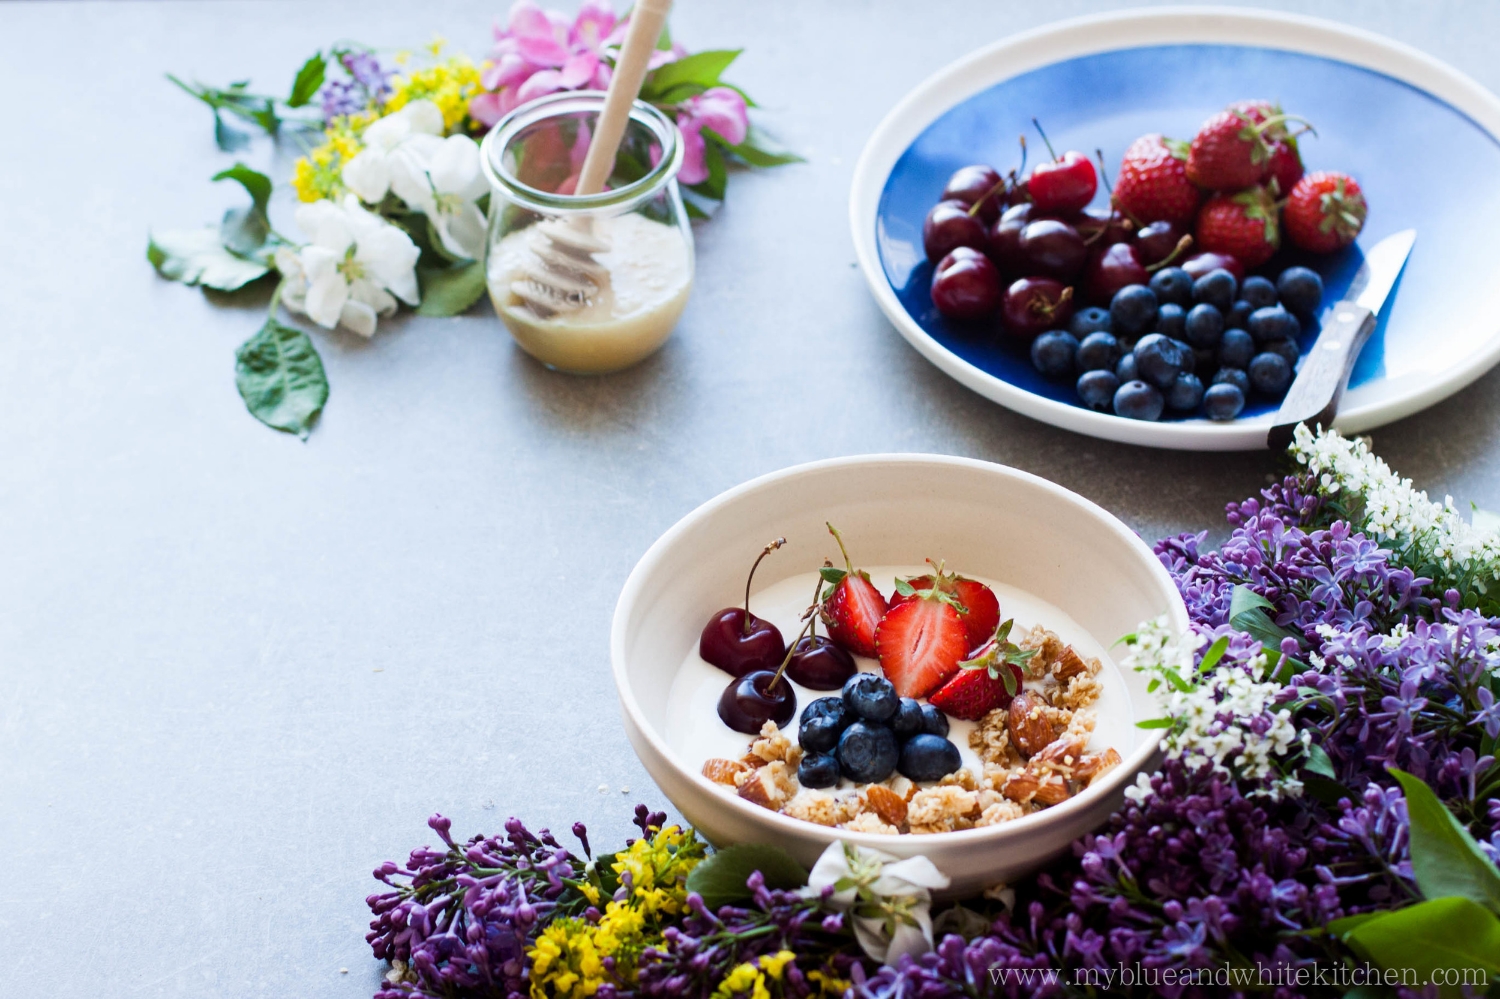
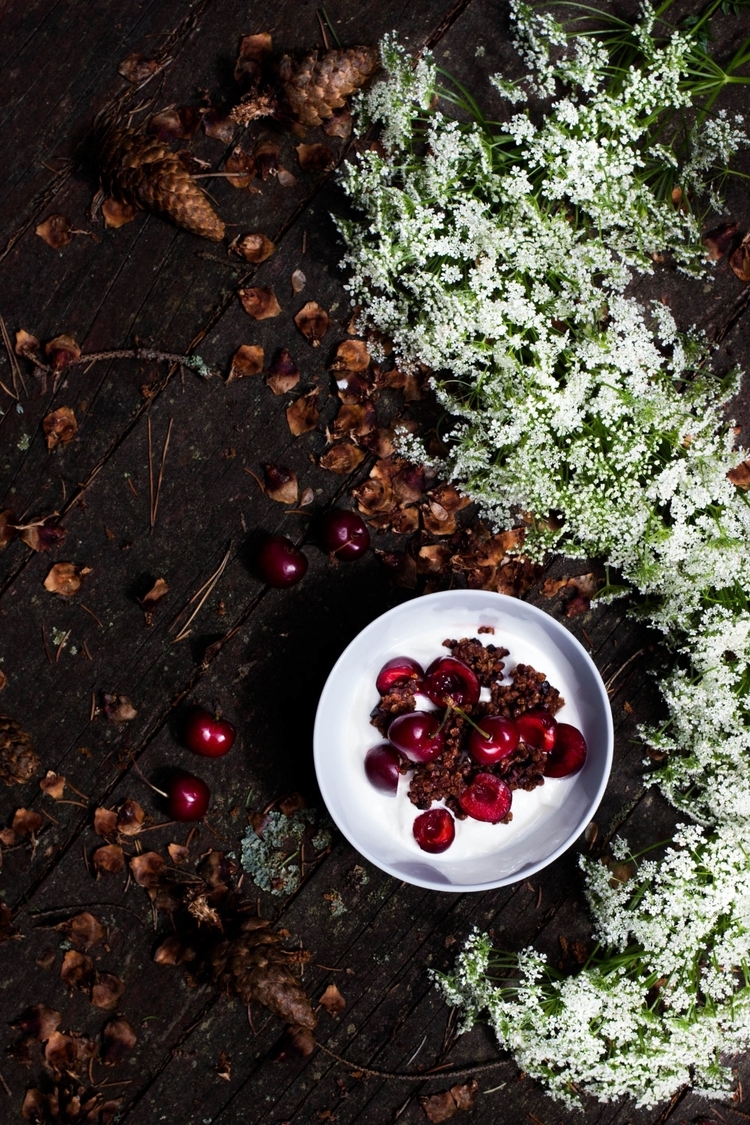
When Lindsey asked me whether I was interested in sharing one of her book's recipes on my blog, I knew that the Clumpy Granola with Stewed Rhubarb would be the one. As some of you probably know, I'm a huge fan of granola and rhubarb is one of my all-time favorite ingredients. The thought of combining these two favorite things sounded perfect. In this recipe, chickpea flour is used to create a wonderfully clumpy granola without the need to add egg whites. I ended up baking this granola numerous times because one batch didn't last very long. The first time I made the recipe, I used extra virgin olive oil instead of coconut oil and it worked out perfectly. You may want to add some dried fruit or berries to your granola once baked and cooled. For example, I added candied ginger to the batch I photographed for this post and loved it. For a spring and summer version you can add dried flowers to the baked granola to make it look extra pretty. As a final note, the stewed rhubarb tastes equally great with a scoop of vanilla ice cream and cacao nibs sprinkled on top. Just sayin'...
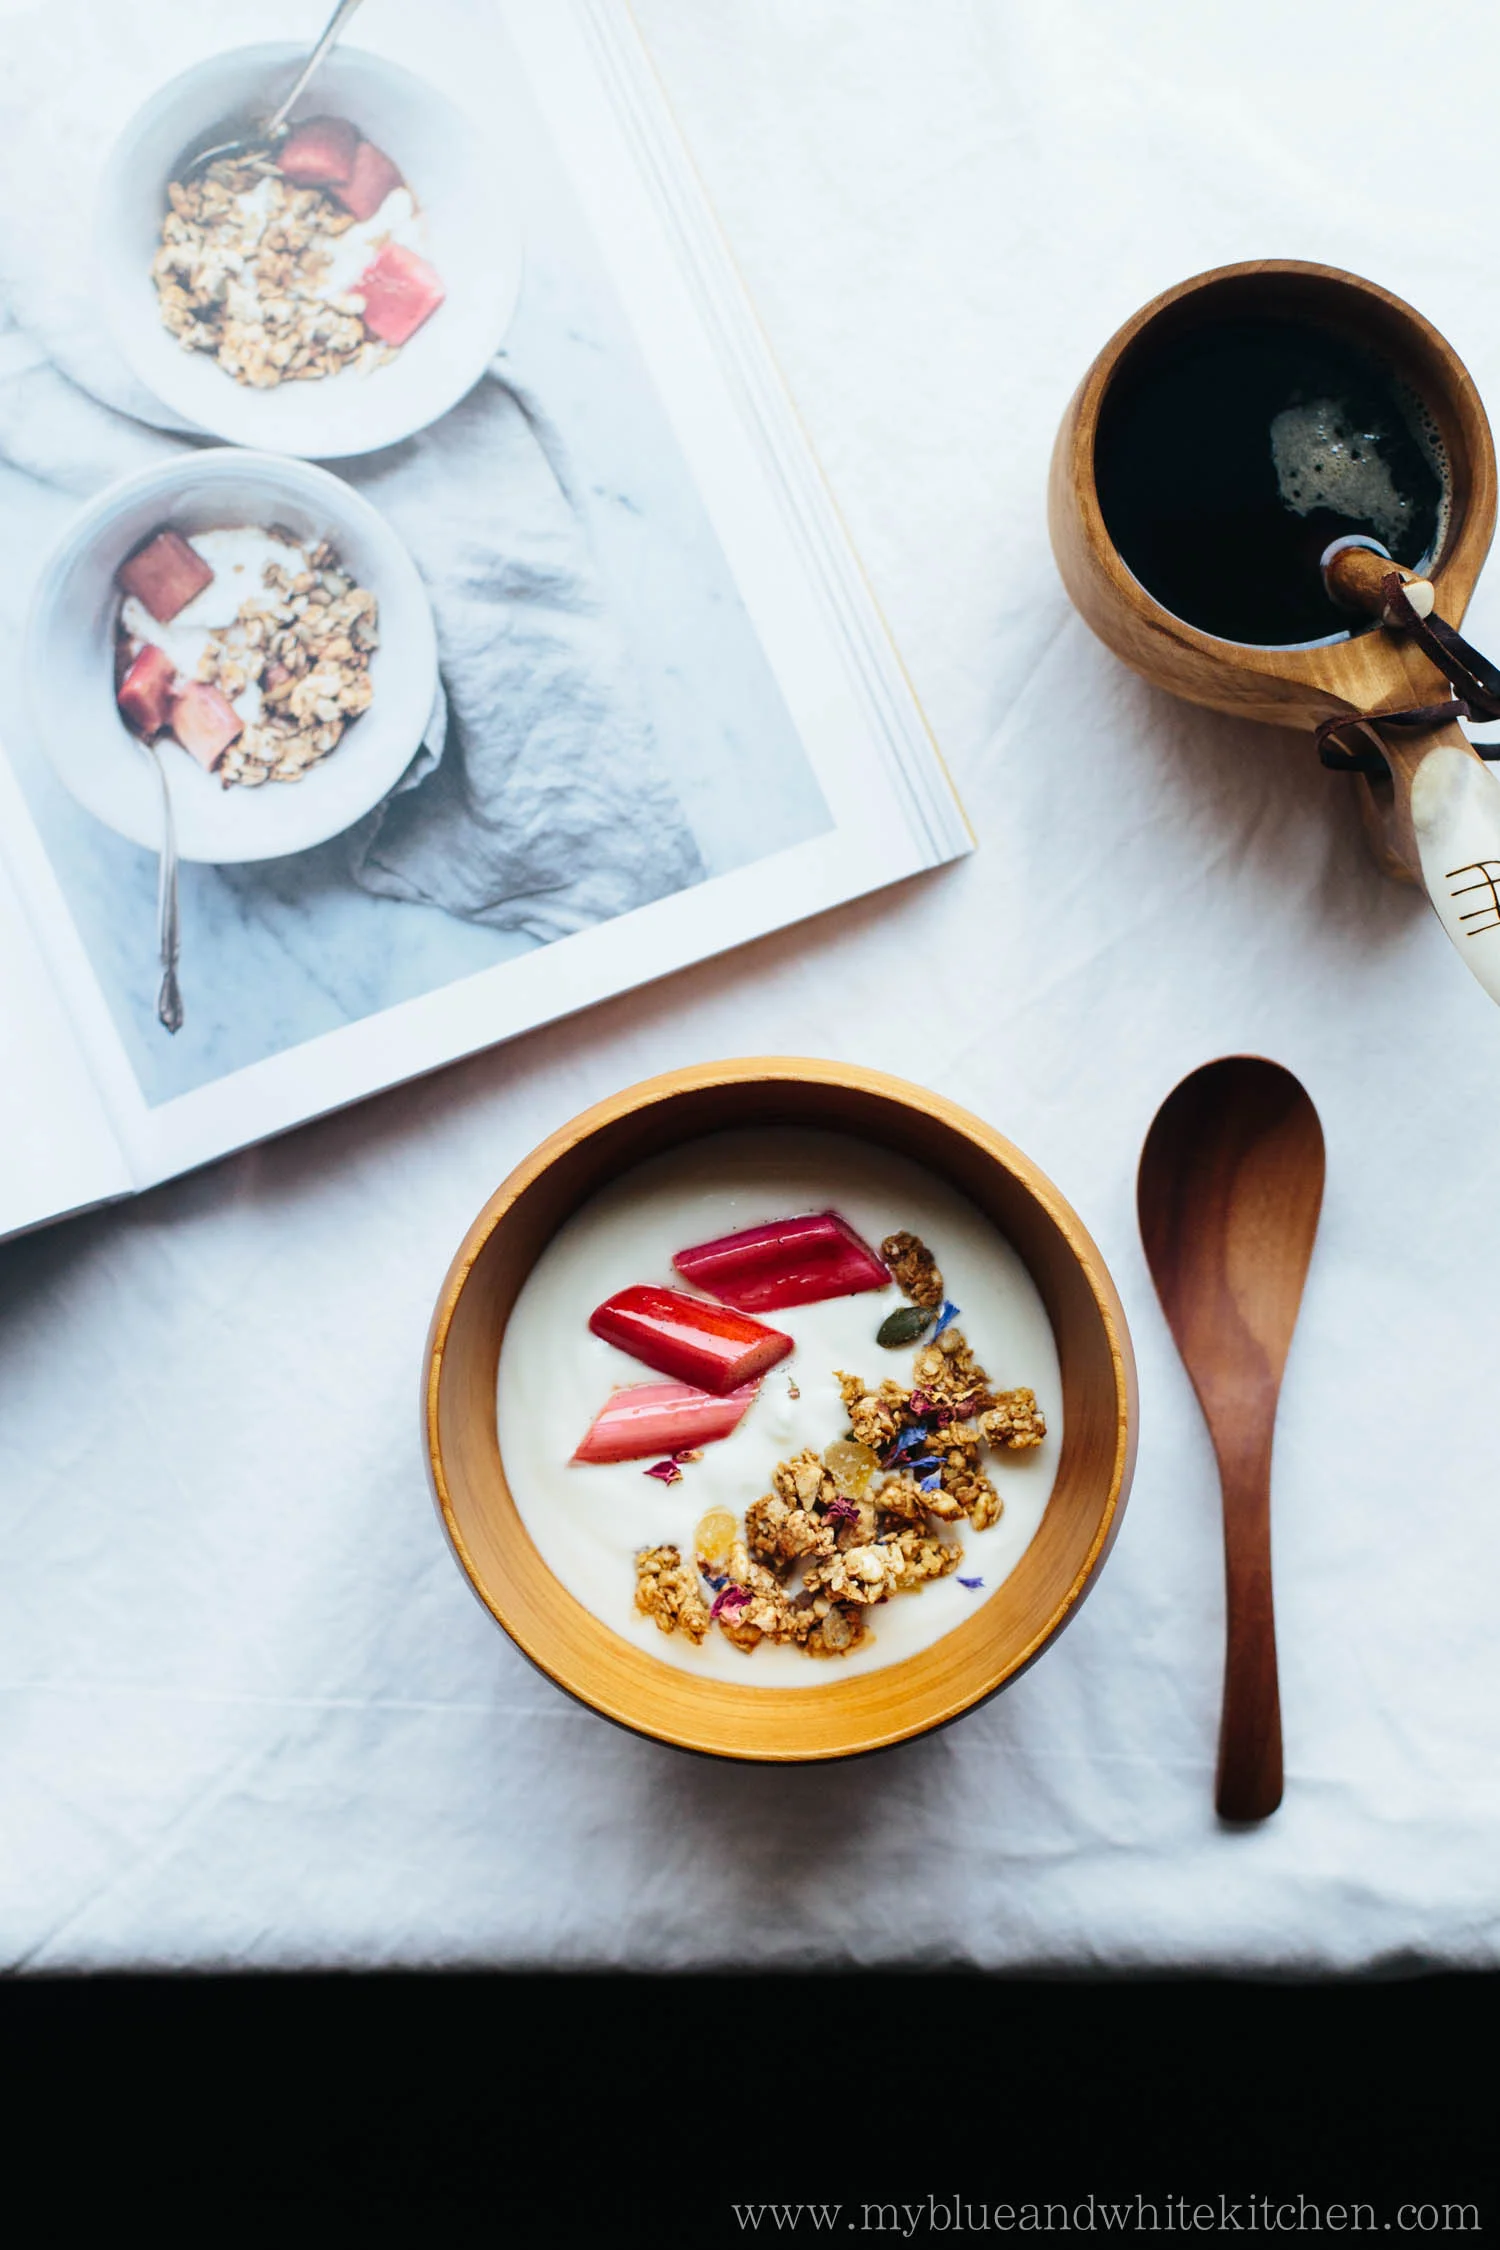
Clumpy Granola with Stewed Rhubarb
Recipe from Chickpea Flour Does it All: Gluten-Free, Dairy-Free, Vegetarian Recipes for Every Taste and Season by Lindsey S. Love
makes 3 cups of granola
Oats are naturally gluten-free. However, they're often processed in facilities that also process wheat or other products containing gluten, so that oats often get contaminated. If you want to make sure that your oats are gluten-free always make sure to buy oats that are labeled as such.
For a dairy-free version, Lindsey suggests to serve this granola with coconut yogurt.
for the granola:
210 g (2 cups) old-fashioned rolled oats
85 g (½ cup) almonds, chopped
15 g (½ cup) puffed brown rice
60 g (½ cup) chickpea flour
33 g (¼ cup) pumpkin seeds
35 g (¼ cup) sunflower seeds
1 tsp ground cinnamon
1 tsp ground ginger
½ tsp ground nutmeg
½ tsp fine sea salt
80 ml (⅓ cup) maple syrup
60 ml (¼ cup) coconut oil, melted
for the stewed rhubarb:
1 rhubarb stalk, trimmed & cut into 1-inch pieces (if using young, thin stalks, use 2)
1 tbsp maple syrup
1 tsp lemon juice
½ vanilla bean pod, split lengthwise and seeds scraped out or ½ tsp pure vanilla extract or vanilla paste
plain yogurt, to serve
Preheat oven to 150°C (300°F) and line a baking sheet with parchment paper. Set aside.
In a large bowl, whisk together all the dry ingredients until thoroughly combined. In a small bowl, whisk together the syrup and oil, and then fold into the dry mix with a wooden spoon or rubber spatula. Mix for 2 to 3 minutes, until the granola is wet and clumpy.
Transfer the granola to the prepared baking sheet and use the back of your spoon or spatula to spread it out in an even layer.
Baake for 40 to 45 minutes, rotating halfway through, until lightly browned and fragrant. Remove from the oven; let cool completely. Gently break up the granola into clumps and store in an airtight container at room temperature for up to 2 weeks.
To make the stewed rhubarb, heat a small saucepan over medium-low heat; add the rhubarb, syrup, lemon juice, and vanilla bean, and stir. Cook for 6 to 8 minutes, until bubbling and the rhubarb is tender and loses a bit of its color. Remove from the heat and set aside.
Enjoy the granola and stewed rhubarb with yogurt.
Recipe from Chickpea Flour Does it All: Gluten-Free, Dairy-Free, Vegetarian Recipes for Every Taste and Season. ©Lindsey S. Love, 2016. Reprinted by permission of the publisher, The Experiment. Available wherever books are sold. theexperimentpublishing.com

Disclaimer: I was sent a copy of Chickpea Flour Does it All from the publisher, the Experiment, free of charge. However, I wasn't compensated for this review. As always, all opinions are my own.
Related Posts