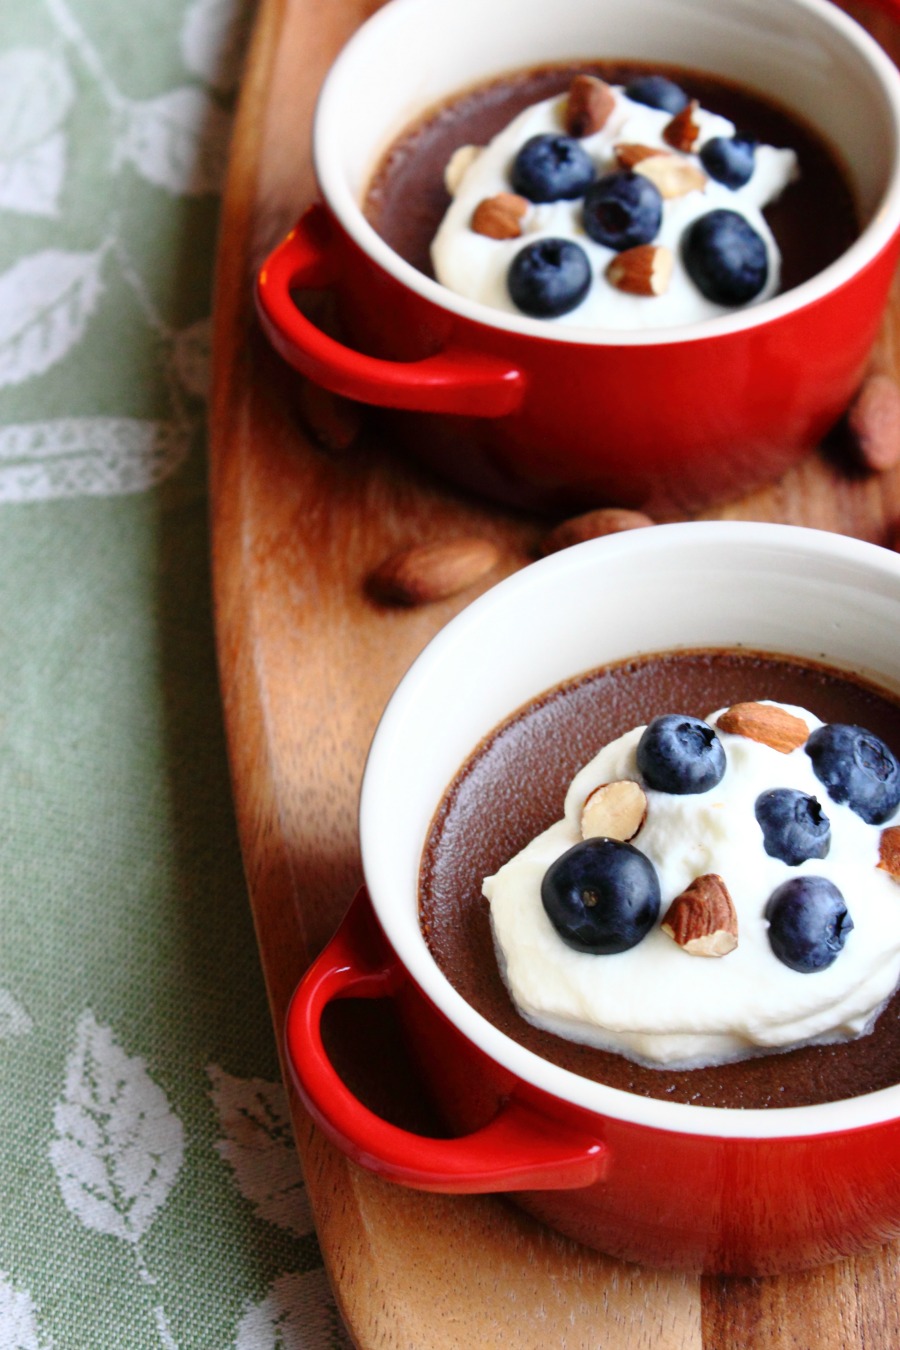
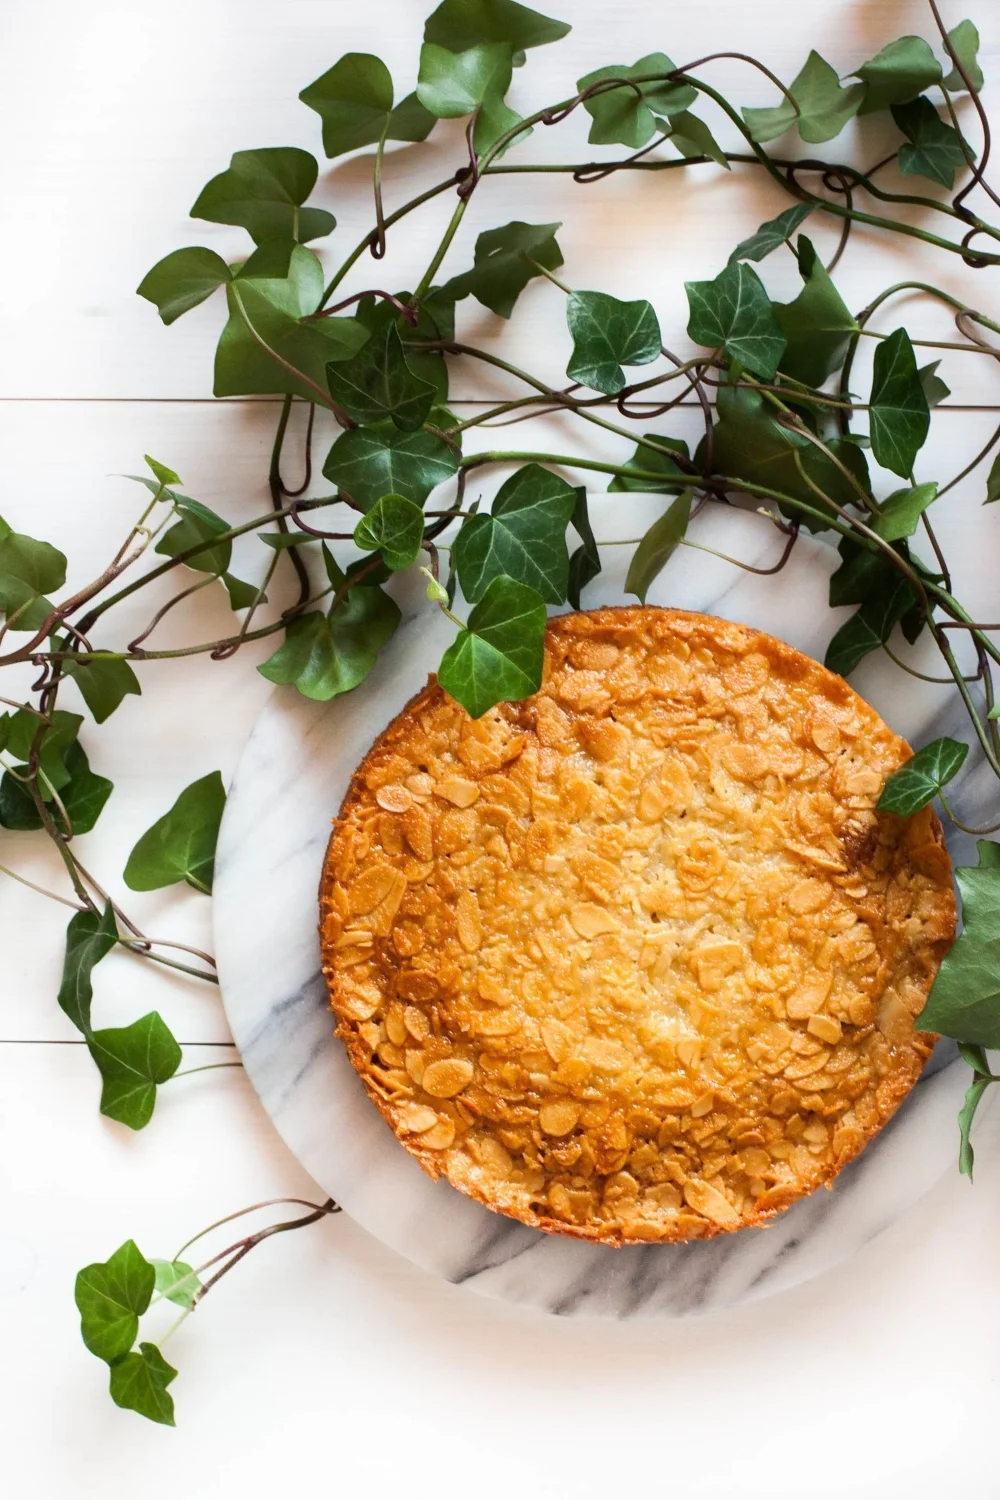
In order to deal with 7 lb of zucchini, I've tried to come up with different ways to use summer squash in my kitchen. There were so many great suggestions when I asked for recipe ideas on Instagram! Curries, jam, latkes, tempura, soup, pickles... As one of you predicted, the skin was very tough so I came to the conclusion that the best way to use it would be to grate it. I don't know why but the moment I saw this giant all I could think of were baked goods. Zucchini bread, cakes, and muffins. I also had the idea of zucchini waffles with crème fraîche and gravlax that I yet have to try. What is your favorite way to prepare this summer veggie? I still have a big piece left...

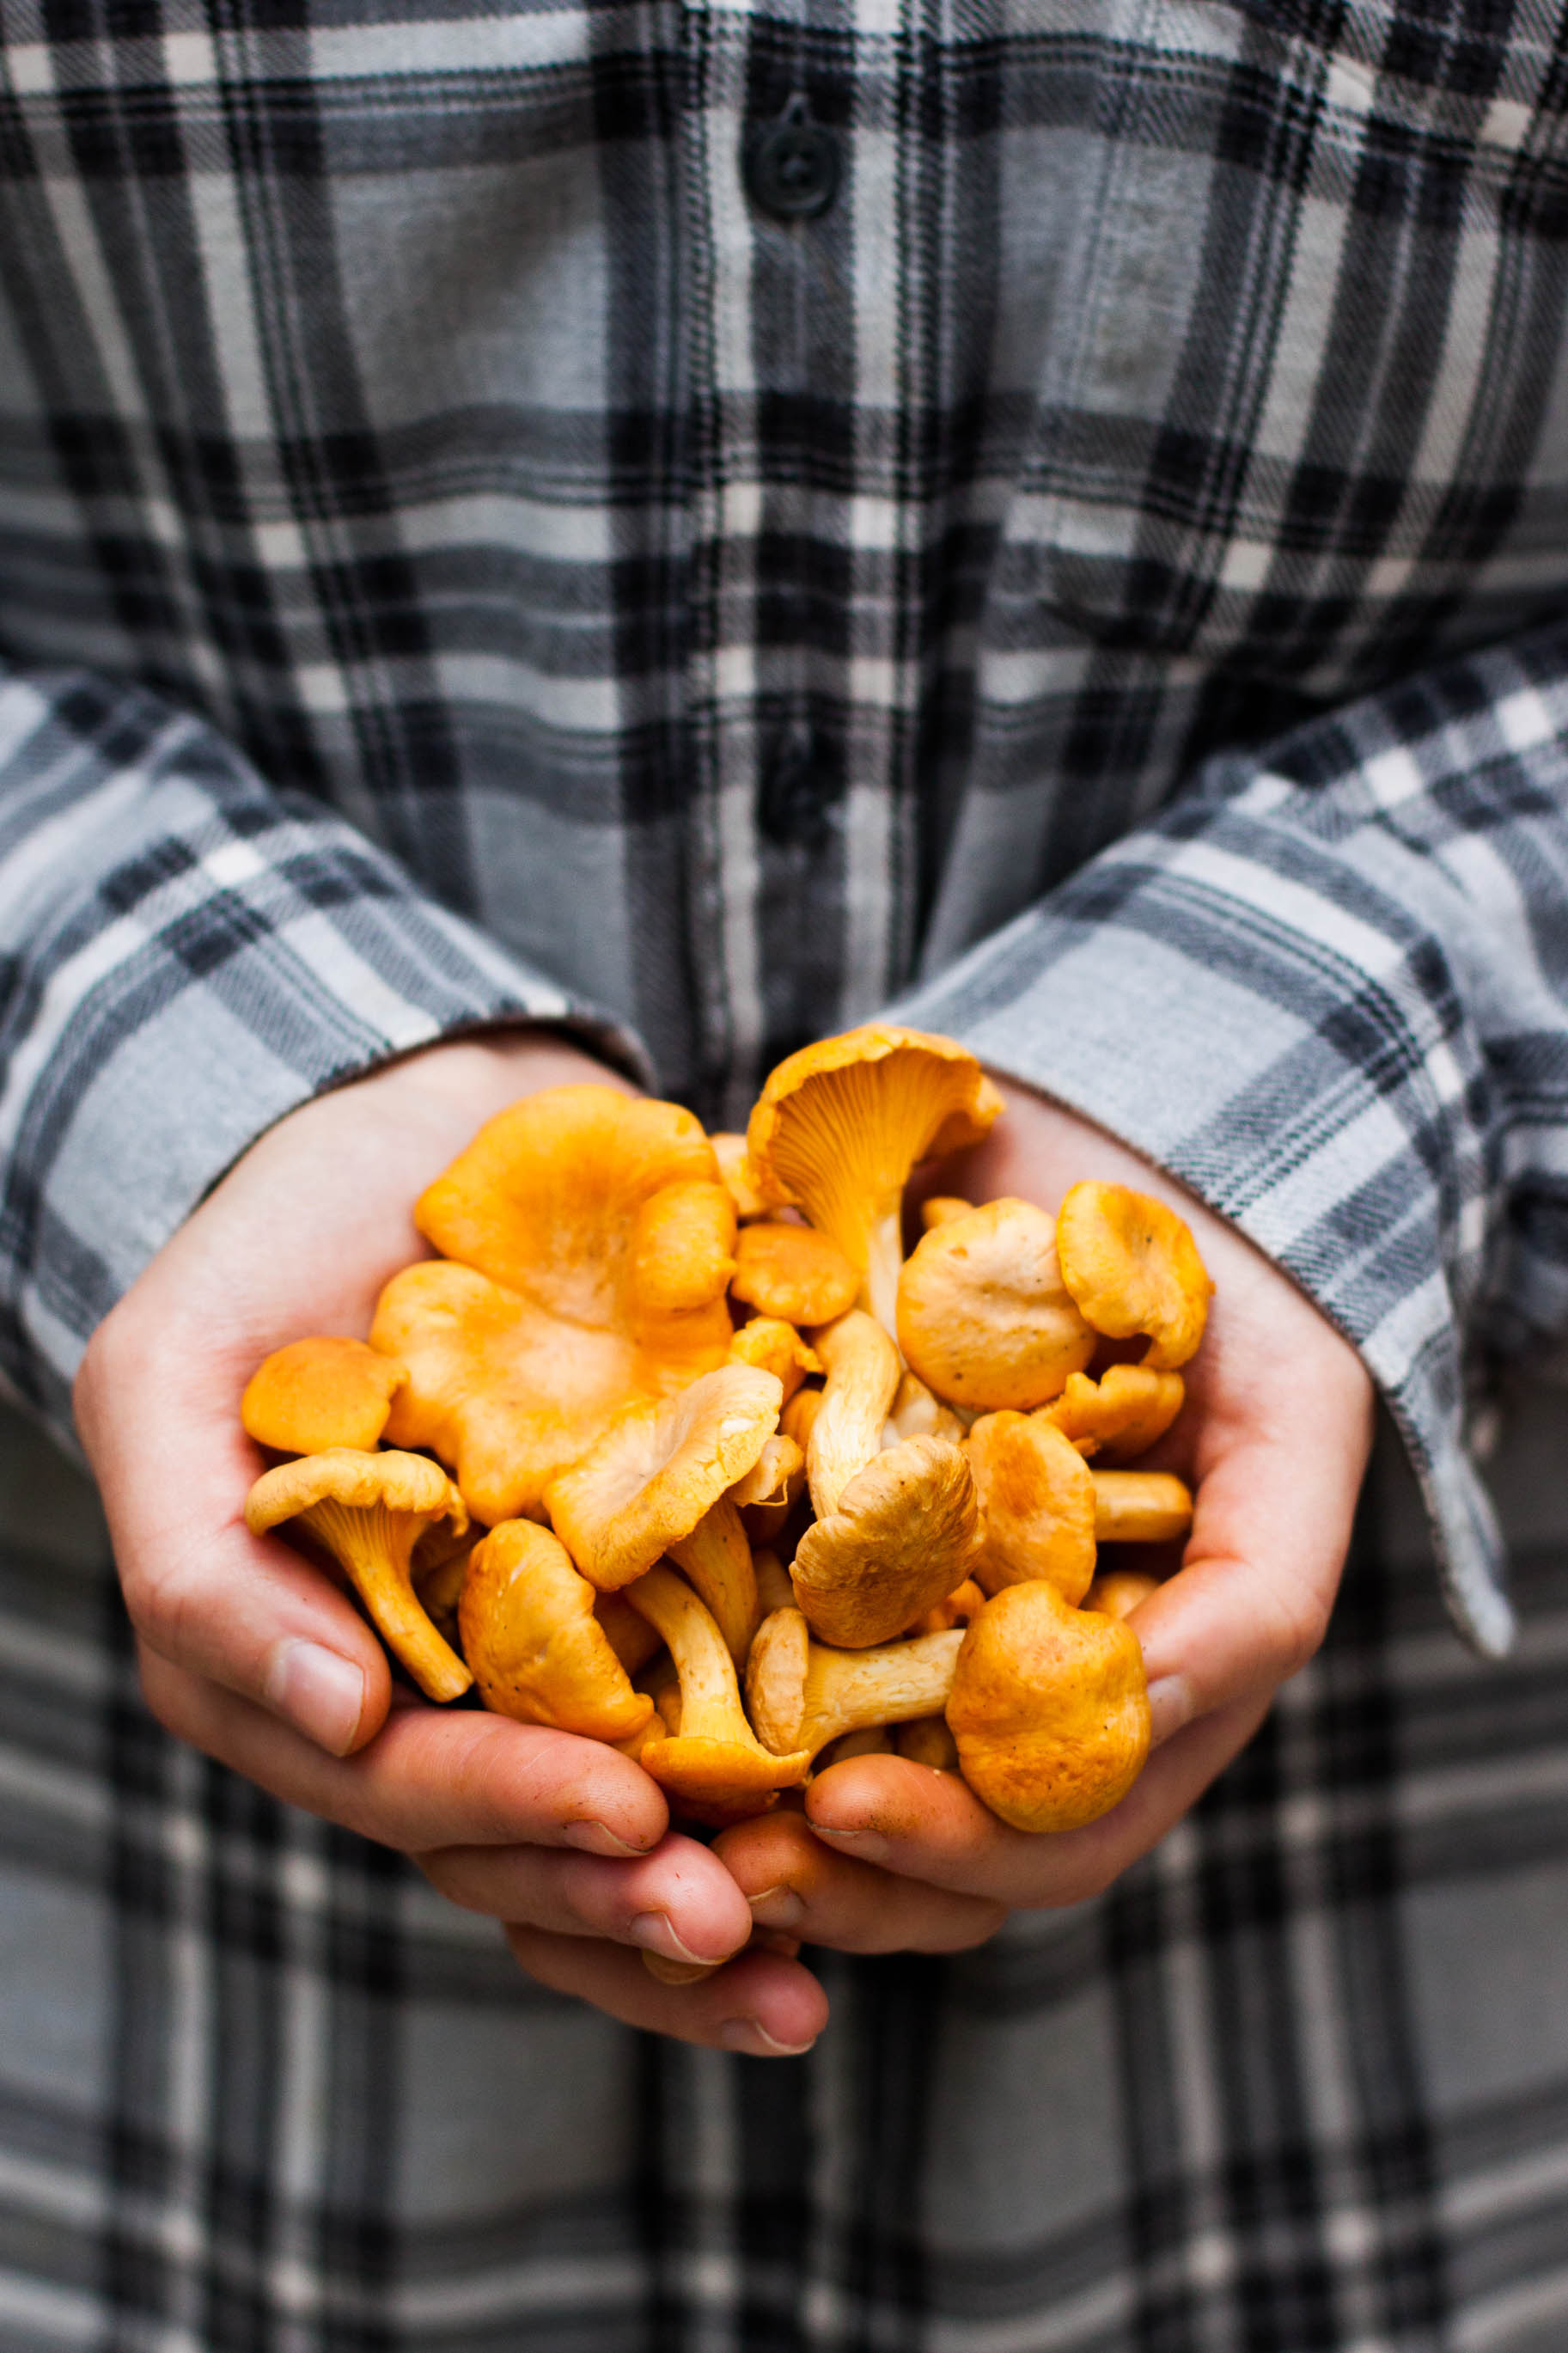
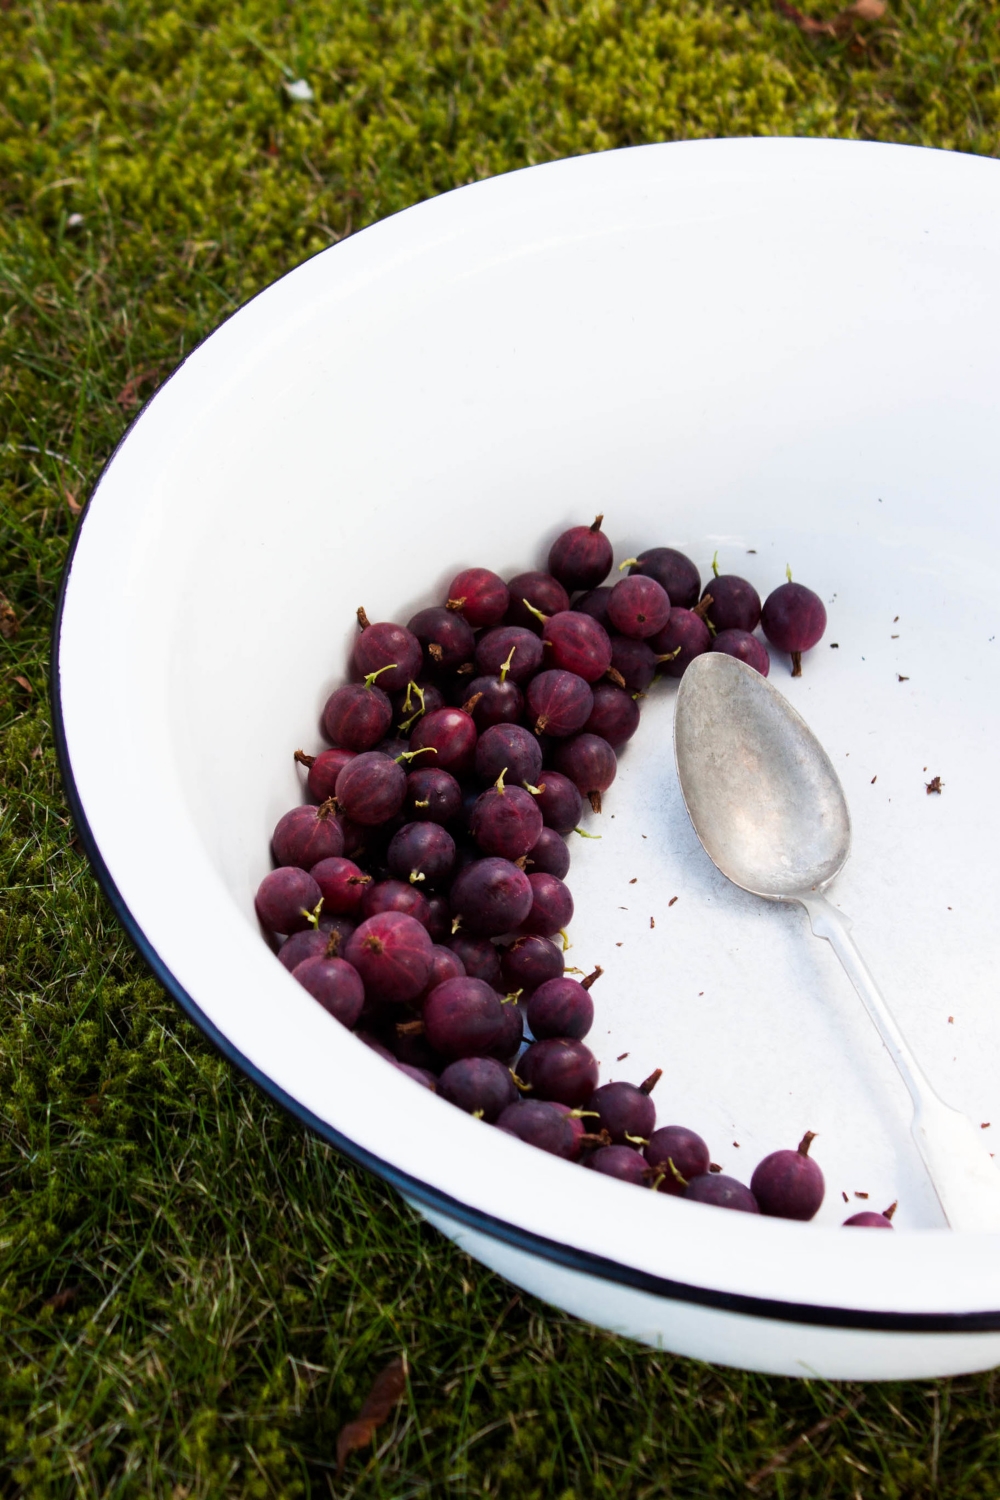
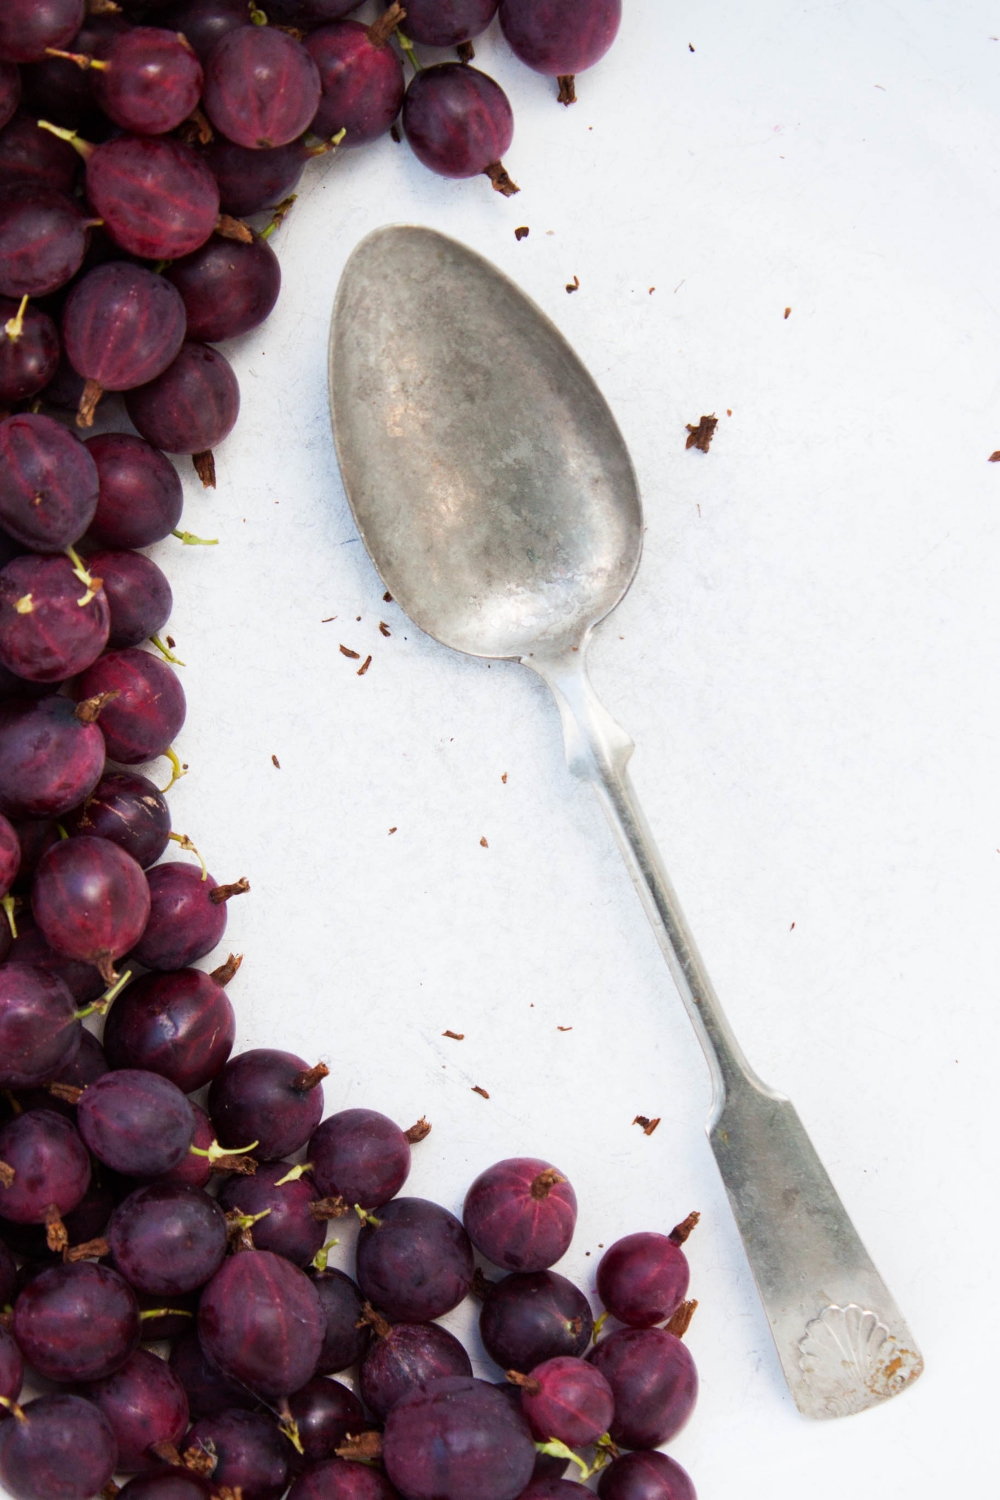
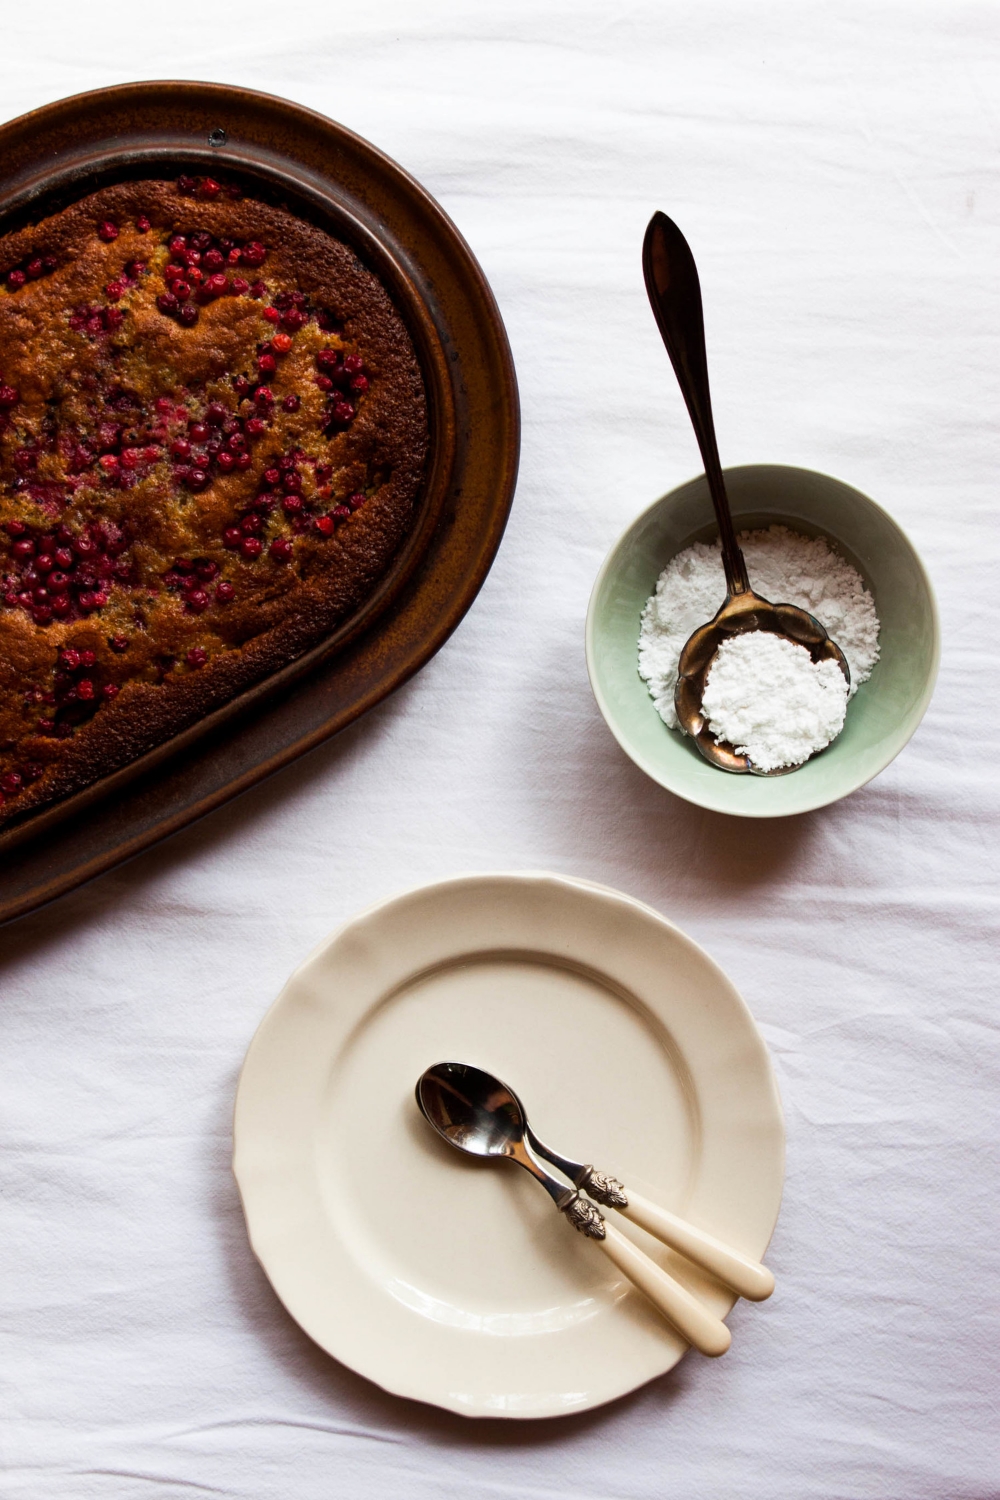
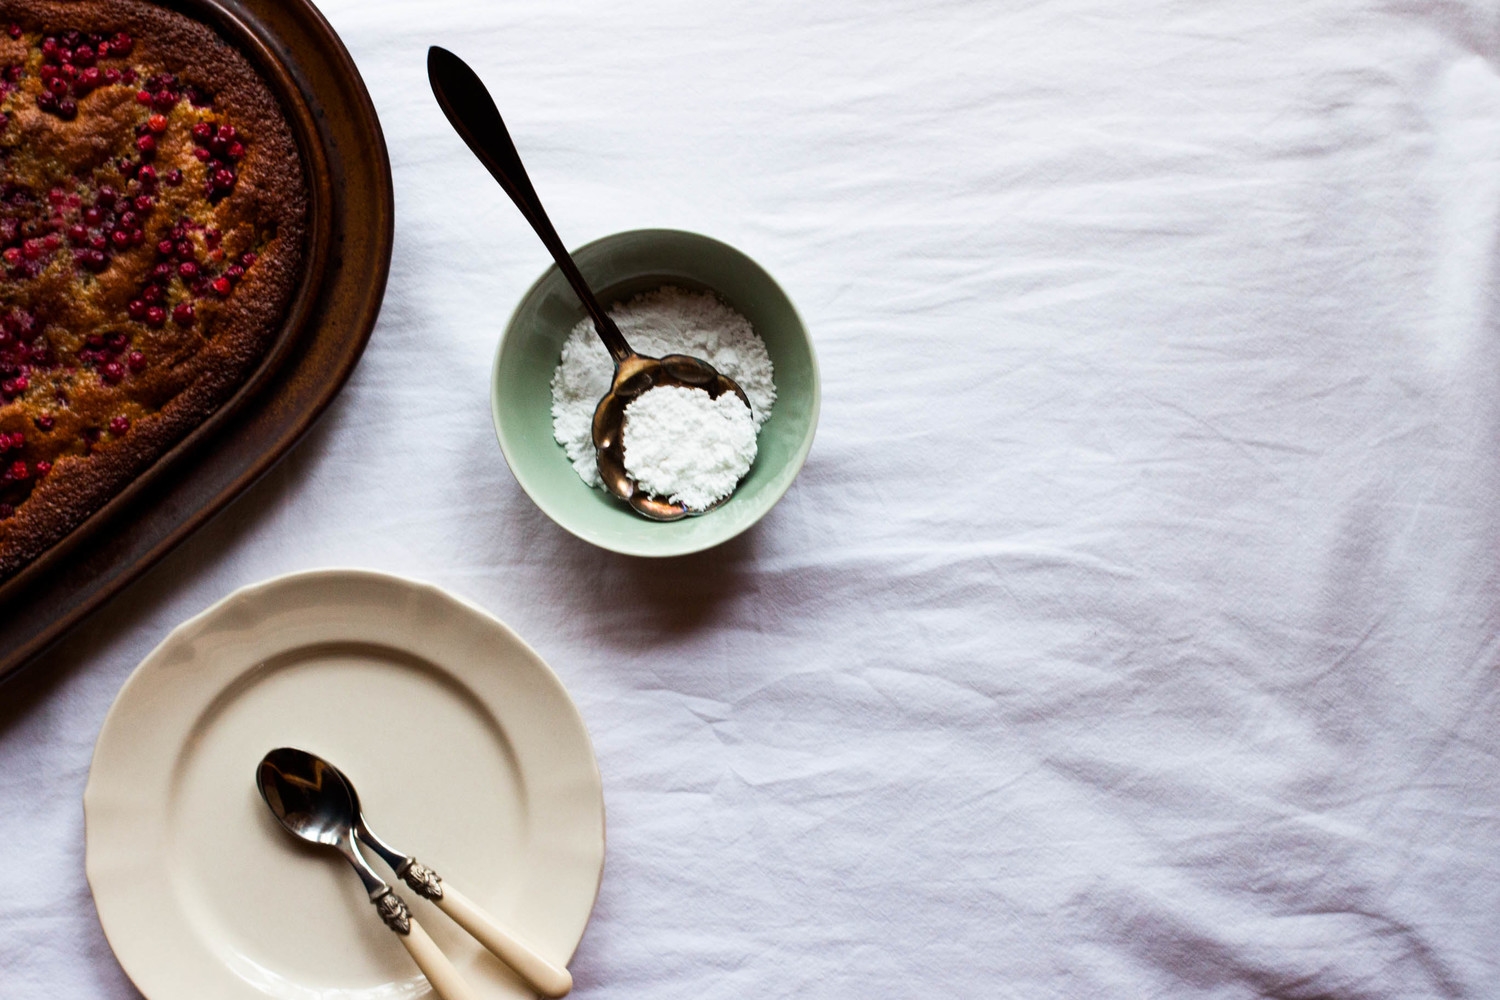
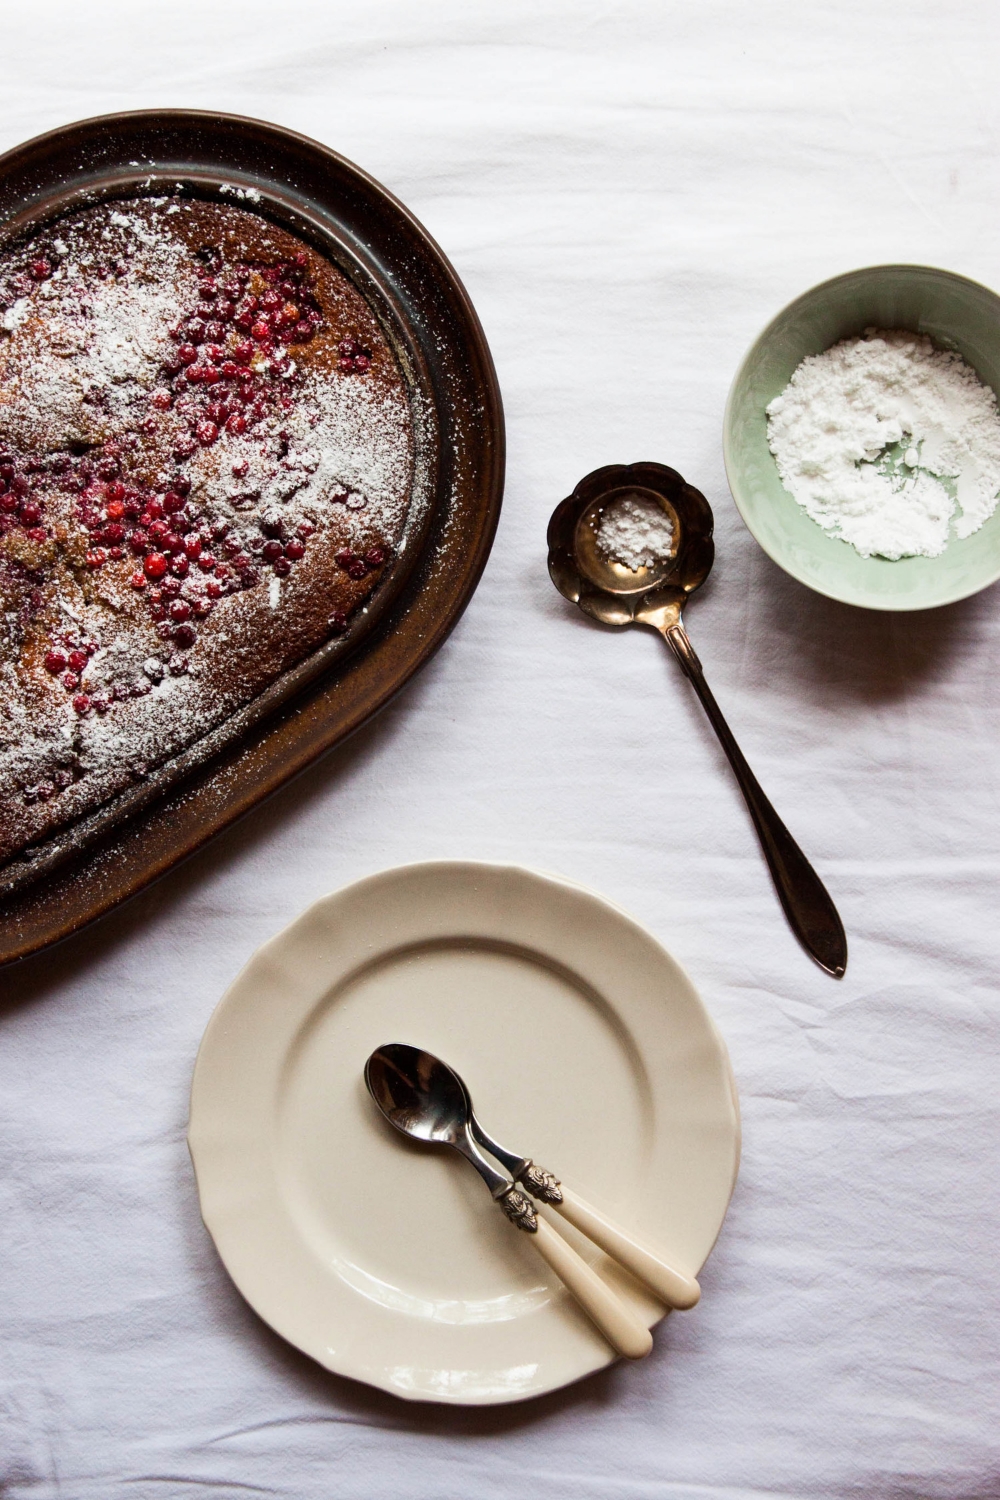
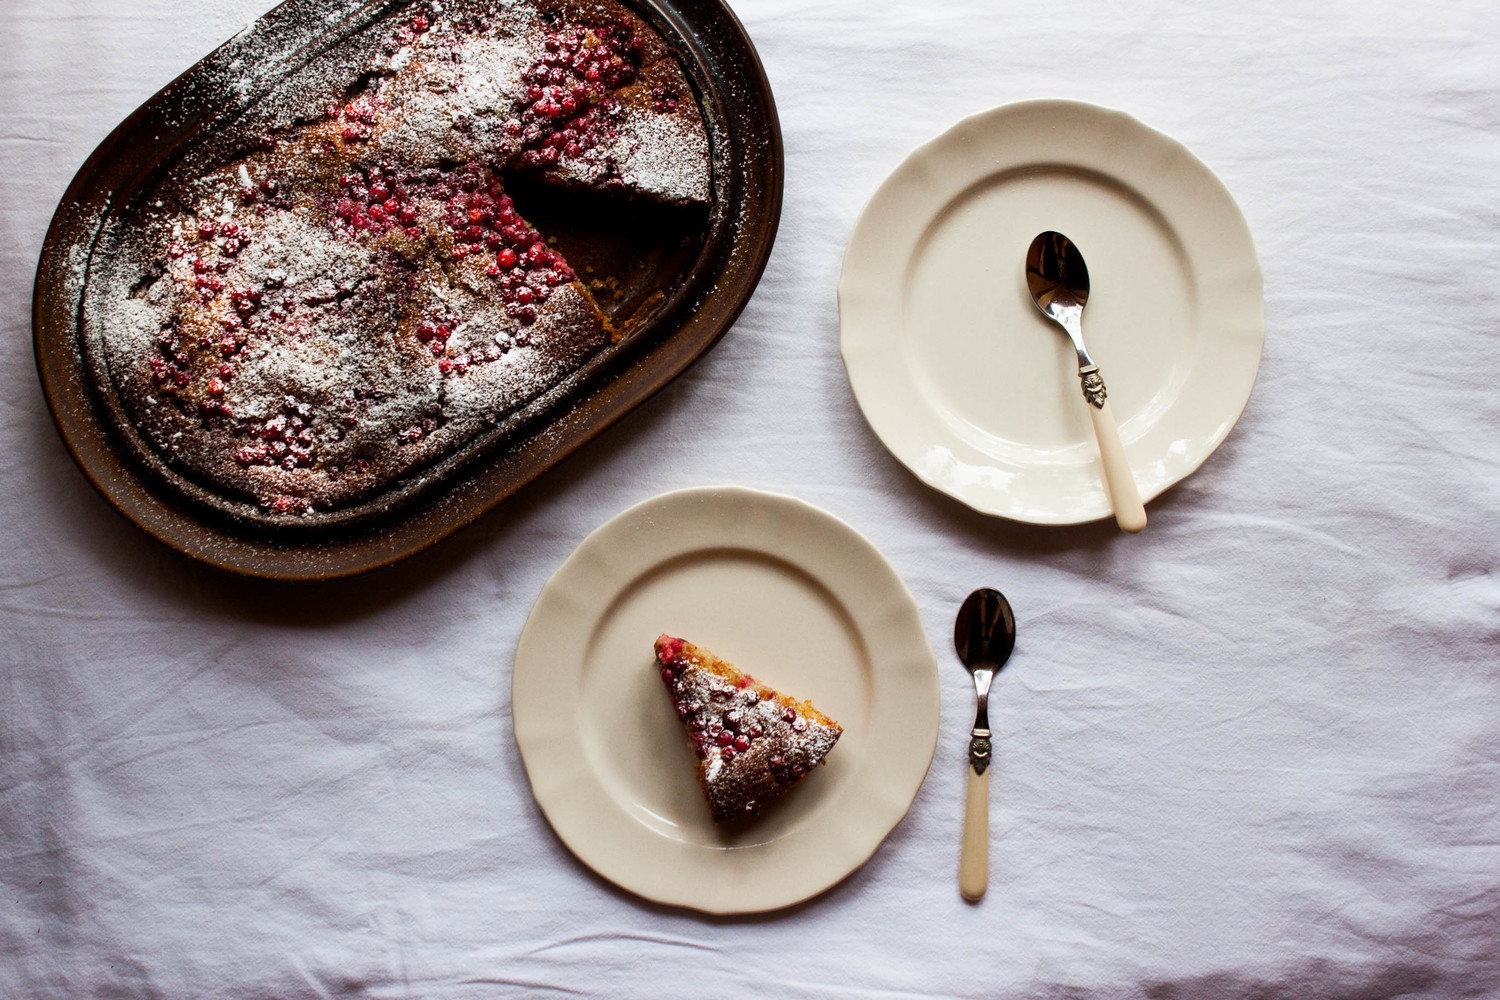
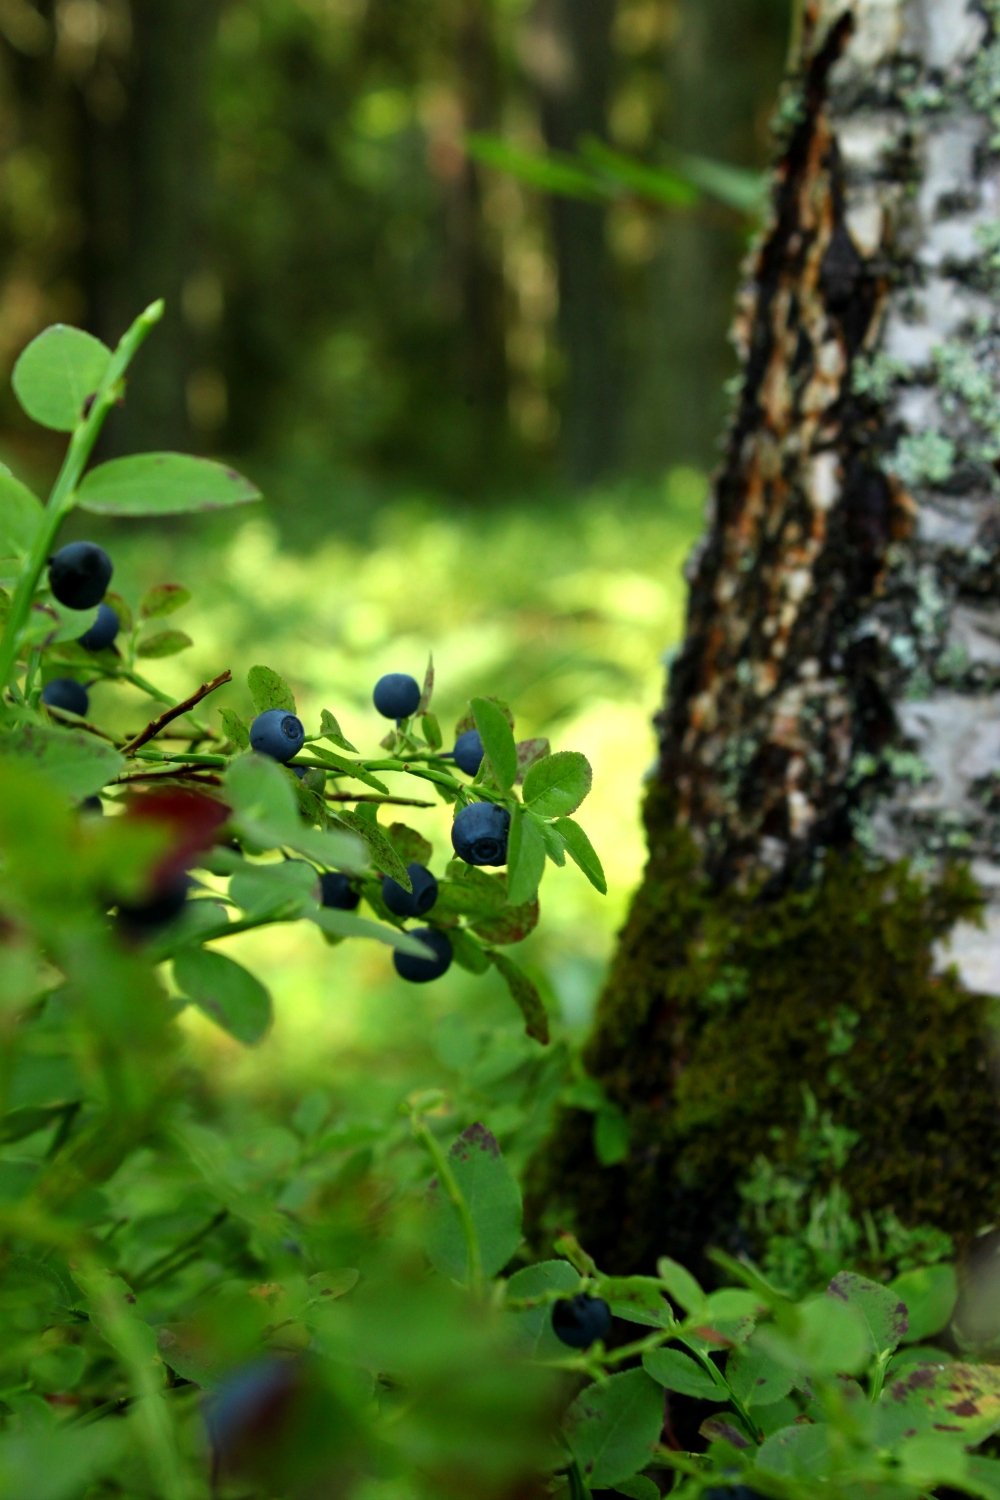
The air already smells of fall. Misty mornings, chilly winds, rainy days, and bright red rowan berries. The urge to head to the woods to forage porcini and other mushrooms. Waiting for sea buckthorns and lingonberries to ripen. Trying to find my way back to the daily hassles. The kitchen smells of warm spices and the oven is used more often.
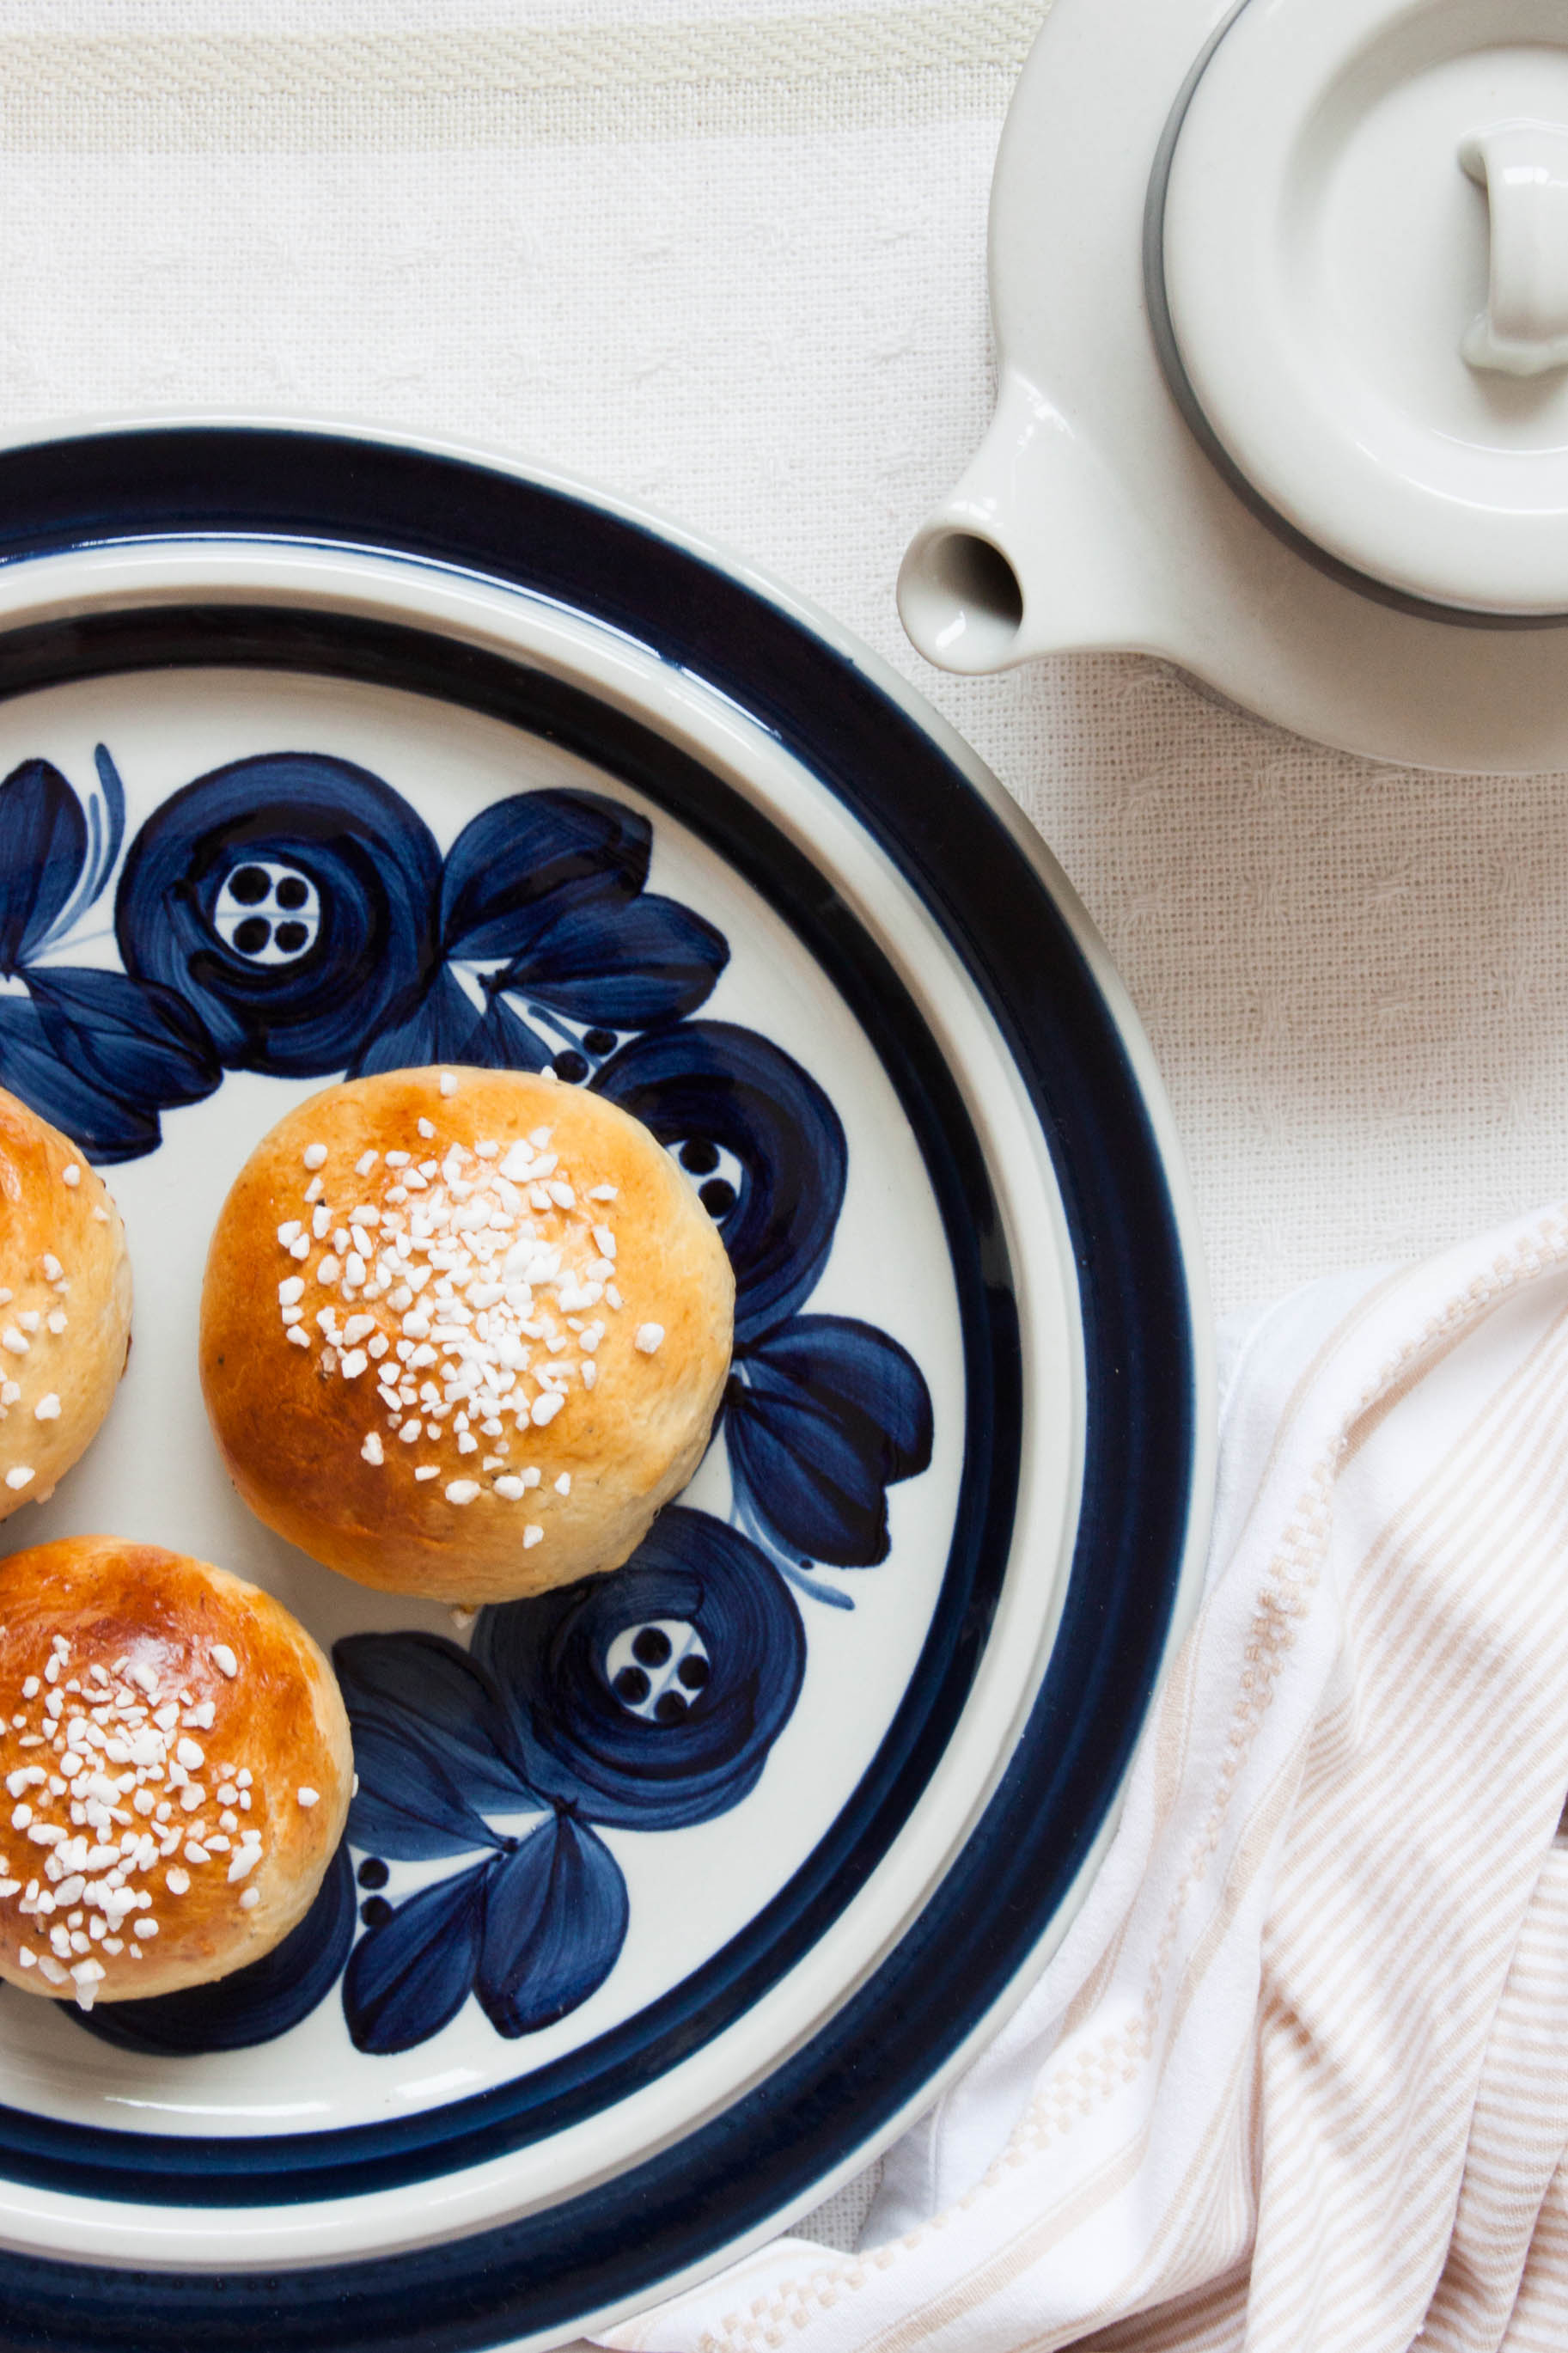
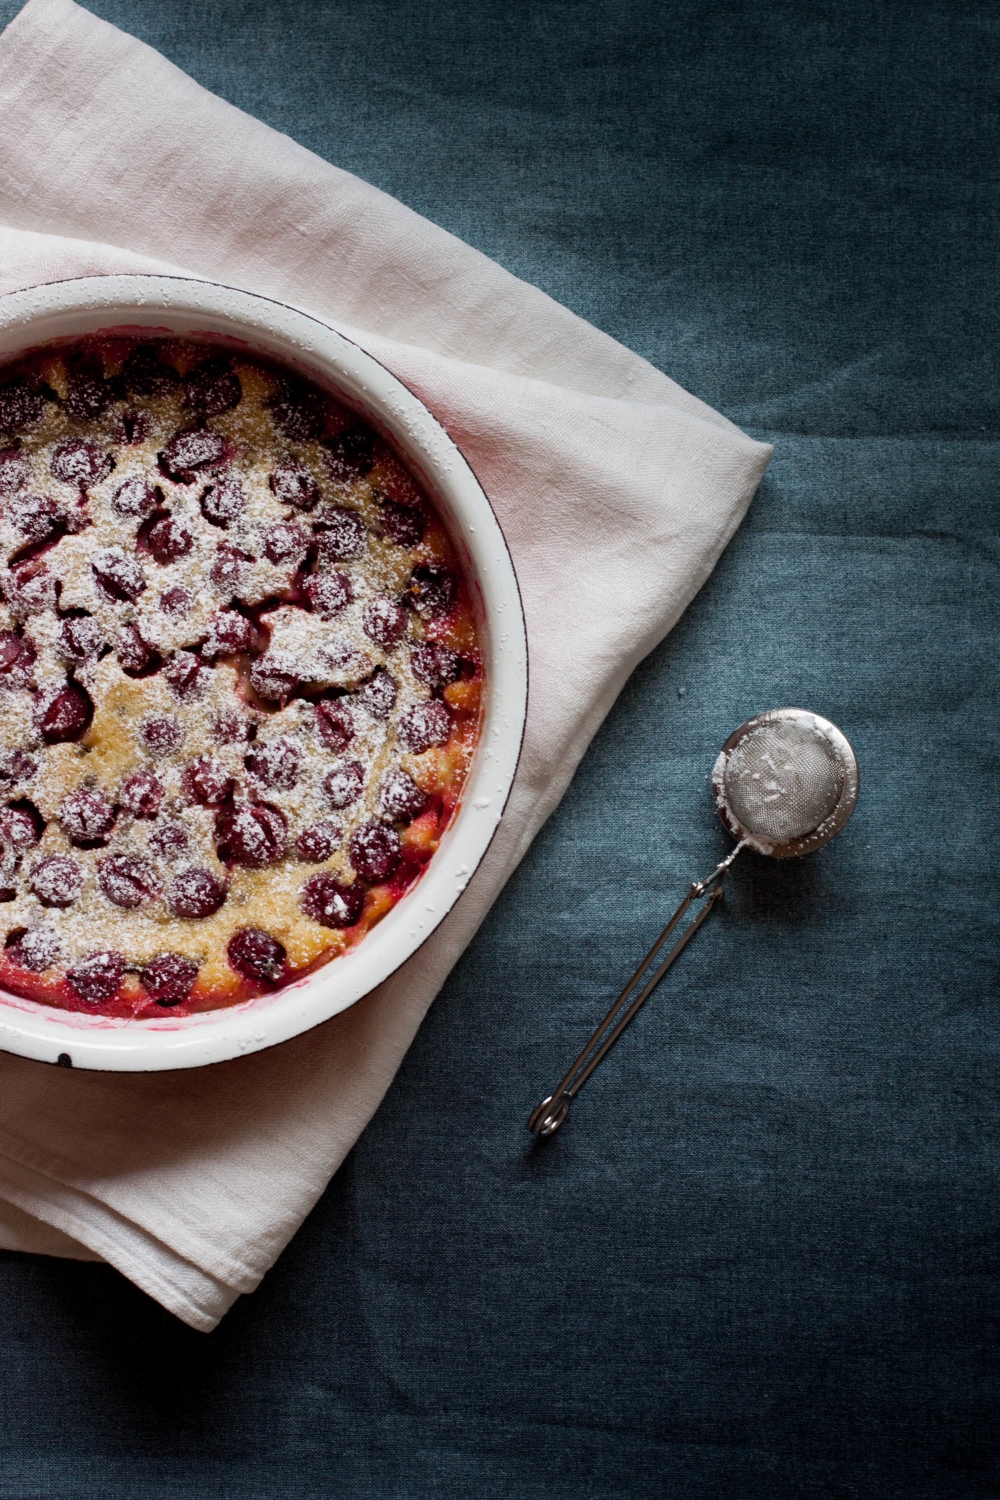
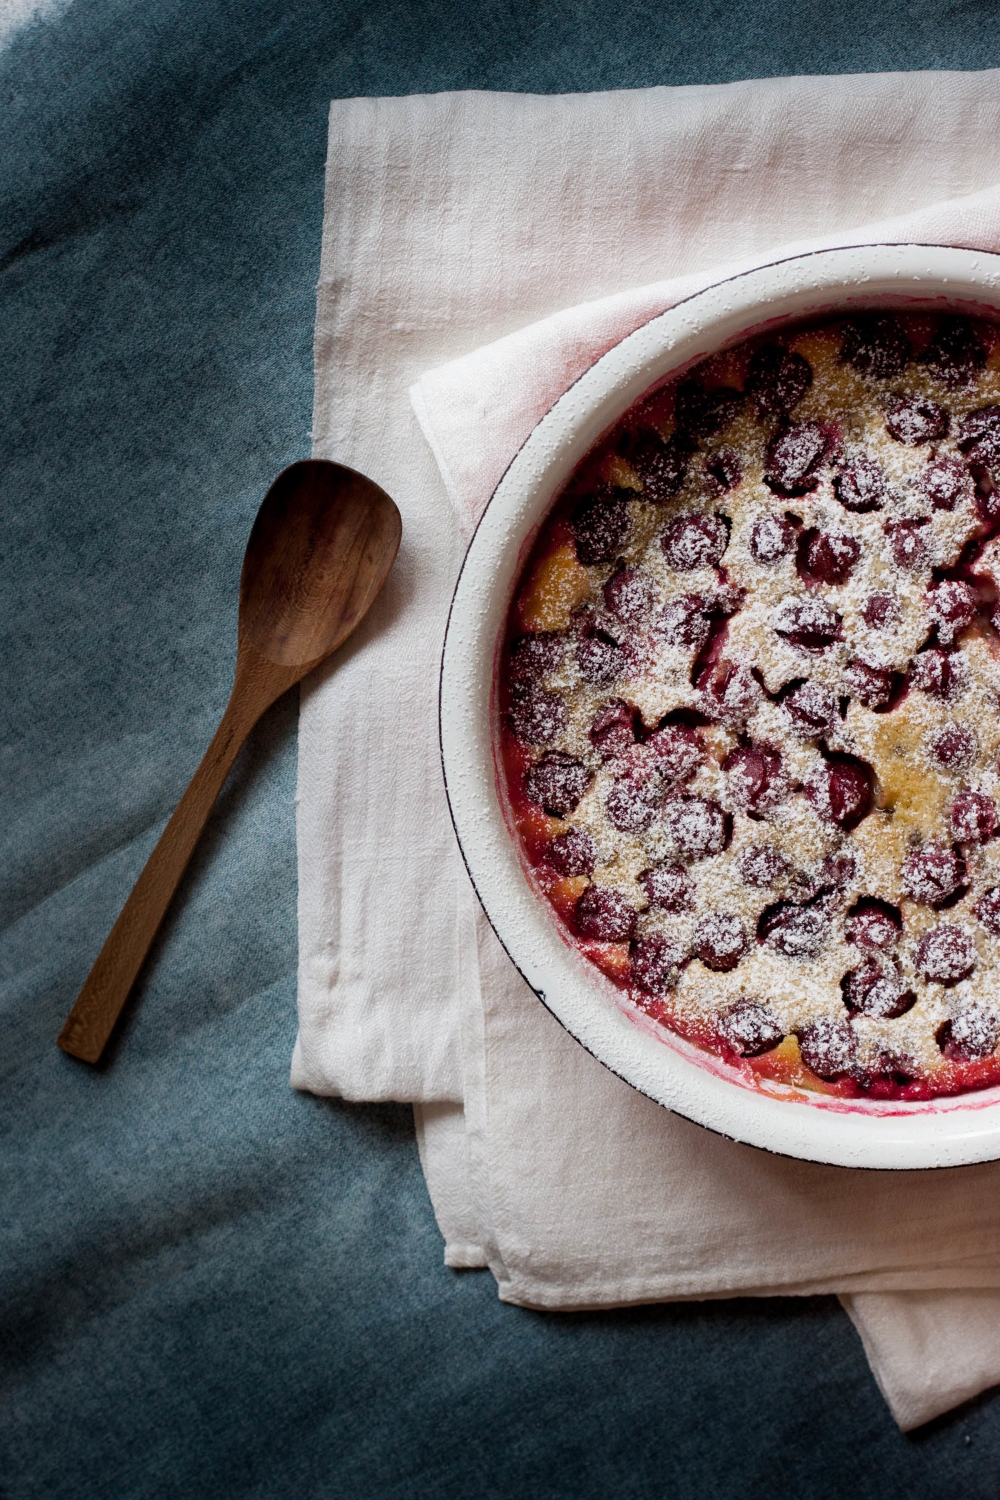
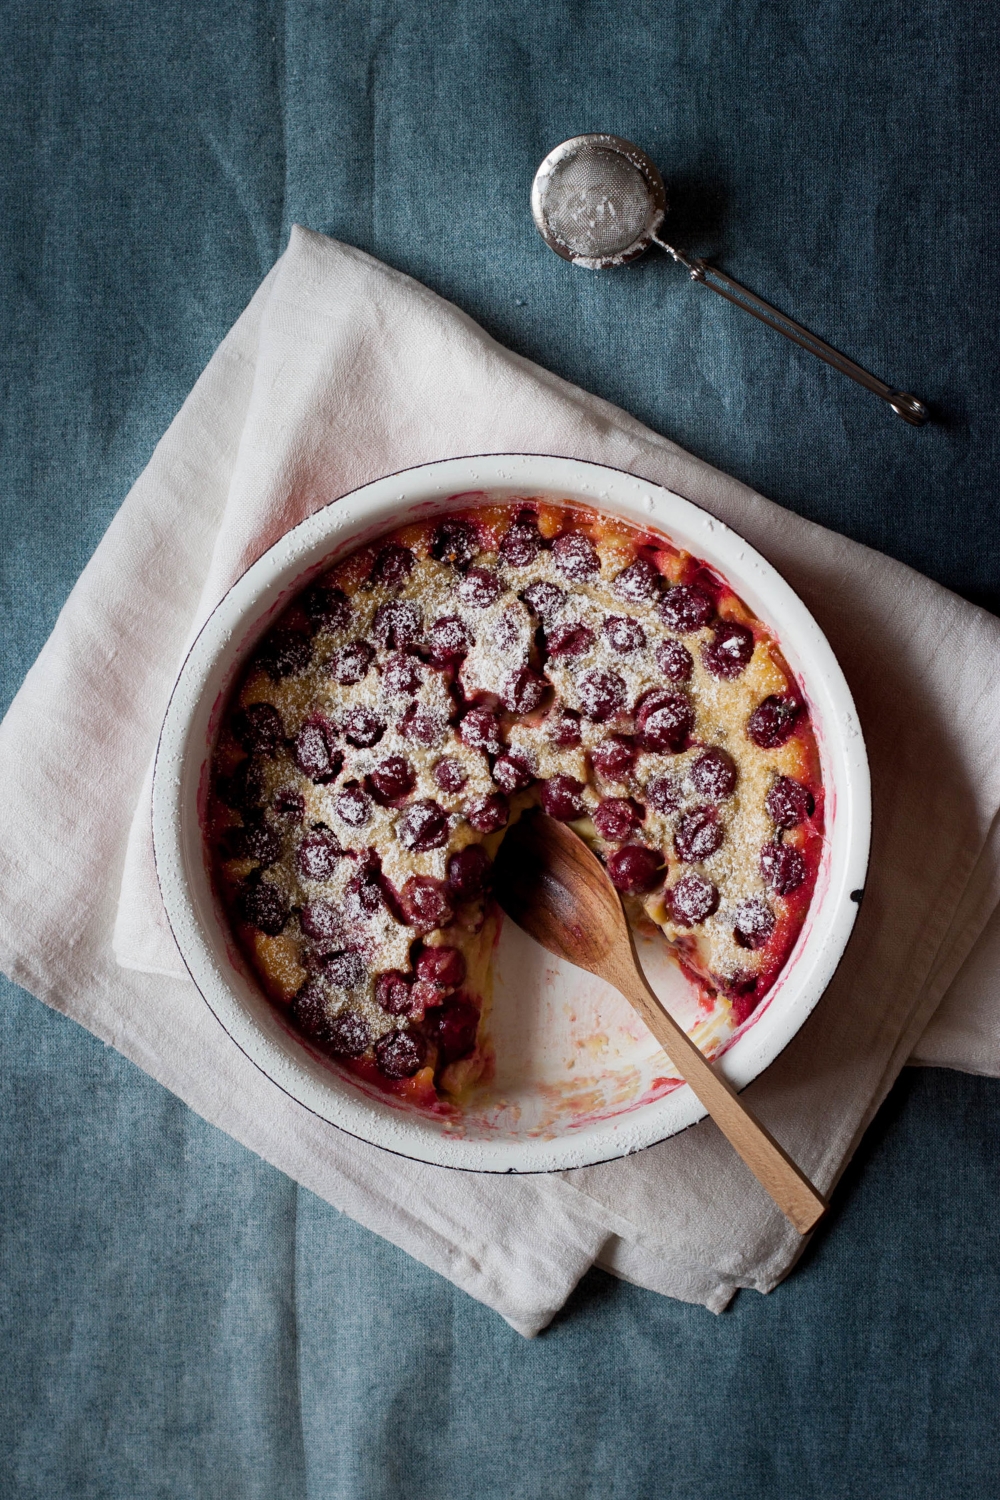
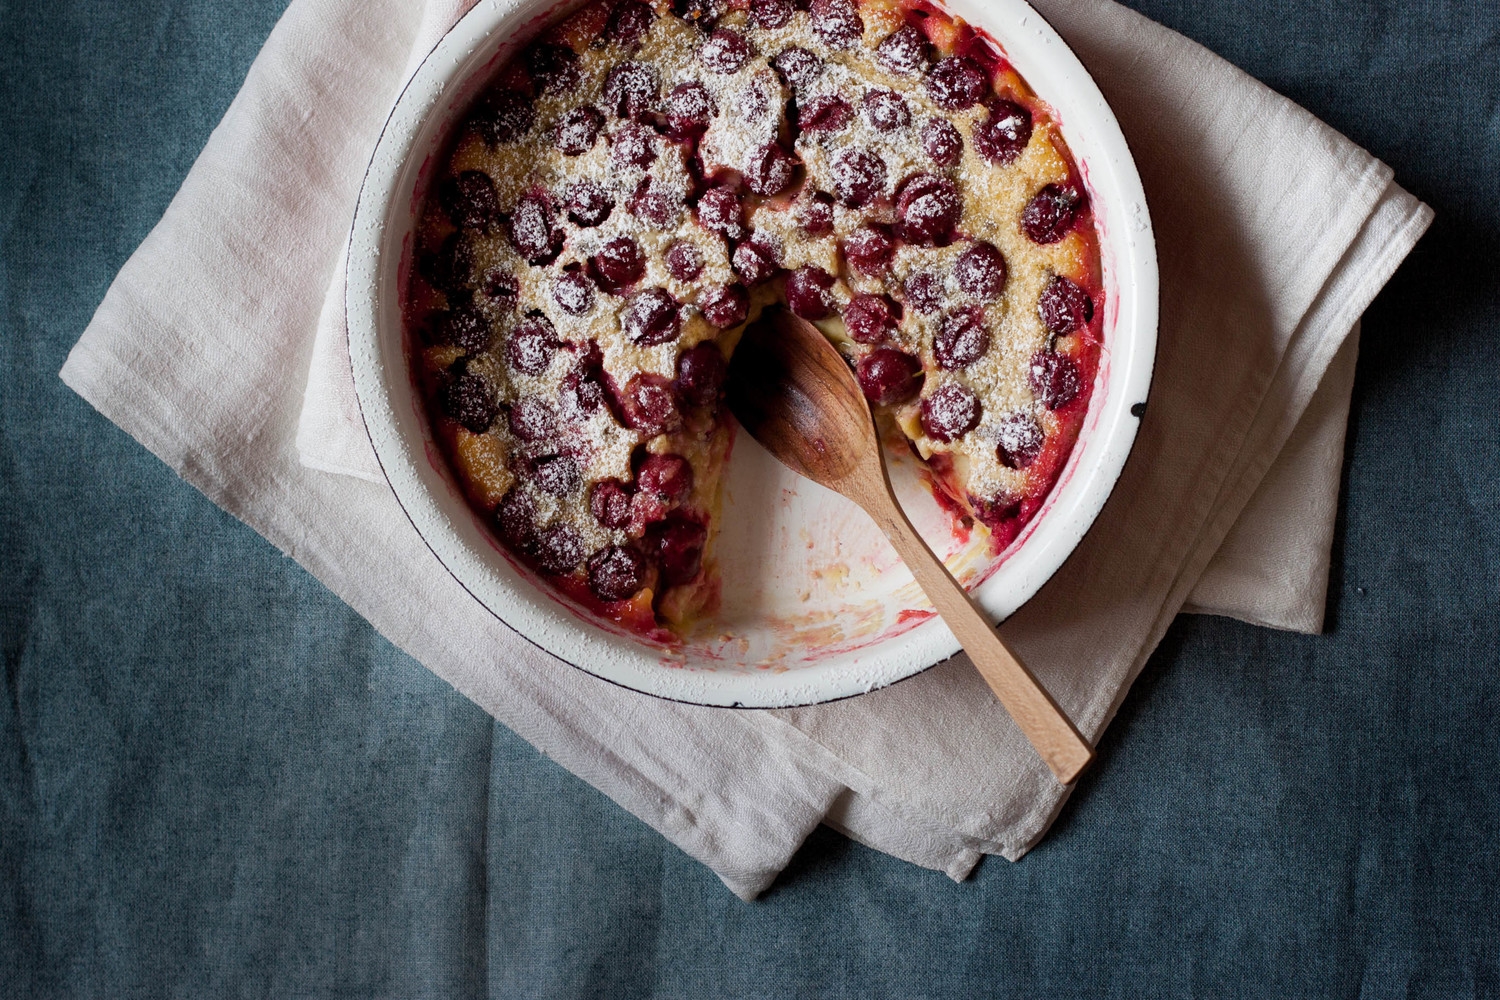
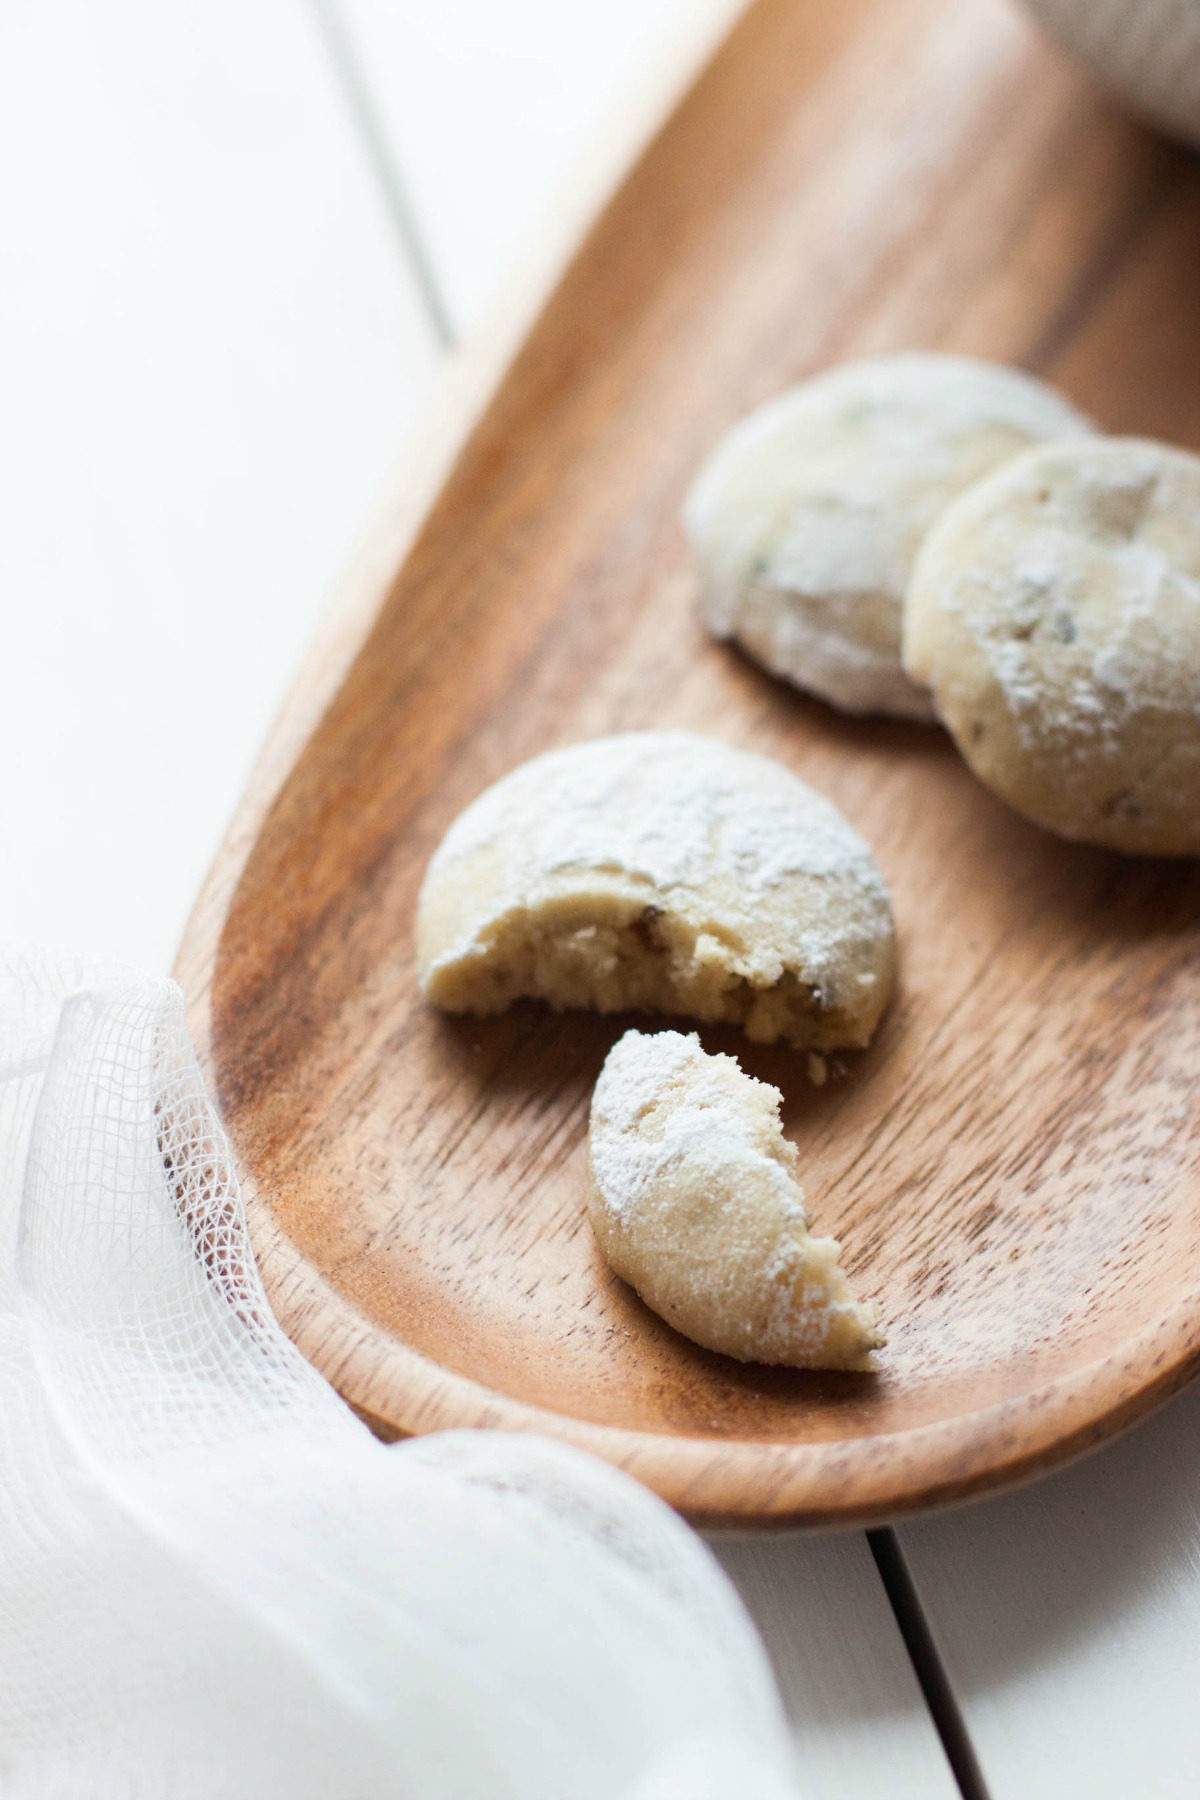
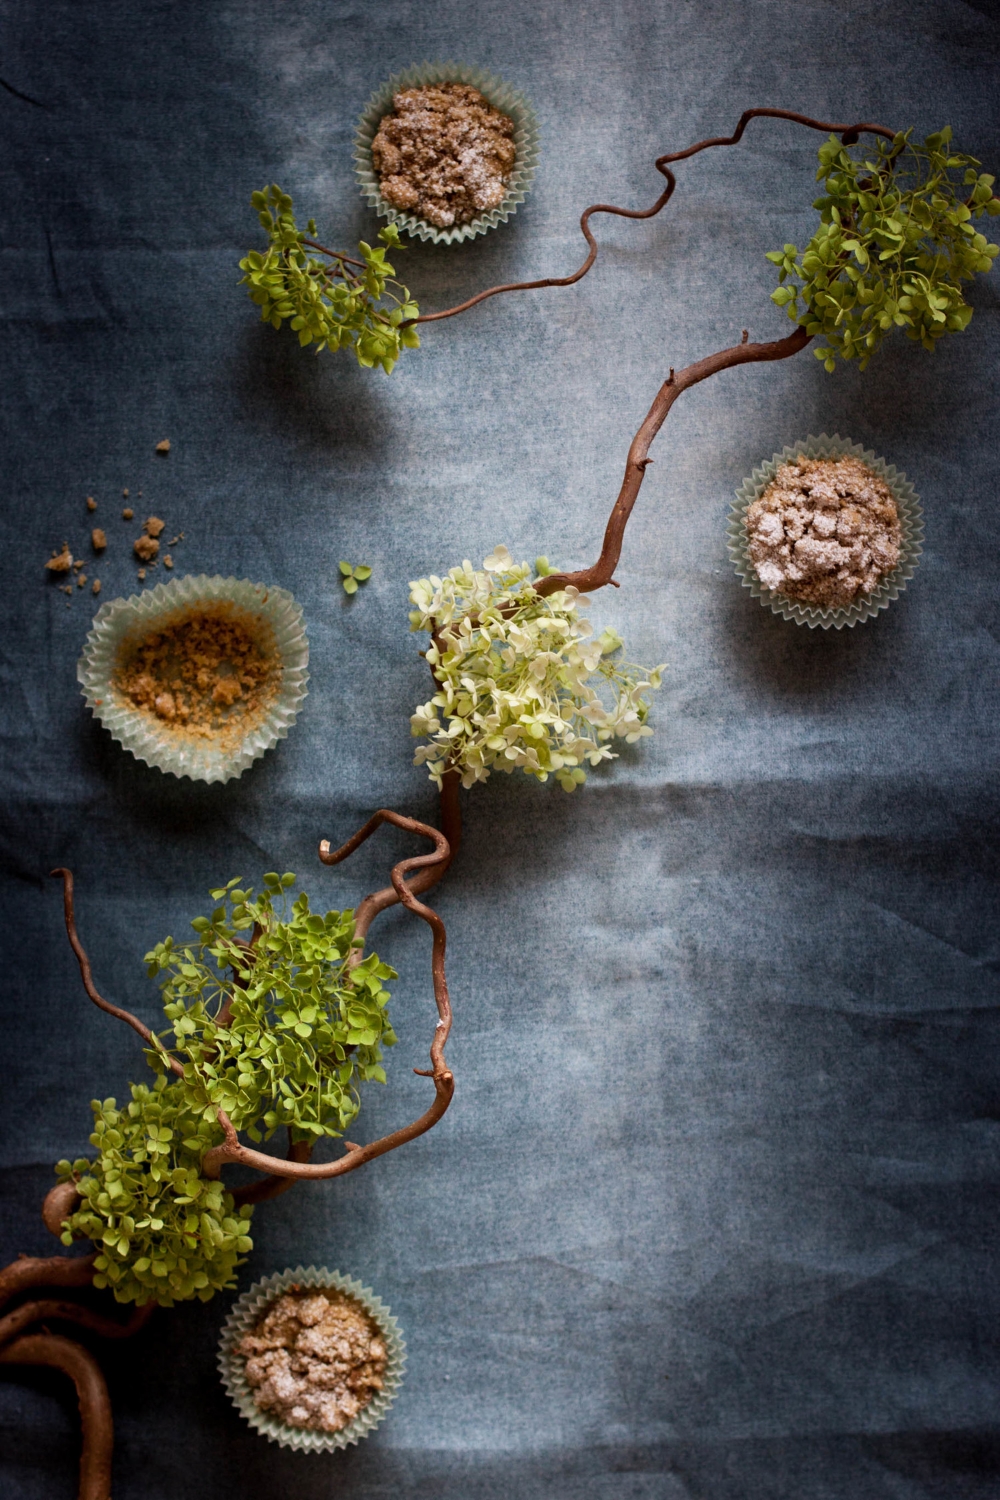
I've made these muffins multiple times. They are spiced with cinnamon, ginger, nutmeg, and cardamom giving them that comfy fall feel. They also happen to be gluten-free! I often bake with gluten-free flours, although, there isn't a reason why I should avoid gluten. I simply enjoy to bake with different flours playing around with flavors and textures. Why to always use wheat, barley, or rye flour when there are so many other wonderful flours available? I made a few adaptions to Aran's original recipe: I used grated zucchini instead of carrots and apples as well as decided to top the muffins with a simple streusel. Because who doesn't love streusel, right?
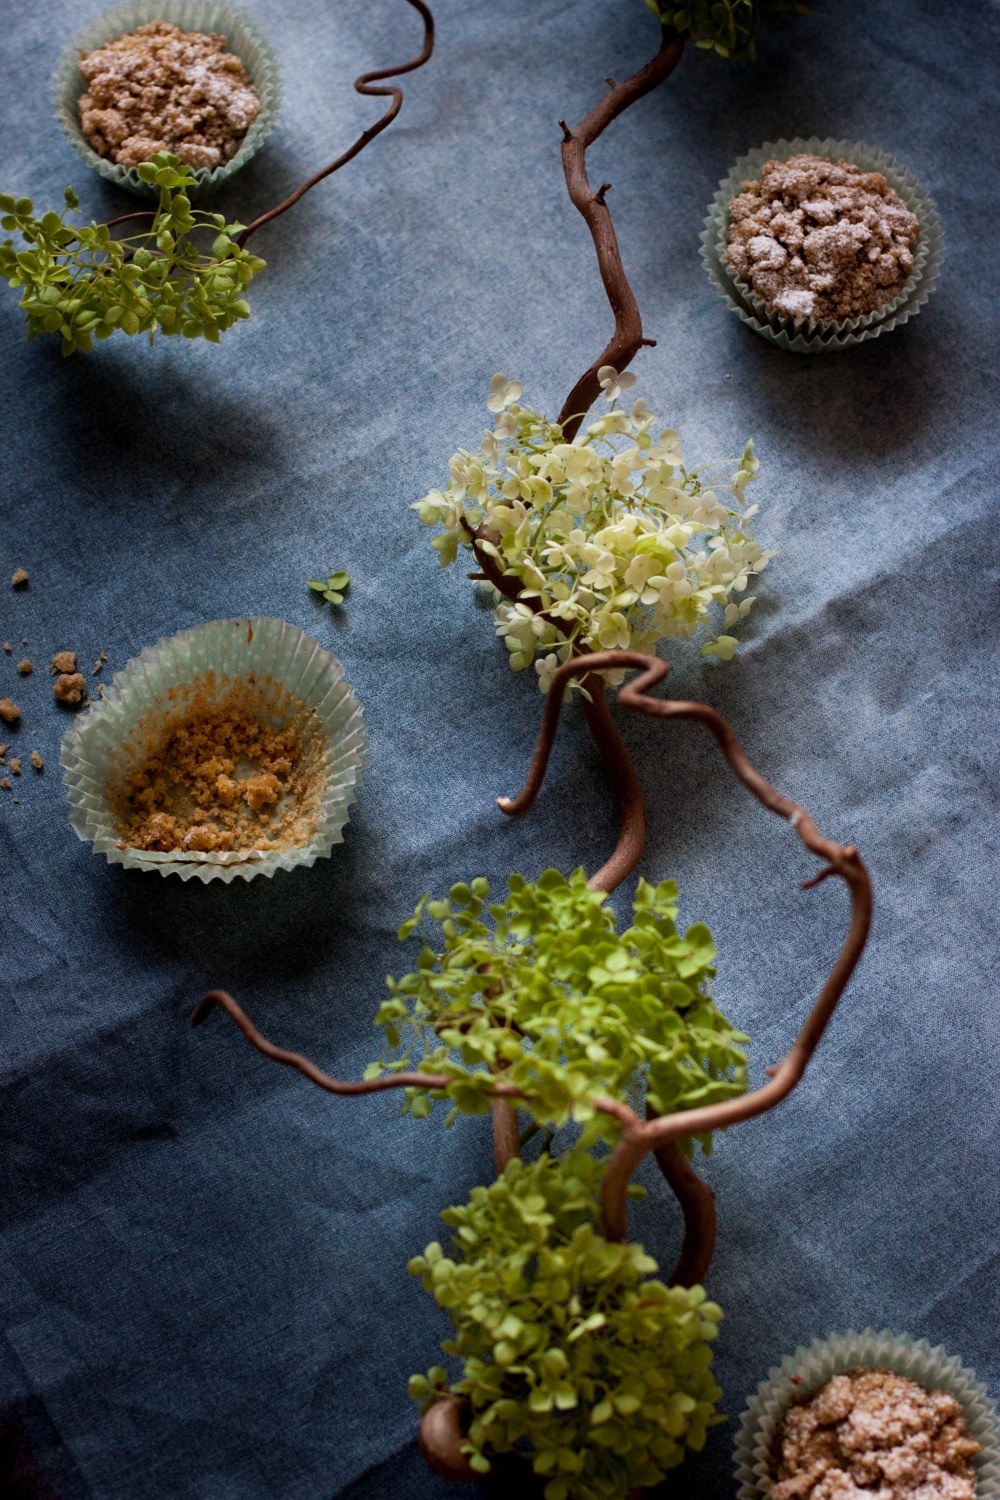
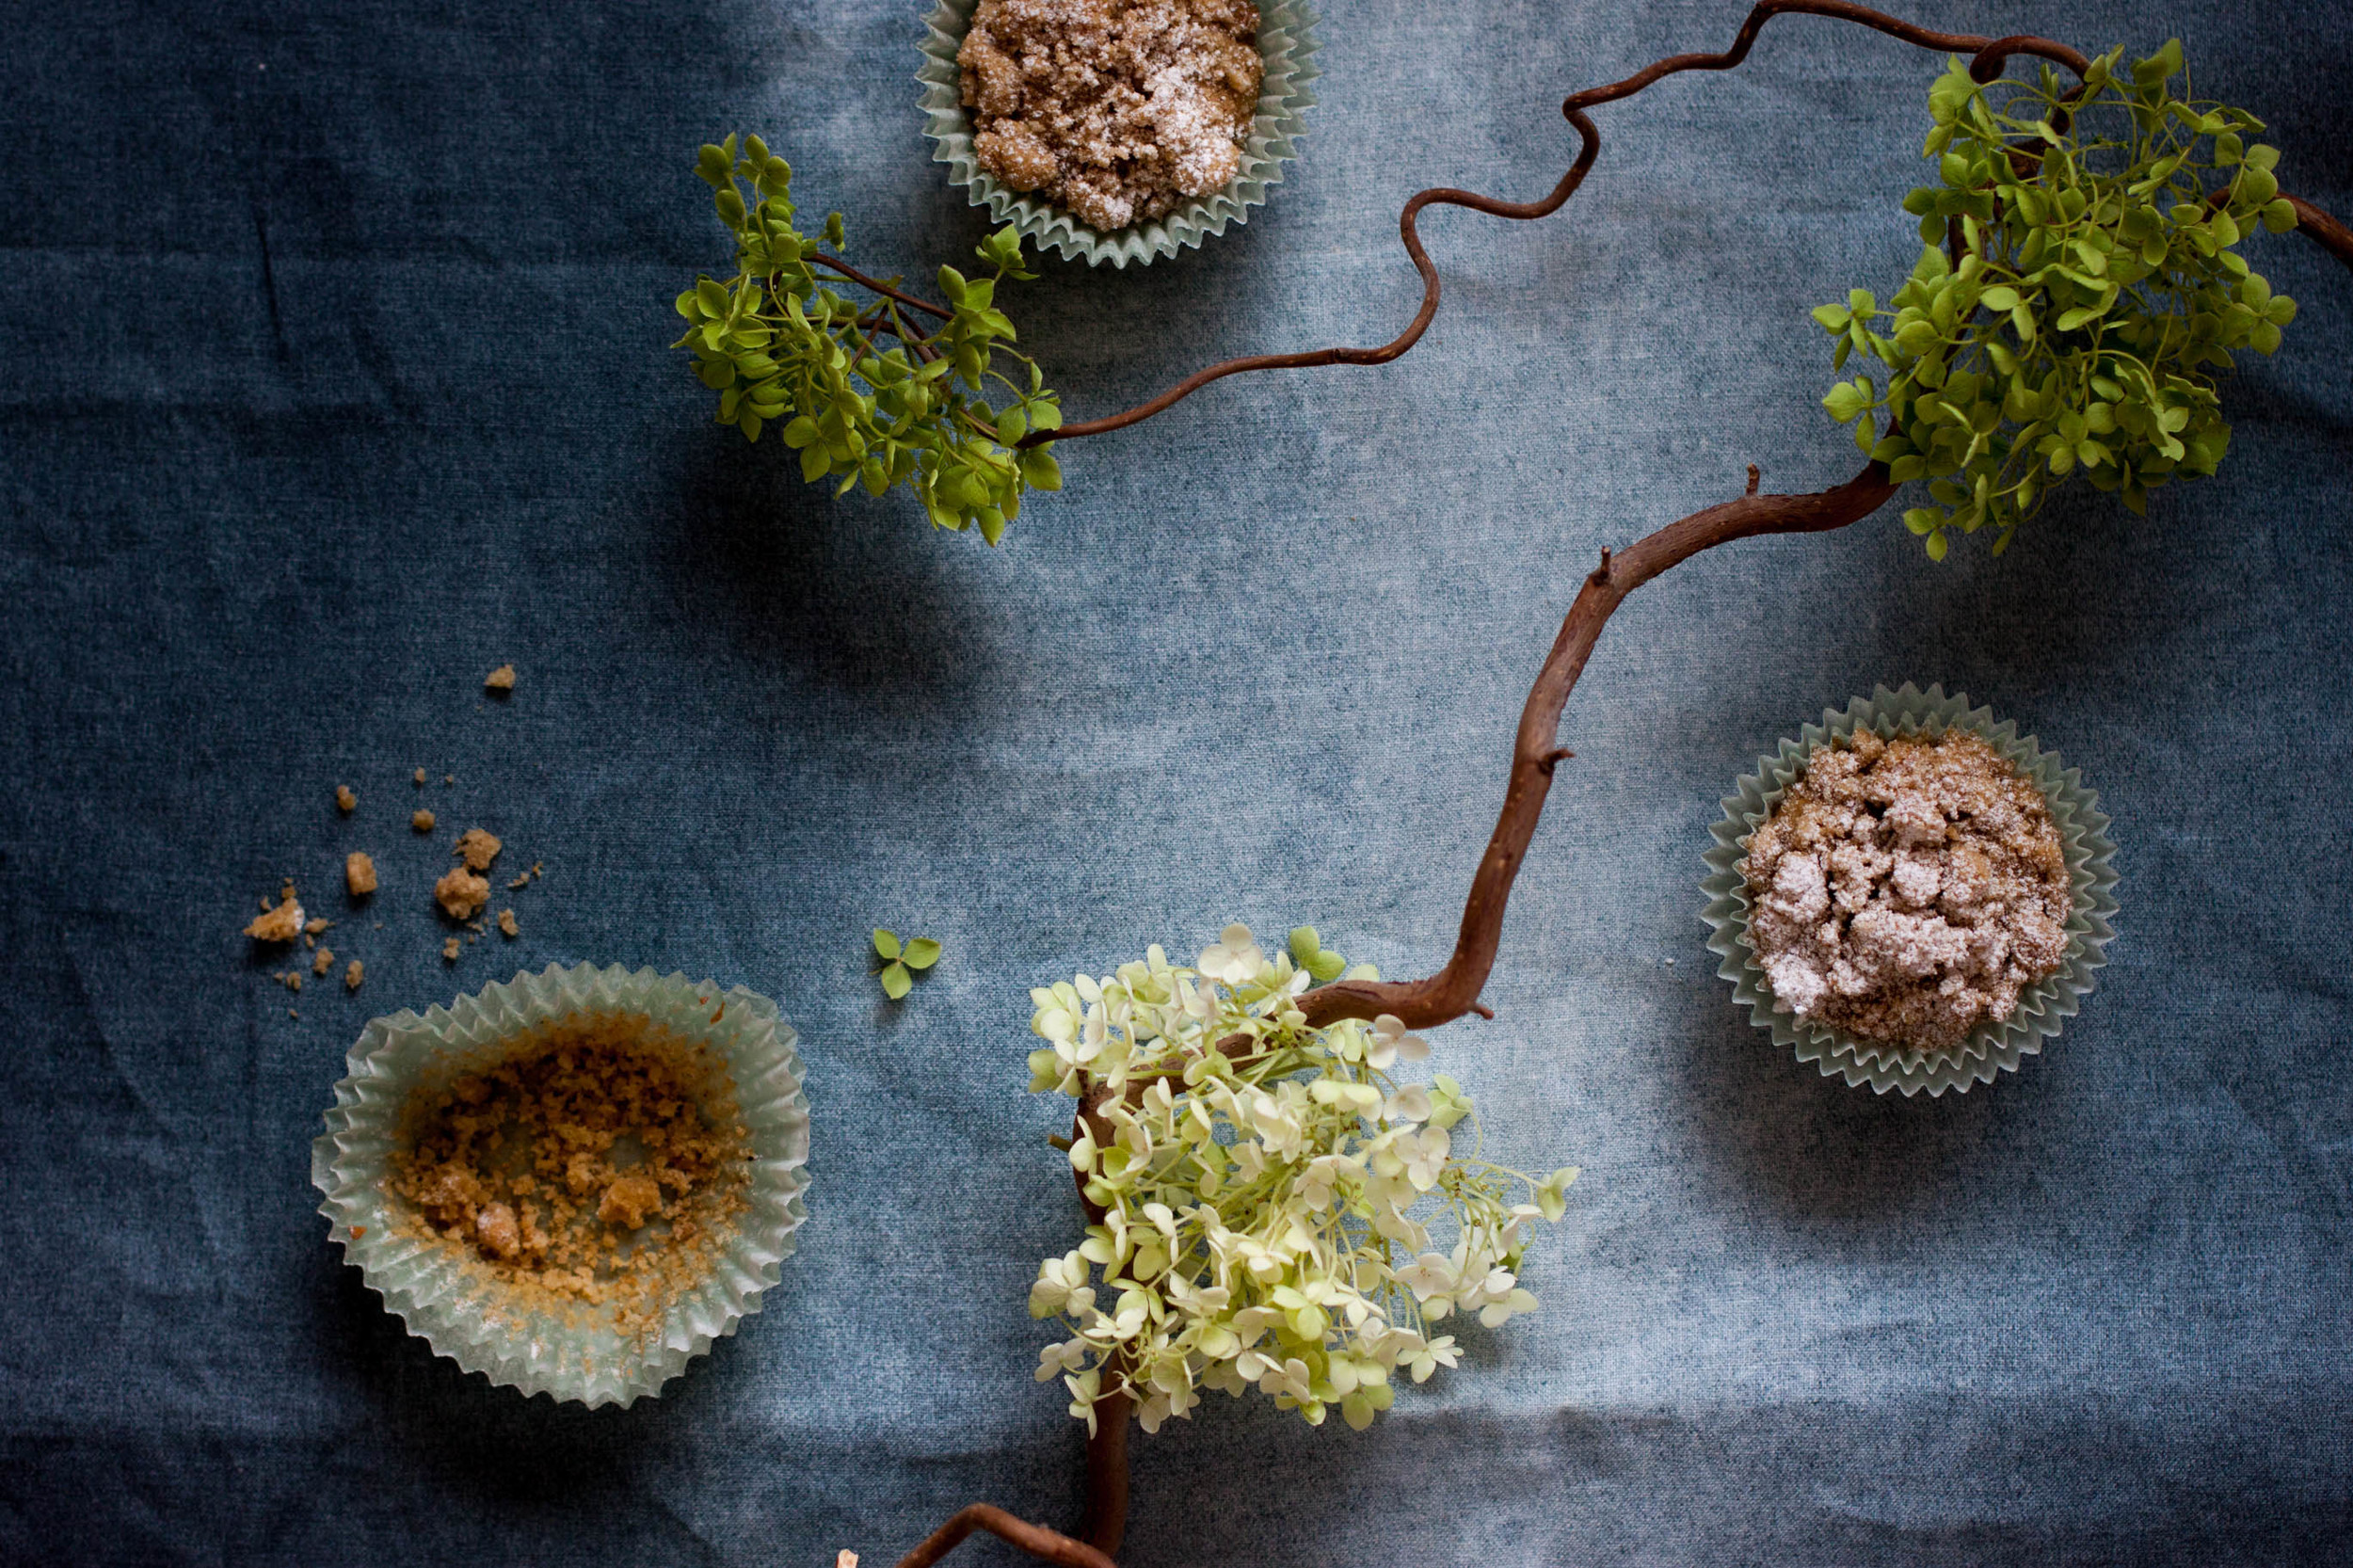
Warm Spiced Brown Butter Zucchini Muffins
adapted from this recipe by Aran Goyoaga
makes 12 muffins
In this recipe butter is being browned. To brown the butter, simply melt it on medium-high heat. Swirl the pan every now and then to make sure that it cooks evenly. As the butter melts, it will first start to foam and then change its color from yellow to a toasty brown creating a wonderful nutty aroma. Keep an eye on the butter as it melts and be very careful not to burn it. Brown butter is lovely in many baked goods such as cakes and cookies. Make it and fall in love with its nutty flavor.
You can substitute the brown rice flour, almond flour, and tapioca starch with 205 g all-purpose flour if you wish to. However, note that the flavor and texture will be somewhat different.
140 g (10 tbsp) unsalted butter
140 g (2 ½ dl minus 1 tbsp; 1 cup) brown rice flour
50 g (1 dl + 1 heaping tbsp; ½ cup) almond flour
70 g (¾ dl; ⅓ cup) light muscovado sugar
2 tbsp tapioca starch
1 ½ tsp baking powder
½ tsp fine sea salt
½ tsp cinnamon
¼ tsp ground ginger
⅛ tsp ground nutmeg
⅛ tsp ground cardamom (preferably freshly ground)
2 eggs (M), at room temperature
80 ml (¾ dl; ⅓ cup) maple syrup
1 tsp vanilla extract
200 g zucchini, coarsely grated
for the streusel
70 g (1 dl + 1 heaping tbsp; ½ cup) brown rice flour
40 g (3 tbsp) light muscovado sugar
pinch of salt
50 g (3 ½ tbsp) unsalted butter
2 tbsp almond meal
Preheat the oven to 175°C (350°F). Line a muffin pan with paper or silicone liners.
In a small pan, brown the butter. Take off the heat and let cool a bit (it may be a good idea to transfer the browned butter to a separate bowl as it can continue to cook in the still hot pan).
To make the streusel, combine the ingredients in a bowl and rub together with your fingertips until you have a crumbly mixture. If not using immediately, store in the fridge until ready to use.
In a medium-sized bowl, whisk together the dry ingredients. In a separate bowl, lightly beat the eggs, syrup, vanilla extract, and browned butter. Add the wet ingredients to the dry ingredients and mix to combine. Fold in the grated zucchini.
Divine the batter between the prepared muffin tins and top with the streusel. Bake on the middle-rack for 20 to 25 minutes. Transfer to a cooling rack and allow to cool completely. Enjoy!
Related Posts