This Season's Last Wild Mushrooms – Funnel Chanterelle Tartlets with Herbed Crust

Funnel Chanterelle Tartlets | My Blue&White Kitchen

Guys, this is probably going to be this season's last mushroom post and recipe. At least when it comes to fresh wild mushrooms... To be honest, I'm already planning to make a risotto with the funnel chanterelles I dehydrated, so I'm not ready to give up on mushrooms for good. I hope you're okay with that.

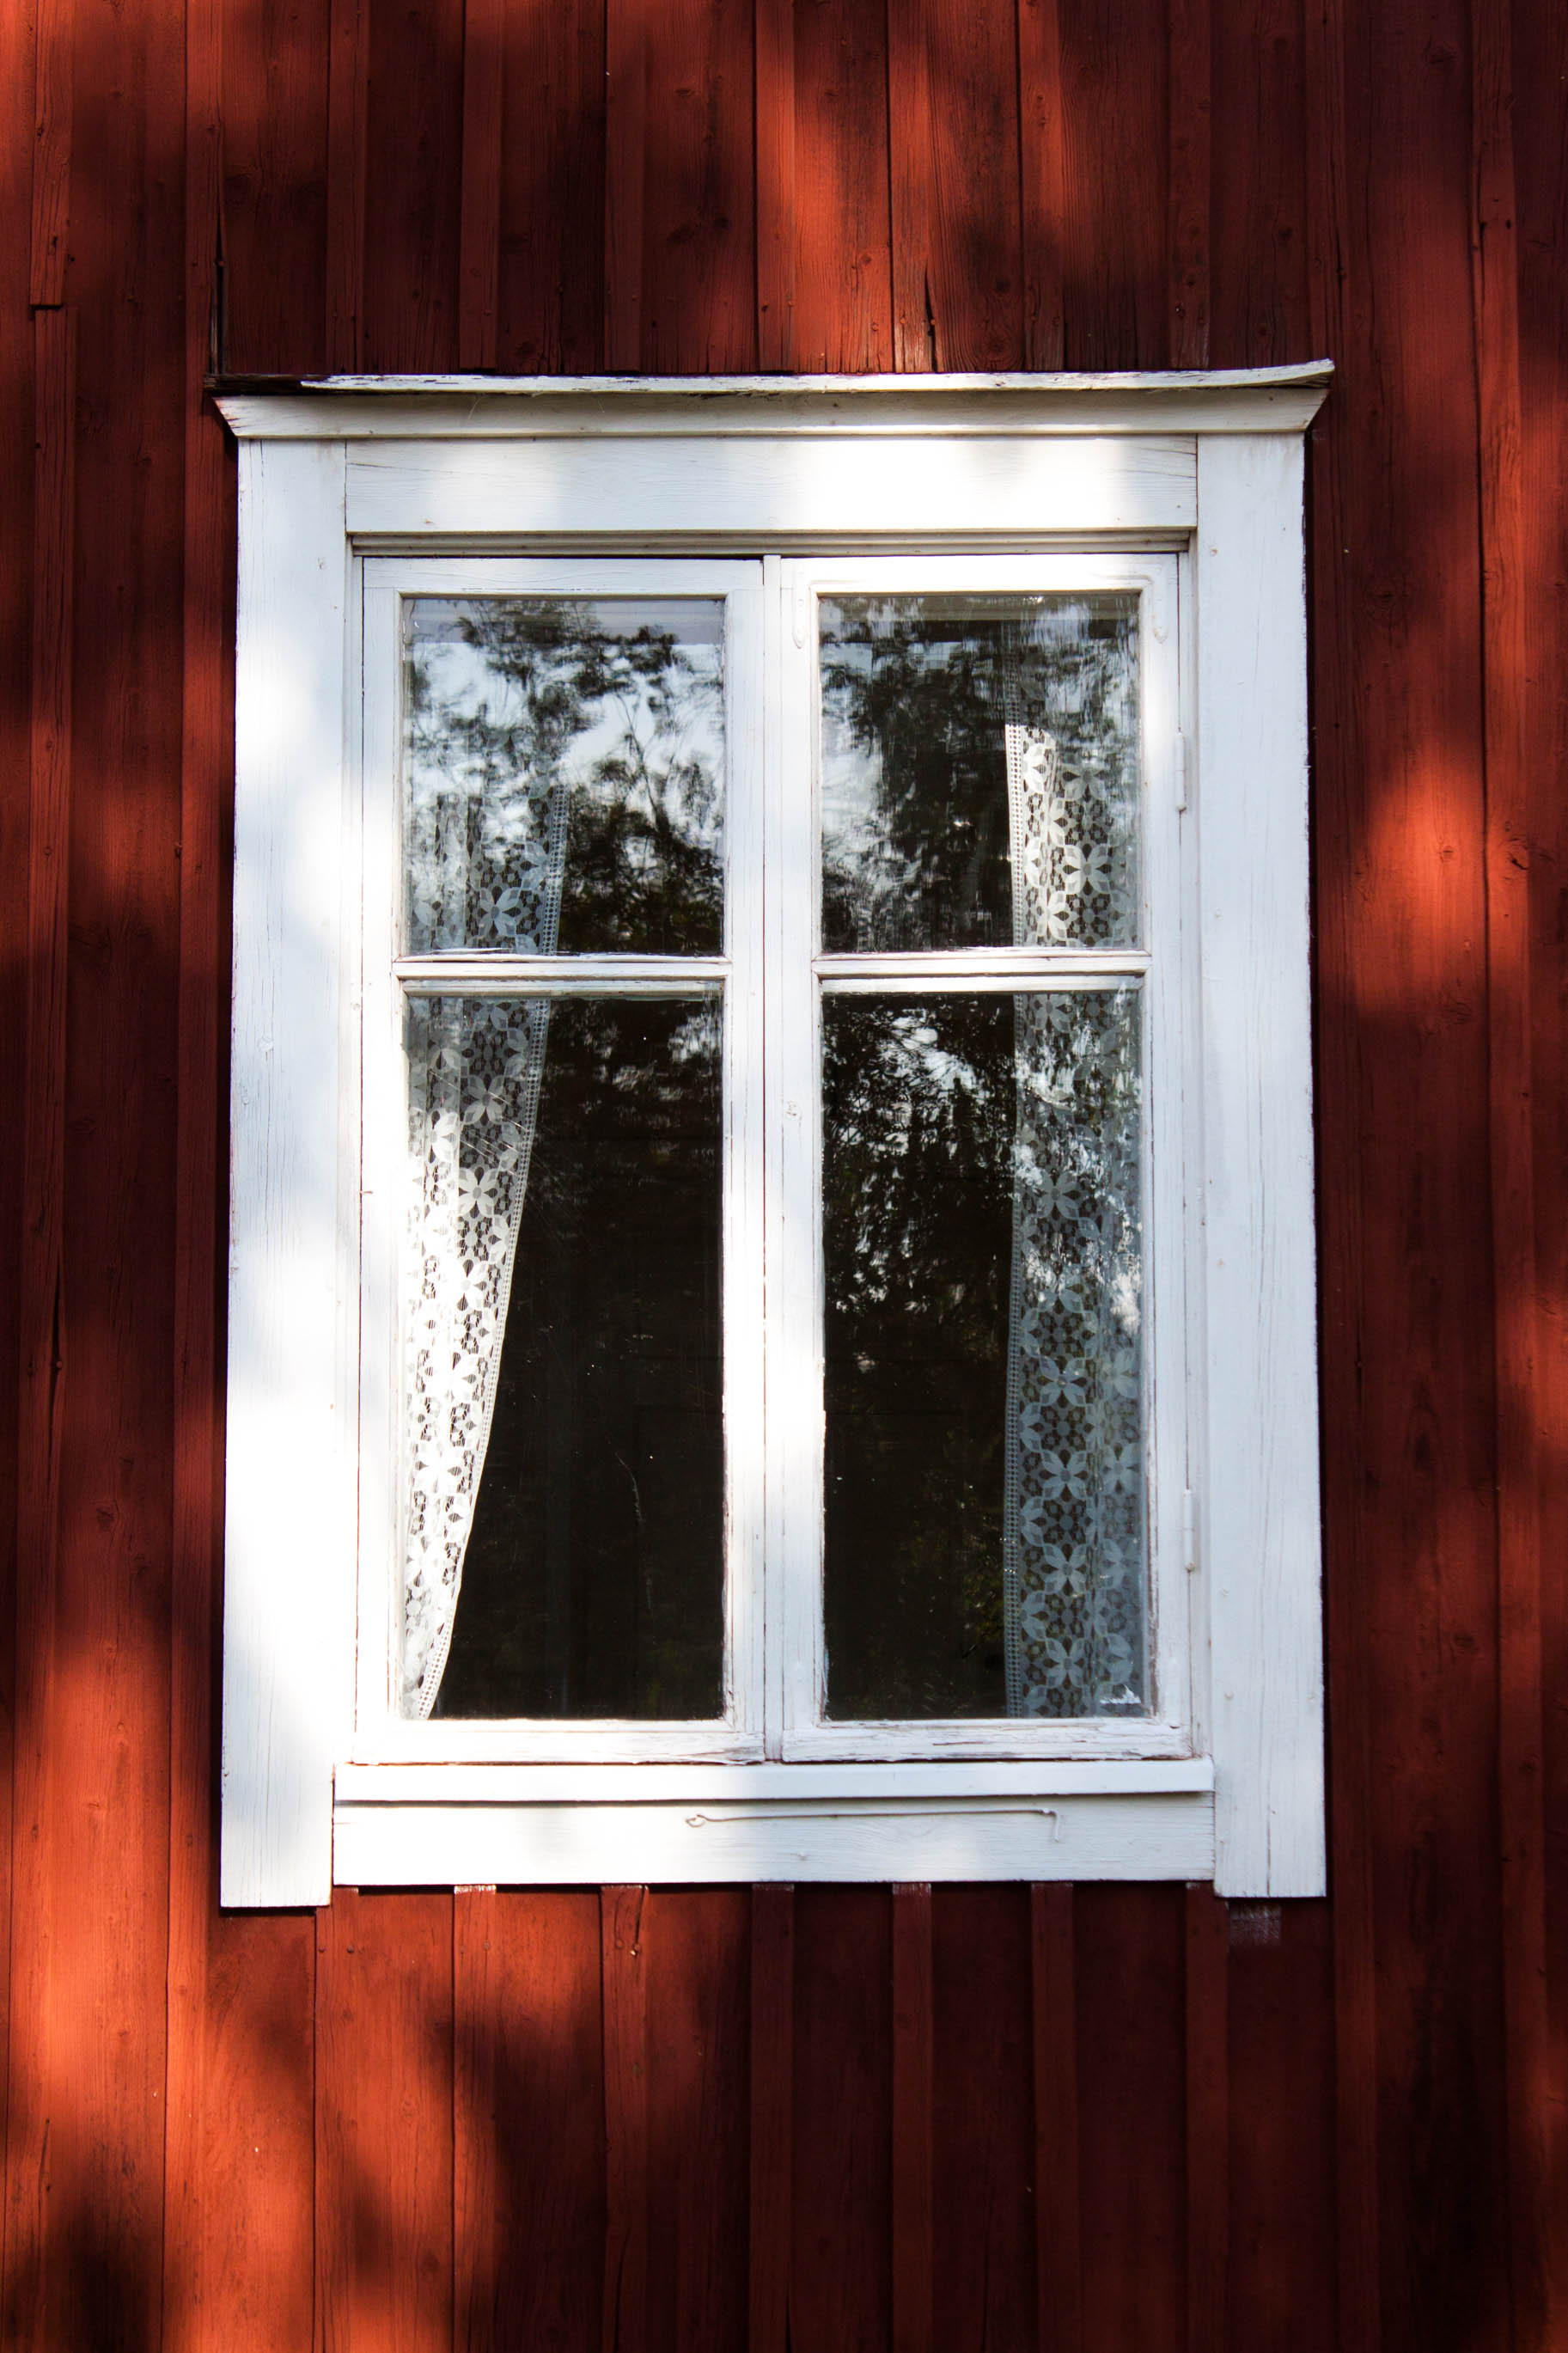
Last week, I spent a couple of days at out summer cottage enjoying the silence, fresh air, and woods. I knitted (currently working on this project using this wonderful yarn), read (finally finished the heart-breaking The Fault in Our Stars), and sat by the fireplace; watching the burning logs and listening to the crackling fire. The weather was rather nasty: rainy, cold, and windy. Typical fall days one might say. Even stormy. On the first night I actually was terrified of trees falling down on our house which, of course, didn't happen. 

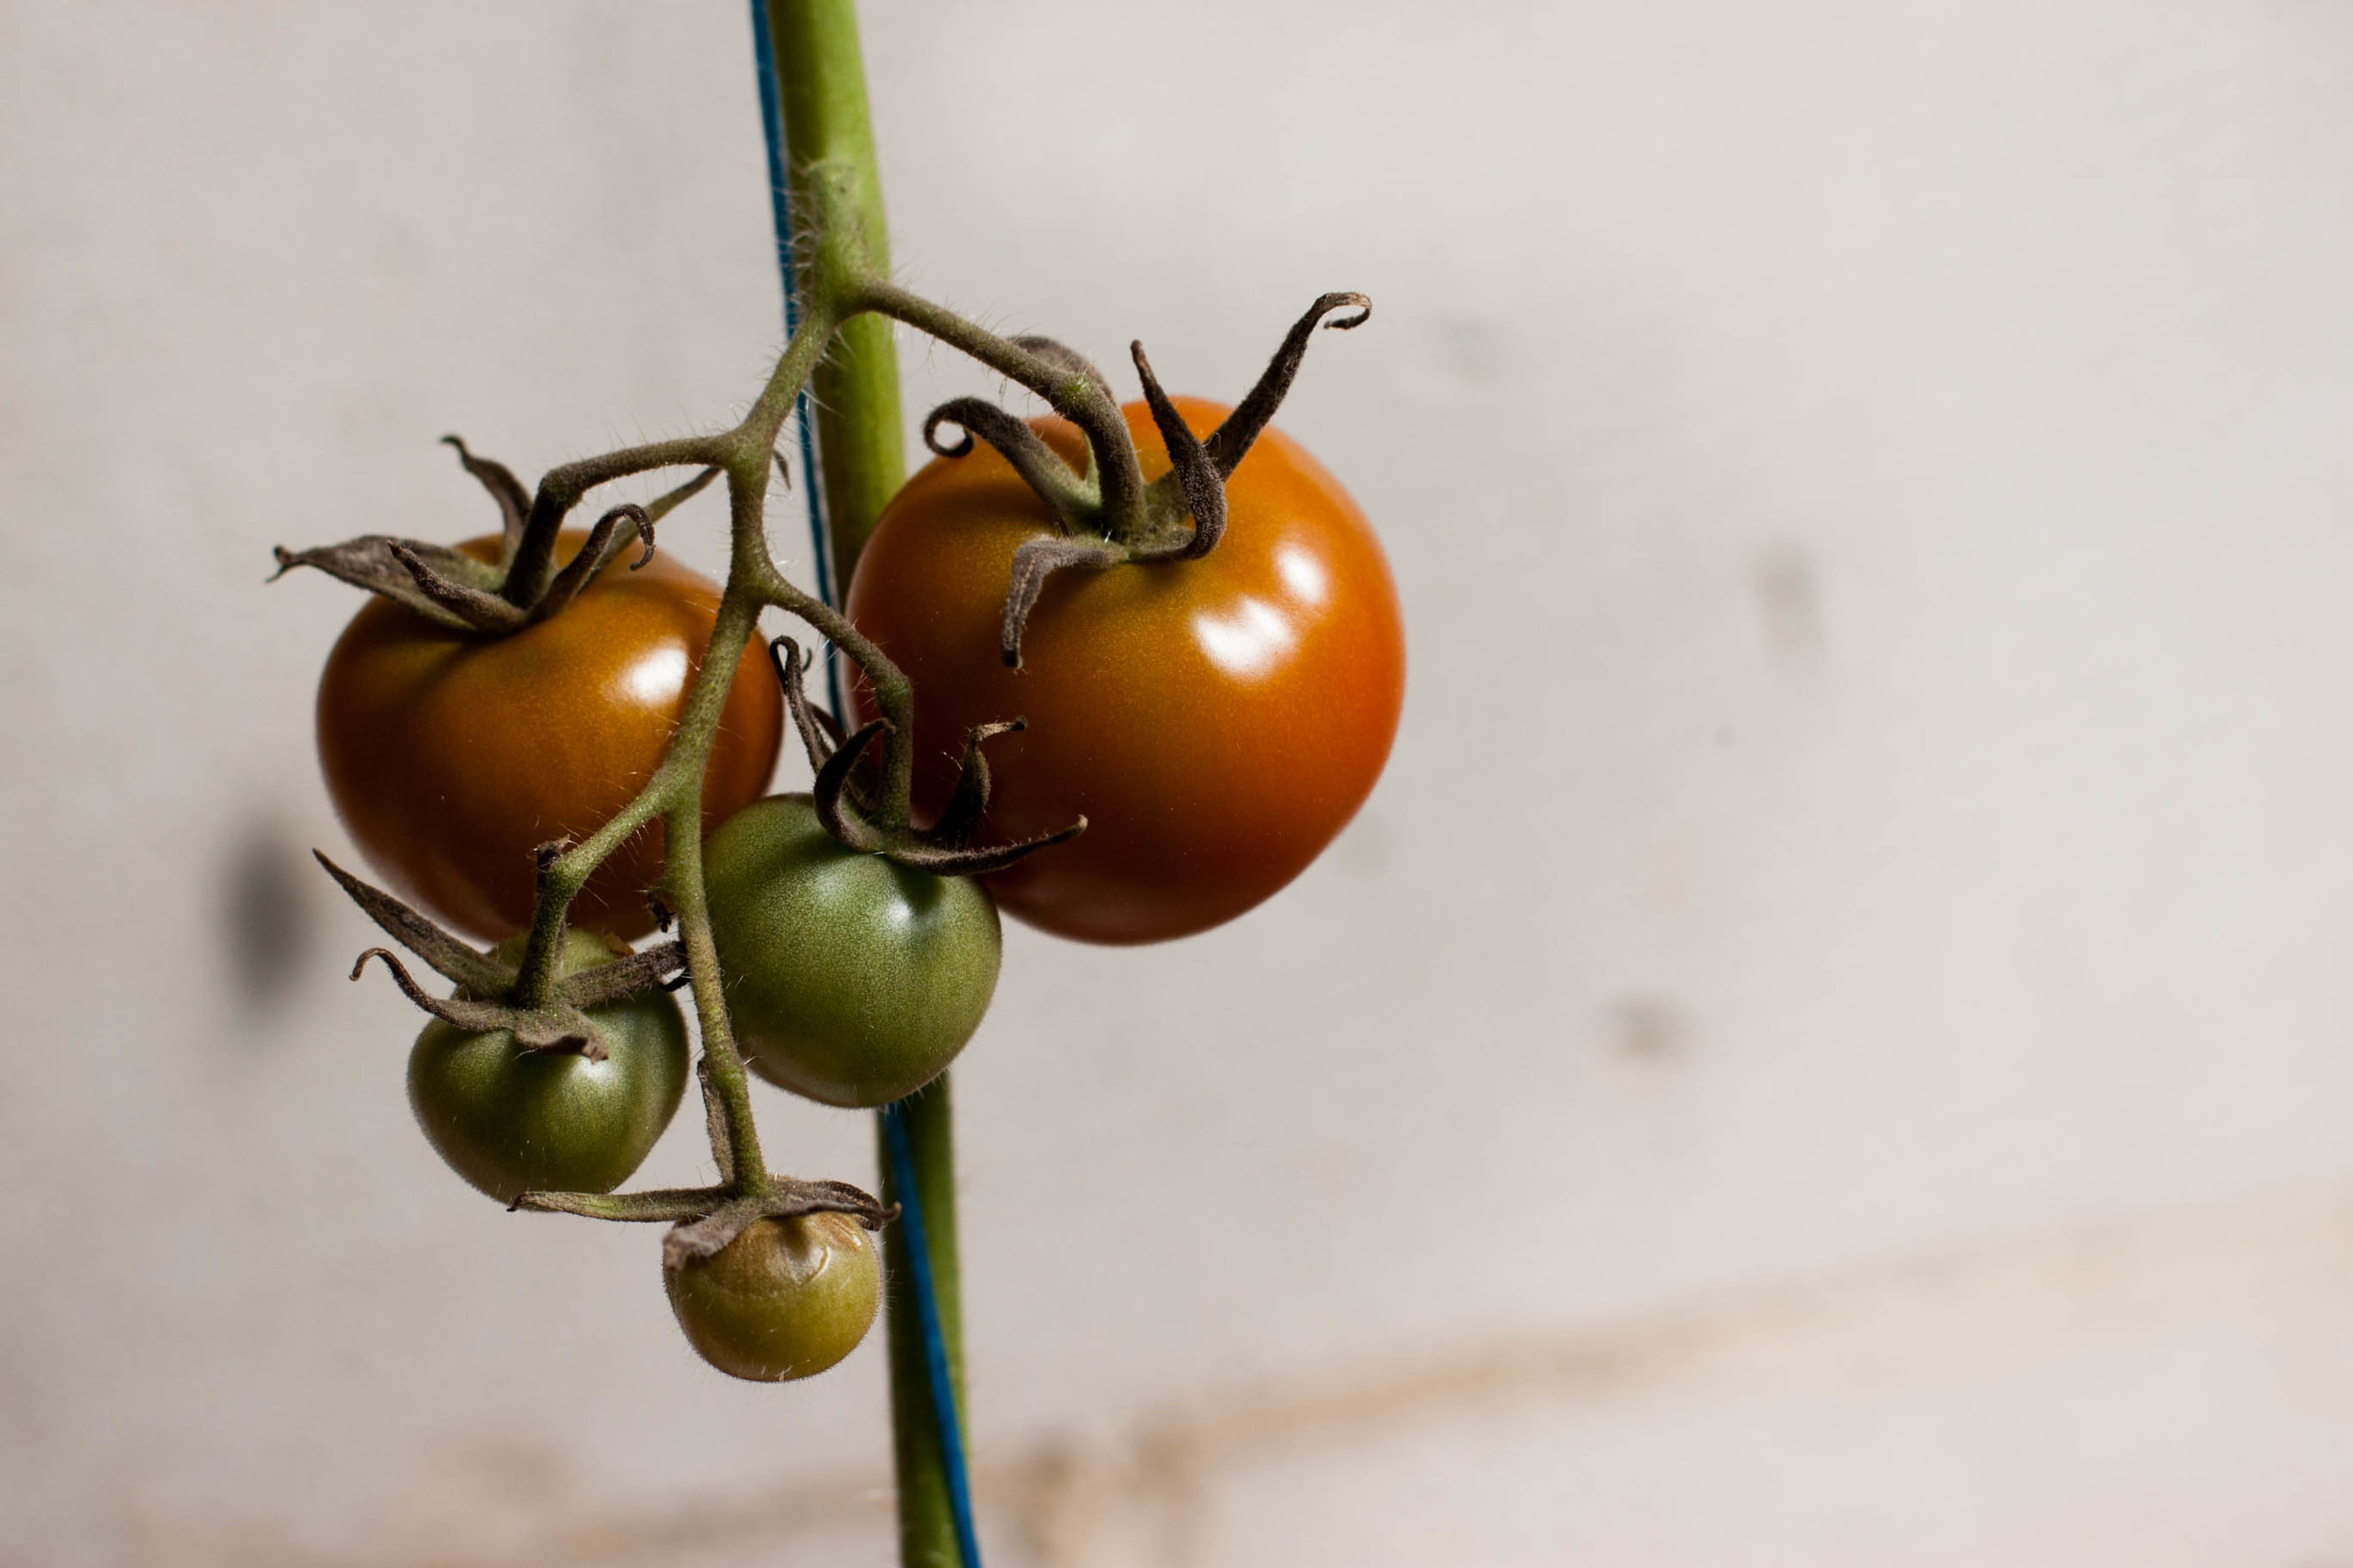
Thursday turned out to be a great day; the rain had stopped and the wind wasn't that fierce anymore. Perfect weather to go mushroom foraging. Most often, I do have a certain mushroom variety in my mind when I head into the woods. This is mostly because different varieties grow in different environments and during different times of the year. To know where and when to look, you have to know what you're looking for. Pretty logic, right?

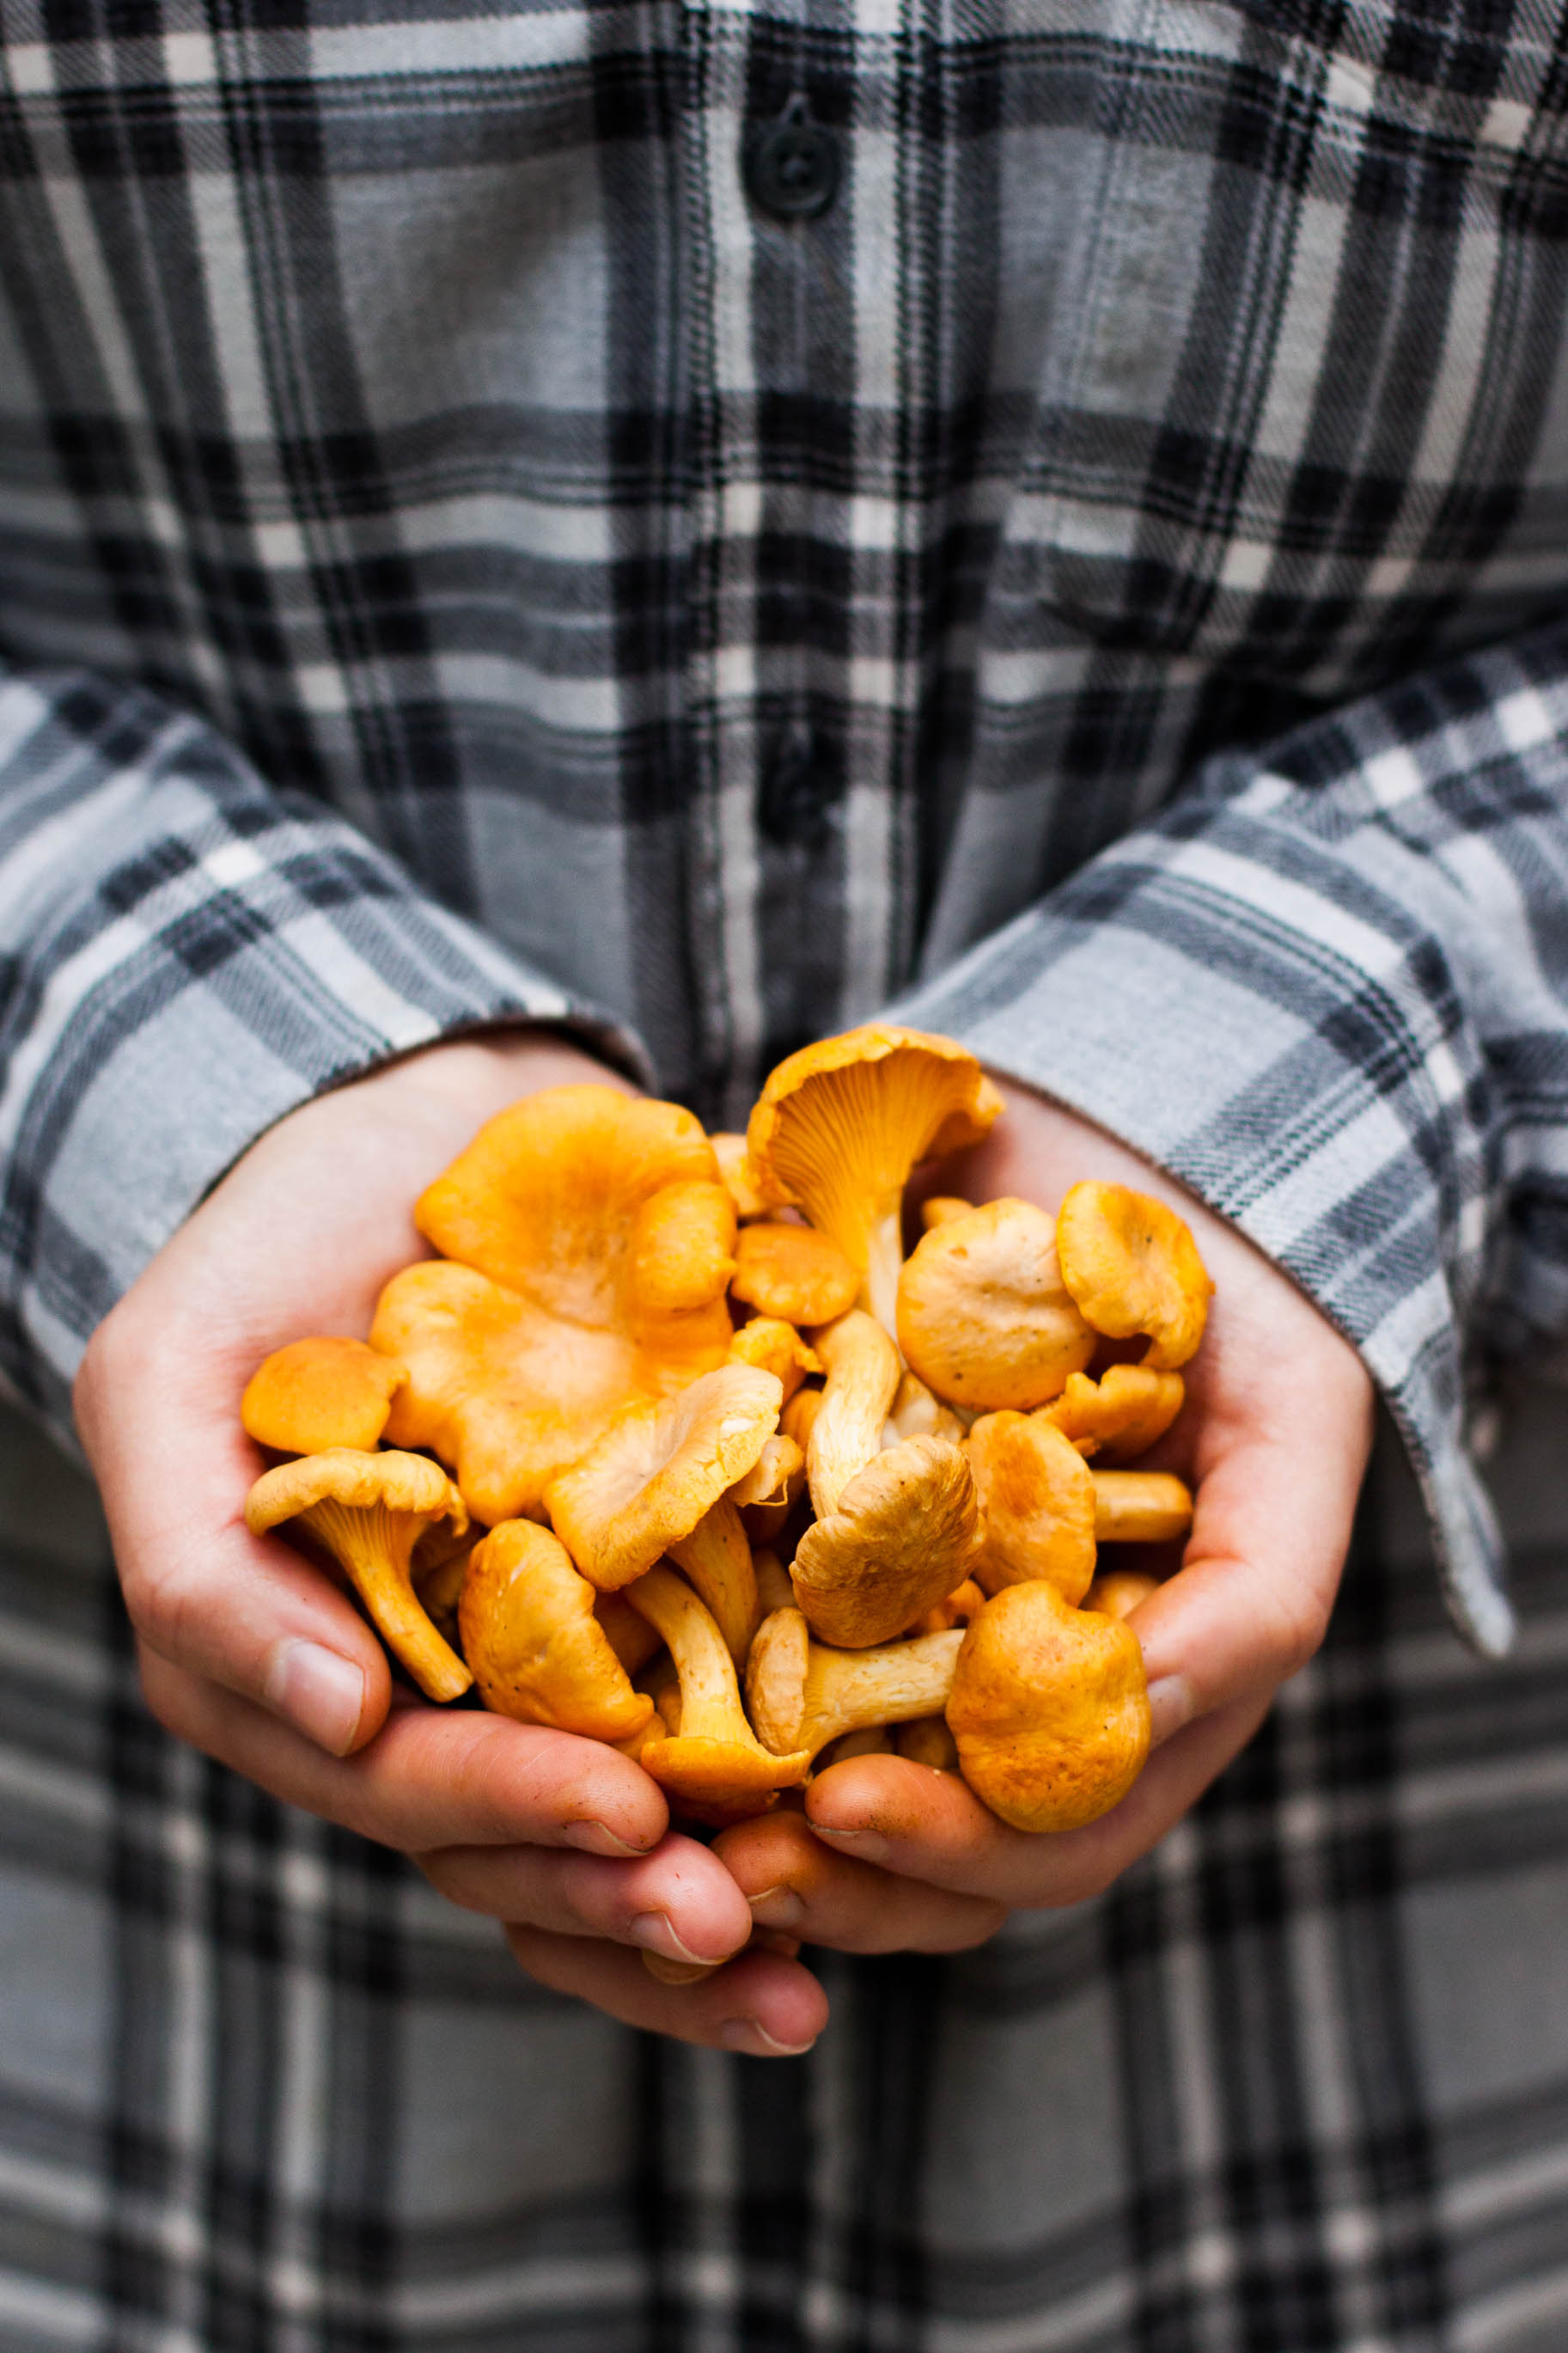
Funnel chanterelles (Craterellus tubaeformis / yellowfoot) can be found in great numbers here in the Nordic woods until late fall; basically until they get buried under snow so that you're unable to spot them. It's one of my most favorite mushrooms to forage as one often gets rewarded with a phenomenal catch – we came home with around 15 liters / 4 US gallons. Did we spent much time in the woods you might ask. No, a bit more than two hours. That's it. 15 liters of mushrooms for 2 hours wandering in a forest isn't that bad a reward, don't you agree?

It's quite obvious that there's no way I could consume such an amount within a few days. Luckily, funnel chanterelles are perfect for dehydrating so that's what I've done with most of them. They'll keep well for years when fully dried and are wonderful in risottos and in soups. Actually, I prefer a mushroom risotto made with dried mushrooms as the mushroom aroma is more intense. That's also why I've decided to share a mushroom risotto recipe at another time.

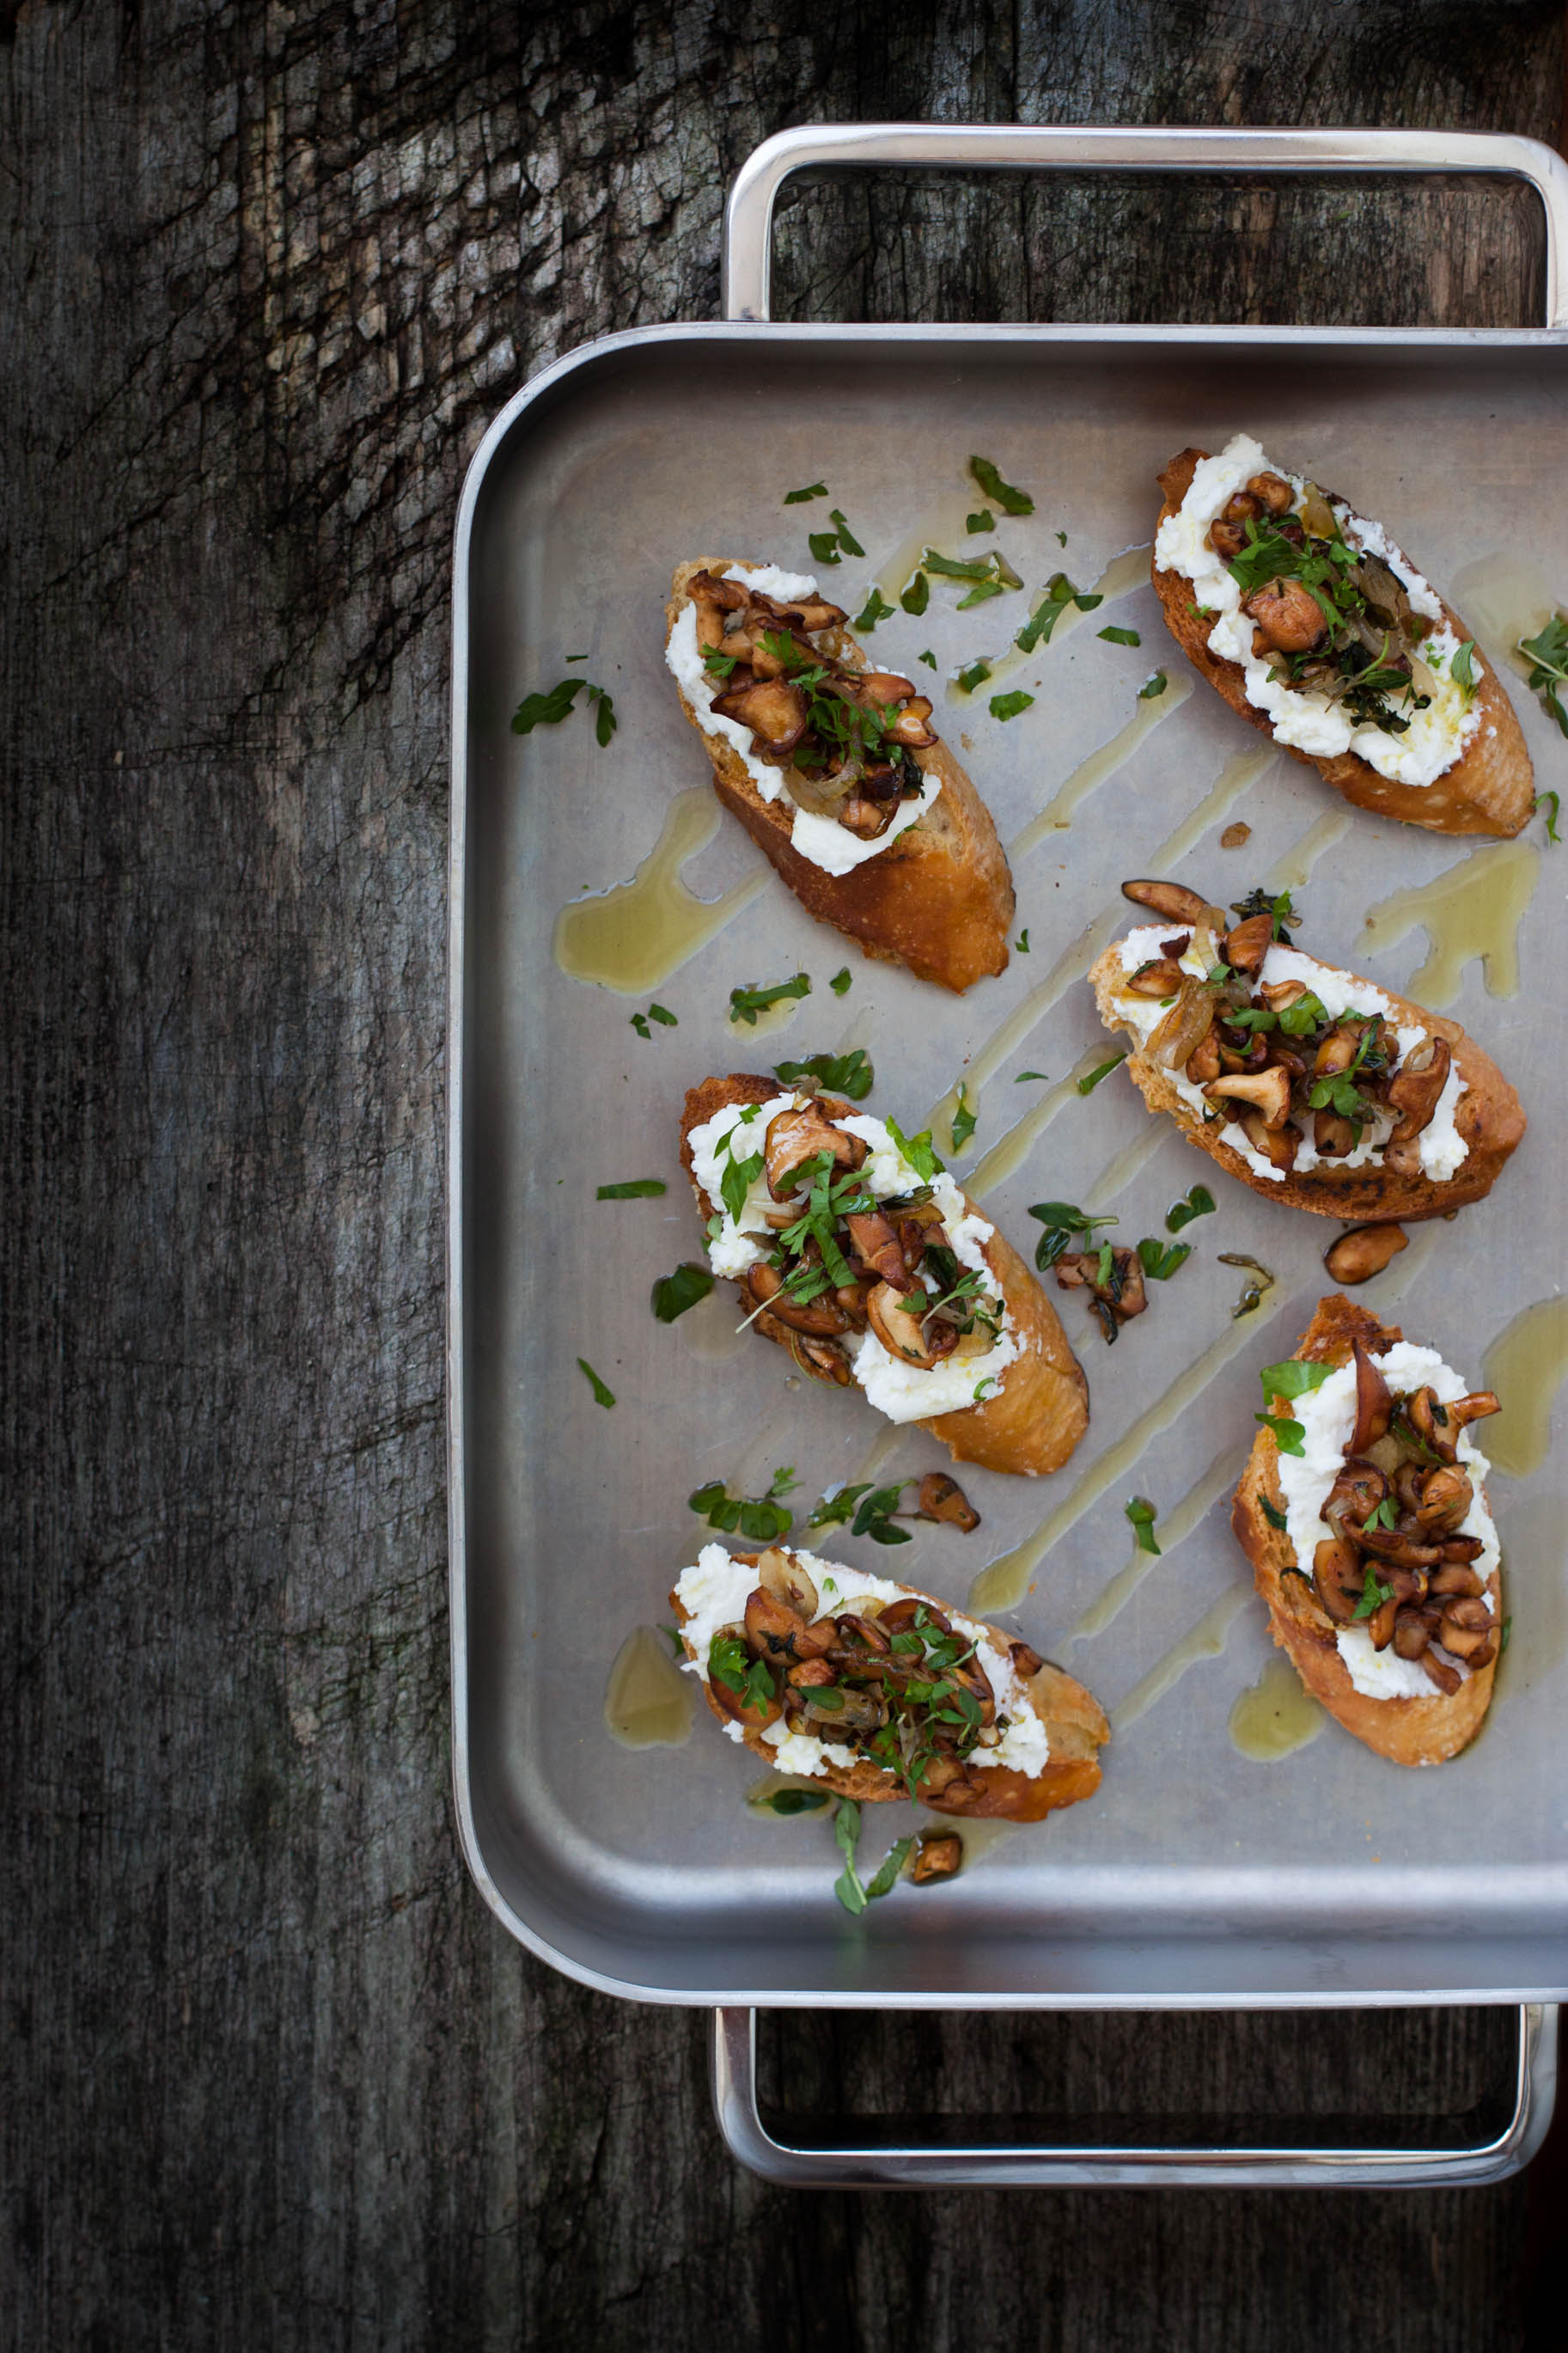
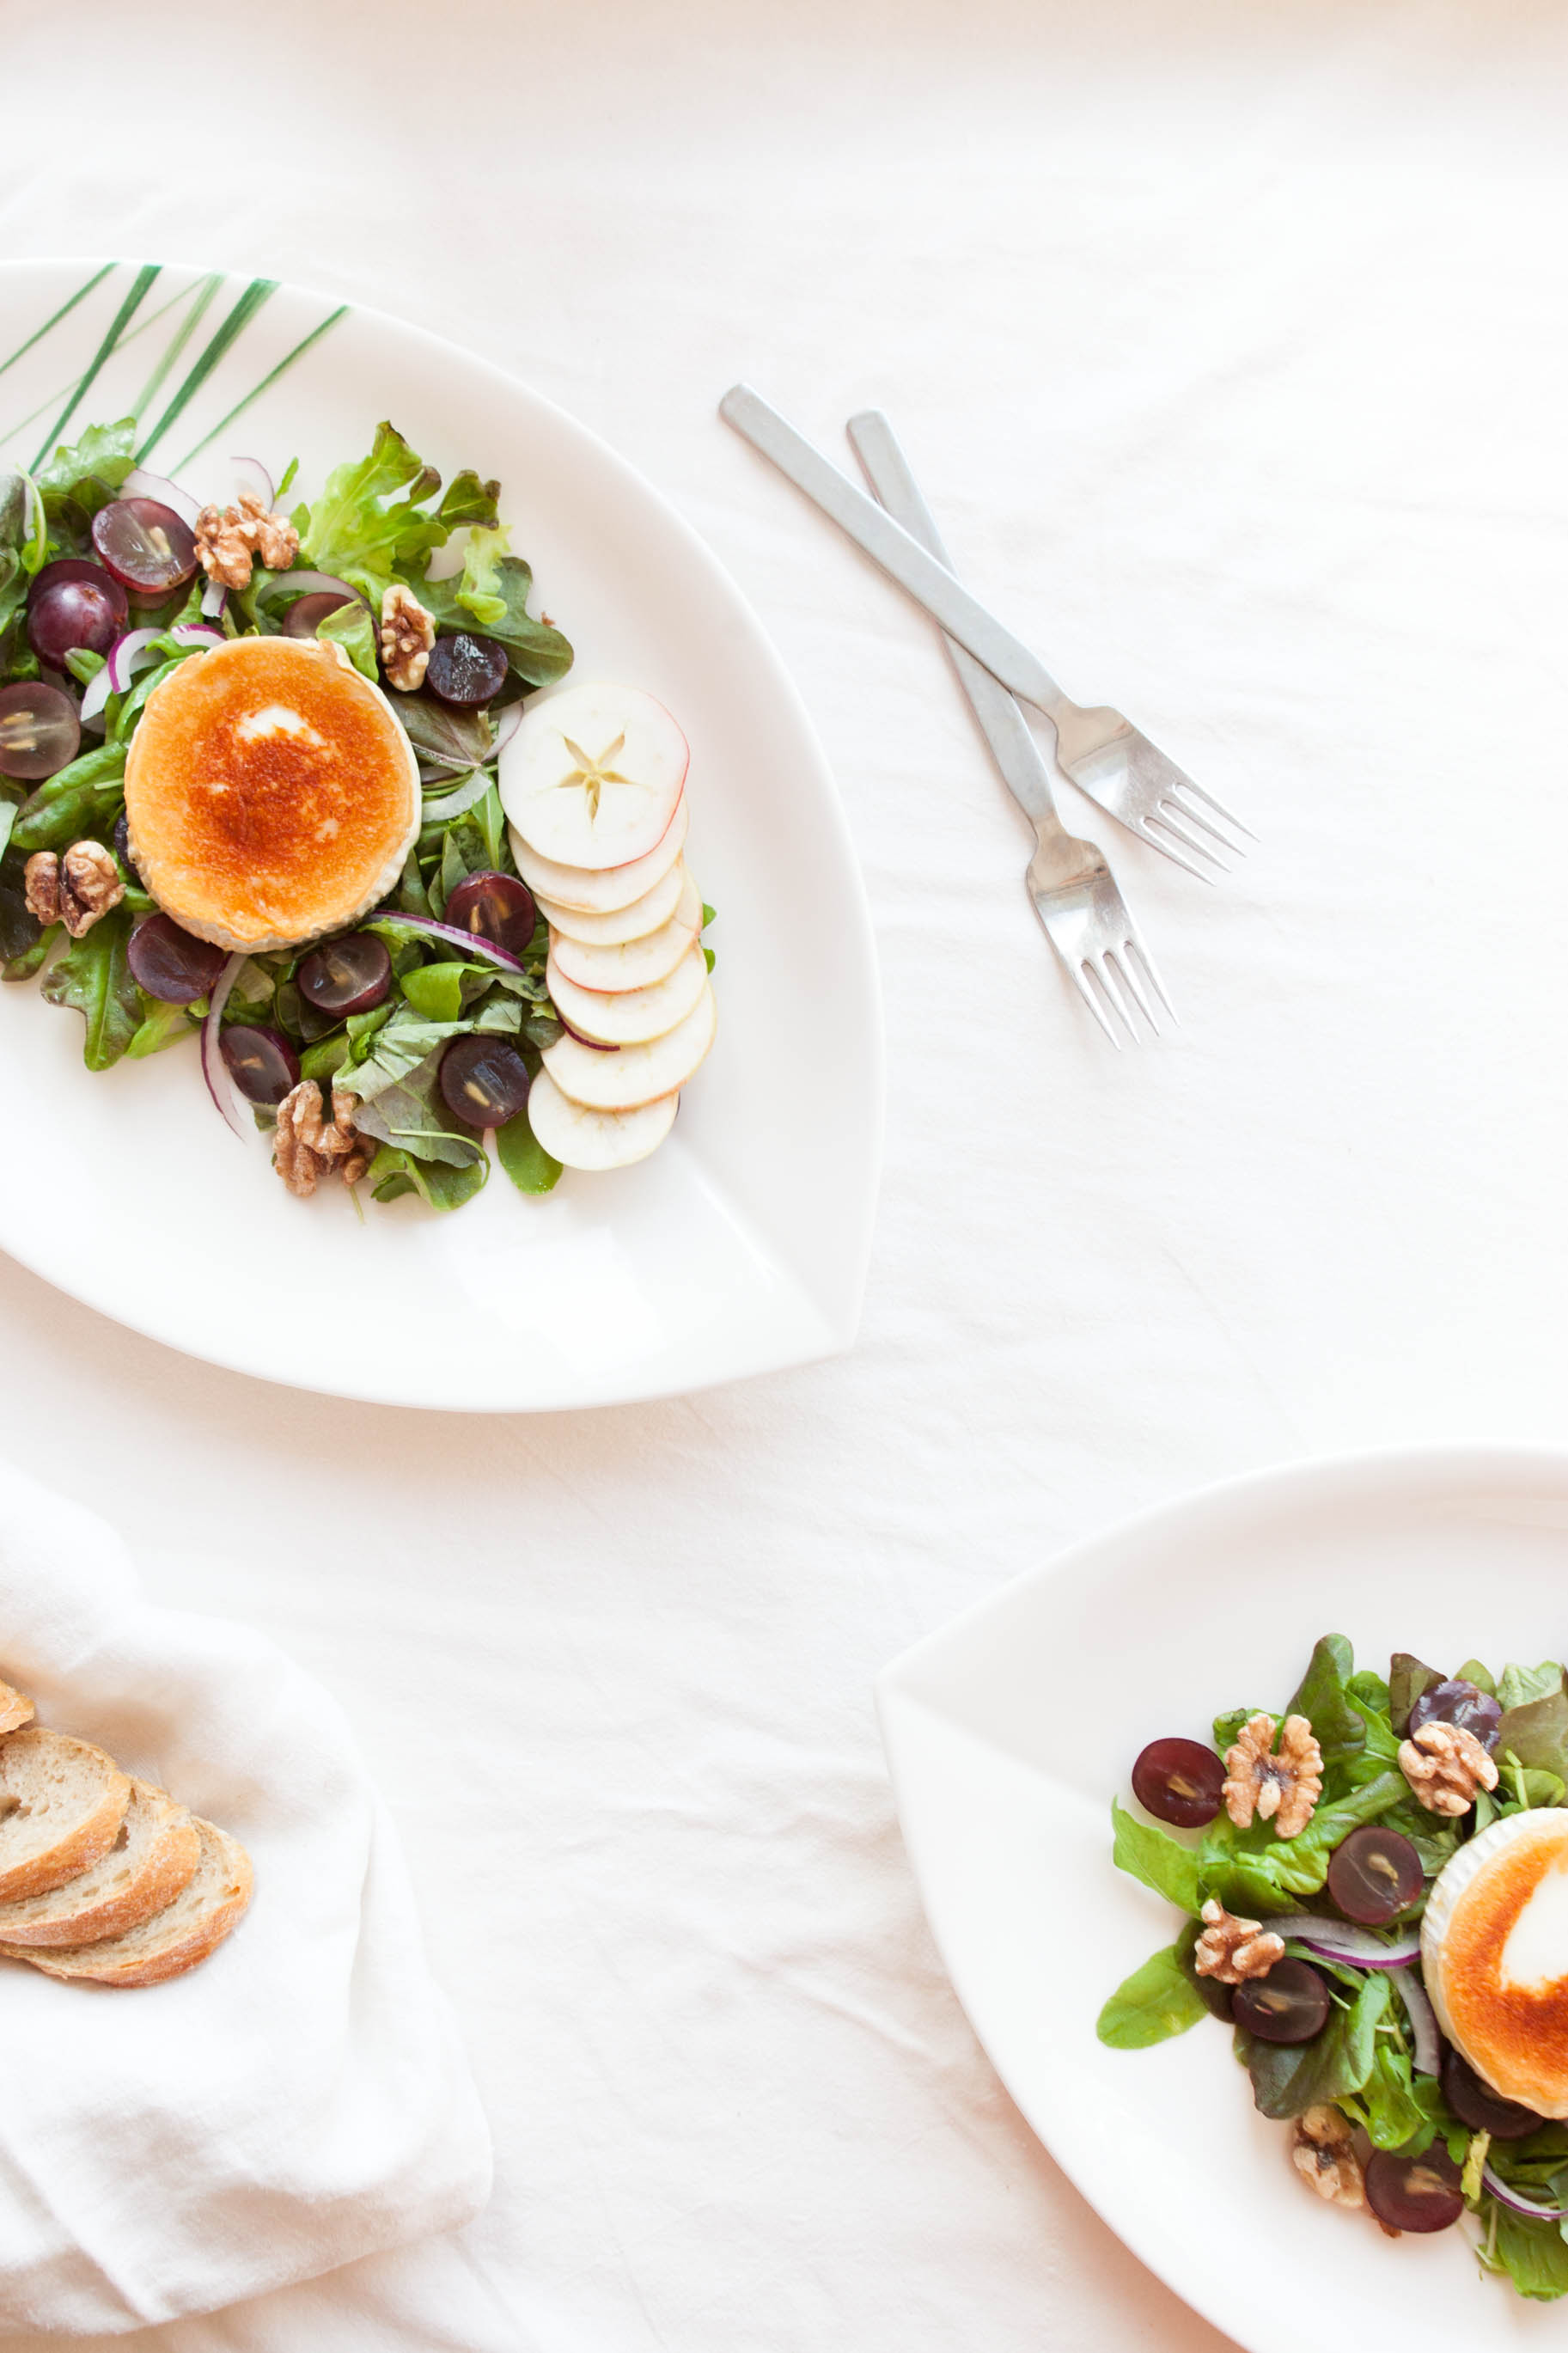
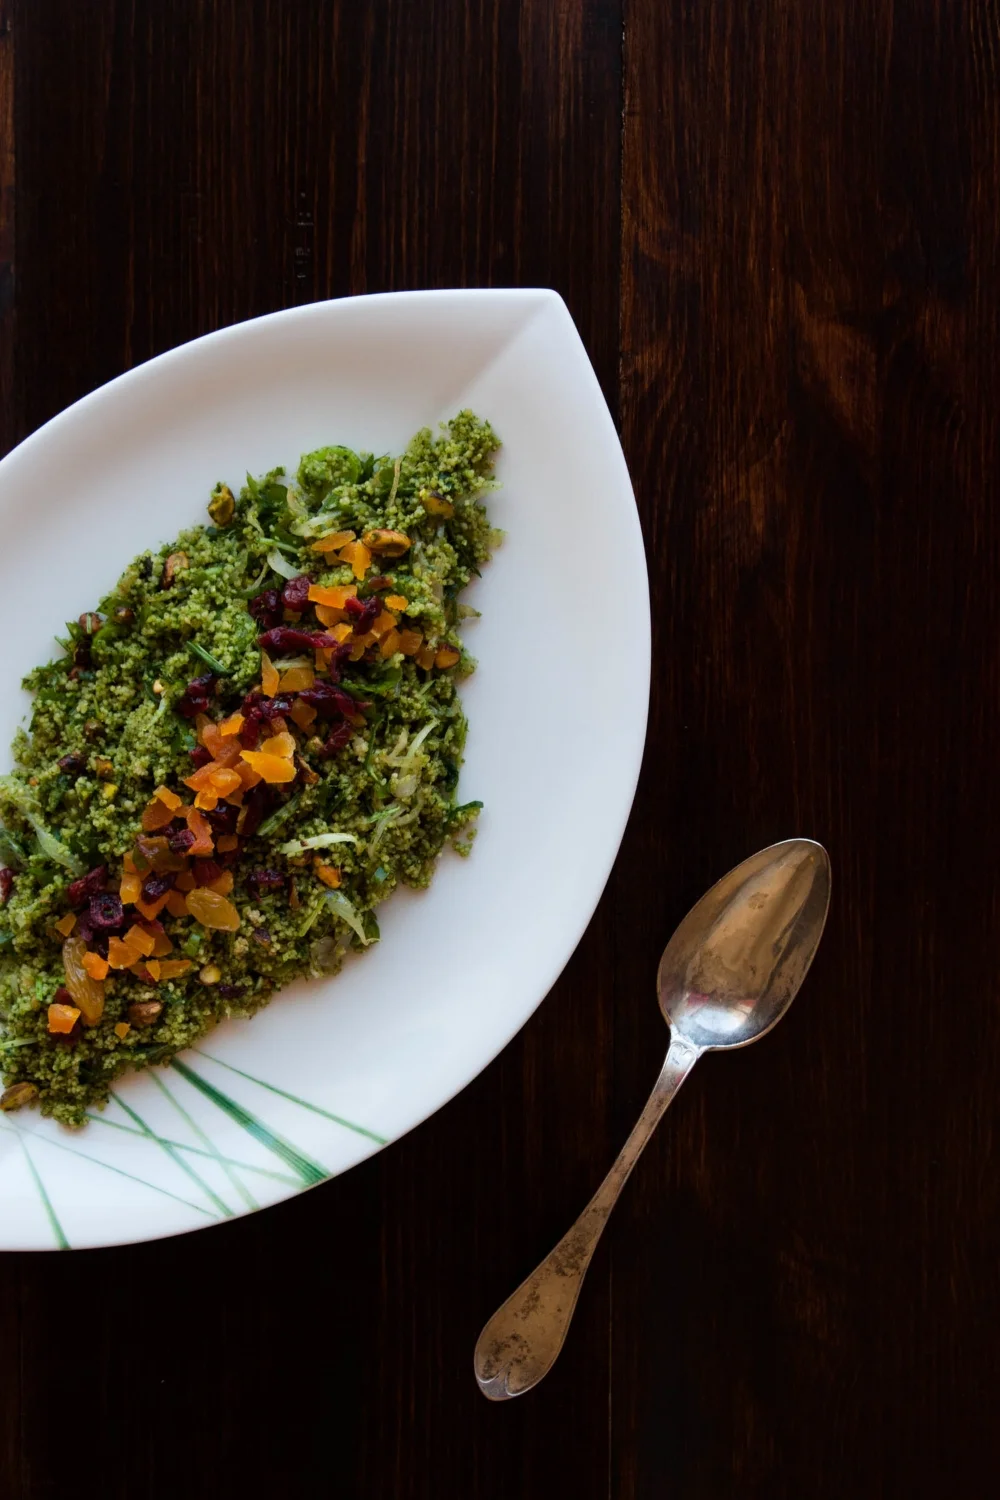
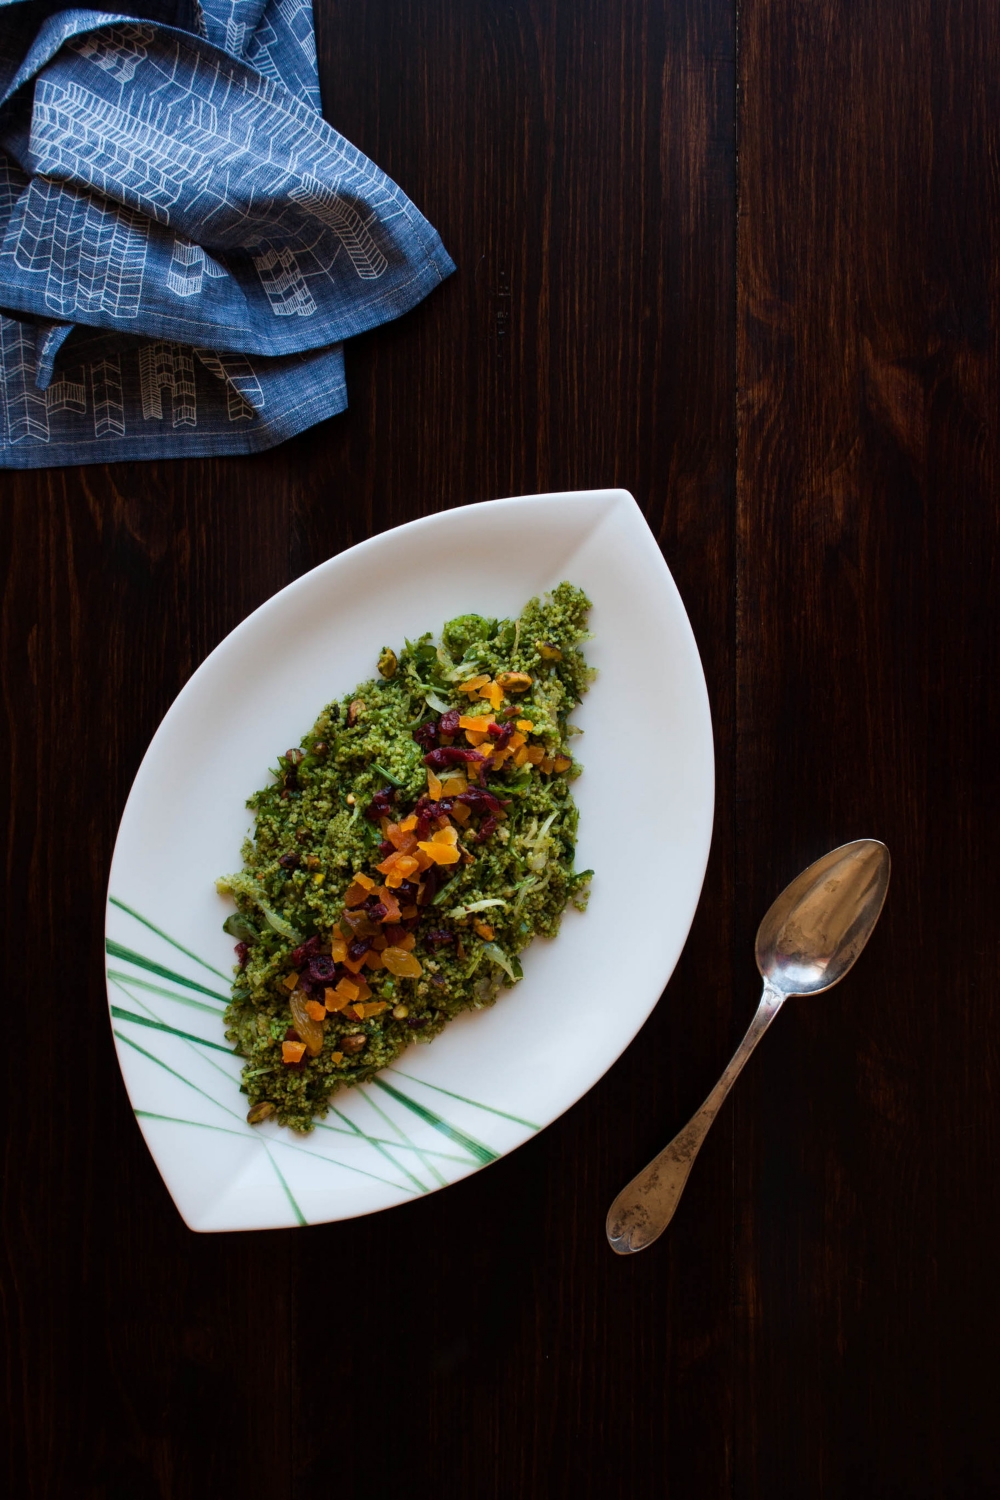
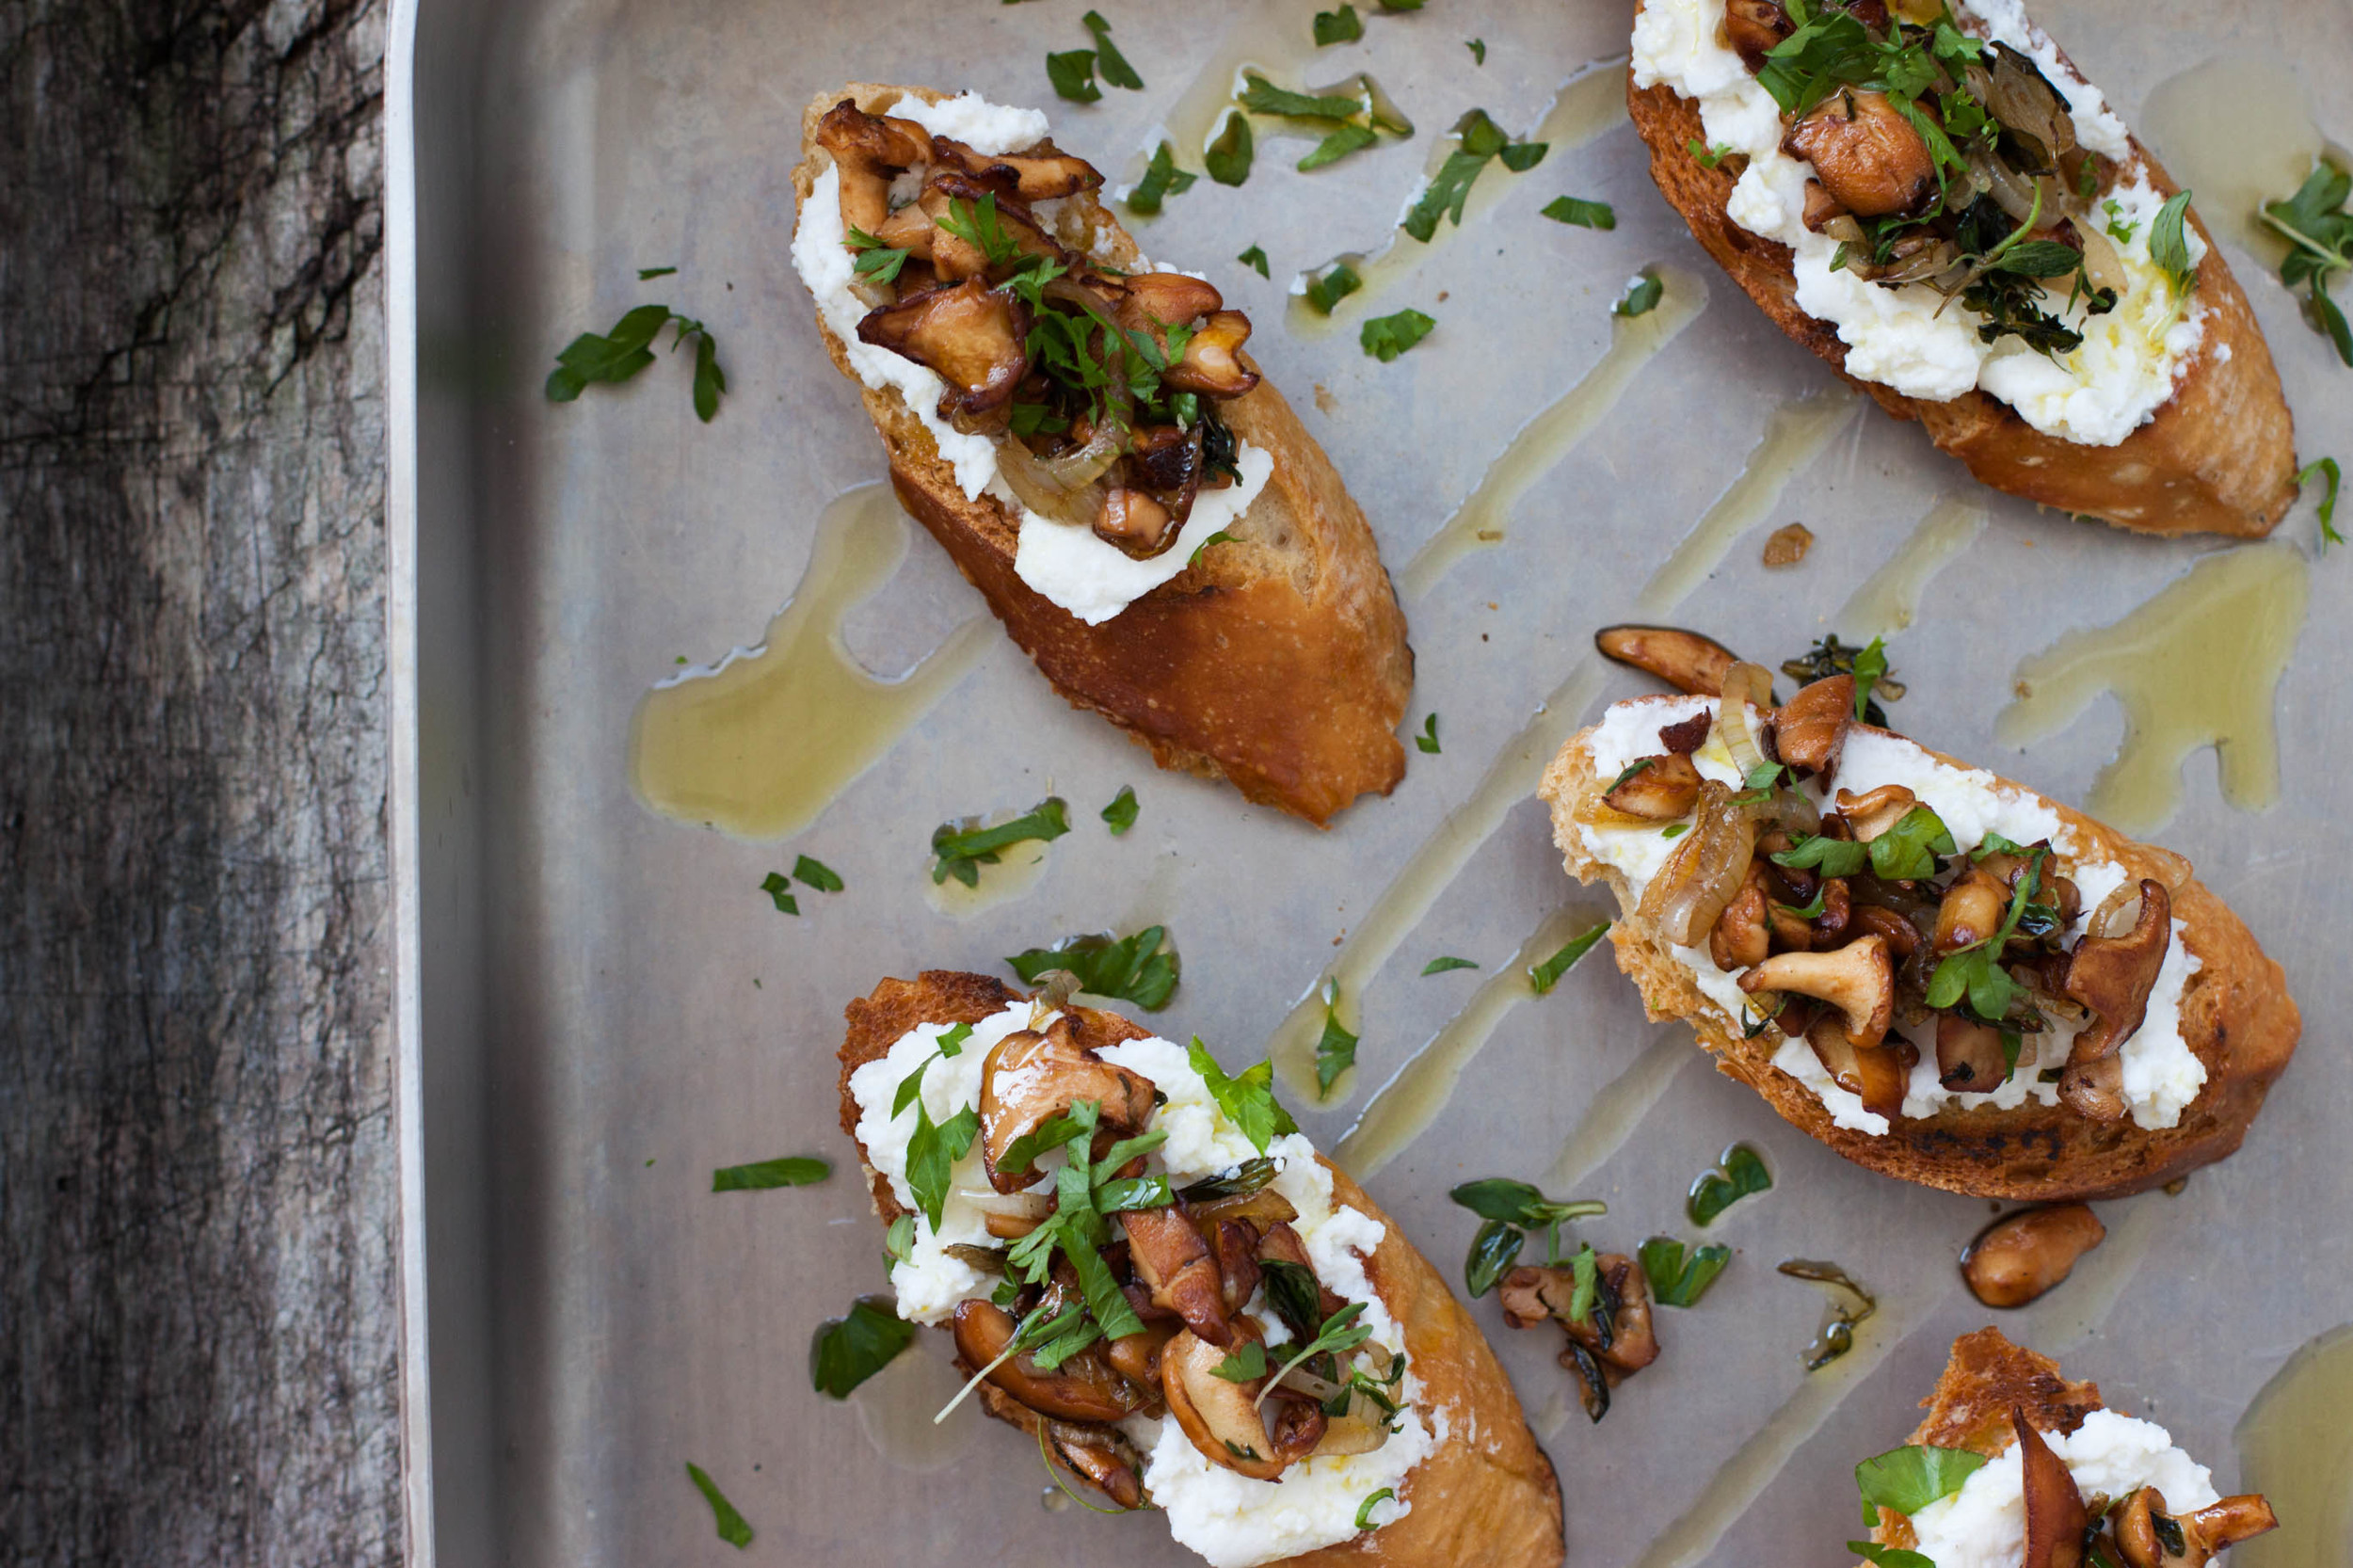
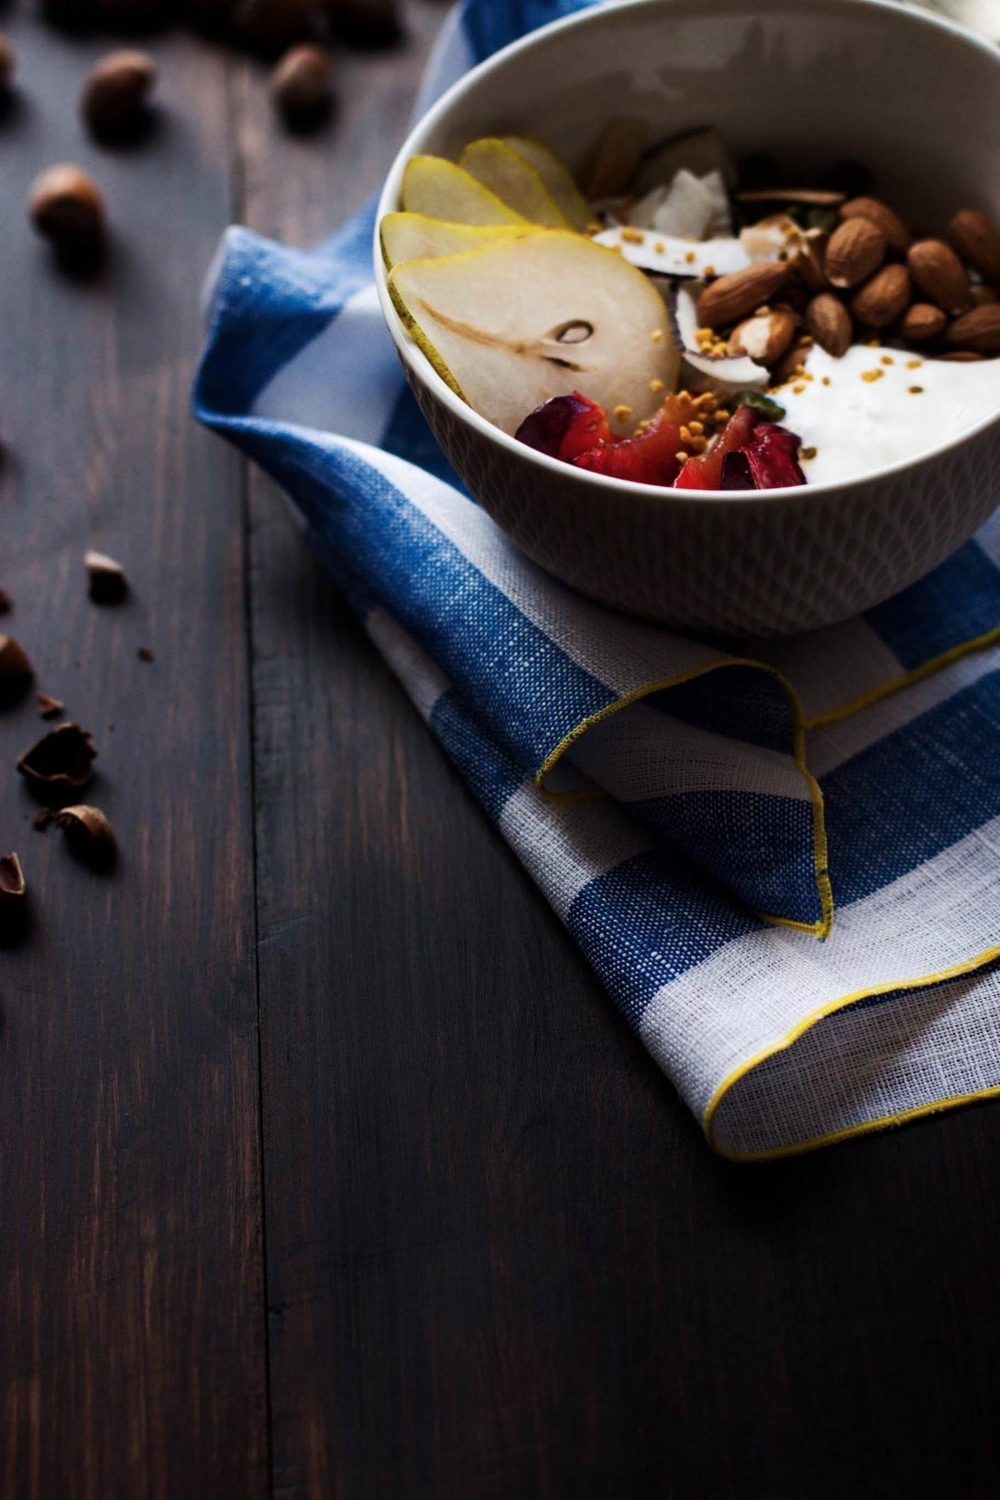
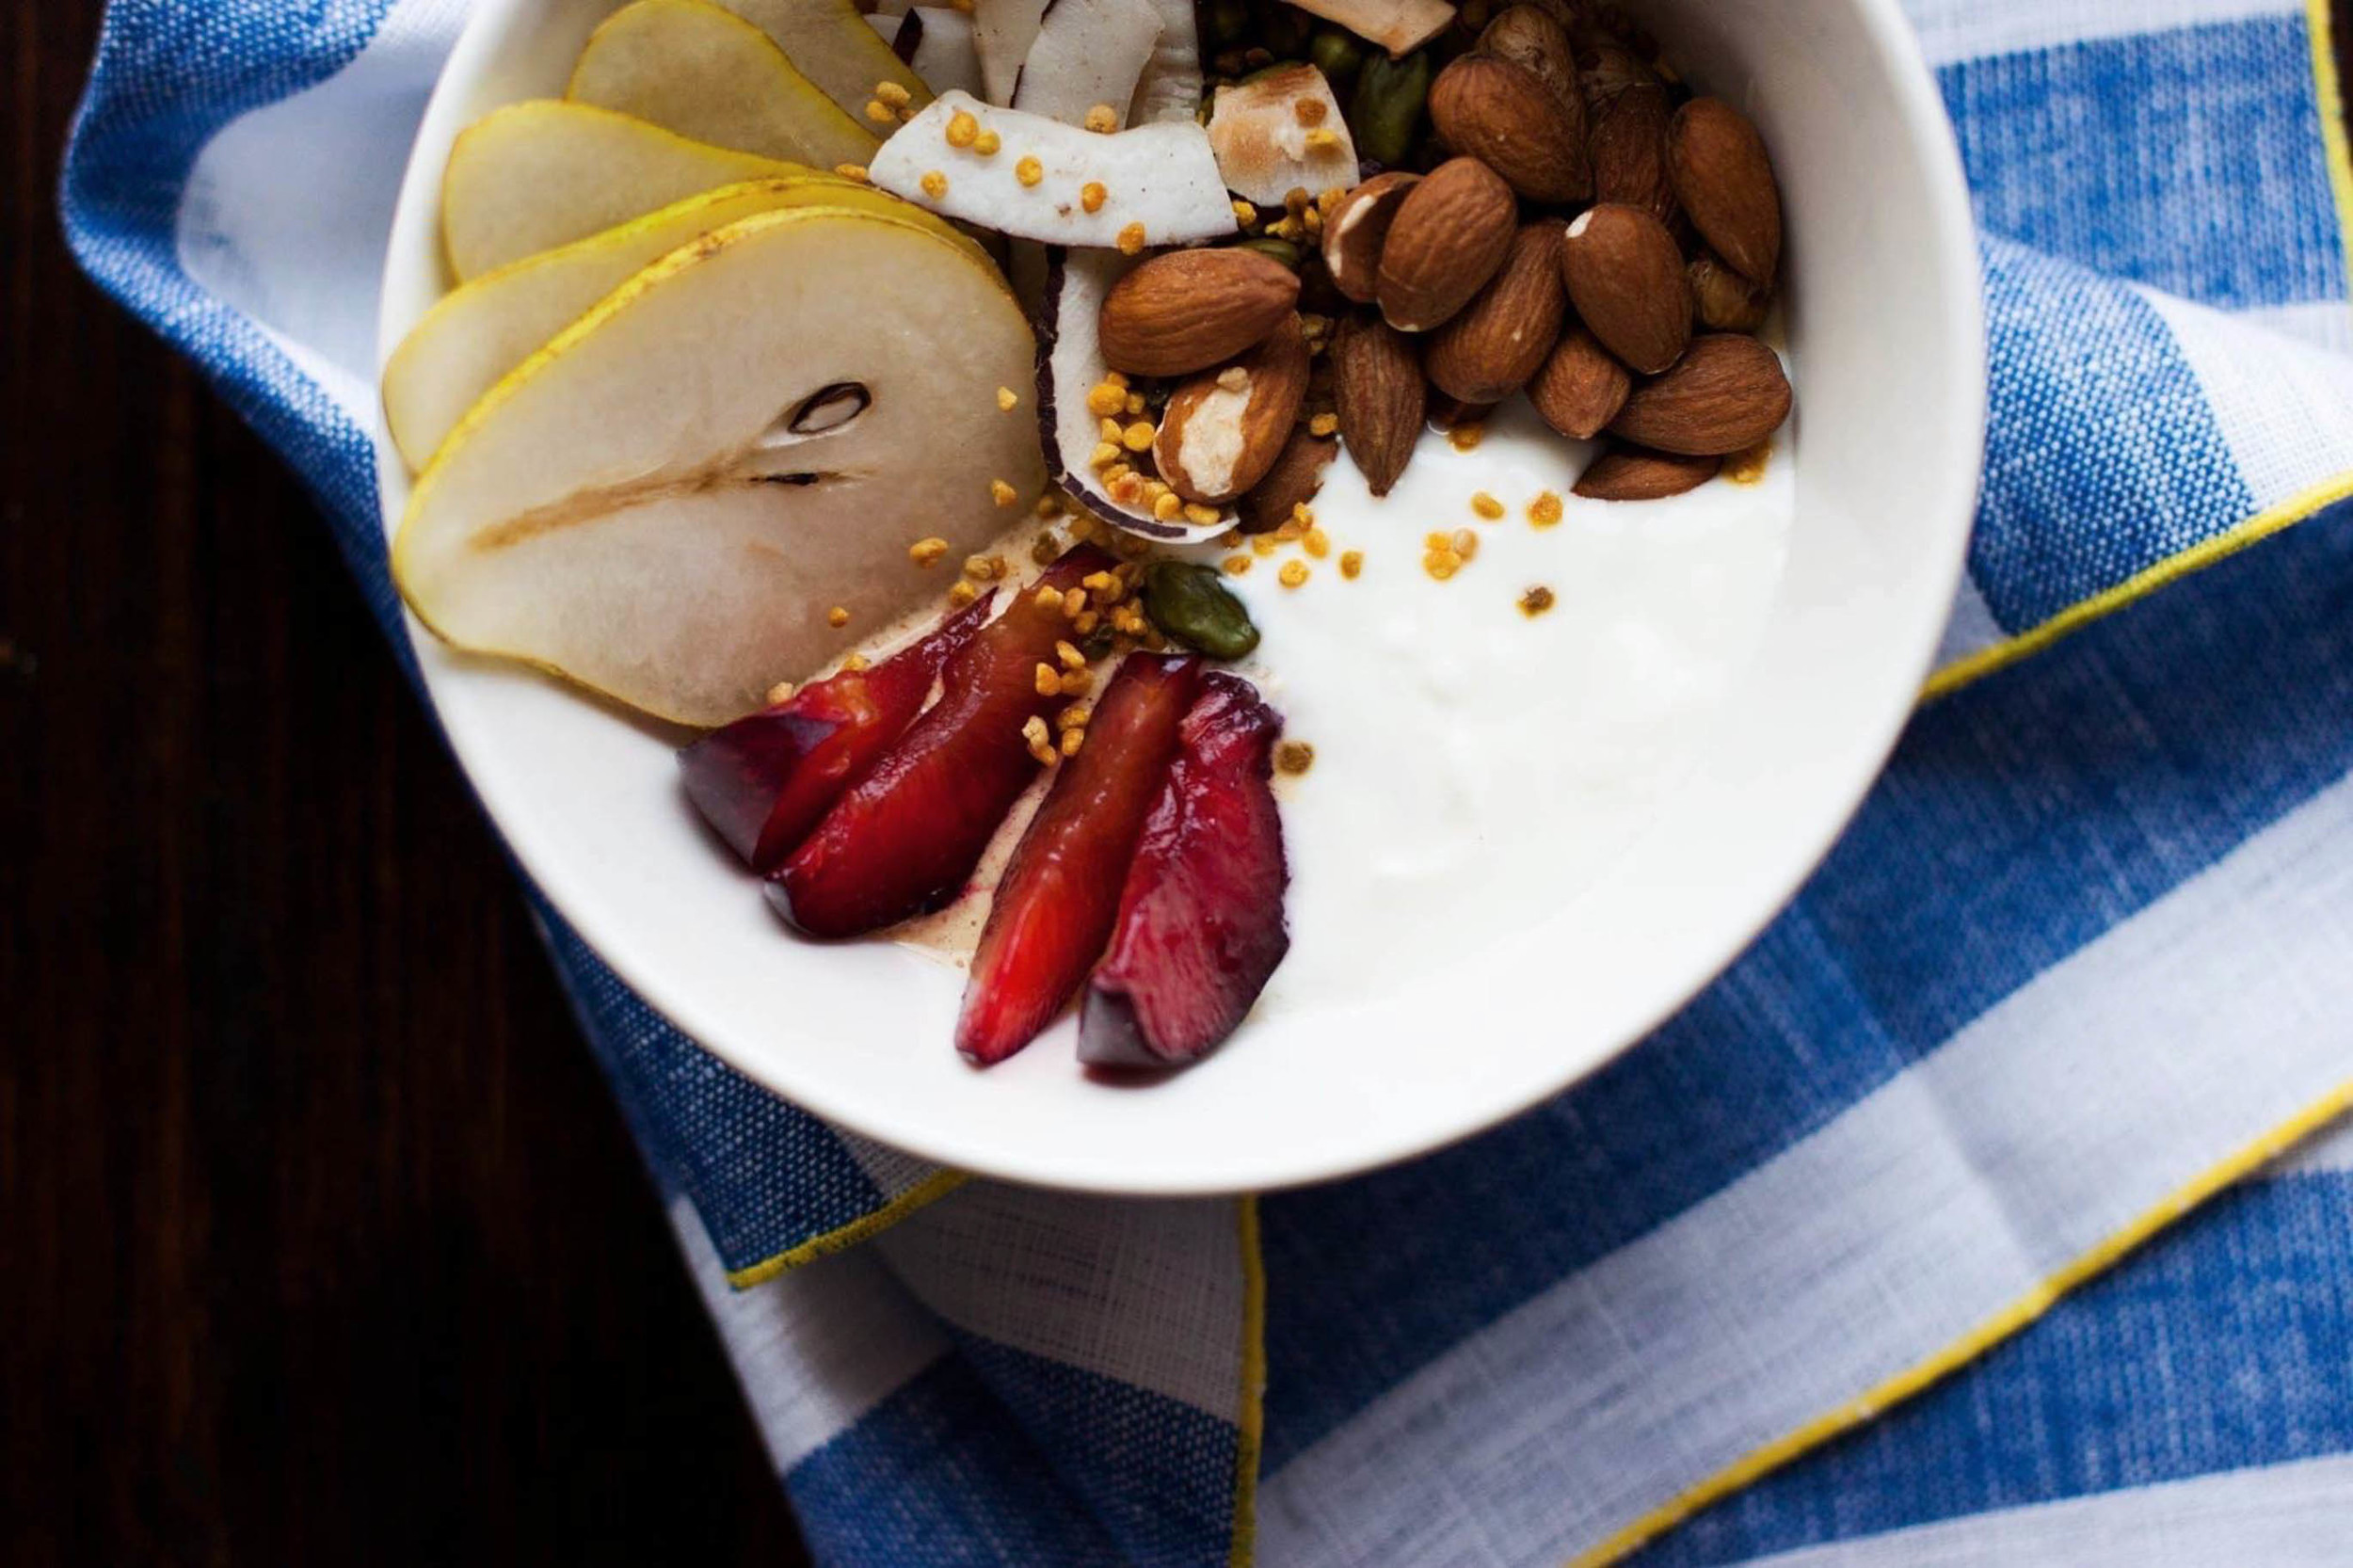
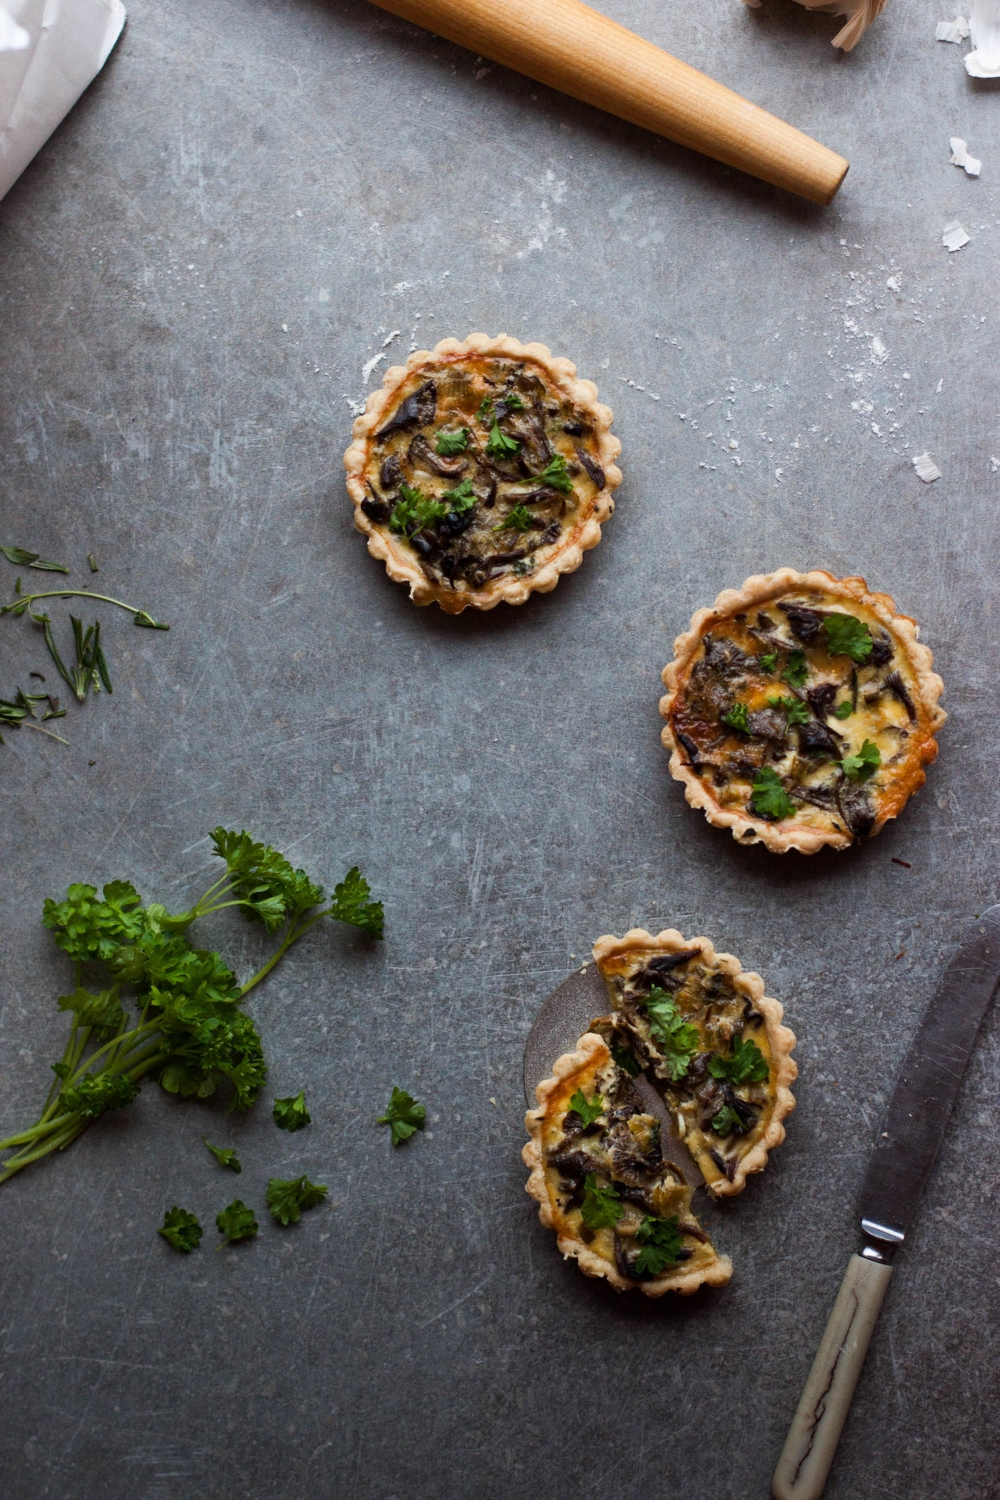
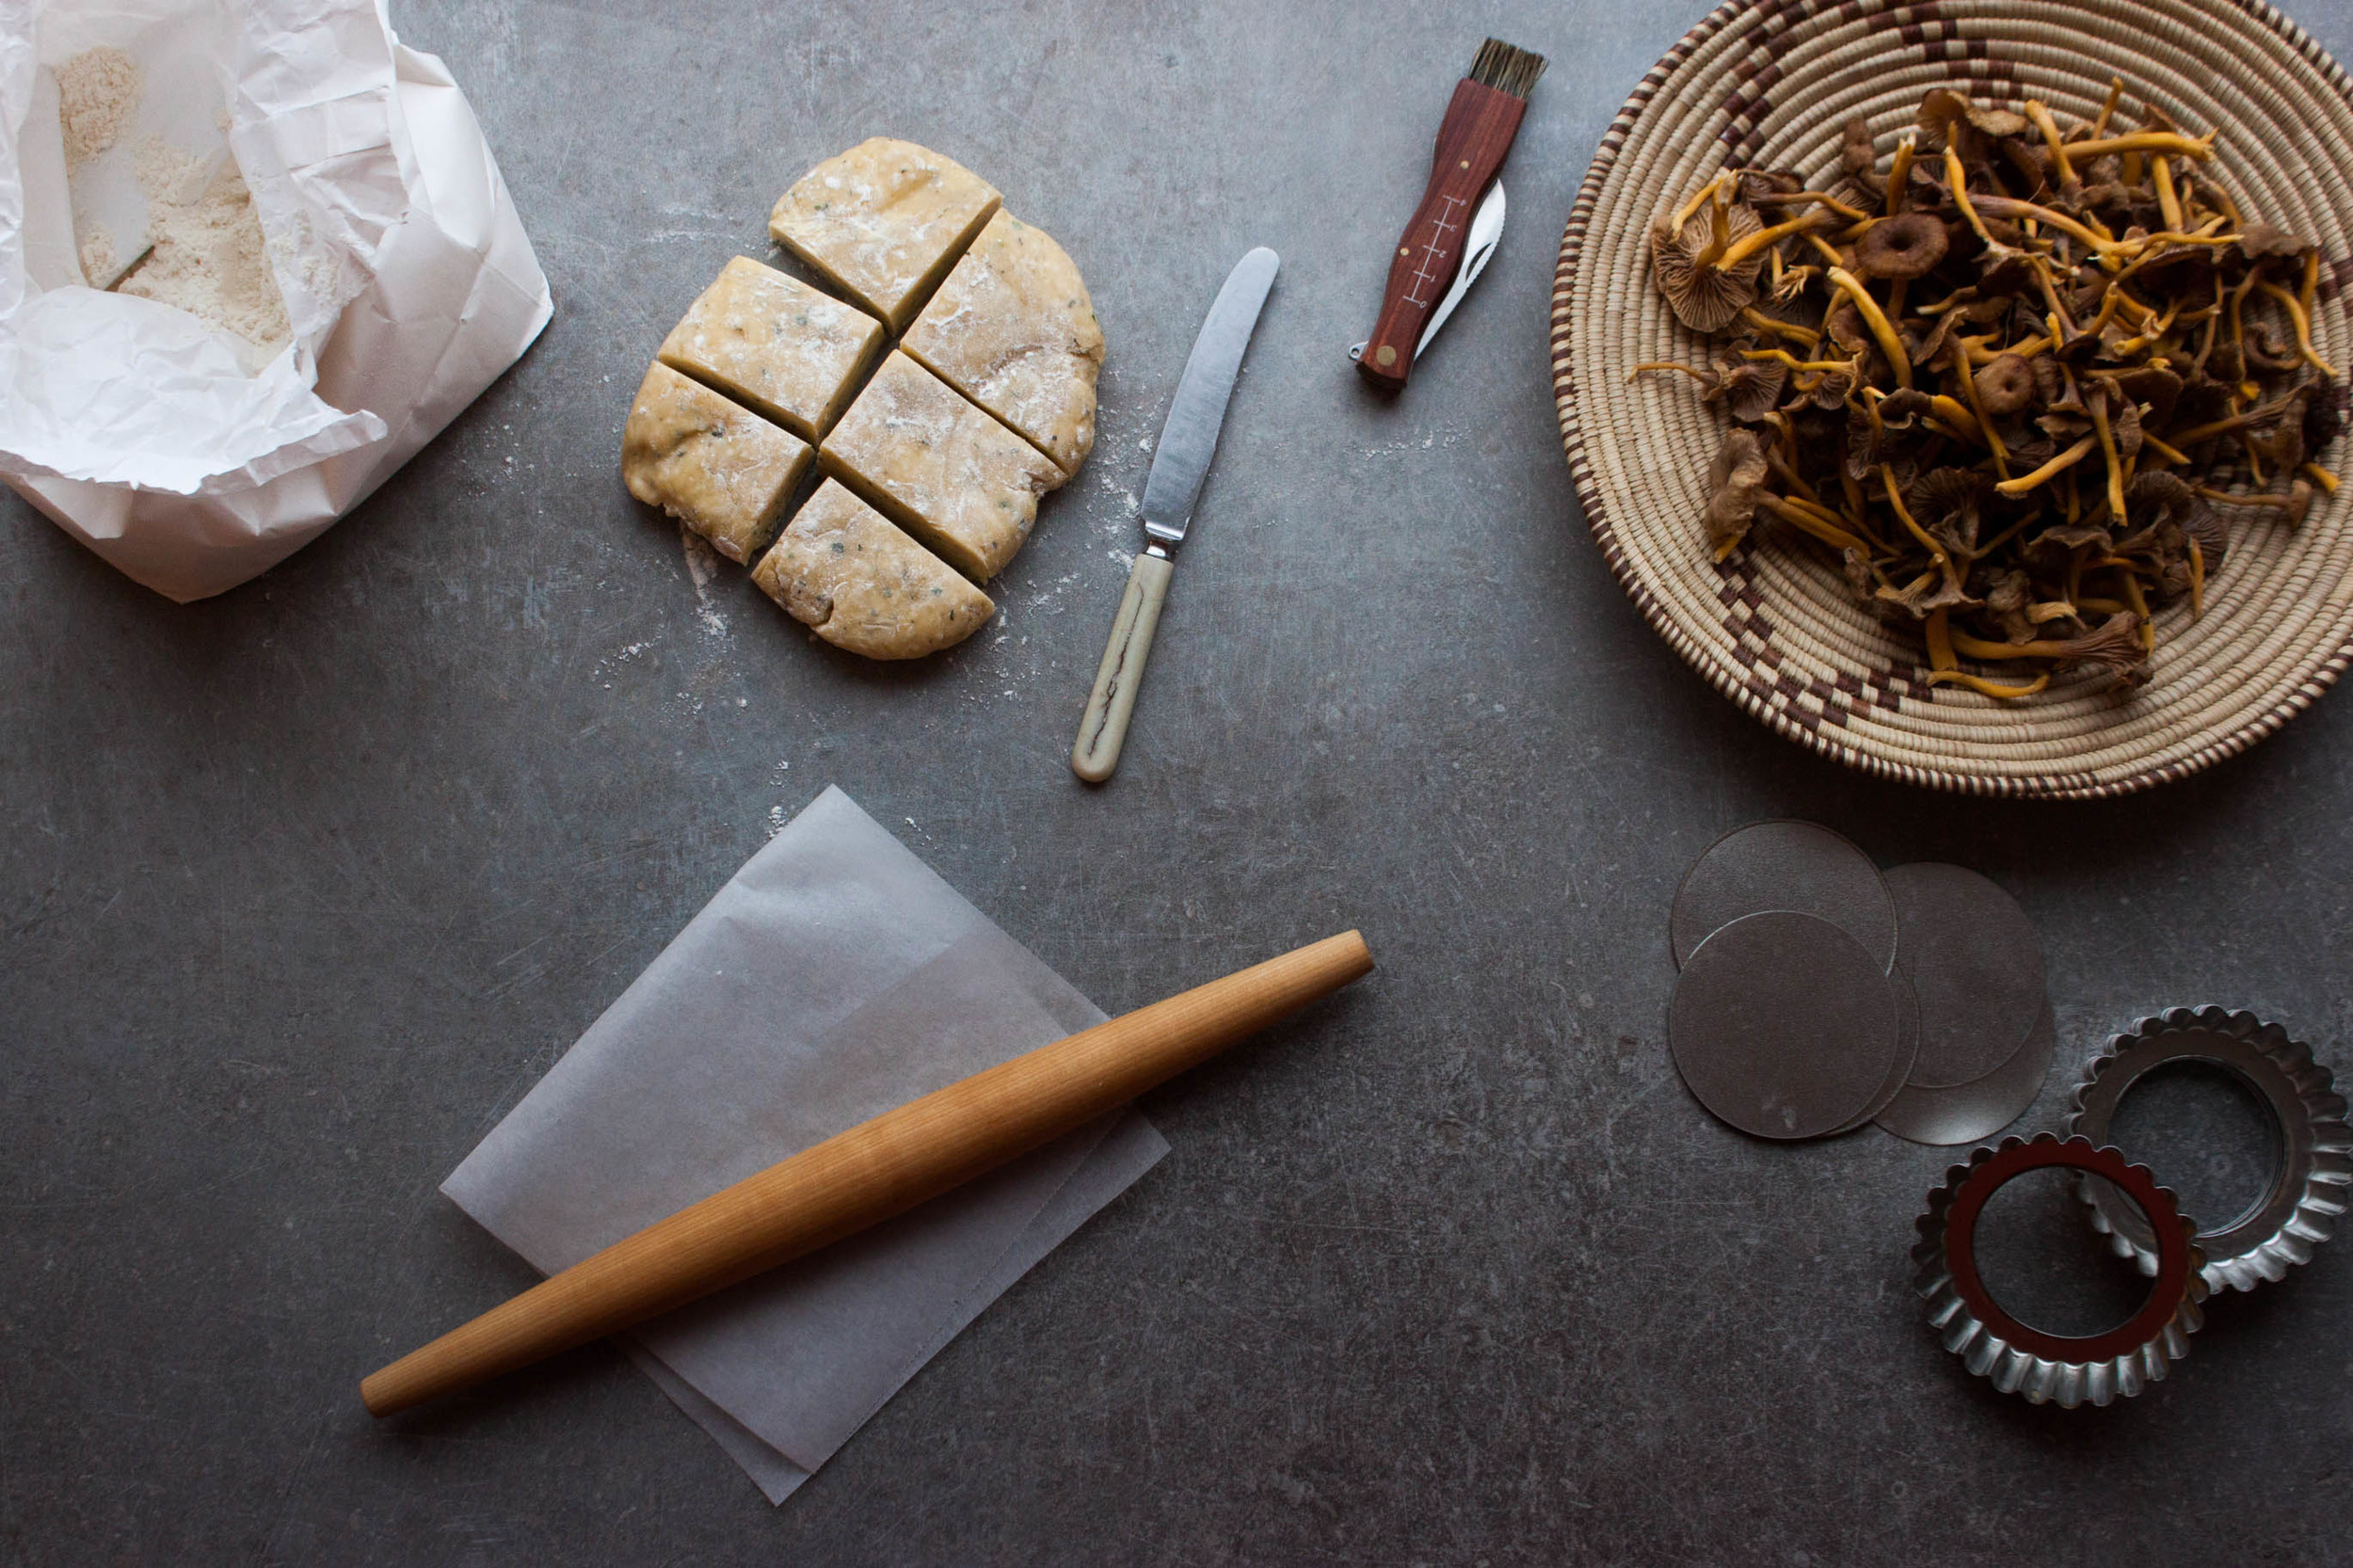
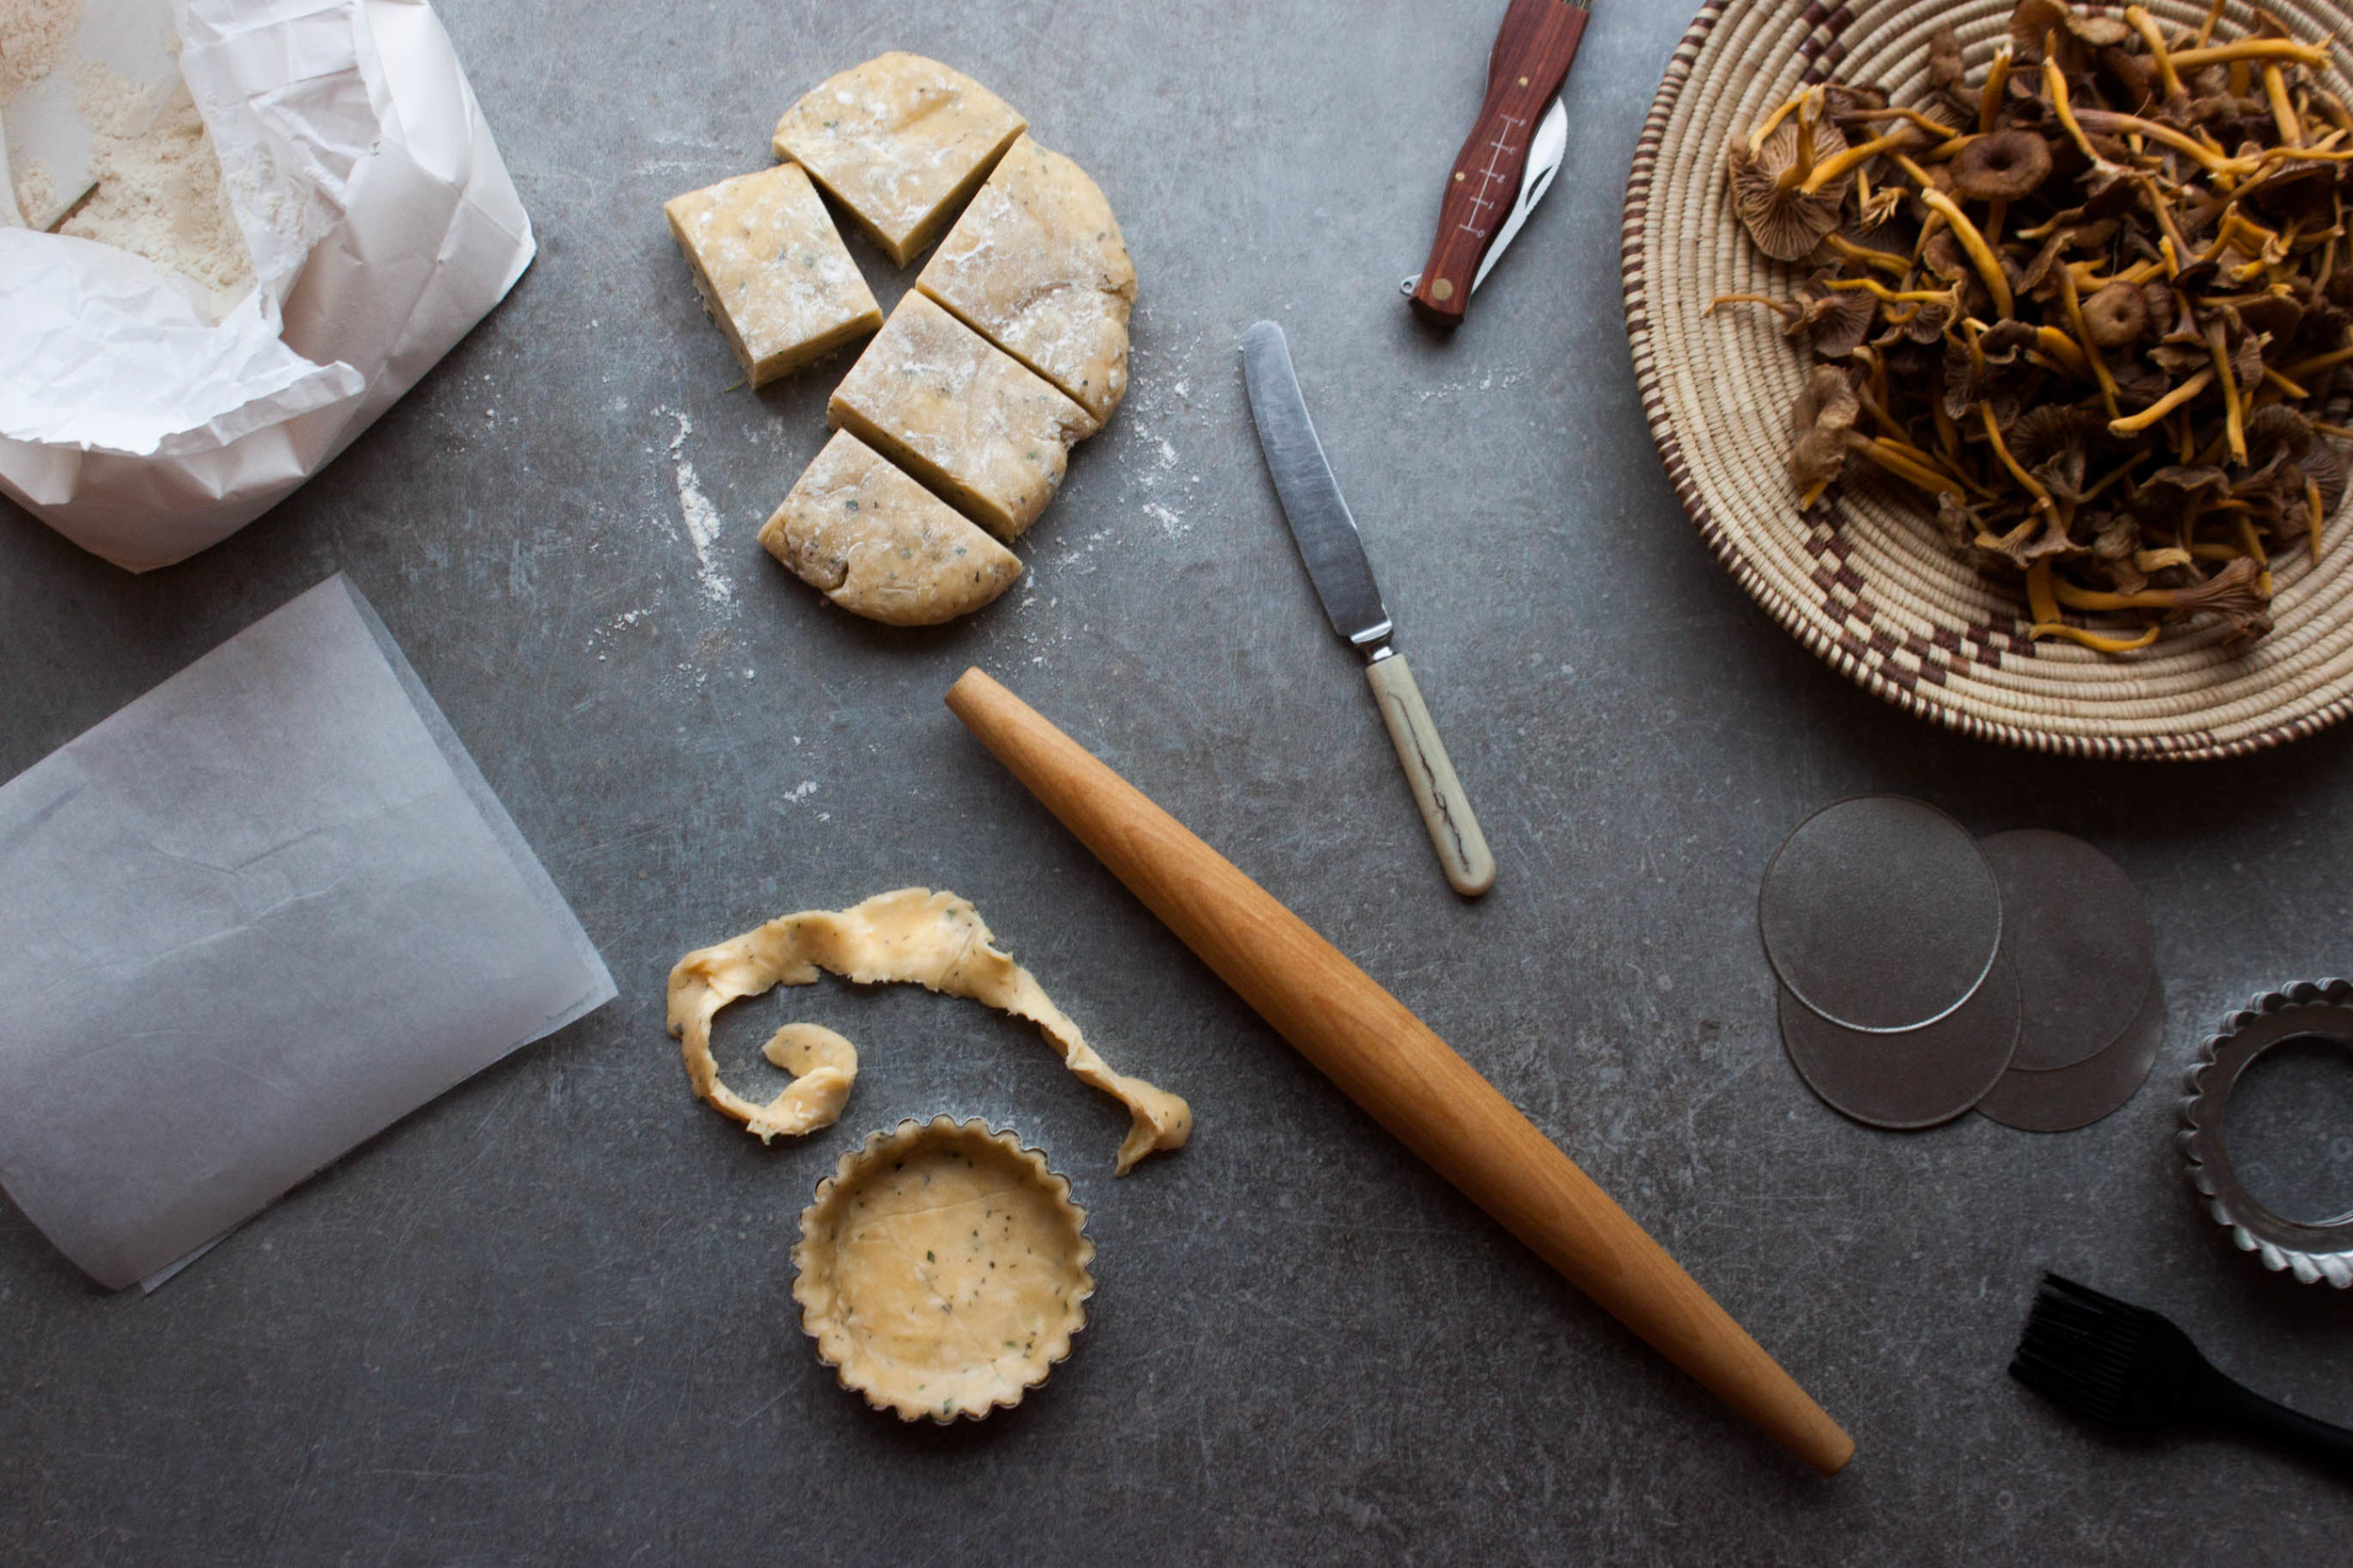
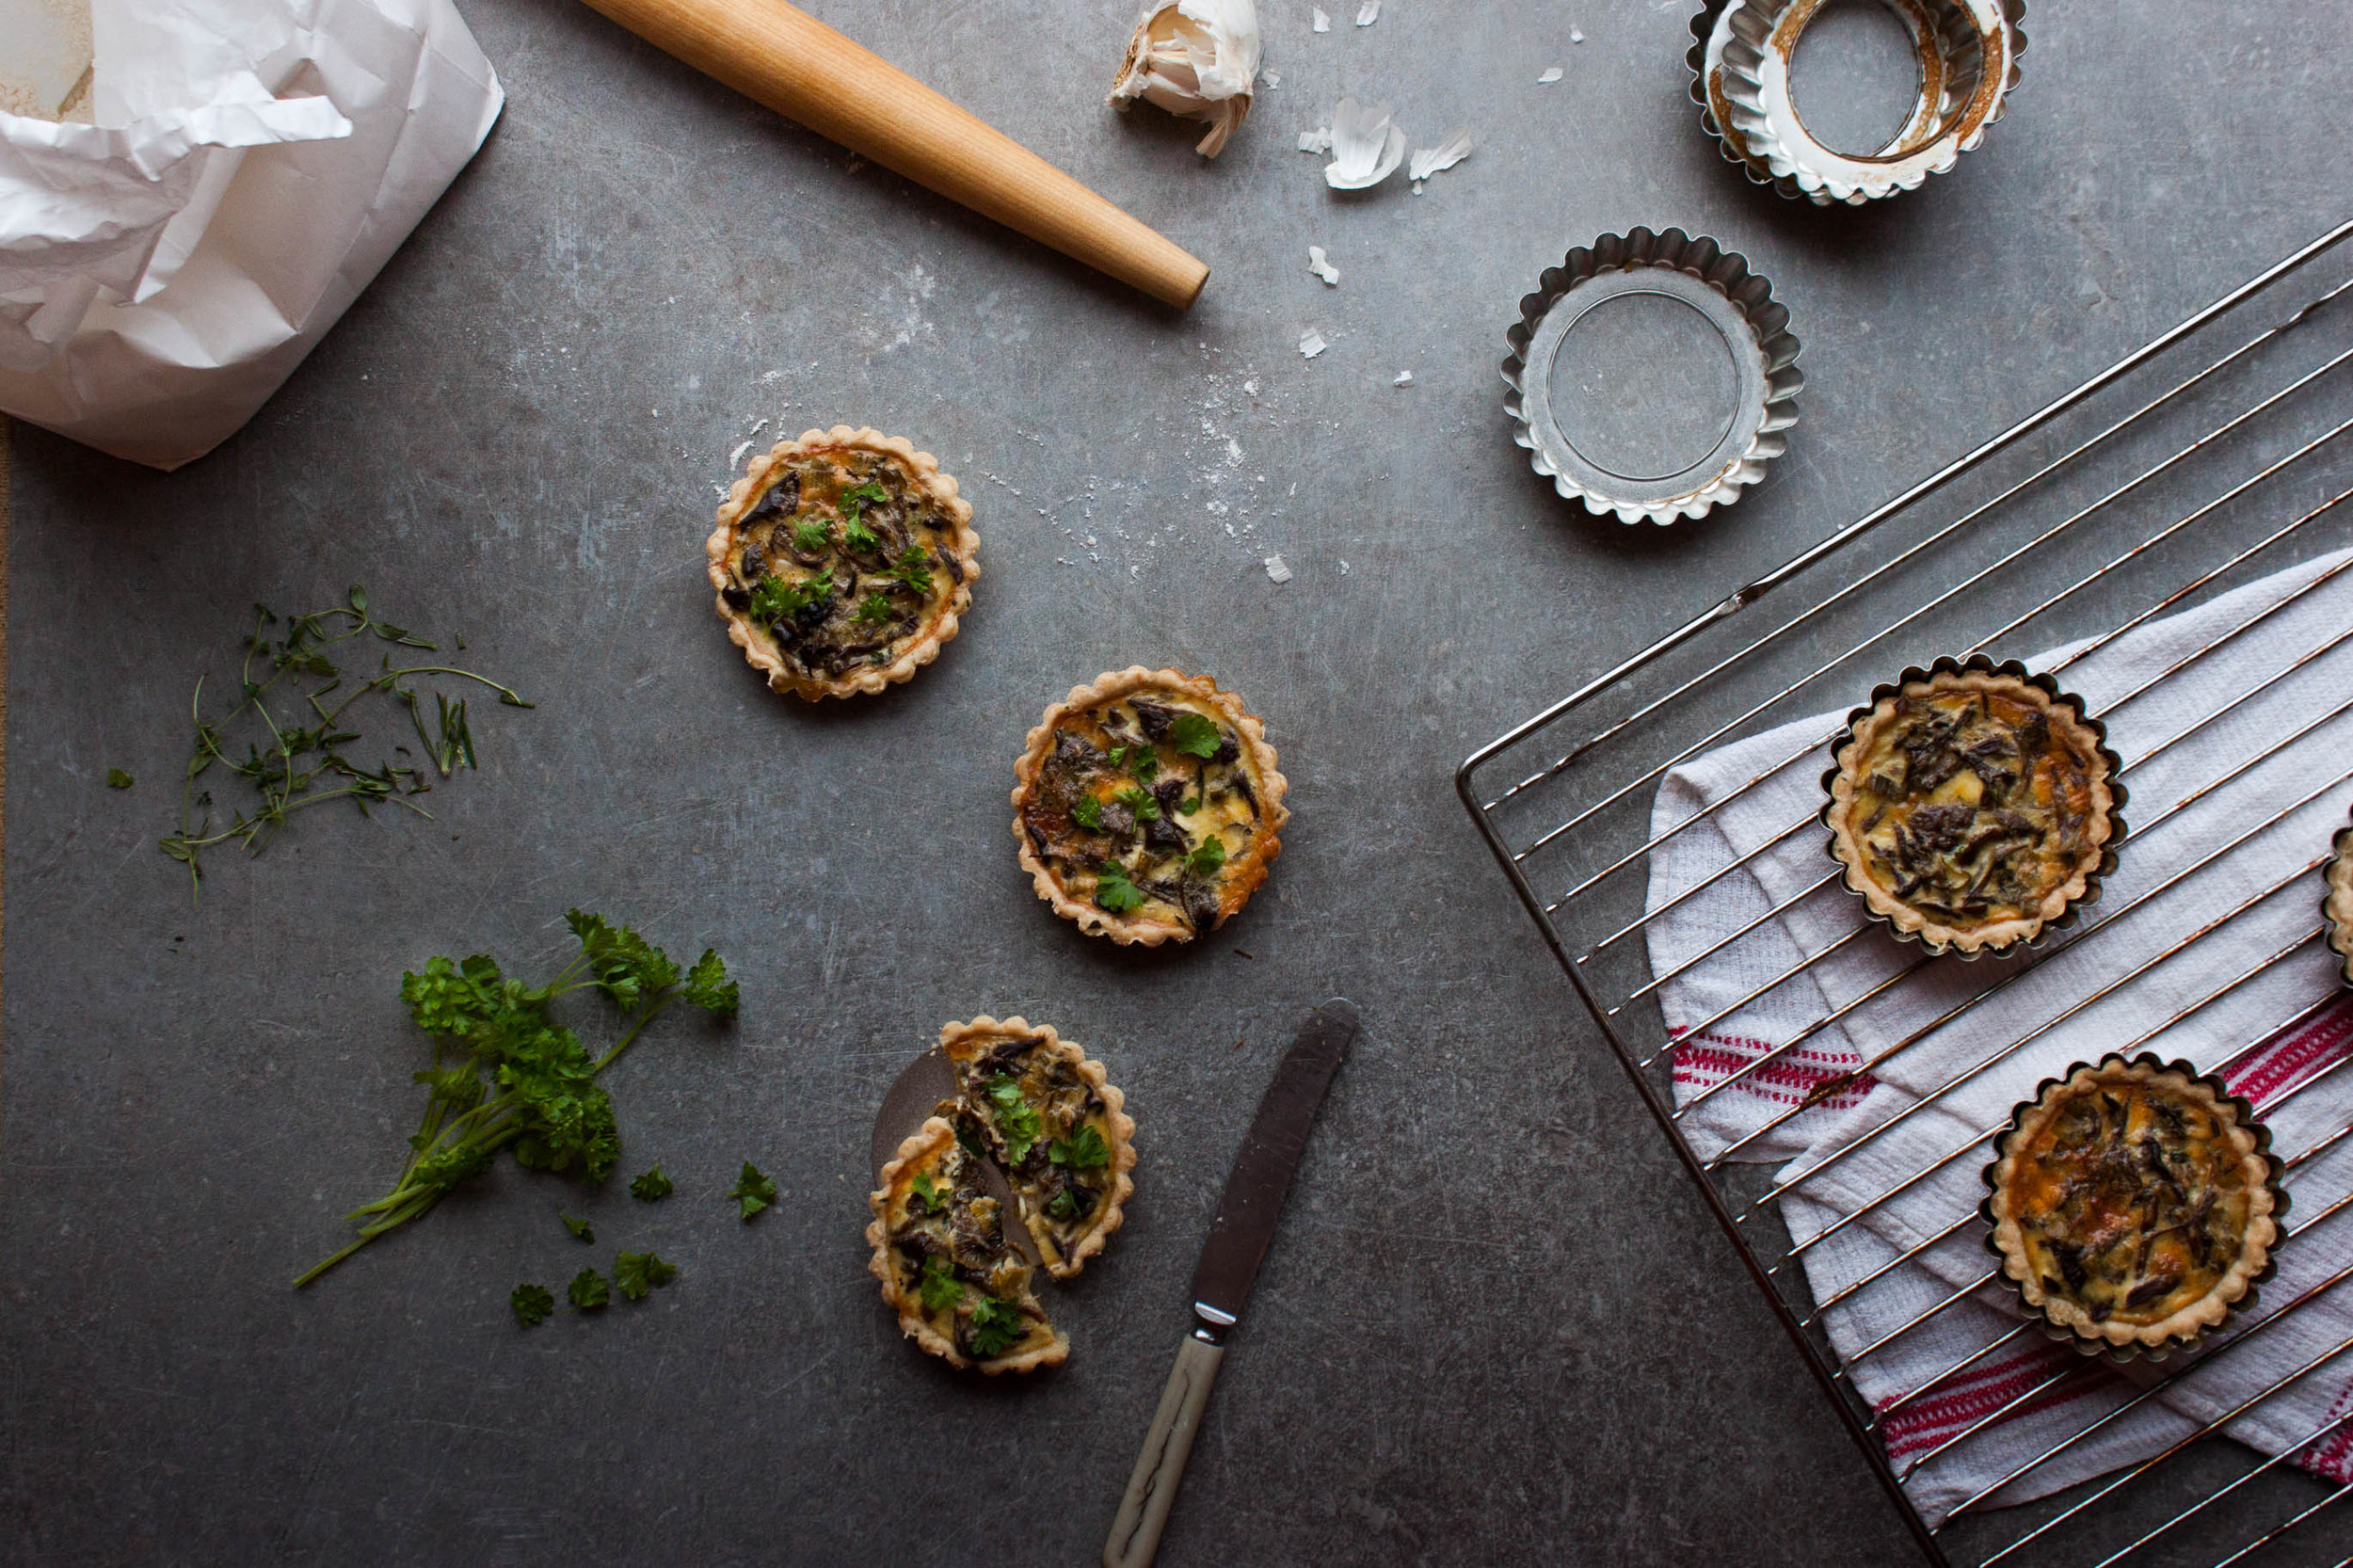
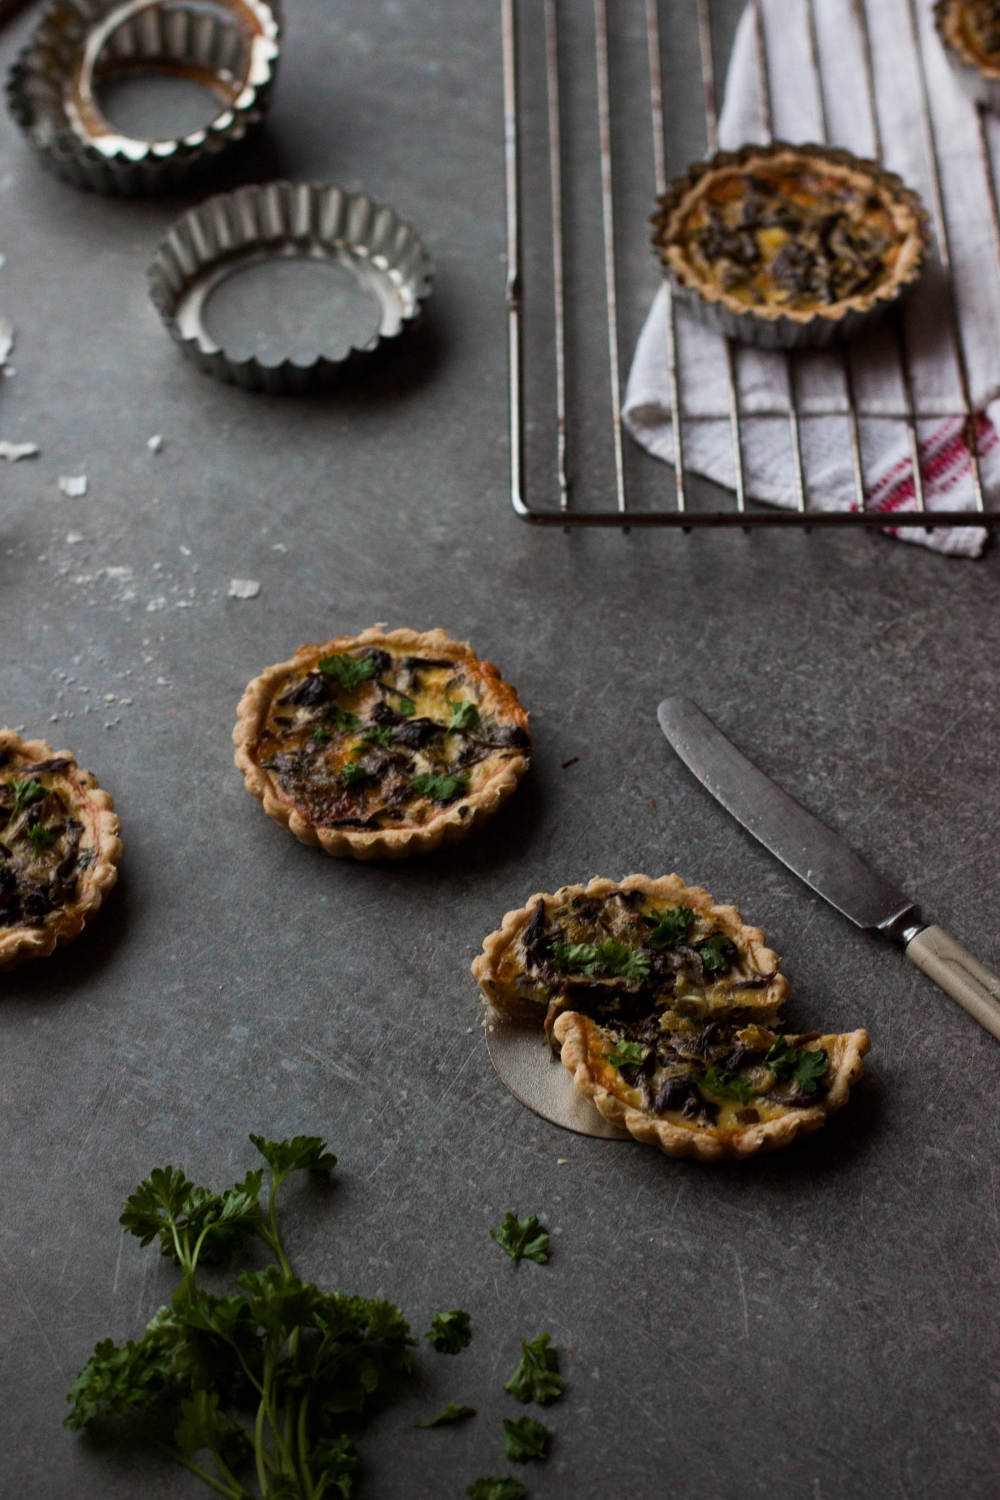
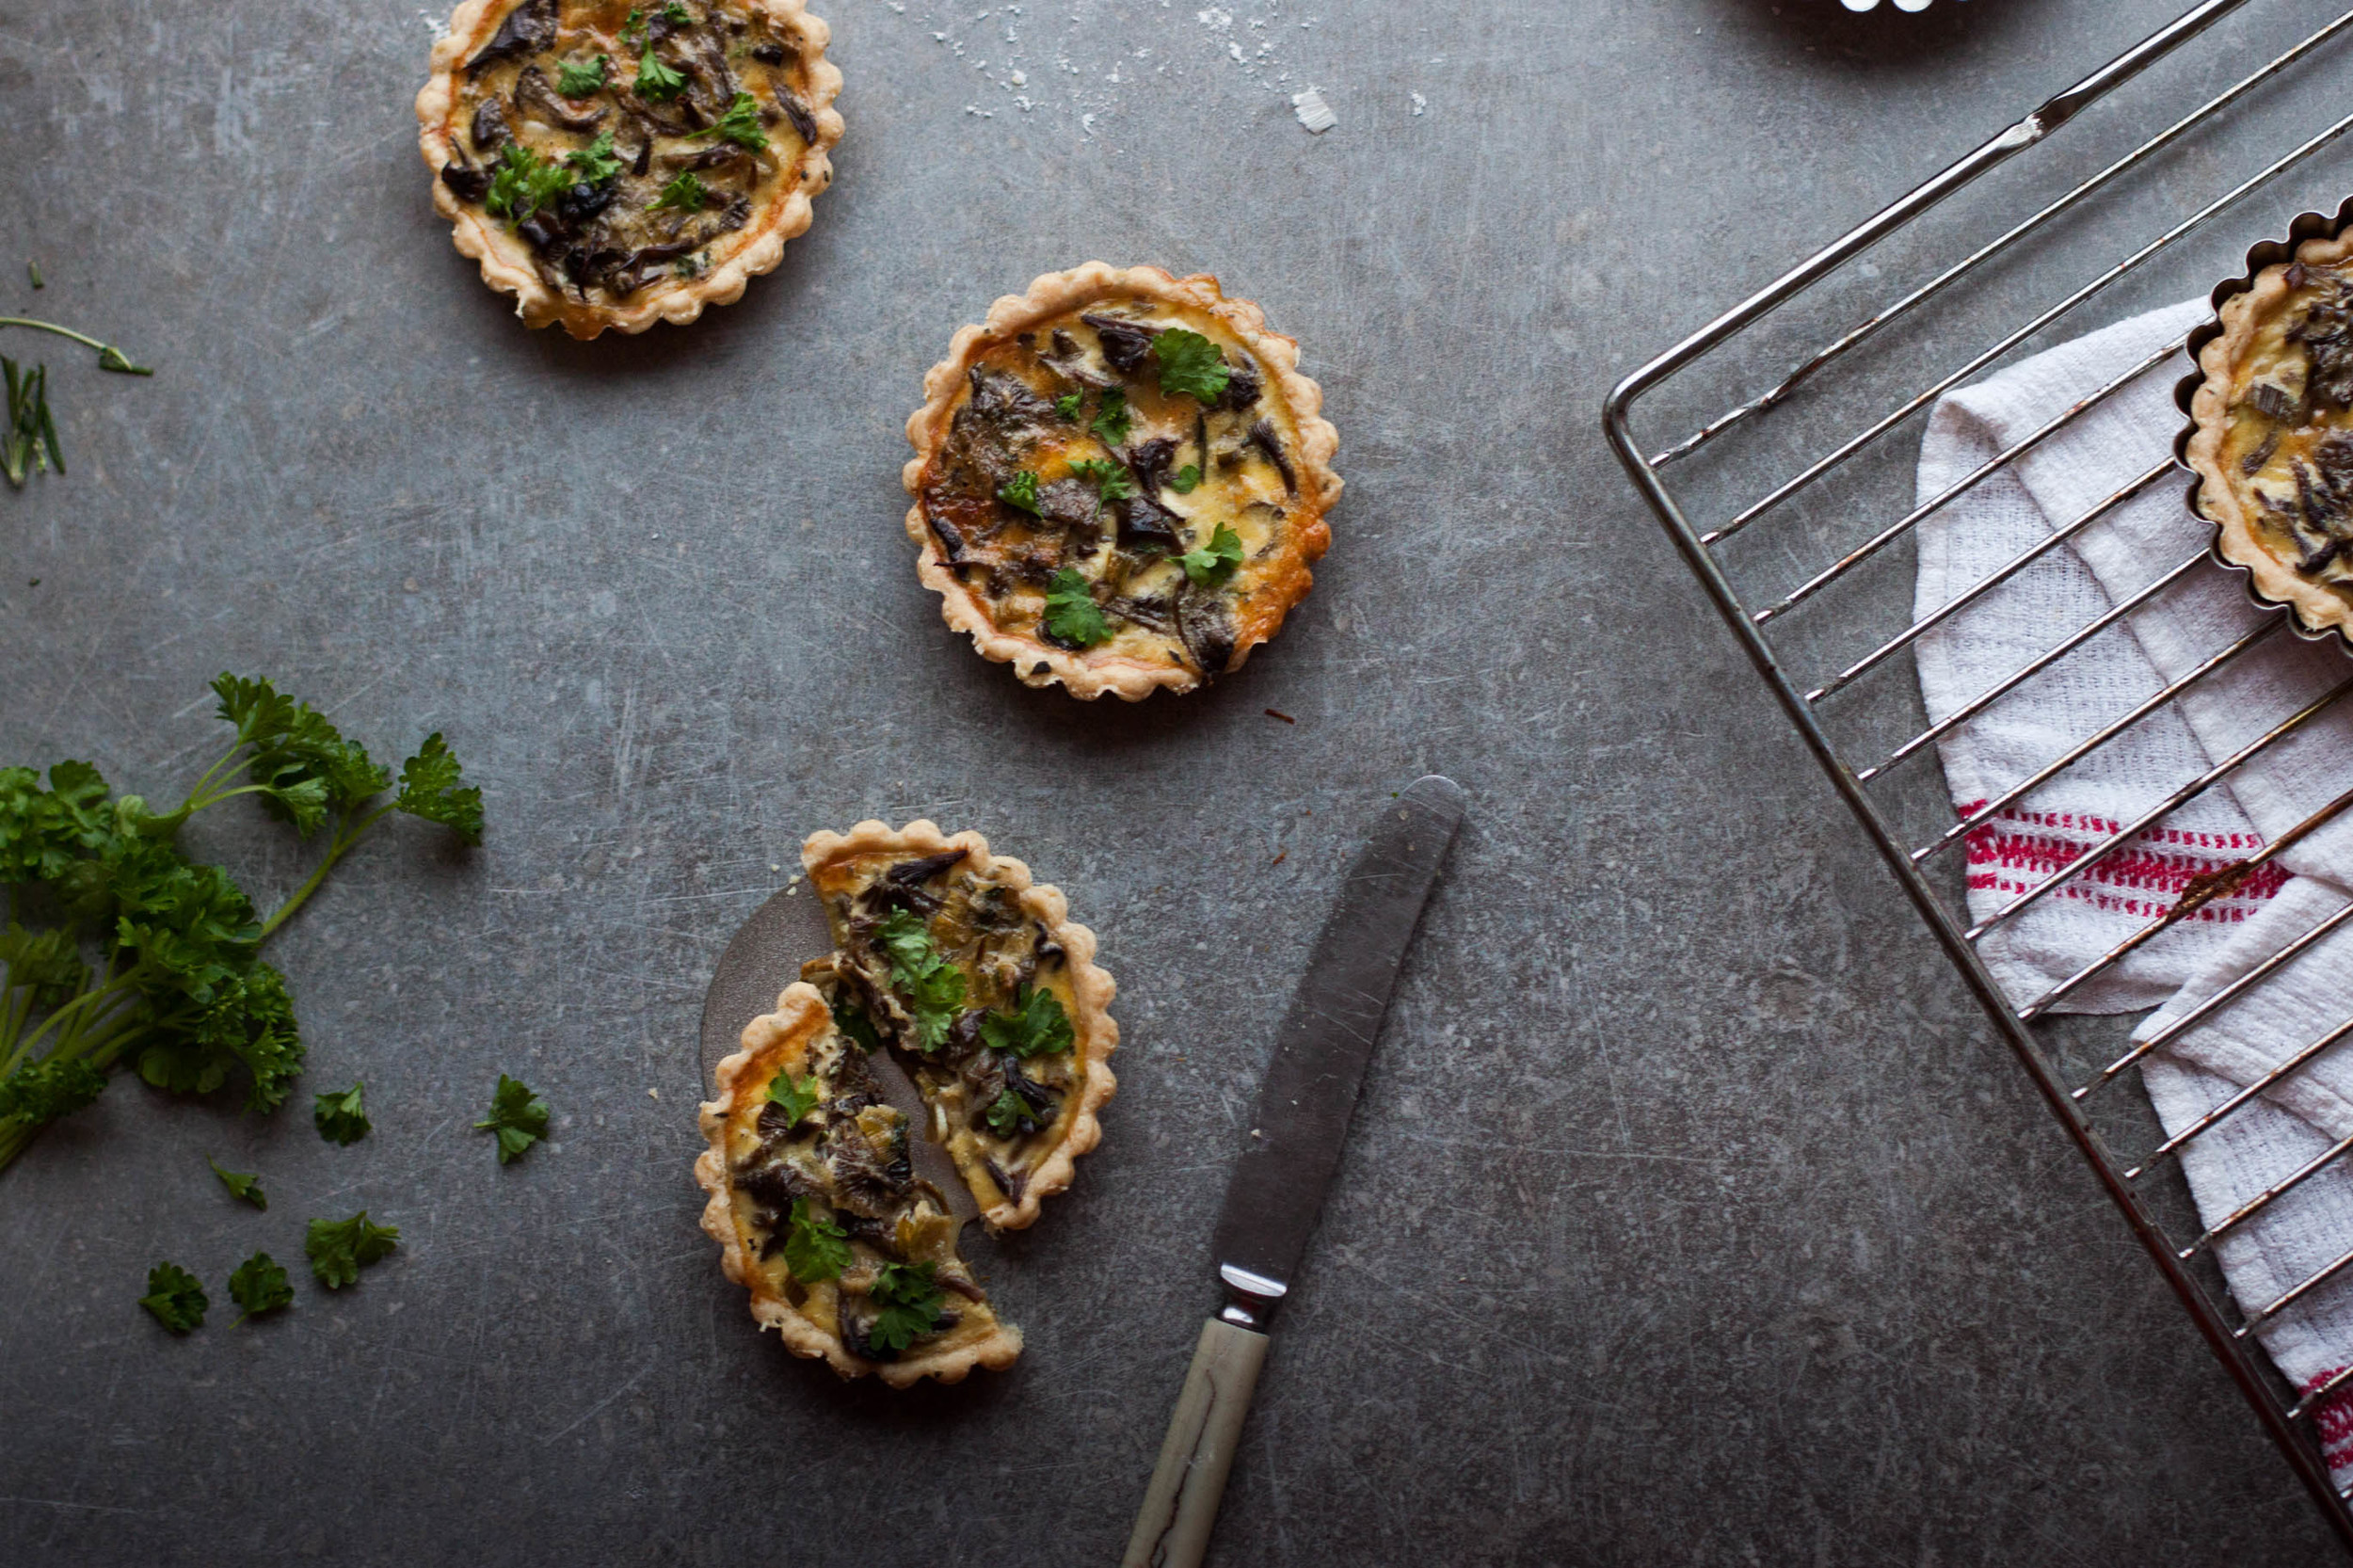
But of course I also use some of them fresh, such as in these lovely tartlets. I made them not only once but twice, both on Saturday and Sunday; they make a great lunch when served with a simple, fresh green salad. Truth to be told, I already tried to photograph these tartlets on Saturday without much success. I'm still trying to get used to these short days. I stood there,  watched the sun beginning to set, my tartlets still in the oven...at 3pm! Yes, these are the downsides of living here in the north. On Sunday, I was better prepared, and caught the perfect light. It was a gray, rainy day, and the light was lovely and soft. Hope you like these pics as much as I do. It's like I got rewarded for all the frustration I experienced the day before.

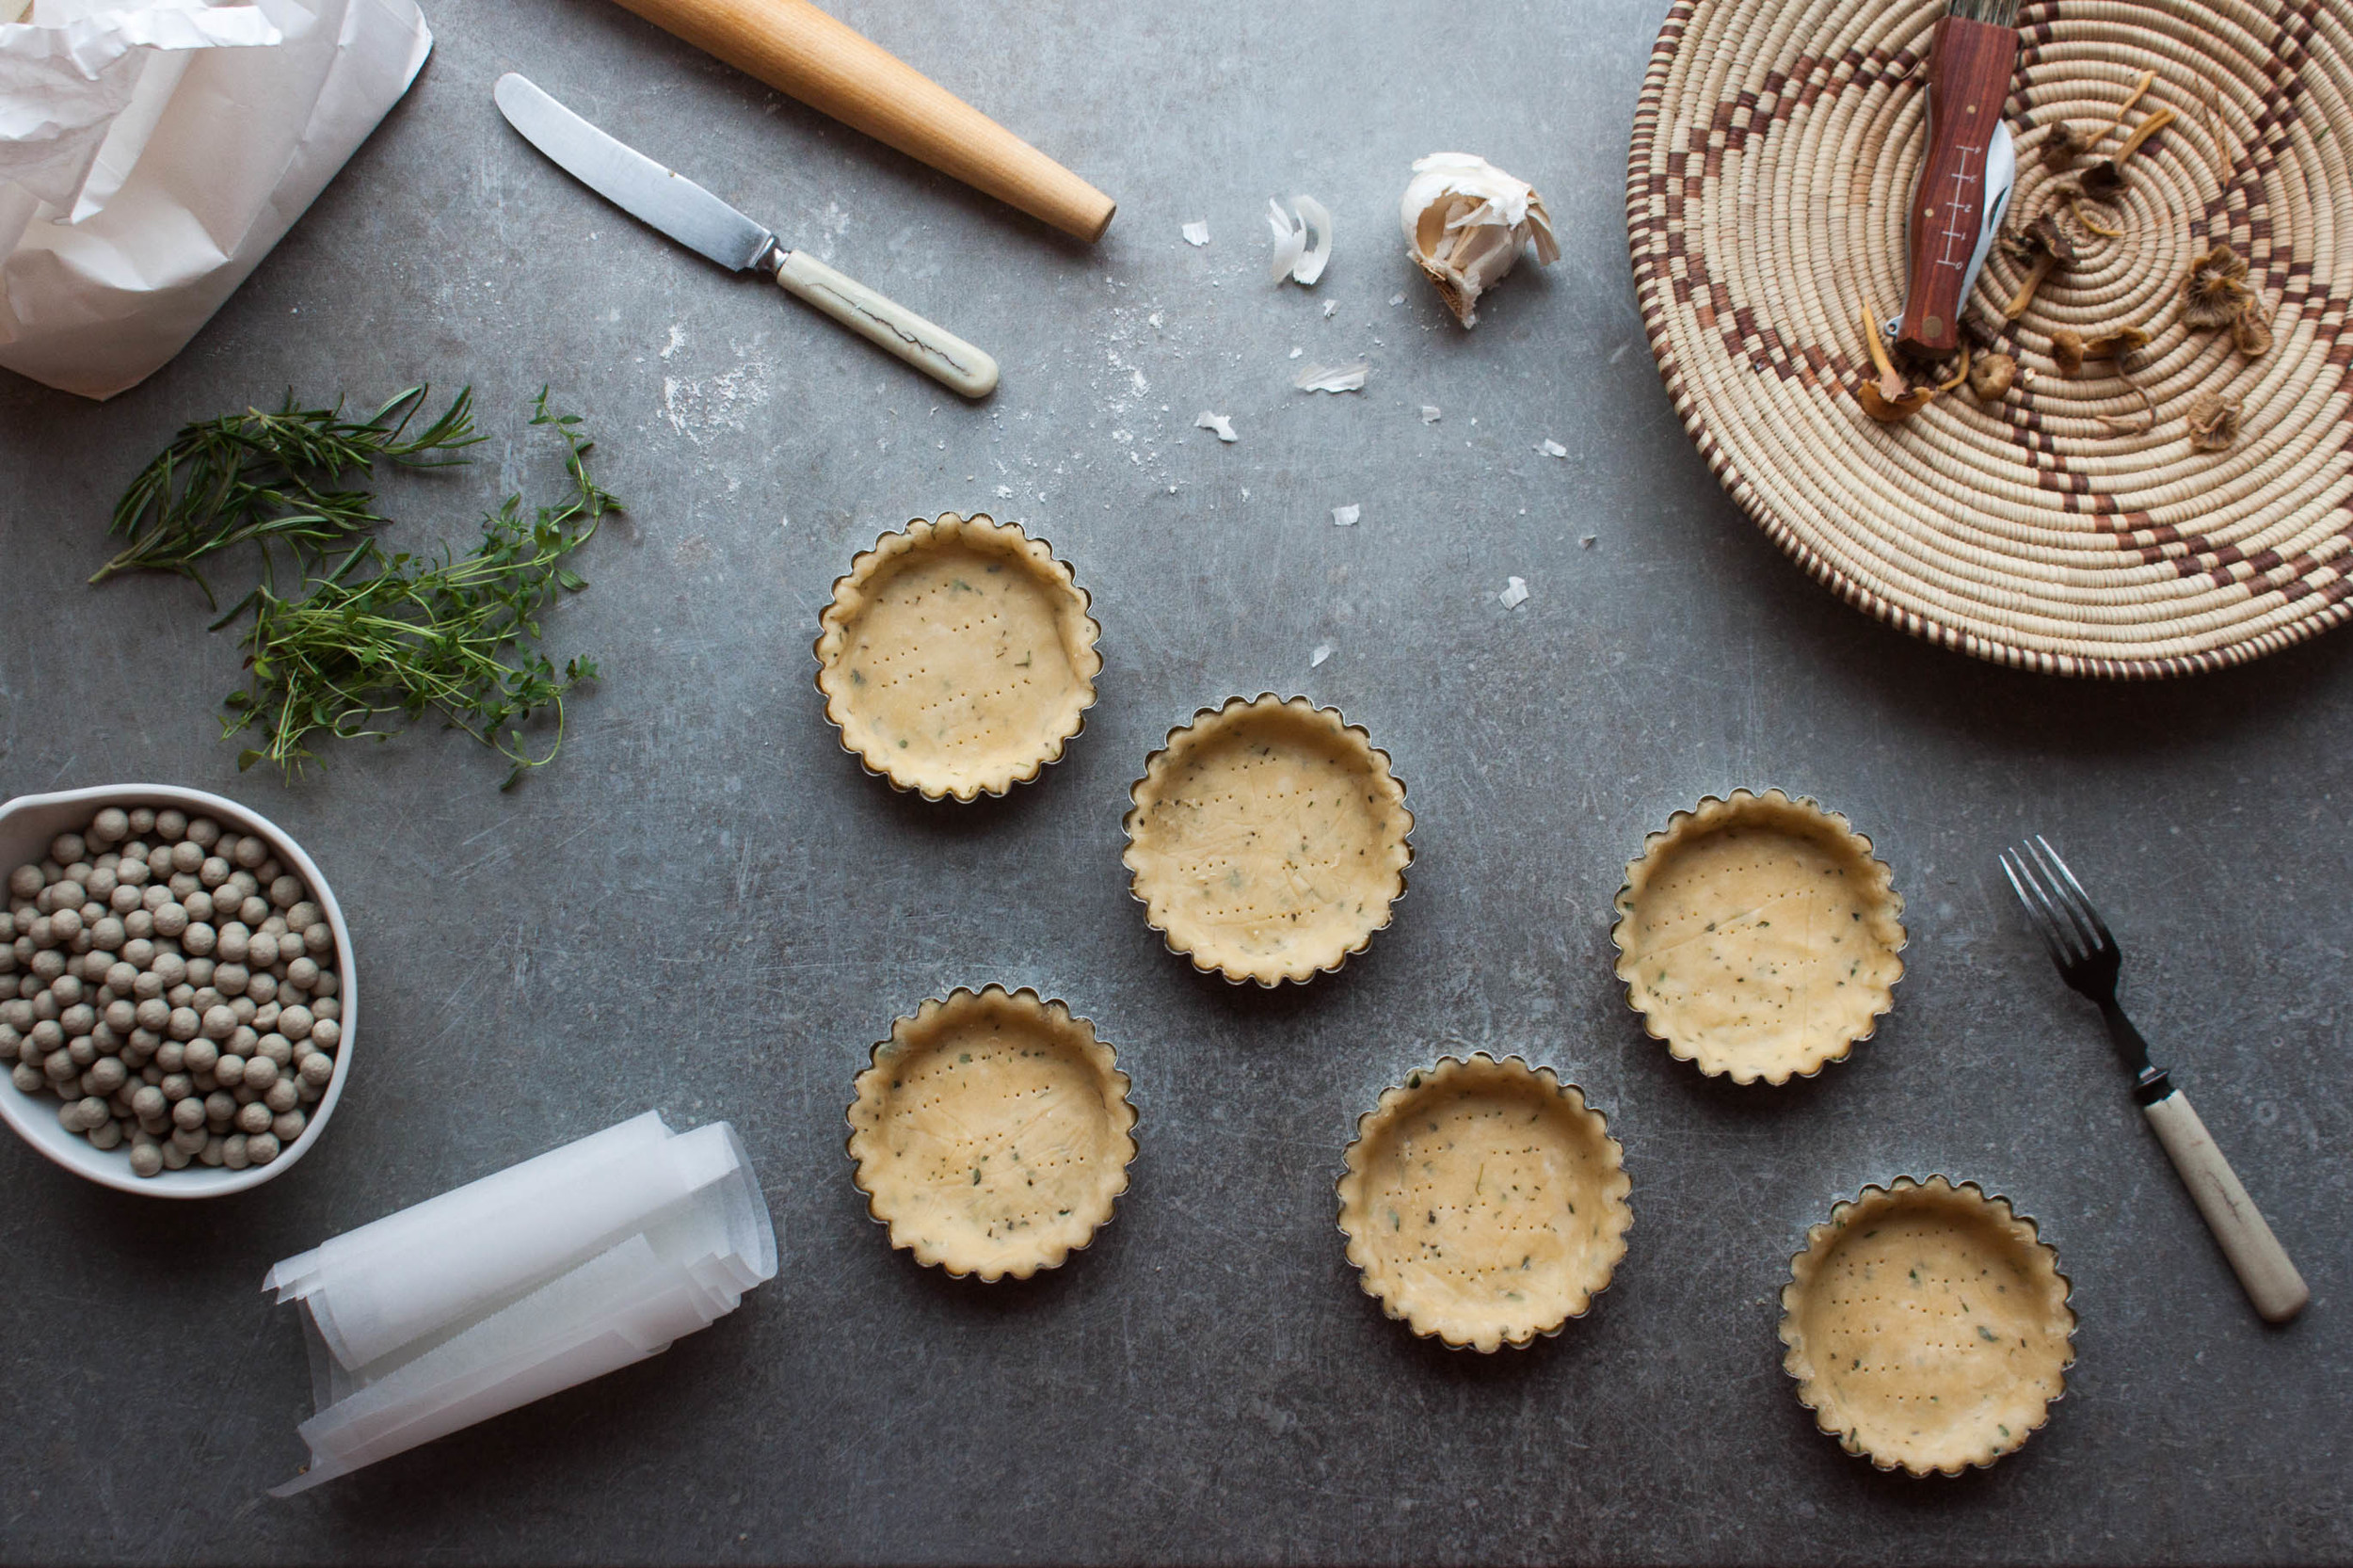
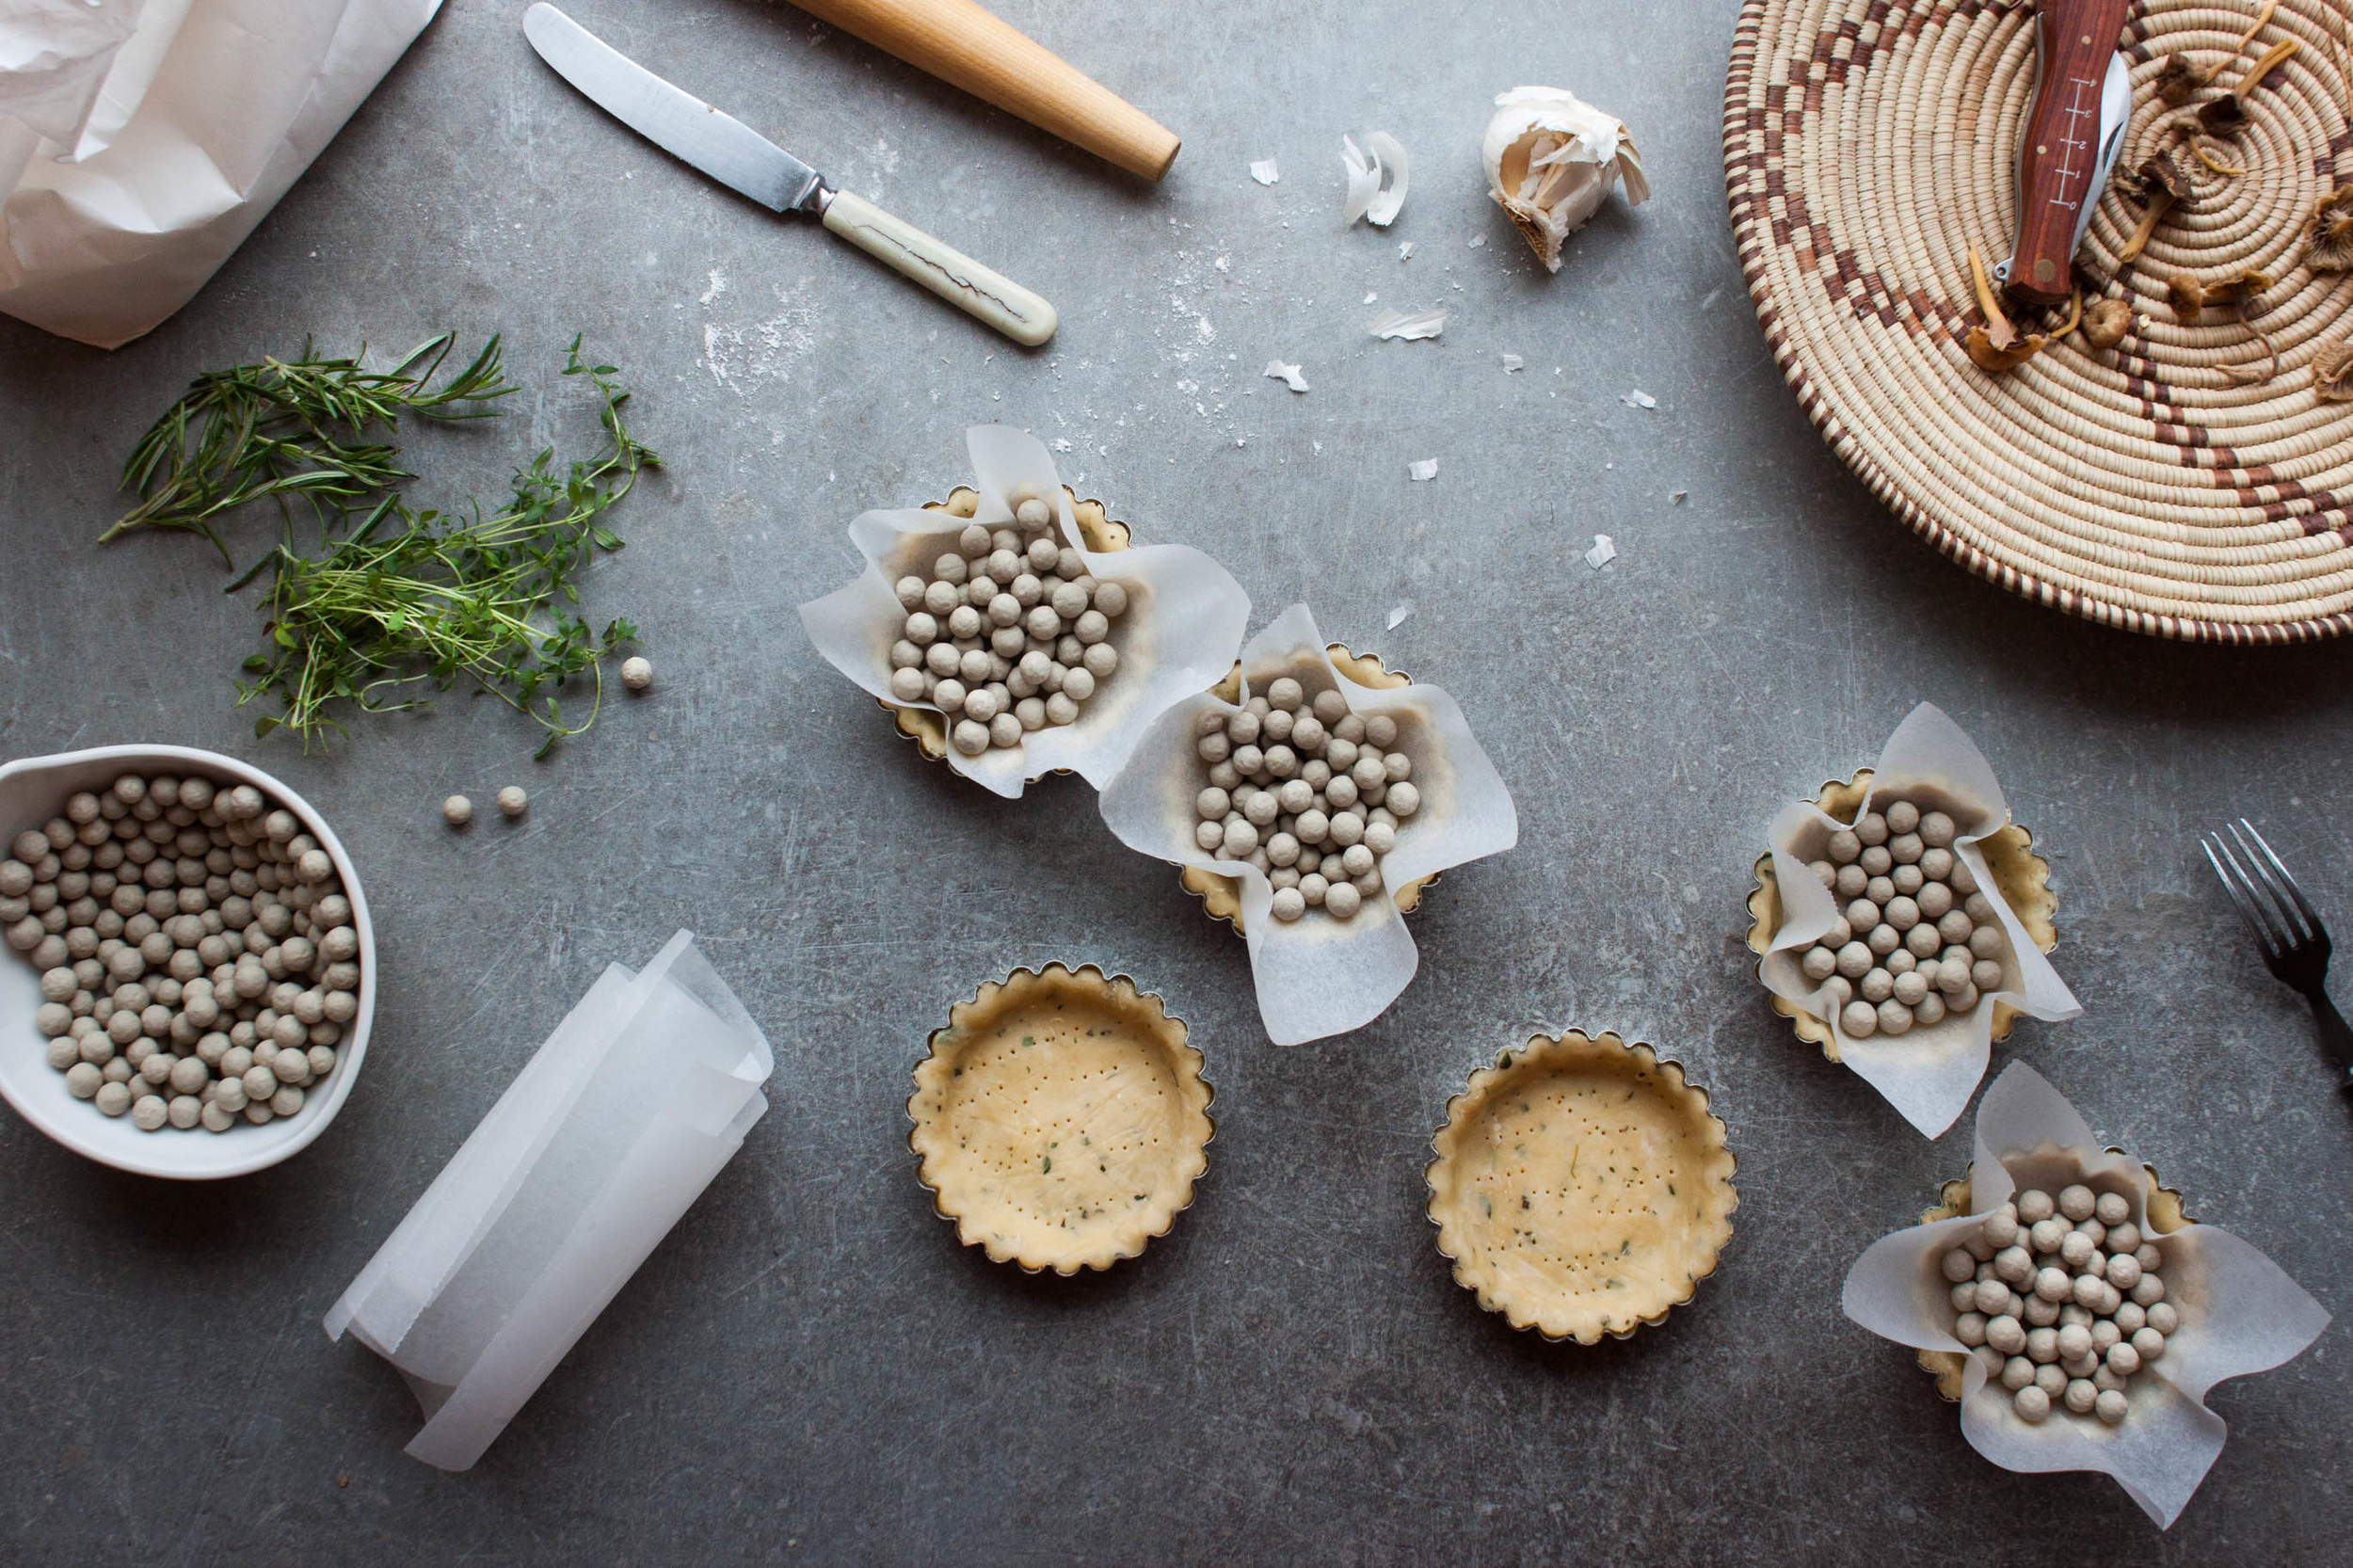
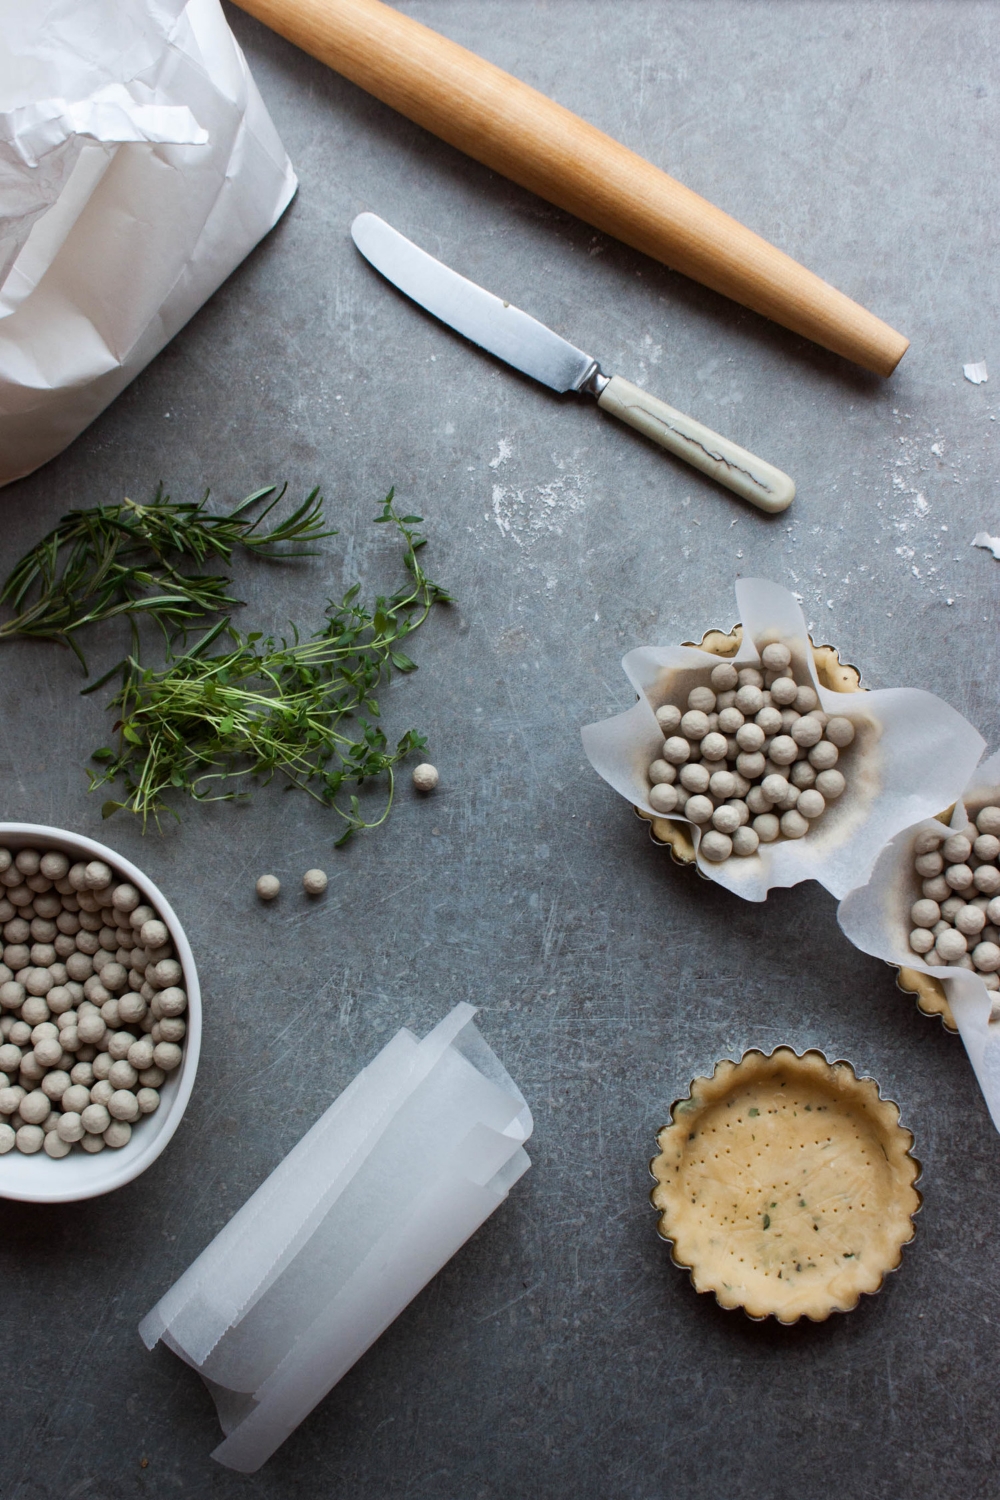
A few notes on blind baking:

  • Blind baking is the process of pre-baking a crust without the filling. It prevents the crust from becoming soggy due to the (usually wet) filling. A recipe usually clearly states should a crust be blind baked. Don't skip this step! It's not as intimidating as it may sound but actually quite quick and easy to follow.
  • Always use pie-weights, such as ceramic baking beans, when blind baking your pie or pastry to prevent it from losing its shape. If you don't have ceramic baking beans in your pantry, you can use dried lentils, peas, beans, or rice instead. 
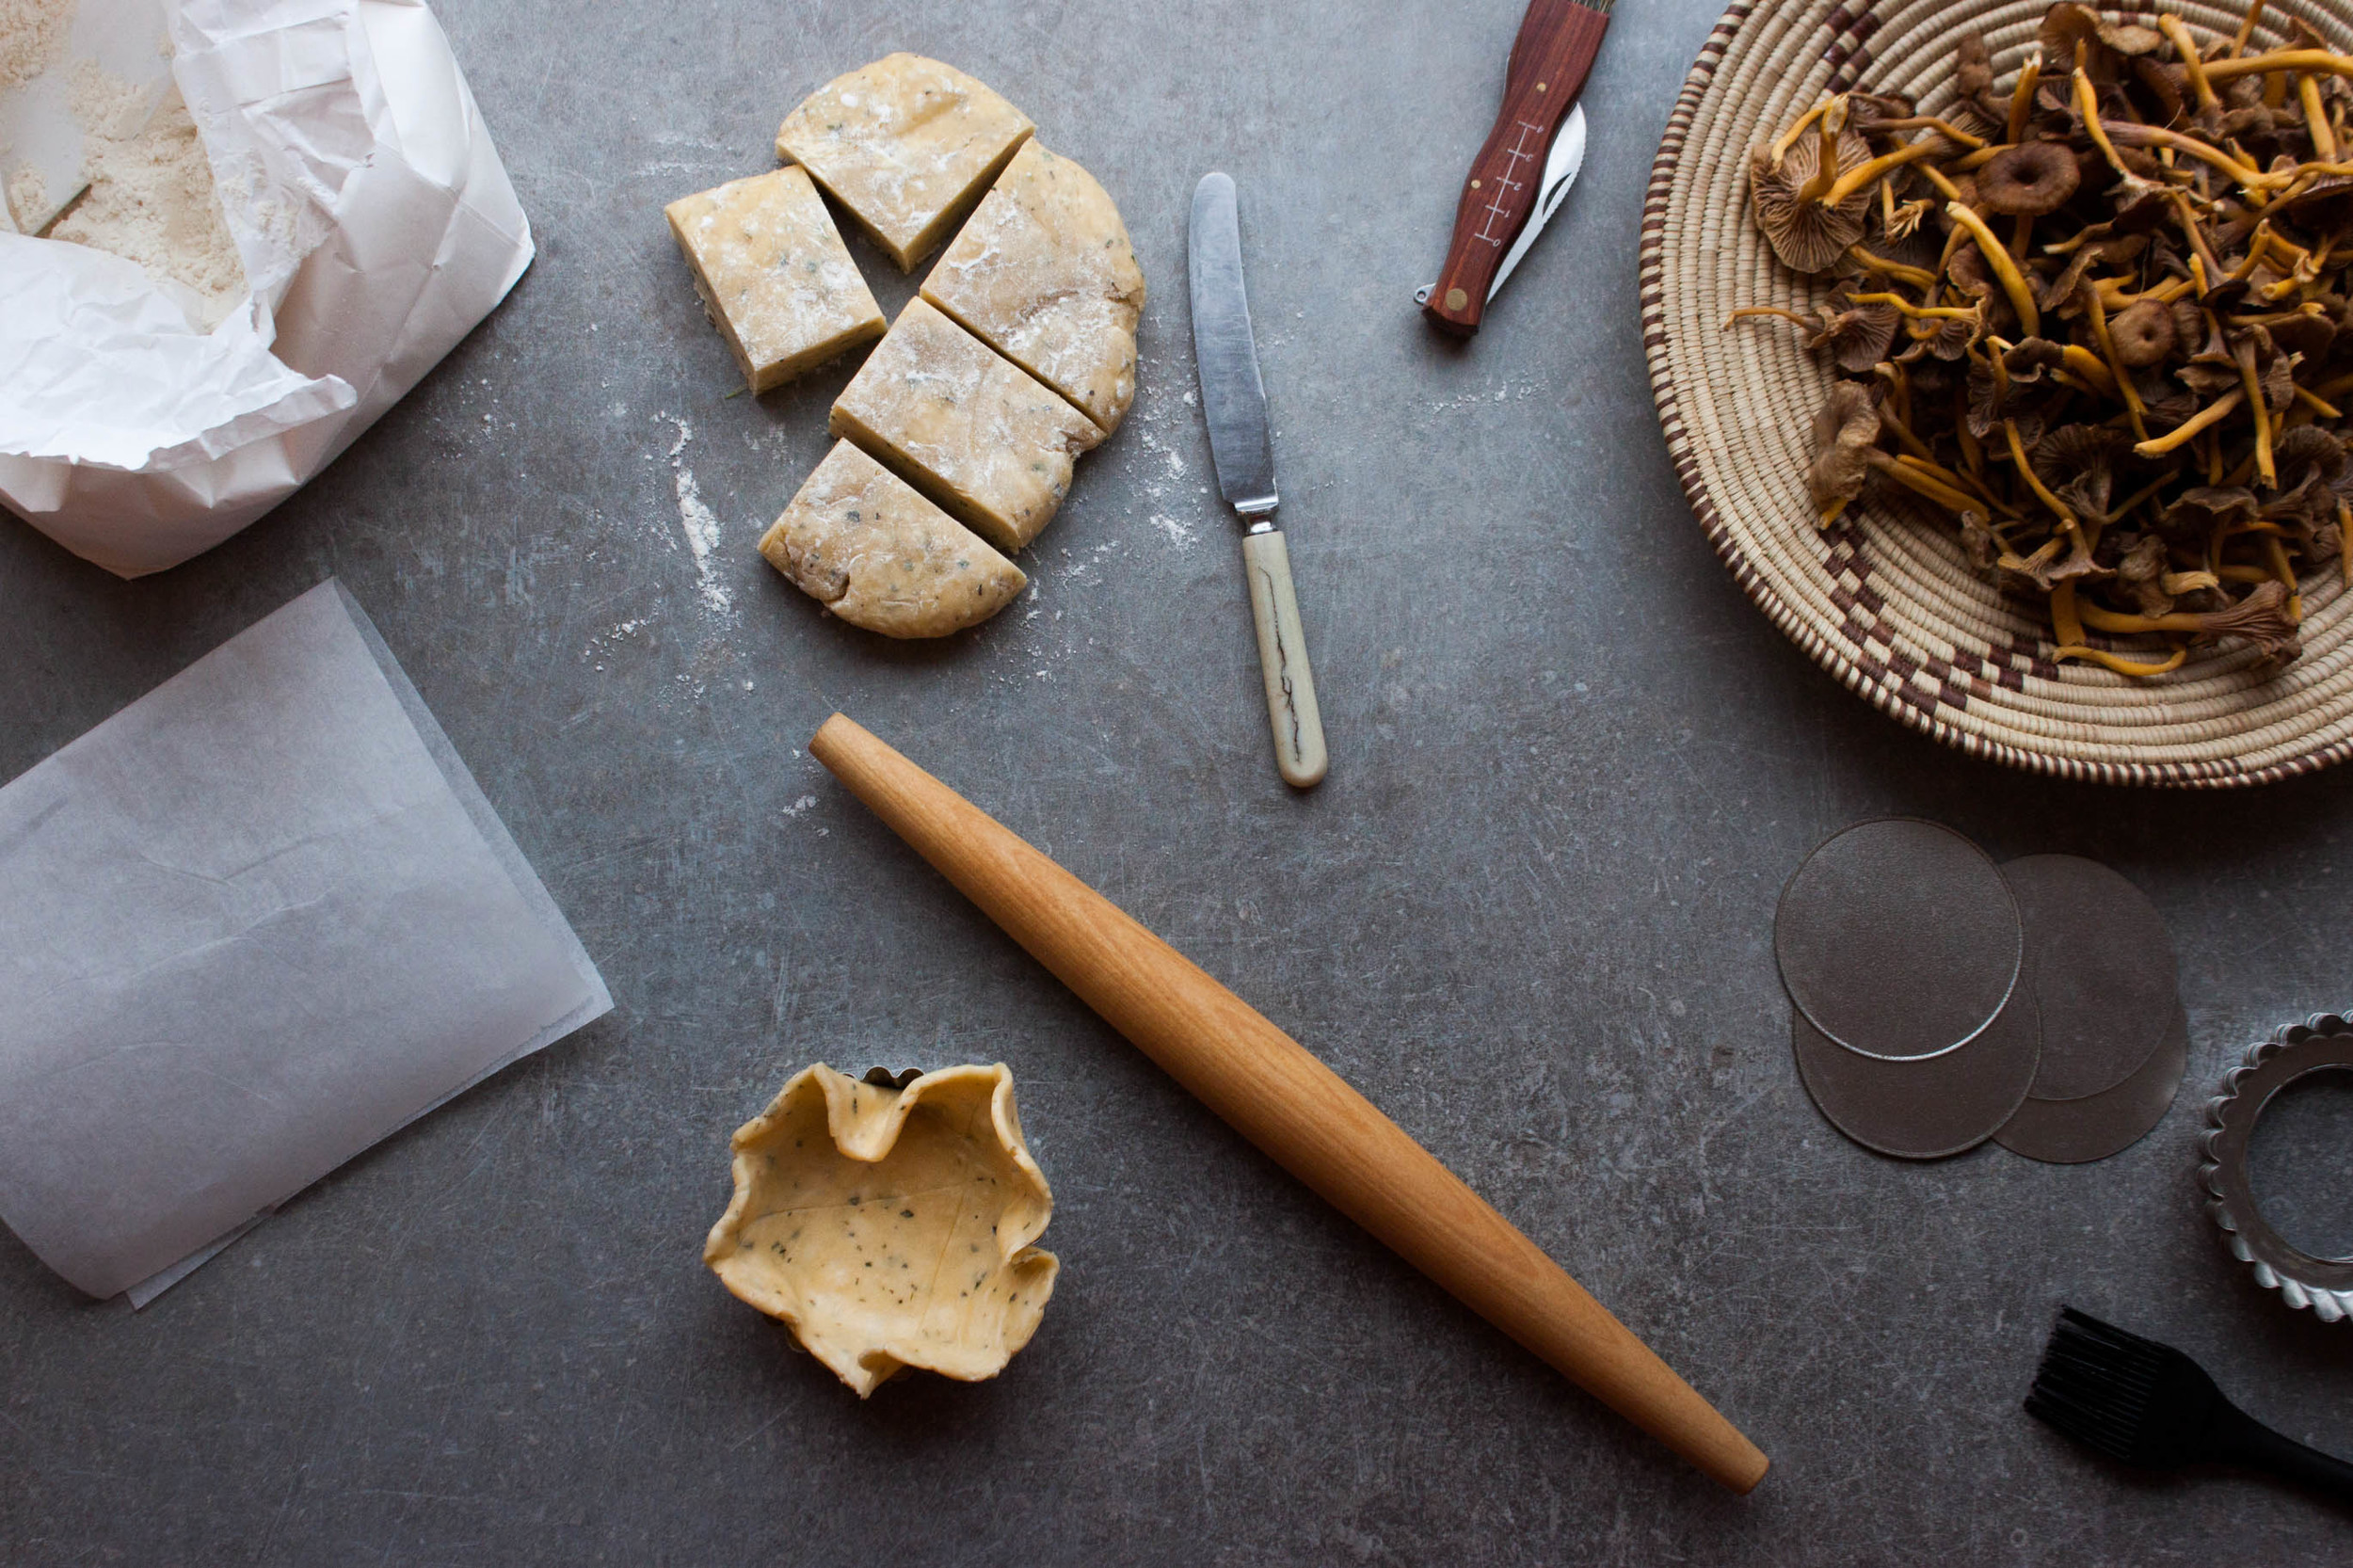
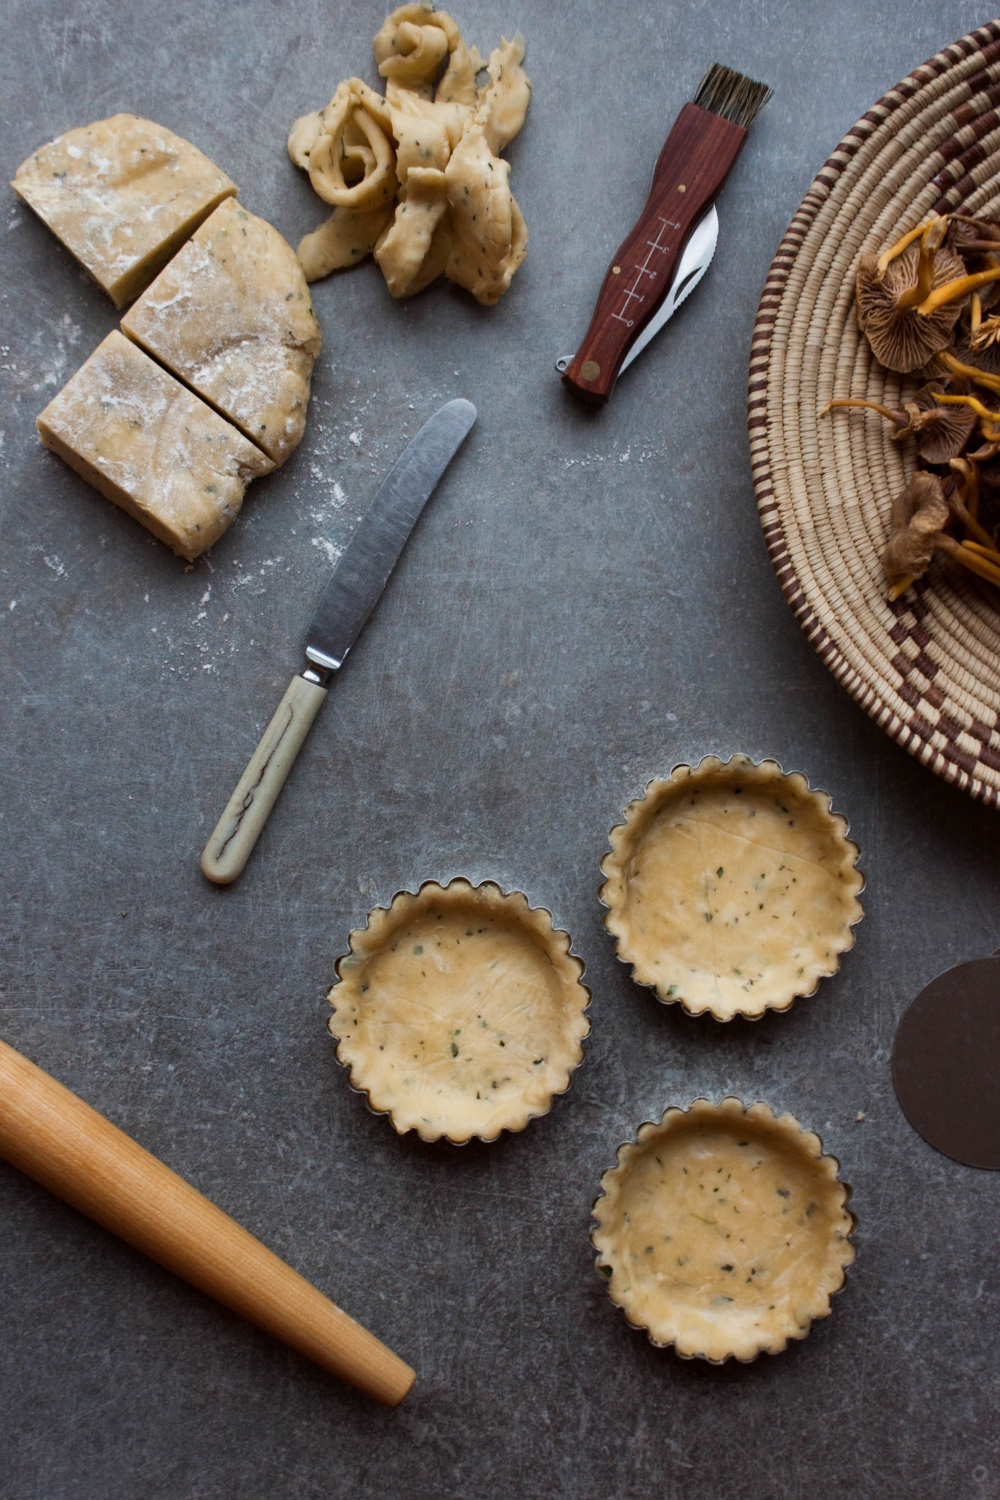
  • Refrigerating the lined molds will keep the crust from shrinking during the blind baking. Therefore, lined molds should be refrigerated for at least half an hour before you blind bake them. [Give these pics a close look and you'll notice that I didn't have the patience to chill the crusts for long enough – the sides have shrunk a little.]
  • Remember to prick the base of the crust with a fork before baking! It will prevent the crust from bubbling up and the slides to slouch.

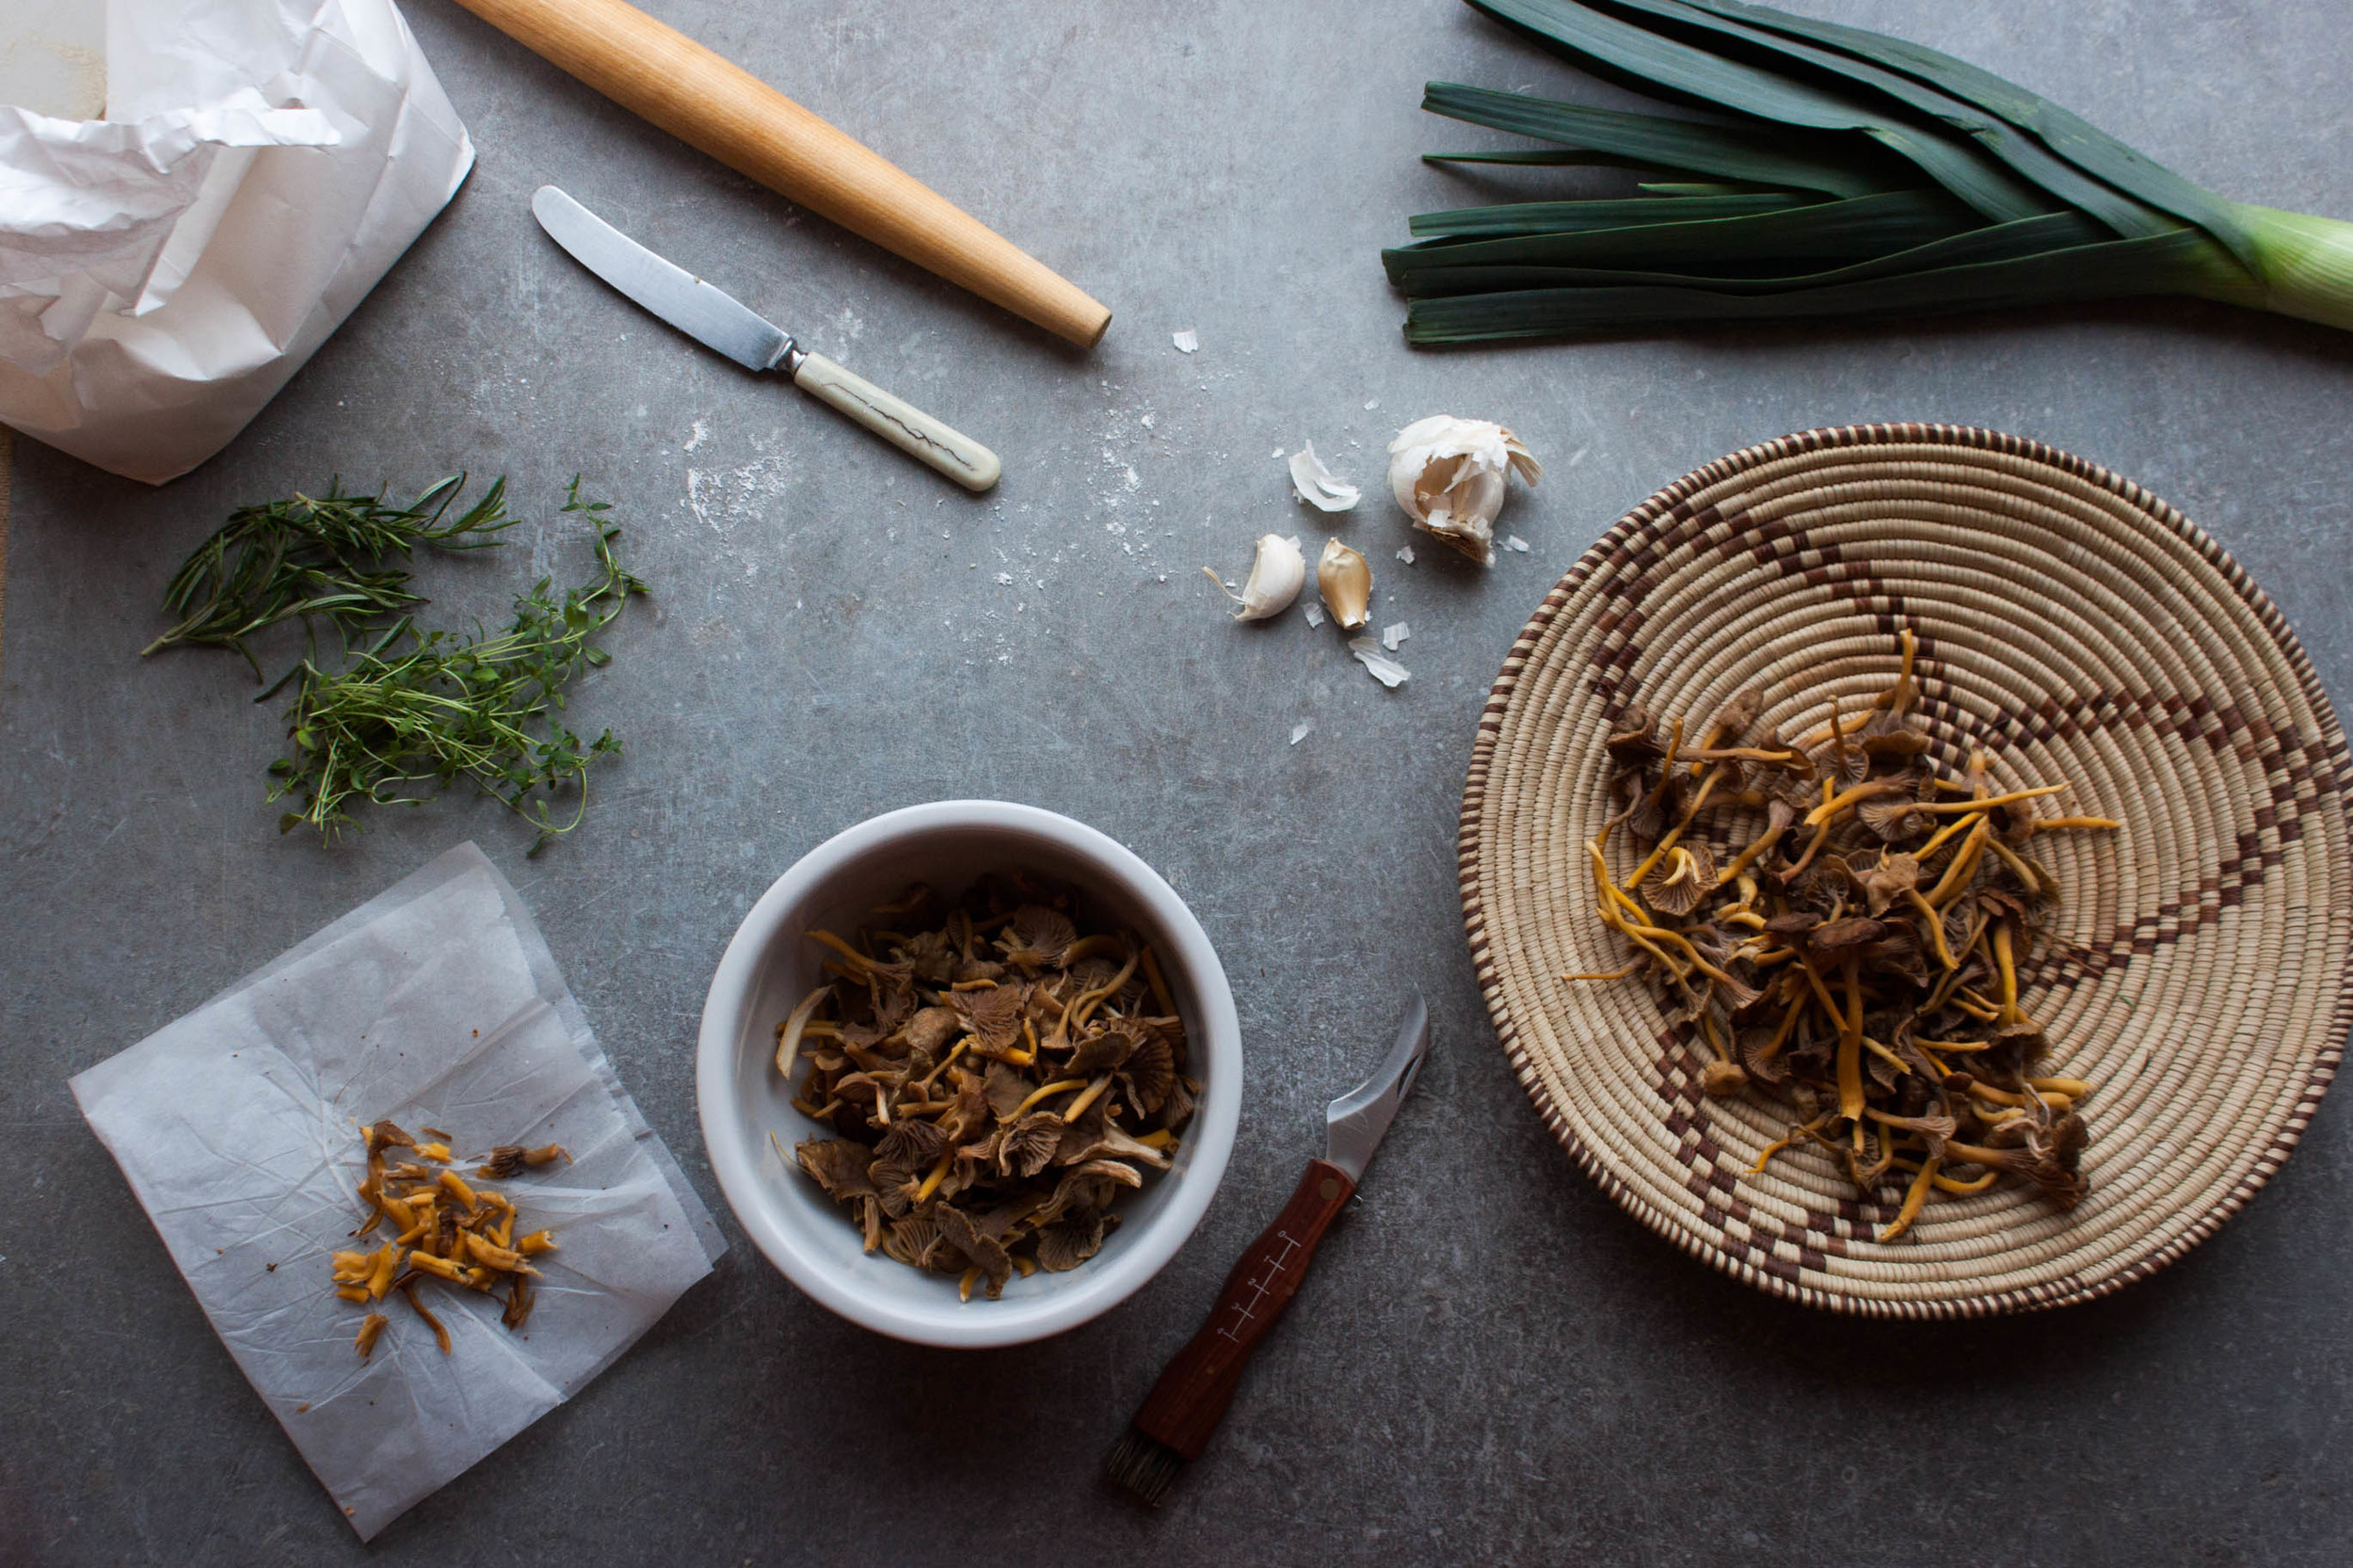
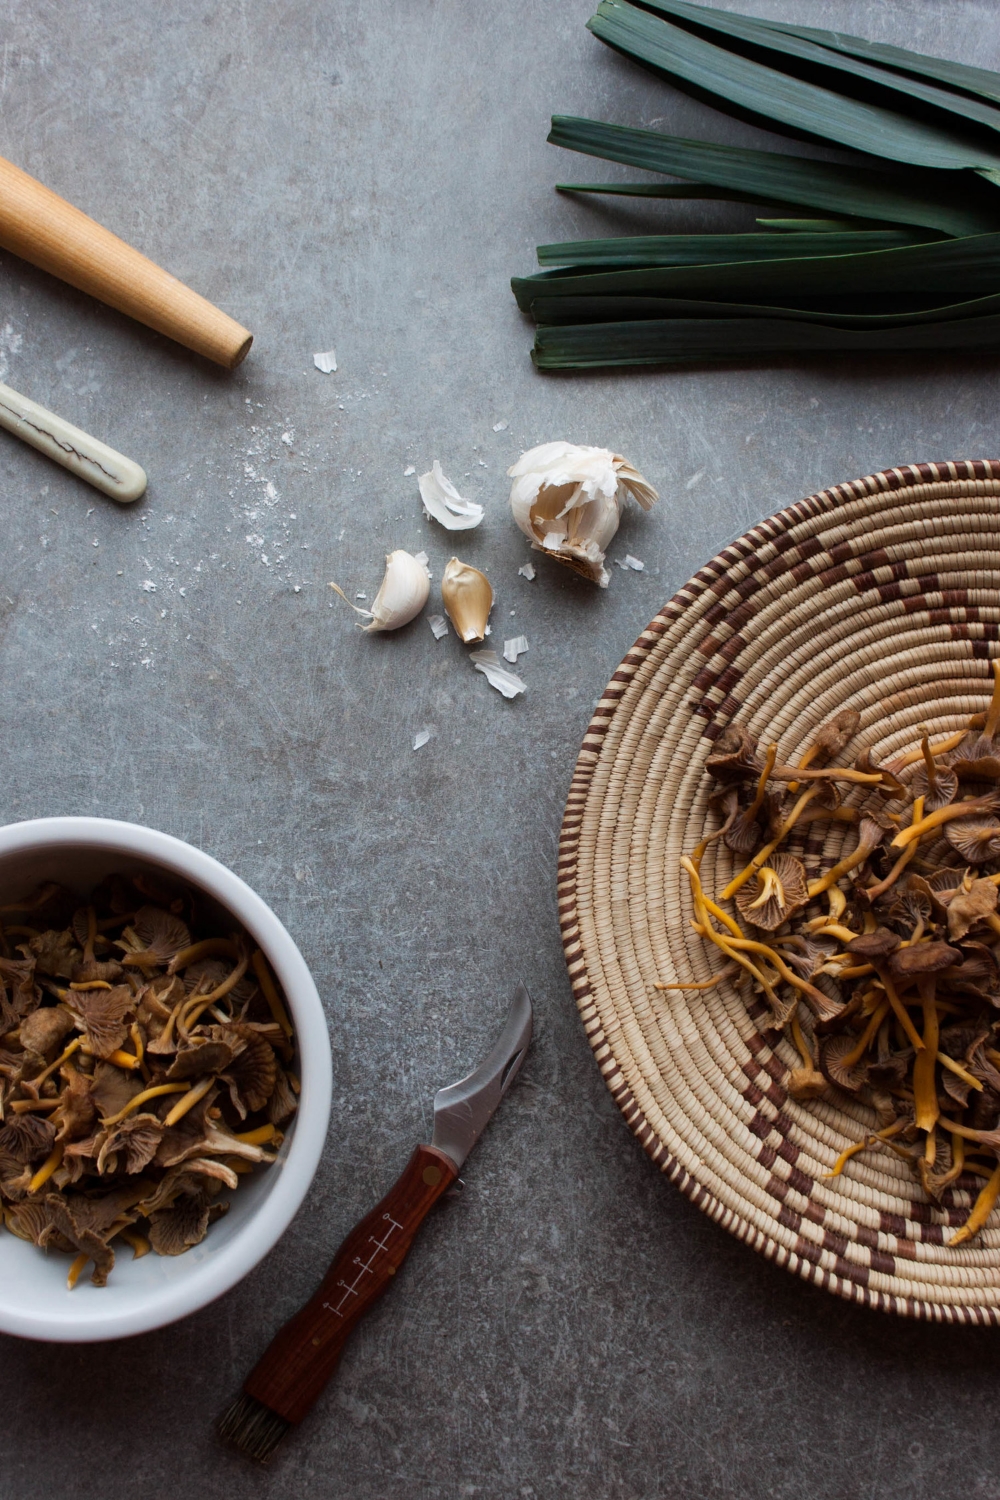
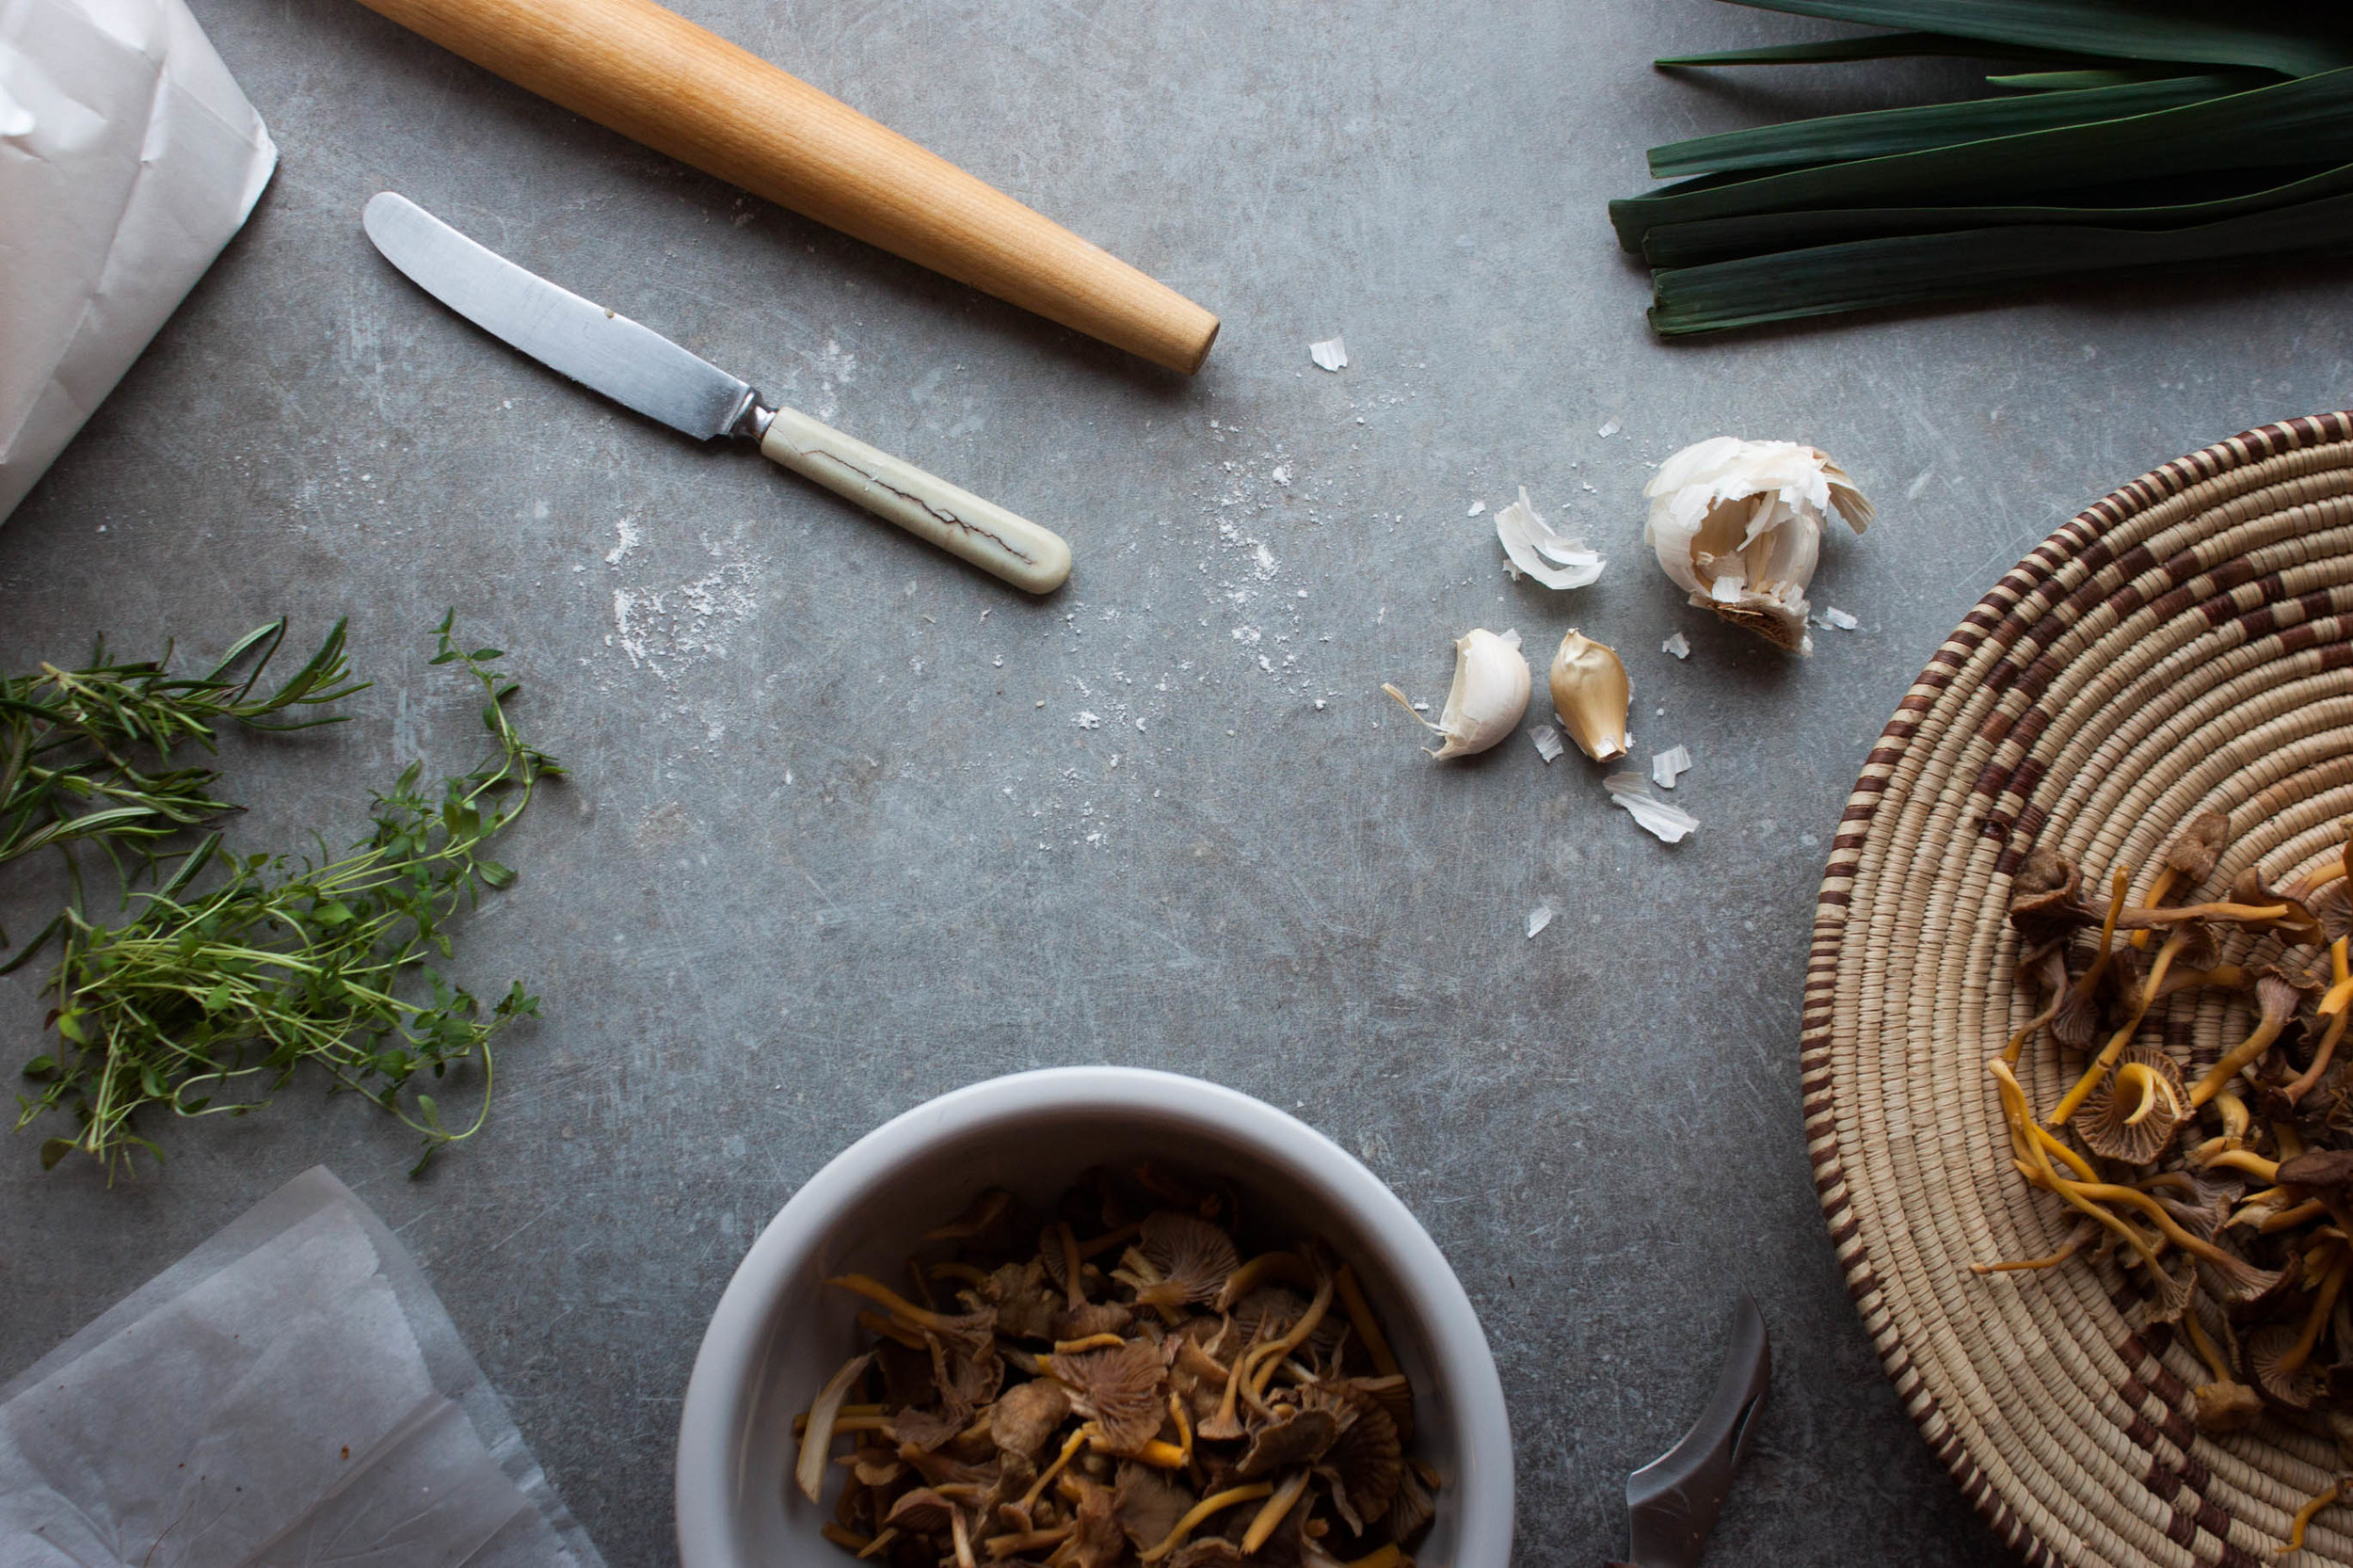
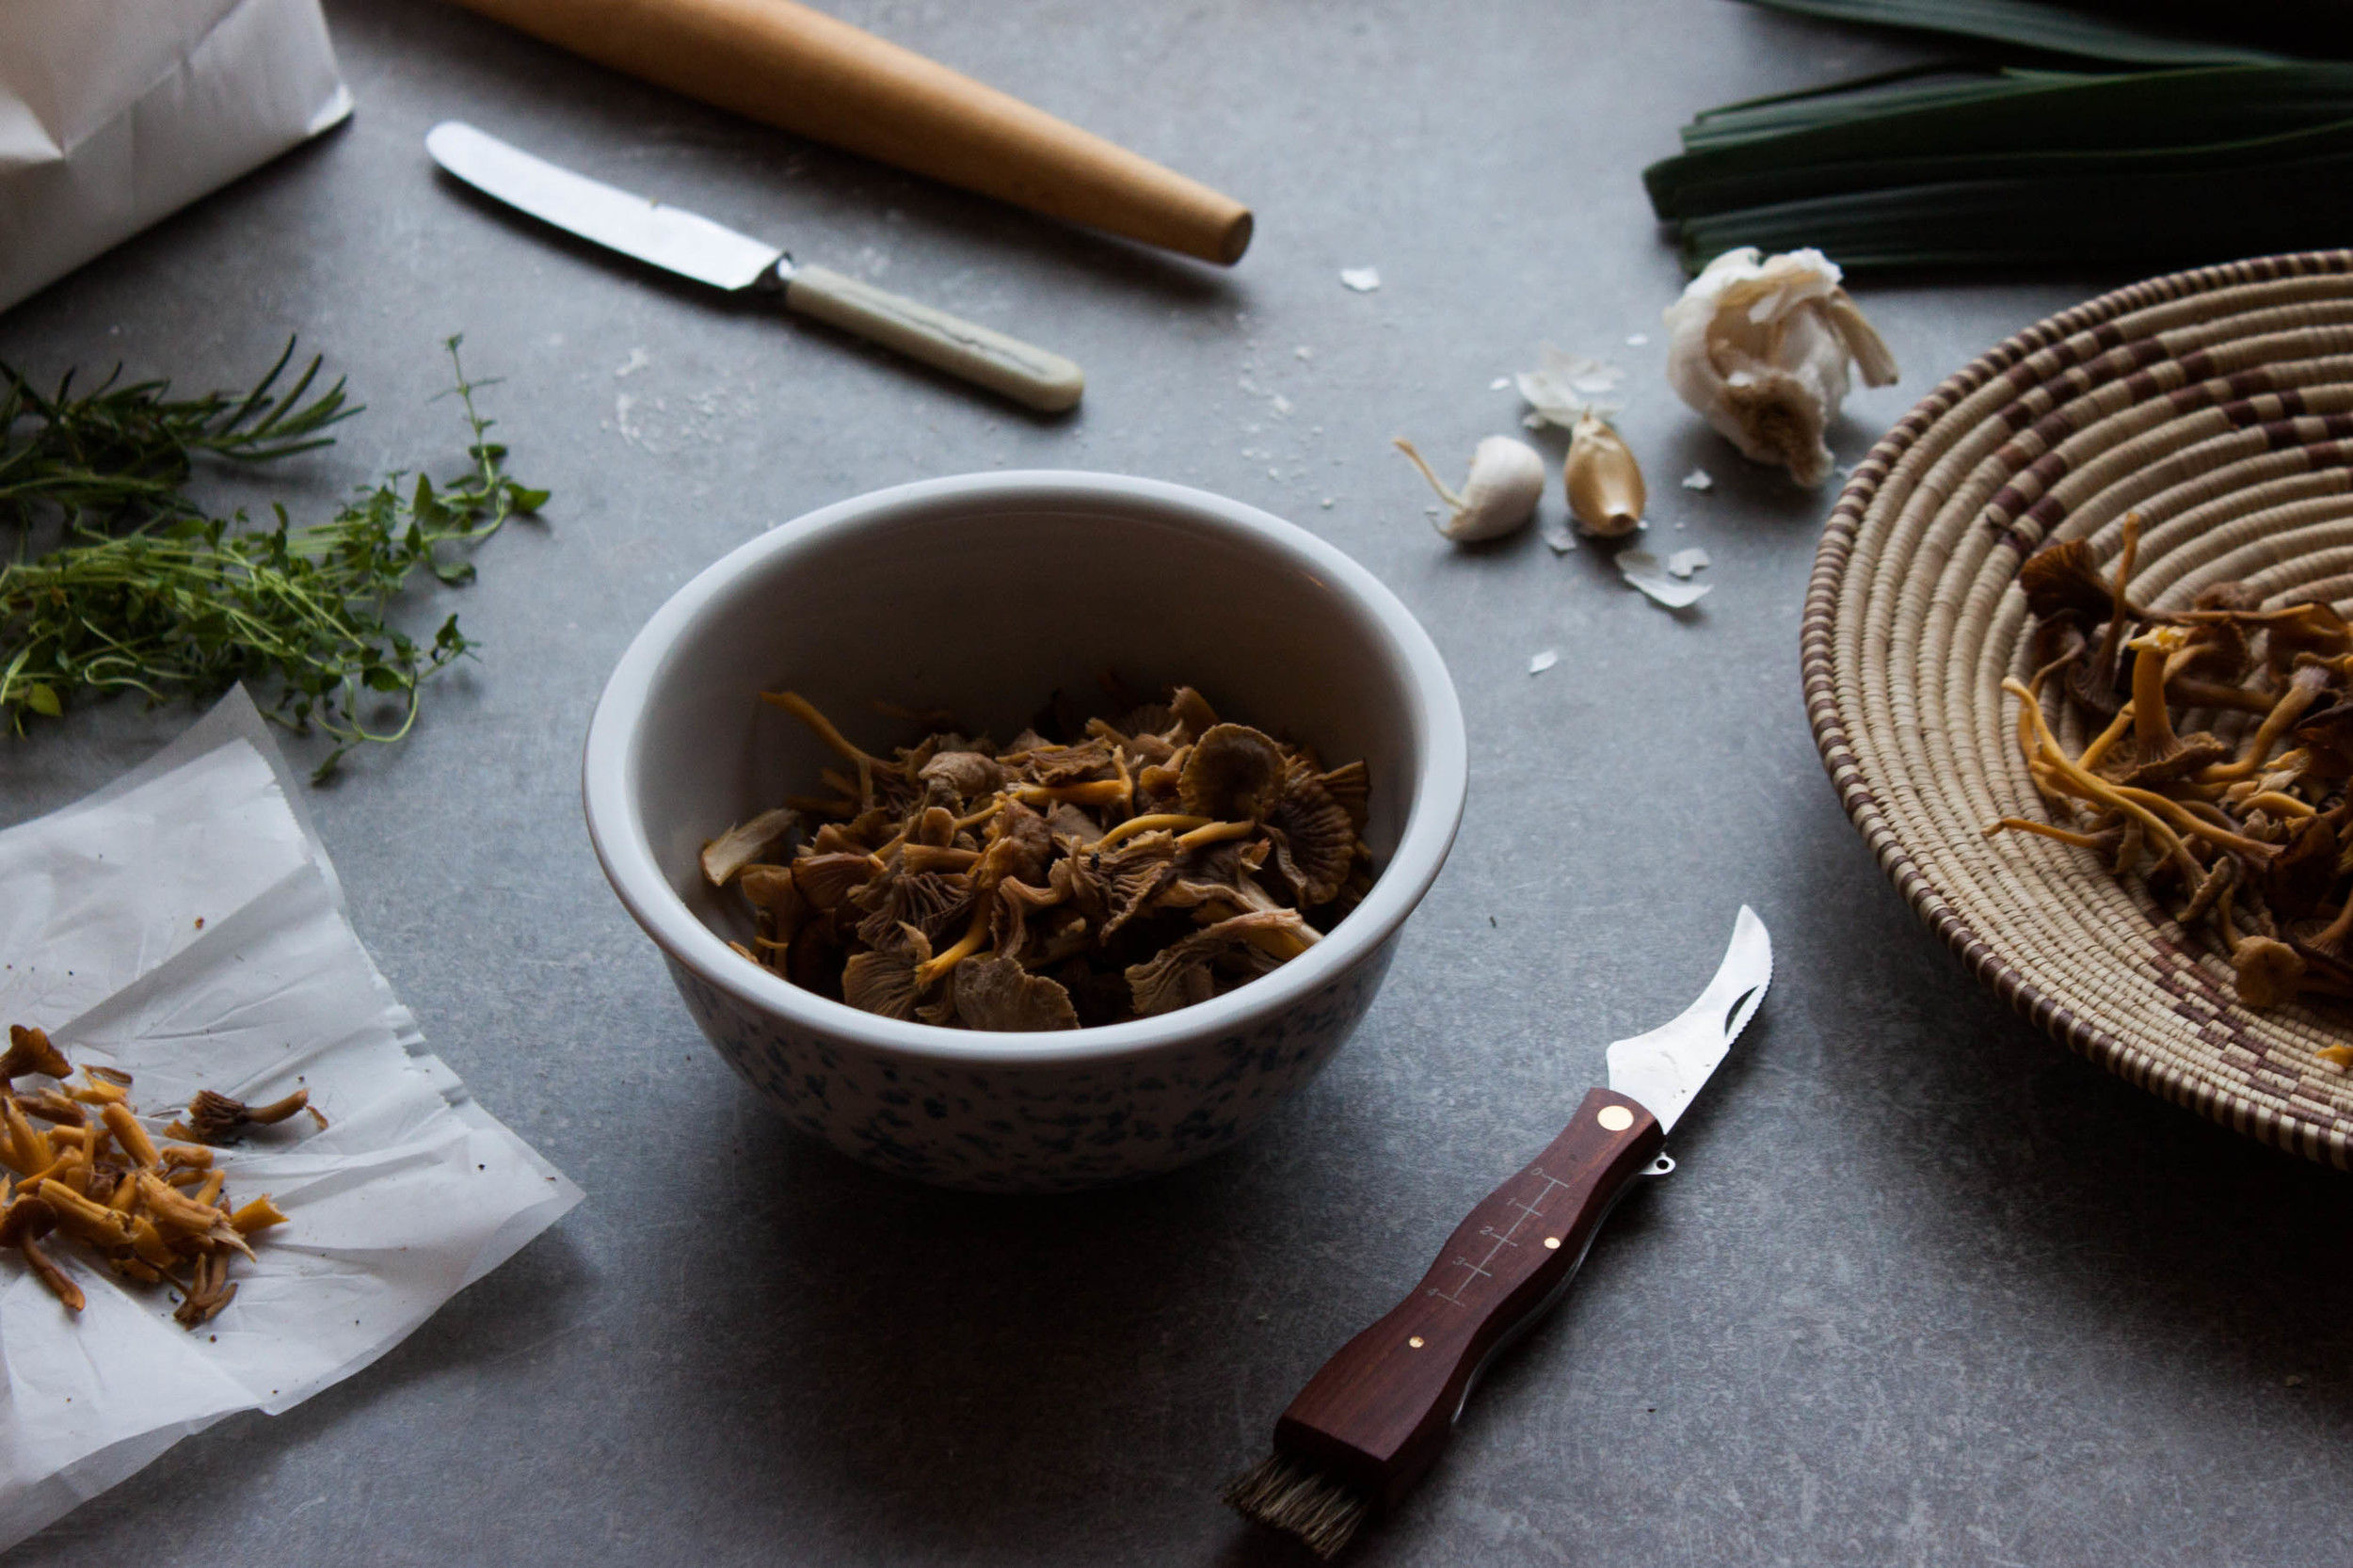
A few notes on storing & preparing mushrooms:

  • Wild mushrooms should be cleaned directly in the woods as it's much more difficult to remove the dirt afterwards.
  • Foraged mushrooms will keep well in the fridge for 2 to 7 days, depending on the variety. Don't cover the mushrooms and avoid storing them in plastic as they need to breath. I usually store them in the refrigerator's veggie compartment that I line with newspaper. If the mushrooms are really moist, I make sure to change the newspaper every few days. A paper bag would be perfect as well!
  • Never ever wash your mushrooms! I see this all the time, but it's really the worst idea one can have. Mushrooms are like sponges, soaking up all the water. It's bad both for texture and taste. Don't spoil your gorgeous mushrooms!
  • Instead, simply brush the mushrooms or wipe with a damp cloth. That's really all you need to do.

Funnel Chanterelle Tartlets with Herbed Crust

makes eight 10 cm (4") tarts OR one 22 cm (9") tart

for the crust
300 g (5 ½ dl; 2 ⅓ cups) all-purpose flour
155 g (1 stick) cold, unsalted butter, cut into cubes
1 ½ tsp finely chopped rosemary
1 ½ tsp thyme leaves
½ tsp fine sea salt
4 – 6 tbsp ice cold water

for the filling
2 tbsp olive oil
15 cm piece of leek (white and light green parts only), finely sliced (you should end up with about 3 dl / 1 ⅓ cups sliced leek)
2 garlic cloves, thinly sliced
225 g funnel chanterelles or other (preferably wild) mushrooms
1 ½ tsp finely chopped rosemary
1 ½ tsp thyme leaves
¾ tsp fine sea salt
freshly ground black pepper
60 ml (¼ cup) dry white wine
1 tbsp finely chopped parsley

150 ml (⅔ cup) single cream
3 eggs (M)
40 g grated Västerbotten cheese or other flavorful, firm cheese, such as Comté or Gruyère


To make the crust
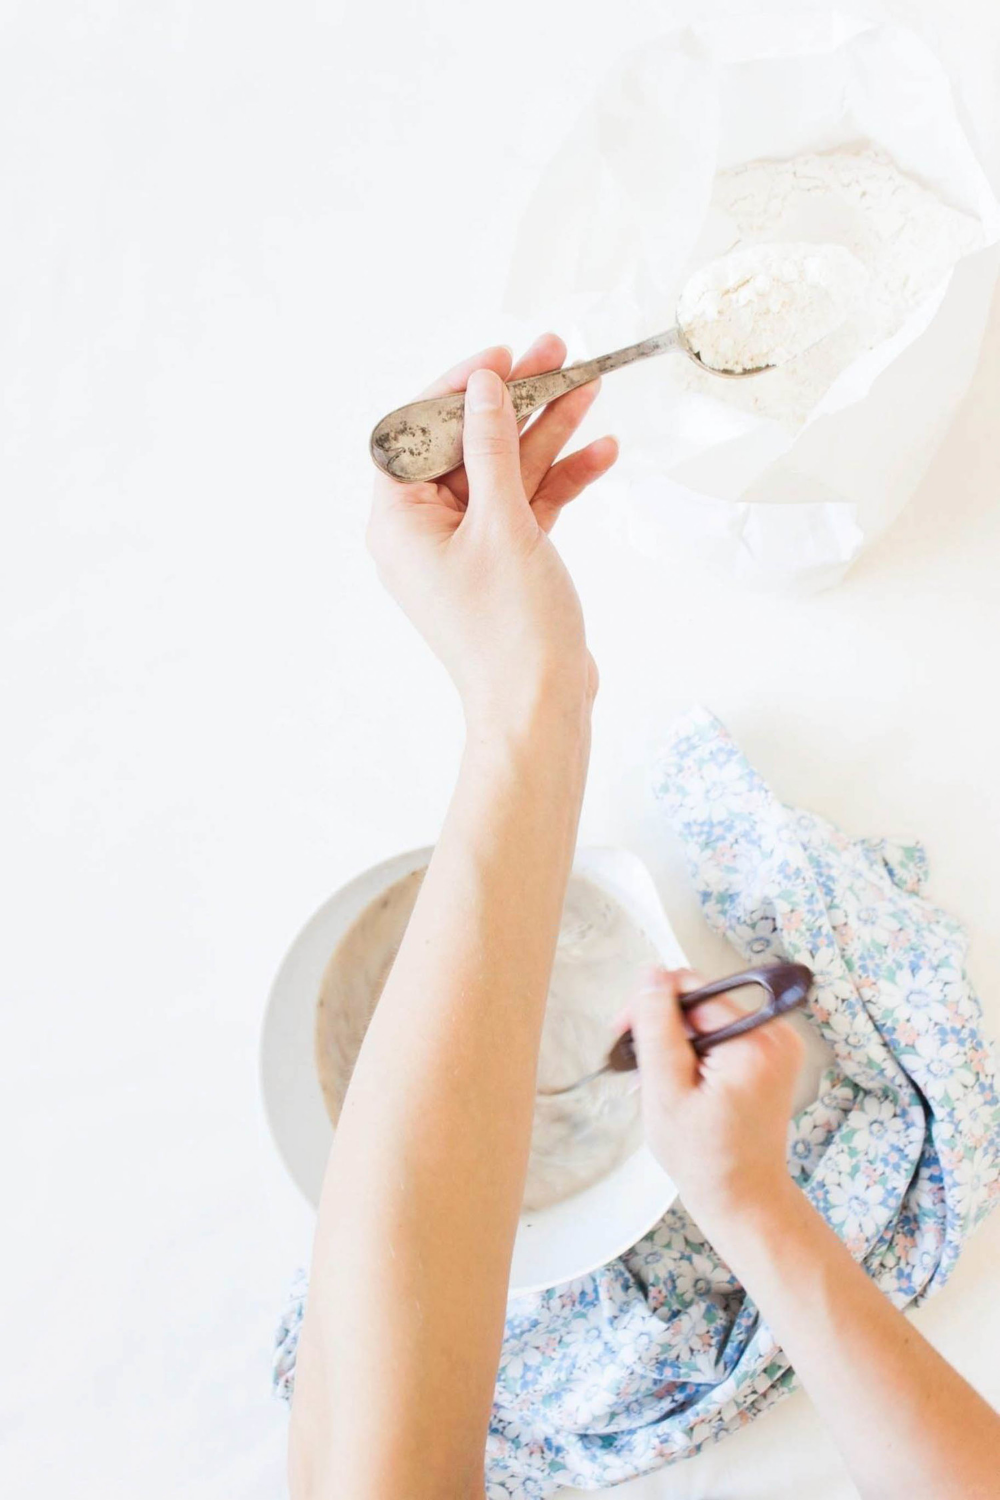
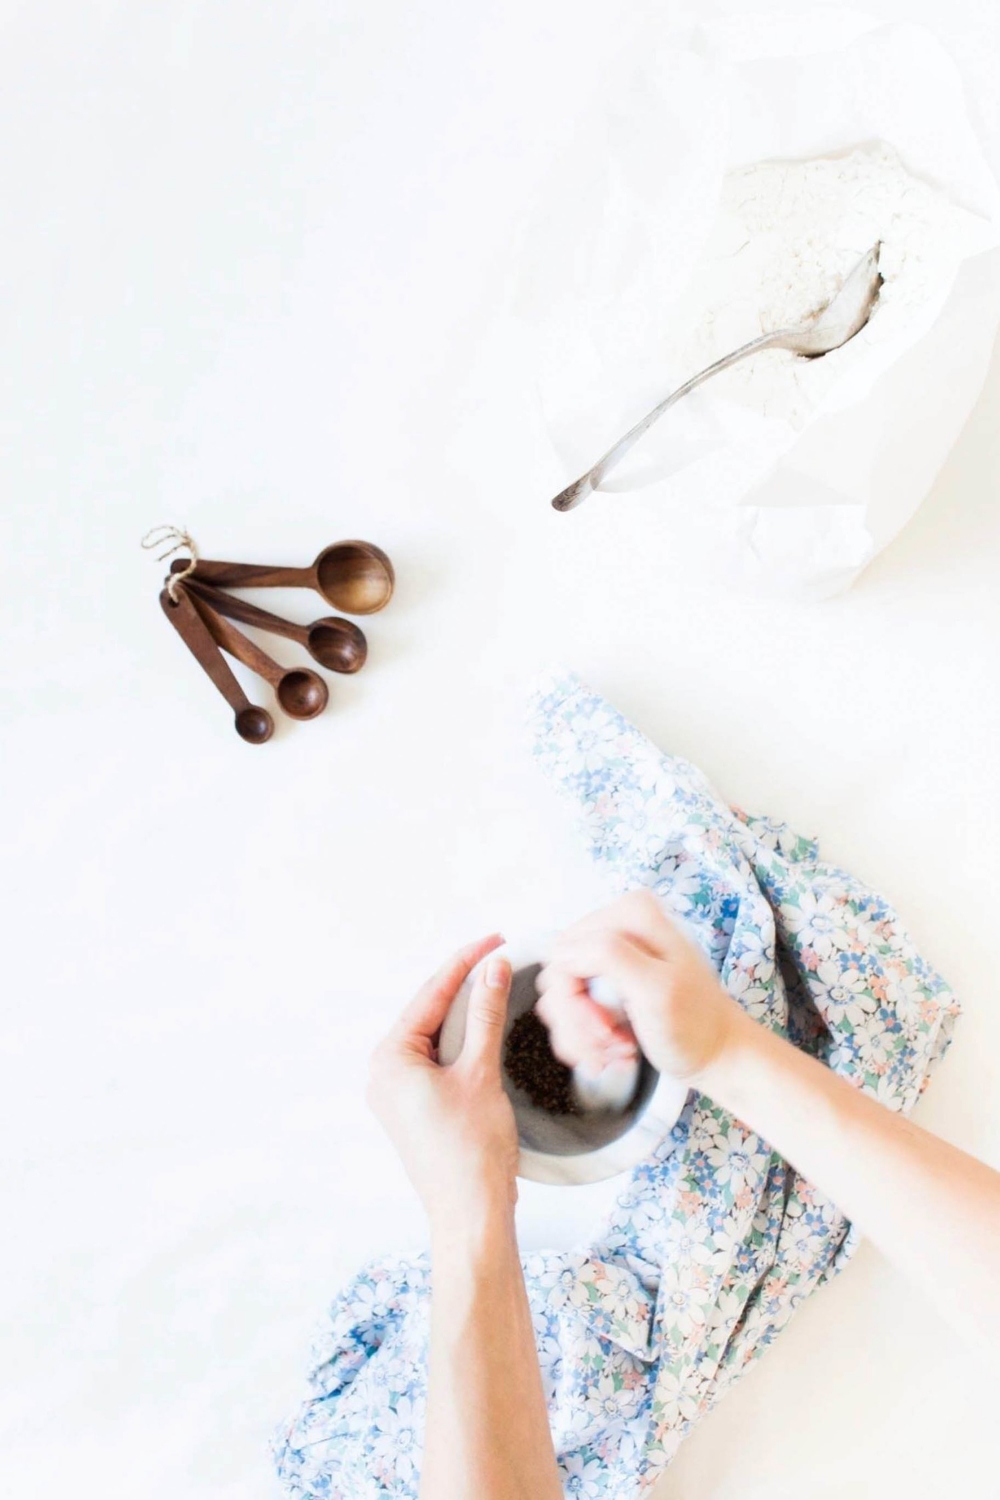
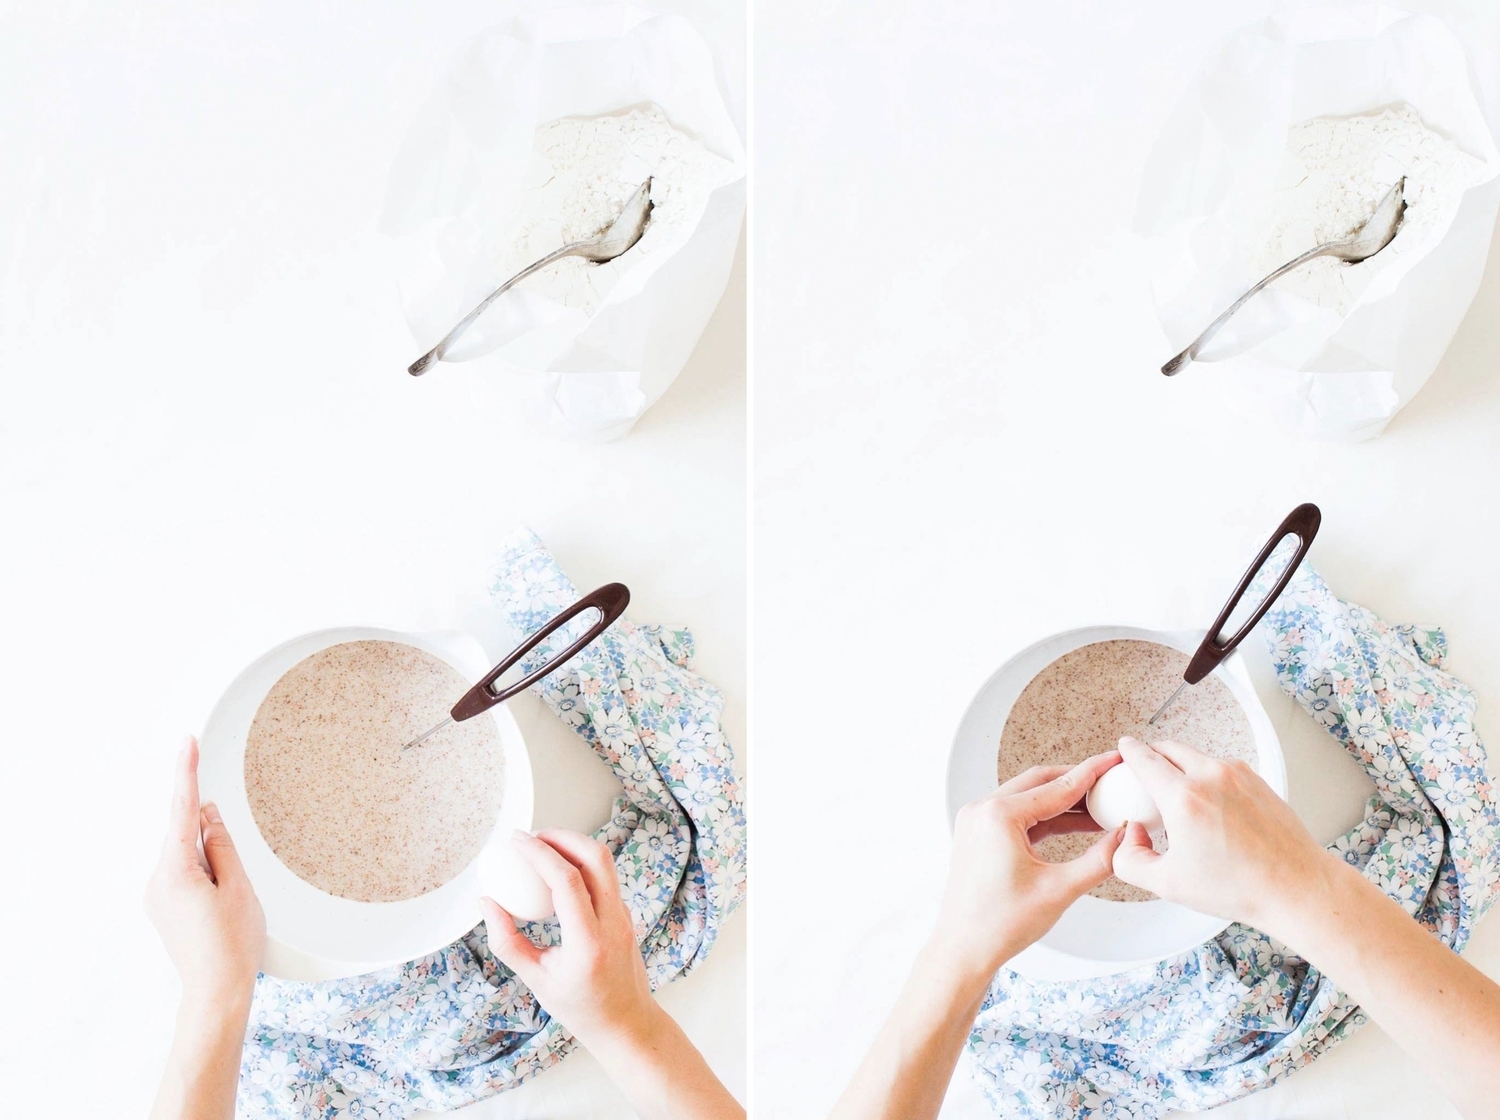
In a medium-sized bowl, combine the flour, butter, herbs, and salt. With your fingers, quickly rub the butter into the dry ingredients until well incorporated and crumbly. The dough should now resemble coarse bread crumbs with plenty of pea-sized pieces of butter remaining. Add water gradually just until the dough holds together when pinched. Try to work as fast as possible to avoid over-working the dough. Alternatively, you can use a pastry cutting tool or a food processor to make the dough. 

Form the dough into a disk and wrap in plastic. Refrigerate for half an hour or until ready to roll.

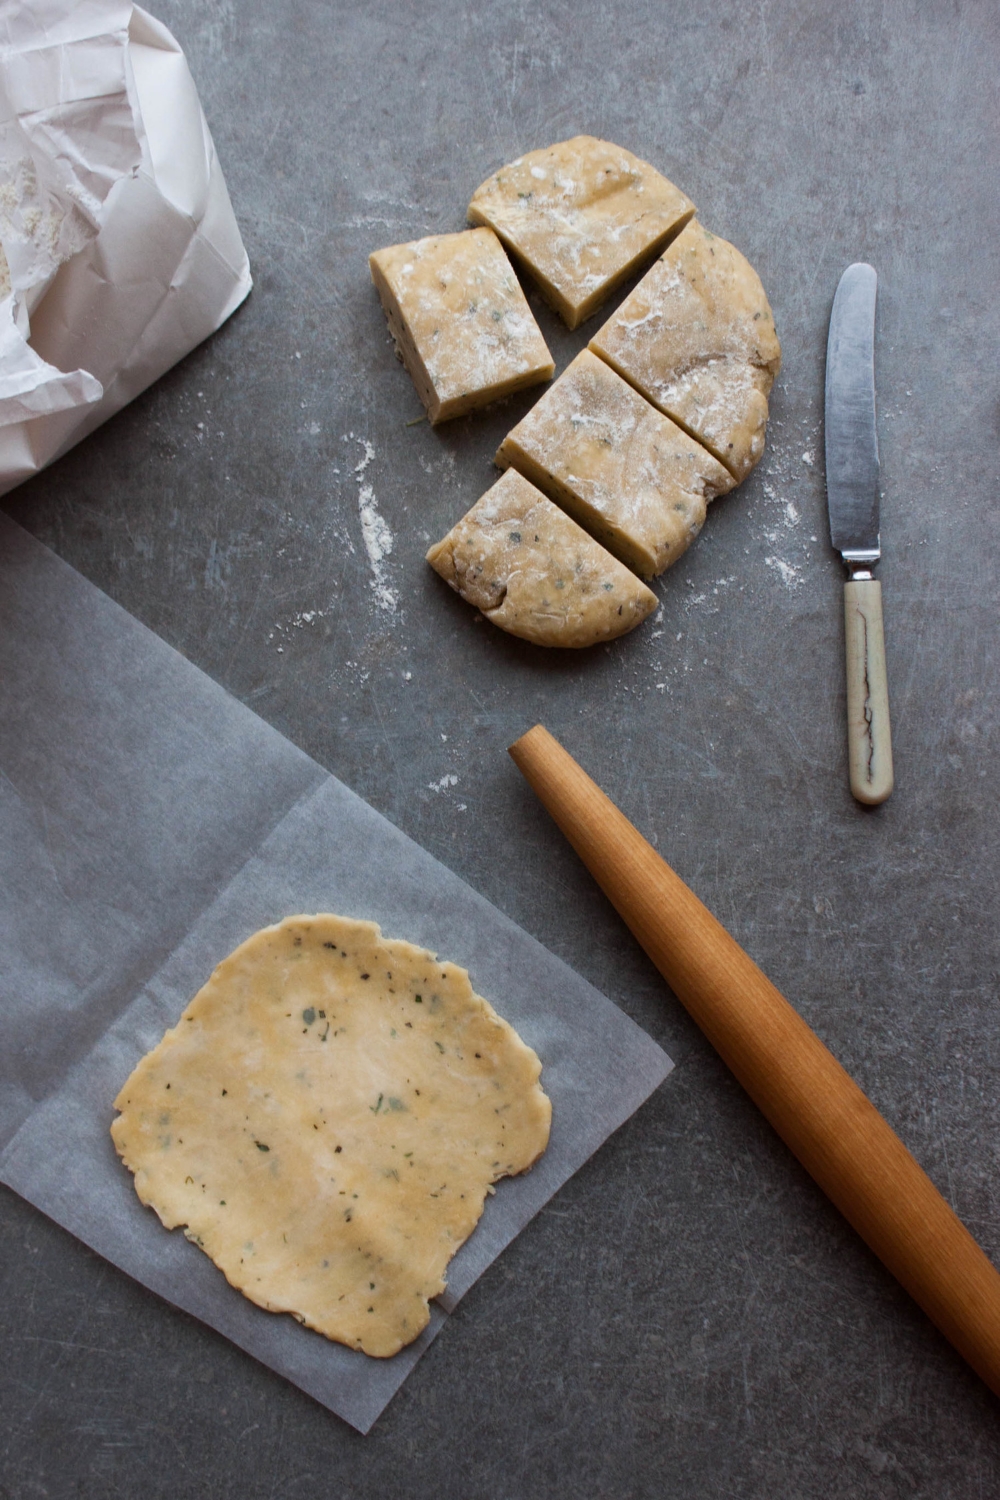
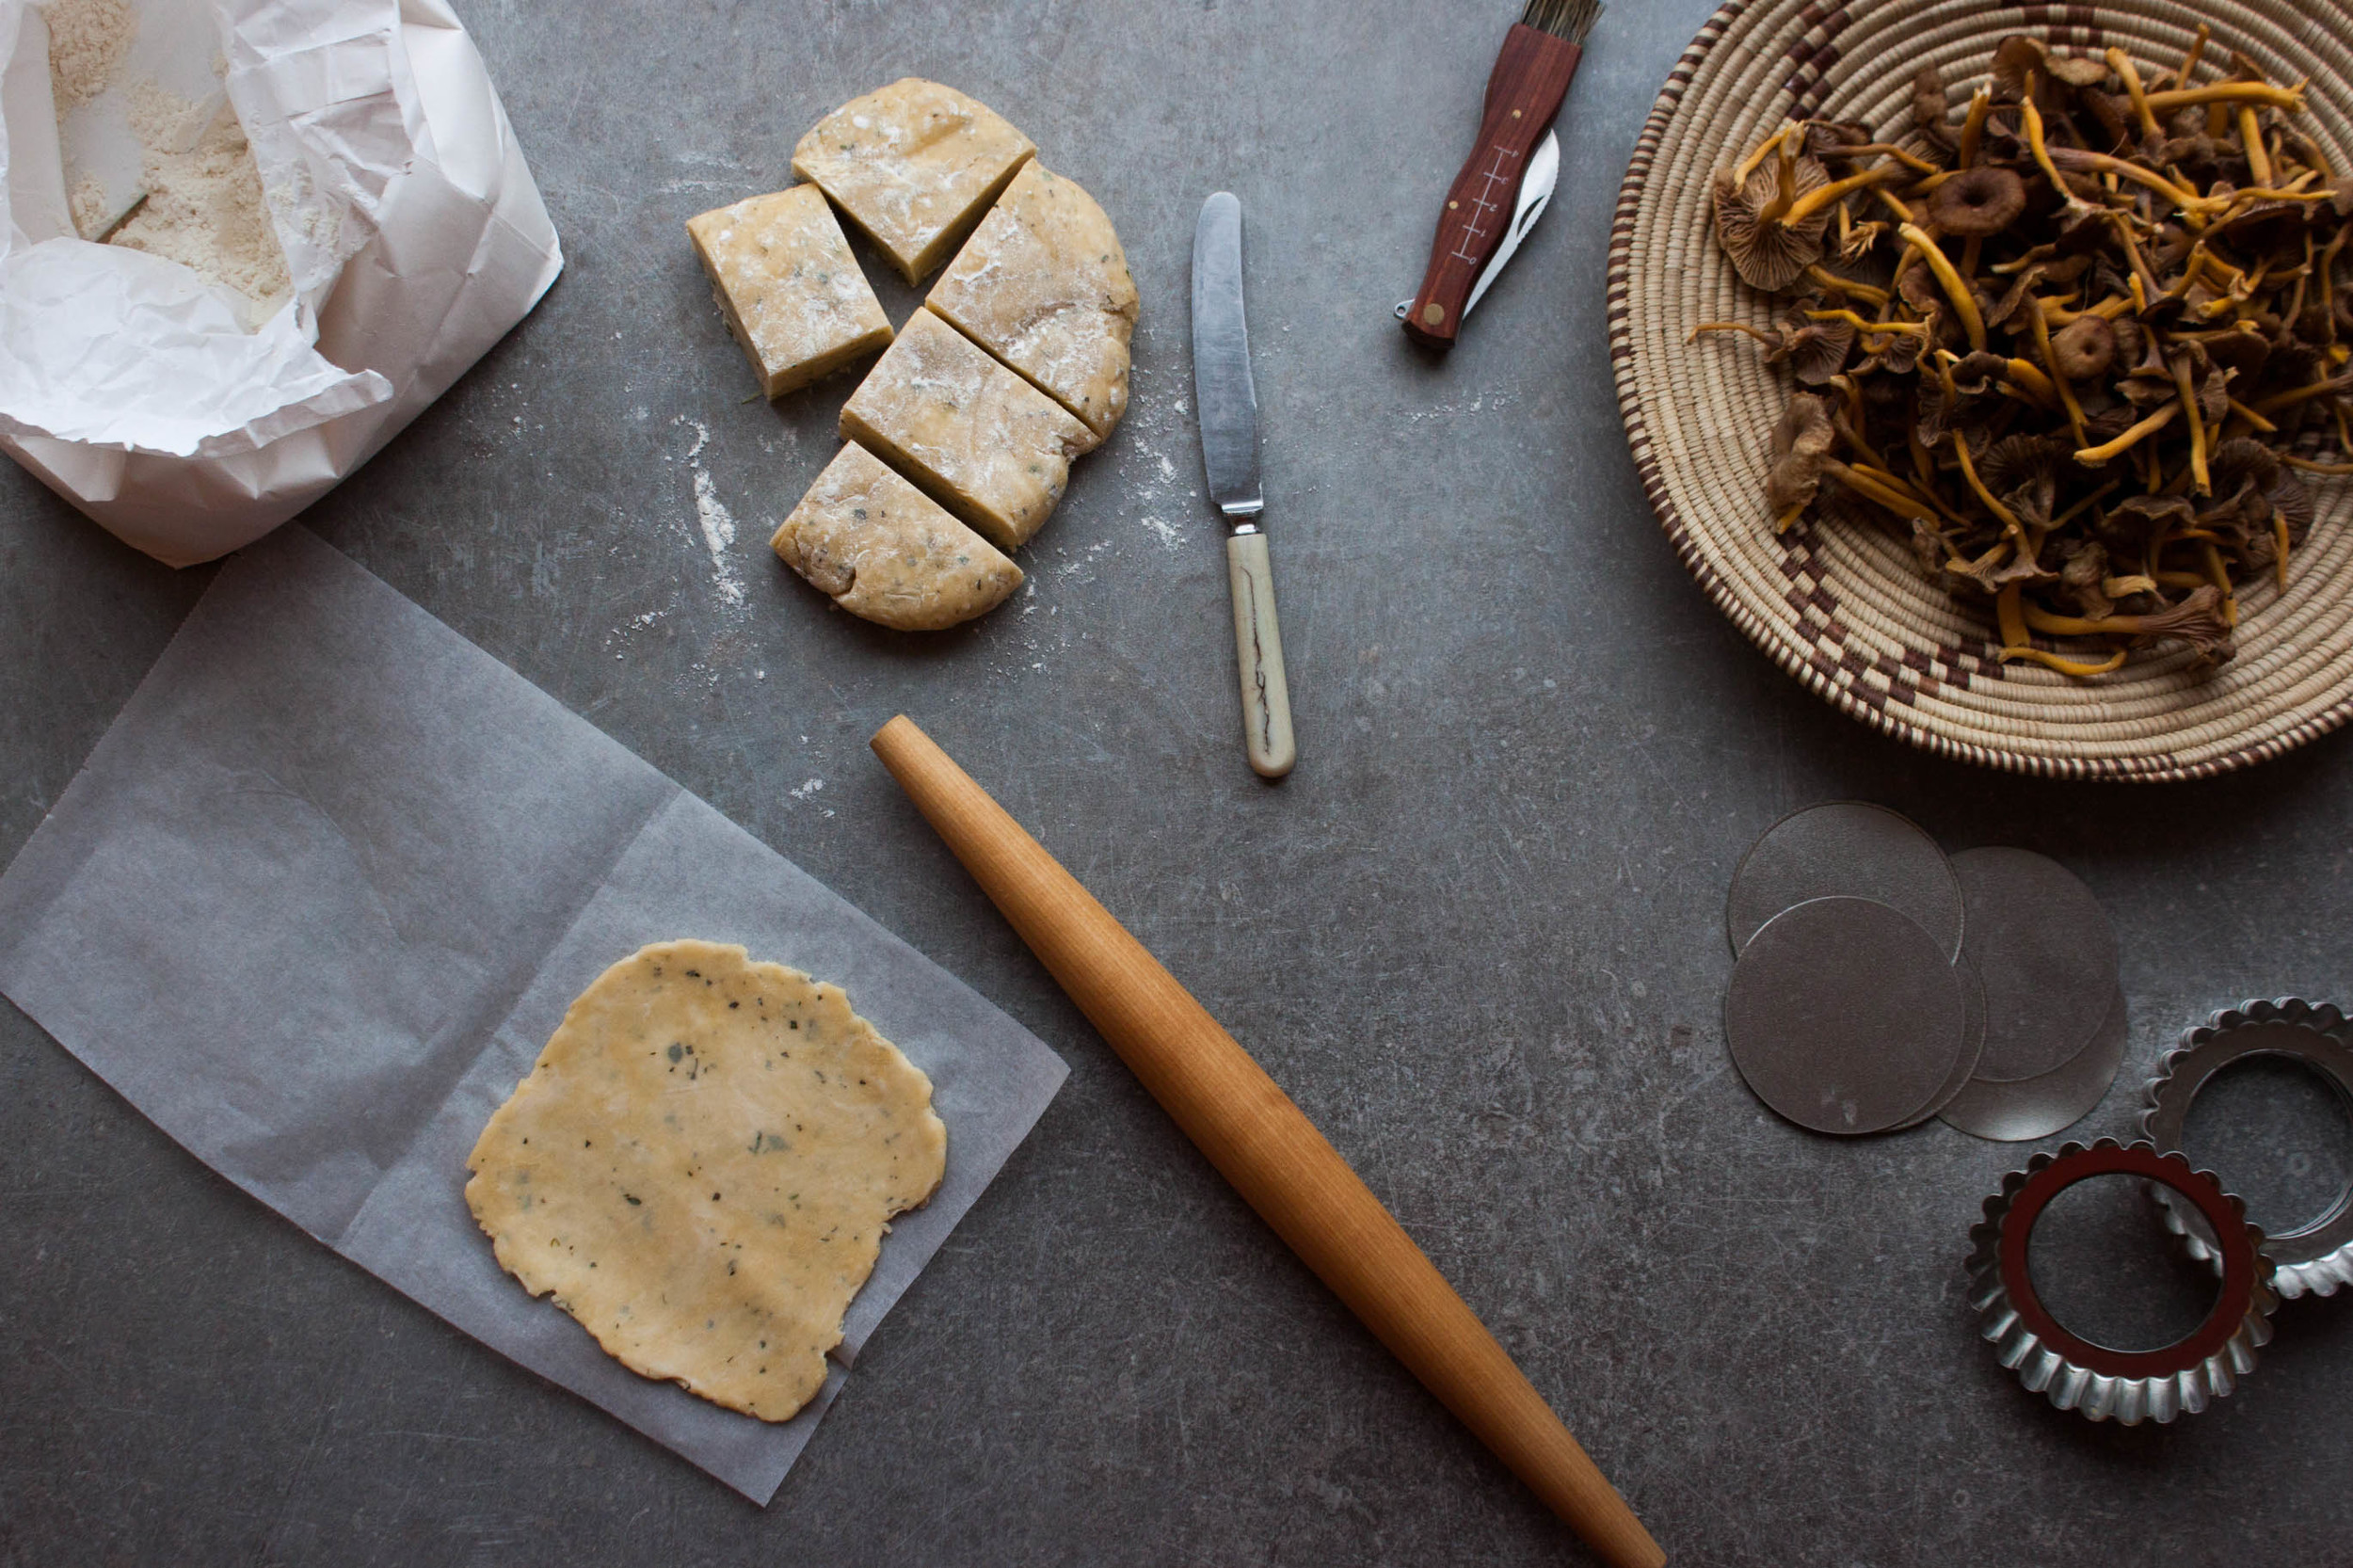
Grease the molds. Remove the dough from the refrigerator. Lightly dust a clean work surface with flour. Alternatively, you can roll out the dough between a piece of parchment paper. Roll out the dough into eight 3 mm (1/8") thick circles. Line the molds with the dough. Refrigerate for half an our.

Preheat the oven to 200°C (400°F).

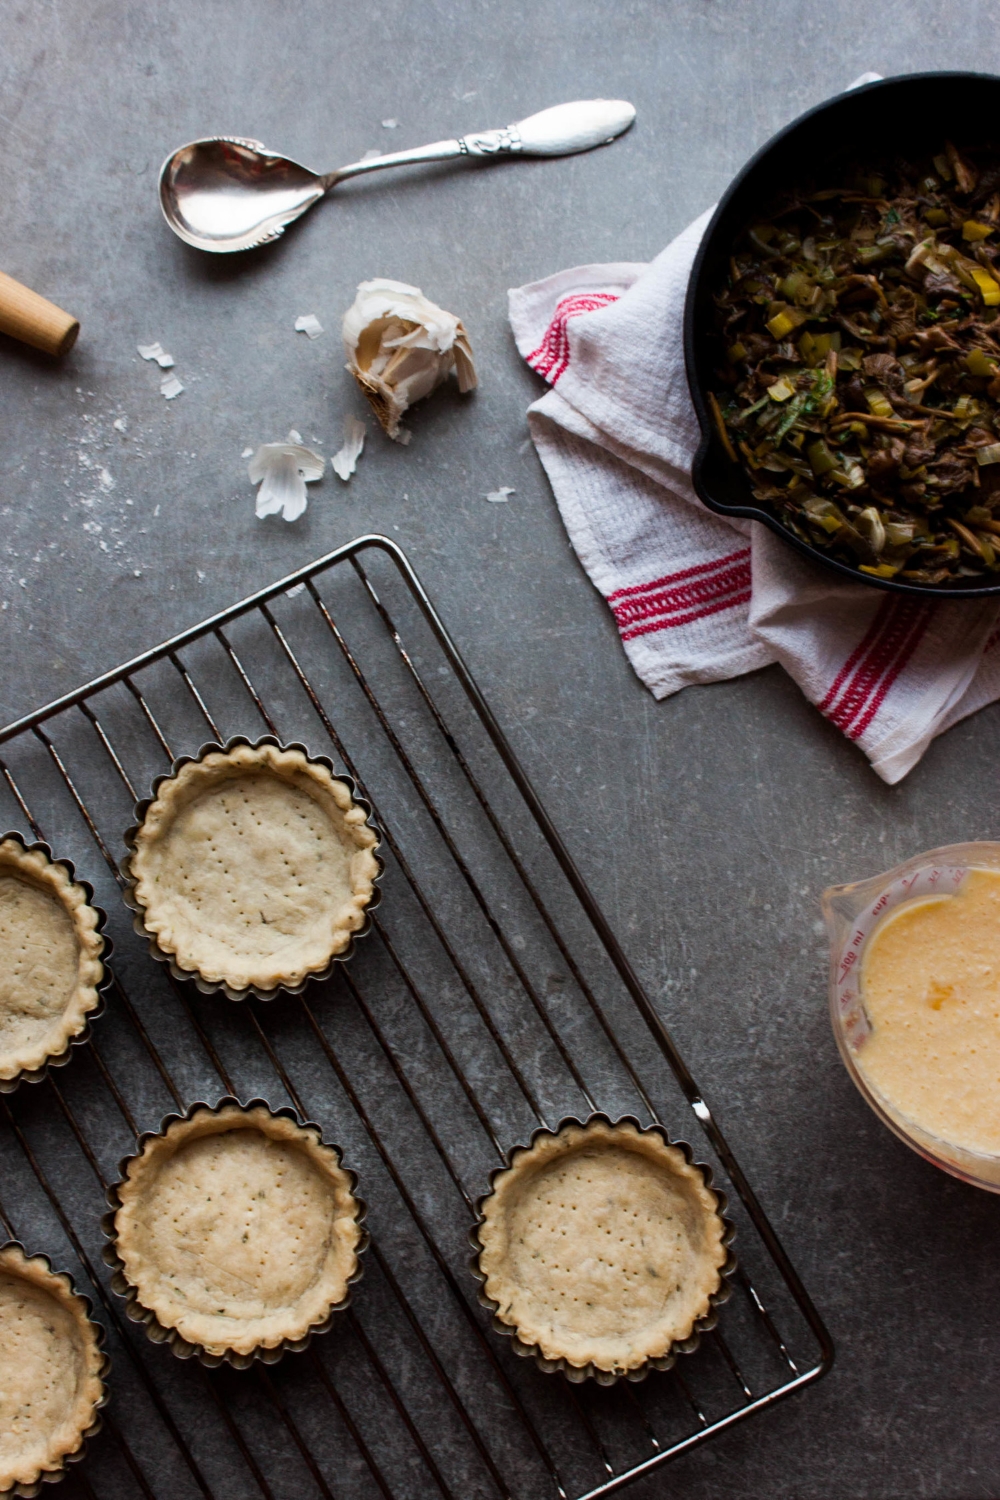
Prick the crust bases with a fork. Place a piece of parchment paper into each mold and fill with ceramic baking beans (or alternative baking weights). Prebake for 15 minutes, remove the baking beans and parchment paper and bake for further 5–10 minutes, or until the crust is light brown in color. Reduce the temperature to 180°C (355°F).
 

To make the filling
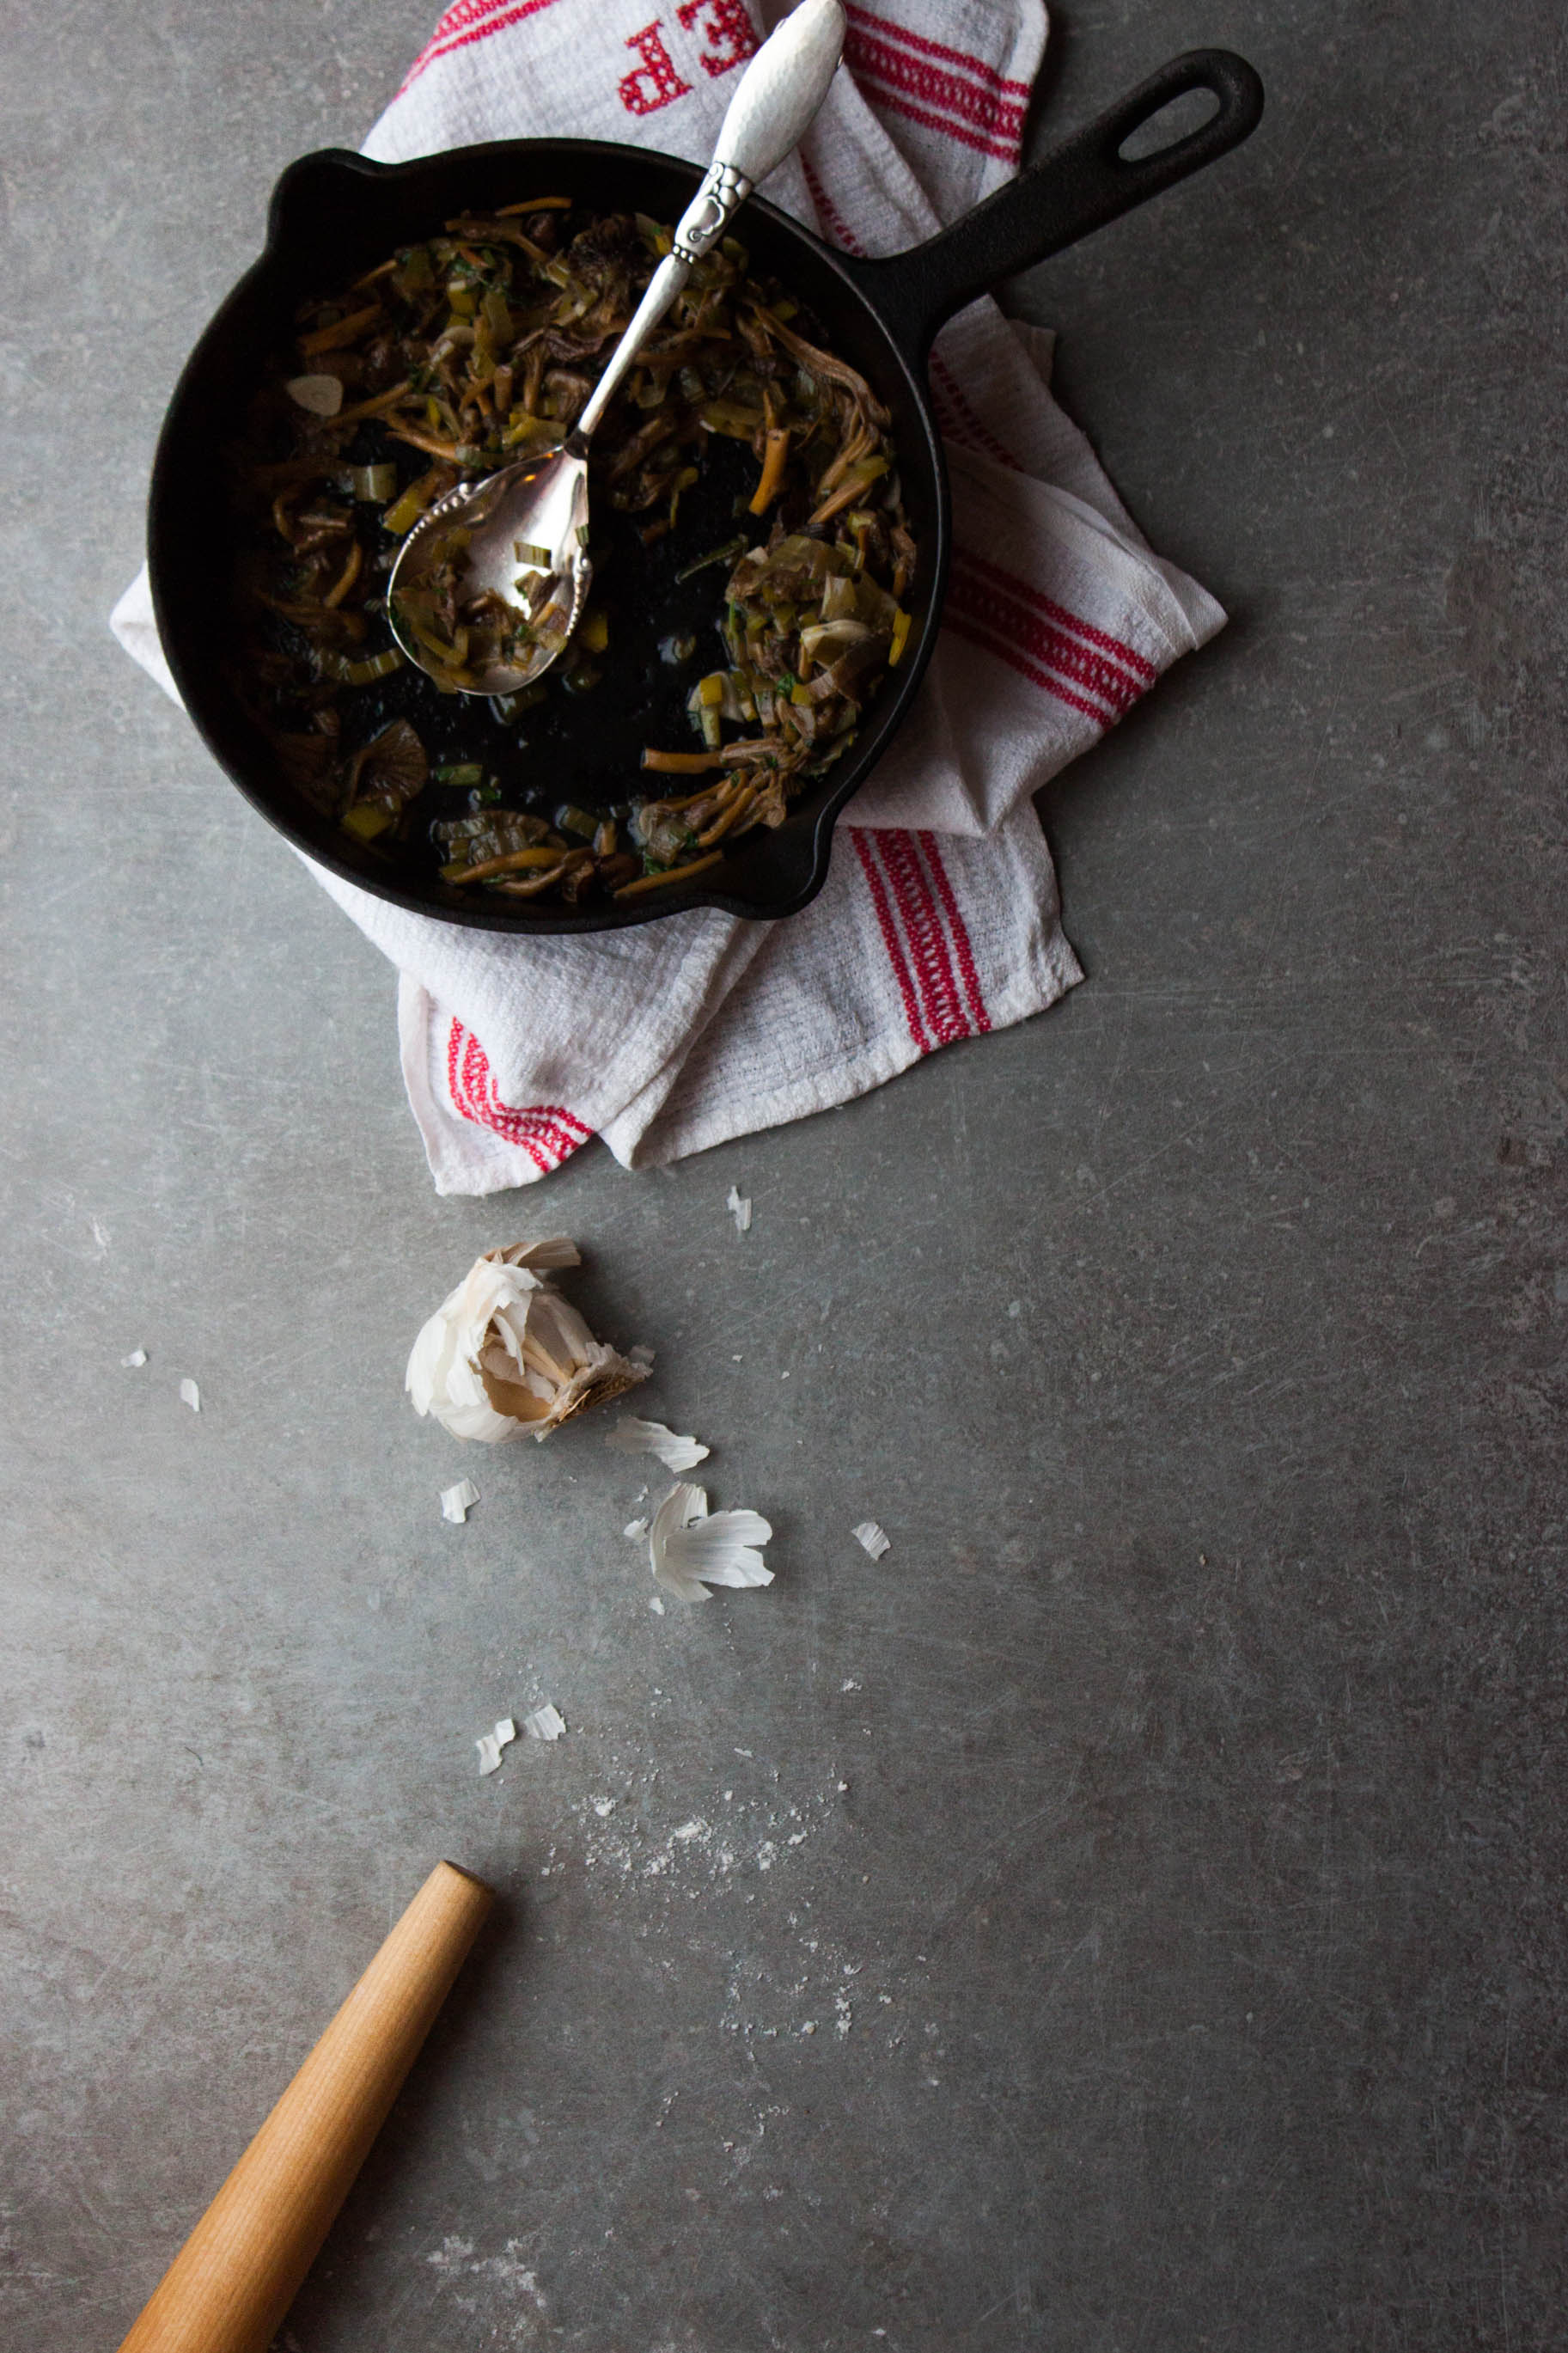
While prebaking the crust, prepare the filling. In a medium-sized pan, heat the olive oil over medium heat. Add the leeks and cook for about 3 minutes, or until soft but not brown. Add the garlic, mushrooms, rosemary, thyme, salt, and pepper. Cook for 5 minutes, or until tender. Add the white wine and let cook for about 1 minute. Add the parsley. Set aside and let cool slightly.

In a medium-sized bowl, whisk together the single cream, eggs, and cheese until smooth. Set aside.
 

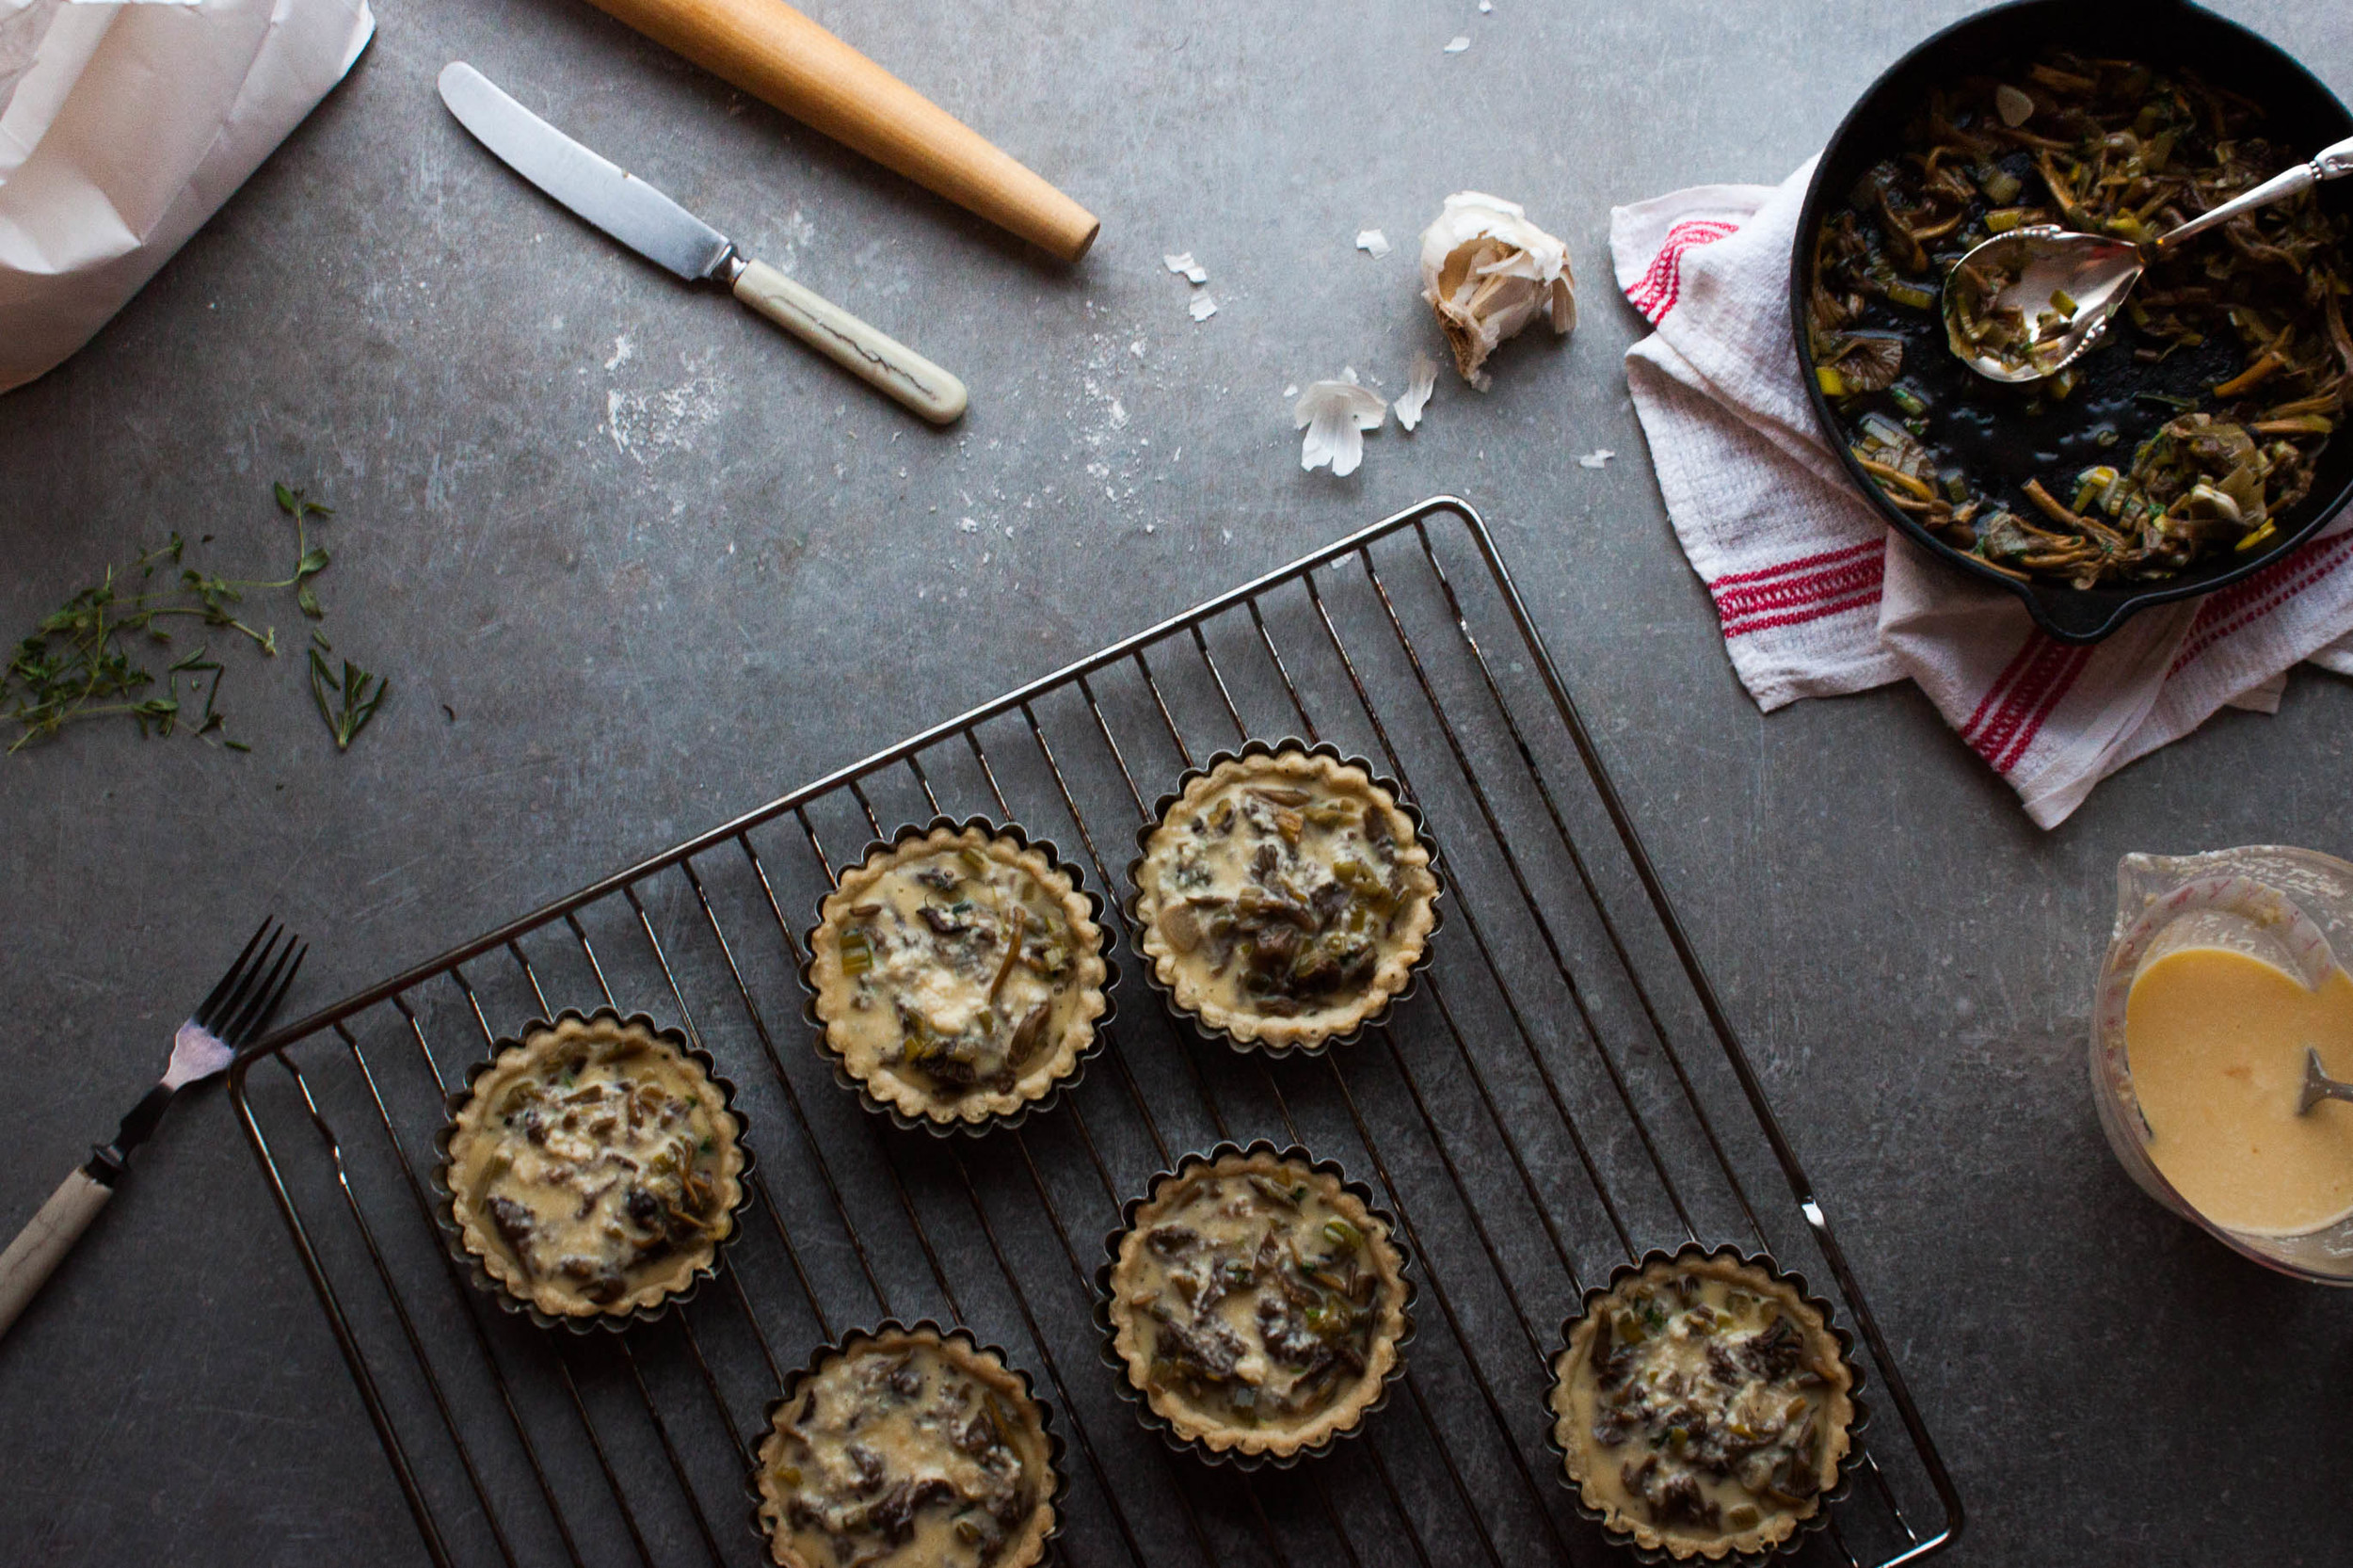
To arrange and bake the tartlets
Fill the prebaked tart shells with the mushroom filling. Pour the egg mixture over the filling making sure to spread it evenly. Bake the tartlets for 20–25 minutes, or until golden brown. Let the tartlets cool for around 10 minutes before serving. Enjoy!


Note: If you decide to make one 22 cm (9") tart, you need to adapt the recipe a little: Roll the dough to 4 mm (1/6") thickness. Blind bake the crust for 15 minutes, remove the baking beans, and bake for further 10–15 minutes, or until light brown. Bake the tart with the filling for 25–30 minutes, or until golden brown.


Funnel Chanterelle Tartlets | My Blue&White Kitchen

Related Posts

October Love&Inspiration

My Blue&White Kitchen

Another month has come to an end and soon it's socially acceptable to bake Christmas cookies, make holiday plans, and decorate ones home with lights. It still feels like fall (probably cause it still is fall), so I'm probably waiting until the fields are covered with snow and I can smoke my breath before getting excited about the holiday season. To be honest, that could be any day now.

In the meantime, I'm going to take a break from the daily grind, jump on a plane to visit a dear friend, say "Buenas tardes!", and have a good time. Should you have any recommendations for places to visit or eat (mostly eat) in and around the Costa del Sol as well as helpful phrases in Spanish, feel free to leave a comment below or send me a note. Also, I still haven't figured out my holiday read... Any favorites?

Wishing you all a spooky Halloween!!


» This duck is what my dreams are made of.

» I want to have these for lunch! I'm so happy I stumbled upon The Clever Carrot! Such a nice space.

» A cocktail with a grilled cheese garnish? Bloody genius!

» Ridiculously excited about veggies + goji ginger tahini cream

» I mean... *speechless*

» What a beautiful scenery to enjoy a lazy Sunday breakfast with dear friends. Can't wait to get cooking from the Sunday Suppers cookbook!

» Boozy (Bourbon!) Cocoa Dumplings

» Made this, a recipe from David Lebovitz's phenomenal book My Paris Kitchen. Served it with braised lamb shanks and used orzo instead of Israeli couscous as it's immensely difficult to get here. Totally delicious!

» She sure knows how to write... 

» Can you spell galaktoboureko? No? Well, you can still eat it.

» Speaking of Greek cuisine, I also want to make these. Okay, and drink that Japanese beer.

» She has a lovely new space and is working on her first cookbook! Got to love Yossy Arefi.

» This zucchini bread 

» Have you already seen Joy the Baker's newly designed site? Love it! All those watercolors! BOOM!

» Eat (lentils) as the Romans do – Be sure to watch the video and stay tuned for more.

» I think everyone needs these Crispy Eggplant Polenta Bites in their lives.

» I finally got my hands on Kimberley Hasselbrink's Vibrant Food. This book is a gem! I've already made multiple recipes, such as the candied ginger granola. According to my mom, this is the best granola I've made in all these years. And believe me, I've made many.

» This fall harvest gathering. Make also sure to check out her delicious rabbit recipe.

» Shakshuka+Hummus

» I want to marry this soup. And this one. And this.

» Yesterday, after a day of mushroom foraging, I came home to read this fabulous guide to mushroom foraging by the ever so inspiring Aran from Cannelle et Vanille. (those pics!!)

» Mimi Thorisson's Médoc

» BATMAN PUMPKIN!!! + Apple Cider Crème Fraîche Caramels  

» Can't work in total silence? Feel like you're most productive when working from a café? Coffitivity may be the answer.

» The cutest cookies ever: Chocolate Sugar Cookies with Pink Condensed Milk Frosting

» I've had the honor to test some brand new GIR products, such as their silicone lids. Hear me, these lids are phenomenal! This is your chance to get your hands on these great products before the holidays.


Related Posts

Glorious Green Couscous Salad

Green Couscous Salad | My Blue&White Kitchen

A few weeks ago I was at the grocery store wondering what to make for dinner. I stood in the middle of the vegetable section seeking inspiration. What should I make? My mind was blank. And then I knew it: couscous salad. I took my phone, typed "couscous Ottolenghi", and hit the search button. Scrolling. Finally my eyes locked on the title that said "Green couscous". There it was: my dinner inspiration. Thank heaven!

Why Ottolenghi, you may ask. Well, there are certain guys whose taste buds I truly trust and Yotam Ottolenghi surely is one of them. His recipes never fail to amaze me, and his take on food, especially vegetables, is quite unique. If you haven't made his recipes yet, I encourage you to dive into his culinary world, and if you don't have his books yet, I encourage you to run to the next bookstore. Like right now even if the temperatures are below zero (greetings from the north, everyone!).

The original recipe calls for parsley but I used kale instead. Actually, this was a result of a misunderstanding. You see, I thought I had a bunch of parsley in my fridge, but as I realized once I got home, I didn't. What I had, however, was kale. Thankfully, it turned out that kale worked great in this recipe! I, furthermore, omitted the green chili and added some tanginess with freshly squeezed lime juice. Inspired by the Israeli Couscous Salad from David Lebovitz, I added some dried fruit when I made it for the second time yesterday. I think the dried fruit made this salad even better and more interesting than it already was.

This salad is one of the best things I've eaten in a while. Packed with herbs and flavor, it makes a great side or main dish. The first time, I had it with grilled salmon and plain yogurt. Yesterday, I first had a serving for lunch and served it as a side with veal roast for dinner. I can also imagine that it would be lovely served with braised lamb or basically any kind of grilled fish. To make a vegetarian-friendly meal, top it with grilled halloumi or feta and pomegranate seeds.

It's a great dish to serve for brunch or a get-together. It's pretty to look at, relatively quick to make (ready in 15 minutes), and can easily be made ahead; it will keep in the fridge for up to two days. Awesome work lunch, anyone? Double or triple the recipe as needed and be ready to respond to numerous recipe enquiries.


Green Couscous Salad

adapted from Plenty by Yotam Ottolenghi, p. 255
serves 4


2 ½ dl (1 cup) whole-wheat couscous
1 onion, thinly sliced
1 tbsp olive oil
¼ tsp fine sea salt
¼ tsp ground cumin

for the herb paste
packed 1 heaping dl (packed ½ cup) roughly chopped kale
2 ½ dl (1 cup) chopped cilantro
2 tbsp chopped tarragon
2 tbsp chopped dill
2 tbsp chopped mint
6 tbsp olive oil

1 heaping dl (½ cup) unsalted & shelled pistachios, toasted and roughly chopped
3 green onions, thinly sliced
2 large handfuls of arugula, chopped
lime juice, to taste
1 heaping dl (½ cup) diced dried fruit, such as apricots, cherries, cranberries, or sultanas

optional: plain yogurt, to serve


In a small pot, bring 160 ml (¾ cup) water to a boil. Take off the heat, add couscous, cover, and leave for 10 minutes.

In the meantime, fry the onion on medium-high heat until soft and golden. Add salt and cumin. Mix and let cool slightly.

To make the herb paste, place all ingredients in a food processor and mix until smooth. Set aside.

Combine the couscous and herb paste in a large bowl. Use a fork to fluff up the couscous. Add the onions, pistachios, and arugula. Add lime juice to taste. Finally, top with the dried fruit. Serve lukewarm.


Related Posts

Overnight Oats + A Promo Code For Stitch Linens

Overnight Oats | My Blue&White Kitchen

Are you familiar with Marta Greber and her blog What Should I Eat For Breakfast Today? Well, I have to blame her and her gorgeous blog for having been madly obsessed with overnight oats for the last couple of months. It all started with this post last August. See how pretty and tempting that breakfast bowl is? I wanted that deliciousness in my life, made my first batch of overnight oats, and so the love story of me and overnight oats began.

Porridge is an institution here in the north. I think most people start their day with a bowl of warm and comforting porridge. There are even food trucks that sell nothing but porridge (!!). But, you know, I've never been a morning porridge person myself. Yes, I enjoy a bowl of rice porridge in winter (although, not for breakfast, except on Christmas Eve when it's an obligatory part of our Nordic Christmas traditions) as well as farina porridge a couple of times a year, but I've never been attracted to the regular cereal porridges that are all too often rather tasteless and bland. Oh and the consistency can certainly be an issue as well. I haven't grown up eating porridge every single morning, so it's nothing I have an emotional connection with. It's nothing I crave. Well, not until I saw that post about overnight oats that is.

What I love about overnight oats is that it a) can be, as it name already says, prepared on the night before and b) is ridiculously versatile and can be adapted according to the season as well as to one's preferences & diet. My first overnight oats was a combination of oats + apple juice + grated apples + yogurt + nuts + berries. I immediately fell in love with this breakfast and have enjoyed it in the early (and late) morning hours several times a week for the last couple of months. It makes a great breakfast to-go when made in a mason jar or can be enjoyed as a healthy and filling midday snack.

The overnight oats ratio is easy to remember: 1 part of oats to 1 part of liquid. As liquid, you can use juice, such as pure orange or apple juice, milk, plant milk, or even water. Furthermore, you can add some spices to the mix, such as cinnamon, vanilla, cardamom, or ginger. Or what about grated apples, pears, or carrots?

There are, of course, endless topping possibilities that I like to change according to the seasons. Some of my favorites are:

  • nuts (almonds, hazelnuts, walnuts, pistachios, pecans, cashews, etc.)
  • fruit & berries (apples, pears, plums, figs, berries of all kind, etc.)
  • dried berries (cranberries, raisins, figs, cherries, berry powder, etc.)
  • sweeteners (agave nectar & honey)
  • plain yogurt, nut butter, jam, etc.
  • toasted coconut flakes, seeds, bee pollen, cacao nibs, candied ginger, puffed amaranth, etc.

This week, I've been having my oatmeal with pure orange juice, cinnamon, plain yogurt, gorgeous, local pears (seriously, these are the best pears I've ever had), pluots (bought them for the first time last week and am obsessed by their beauty and sweet flavor), toasted coconut flakes, wild hazelnuts that I brought with me from Germany (they look like acorns, though), almonds, pistachios, and bee pollen (a new ingredient in my kitchen). Because of the sweetness of the pears and pluots, I don't even feel the need to add any sweetener.

Are you in the overnight oats game already? What's your favorite combination? I would love to hear!


Overnight Oats

for 1 hungry soul

This dish is gluten-free as long as you make sure your oats aren't contaminated with gluten. Oats are gluten-free themselves but are often manufactured in factories that also handle other, non-gluten-free grains. Check that your package specifies that the oats are gluten-free. To make this dairy-free, simply use plant-based dairy.

1 ½ dl (⅔ cup) rolled oats
1 ½ dl (⅔ cup) pure orange juice
½ tsp cinnamon

1 tbsp yogurt + more to serve

toppings of your choice (here I used pears, pluots, coconut flakes, hazelnuts, almonds, pistachios, & bee pollen)


Mix together the rolled oats, orange juice, and cinnamon. Cover and place in the fridge for a minimum of 2 hours or overnight.

If using coconut flakes, toast them in a dry pan on medium-high heat while stirring regularly until fragrant and light golden brown in color.

While I most often skip this step myself, note that soaking nuts increases their nutritional value and makes them easier to digest. Hazelnuts and Brazil nuts make an exception as they don't contain enzyme inhibitors and pistachios and macadamia nuts' taste may alter, so I don't soak them. To soak, simply place the nuts in a bowl, cover with twice as much water, and let soak for 6 to 12 hours or overnight. Rinse and use immediately or store in the fridge for up to a week.

In the morning, mix 1 tablespoon of yogurt with the soaked oats. Top with more yogurt, fruit, berries, nuts, or whatever your culinary heart longs for and enjoy!


See those gorgeous blue & white linens I've used in these pics? They're from STITCH and are handmade by Blair, a design student (how cool is that??) in a tiny apartment in NYC (even cooler, right?). I have a special place in my heart for small, brilliant companies and artisan products and immediately fell in love with the look and feel of her high quality linens. Aside from these blue & white linens, my favorites probably are the French Green Dinner Napkins. That color is amazing!

Here's some awesome news: you get 15% off from all STITCH products from today until January 31th with the promo code LOVEBLUE&WHITE. They'll launch some brand-new fall & holiday colors in the coming days so stay tuned! This may be the perfect little something to get to your loved ones for Christmas. I mean, they even offer custom made linens soon.

Hop on over to stock up your collection of linens! Cause let's be honest: one can never own too many. Am I right or am I right?


Disclaimer: Linens provided by STITCH.


Related Posts

Korvapuusti – Finnish Cinnamon Rolls

My Blue&White Kitchen | Finnish Cinnamon Rolls

Last Saturday, I woke up realizing it was National Cinnamon Roll Day, and I didn't have anything planned. "Oh crap", I repeated to myself like some sort of mantra. As I had to go to work that day, I decided to devote the next day to baking those traditional sweet treats. They're the ultimate Nordic baked good, and our love for them is deep and true, endless like the Nordic winter nights. Or winters in general.

We all know that the days are getting colder now. First comes the rain, then the snow. Therefore, we all need some cinnamon rolls in our lives. They make it all so much more bearable.

I think cinnamon rolls are not without reason one of the most loved baked goods in the world. While they're topped with icing all over North America, here in Scandinavia we skip the icing and sprinkle pearl sugar on top. Lots of it. Furthermore, we use the traditional cardamom-spiced yeast dough that is also used to make pulla, as we call them in Finland, or bulle, as they're called in Sweden. Here in the north, cinnamon rolls are the ultimate baked good that can be found at every café. That's also how you're supposed to eat them; alongside a big cup of coffee. However, I think they're also great with a glass of cold milk, especially when they're still warm. You can, of course, also enjoy them with a cup of tea; after all, it's your choice, your moment of comfort.

Cinnamon rolls are actually called korvapuusti here in Finland which can be translated as slapped ears. I have no idea where this slightly violent name comes from; I tried to do some research on it but without success. However, the name has been around since the late 1800's. Very mysterious indeed. But I like it; I like food with funny names.

Although the dough and filling are the same in both Finland and Sweden, the shape is unique to Finland. For me, this is the one and only cinnamon roll shape. It's a bit like with pasta; theoretically they all should taste the same no matter the shape but in reality, well, they definitely don't.

I even made a GIF (my very first one!) to show you how to shape proper korvapuustis. See? Easy! And it's definitely lots of fun to poke once finger into dough. Truth.

My Blue&White Kitchen | Finnish Cinnamon Rolls

A few notes on the recipe: For the best result, make sure that all your ingredients are at room temperature. I recommend using bread flour, but this recipe will work with all-purpose flour as well. Just substitute the flour by weight, not volume (although, you'll notice when the dough is ready as it'll come clean off the sides of the bowl). Pearl sugar is obligatory; remember to be generous with it. You can certainly adapt the filling to your liking by adding more or less sugar. I like mine not overly sweet, but I've seen recipes that use up to 2 ½ dl / 1 cup of granulated sugar (basically almost three times as much as my recipe calls for) for the same amount of rolls. You can leave the egg out and, furthermore, substitute the milk with water should you follow a special diet. However, as you can imagine, the most delicious and flavorful result is made with eggs and milk.

So next time you plan to make cinnamon rolls, why not try this Nordic variety? I hope you do.


Korvapuusti – Finnish Cinnamon Rolls

makes around 30 rolls
 

5 dl (2 cups + 2 tbsp) lukewarm milk (preferably whole milk)
50 g fresh yeast (or alternatively 16 g / 1 tbsp + 2 tsp instant active dry yeast)
180 g (2 dl; ¾ cup + 2 tbsp) granulated sugar
1 ½ tsp fine sea salt
1 tbsp + 1 tsp ground cardamom (preferably freshly ground)
1 egg
about 1 kg (15 dl; 6 ½ cups) bread flour
170 g (1 ½ sticks) unsalted butter, at room temperature

for the filling
150 g (1  sticks) soft butter
6 tbsp granulated sugar
1 tbsp + 2 tsp cinnamon

for the egg wash
1 egg

pearl sugar, to sprinkle
 

To make the dough
In a large mixing bowl (you can make the dough by hand, like me, or in a stand mixer), combine the lukewarm milk and crumbled yeast. [If using instant active dry yeast, skip this step. Combine the yeast with some flour and add to the warm, 42°C / 108°F, milk mixture before adding the rest of the flour.] Stir with a spoon until the yeast is completely dissolved. Add sugar, salt, cardamom, and egg and mix until combined. Gradually add about two thirds of the flour and knead. Add butter and knead until well combined. Continue to knead the dough, and gradually add just enough flour so the dough comes clean off the sides of the bowl and doesn't stick to your hand.

Don't overwork the dough or you'll end up with hard rolls, not soft as we want them to be. Shape into a ball and cover with a clean kitchen towel. Let the dough rise in a warm, draft-free place for about 1 hour, or until double in size.

Meanwhile, mix together the butter, sugar, and cinnamon for the filling. Set aside.


To shape and bake the rolls
Line four baking sheets with parchment paper.

Punch down the dough and divide into two equally sized portions. Lightly dust a clean work surface with flour. Roll out the first portion of dough into a large, about 60-by-40-centimeter / 23-by-16-inch rectangle. Spread half of the filling evenly on top. Beginning with the long side, roll the dough into a tight tube shape, seam side down. Cut into 15 cylinders and press each point tightly into the center with your index finger. 

Place the shaped cinnamon rolls on the baking sheets, spacing them about 5 cm / 2" apart. Cover with a clean kitchen towel and let rise for further 30 minutes, or until they're double in size. Repeat with the second batch.

Meanwhile, preheat the oven to 225°C (435°F).

For the egg wash, lightly whisk the egg. Before baking, brush each roll with the egg wash and sprinkle generously with pearl sugar. Bake the rolls on the middle rack for 10 – 15 minutes, or until golden to dark brown in color. When the rolls are done, the bottoms will most probably be dark brown in color; this is totally normal and typical for Nordic cardamom-spiced sweetbread. Repeat with the other sheets of rolls.

The cinnamon rolls are best eaten while still slightly warm or on the same day. However, you can freeze them once baked and warm them up when ready to serve.


My Blue&White Kitchen | Finnish Cinnamon Rolls

Related Posts